WoW Boost
WoW Midnight Leatherworking Guide 1–100
Heroes, the Void calls! Face Alleria in the ultimate Midnight showdown. Will your guild conquer the Spire or crumble into purple dust? Gear up now!
Yes, The Voidspire raid bosses are here, and yes, you will wipe to them. Welcome to our complete The Voidspire full walkthrough: the only guide where we tell you exactly how and why your raid is going to die, in ascending order of embarrassment.
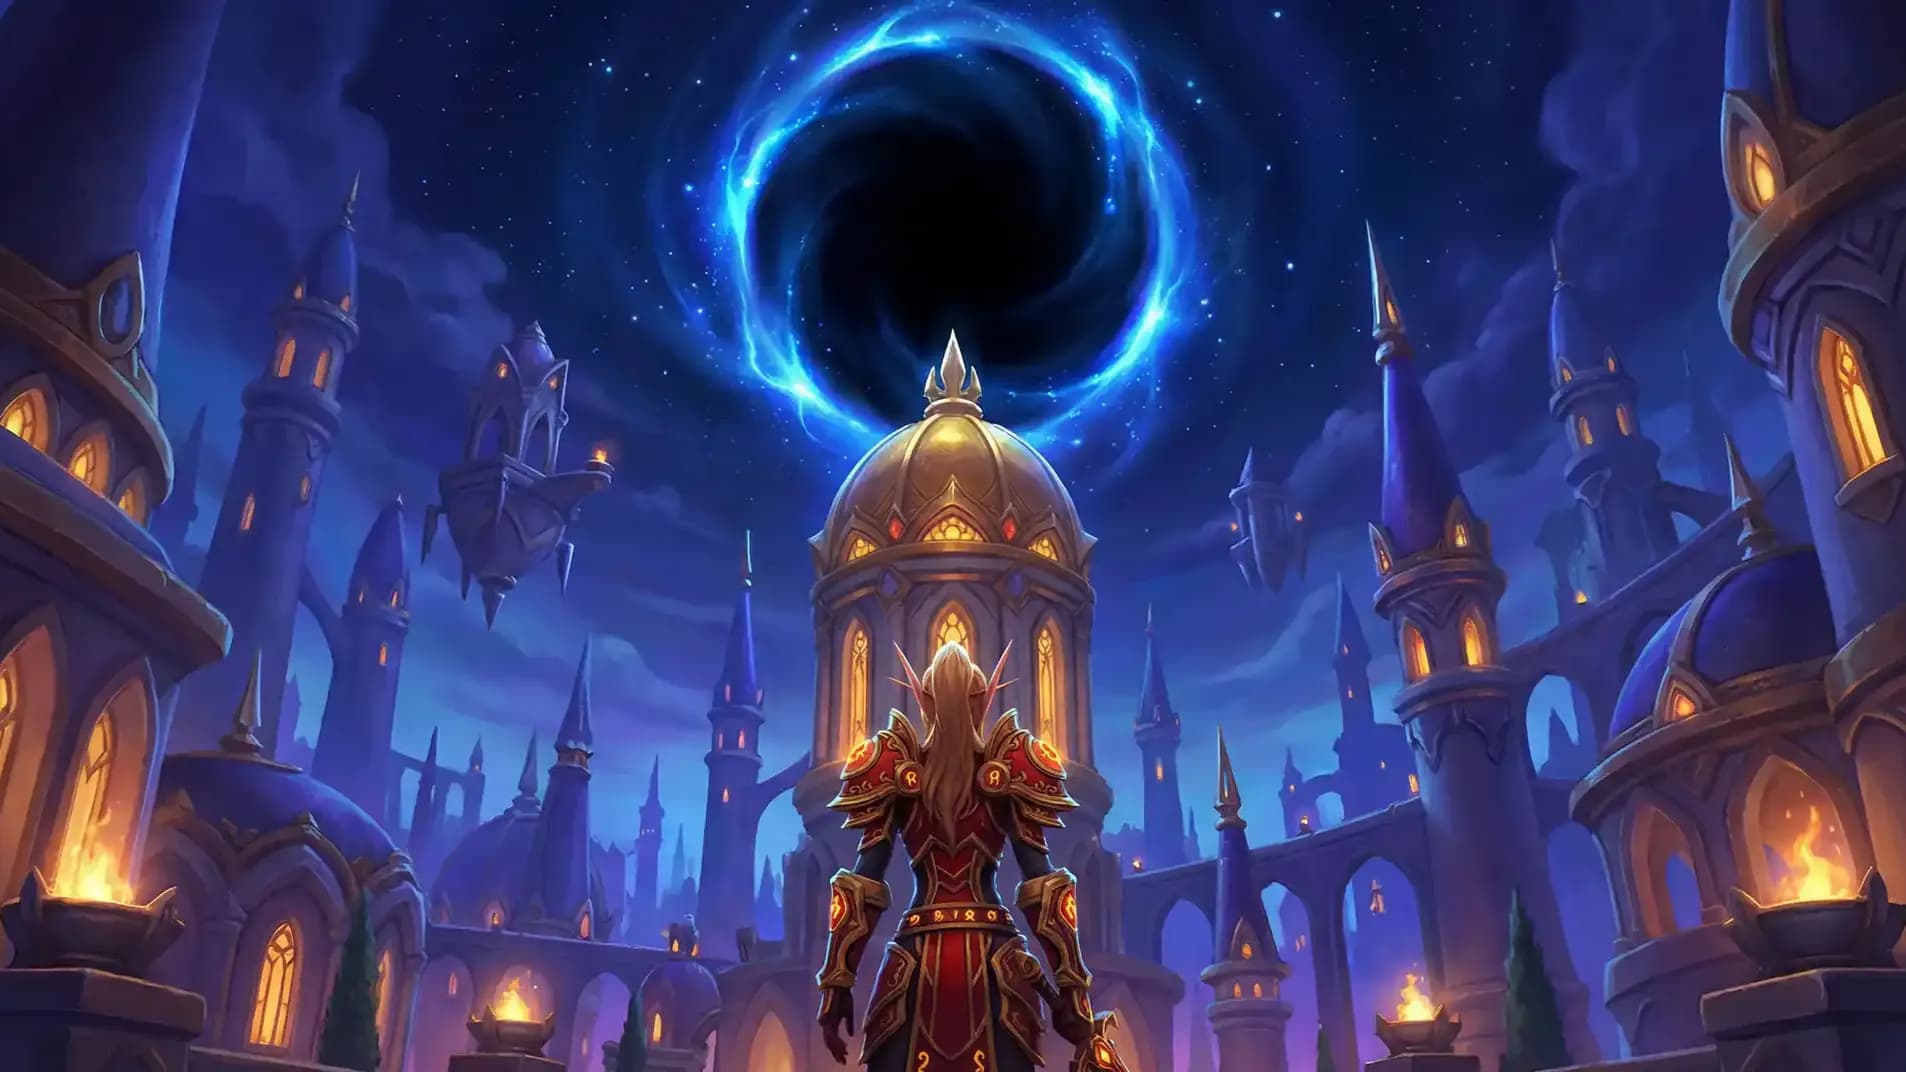
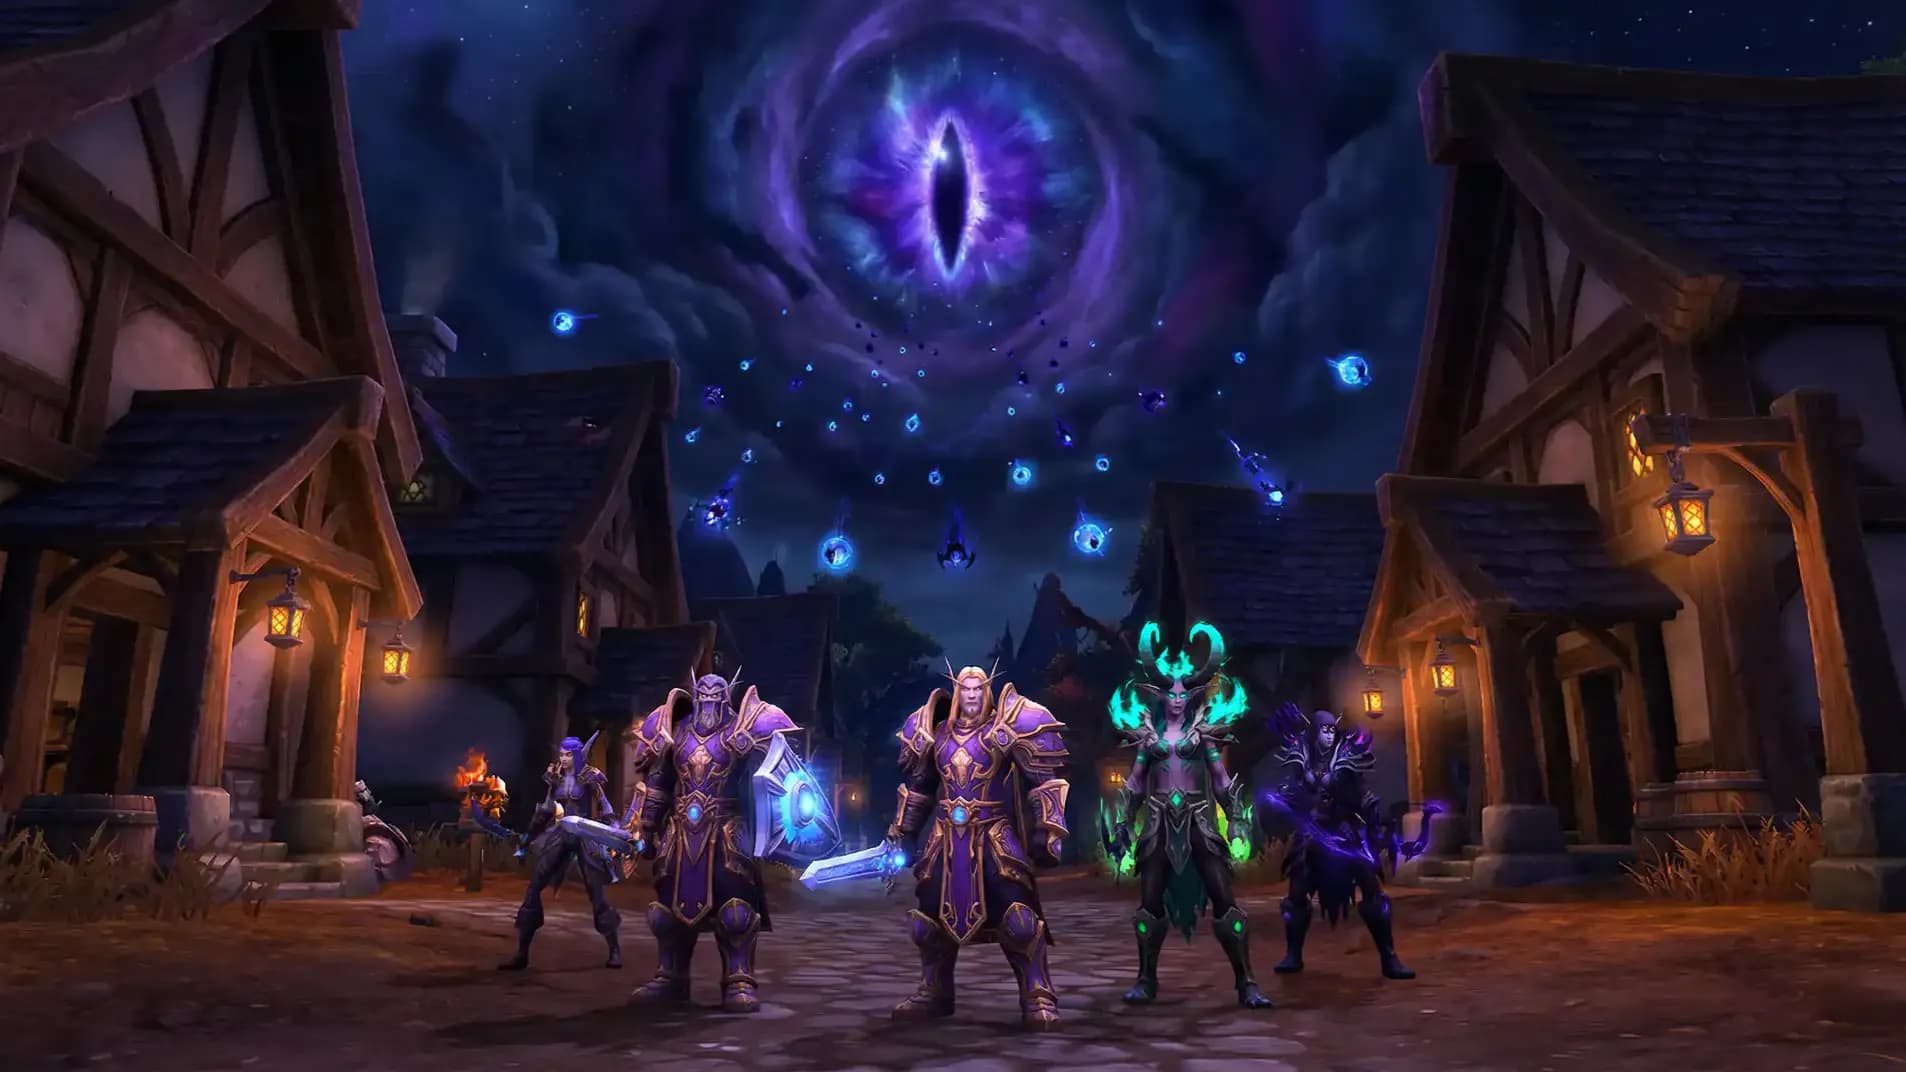
Welcome to the absolute pinnacle of Midnight Season 1 raiding: The Voidspire, a six-boss raid nested inside the Voidstorm zone of Quel'Thalas, where everything is dark, purple, and somehow your fault. This corrupted void-elf citadel was originally built as a conduit to channel cosmic forces. It has since channeled those forces directly into your healers' stress levels.
You're climbing a spire. There's a void in it. Xal'atath is at the top because of course she is. Alleria Windrunner has, once again, done something questionable with elven magic. This guide covers The Voidspire raid tactics, The Voidspire heroic mode, The Voidspire mythic strategy, and every excuse your raid leader will use when you wipe for the 23rd time on Averzian.
Key Insight: The Voidspire is Midnight's defining raid. It exists to teach you that standing in the purple stuff is bad, positioning matters, and your guild's Discord is about to get a lot busier.
If you’re reading this, you might be interested in a discount just for you—my blog reader! Use code CRINGEBLOG to get an amazing discount on WoW Voidspire raid in our shop.
|
Feature |
Details |
|
Location |
Voidstorm, Quel'Thalas |
|
Bosses |
6 (plus your sanity as an unofficial 7th) |
|
Difficulties |
LFR / Normal / Heroic / Mythic / Story Mode |
|
Min ilvl for LFR |
220 (Adventurer 1) |
|
Expansion |
World of Warcraft: Midnight |
|
Release Date |
March 17, 2026 (Normal & Heroic) |
|
Mythic Opens |
Week of March 24, 2026 |
|
Tier Set |
Tier 35: tokens drop on Bosses 2, 3, 4 |
|
Primary Loot |
Weapons, trinkets, tier tokens, suffering |
|
Final Boss |
[Crown of the Cosmos] Alleria Windrunner |
|
Main Keyword |
The Voidspire raid guide (you're reading it) |
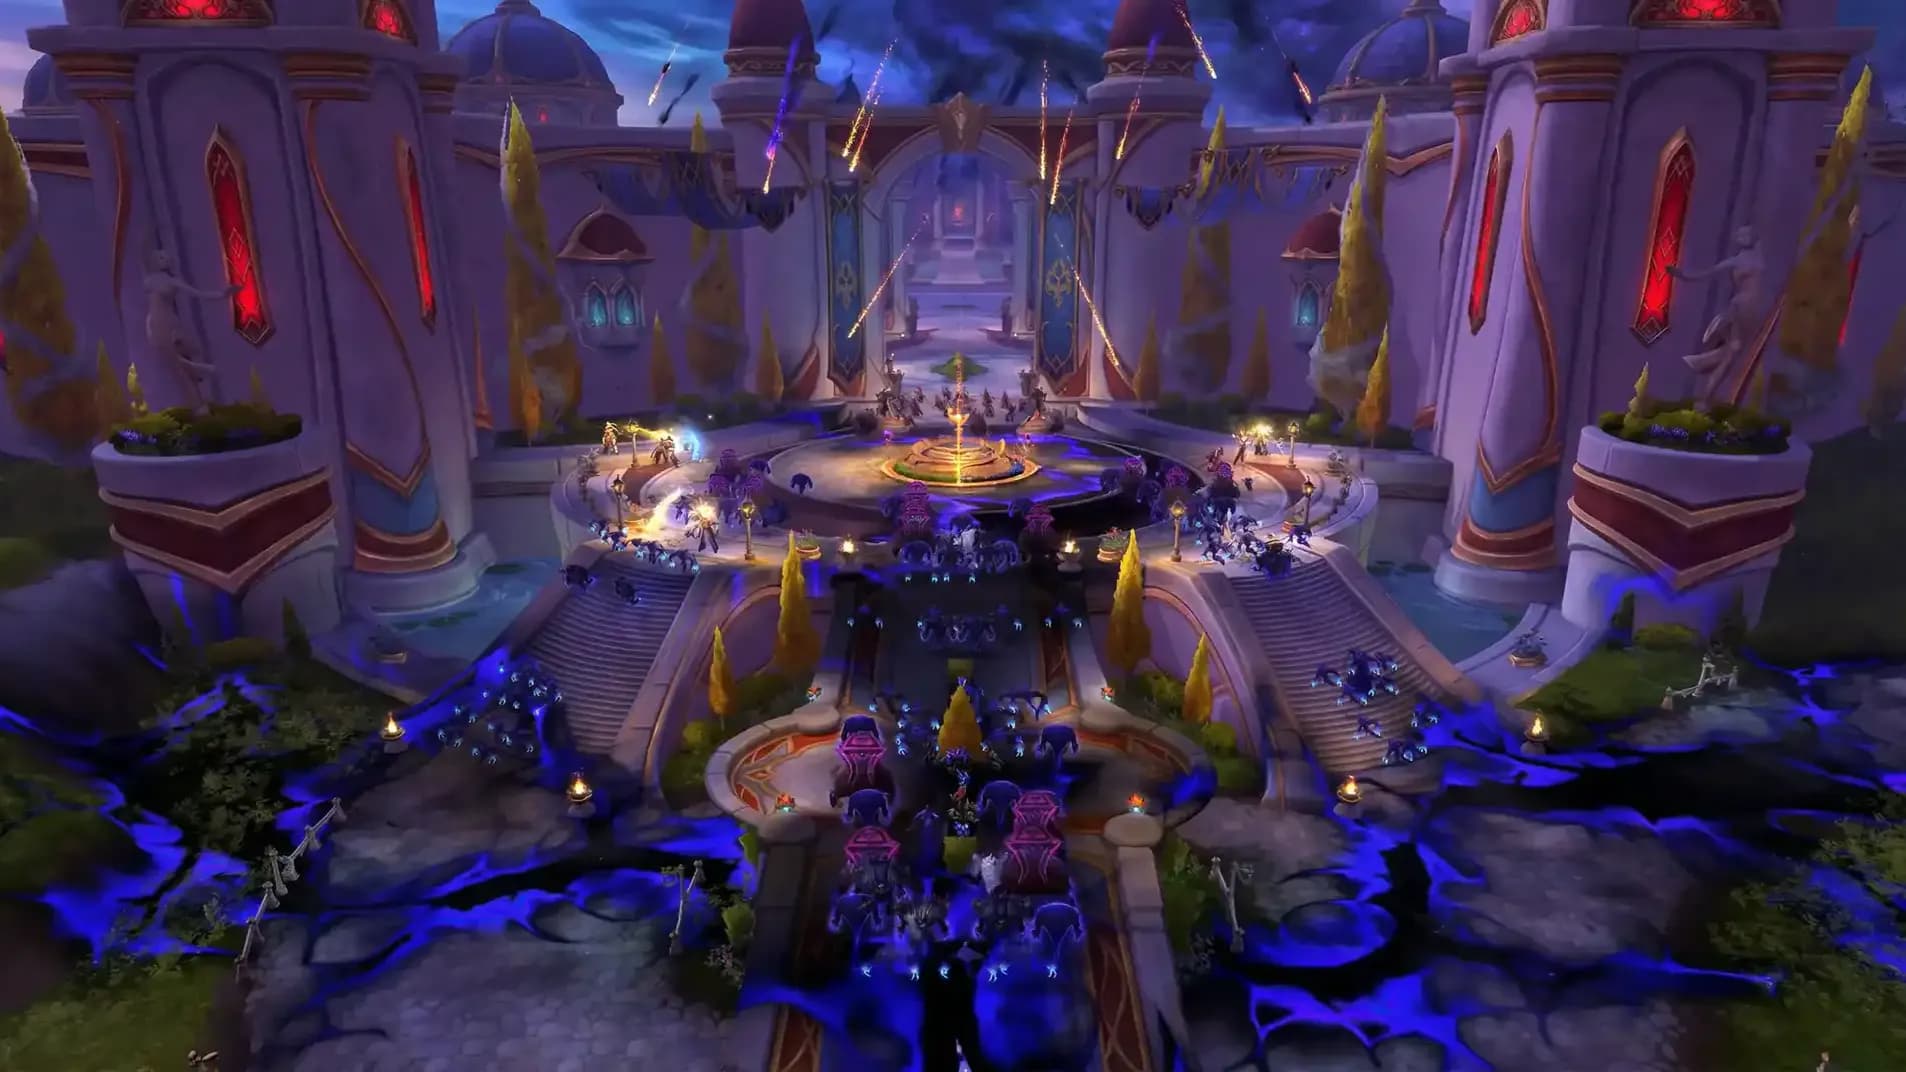
The The Voidspire entrance location is situated in the Voidstorm zone of Quel'Thalas: you know, the zone where the sky looks like someone spilled an energy drink on a void realm. The spire looms above everything like a dramatic architectural metaphor. You cannot miss it.
Enter through the exterior platform at the base of the spire, which is helpfully marked by void-charged architecture and the collective anxiety of 10–30 players standing around staring at their maps. A portal from major faction cities may be available: because Blizzard knows we'll blame the entrance location if we're late to the pull.
Getting there: Once in Voidstorm, head toward the massive dark spear jutting into the sky. If you're having trouble locating it, you may want to reconsider raiding. The interior immediately shifts to shadowed corridors and void-infused architecture that your GPU will try its absolute best to render.
Pro Tip: Set your Hearthstone to the nearest inn in the Midnight expansion zones. You will use it. Many times. Specifically after progression wipes at 4% on the final boss.
The Voidspire's fights are built around interrupts, dispels, and soaking assignments. Bring at minimum two designated interrupt specs for boss 3, ensure you have enough raid-wide cooldowns for Alleria's final phase, and for the love of all that is holy, have a tank with an active mitigation that isn't on cooldown going into Shattering Twilight. On Heroic and Mythic, bring a dedicated group to handle orb interception: this is one of those situations where "just wing it" is a strat that ends at 1 kill and 47 wipes.
Six bosses. A vertical climb. Escalating mechanical complexity. Here's every The Voidspire raid boss you will defeat, curse at, screenshot your kill of, and then immediately forget the mechanics of the following week.
The guy playing Void Tic-Tac-Toe. With your raid group as the board.
Averzian is Xal'atath's first lieutenant, a tyrant whose sole ambition is tearing a permanent hole into the Void so his infinite host can pour through. He opens the raid because Blizzard wanted to establish the theme early: "You're going to need a spatial IQ above room temperature."
The Averzian encounter is built around a 3×3 grid territorial control system. Every wave, he claims squares. Your job is to prevent him from getting three in a row: yes, it's Tic-Tac-Toe, except if you lose your entire 25-person roster takes a lethal void beam. No pressure to WoW The Dreamrift raid.
|
Ability |
What It Does |
Who Suffers |
What To Actually Do |
|
Summons Abyssal Voidshapers, knocking players back and claiming territory permanently. |
DPS |
Kill the adds. This territory is GONE if you don't. Gone. Forever. Like your raid's morale. |
|
|
Three adjacent portals empowering each other → endless void damage tide along their path. |
Everyone |
Don't let him get three in a row. This is literally the whole fight explained in one sentence. |
|
|
Massive Shadow damage, reduced by how many players soak it. Soaking also prevents territory claim. |
Tanks + designated soakers |
Pre-assign two soak groups. Stack in the impact zone. The third position becomes Averzian's by default: plan around that. |
|
|
Raid-wide Shadow damage pulse, then ongoing radiation. The fight's background noise of suffering. |
Everyone |
Healers: this is why you have cooldowns. Use them. Repeatedly. |
|
|
99% damage reduction + increased outgoing damage while near claimed territory. |
Tanks |
Keep Averzian away from his squares. Position toward unclaimed space. Treat him like a territorial golden retriever. |
|
|
Tank debuff: reduces max HP by 4% per melee hit, stacks up to painful levels. |
Tanks |
Tank swap before it stacks to "oh no" levels. This is not optional on Heroic+. |
|
|
Abyssal Voidshaper transforms into a far worse Obscurion Endwalker if cast completes. |
DPS |
Interrupt. Kill. Do not admire the cast bar. This is your priority target. |
|
|
Shadowguard Stalwart shields all nearby allies with a massive absorb. |
DPS |
Interrupt or the adds become immortal. It's not a "try to interrupt." It's an interrupt. |
Each cycle spawns three adds at different grid positions + two Umbral Collapse soaks. Designate two soak groups before the pull. Eliminate adds in the soaked zones. The third position is surrendered: plan your map accordingly so you never allow three controlled squares in any line. Focus the Abyssal Voidshapers first, interrupt Gathering Darkness religiously, and keep Averzian away from his claimed turf.
|
Item |
Type |
Slot |
|
One-Handed Mace |
Main Hand |
|
|
Gun |
Ranged |
|
|
Shield |
Off Hand |
|
|
Leather |
Head |
|
|
Plate |
Shoulder |
|
|
|
Chest |
|
|
Cloth |
Legs |
|
|
Cloth |
Waist |
|
|
Cloak |
Back |
|
|
Trinket |
Trinket |
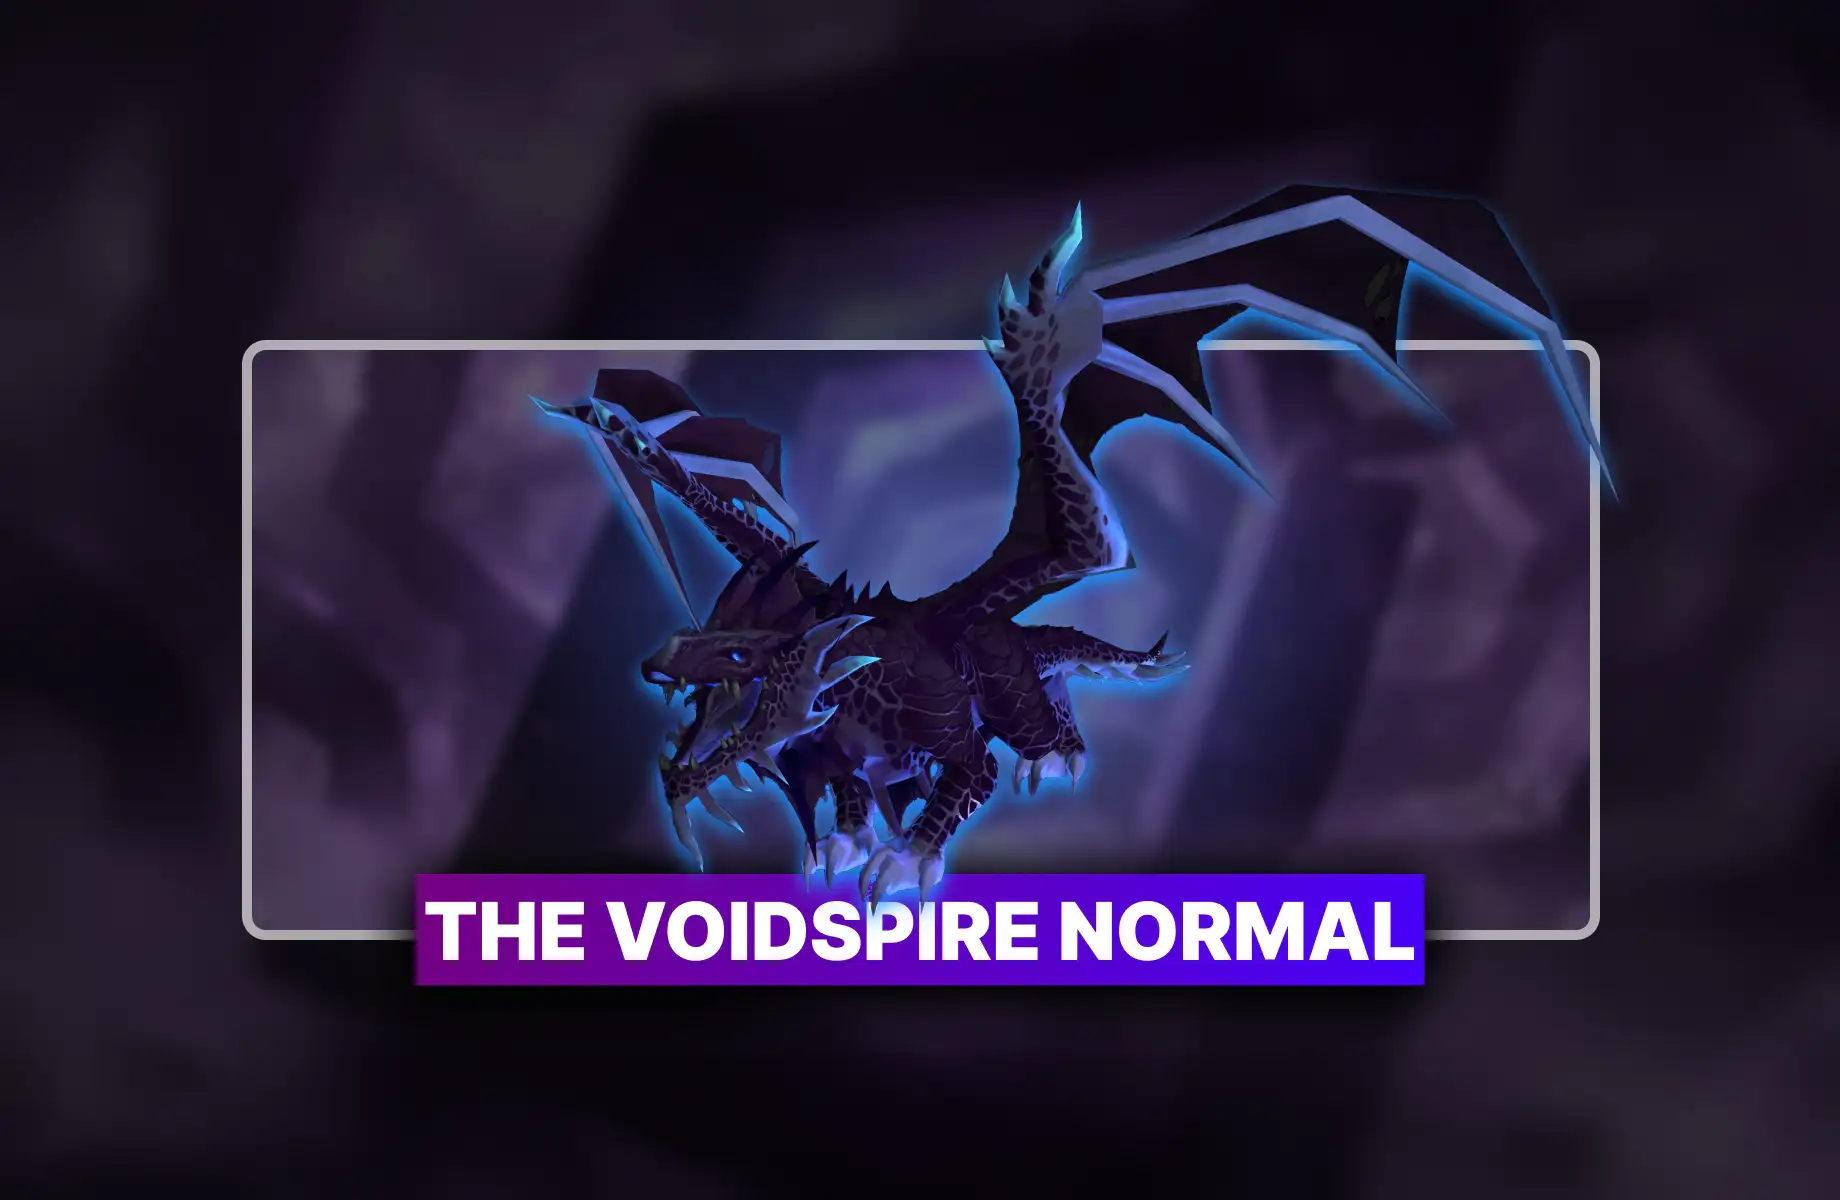
A void-infused predator who invented crystal wall management. You're welcome.
Vorasius doesn't move. It stands in the center of its arena like a bouncer that got corrupted by the void, slamming things, roaring repeatedly, and generating crystal walls that will absolutely kill half your raid if you forget to route the parasites correctly.
The encounter revolves around two interlocked systems: crystal walls created by Crystaline Eruption and parasitic adds from Parasite Expulsion. Kite the adds into the walls to destroy them via explosion before Void Breath sweeps the arena. If even one wall survives, half the raid has nowhere to run. This is "The Voidspire raid tactics" in its most literal WoW March on Quel'Danas raid.
|
Ability |
What It Does |
Who Suffers |
What To Actually Do |
|
Claw slam: heavy damage in the impact zone, moderate raid-wide if no one's in it. Applies Smashed (50% more physical damage) to those hit. |
Tanks |
Always have a tank in the impact zone. The raid-wide alternative hits like a freight train. Also generates crystal walls via Crystaline Eruption. |
|
|
Void Crystals erupt from Vorasius' arms after each Frenzy, forming walls that need to be destroyed. |
Everyone (eventually) |
Tanks should alternate slam positions to keep walls predictably placed on opposite flanks. Chaotic wall placement = chaotic add routing = raid wipe. |
|
|
Blistercreep adds scatter across the arena. They move toward players. |
DPS |
Designated kiter(s) move them directly into crystal walls. Kill them within 8 yards of a wall to trigger Blisterburst and chunk the crystal down. |
|
|
Blistercreep death explosion: destroys crystal, deals moderate raid damage, applies 100% increased Shadow damage taken for 30 seconds to nearby enemies. |
Coordination |
On Normal, one add per crystal. Heroic: two per crystal. Mythic: three. Math accordingly. |
|
|
Pulls all players inward, then knocks them back with raid-wide Sonic damage. Adds a Gathering Void stack: increasing sustained Shadow damage for the rest of the fight. |
Everyone |
Spread loosely so the knockback doesn't bunch you. Healers: roar 2 and 3 are cooldown windows. The damage spikes hard with stacks. |
|
|
Shadow chip damage to all players every 2 seconds when nobody is in melee range of Vorasius. |
Melee DPS |
Maintain melee uptime. Yes, even during Roar recovery. The rest of the raid shouldn't have to heal through your movement laziness. |
|
|
A devastating sweeping void beam across the arena. Massive initial damage then sustained burn. Requires BOTH crystal walls to be destroyed beforehand. |
Everyone who's alive after this |
Both walls must die before this cast. Zero exceptions. One surviving crystal blocks an escape route and the breath becomes unavoidable for whoever's on that side. |

Tanks absorb slams → walls form → Parasites spawn → kite adds into walls → detonate → both walls dead → dodge Void Breath → repeat until enrage. Clean. Simple. Absolutely not simple in practice when someone kites an add in the wrong direction.
Hard Wipe Condition: Surviving crystal during Void Breath = half your raid is trapped. There is no healing through Void Breath. There is only positioning through WoW Sporefall raid.
|
Item |
Type |
Slot |
|
Dagger |
Main Hand |
|
|
Polearm |
Two-Hand |
|
|
Trinket |
Trinket |
|
|
Ring |
Finger |
|
|
|
Head |
|
|
Leather |
Wrist |
|
|
Plate |
Feet |
|
|
Off-Hand |
Off Hand |
|
|
Tier 35 |
— |
|
|
Tier 35 |
— |
|
|
Tier 35 |
— |
|
|
Tier 35 |
— |
He charges to 100 energy and wipes you. You stop him. He does it again. This continues.
Once a ruler of immense power, Salhadaar now draws energy from the Riftlabs machinery surrounding the arena to fuel his Cosmic Unraveling. He was apparently unable to cope with the void corruption and just went full villain. Relatable, honestly.
Salhadaar is the first real complexity check of the raid. He runs an energy bar (interrupt the orbs or he'll blast you), spawns images that need to be controlled, throws dark stars at tanks (get away from the raid), and punishes anyone who doesn't immediately dispel Despotic Command to the room's edge. Managing all four systems simultaneously is the definition of "The Voidspire mythic strategy."
|
Ability |
What It Does |
Role Priority |
Action Required |
|
Passive energy gain. At 100 energy: continuous raid-wide damage + Salhadaar takes 25% more damage for 20 seconds. Main burn window. |
All roles |
Save raid cooldowns for each Unraveling window. Dodge the Umbral Beams that radiate during it. Torch him while he's vulnerable. |
|
|
Two Concentrated Void orbs travel toward Salhadaar. If they reach him: massive raid damage + 1-minute stacking DoT. Destroying them applies Dark Radiation to everyone (Heroic+). |
DPS |
Intercept and destroy both orbs, but stagger kills. Destroy orb 1, wait for Dark Radiation to fade, THEN kill orb 2. Simultaneous kills stack radiation catastrophically. |
|
|
Raid-wide Shadow DoT applied after each orb destruction. Stacks with each orb. Each stack = 2s tick for 8s. |
Healers |
This is the fight's healer pressure meter. Staggered orb kills keep it at 1 stack at a time. Rushed/messy orb kills stack to dangerous levels fast. |
|
|
Salhadaar spawns Fractured Images of himself, each casting Shadow Fracture. Uninterrupted = heavy raid damage + floor hazards. Mythic: images are shielded and require interrupt charges to strip. |
DPS |
CC and kill adds BEFORE orbs. Shadow Fracture uninterrupted leaves Torturous Extract pools that shrink your safe area permanently. |
|
|
Aura on several players: ticks damage to nearby raiders. On expiry: healing absorb + Torturous Extract pool at their location. |
Marked players |
Walk to the room's edges before expiry. Dispel away from the raid. The extract pool at your location is permanent. Don't poop on the dance floor. |
|
|
Dark star thrown at the current tank: heavy impact damage + Twilight Spikes erupting outward. Heroic+: bounces to additional players. |
Tanks |
Face Salhadaar away from the raid before every Shattering Twilight cast. The star bouncing into your melee is a group-wide wipe condition on Heroic. |
|
|
Stacking Shadow DoT applied through melee hits on the active tank. |
Tanks |
Tank swap before stacks reach "oops" levels. Your co-tank is there for a reason. |
|
|
Bolt of darkness that chains between all players, dealing Shadow damage and leaving a DoT on everyone hit. |
Healers |
Anticipate this as a burst heal moment. It's interruptible on the cast but chains instantly on contact: you won't dodge it, just be ready to heal it. |
|
Item |
Type |
Slot |
|
Sword |
Main Hand |
|
|
Fist Weapon |
Main Hand |
|
|
Trinket |
Trinket |
|
|
Trinket |
Trinket |
|
|
Neck |
Neck |
|
|
Neck |
Neck |
|
|
Plate |
Head |
|
|
Cloth |
Chest |
|
|
Tier 35 |
— |
|
|
Tier 35 |
— |
The twin dragons who will teach your DPS what "10% HP buffer" means the hard way than WoW dungeons.
Two draconic siblings. One fight. The catch: if one dies more than 10% before the other, the survivor enters a rage that ends the encounter in seconds. Every DPS spec in your raid is about to discover whether they can resist the urge to tunnel on their preferred target.
This is a dual-target fight requiring constant health monitoring and active cleave management. Twilight Bond doubles the enraged dragon's outgoing damage if the HP gap exceeds 10%. Your designated caller's job is the most stressful job in any raid that doesn't involve tanking Blackening Wounds.
|
Mechanic |
Description |
What To Do |
|
Twilight Bond |
If Vaelgor and Ezzorak differ by more than 10% HP, the healthier one doubles damage output. |
Assign a caller to watch boss frames. Redirect DPS immediately when the gap grows. Cleave specs are king here but everyone needs to target-switch on command. |
|
Midnight Flames |
Shared cast by both dragons: forces the entire raid to shelter inside a Lightbound Vanguard barrier. Fire + void overlap outside = lethal. |
Identify the barrier BEFORE the cast. Move into it. Don't be the person who's "just finishing my burst" outside the barrier. |
|
Gloom Orbs (Ezzorak) |
Orbs travel across the arena. Teams must alternate soaking them to shrink Gloomfields. |
Pre-assign soaking teams. Alternate between groups so no one accumulates a lethal debuff stack. Mythic: soaks require multiple players covering larger zones. |
|
Aerial Phase |
Dragons alternately take flight, performing aerial bombardment patterns. |
Track which dragon is airborne. Ground mechanics still active from the other. Don't lose cleave efficiency by tunnel-focusing the grounded one. |
|
Simultaneous Kill |
Both dragons must die at essentially the same time or the survivor rages. |
As both hit ~5% HP, stop DPS on the lower one and burn the higher one to match. Then execute both together. Communication is not optional. |
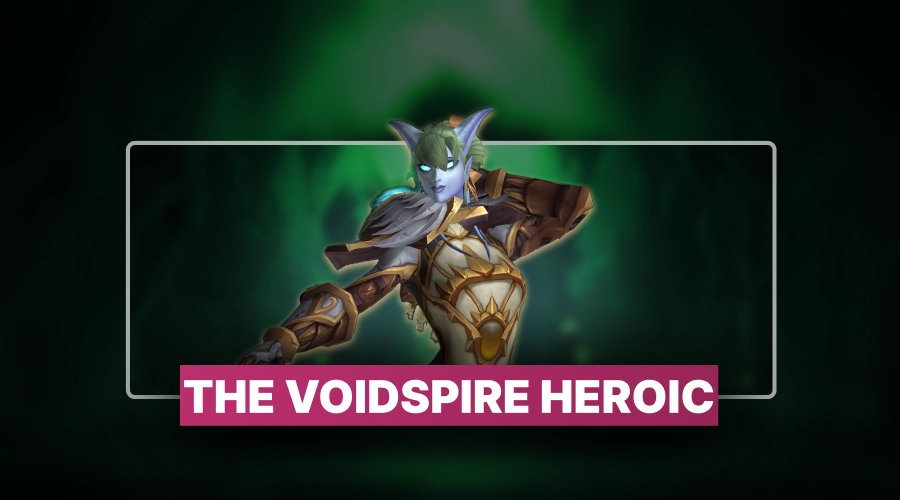
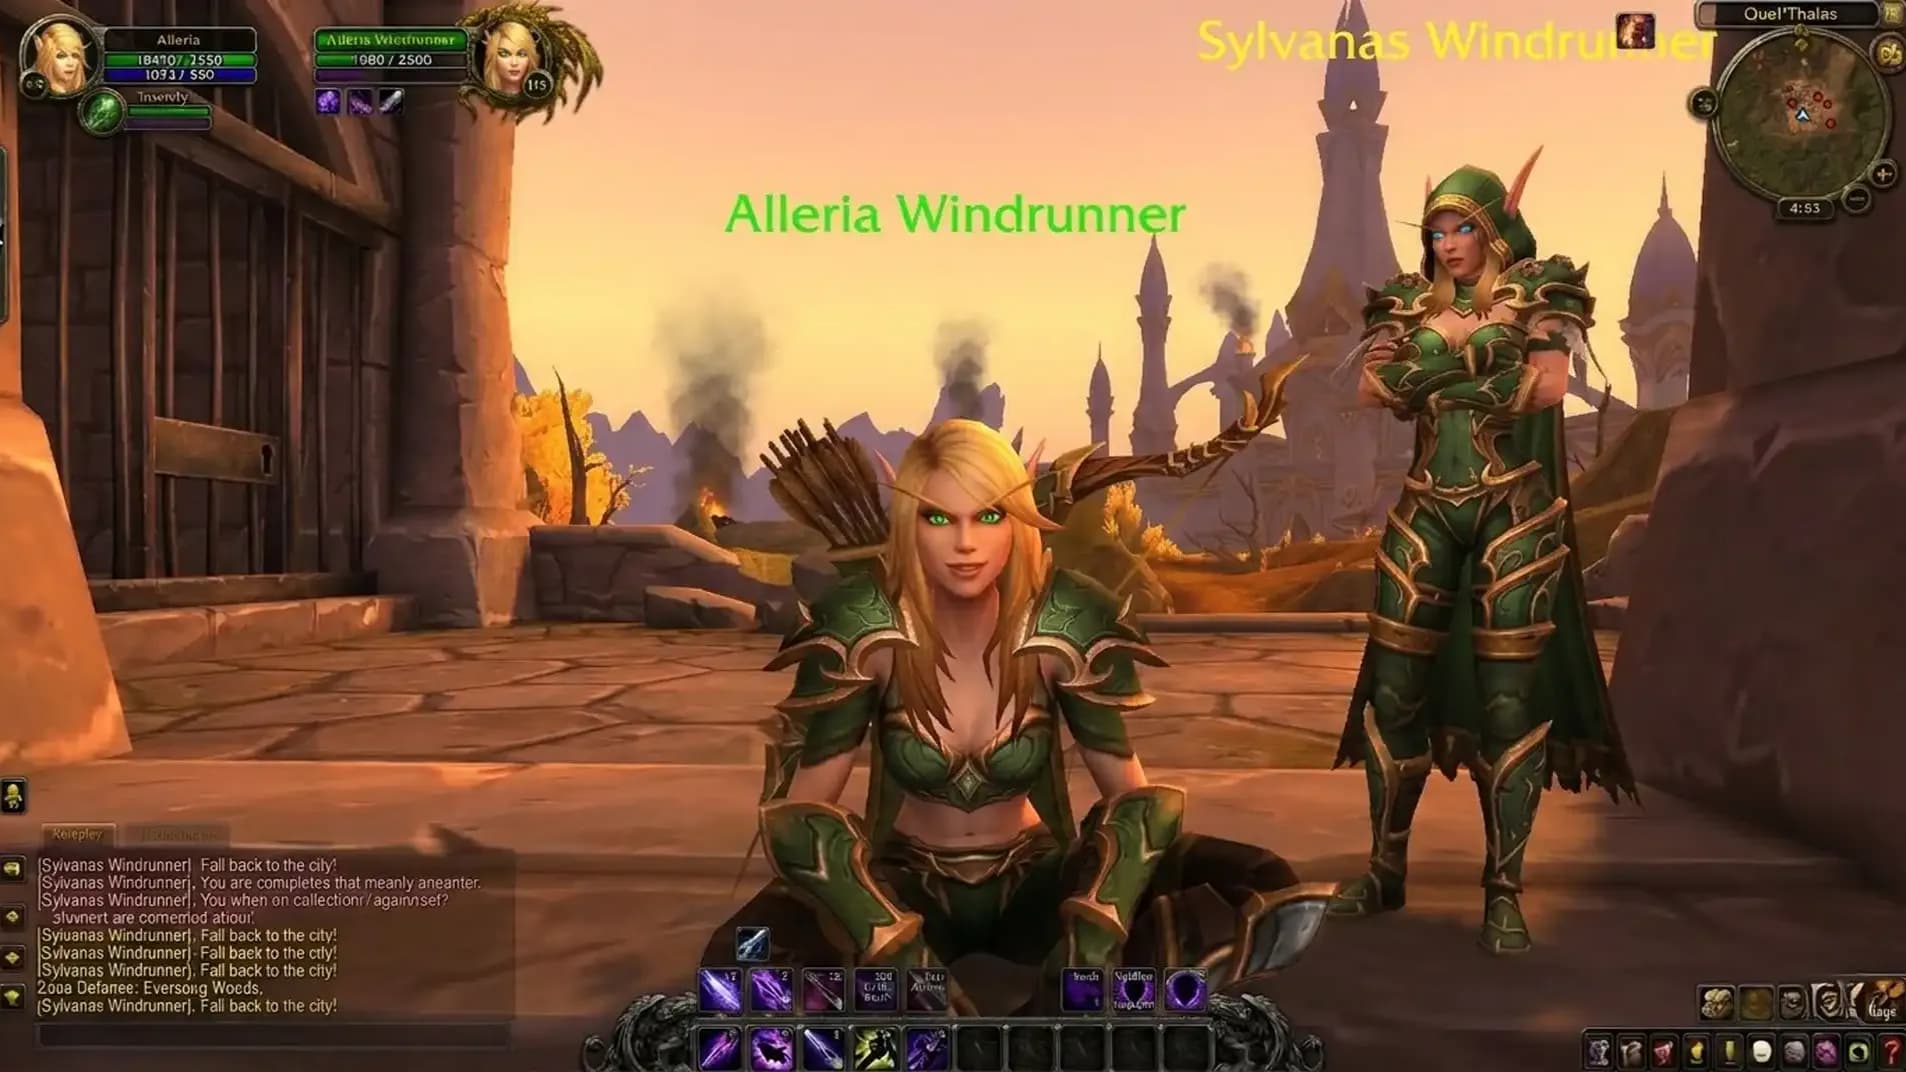
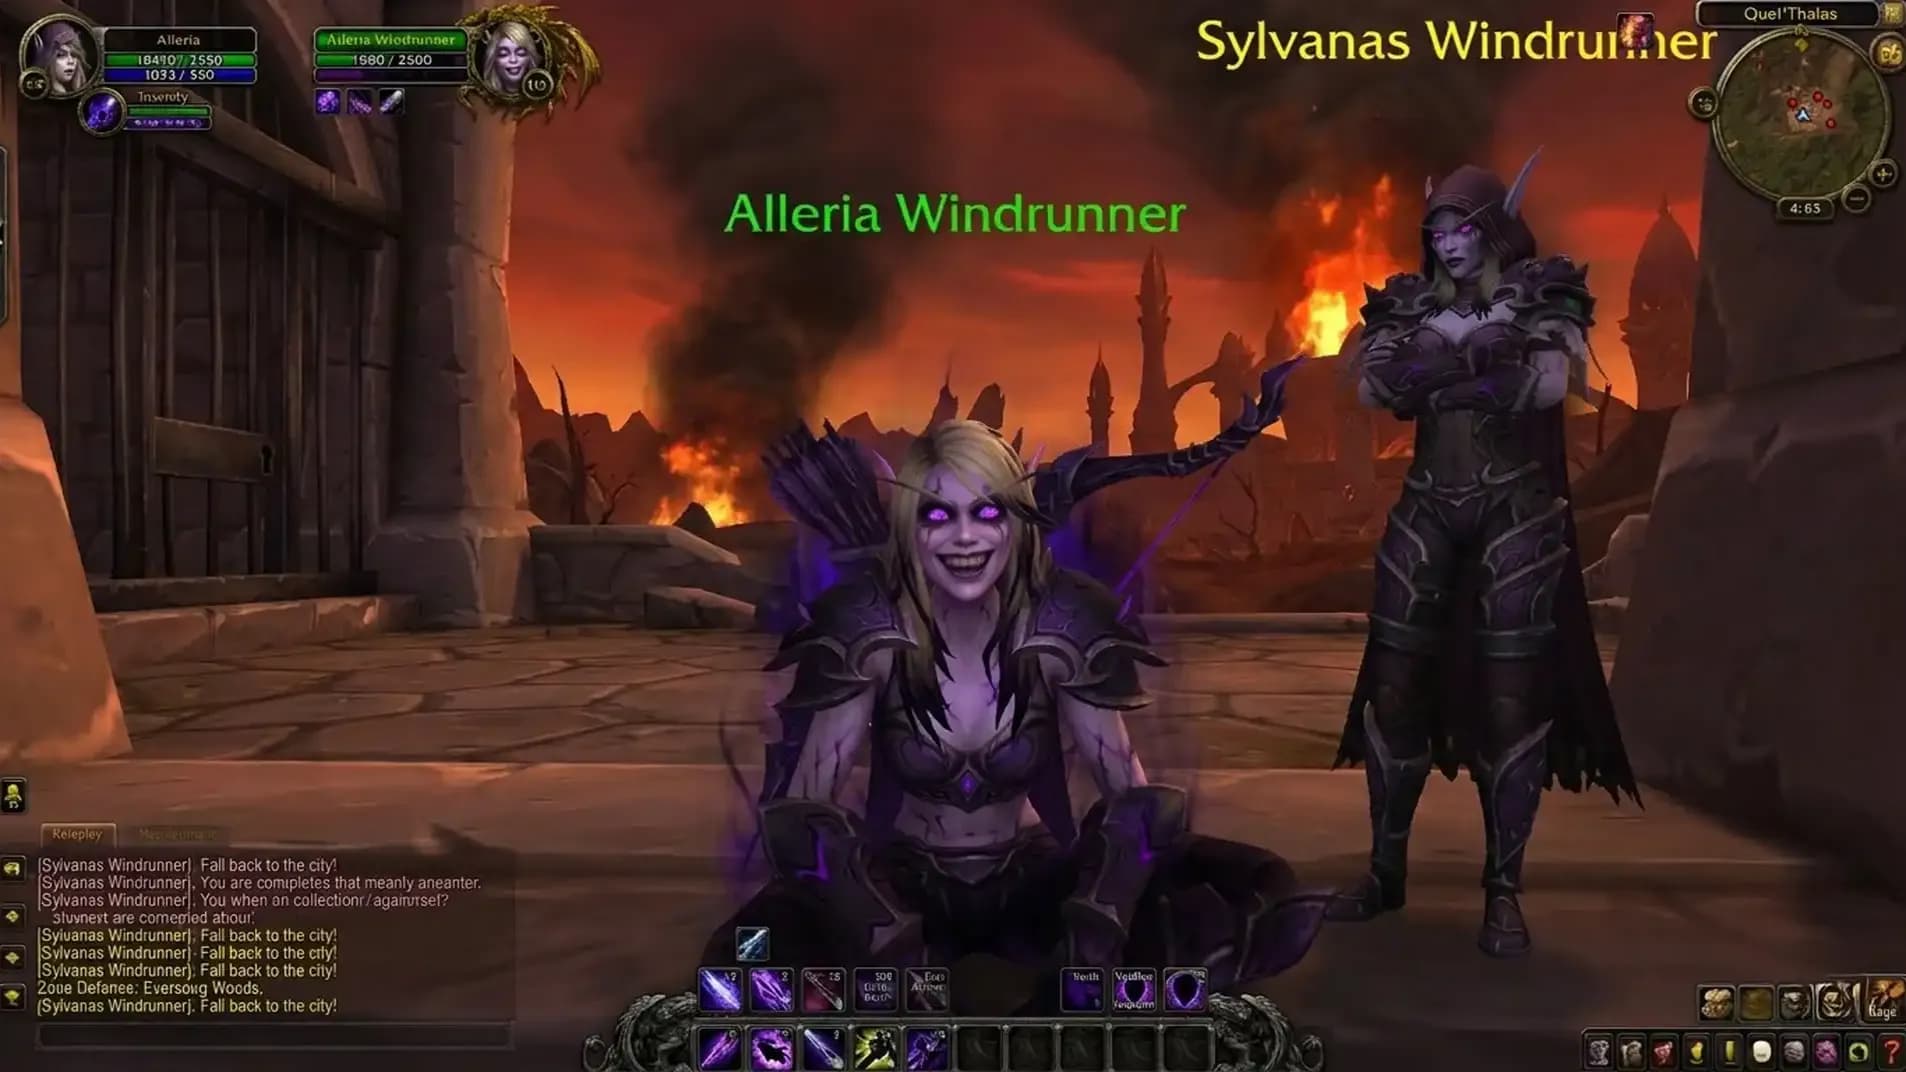
The raid's finale, and Alleria's third time being the lore-friendly villain-adjacent figure.
At the summit of The Voidspire, Alleria Windrunner: wielding the power of the Crown of the Cosmos: becomes the final confrontation. This is not a reflection fight. This is not a "we have to save her." This is Alleria at full power, corrupted by the spire's energy, and your raid has to end it before she ends everything.
Alleria Windrunner is a multi-phase encounter combining the hardest elements of everything that came before. High-intensity burn phases, cosmic anomalies, gravity mechanics, and a final stage where Gravity Collapse overlaps with cosmic anomaly spawns simultaneously. This is The Voidspire heroic mode's capstone experience: and on Mythic, it's the WoW Midnight world first race boss.
|
Mechanic |
Description |
Execution |
|
Undying Sentinels (Phase 1) |
Three adds spawn immediately. Failure to control them → Echoing Darkness → raid wipe. |
Tanks pick up all three immediately. No exceptions. This is Phase 1's only job. |
|
Silverstrike Arrow |
Alleria's signature shot: must be aimed deliberately by the designated target handler. Accidental cleaves during healing reduction windows cause tank and healer deaths. |
Assign one player specifically to call Silverstrike positioning. They watch nothing else. |
|
Gravity Collapse |
Final stage overlapping mechanic: pulls players toward collapse points while cosmic anomalies spawn across the arena. |
Pre-position for collapse direction. Use movement abilities to escape collapse pull while navigating anomaly zones. Both simultaneously. Yes, really. |
|
Final Burn Phase |
High-intensity phase with overlapping Gravity Collapse and cosmic anomaly spawns. All remaining raid cooldowns go here. |
Hold every major cooldown for this phase. Lust/Bloodlust here if you haven't used it. Zero deaths tolerated. |
Mythic Differentiator: On Mythic, Alleria's final phase introduces sequential kick orders (green bar targets only) that require extremely tight interrupt coordination. One missed kick cascades into unavoidable wipe conditions.
On The Voidspire heroic mode, Alleria is the primary Ahead of the Curve fight. Kill her, get AotC, and claim your place among people who pressed buttons correctly more consistently than those who didn't.
The Voidspire raid ilvl requirements are straightforward for the opening weeks of Midnight Season 1. LFR requires ilvl 220 (Adventurer 1), which you'll hit through world quests, dungeon gear, and whatever the expansion's early catch-up system provides. Normal and Heroic have no queue requirement: just a raid group with the collective desire to not die to grid-based mechanics.
For Mythic, the practical ilvl floor is wherever you end up after two weeks of Heroic clears. Blizzard will helpfully not tell you what that number is, but community consensus from PTR testing suggests 245+ makes the tuning feel like an actual raid rather than an extended execution of your remaining will to play.
Practical advice: For progression guilds: clear Normal on week 1 for tier tokens, push Heroic immediately. The world first Mythic Alleria kill will happen within the first week to 10 days by Method/Echo/whoever wins the race this time. Your Cutting Edge window is the rest of the tier.
The Voidspire is Midnight Season 1 at its best and most punishing. Six bosses that each introduce a distinct system: territorial control, wall destruction, energy management, HP balancing, aura separation, and a multi-phase finale: with Heroic and Mythic layers that demand everything your raid group can produce.
This The Voidspire full walkthrough gives you the framework. The abilities are real, the mechanics are confirmed from PTR testing, and the loot is anchored to Wowhead. What's not covered is the approximately 11 hours of collective suffering your guild will go through before your first Alleria kill, but that part builds character.
Good luck in The Voidspire raid. You'll need it. More specifically, you'll need a tank who understands positioning, healers who save cooldowns, and DPS who read more than just the title of this guide.


• Unlock Midnight Diplomat achievement
• Max faction renown reached
• Access Renown-related rewards
Heroes, the Void calls! Face Alleria in the ultimate Midnight showdown. Will your guild conquer the Spire or crumble into purple dust? Gear up now!
Heroes, the Void calls! Face Alleria in the ultimate Midnight showdown. Will your guild conquer the Spire or crumble into purple dust? Gear up now!

Heroes, the Void calls! Face Alleria in the ultimate Midnight showdown. Will your guild conquer the Spire or crumble into purple dust? Gear up now!

Heroes, the Void calls! Face Alleria in the ultimate Midnight showdown. Will your guild conquer the Spire or crumble into purple dust? Gear up now!

Heroes, the Void calls! Face Alleria in the ultimate Midnight showdown. Will your guild conquer the Spire or crumble into purple dust? Gear up now!

Heroes, the Void calls! Face Alleria in the ultimate Midnight showdown. Will your guild conquer the Spire or crumble into purple dust? Gear up now!

Normal and Heroic difficulties for The Voidspire launch on March 17, 2026, followed by the Mythic difficulty opening one week later on March 24, 2026.
Tier 35 set tokens are primarily obtained from the second, third, and fourth bosses, with Vorasius dropping tokens for all four gear families, making it high-value.
The finale features Alleria Windrunner at the summit. It is a multi-phase fight involving gravity collapses, cosmic anomalies, and high-intensity burn phases requiring perfect raid coordination.
Players must kite Blistercreep adds into crystal walls to trigger explosions. This clears paths before the devastating Void Breath beam sweeps the arena and kills the raid.

GTA 6, new seasons, major updates — get ready to dominate from day one.