


Arc Raiders Boost
ARC Raiders Damage Bastions Trial Guide
Smash robots for fun and profit. Our full guide to the Damage Queens or Matriarchs trial covers solo loadouts, map picks, positions, and scoring strat
Every week, the ARC Raiders Trials leaderboard hands you five challenges and a quiet ultimatum: perform, or enjoy your consolation participation badge. "Damage Queens or Matriarchs" is one such trial, and it is, on paper, embarrassingly simple. You hit a large robot. The large robot screams. You get points. Congratulations, you are a menace to mechanical wildlife.
In practice, however, you will arrive at the Harvester only to find three other Raiders already deep in a relationship with your Queen, a Rocketeer inexplicably sniping you from a rooftop, and your entire ammo supply depleted before you touched 1,000 score. This guide exists precisely for that moment: to prevent you from logging off and staring at your ceiling.
Damage is shared across all players hitting the same boss. Every bullet another Raider fires is a point they stole from you. Arrive early. Arrive fast. Arrive with enough firepower to make the Matriarch question her life choices.
The ARC Raiders Trials scoring system rewards raw damage output above all else. Speed matters too: but you can't DPS what you can't reach. Getting to the target first is not just strategy, it is survival of the greediest.
Both of these abominations count toward the trial. They are not, however, interchangeable. Picking the wrong one for your party size is the kind of decision that will haunt you for a full raid timer.
|
Property |
Queen |
Matriarch |
|
HP Pool |
22,000 HP |
Significantly higher |
|
Location |
Near Harvester (any Harvester event map) |
Dam Battlegrounds, Blue Gate, Spaceport |
|
Summons |
Rocketeers, smaller ARC waves |
Leapers, Rocketeers, Bastions, Bombardiers |
|
Shield Phase |
No full immunity phase |
Full immunity shield: hold your ammo |
|
Weak Points |
Joints behind legs, head core |
Center mass, leg joints |
|
Ideal For |
Solo, casual farming, 3-star grab |
Trios, full damage push, leaderboard climbers |
|
Threat Level |
Manageable chaos |
Overwhelming, relentless, personally offensive |
The Queen guards the Harvester event spawn location and tends to attract fewer desperate souls than the Matriarch, which is useful when you would like your damage numbers to remain yours. She hits hard: mortar fire, a laser beam that will remove your health bar with surgical contempt, an EMP pulse for when she simply wants to humiliate you: but compared to the Matriarch, the fight is shorter and the lobby competition is lighter.
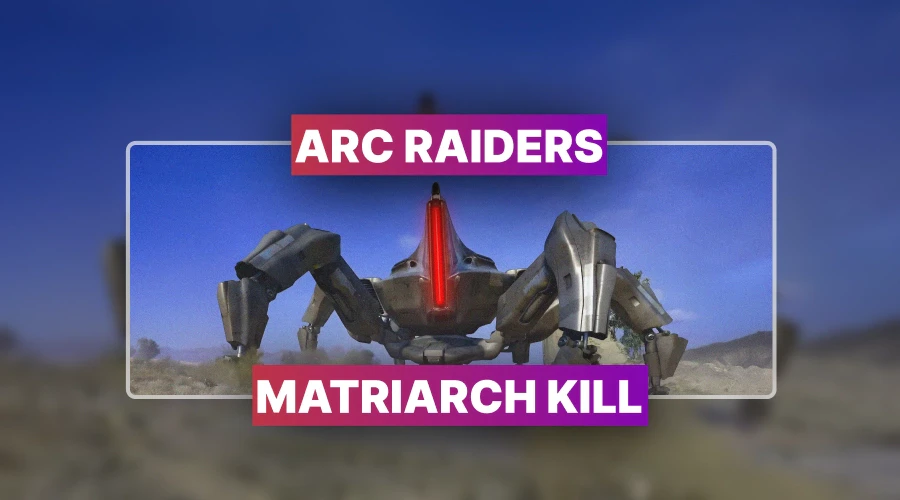
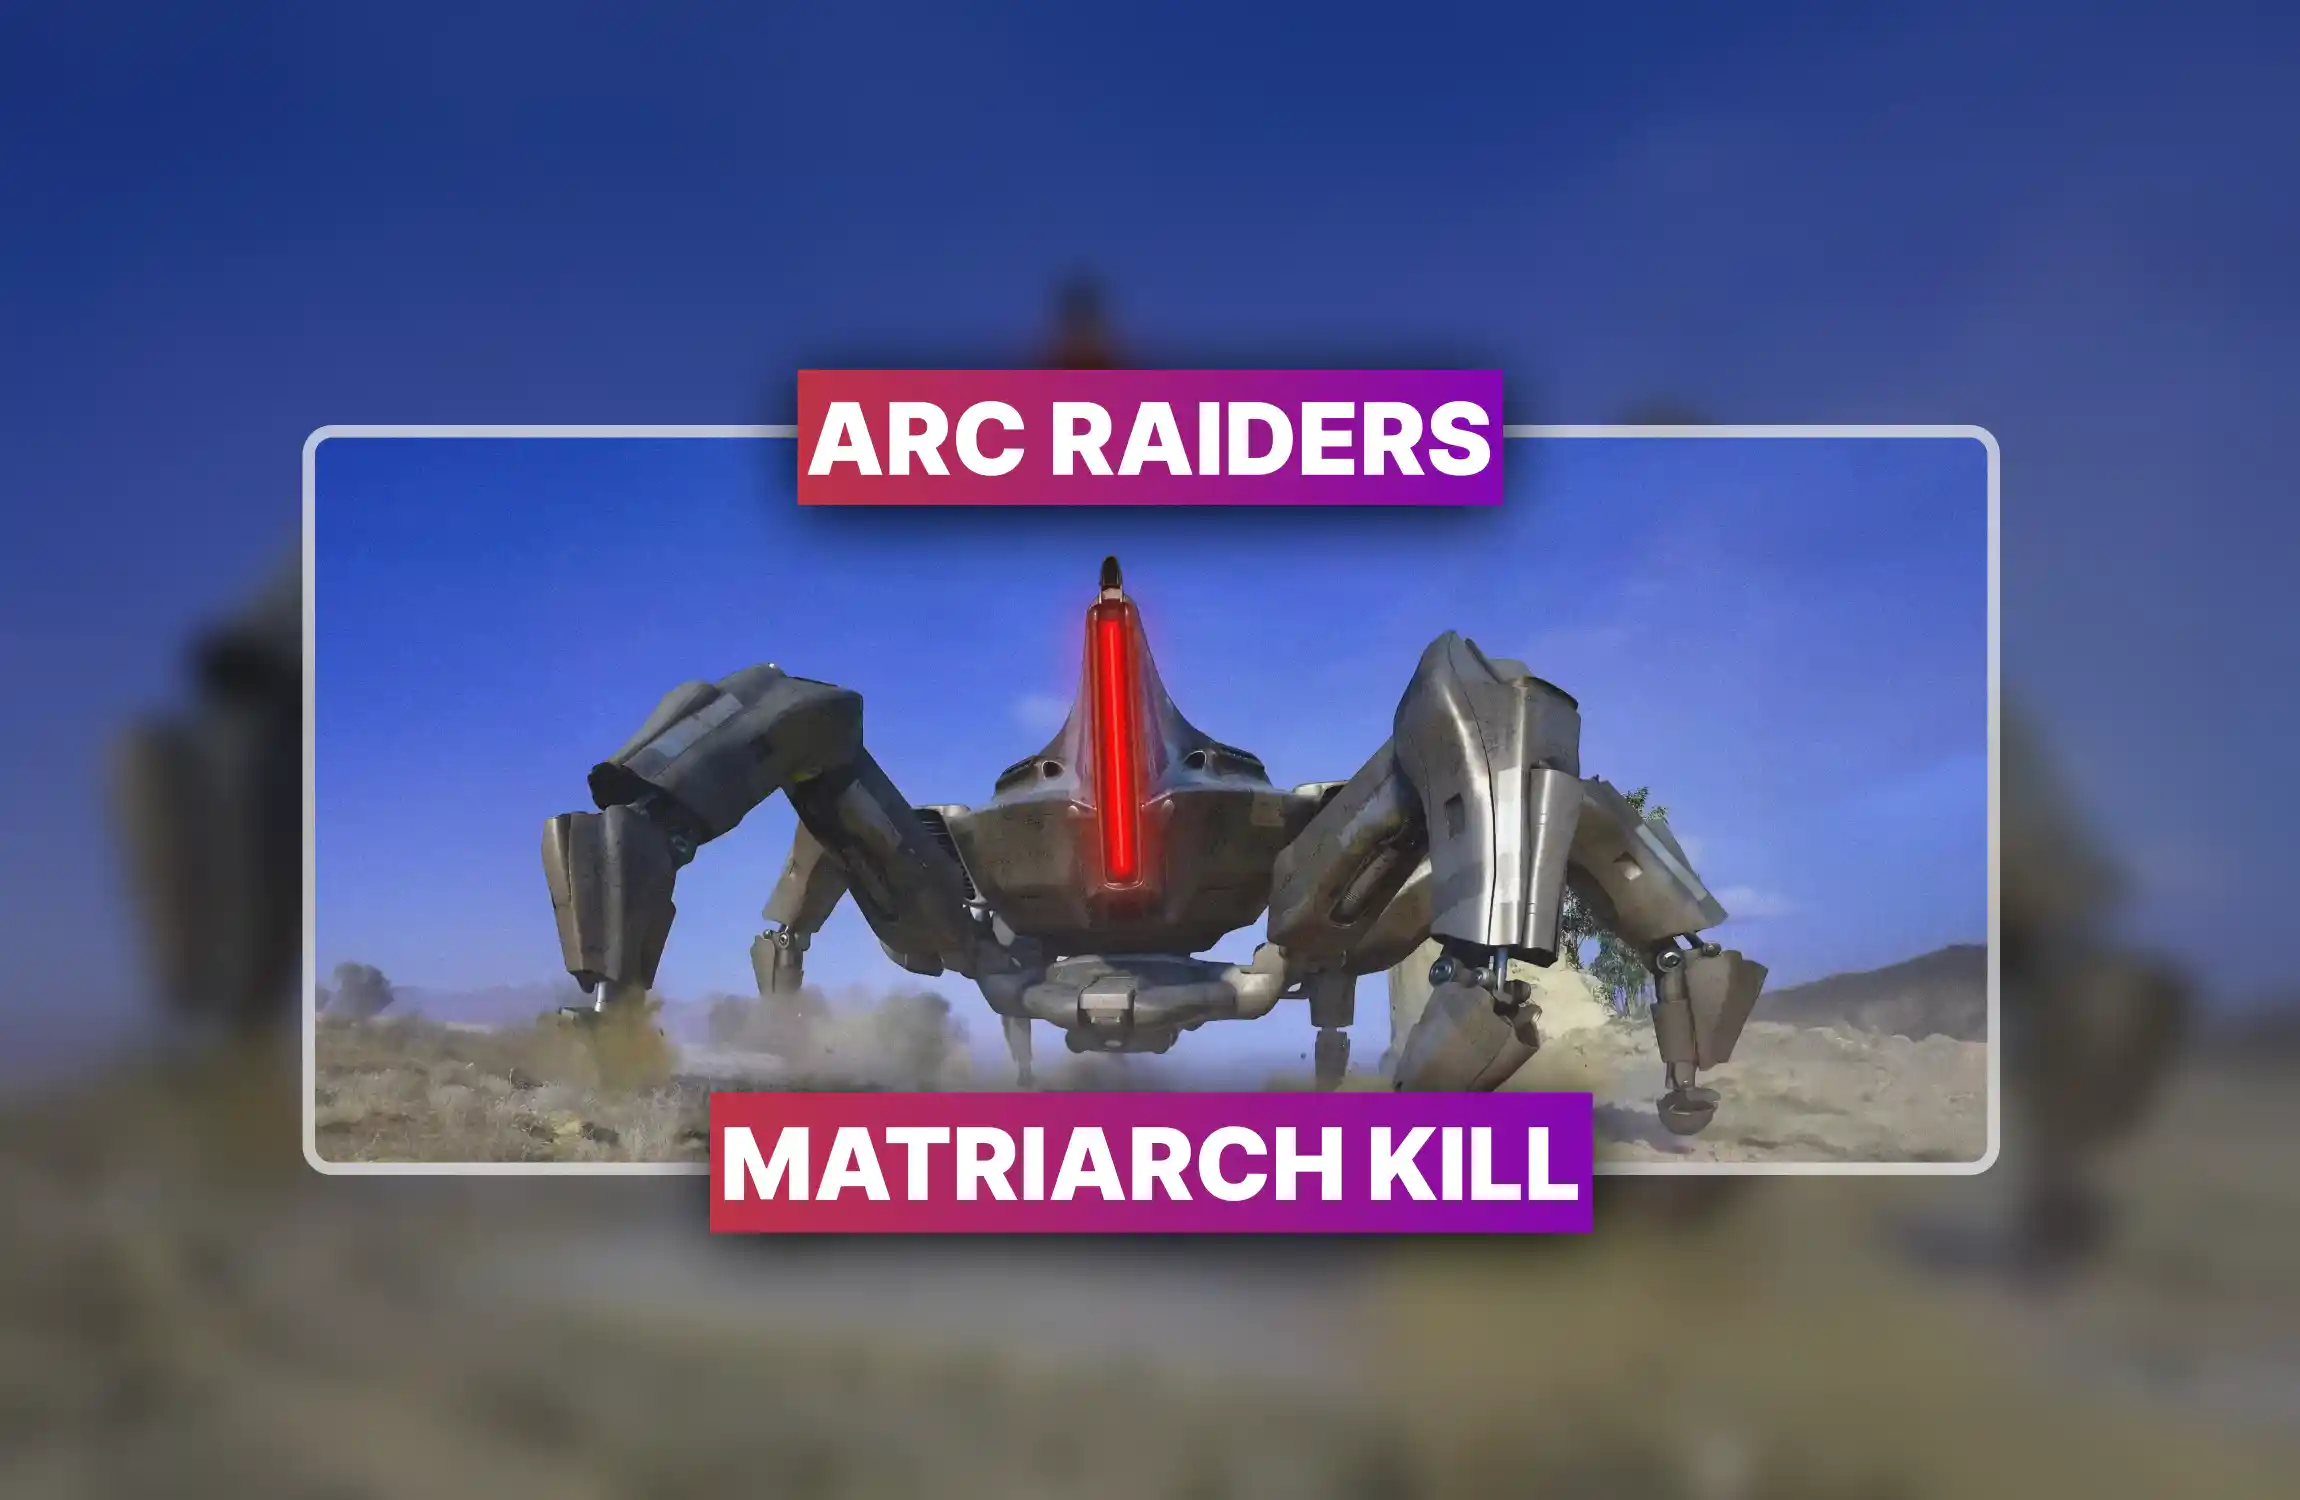
The Matriarch, introduced with the Northline update, is what happens when Embark Studios decided the Queen was not punishing enough. She spawns exclusively during specific map conditions, summons elite ARC constantly, and periodically activates a full immunity shield: because apparently doing enormous damage at long range was not enough. Do not engage her as a solo unless your definition of fun involves suffering.
During the Matriarch's shield phase, she is completely immune to all damage. Dump your Hullcracker rounds into her during this window and you have accomplished nothing except running out of ammo ahead of schedule. Hold fire. Reposition. Revive that teammate who keeps standing in the open.
You could bring whatever you like. You could also bring a spoon to a gunfight. The best loadout for Queen trial is built around one principle: maximum damage throughput with enough survivability to not die before you reach 4,000 score. Everything else is optional sentiment.
|
Item |
Class/Type |
Description |
Tactical Notes |
|
Anvil IV |
Heavy hand cannon |
Strong ARC damage, headshot focus, single-action. Uncommon rarity. |
Punches above its weight. Fire rate on the IV variant matters more than you think mid-raid. |
|
Hullcracker |
Epic grenade launcher |
The undisputed ARC-killer. |
Remains the go-to for boss damage post-nerf. Useless in PvP. |
|
Jupiter |
Energy sniper |
Highest headshot damage in the game. Pierces armored enemies at range. |
Pairs beautifully with the Generator Window position. Charge-up time will test your patience. |
|
Tactical MK.2 |
Armor/Gear |
[Incomplete Input] |
For when another Raider decides your score... |
is actually their score and closes the distance. You will need this more than you want to admit.
|
Item |
Quantity |
Why |
|
Heavy Ammo |
120+ |
You will run out. Bring more than you think is reasonable. |
|
Launcher / Energy Clips |
400+ (solo) |
Hullcracker is thirsty. Feed it. |
|
Shield Rechargers |
10 |
The Queen will hit you. The Matriarch will hit you harder. |
|
Bandages |
10–15 |
Basic dignity. |
|
Adrenaline Shots |
10 |
Speed is score. Score is everything. |
|
Smoke Grenades |
2–5 |
For escaping bad situations you created yourself. |
|
Wolfpack Grenades |
As many as you can carry |
1,992 burst damage per throw. The numbers are not subtle. |
|
Deadline Mines |
Optional |
Place under the Queen's center. Walk away. Let geometry do the work. |
The Wolfpack Grenade damage output is not a suggestion: it is a 1,992-damage argument that requires zero aim and minimal thought. Stack them. Bring a full inventory if you are in a hurry and have the budget. The Showstopper utility also stuns the Queen for 10 full seconds. Ten seconds of the Queen standing still while you reload is ten seconds of pure, uncomplicated joy.
The best map for solo Dam Battlegrounds Harvester event farming is, predictably, Dam Battlegrounds: specifically when the Harvester Minor Event is active. Check event timers before you load in. Showing up to a map without the Harvester active is a uniquely pointless experience.
Once you are there, spawning near the Harvester is helpful but not critical. What is critical is reaching the Queen before the other three people who also read a guide like this one.
You can use the Harvester structure itself for cover. You should not. Other Raiders will be trying to complete the Harvester puzzle and will resent your presence deeply. This position is contested, exposed, and not worth the drama.
Located just northeast of the Queen and Harvester, the Pump House Hatch is an underrated gem. Fortify it with Barricade Kits, establish angles on both the Queen and any approaching players, and: the real reward: extract instantly with a Raider Hatch Key the moment you hit your score target. Walk in, deal damage, walk out, keep loot. The Pump House Hatch extract strategy is the closest this game gets to efficiency.
Elevated. Overlooking both the Queen and Harvester. Covered. Difficult to reach without effort. This is the Generator Window, and it is where composed, patient Raiders go to print score. The position demands long-range commitment: bring Jupiter or a fully loaded Hullcracker, because you are not sprinting down to finish anything close-range from up here. Traps and Barricade Kits turn this window into a fortress. The Queen cannot reach you easily. Other Raiders usually will not bother. This is as close to a safe environment as ARC Raiders permits.
A Rocketeer near the Queen will interfere with your setup and randomly redirect her aggro. Lure Grenades can convince the Rocketeer to target the Queen instead, which breaks her armor faster and is honestly funnier than it sounds. Alternatively, a single Wolfpack Grenade removes the Rocketeer from the equation permanently.

• Fast Trials rank progression
• Guaranteed three-star completions
• Premium rewards unlocked instantly
This is where the ARC Raiders solo Queen strategy lives or dies on preparation. Arrive first. Set up at the Generator Window or Pump House Hatch. Wait for the Harvester event to spawn the Queen. Then, and only then, begin the parade of violence.
A well-executed solo run on the Queen in Dam Battlegrounds should net between 15,000 and 20,000+ score before anyone else meaningfully interferes. The moment that changes is the moment another organized squad loads into your instance. Accept this as a known risk and adjust your exit timing accordingly.
Load any Harvester Event map. Bring maximum Wolfpack Grenades plus a Hullcracker or Jupiter. Dump everything at the Queen. Hit 4,000 score. Leave. You do not need Dam Battlegrounds specifically for the minimum threshold. You do not need a grand plan. You need ammo and a willingness to commit to violence on a tight schedule.
Three players means three Hullcrackers. Three Hullcrackers means the Matriarch has a very bad afternoon. For the Matriarch trio damage guide, the strategy collapses into a few non-negotiable priorities:
Three competent players blasting a Matriarch with coordinated Wolfpack bursts and sustained launcher fire will outscore the equivalent solo Queen run significantly. The Matriarch's higher HP is the point: more health means more damage dealt means more score. The chaos is the price you pay for the numbers.
In public lobbies, the Matriarch summon mechanics create absolute chaos when other Raiders are also engaging. Additional players pulling aggro, repositioning the Matriarch, and generally being unpredictable will degrade your score. If leaderboard placement matters, coordinate a private or friendly lobby. If it does not, welcome to the chaos: try to find it charming.
The best weapons for ARC bosses in this trial context are ranked purely on ARC damage potential, not PvP viability. PvP viability is someone else's problem today.
|
Weapon |
Tier |
Role in Trial |
Notes |
|
Hullcracker |
S |
Primary ARC Damage |
Best raw ARC damage per shot. Reload is your enemy. Bring extra clips. |
|
Anvil IV |
S |
Sustained Damage / Armor Strip |
Heavy ammo, strong ARC pen, single-action. More fire rate than lower variants. |
|
Jupiter |
A |
Long-Range / Weak-Point Snipe |
Highest headshot damage in game. Expensive energy clips. Generator Window ideal pairing. |
|
Wolfpack Grenade |
S |
Burst Damage Utility |
1,992 damage per grenade. Not a weapon. Does not care. |
|
Deadline Mine |
A |
Passive Damage Setup |
Place under Queen center. Activates on approach. Essentially free score. |
|
Tactical MK.2 |
B |
PvP Defense |
Not for the Queen. Very much for the Raider who thinks your position looks comfortable. |

Smash robots for fun and profit. Our full guide to the Damage Queens or Matriarchs trial covers solo loadouts, map picks, positions, and scoring strat

Smash robots for fun and profit. Our full guide to the Damage Queens or Matriarchs trial covers solo loadouts, map picks, positions, and scoring strat

Smash robots for fun and profit. Our full guide to the Damage Queens or Matriarchs trial covers solo loadouts, map picks, positions, and scoring strat

Smash robots for fun and profit. Our full guide to the Damage Queens or Matriarchs trial covers solo loadouts, map picks, positions, and scoring strat

Smash robots for fun and profit. Our full guide to the Damage Queens or Matriarchs trial covers solo loadouts, map picks, positions, and scoring strat

Smash robots for fun and profit. Our full guide to the Damage Queens or Matriarchs trial covers solo loadouts, map picks, positions, and scoring strat

Smash robots for fun and profit. Our full guide to the Damage Queens or Matriarchs trial covers solo loadouts, map picks, positions, and scoring strat

Smash robots for fun and profit. Our full guide to the Damage Queens or Matriarchs trial covers solo loadouts, map picks, positions, and scoring strat

Smash robots for fun and profit. Our full guide to the Damage Queens or Matriarchs trial covers solo loadouts, map picks, positions, and scoring strat

Smash robots for fun and profit. Our full guide to the Damage Queens or Matriarchs trial covers solo loadouts, map picks, positions, and scoring strat

No. Damage counts regardless of the kill. Hit 4,000, extract, and go live your life.
Yes. Every hit another player lands reduces your share. Arrive first, shoot faster, leave no room.
Only for the genuinely unhinged. Solo Queen farming is safer, calmer, and nearly as profitable.
She periodically goes fully immune. Stop firing. Reposition. Resume once the shield drops completely.
Dam Battlegrounds with an active Harvester Minor Event. Always Dam. Always the Harvester.

GTA 6, new seasons, major updates — get ready to dominate from day one