




Arc Raiders Boost
ARC Raiders Search Raider Caches Trial Guide
New guide live: ARC Raiders Damage Bastions trial. Spawn locations, Deadline Mine tactics, Pipeline Tower route, and solo strategies for 3-star reward
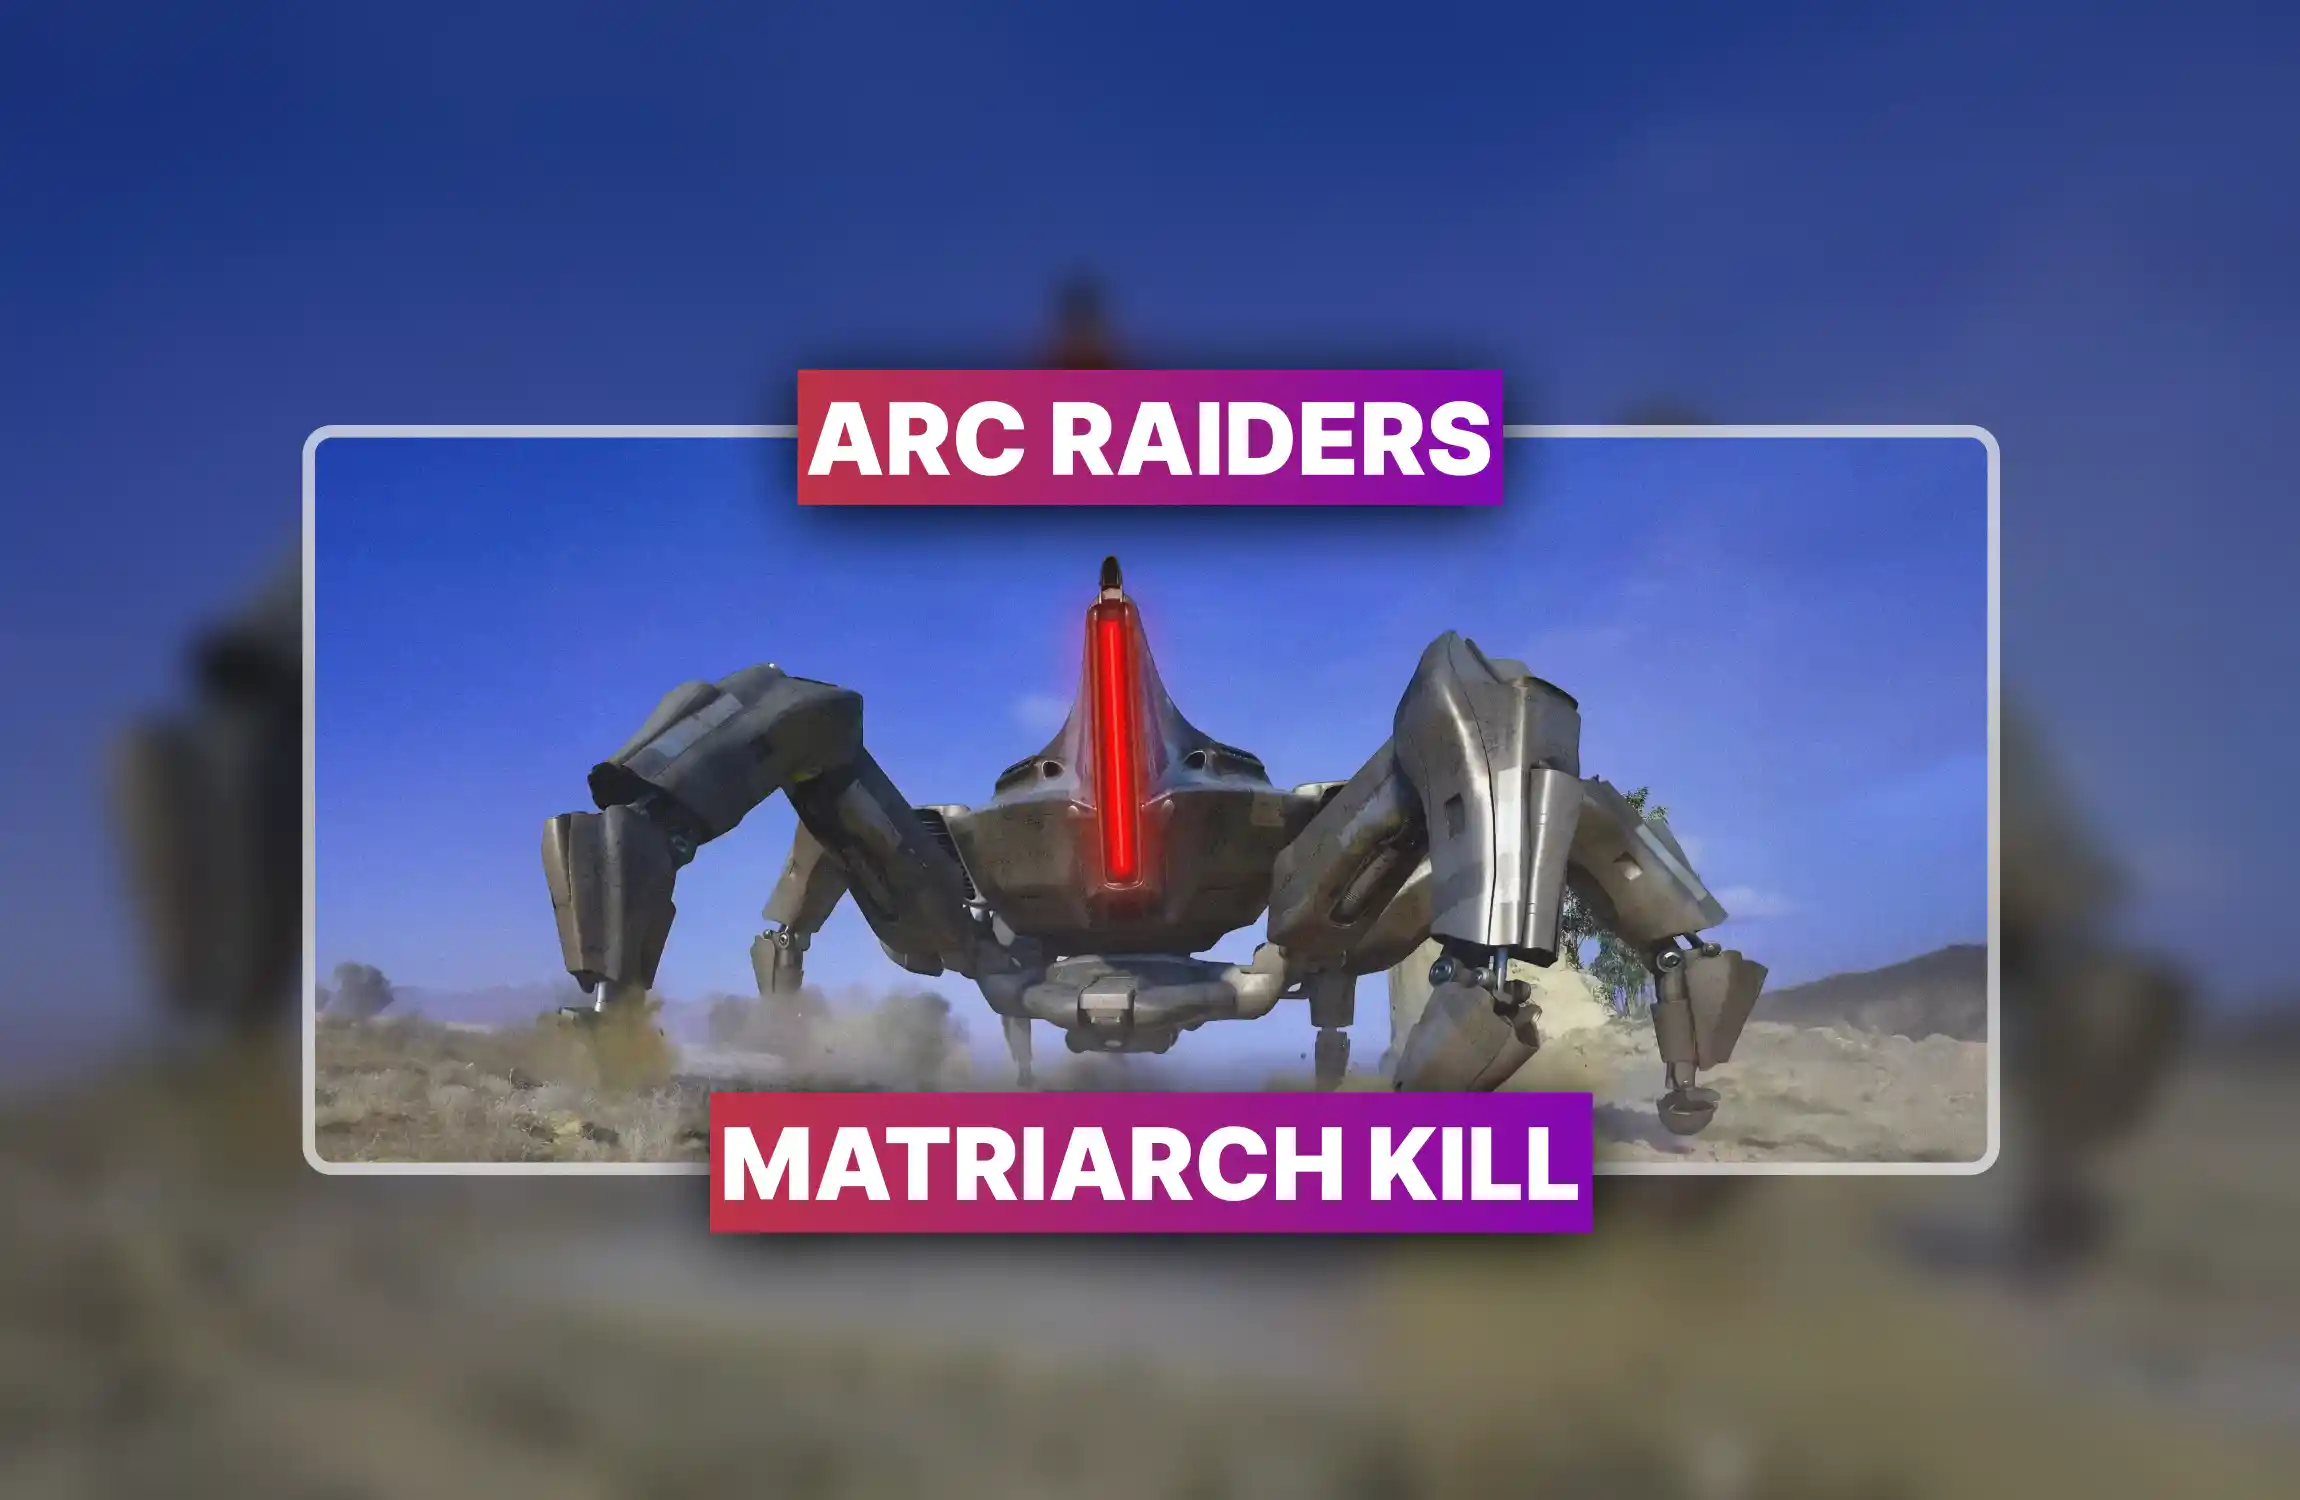
Bastions are enormous, heavily armored, multi-legged death machines that the game expects you to walk up to and annoy for points. Congratulations. This is your life now. Whether you are here for the clean three-star exit or you are inexplicably trying to maximize score ARC Raiders Damage Bastions trials week over week, this guide has everything you need to do it without embarrassing yourself in front of strangers.
Critical Rule Points only register on successful extraction. Die with 12,000 score and you will receive exactly zero of it. Plan your exit before the Bastion decides your ribs look interesting.
This ARC Raiders Damage Bastions 3-star guide starts here, because apparently numbers are hard and someone needed to write them down. The scoring in this trial scales with damage dealt and whether you achieve the full destruction. The major map condition modifier doubles your score, which means one dead Bastion on a 2x event gets you across the 4,000-point threshold without ever needing to find a second one. One. Singular. The trial is practically begging you to extract early.
|
Action |
Base Score (No Modifier) |
2x Modifier Score |
|
Full Bastion Kill |
~2,050 pts |
~4,100 pts |
|
Leaper Kill (bonus) |
~1,100 pts |
~2,200 pts |
|
Rocketeer Kill (bonus) |
~1,100 pts |
~2,200 pts |
|
3-Star Threshold |
4,000 pts (any modifier) |
|
|
Leaderboard Push |
Stack kills across multiple respawns + 2x event |
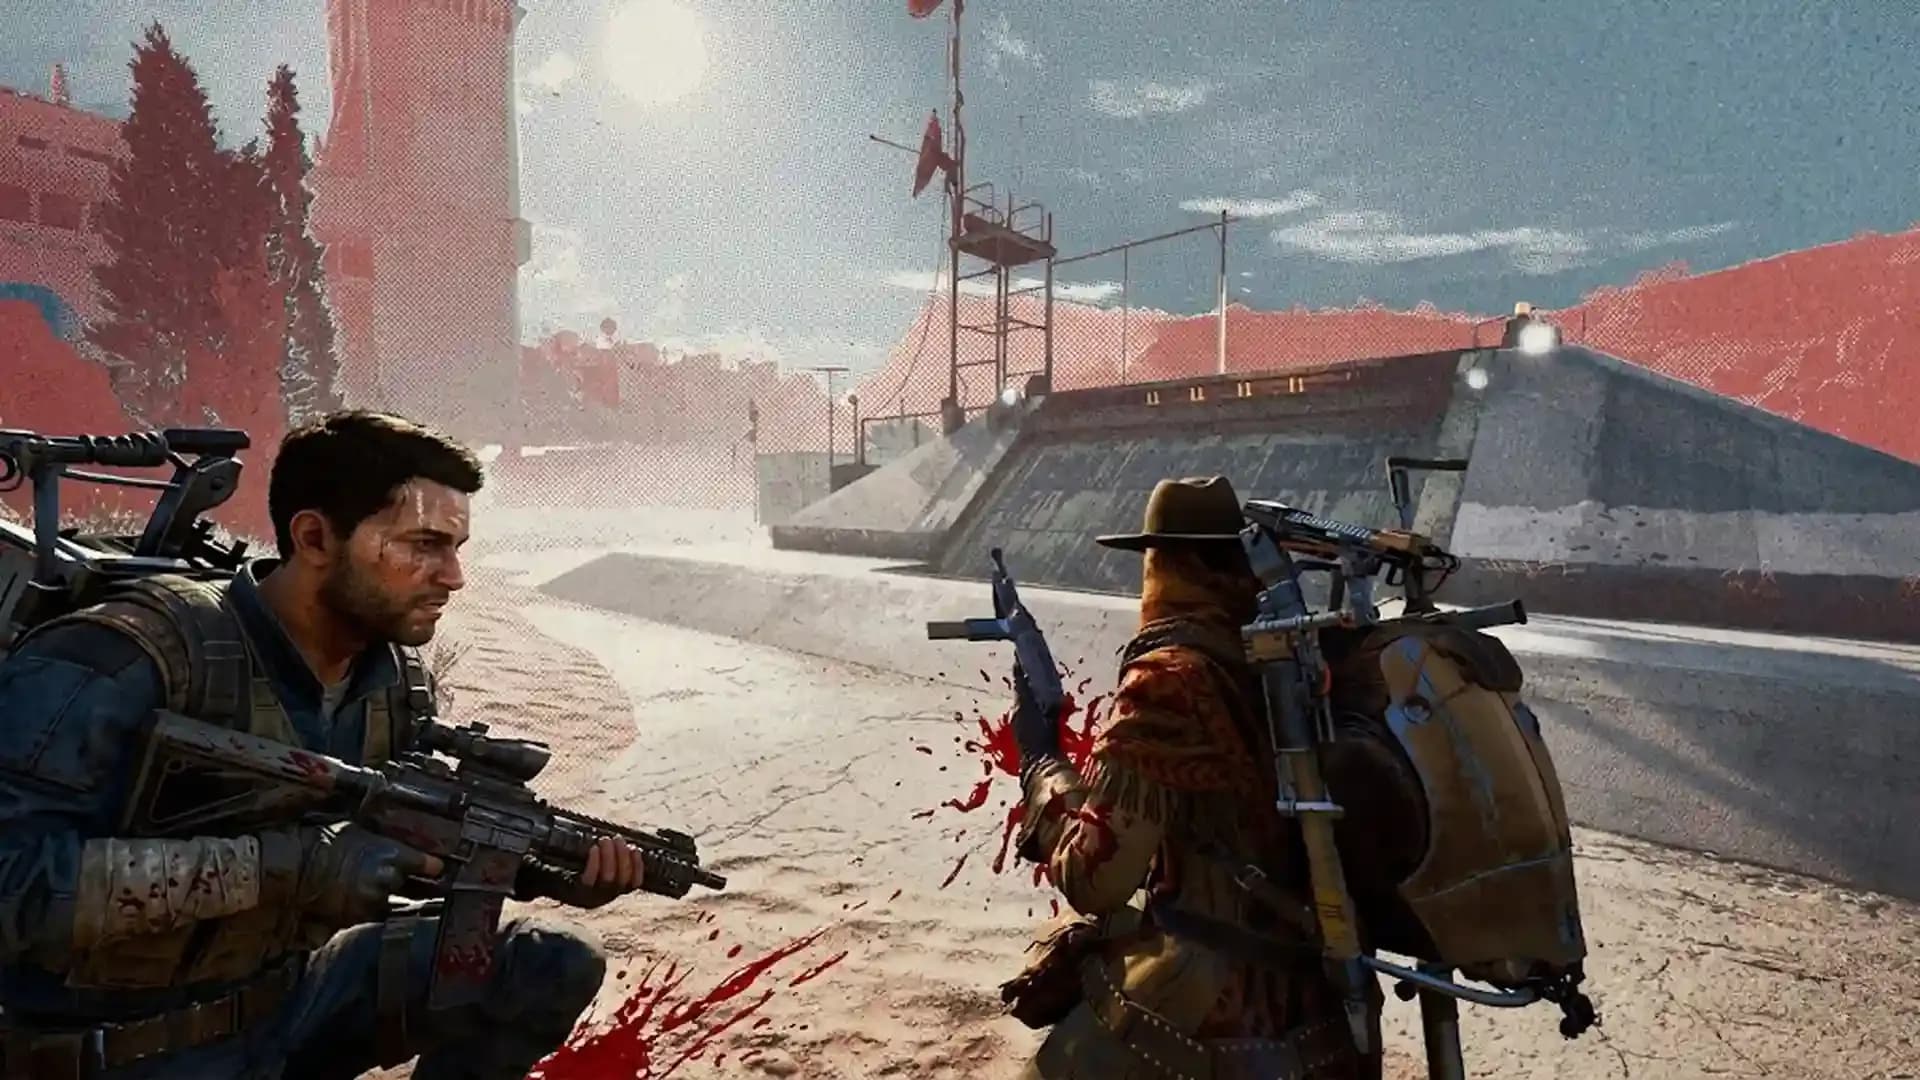
Before you complain that you cannot find any Bastions, here is a map of ARC Raiders Damage Bastions locations so you stop wandering around Buried City looking confused. Bastions spawn across all maps, but not all spawns are created equal. Some are reliable. Some are contested. Some will make you share the kill with three other raiders who had the exact same idea.
|
Location |
Key Areas & Spawns |
Tactical Notes |
|
Dam Battlegrounds |
Pipeline Tower (guaranteed), Hydro Domes |
Best for rotation farming; high competition expected. Bring emotional stability. |
|
Stella Montis |
Loading Bay (lower section) |
Most reliable single spawn; use upper levels for positional advantage over the Bastion. |
|
The Blue Gate |
Traffic Tunnel (north of Checkpoint) |
Nearly guaranteed spawn; enclosed space provides necessary cover. |
|
Buried City |
Plaza Rosa exterior, Marano Park |
Less consistent; use as a backup if other maps are overrun with players. |
|
Spaceport |
Southwest of Hidden Bunker |
During events, Bastion respawns at the 23-minute mark if already dead. |
Warning Dam Battlegrounds is the highest-scoring map and therefore the most populated during trial week. If you are solo and have the fragile constitution of someone who dies to Gatlings, consider Stella Montis instead.
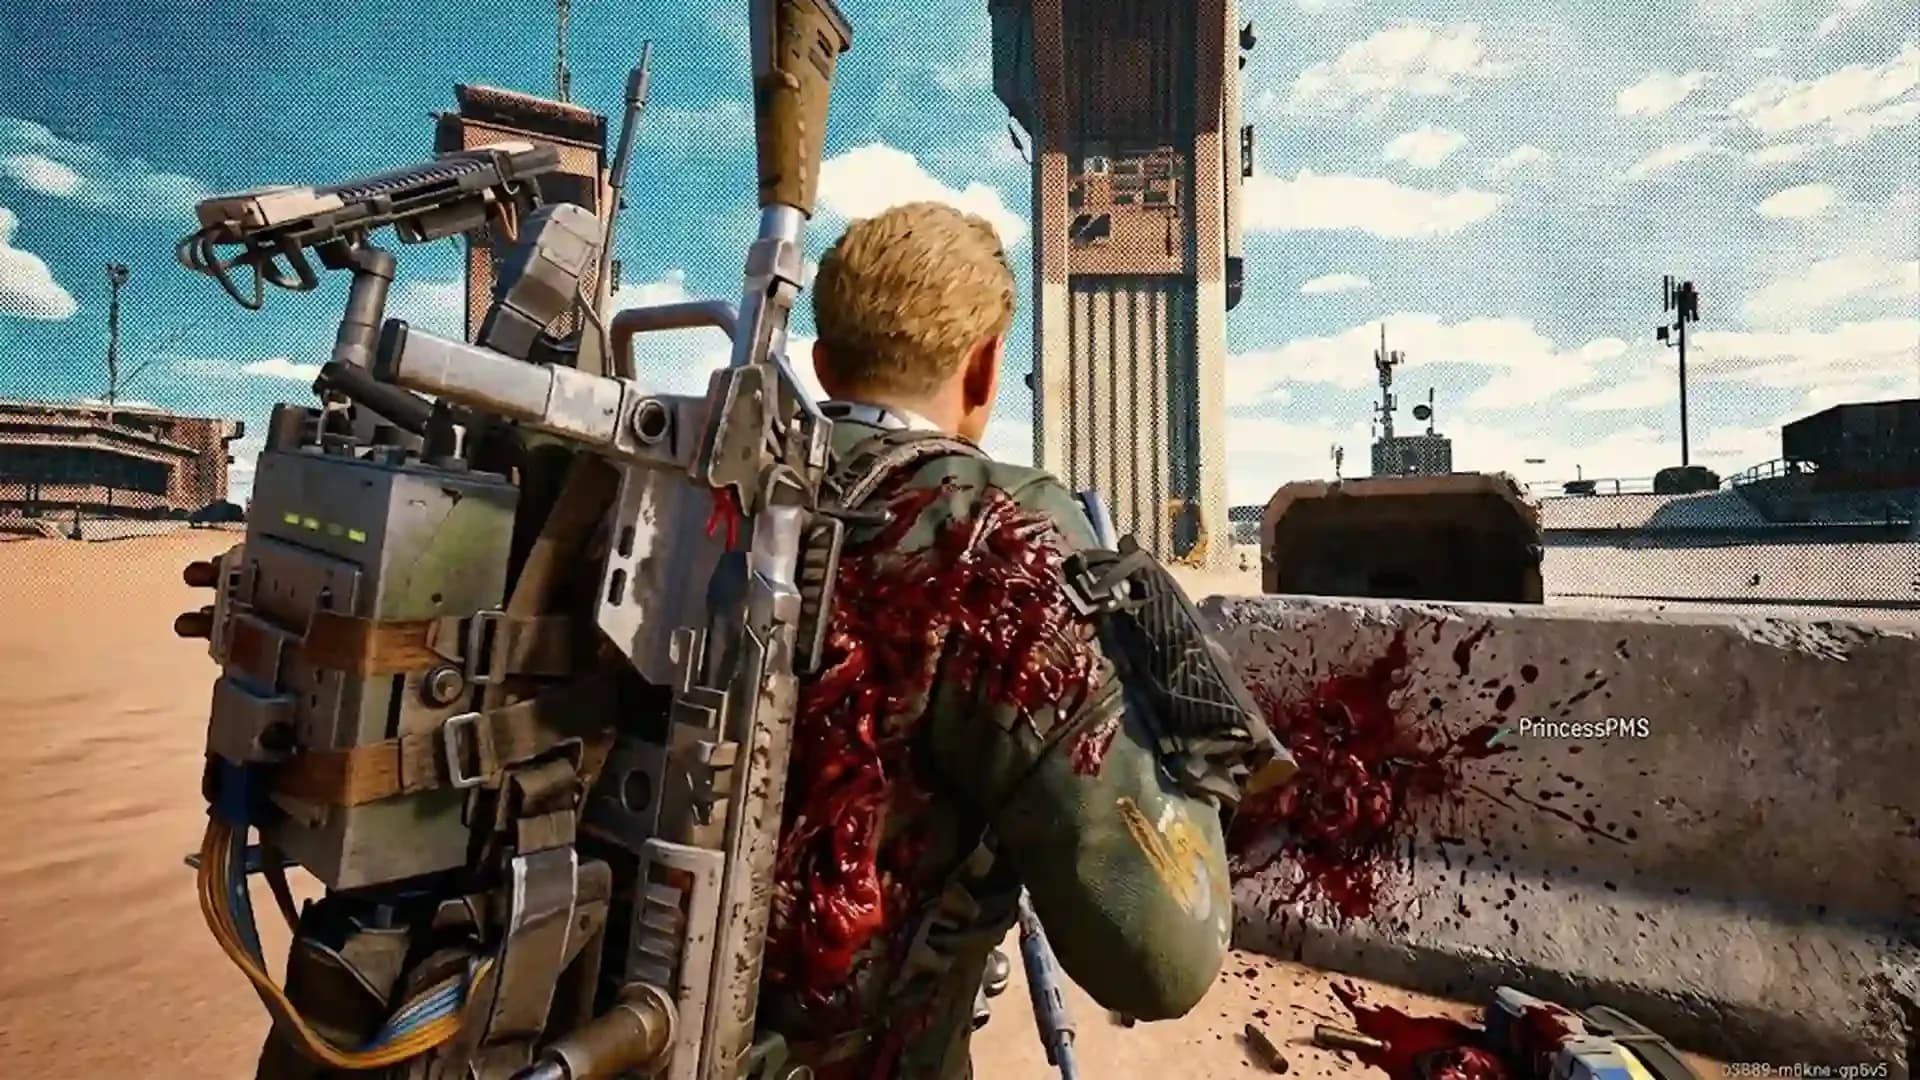
Here is how to beat Damage Bastions ARC Raiders without spending forty minutes in the map and losing your kit to a rogue raider. The solo Damage Bastions ARC Raiders guide is as follows: go in, find a Bastion, kill it during a 2x major map condition, extract. That's the entire strategy. You are welcome to stop reading now if nuance is not your thing.
For those who appreciate marginally more detail, the ARC Raiders Damage Bastions best loadout for a quick clean run is built around one core item: a Deadline Mine. Everything else is optional flavoring. The optimal ARC Raiders Damage Bastions damage guide for the lazy extraction looks like this:
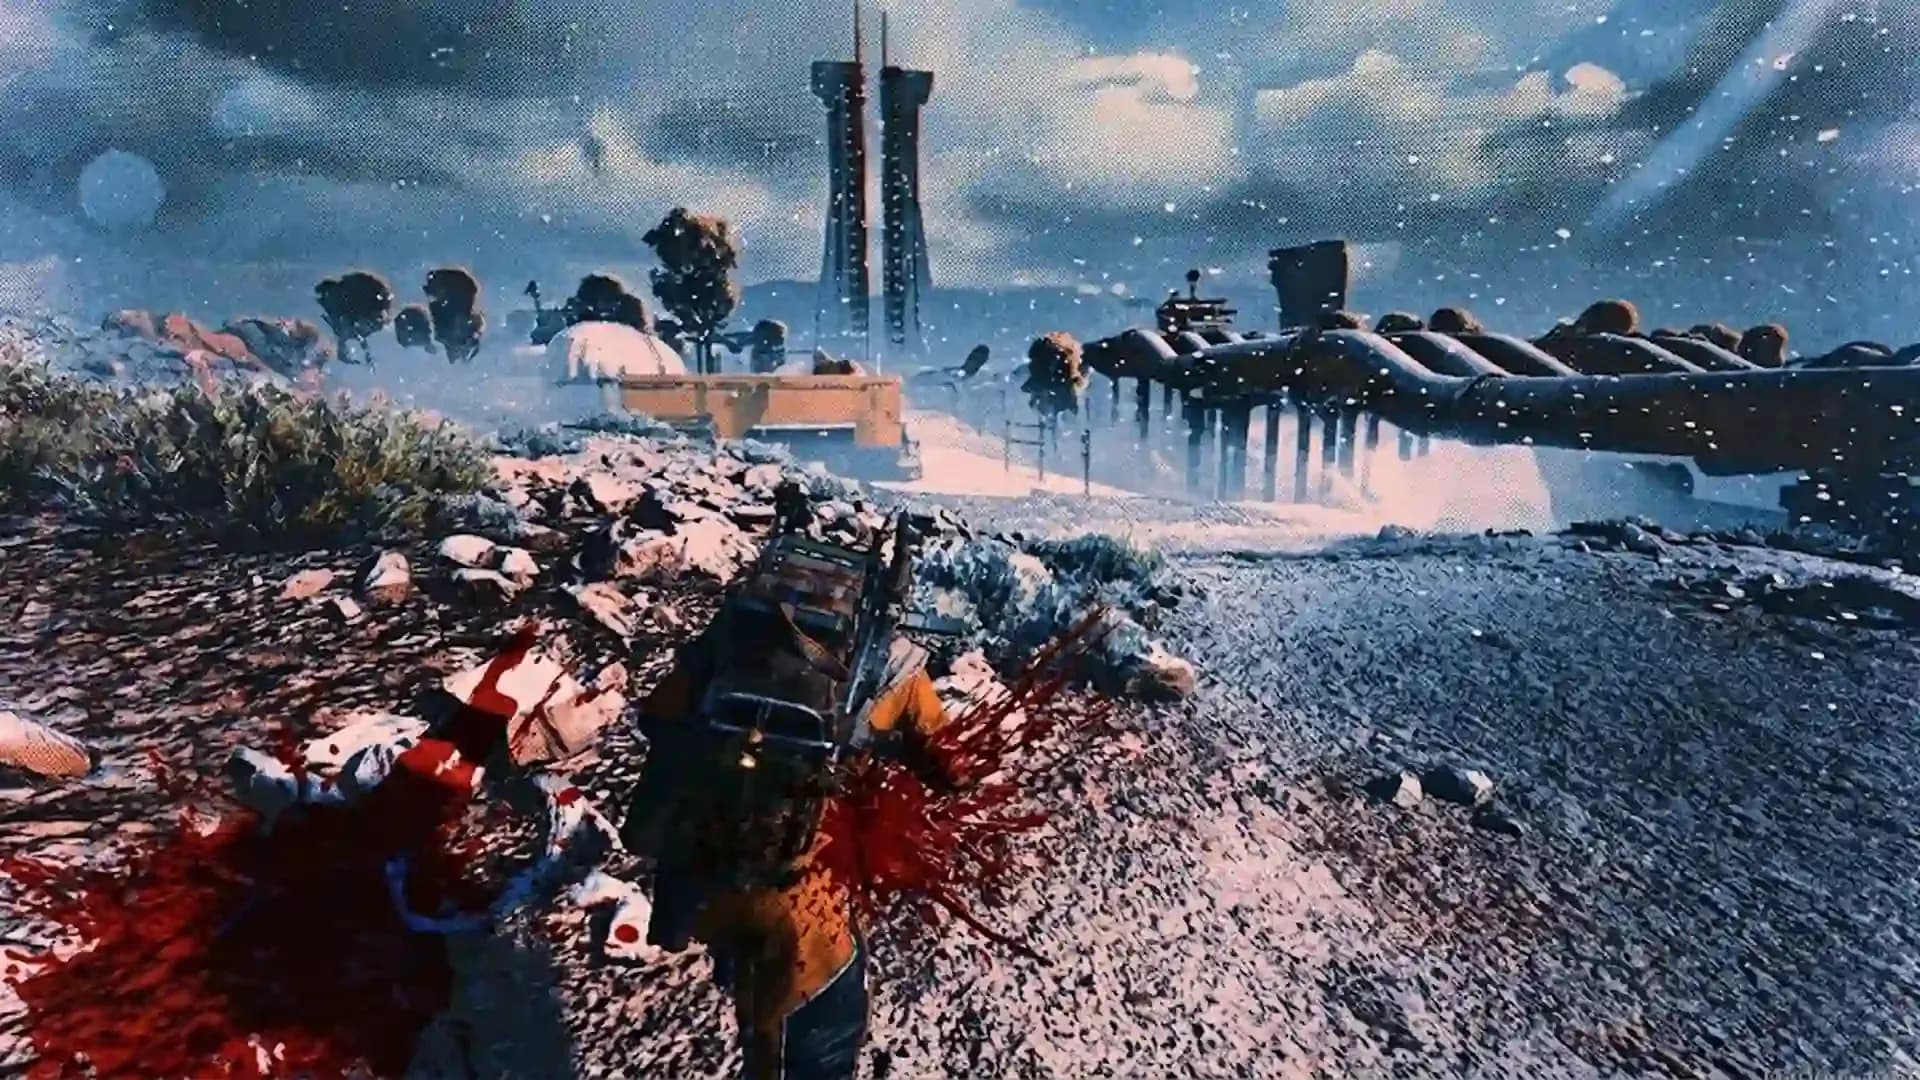
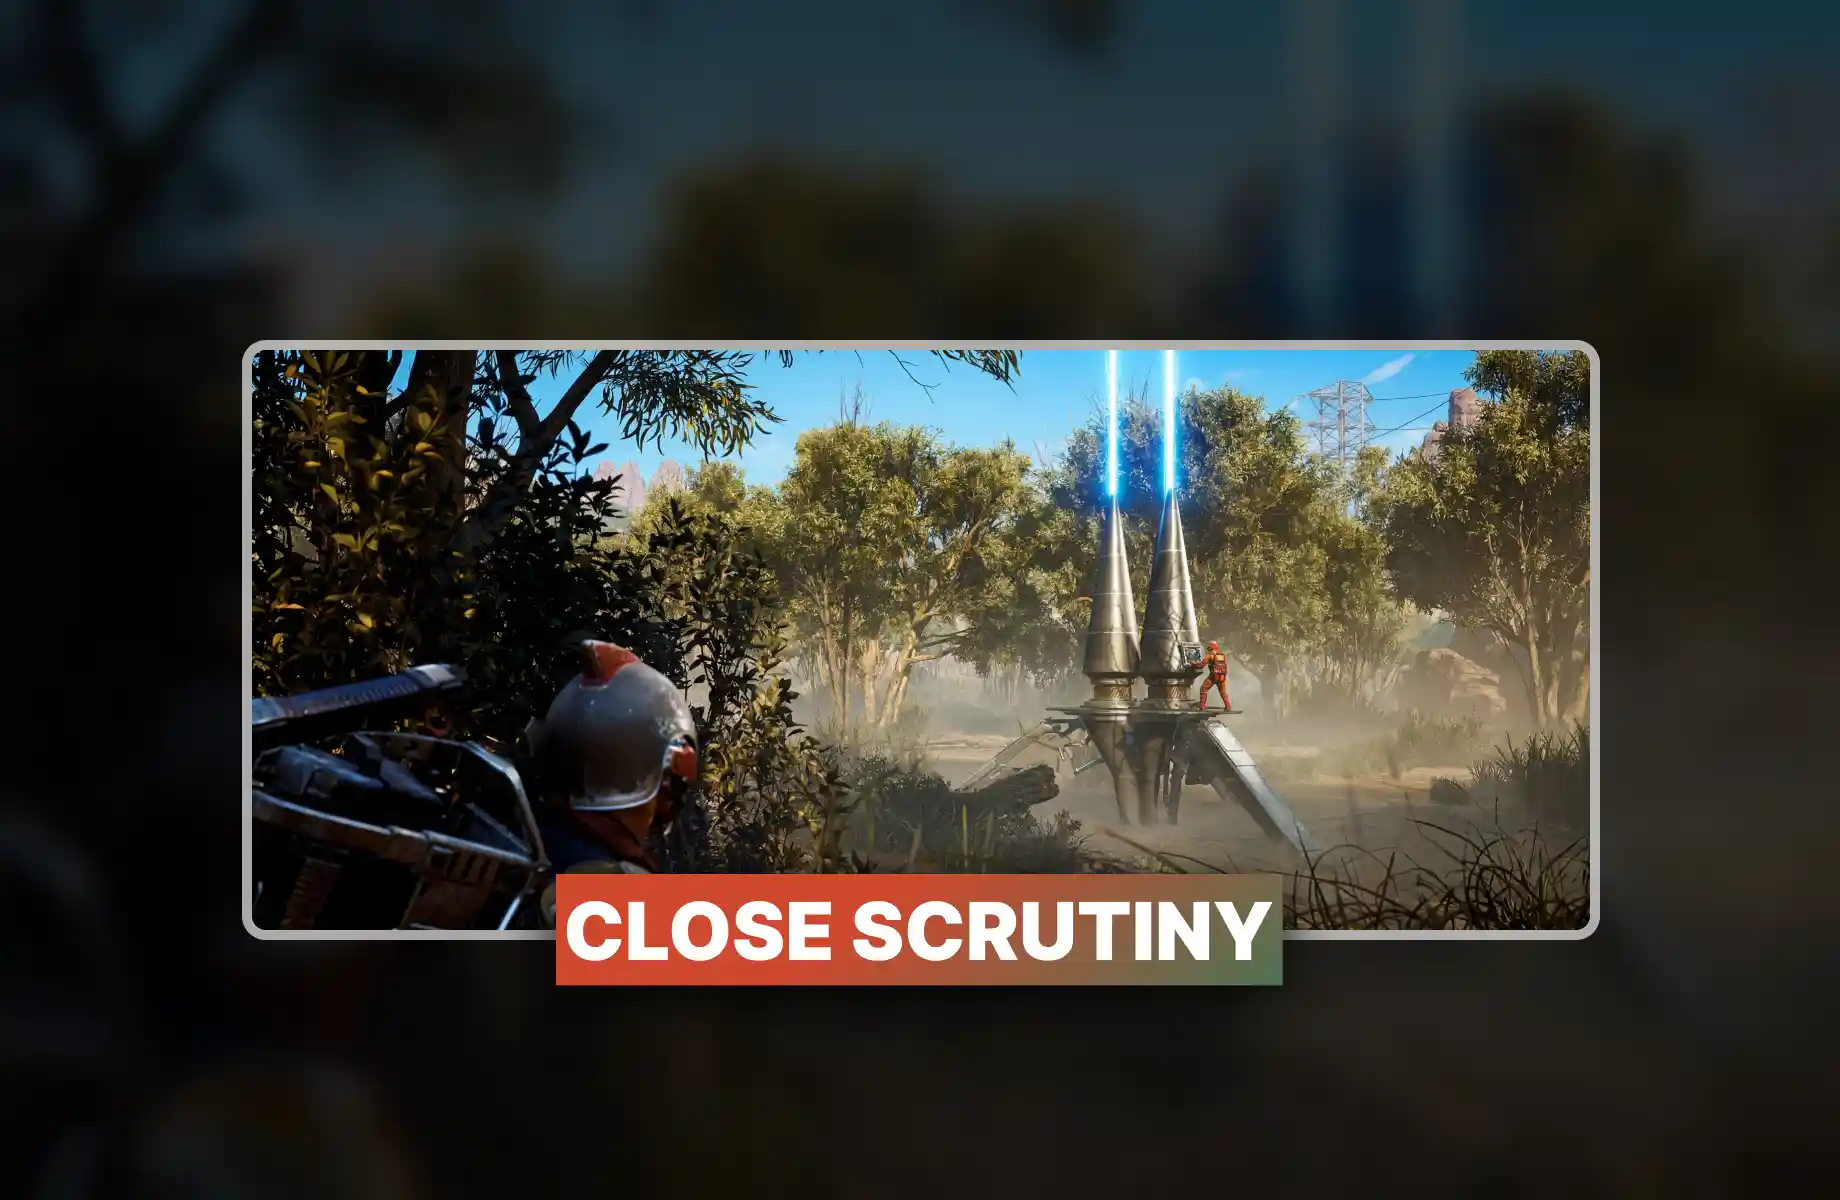
Snap Hook Strategy Note The snap hook strategy ARC Raiders Damage Bastions players use involves accessing the Pipeline Tower via a snap hook off a specific box at the base. From up top you can unload 20 to 30 cheap impact grenades directly onto the Bastion below while it stares up at you like a confused appliance. Finish with an Anvil if needed. Extremely budget. Extremely effective. Humiliating for the Bastion.
The best weapons for Damage Bastions ARC Raiders fall into two categories: things that kill it fast, and things that kill it cheaply. The ideal situation is both. Here is a breakdown of your realistic options before you inevitably bring something worse.
|
Item |
Role |
Notes |
|
Deadline Mine |
Primary kill tool |
One mine on the back destroys or nearly destroys a Bastion. The most efficient damage-per-ruble option in existence. |
|
Wolfpack Grenade |
Premium kill tool |
Two Wolfpacks kill a Bastion outright. Faster, safer, more expensive. Bring if you value your time over your wallet. |
|
Anvil IV |
Leg breaking + follow-up |
Targets yellow knee joints effectively. Use to stun then close distance. Also useful for Leapers and Rocketeers while you are there. |
|
Renegade |
Heavy ammo alternative |
Good for popping leg joints from a safe distance without exposing yourself to the Gatling cannon that wants you very specifically dead. |
|
Impact Grenades (x20-30) |
Budget delete |
Pipeline Tower method. Cheap enough to bring in on a free loadout. No excuses for not doing the trial this week. |
|
Photoelectric Cloak |
Safe mine placement |
Allows you to walk directly up behind the Bastion undetected and place the mine without it noticing. When it does notice, you will already be running. |
|
Lure Grenade |
Positional control |
Throw behind the Bastion to rotate it 180 degrees. Plant your mine while its back is turned. Works unless your aim with the lure grenade is somehow also bad. |
The Damage Bastions trial route ARC Raiders players use for the 3-star minimum is almost offensively simple: spawn, move to known Damage Bastions spawn ARC Raiders location, kill, extract. The ARC Raiders Damage Bastions speedrun version of this takes under five minutes if you queue into the right lobby.
For the leaderboard-oriented player, the ARC Raiders Damage Bastions rotation on Dam Battlegrounds is where the real score lives. Two guaranteed Bastion spawns at Pipeline Tower and Hydro Domes means you can cycle between them as each one respawns, continuously farming score for the duration of the match. While waiting for respawns, use the top of Pipeline Tower to aggro and kill Leapers from the red lakes below and Rocketeers in range. This overlaps conveniently with another active trial, which means you are also maximizing score ARC Raiders Damage Bastions trials and the Rocketeers/Leapers/Bastions trial simultaneously without additional effort. Efficiency is the only currency that matters here.
ARC Raiders Damage Bastions night trial tips are relatively short because the Night Raid event is not complicated. It doubles your score. That is the tip. Go during Night Raid. The Bastions are the same Bastions. The darkness does not make them harder unless you have not adjusted your gamma settings, in which case please do that before raiding.
Stella Montis Night Raid is an acceptable fast-exit option specifically because the Loading Bay Bastion spawn is guaranteed, enclosed enough to fight safely from elevation, and the Night Raid modifier means you clear the 4,000-point threshold with a single kill and can extract immediately. This is the ARC Raiders Damage Bastions strategy for people who value their time. There is no shame in it.
A Damage Bastions flawless clear ARC Raiders players achieve through preparation, not improvisation. Improvising against a Bastion means running out of ammo next to its legs while it slowly walks toward you with the energy of someone who has nowhere else to be. Plan your approach before entering the map. Know your Damage Bastions spawn ARC Raiders destination. Know your extraction route. Know which assets you are spending.
The ARC Raiders Damage Bastions 5-star requirements for leaderboard placement are not published with a fixed number, but practical experience suggests stacking multiple Bastion kills across a full-length match on Dam Battlegrounds during a 2x modifier event. Four Bastion kills in a single match is approximately the ceiling for a solo player who also needs to survive. Squads can push higher. Track ARC Raiders Damage Bastions farm route efficiency and do not waste match time wandering.
Extraction Warning Do not overextend. A player who dies at the 45-minute mark with 20,000 score receives exactly as much as someone who did not play. Extract when you have a safe window. The leaderboard will still be there. Your nerves may not be.
How to beat Damage Bastions ARC Raiders comes down to three mechanical facts the game would love for you to learn by dying rather than by reading. The Bastion has yellow joint weak points on each leg. Shoot one joint and the leg detonates, stunning the Bastion for 8 seconds. During that window you can close distance and plant a mine. The yellow core on the back of the top half is a secondary weak point you can target when the Bastion is stationary. Aim for it and you will notice your damage going significantly further.
An alternative approach for the patient and the poor is disabling every leg sequentially until the Bastion runs out of functional limbs and simply stops. It cannot move. It cannot follow you. At that point you finish it at your leisure from whatever angle you prefer. This method takes longer, costs less, and involves significantly less sprinting while panicking.
The ARC Raiders Damage Bastions location you choose also determines how many raid-ending surprises the map will deliver during the engagement. Tunnel locations like Blue Gate's Traffic Tunnel or interiors like Stella Montis Loading Bay funnel the Bastion into predictable movement. Open-area spawns like Hydro Domes on Dam expose you to both the Bastion and every other player currently running the same trial who assumes a Gatling cannon is a perfectly acceptable negotiation tool.



• Fast ARC Raiders crafting upgrade
• Maximize crafting efficiency
• Secure, manual service
• Fast ARC Raiders Dam clears
• Guaranteed loot and resources
• Secure professional raid boosting

• Fast Buried City completion
• Guaranteed loot and rewards
• Secure professional raid carry
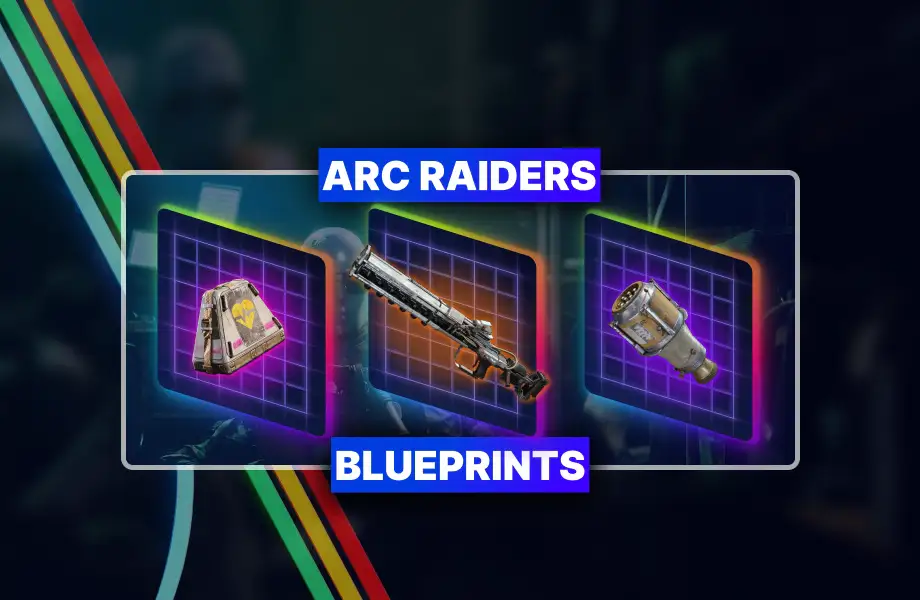
• Fast blueprint farming service
• Secure targeted item delivery
• Guaranteed high-tier recipes





New guide live: ARC Raiders Damage Bastions trial. Spawn locations, Deadline Mine tactics, Pipeline Tower route, and solo strategies for 3-star reward

New guide live: ARC Raiders Damage Bastions trial. Spawn locations, Deadline Mine tactics, Pipeline Tower route, and solo strategies for 3-star reward

New guide live: ARC Raiders Damage Bastions trial. Spawn locations, Deadline Mine tactics, Pipeline Tower route, and solo strategies for 3-star reward

New guide live: ARC Raiders Damage Bastions trial. Spawn locations, Deadline Mine tactics, Pipeline Tower route, and solo strategies for 3-star reward

New guide live: ARC Raiders Damage Bastions trial. Spawn locations, Deadline Mine tactics, Pipeline Tower route, and solo strategies for 3-star reward

New guide live: ARC Raiders Damage Bastions trial. Spawn locations, Deadline Mine tactics, Pipeline Tower route, and solo strategies for 3-star reward
New guide live: ARC Raiders Damage Bastions trial. Spawn locations, Deadline Mine tactics, Pipeline Tower route, and solo strategies for 3-star reward

Damage counts toward score, but a full destruction during a 2x event is the fastest route to 4,000 points in a single engagement.
Dam Battlegrounds for leaderboard pushing, Stella Montis or Blue Gate for a fast, low-stress three-star extraction.
Yes. Pipeline Tower impact grenade method requires only cheap grenades and functional legs. Bring 25 to 30 of them.
Yes. Killing one Bastion during a 2x event scores above 4,000 on both trials simultaneously. Efficient, despite everything.
Four Bastions per match is the realistic solo ceiling on Dam Battlegrounds with a 2x modifier. Squads can exceed this figure.

GTA 6, new seasons, major updates — get ready to dominate from day one