
Arc Raiders Boost
ARC Raiders Damage Comets Trial Guide
The final Arc Raiders season trials are live. Our 3-star guide covers all 5 objectives with point values, best maps, weapons, and strategies.
Final week of the season, where the game kindly hands you a checklist of things to do and then proceeds to fill the lobby with people who have been grinding this since day one. How wonderful. These are the six objectives standing between you and that dopamine hit of a three-star rating:
The good news is that most of these are genuinely manageable if you read this guide with the attention span of an adult. The bad news is that the Queen trial will make you question every life choice that led you to this game. We will address that in full detail, with the appropriate level of contempt it deserves.
One critical thing to understand before we get into it: you must extract alive for your damage points to count. This is not a footnote. This is the rule that has ended more three-star runs than any robot ever could. Die in the raid, and the game politely deletes your contribution to the universe. Keep that in mind every time you feel brave.
Pro Tip Always prioritize 2x condition maps; Electromagnetic Storm, Locked Gate, Night Raids. Double multipliers mean you need half the effort for the same result. Since you will inevitably put in half the effort anyway, this is important math.
|
Trial |
Points Target |
Best Map |
Difficulty |
|
Damage Fireflies |
4,000 |
Spaceport |
Easy |
|
Flying ARC (Spaceport) |
4,000+ |
Spaceport |
Easy |
|
Damage Queens / Matriarchs |
4,000 |
Any Event |
Nightmare |
|
Open ARC Probes |
~4,000 |
Spaceport / Electro Storm |
Very Easy |
|
Traffic Tunnel Containers |
4,000 |
Bluegate only |
Easy |
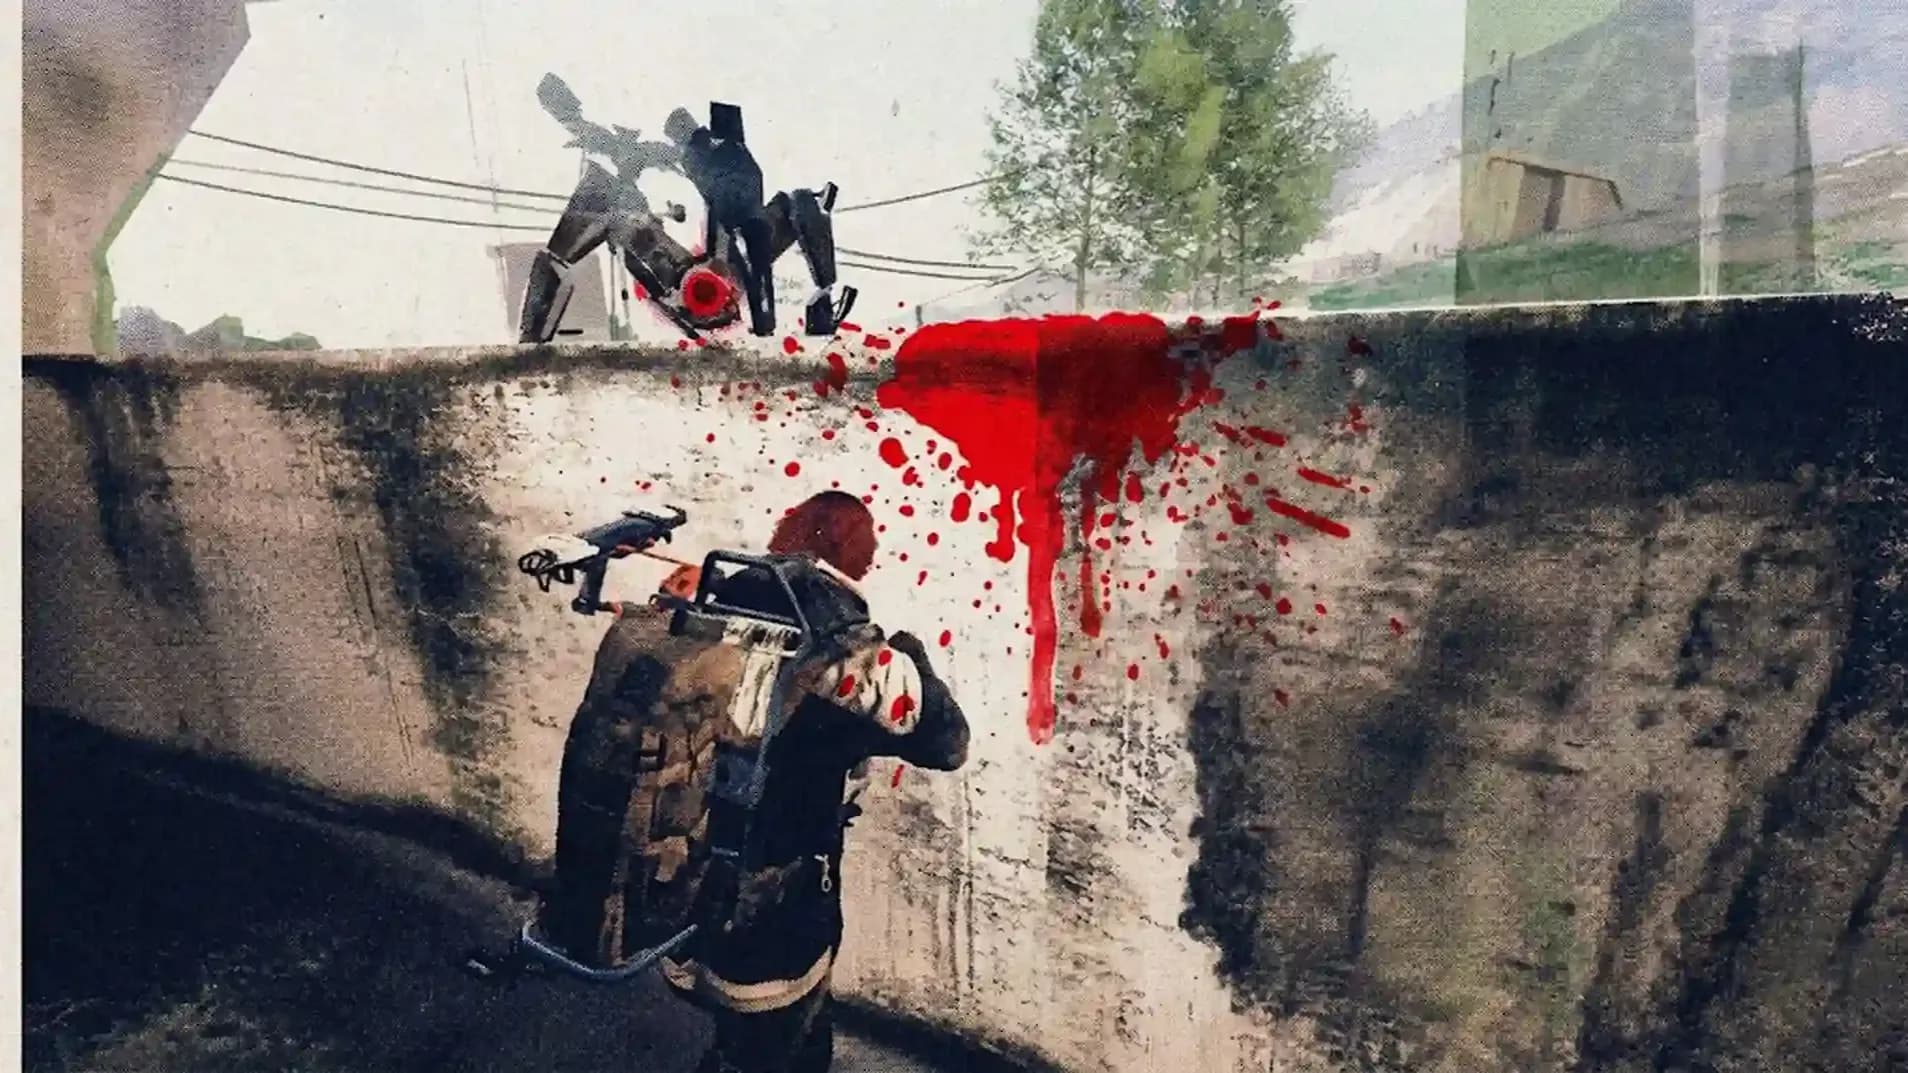
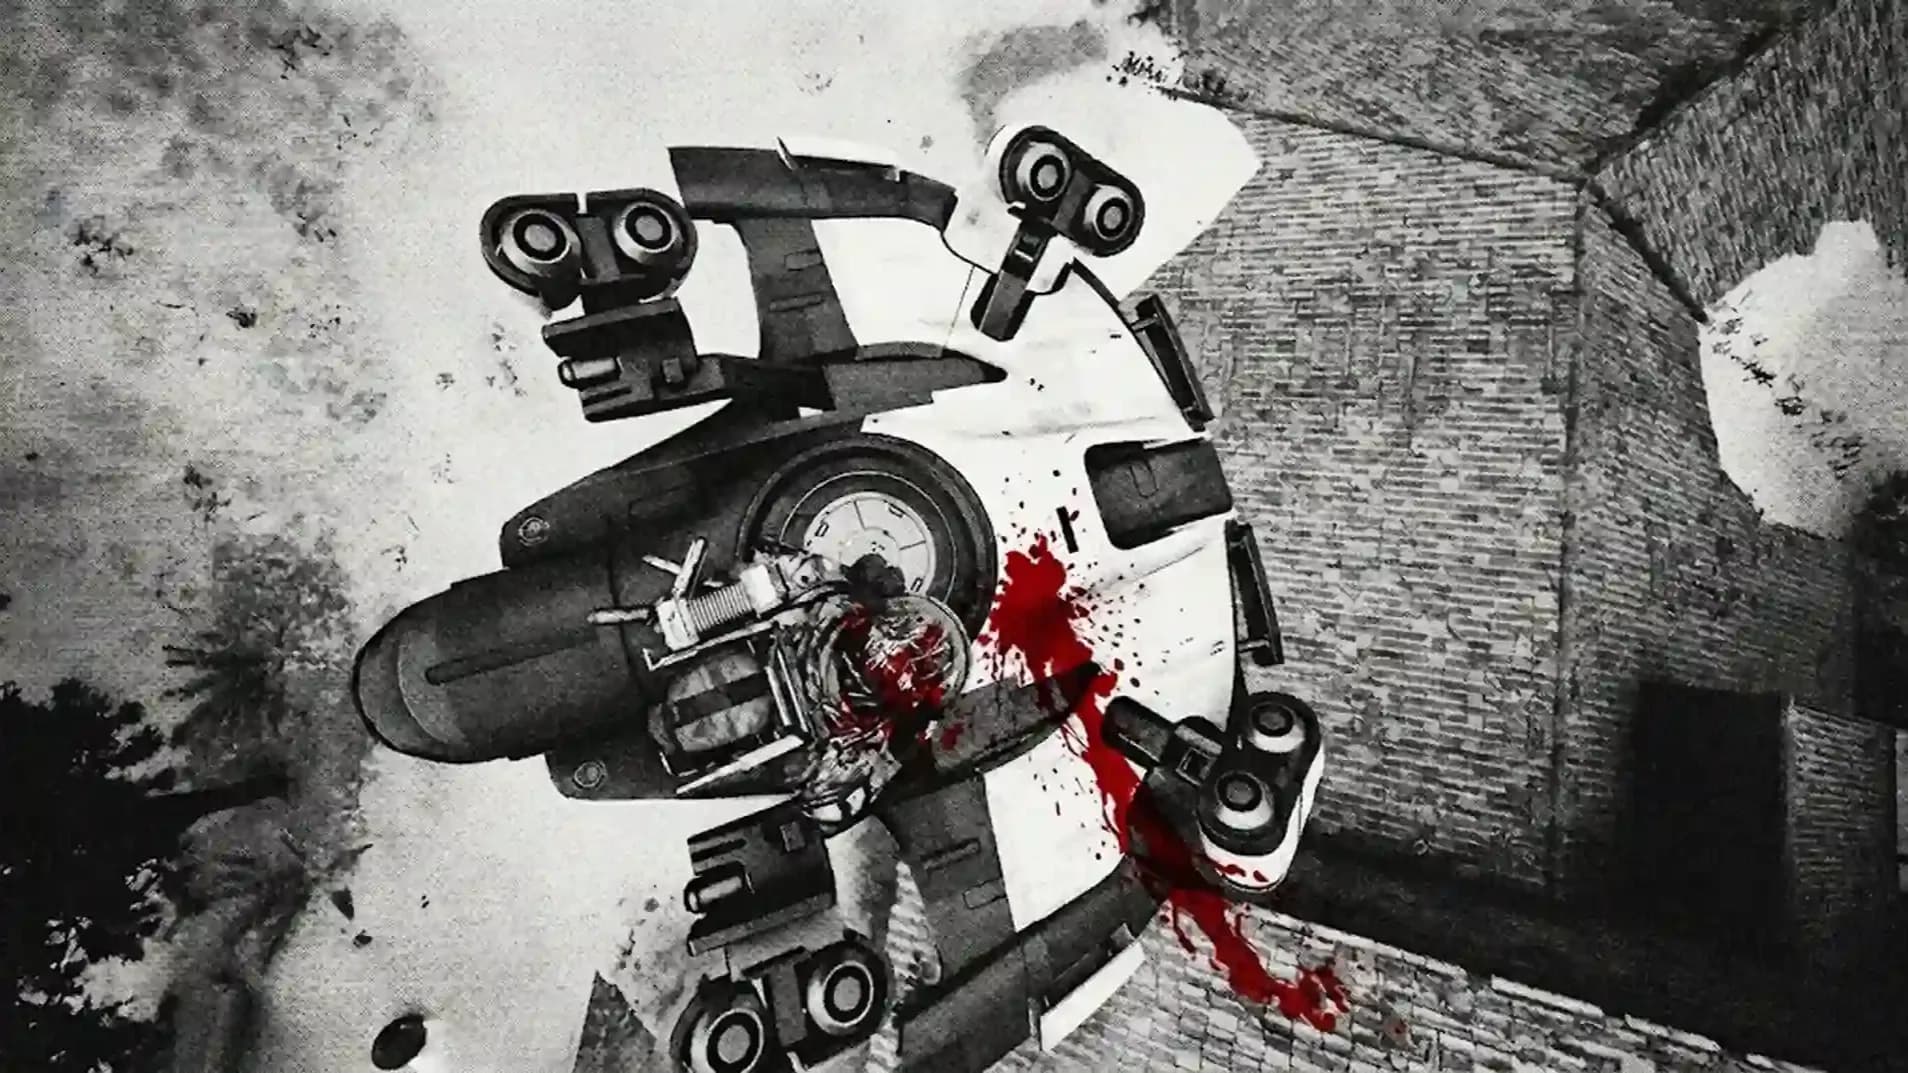
Fireflies are the kind of enemy that looks annoying on paper and is moderately annoying in practice. Introduced in the Shrouded Sky update, these aggressive hunters spawn outdoors and do not patrol; they hunt. They will close distance on you rather than hovering at range like their flying cousins. Treat them accordingly, or do not, and enjoy the consequences.
800 pts/per Firefly; you need 5 kills for three stars
The defining feature of the Firefly is its yellow gas tank on the underside. That is the weak spot. Hit it, get a quick kill, collect your 800 points, move on with your life. Ignore it, and the Firefly will close range, release a gas hazard around you, and ruin your afternoon. The choice, technically, is yours.
Spaceport is your best map here. The open terrain lets you spot Fireflies before they spot you, which is the single most valuable thing you can do this week. The Arc Raiders trials for firefly farming reward patience: don't sprint into buildings looking for them. Let them come to you from a distance where your heavy ammo weapon has room to breathe.
Seeker Grenades or the Jupiter work excellently here. The Jupiter does tremendous damage to flying ARC enemies, though landing shots consistently requires the kind of focus that coffee provides and panic removes. Anvil Renegade grenades are another solid choice for area suppression if your aim on moving targets is, shall we say, developing.
Warning Do not attempt to outrun a Firefly in open terrain. It will chase you down. Find cover or stand and fight. Running is not a strategy; it is just dying at a higher altitude.
|
Enemy |
Points |
Priority |
|
Firefly |
~800 |
Primary target |
|
Hornet |
~430 |
Secondary |
|
Rocketeer |
~2,000 |
Bonus if available |
|
Wasp |
~240 |
Skip if possible |
The Rocketeer column there is not a mistake. If a Rocketeer happens to be in your general area and you have the tools to deal with it, the Arc Raiders three star strategy basically writes itself. Two Rocketeers and you are done. One well-placed Wolfpack grenade from behind covers most of the fight, assuming you enjoy living.


• Fast blueprint farming service
• Secure targeted item delivery
• Guaranteed high-tier recipes
This trial is geographically simple: stay inside Spaceport walls, shoot things that fly. The challenge is that not all flying ARC enemies are created equal, and the game will absolutely allow you to spend twenty minutes killing Wasps for 240 points each while you could have taken down a Rocketeer for 2,000. Life is full of choices, and some of them are wrong.
|
Enemy Type |
Base Points |
Value Assessment |
|
First Flying ARC |
440 pts |
High priority for initial engagement. |
|
Wasp |
~240 pts |
Low priority; minimal return for the effort. |
|
Rocketeer |
~2,000 pts |
Critical target; high-value objective. |
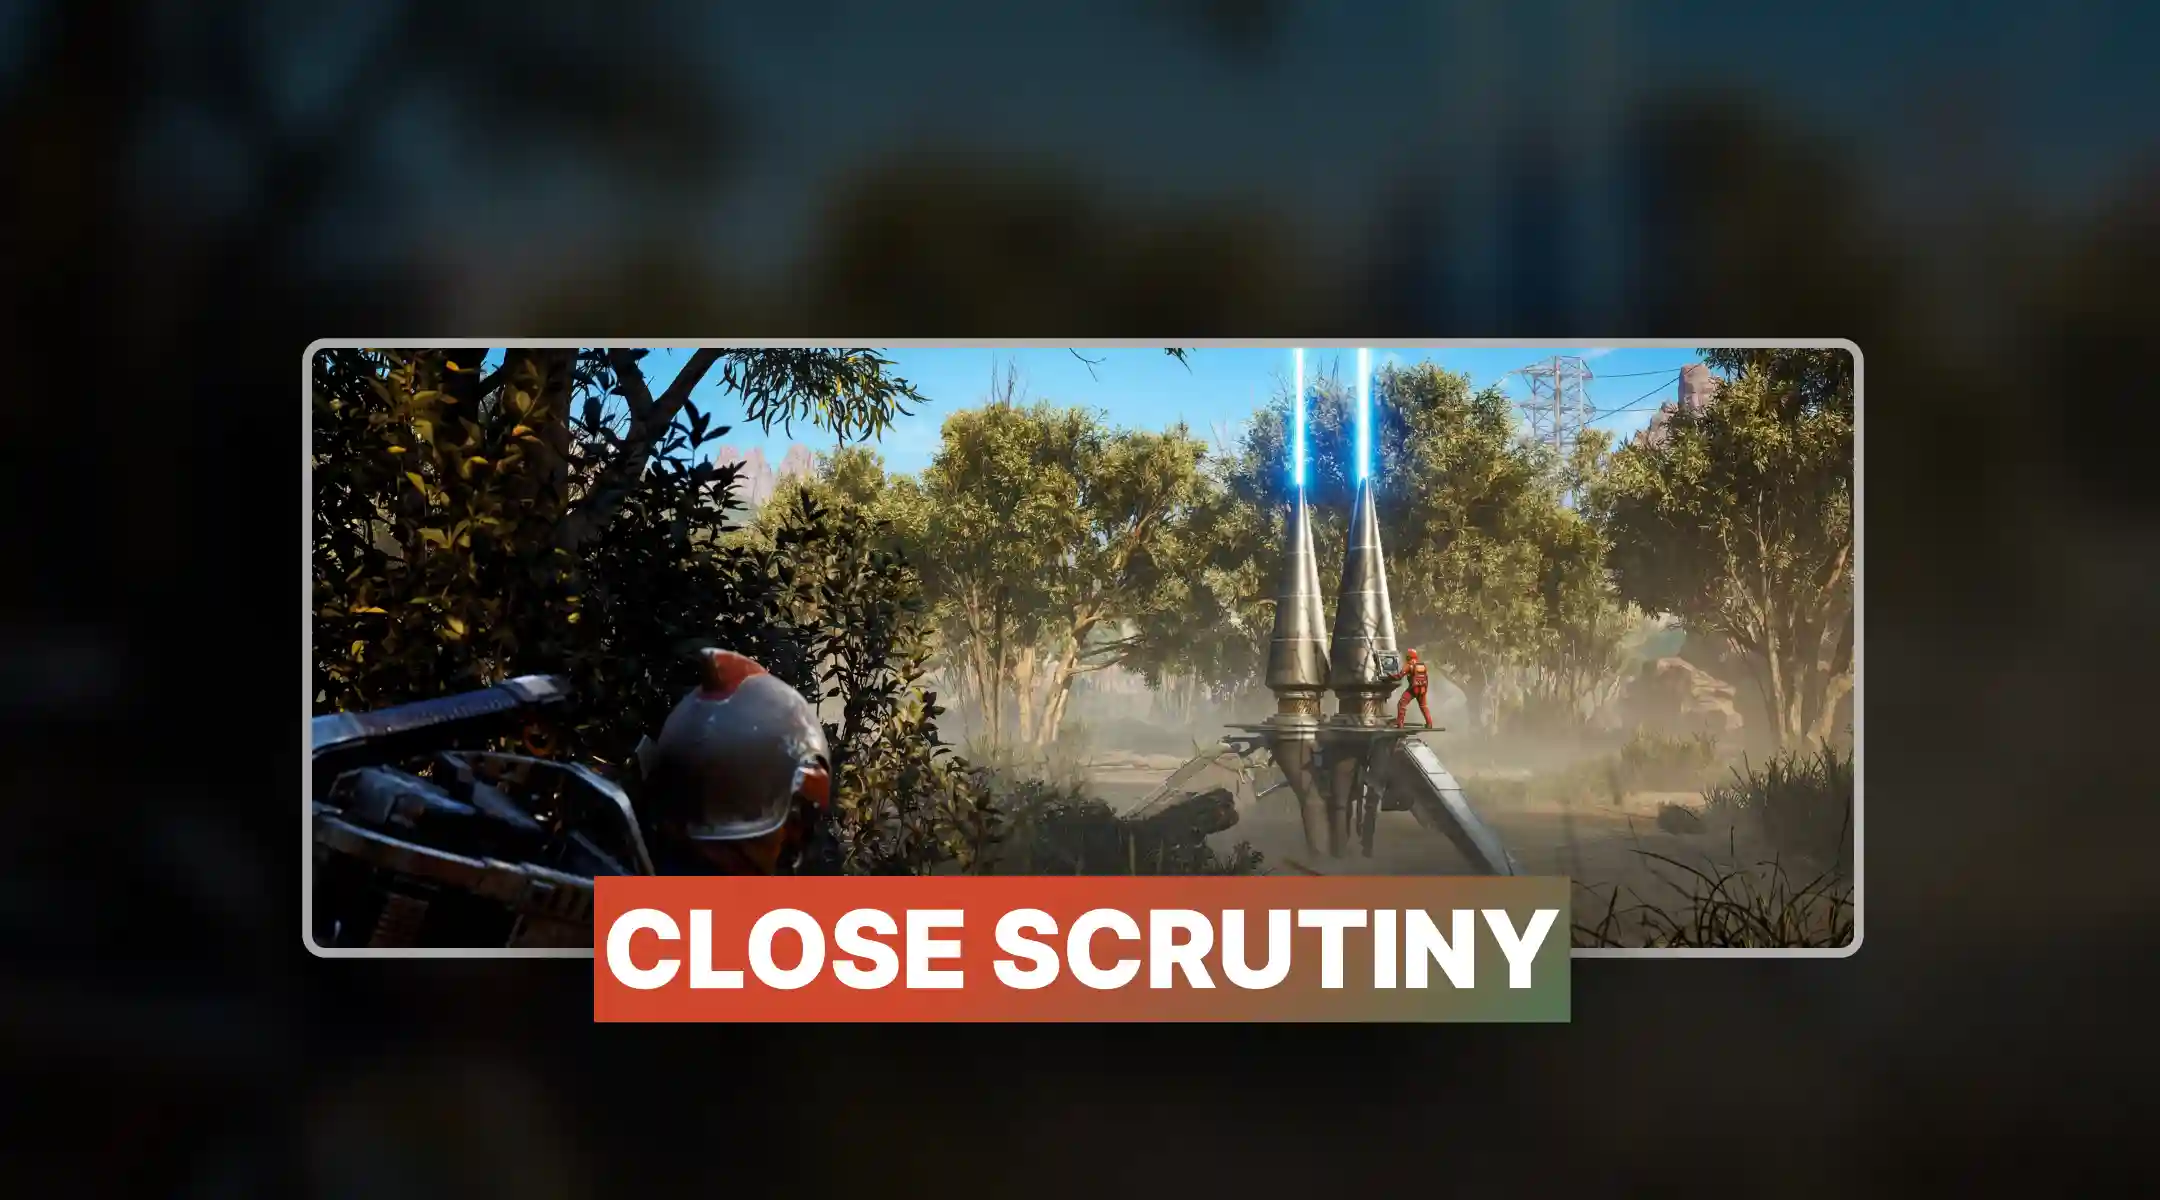
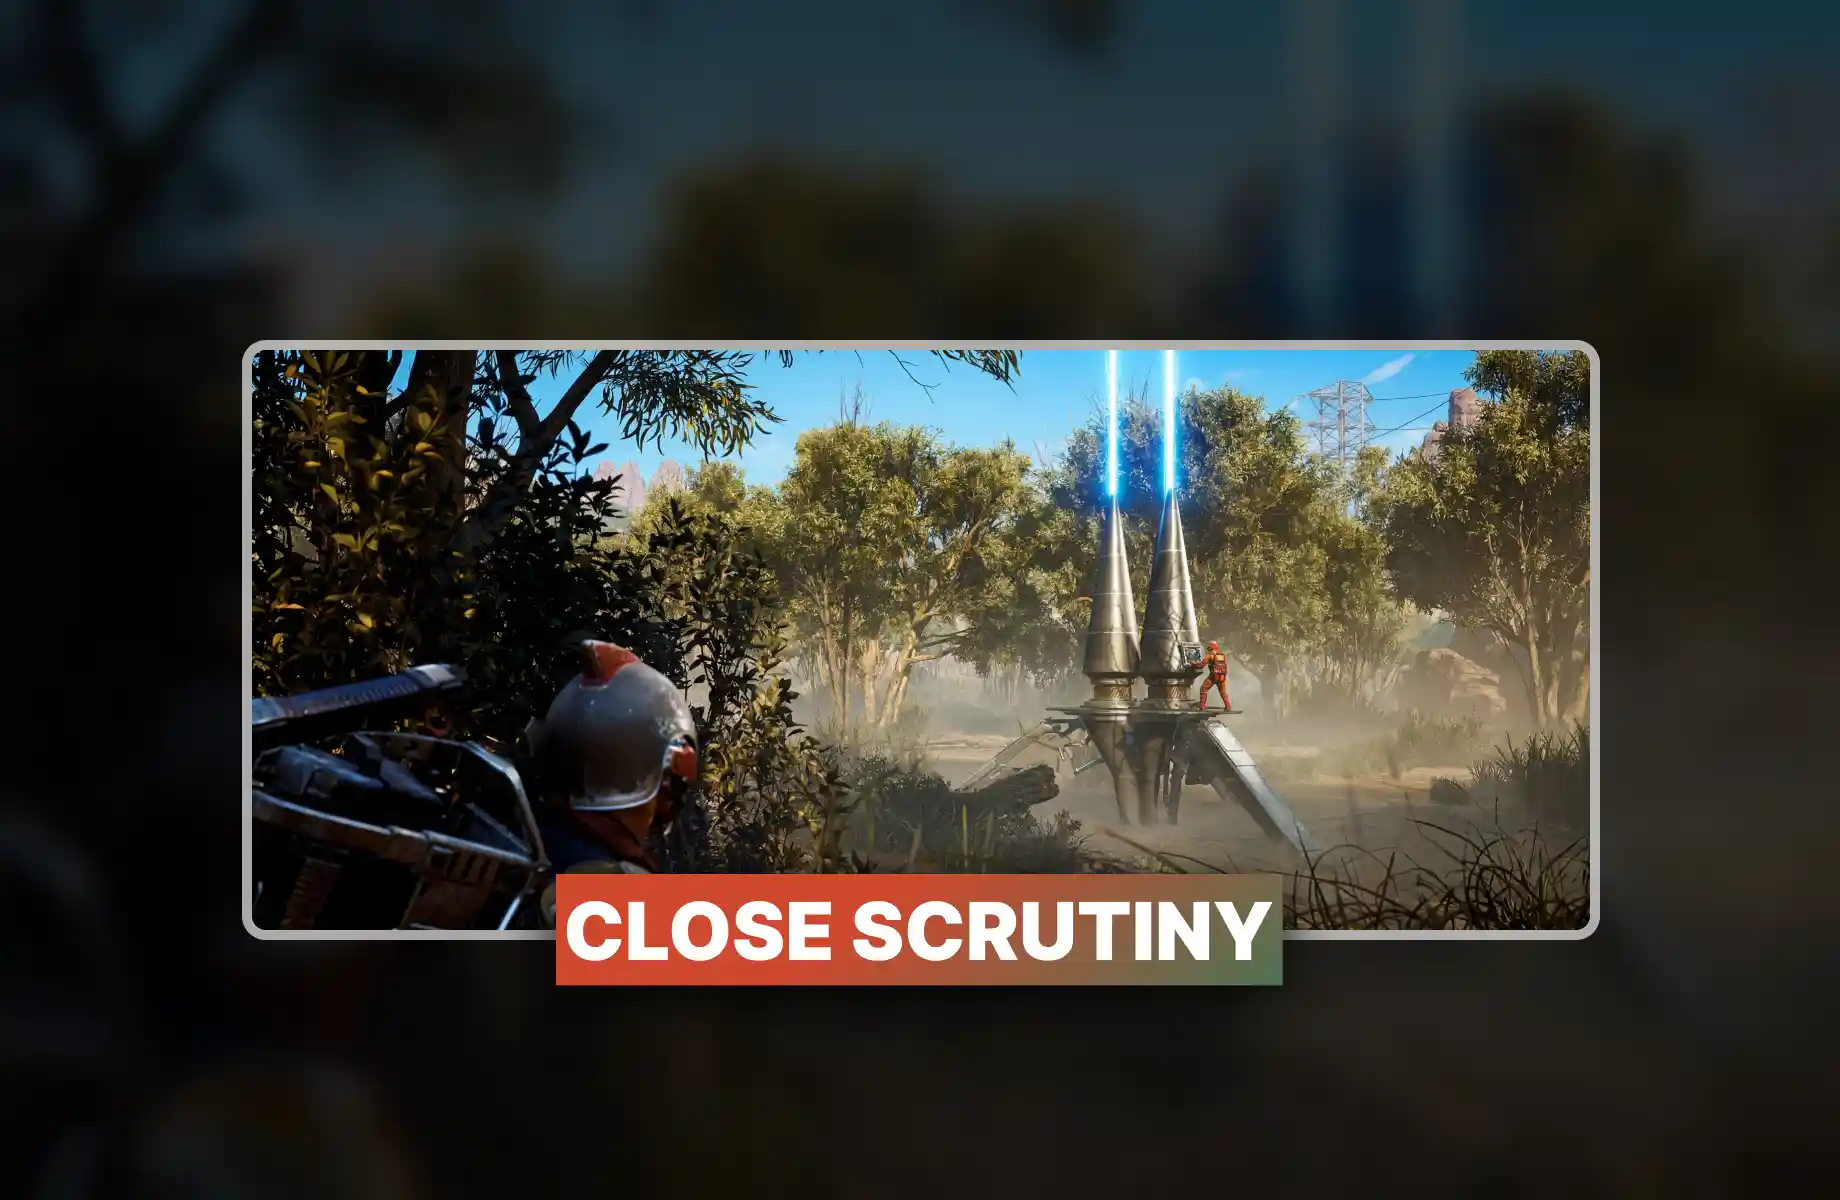
You need roughly 8 to 10 small flying ARC enemies, or alternatively two Rocketeers to hit the three-star threshold. The math is not subtle. The Close Scrutiny event is particularly relevant here because it throws Vaporizers at you, which score comparably to Rocketeers. Check the event timer when you drop in and plan accordingly.
The Hidden Bunker's North Trench Tower deserves a mention here: it provides excellent sightlines for flying enemies while keeping you out of the line of fire from other players. Set up mines or barricades, bring ranged weaponry, and let the points come to you. It is the rare case in this game where sitting still is the correct answer.
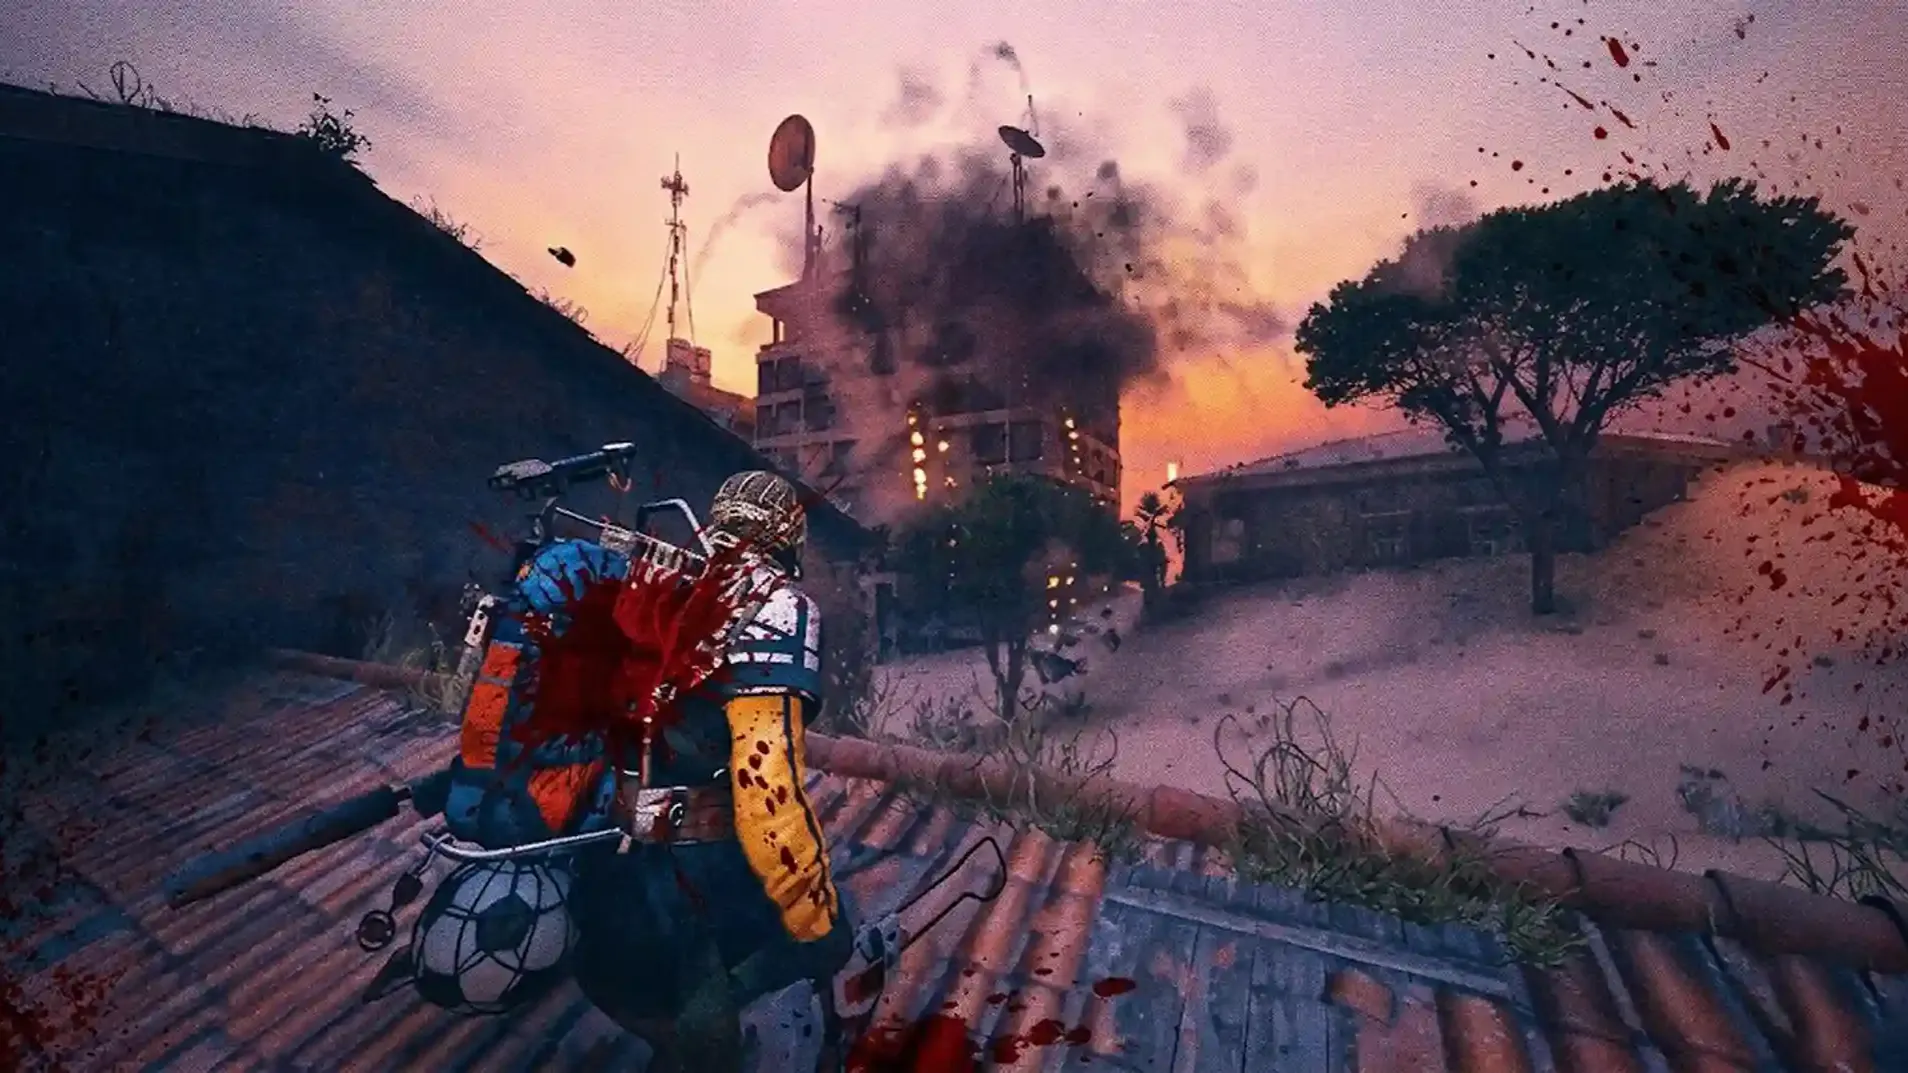
Ah. Here we are. The trial that everyone hates, nobody talks about honestly, and half the lobby is already racing toward before you have finished loading in. The Queen and Matriarch trial is the unambiguous low point of this week, and the game knows it, and it does not care.
The core problem is simple and maddening: you are not trying to kill the boss. You are trying to deal more damage to it than the eight other players who had the exact same idea and also read a guide. The moment the boss spawns, it becomes a chaotic group activity that nobody organized and everyone is failing at in their own special way.
Critical Rule If you die during the fight, all damage points are lost. This is not a joke. Extract alive or everything you just did was decorative. The game will not acknowledge your sacrifice.
The fastest way to deal burst damage to either boss is the Snap Hook + Deadline Mine combination. Mount the boss, place two Deadline Mines before jumping off, and immediately follow up with Wolfpack Grenades. Executed correctly, this delivers 2,700+ damage in under 10 seconds. Executed incorrectly, you are on top of a giant murderous robot with no good way down.
|
Boss |
Advantage |
Disadvantage |
Weak Spots |
|
Queen |
More health = more damage potential |
Harvester event brings all the players |
Leg joints, red core |
|
Matriarch |
Less player competition |
Follows you relentlessly, can be lured |
Leg joints, head vents |
The general consensus leans toward the Matriarch for lower competition. The Queen's Harvester event is a beacon for every player in the lobby, which means you will be sharing your precious damage output with a crowd of strangers who are also trying to get three stars and also brought Wolfpack Grenades. The Matriarch at least has the dignity of a more private encounter.
When targeting the Matriarch specifically, the vents under its head open up the core for additional damage. Hit those first. The Dam Battlegrounds walkways offer an excellent elevated position to manage its movements without getting stepped on, which is, objectively, a bad outcome for your health bar.
Realistically, anything above 4,330 points gets you three stars. You can absolutely hit 6,000 to 8,000 on a good run. Anything close to 15,000 means you essentially soloed the boss and deserve some form of recognition that the game will not provide.
This is the palate cleanser of the week. After the psychological damage of the Queen trial, the game offers you this: walk up to a fallen machine, press a button, get 1,334 points. You need to do this approximately three times. That is the entire trial. Cherish it.
1,334 pts/per probe searched; need 3 for three stars, do 4 to be safe
The optimal condition for Arc Raiders probe farming is Electromagnetic Storm on Spaceport. Storm conditions dramatically increase the number of probes falling from the sky, and Spaceport's flat terrain makes them visible and accessible. You can realistically hit 30,000 to 40,000 points in a single run under these conditions. This is the game being generous. Accept it without suspicion.
The trial tracks whether you personally breached and searched the probe. It does not require you to actually pick anything up from it. More helpfully, it does not matter if another player has already opened the probe; as long as you search it yourself, it counts toward your progress. This is one of the few cases in this game where other people's effort directly benefits you. Enjoy the novelty.
If you are running this with a squad, assign each player a zone of the map. Three zones, three probes minimum, done in under fifteen minutes. If you are playing solo, use Adrenaline Shots to maintain movement speed and cover the search area efficiently. The ARC probe search tips are genuinely this simple. The rest of the week was not. Take the win.
The final trial of the season is, fittingly, the most mentally unchallenging thing this game has asked of you all season. Go to Bluegate. Open things. Collect points. That is the trial. The game spent eight weeks building up to this.
The Traffic Tunnel area covers three connected zones: the Security Wing, the main Traffic Tunnel, and the Maintenance Wing. Every single lootable object in this entire area counts toward your progress. Lockers. Boxes. Cars. Everything. The containers inside the traffic tunnel trial is essentially asking you to do what you were already doing anyway, just in a specific location.
|
Point Multiplier |
Points per Container |
Containers Needed for 3 Stars |
|
1x Condition |
100 pts |
40 |
|
2x Condition |
200 pts |
20 |
Mandatory Note This trial can ONLY be completed on Bluegate. Not Spaceport. Not anywhere else. Bluegate. If you are currently in a different map wondering why your container searches are not registering, now you know.
The single highest-leverage decision you can make for this trial is choosing a 2x condition run. Locked Gate, Electromagnetic Storm, and Night Raid all qualify. At 200 points per container, you need 20 opens to hit three stars. The tunnel area has well over 30 lootable objects if you hit every wing. You will be done before you have time to feel anything about it.
Watch for the Shredder patrolling the tunnel. It does not need to become your problem, and it very much will become your problem if you ignore it. Let it pass before you start methodically looting, or bring something capable of dealing with it quickly. The Bluegate traffic tunnel loot guide is mostly just this: avoid the robot, open the boxes, leave.
Between 20,000 and 30,000 total points is realistic for an attentive run. There are enough containers in the area that three stars is essentially guaranteed if you are moving efficiently and not getting distracted by player conflict. This is the season finale trial. It is supposed to feel easy. It is not a trick.


• Fast Buried City completion
• Guaranteed loot and rewards
• Secure professional raid carry
You do not need a different loadout for every trial, because most of this week happens to reward the same core selection of weapons. The game has, perhaps accidentally, designed a week where one thoughtful loadout covers four out of five objectives without modification. The remaining objective (the Queen) requires you to bring things you might die anyway.
|
Gadget / Weapon |
Primary Utility |
Tactical Use Cases |
|
Hullcracker |
High core damage & armor destruction. |
Best for Queen/Matriarch cores; efficiently shreds Firefly armor. |
|
Jupiter |
Long-range precision suppression. |
Targets flying ARC enemies and Firefly gas tanks; rewards accuracy. |
|
Wolfpack Grenades |
High-burst explosive damage. |
Essential for boss phases and Rocketeer takedowns; throw from cover. |
|
Anvil / Bettina |
Budget-friendly heavy response. |
Serviceable against heavies; struggles to reach 4k damage on the Queen. |
|
Deadline Mines |
High-skill burst combo. |
Combine with Snap Hook; plant two mines on a boss before dismounting. |
|
Snap Hook |
Versatile mobility & utility. |
Used for boss mounting, accessing rooftop probes, and quick escapes. |
|
Lure Grenades |
Tactical repositioning. |
Moves enemies toward probes; pulls Matriarchs away from bad terrain. |
|
Seeker Grenades |
Passive Firefly suppression. |
Effective against Fireflies without requiring precise aim; beginner-friendly. |
If you are running solo and want to cover most trials in a single drop, the ideal setup is a Jupiter primary, Wolfpack Grenades, Snap Hook, and two Deadline Mines. This covers Fireflies, flying ARC enemies, and gives you viable options against the boss. It will not cover the Traffic Tunnel, but that trial is a different map entirely and requires nothing more than a functional pair of hands.

The final Arc Raiders season trials are live. Our 3-star guide covers all 5 objectives with point values, best maps, weapons, and strategies.

The final Arc Raiders season trials are live. Our 3-star guide covers all 5 objectives with point values, best maps, weapons, and strategies.

The final Arc Raiders season trials are live. Our 3-star guide covers all 5 objectives with point values, best maps, weapons, and strategies.

The final Arc Raiders season trials are live. Our 3-star guide covers all 5 objectives with point values, best maps, weapons, and strategies.

The final Arc Raiders season trials are live. Our 3-star guide covers all 5 objectives with point values, best maps, weapons, and strategies.

The final Arc Raiders season trials are live. Our 3-star guide covers all 5 objectives with point values, best maps, weapons, and strategies.

The final Arc Raiders season trials are live. Our 3-star guide covers all 5 objectives with point values, best maps, weapons, and strategies.

No. You only need to deal damage. Extract alive and the points count regardless of who lands the kill.
Yes. Search the probe yourself and it counts, even if someone else already breached it first.
No. The traffic tunnel only exists on Bluegate. This trial is Bluegate-exclusive, full stop.
Probes on Electromagnetic Storm Spaceport. Three searches, done. Fastest 3-star trial of the week.
Matriarch. Queen's Harvester event draws a crowd. Less competition means more damage opportunity for you.

GTA 6, new seasons, major updates — get ready to dominate from day one