
Arc Raiders Boost
ARC Raiders Riven Tides. Yes. Again New guide based on Leaks
The Arc Probe Trials won't wait for you to figure it out. Master Spaceport Electromagnetic Storm, crash probe stacking, and duo routing before you was
You have elected to spend your precious time crawling through a map infested with bastions, leapers, and rocketeers: all in pursuit of little glowing canisters that reward you with points you will absolutely lose if a single thing goes wrong before extraction. Welcome to the Arc Probe Trials.
The good news: the Spaceport Electromagnetic Field map is, objectively, your best chance at not wasting everyone's time. Each opened probe is worth 667 points under normal conditions. During a major map condition like night or an electromagnetic storm, that jumps to 1,334 points. So yes, weather matters. Learn to read a calendar.
Hard Rule #0 Your score only counts if you extract alive. Dying with 69,000 points is worth exactly zero. Keep that in your skull at all times.
The trial asks you to open arc probes: either active or crashed variants. To register a score, you or a teammate must search a compartment after the probe is breached. On a regular non-crash probe, one compartment is enough. Don't overthink it. Breach, search, move.
Not all maps are created equal, and somehow this surprises people. The Spaceport map is the undisputed king for this trial: highest probe density, best crash probe clustering, and the most favourable enemy distribution if you're not a complete glutton for punishment. Your second option is Dam Battlegrounds. Use it if you can't hit Spaceport's daily window, not because you're feeling adventurous.
|
Map |
Probe Density |
Best Condition |
Verdict |
|
Spaceport |
Highest |
Electromagnetic Storm |
Use This |
|
Dam Battlegrounds |
High |
Electromagnetic Storm |
Fallback |
|
Anything Else |
Why |
Please Don't |
Go Home |
Spaceport Electromagnetic only runs once per day. Queue at the top of the hour when it activates. The lobby fills with other probe farmers: not trigger-happy maniacs: which means you might actually get to complete a run without becoming a cautionary tale in someone else's highlights.
During an electromagnetic field event, crash probes spawn in abundance across the map. You can spot them by looking for smoke rising in the distance, or by doing something radical: opening your map. Probe icons appear on it in real time. Use this. Constantly. If you're physically sweeping every corner without checking your map, you're doing a museum tour, not a trial run.
Probe Spawn Logic Named locations: Fuel Storage, Fuel Processing, Fuel Lines, and similar POIs: spawn probes in groups of three. Find one, start looking for the other two. Open areas between POIs may only have solo or paired crash probes. Don't waste three minutes hunting a third that doesn't exist.
Here's the part everyone overlooks: you can open a probe that has already been breached and looted, and it still counts toward your score. The probe doesn't need loot inside it. You just need to open it. This mechanic is what makes the trial survivable at all: by the time you reach the interior zones, other players will have been through first. That's fine. Open it anyway. Every one still counts.
Within your squad, every probe any member breaches counts toward everyone's score. That's the entire argument for running in a duo or trio. Solo probe farming caps you at roughly 40–45K points on a perfect run. Duos and trios push that to 55–70K+. Do the math, then go find a friend.
|
Mode |
Ceiling (Estimated) |
Key Factors |
|
Solo |
~42,000 pts |
Requires a perfect "Night Raid" run. Solos usually focus on high-value targets like Bastions (2,000+ pts) or Rocketeers (1,300+ pts). The ceiling is limited by the inventory space for rare loot and the risk of being third-partied during extraction. |
|
Duo |
~57,000 pts |
Benefit from shared objective points. One player typically "aggros" the ARC while the other focuses on objective completion (e.g., Prospecting Probes). This synergy allows for a 35% increase over solo performance. |
|
Trio |
~70,000+ pts |
The current meta for leaderboard pushing. Trios can split to clear separate "Hidden Bunker" events. If all three players extract with high-tier resources during a 2x multiplier window, the score can exceed 75K in a single session. |
The yellow zones on your mental map are where you might find a stack of three crash probes. The red areas are must-check: typically two to three stacks of three: but they are vigorously defended by leapers, bastions, rocketeers, and the occasional decision to question your life choices. Solo players should approach these with a level of caution that might be described as "cowardly" by people who've never been launched off a rooftop by a leaper mid-breach.
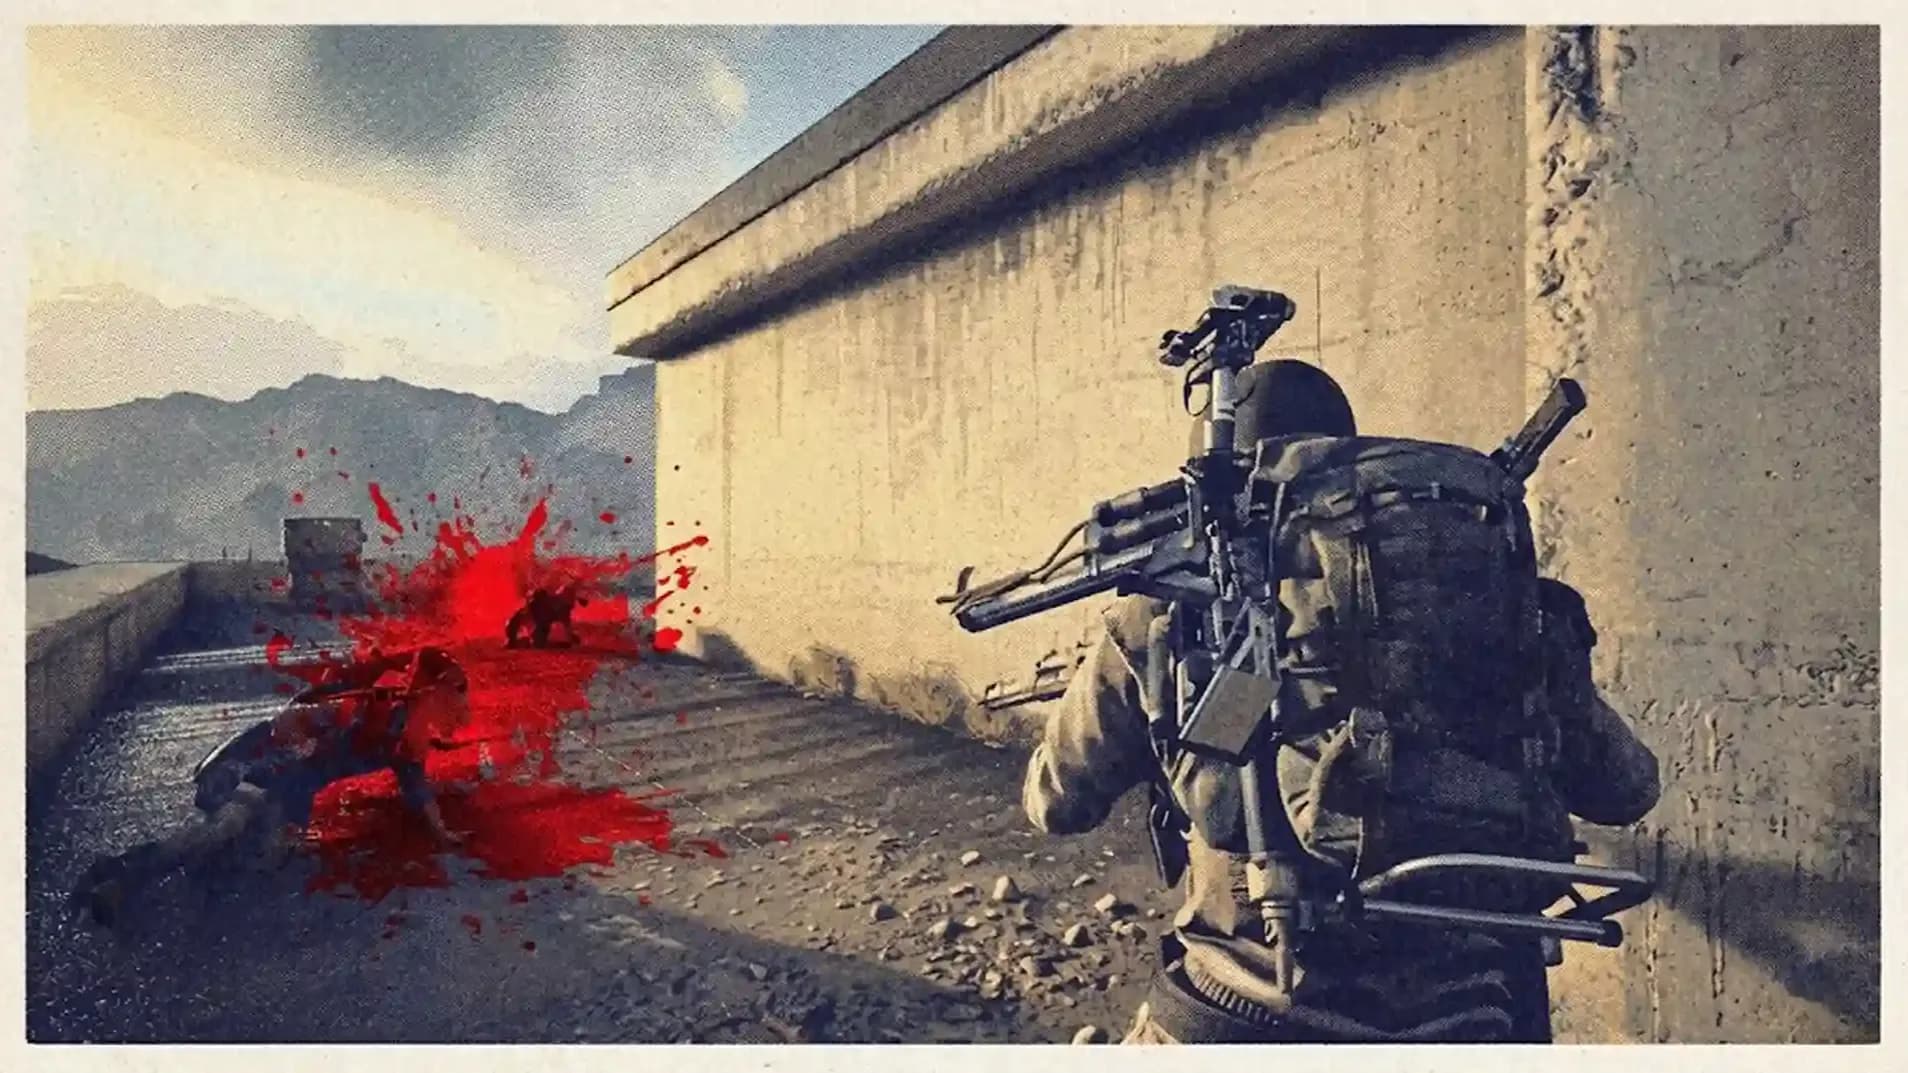
Reminder You Should Not Need The goal is probes, not a kill count. Every second spent in a firefight is a second not spent opening something that actually scores you points. Cloak, dodge, skip. Fight only when there is genuinely no other option.
Speed and survivability. That's the entire loadout philosophy for an Arc Raiders trial probe run. You are covering the entire map in under 40 minutes. You are not camping a corner. You are not looting every crate. You are a person with a mission and absolutely no time for hobbies.
|
Item |
Quantity |
Purpose |
|
Adrenaline Shots |
~15 |
You are sprinting. The entire match. Bring plenty. |
|
Ziplines |
12+ |
Vertical movement without running to a wall. Spaceport has rooftop probes. This is not optional. |
|
Snap Hook |
1–2 |
Quick close-range repositioning. Use when a zipline is overkill. |
|
Wolf Packs |
Many |
For leapers and rocketeers blocking probe clusters. Bring more than you think you need. |
|
Hole Cracker |
1 |
Handles smaller Arc enemies fast. Keeps engagements from becoming time sinks. |
|
Photoelectric Cloak |
1 |
Your "I don't want to deal with this rocketeer" button. Use it liberally. |
|
Smoke Grenades |
A few |
Breach probes near bastions and bombaders without trading your health for points. |
|
Herbal Supplies |
Standard |
Basic healing. Nothing fancy. You're not here for fashion. |
|
Light Shield |
1 |
Faster movement than a blue shield. Speed beats protection on a probe run. Always. |
L grenades are theoretically useful but, per most reports, largely untested for this specific trial format. If you're experimenting with them in a high-stakes run, that's your problem. Stick to the kit above until you genuinely know what you're doing.
The best probe route follows one ironclad rule: circle the outer perimeter first, then sweep inward. Never zigzag between interior and exterior zones. Doing so is how you double your travel time, halve your probe count, and end the match feeling like you've accomplished something while your scoreboard quietly disagrees.
The Core
Where you spawn and where the final extraction sits will dictate exactly how you adjust the. Passing near an extraction point early increases the chance of hostile enemies being present: but if you're lucky, it also means interior probes may already be breached by earlier players, saving you both time and ammunition.
The outskirts approach is the safest solo line: stay on the exterior, hold your expensive explosives until you need them, and choose whether to enter contested interior zones only if your time and points allow. Efficiency over ego. The score multiplier doesn't care how brave you were: only whether you extracted.
Timing is Everything Saving two seconds per probe over 30+ probes is a full extra minute. That's one or two more probes. Which is sometimes the difference between a decent score and a record one. Stop fighting things you don't need to fight.
Solo is a perfectly valid option if your definition of "valid" includes accepting a hard ceiling around 40–45K and watching duos post 60K scores from the comfort of their cooperative lobbies. A duo or trio strategy doesn't just feel better: it mathematically is better. You split the map. You share the total. Every probe your teammate opens also goes on your score. This is not a trick. It's the entire reason the mechanic exists.
For trios targeting Cantina Legend rank, the play is: coordinate a three-way map split in a lobby that queued at the top of the Electromagnetic Storm hour. Most players in that window are there to farm, not fight. You move faster, you cover more ground, and nobody is trying to shoot you while you're elbow-deep in a probe compartment. The rare exception is a hostile player, which is why photoelectric cloak still earns its slot in every loadout regardless of squad size.


• Fast Buried City completion
• Guaranteed loot and rewards
• Secure professional raid carry
The Arc Probe Trials won't wait for you to figure it out. Master Spaceport Electromagnetic Storm, crash probe stacking, and duo routing before you was

The Arc Probe Trials won't wait for you to figure it out. Master Spaceport Electromagnetic Storm, crash probe stacking, and duo routing before you was

The Arc Probe Trials won't wait for you to figure it out. Master Spaceport Electromagnetic Storm, crash probe stacking, and duo routing before you was

The Arc Probe Trials won't wait for you to figure it out. Master Spaceport Electromagnetic Storm, crash probe stacking, and duo routing before you was

The Arc Probe Trials won't wait for you to figure it out. Master Spaceport Electromagnetic Storm, crash probe stacking, and duo routing before you was

Spaceport during Electromagnetic Storm. Highest probe density, runs once a day, farmers outnumber fighters.
Yes. Open every probe you find regardless of loot status. The act of opening it registers the score.
1,334 points per probe. Double the standard rate. This is why the storm window matters so much.
No. Solo hard-caps around 40–45K on a near-perfect run. Find a duo or accept the ceiling.
Find a single stack of three crash probes during the storm. That alone covers the 4K threshold.

GTA 6, new seasons, major updates — get ready to dominate from day one