







WoW Boost
WoW Trading Post April 2026 Guide
Blizzard hid a whole fourth phase in Mythic L'ura. Here's your guide to Heaven & Hell, Sha waves, and killing a boss that already said no once.
This guide focuses exclusively on Phase 4: the secret phase. For Phases 1 through 3, the rest of the internet exists. You presumably survived those phases to get here, so we will charitably assume you understand how Death's Dirge works, what happens in the Darkwell, and why your Dawn Crystals keep shattering in Phase 3. If not: reread Phase 3 until you deserve Phase 4.
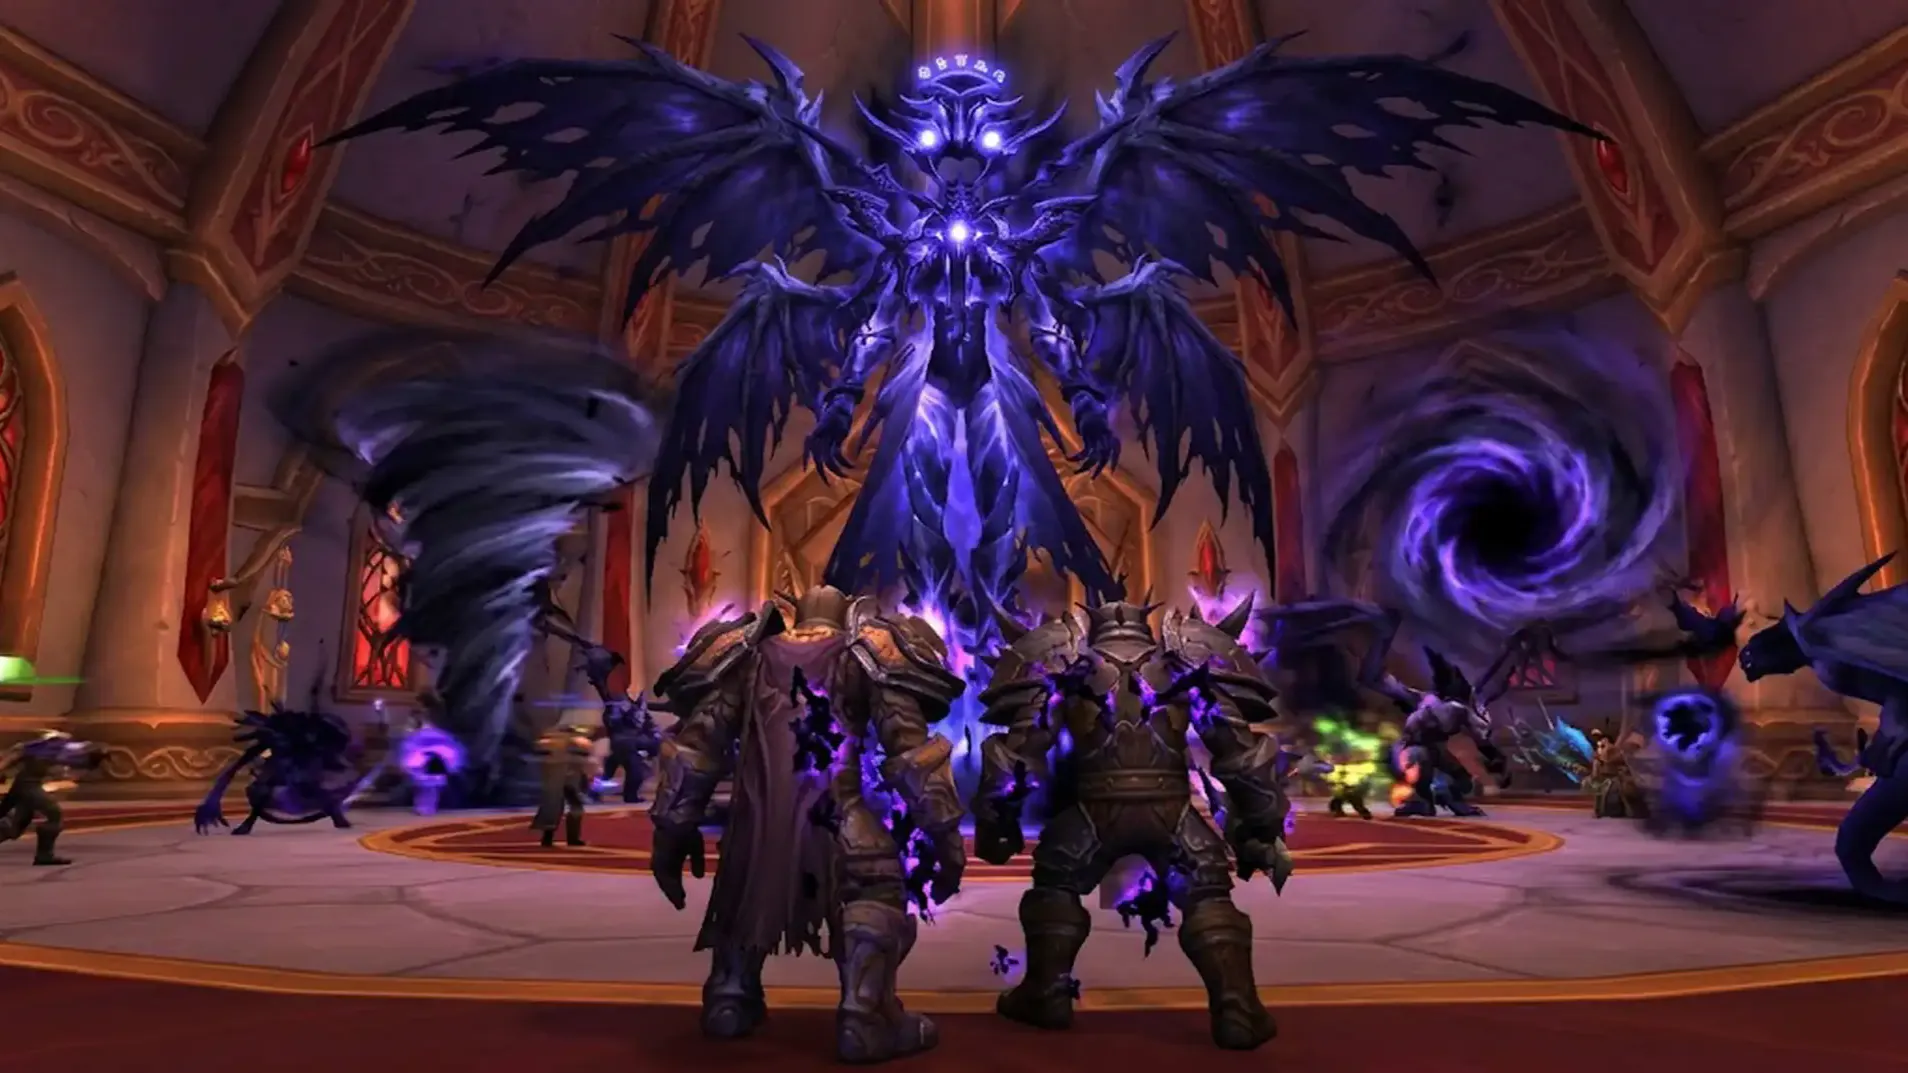
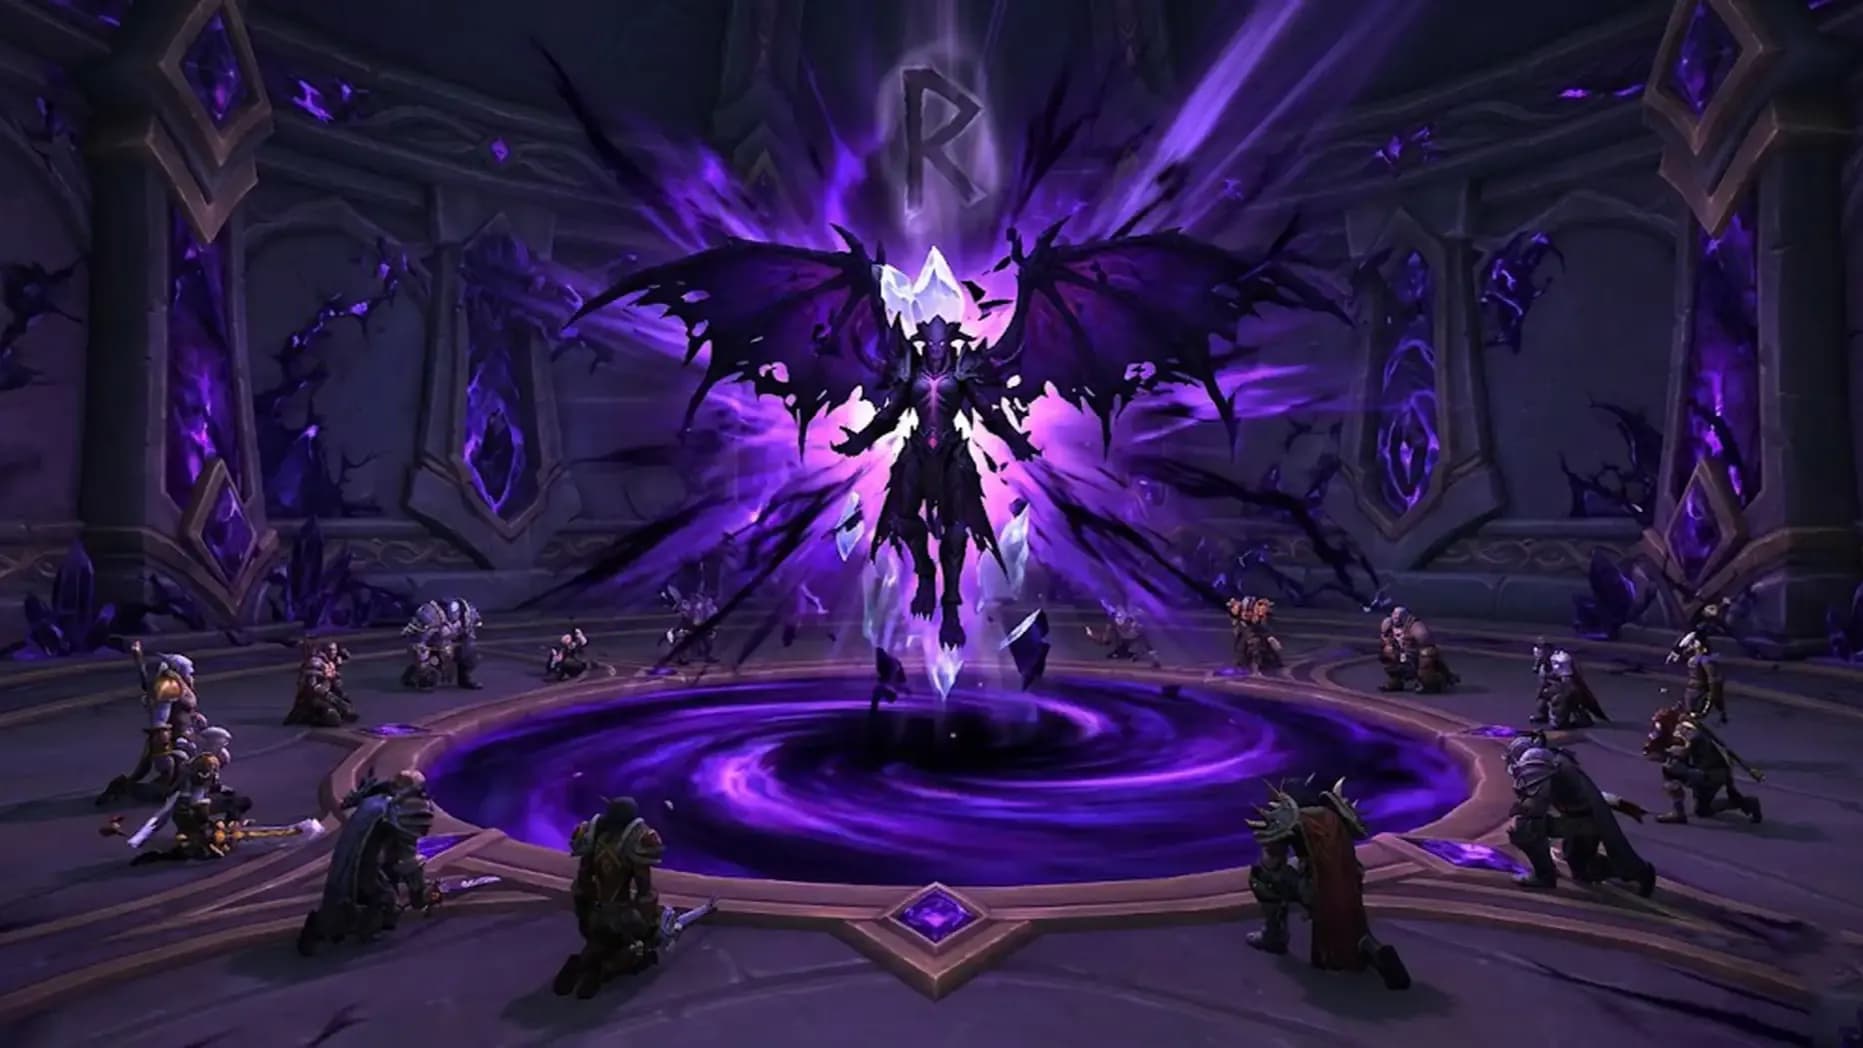
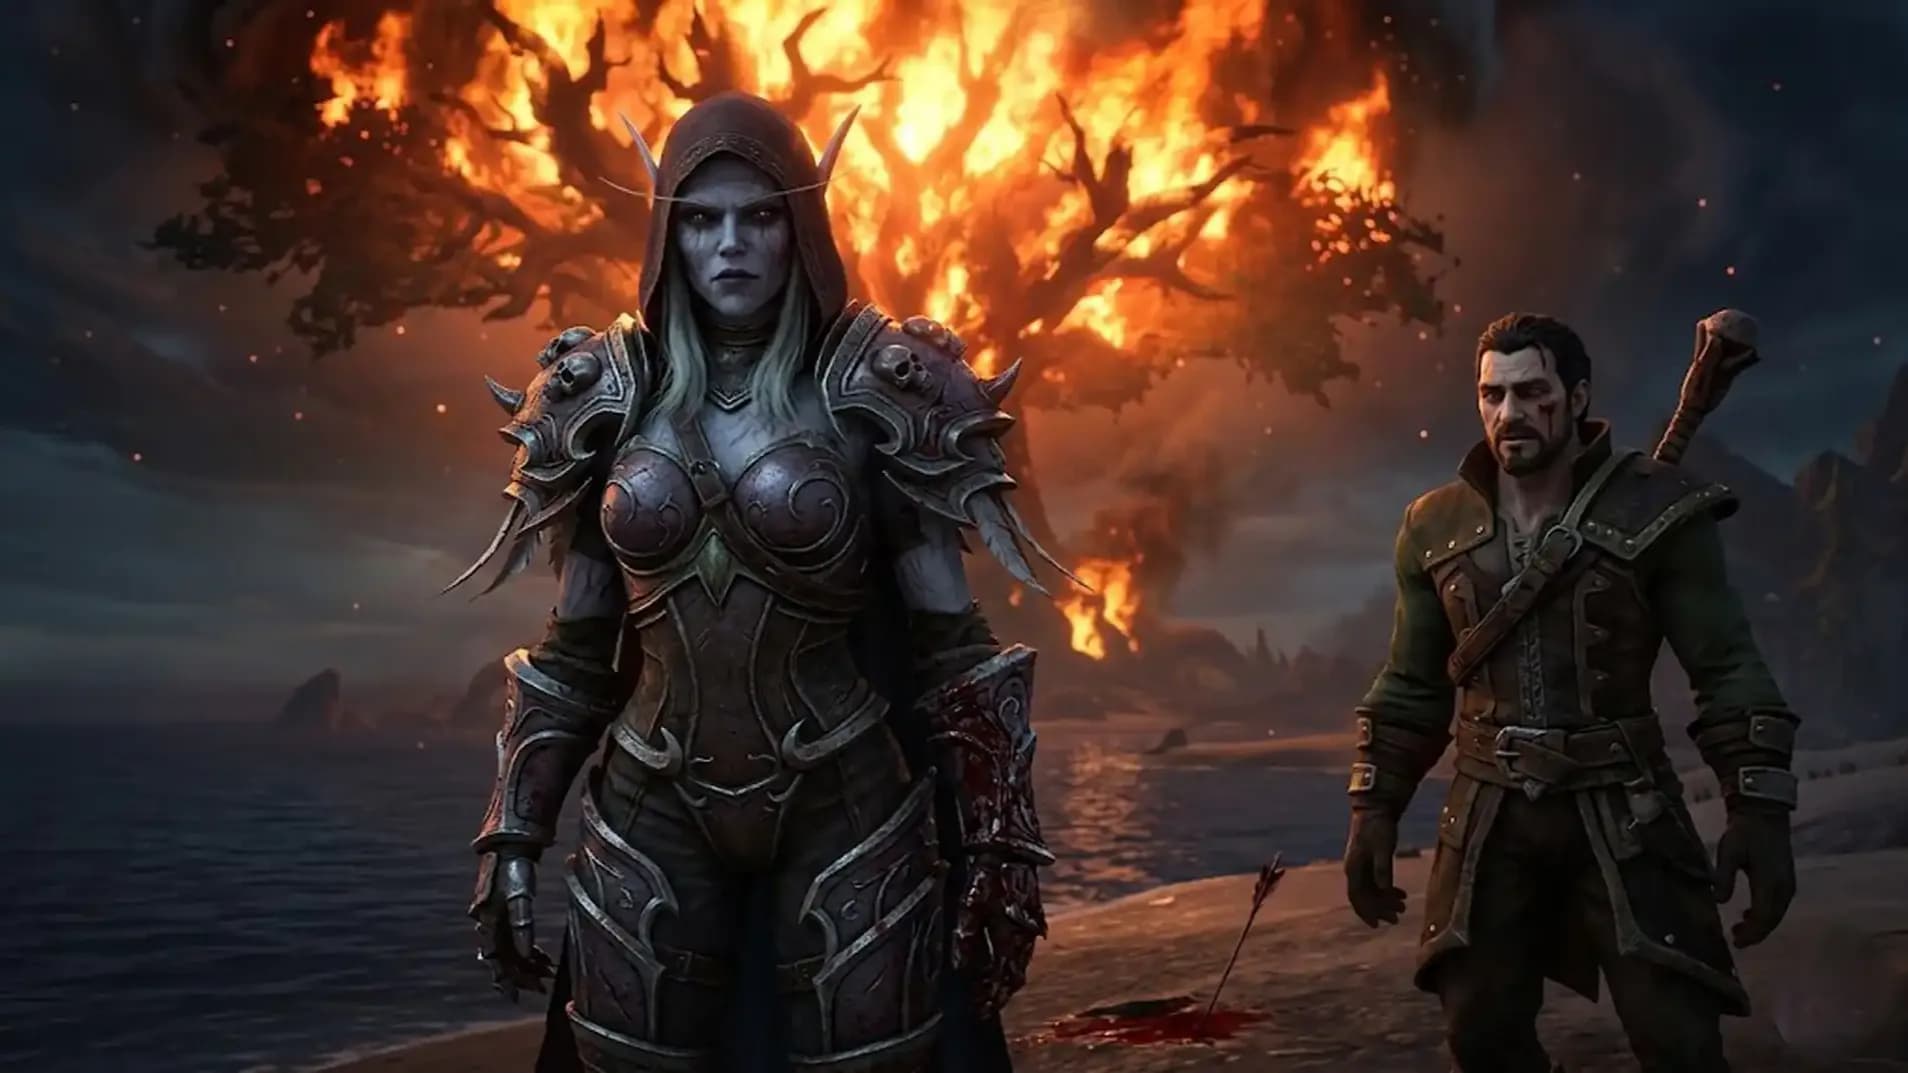
Phase 4 is triggered when L'ura reaches 0% health for the first time during Phase 3. Rather than dying like a normal boss that respects your time investment, she casts Reintegration, reforms with 100% health, and transforms into her Dark Archangel form. The phase is exclusive to Mythic difficulty and was not discoverable through conventional testing, having been deliberately hidden from datamining during the beta period.
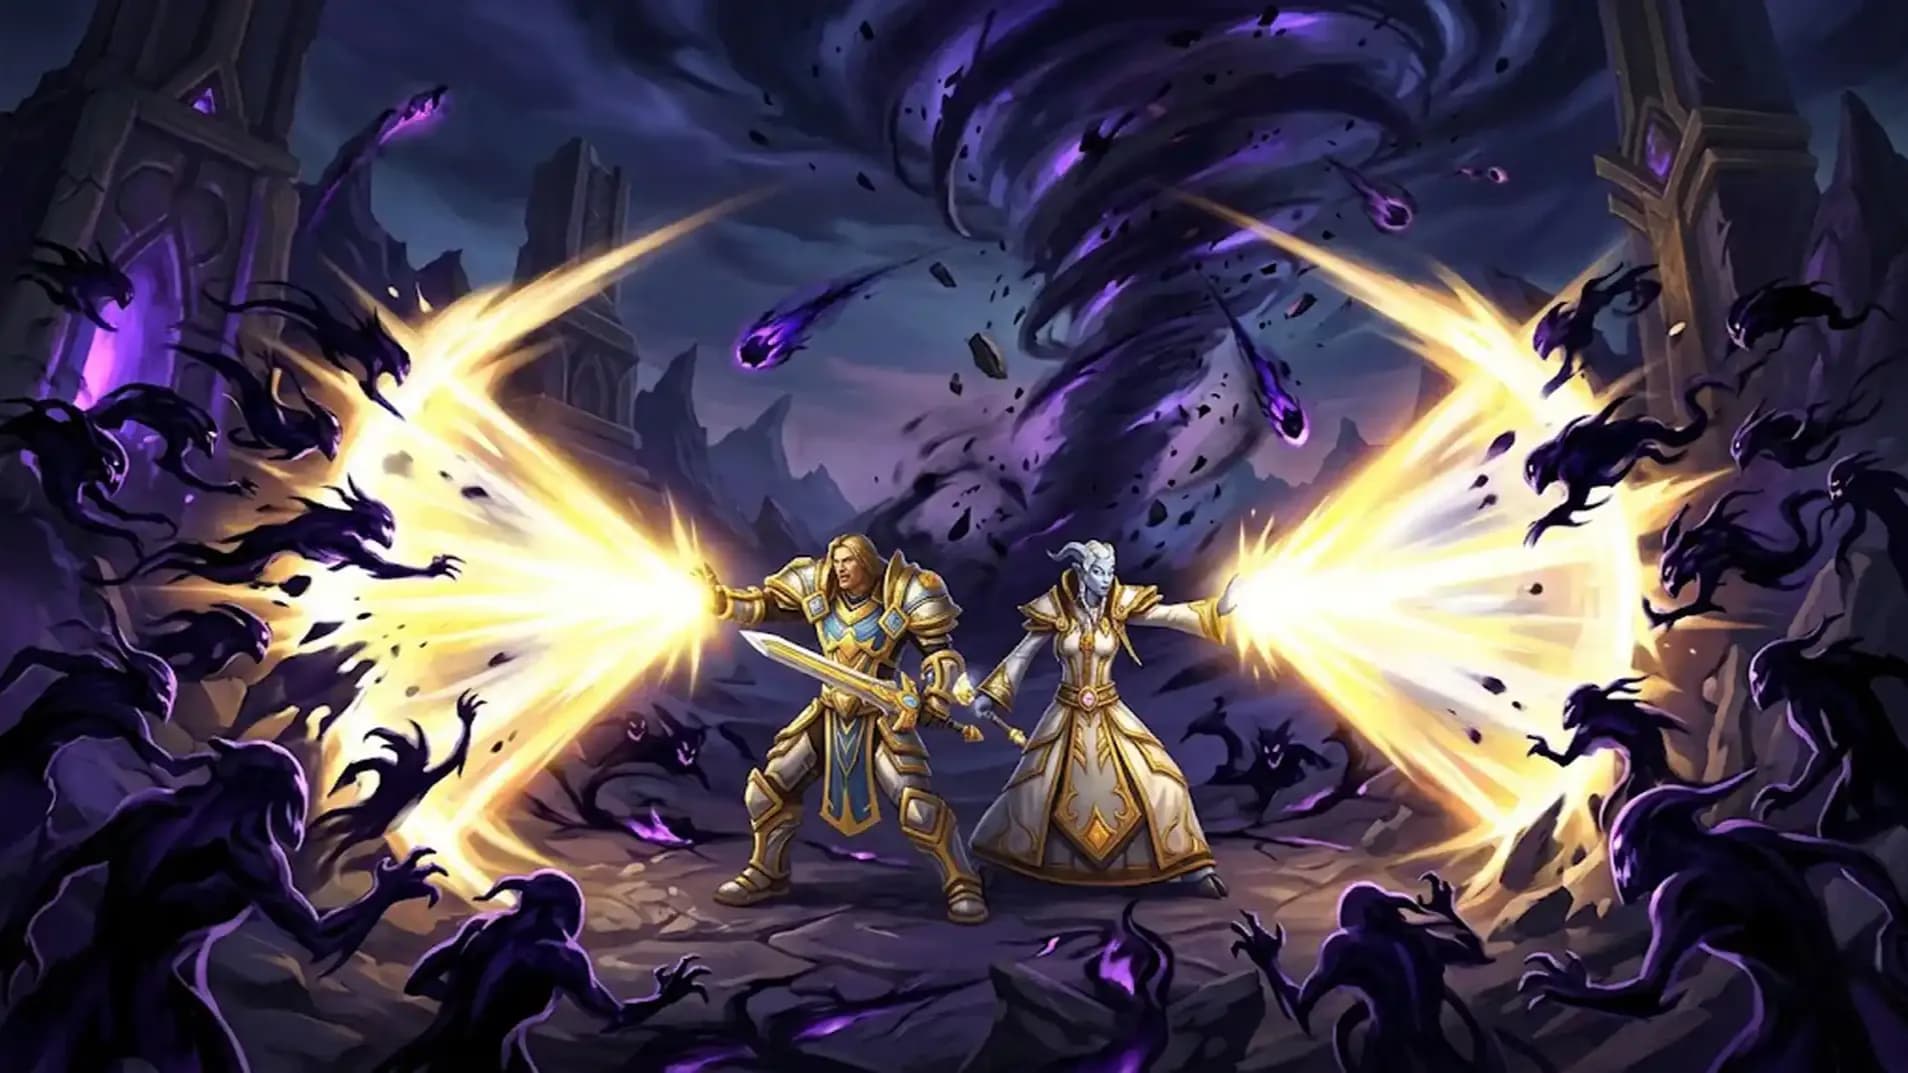
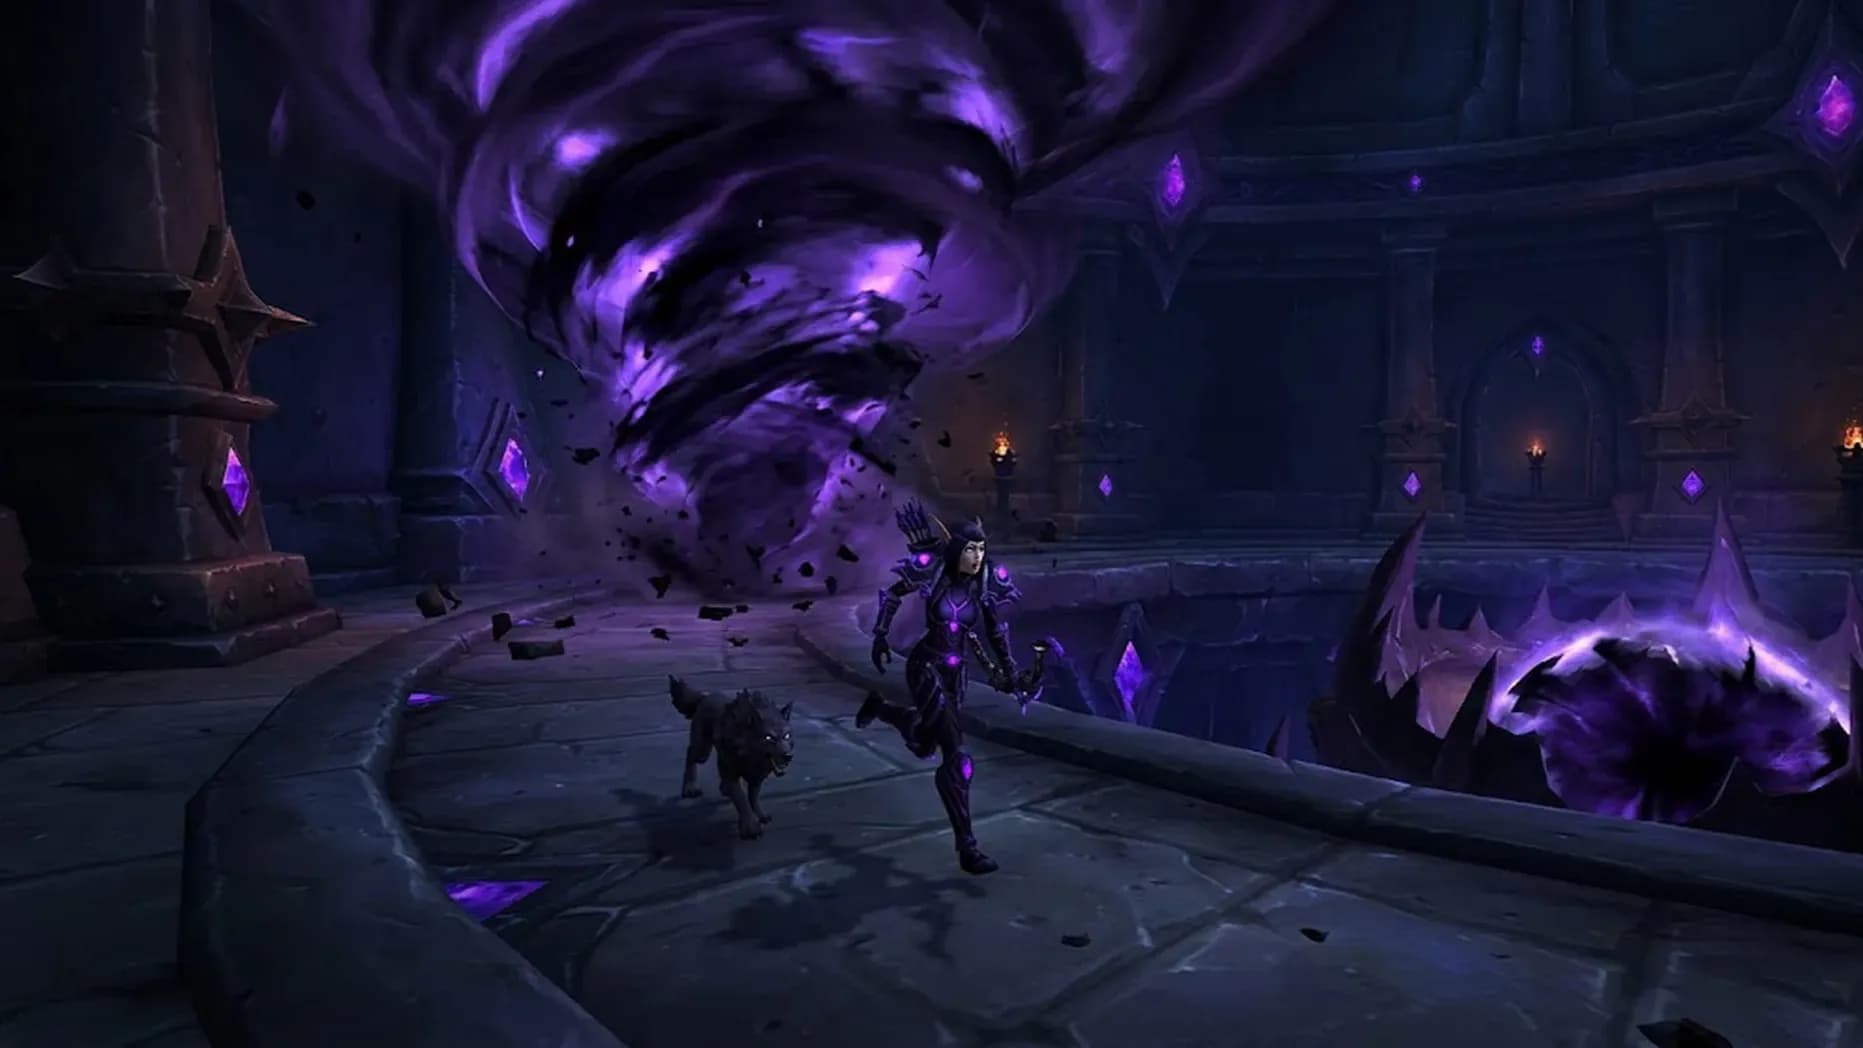
The phase begins with a new environment state: the Darkwell surges with intensified void energy, the room floods with shadowy Sha constructs summoned in constant waves, and L'ura immediately begins casting Heaven & Hell: a massive void-tornado that targets a single player and follows them relentlessly around the room.
The apparent compensation for having to kill the boss twice from full health is that raiders deal bonus damage throughout Phase 4. Do not let that comfort you. "Bonus damage" is Blizzard's polite way of saying "you will need every percent of World of Warcraft mounts."
Phase 3 ends when L'ura reaches 0% HP. She does not die. She casts Reintegration and resets to 100% health. Phase 4 begins immediately with no pause. Players who celebrate and remove their headsets are no longer your problem: or yours is now a 19-man progression group. Healers should use a raid cooldown immediately on transition.
|
Ability |
Role |
Description |
Response |
|
ALL |
Targets one player with a massive void-tornado that follows them around the room continuously. Deals heavy Shadow damage to players within its radius. |
The targeted player must kite this away from the group at all times. Do not stop moving. Do not run through your raid. Do not run into a wall like a frightened rabbit. |
|
|
ALL |
The phase-transition cast. L'ura reforms at 100% health upon reaching 0% in Phase 3. This is not a bug. It was intentional. Blizzard is aware of your feelings. |
Pop raid healing cooldowns immediately. If you were celebrating, stop. If you were not in your chair, get in your chair. Resume the encounter as though your evening has not already gone on far too long. |
|
|
DPSSpecific |
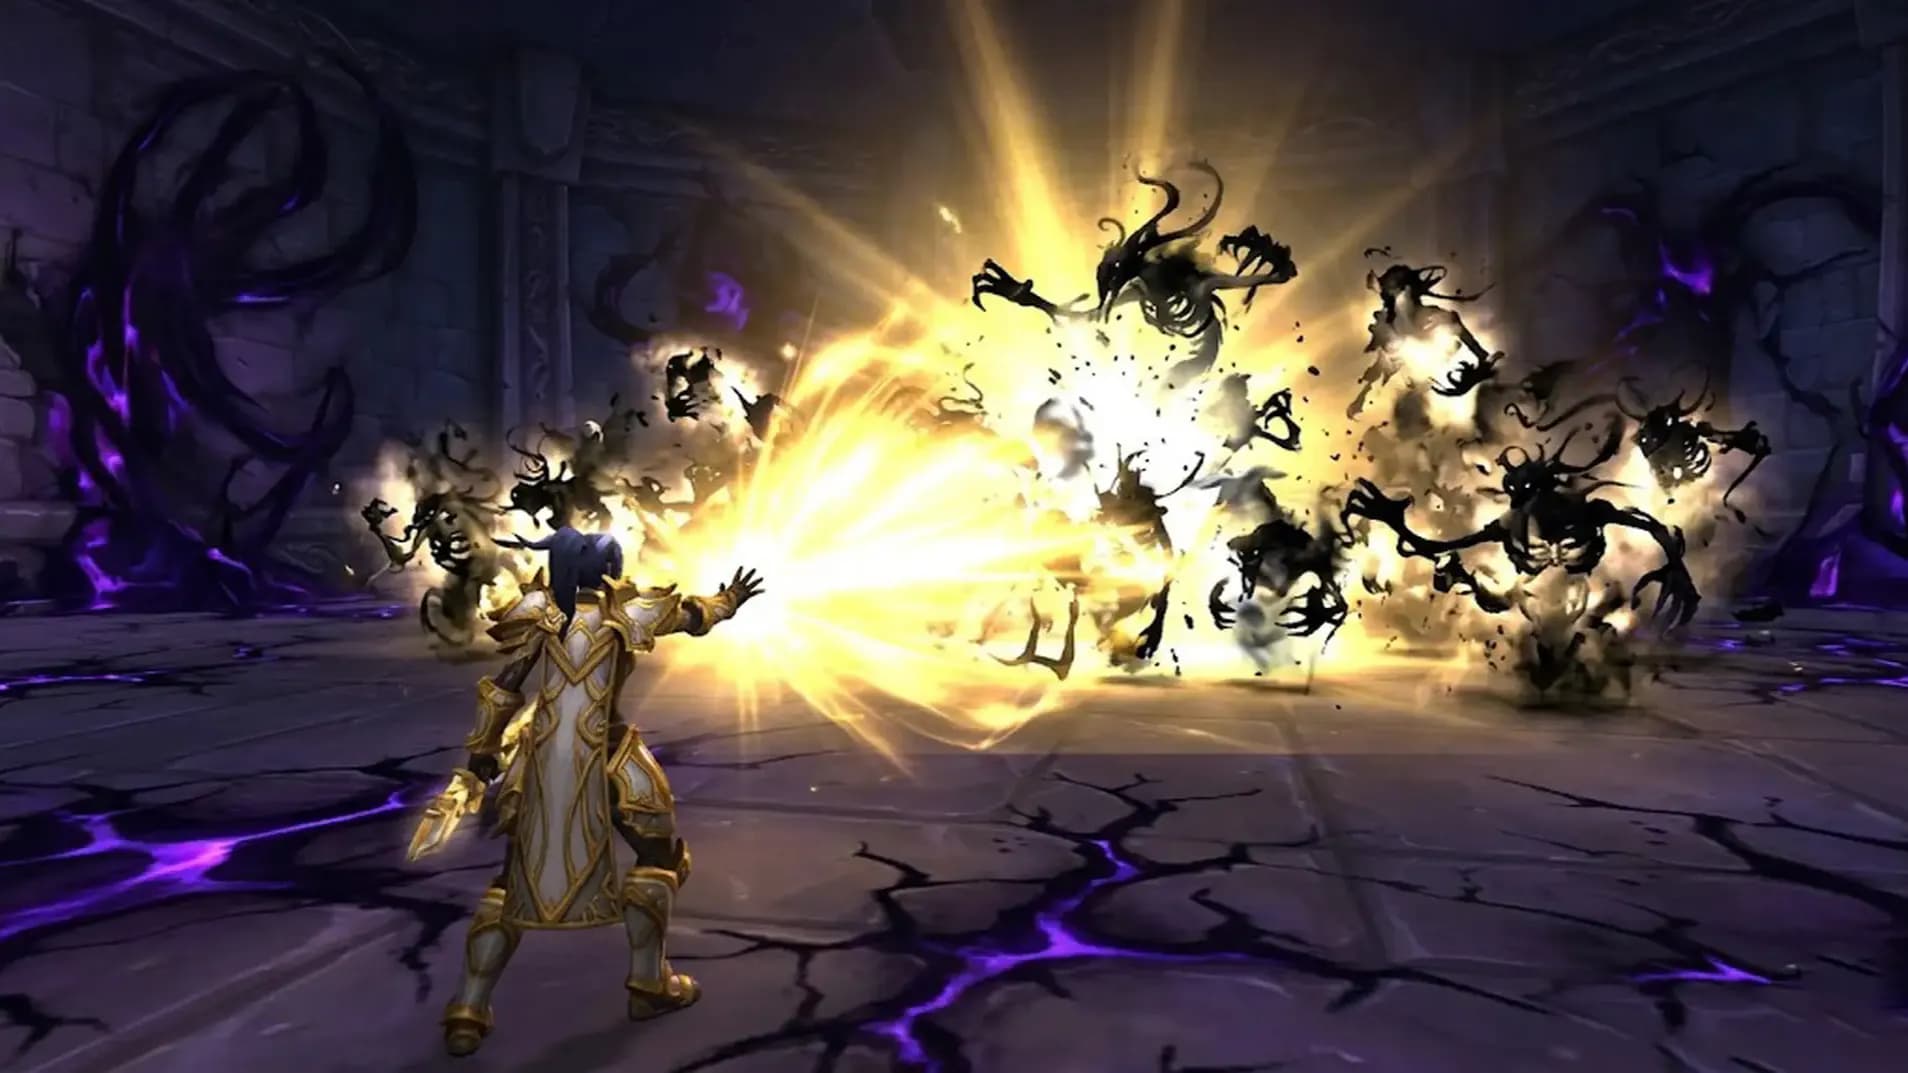
An Extra Action Button available only to select players. Fires a frontal cone of holy light that destroys Sha constructs within its radius. The only reliable way to clear adds in bulk. |
Designated Last Light players should position themselves to hit the maximum number of Sha per cast. Communicate. Do not waste this cooldown clearing two adds when twelve are behind you. |
|
|
Sha Wave |
ALL |
Constant, relentless spawning of shadowy Sha constructs from the edges of the room. They pursue players and deal damage on contact. The frequency is described, accurately, as "constant." |
Non-Last Light players must kite, dodge, and contribute single-target cleave to manage add density. Do not allow stacks to build. The Last Light bearers are the primary cleave tool: protect their positioning. |
|
ALL |
L'ura showers the chamber in infinite darkness, dealing sustained Shadow damage to all players for 25 seconds. A punishing raid-wide that layers on top of the existing chaos. |
Major healing cooldowns. Stack players loosely to enable AoE heals. DPS should not sacrifice uptime for positioning during this window: stand still and tunnel. |
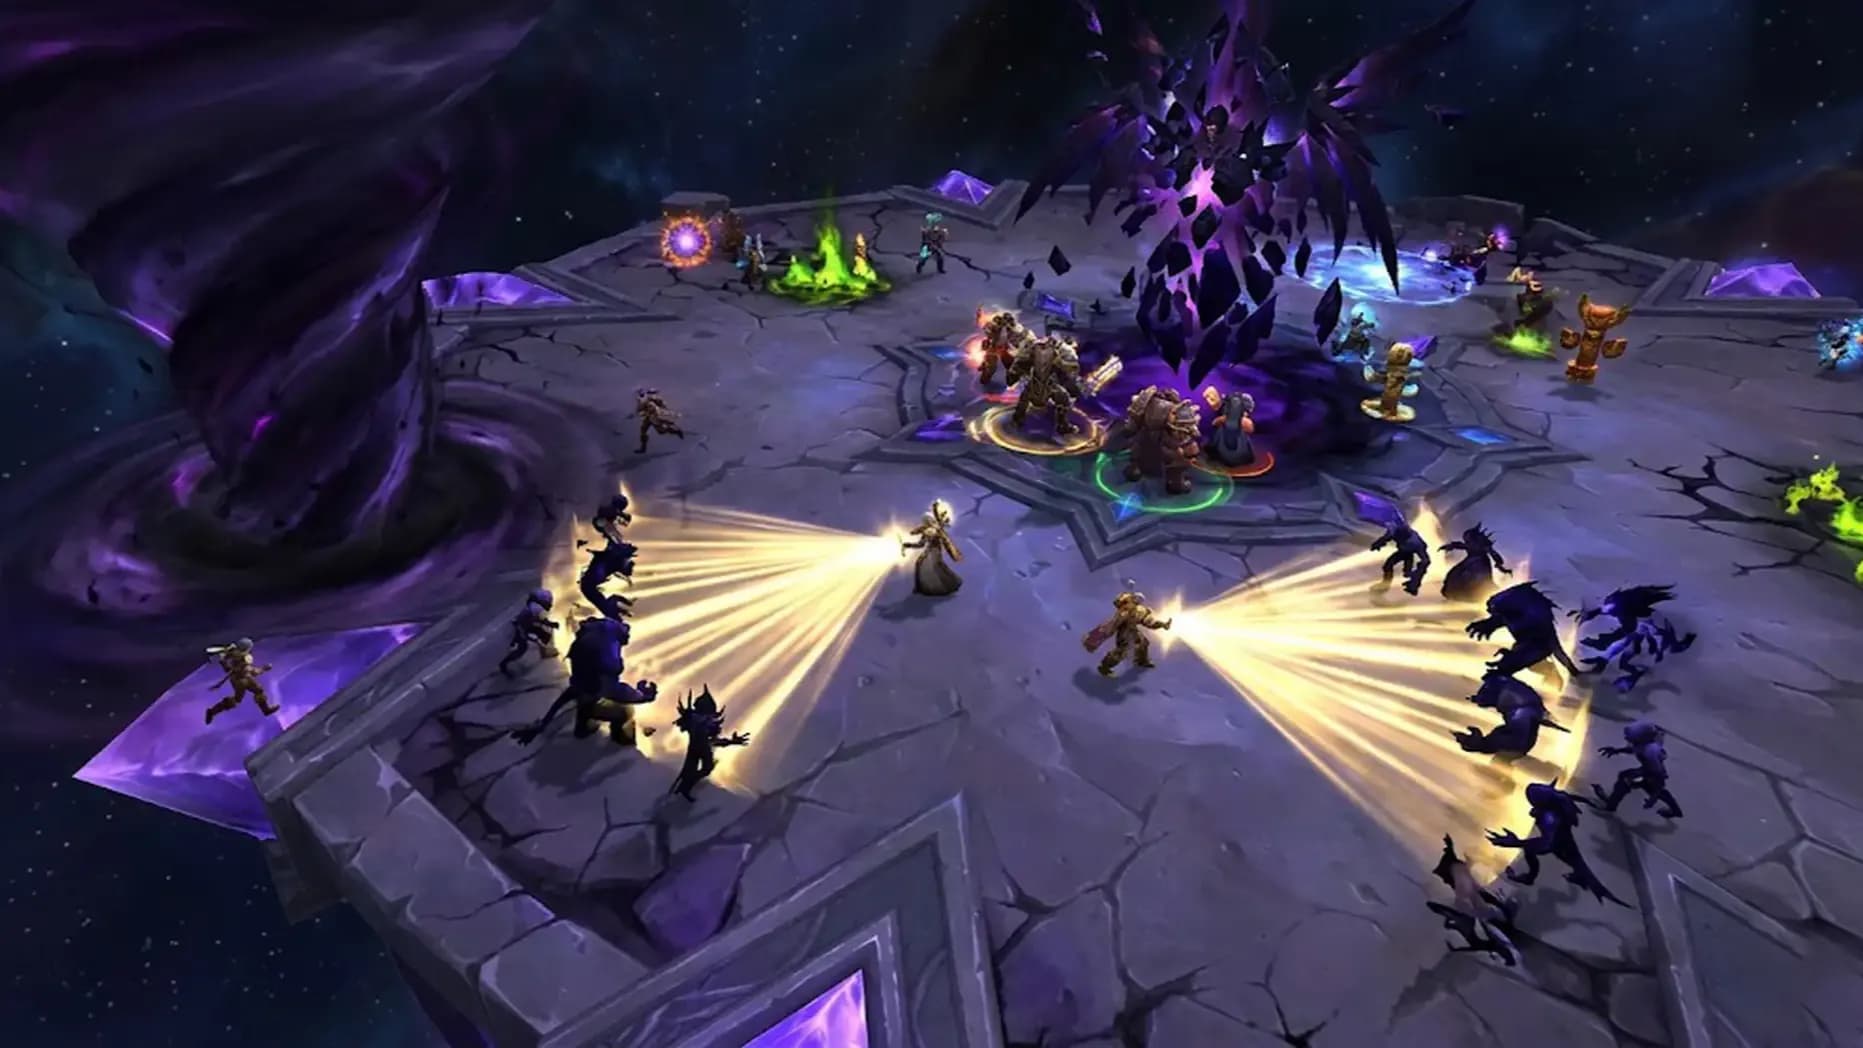
Heaven & Hell is Phase 4's defining mechanic and the primary reason your raid floor will look like an abstract void painting within fifteen seconds of the phase starting. A single player is targeted and becomes the anchor point for a slow-moving but persistent void-tornado. There is no duration: it follows the target for the remainder of the encounter or until the target dies, at which point it is assumed to transfer or reset (limited data exists at time of writing, as the phase has been seen by essentially no one alive).
The kiting player must establish a predictable orbit pattern around the room: circular paths work best: while the rest of the raid maintains awareness of that player's position at all times. Running through the raid to "reset" the tornado's position is a 20-person punishment, not a personal creative choice.
POSITIONING NOTE: With Heaven & Hell and Sha waves both active simultaneously, the effective safe space in the room shrinks dramatically. Assign sectors: the kiting player owns the outer ring; The Last Light bearers own the midfield; melee and tanks keep the center. This is not a suggestion.
Certain players: exact selection criteria are not yet fully documented: receive an Extra Action Button granting access to The Last Light, a frontal holy cone that vaporizes Sha constructs in its path. Given the rate of Sha spawning, these players are the only functional AoE answer available.
Whoever holds this button is more important than your top-parsing warlock, and everyone in the raid needs to know it. The Last Light bearers must be:
The Sha constructs do not pause. They do not slow down on a timer. From the moment Phase 4 begins until the boss dies or your raid does, waves of shadowy Sha continuously spawn from the perimeter and walk toward player positions. They are not individually threatening; collectively they are a raid-wiping carpet if ignored for more than a few seconds.
The interaction between Sha waves, the Heaven & Hell kiting path, and Last Light cone angles creates a dynamic room-state that requires constant adjustment. Pre-assigned static positions will fail within thirty seconds. Call out Sha density. Call out tornado position. Call out when Last Light is being used so the rest of the raid knows when the adds are about to be cleared and can stop panic-running into each other.
|
Phase |
Trigger |
Key Mechanics |
Mythic-Only Change |
|
Phase 1 |
Encounter start |
Memory game, Dawn Crystal management, Heaven's Glaive dodging, 15 interrupts |
No Safeguard Prism; Death's Dirge not cast before Grim Symphony; Dawn Crystals risk Light's End on death |
|
Phase 2 |
P1 resolution |
Darkwell void beam, rotating orb destruction, 18-player soak |
Reduced margin for soak failures; any player loss threatens the 18-player soak |
|
Phase 3 |
P2 resolution |
Crystal burn, Torchbearer positioning, constellation dodging, enrage timer |
Two L'ura forms active; memory game repeated; tighter enrage |
|
Phase 4 SECRET |
L'ura reaches 0% HP; casts Reintegration; resets to 100% |
Heaven & Hell tornado, constant Sha waves, The Last Light Extra Action, Shattered Sky |
Mythic-exclusive. Full reset to 100% HP. Bonus damage dealt by all raiders. Boss dies at 0% HP for the second time. |
You burned cooldowns in Phase 3 to survive the enrage window and actually reach 0% health. Phase 4 begins immediately with no recovery pause. Your healers are hurting, your tanks are at questionable health, and you now have a fresh 100% health boss plus a tornado plus infinite adds. Planning cooldown usage across the full fight with Phase 4 in mind is no longer optional: it is the difference between a progression kill and a 419th wipe.
Tank damage from L'ura in Phase 4 remains a factor despite the chaos. Standard tank swap coordination applies. The more pressing responsibility is awareness of the Heaven & Hell tornado path: do not position L'ura in a location that forces the kiting player to run through melee range. Boss positioning in the center of the room is strongly preferred; do not walk her into corners chasing threat.
You are triaging simultaneously: transition damage, sustained Shattered Sky ticks, Sha contact damage on anyone caught in a bad position, and the Heaven & Hell carrier. Identify your Last Light bearers and keep them alive at the expense of anyone who stood in the tornado. This is an extremely sarcastic joke, but also accurate prioritization.
Bonus damage is active. The boss needs to die before your cooldowns expire and the Sha density becomes unmanageable. Target priority: L'ura when Sha count is acceptable; Sha via cleave or area abilities when density threatens the raid. Do not fall into the trap of fixating on the boss while adds eat your healers.
You are the most important players in this phase and you know it, so please do not let that go to your head. Use The Last Light to hit the maximum number of Sha per cast, coordinate angles, and communicate your charges. Die last. Not because you are more valuable as a person, but because the Sha will eat the raid if you are not alive to cast.
Because you are killing the same boss twice, you receive loot once. This is the reward for your suffering. Midnight Falls drops ilvl 282 Mythic gear, the Chiming Void Curio omni-token exchangeable for any Tier 35 slot, and the pride of knowing you have cleared the most difficult encounter in Isle of Quel'Danas.
For the truly masochistic, completing Mythic Midnight Falls before the next raid tier releases awards Cutting Edge: Midnight Falls. This achievement comes with a cosmetic reward and the permanent, irrefutable proof that you were better than almost everyone at World of Warcraft during Season 1. Whether that is a personality trait or a life goal is between you and your social World of Warcraft coaching service.
|
Reward |
Type |
Difficulty |
Notes |
|
Tier Omni-Token |
All |
Exchange with vendor Kirana near the raid entrance for any Tier 35 Nullcore slot. 282 Mythic |
|
|
Midnight Falls Gear |
Armor / Weapon |
All |
Full loot table at 282 Mythic. One of the highest item level sources in Season 1. |
|
Feat of Strength |
Mythic only |
Available until the next raid tier releases. Comes with a cosmetic reward. Time-limited. Do not miss it, or spend the next two years explaining to people why you don't have it. |
|
|
March on Quel'Danas (quest) |
Raid Quest |
All |
Rewards the Lightcalled Hearthstone. Complete this quest. It takes thirty seconds and the hearthstone is genuinely nice. |
|
Situation |
Correct Action |
Incorrect Action |
|
L'ura reaches 0% HP |
Stay in your chair. Use the assigned transition healing cooldown. Resume the encounter. |
Stand up, celebrate, remove headset, watch your raid die. |
|
You are the Heaven & Hell target |
Kite in a wide circular orbit around the room. Keep the tornado away from the raid at all times. |
Run straight through the raid. Stop moving. Stand near a wall. Run into melee. |
|
You have The Last Light button |
Position for maximum Sha coverage. Coordinate angles with other bearers. Stay alive. |
Use it on three Sha. Die early. Leave your co-bearer to handle infinite adds alone. |
|
Shattered Sky is cast |
Pop assigned healing cooldown. Loosely stack. Do not stop attacking. |
Panic-spread across the room, waste movement, and die to the Sha you ran into while fleeing. |
|
Sha density is rising |
Call it out. Last Light bearers clear the wave. DPS cleave assists. |
Assume someone else is handling it. No one is handling it. This is how wipes happen. |
|
Boss reaches 0% HP a second time |
The encounter ends. Collect loot. Breathe. Consider therapy. |
Assume there is a Phase 5. There is not a Phase 5. We think. |
At time of writing, Team Liquid's best attempt in Phase 4 has been 94.7% health: meaning the boss has reached the secret phase a total of twice across all guilds globally, and has not been killed. No other guild has even seen Phase 4. This guide is, in some meaningful sense, written slightly ahead of the world's collective knowledge, assembled from partial data and the panicked stream reactions of twenty very tired professional raiders.
What is known with certainty: Phase 4 exists. It begins with Reintegration. It features Heaven & Hell and constant Sha waves cleared by The Last Light. It ends when L'ura reaches 0% health a second time, presumably without a third phase, though Blizzard's track record in this raid has made certainty a luxury.
Good luck. You will need it more than you needed it in Phase 3, which you thought was the hardest thing you would ever do in this game. It was not.

Blizzard hid a whole fourth phase in Mythic L'ura. Here's your guide to Heaven & Hell, Sha waves, and killing a boss that already said no once.
Blizzard hid a whole fourth phase in Mythic L'ura. Here's your guide to Heaven & Hell, Sha waves, and killing a boss that already said no once.
Blizzard hid a whole fourth phase in Mythic L'ura. Here's your guide to Heaven & Hell, Sha waves, and killing a boss that already said no once.
Blizzard hid a whole fourth phase in Mythic L'ura. Here's your guide to Heaven & Hell, Sha waves, and killing a boss that already said no once.
Blizzard hid a whole fourth phase in Mythic L'ura. Here's your guide to Heaven & Hell, Sha waves, and killing a boss that already said no once.
Blizzard hid a whole fourth phase in Mythic L'ura. Here's your guide to Heaven & Hell, Sha waves, and killing a boss that already said no once.
Blizzard hid a whole fourth phase in Mythic L'ura. Here's your guide to Heaven & Hell, Sha waves, and killing a boss that already said no once.
Blizzard hid a whole fourth phase in Mythic L'ura. Here's your guide to Heaven & Hell, Sha waves, and killing a boss that already said no once.
Blizzard hid a whole fourth phase in Mythic L'ura. Here's your guide to Heaven & Hell, Sha waves, and killing a boss that already said no once.

Blizzard hid a whole fourth phase in Mythic L'ura. Here's your guide to Heaven & Hell, Sha waves, and killing a boss that already said no once.
Blizzard hid a whole fourth phase in Mythic L'ura. Here's your guide to Heaven & Hell, Sha waves, and killing a boss that already said no once.

No. Phase 4 is Mythic-exclusive. On Heroic and Normal, L'ura dies when she reaches 0% health like a boss that has the decency to acknowledge your presence. The Reintegration cast — the trigger for Phase 4 — does not occur on any difficulty below Mythic. If you are progressing on Heroic and reached 0% health and the boss died, that is the intended outcome. You may stand up and celebrate without consequences.
Technically, partially, and usefully — no. The spell Reintegration was present in the game files and was noticed by some dataminers prior to the discovery. However, it was not linked to the encounter journal, it was not confirmed as a phase trigger, and it was equally plausible as an unused asset, a P3 transition mechanic, or a tooltip attached to something else entirely. The community consensus before the live discovery was genuine uncertainty, not suppressed knowledge.
As of April 6, 2026: no. Team Liquid's best attempt has reached 44% health remaining in Phase 4 after approximately 450 total pulls on the encounter. Echo has not reached the halfway point of Phase 4's health bar. No other guild has seen Phase 4 at all. The encounter has not been cleared on Mythic by any guild worldwide at time of writing. This guide will be updated when a kill occurs.
The exact selection logic for who receives the The Last Light Extra Action Button has not been fully documented at this stage of progression. Based on available stream footage and community reports, it appears to be assigned to a subset of players rather than being random per-cast — but the specific criteria (role-based, position-based, or otherwise) remain unclear. Progression guilds should test this explicitly in early Phase 4 attempts and build assignments around the results. Do not assume your top-damage DPS automatically receives the button.
Yes. The bonus damage modifier applied in Phase 4 is additive with player buffs and abilities, including Bloodlust, Heroism, and Time Warp. This is the primary argument for holding your Bloodlust until Phase 4 begins rather than using it in Phase 3's burn window. The combined effect of the Phase 4 damage modifier plus Bloodlust is the fastest realistic path to reaching 0% health before Sha density becomes raid-ending. That said — if your guild cannot survive Phase 3 consistently enough to reach Phase 4 with meaningful frequency, using Bloodlust in Phase 3 to secure more reliable Phase 4 entries is a valid alternative approach. Optimize for the phase you actually see.
Based on stream footage from Team Liquid's Phase 4 attempts, the Dawn Crystal mechanic from Phases 1 through 3 does not appear to continue into Phase 4. The crystal management system — including Torchbearers, Shattered Sky interactions aside — is superseded by the Phase 4 mechanics. Phase 4 is a distinct mechanical environment centered entirely on Heaven & Hell, Sha waves, and The Last Light. Confirmation of this is pending a kill log.

GTA 6, new seasons, major updates — get ready to dominate from day one