


Windrose Boost
Windrose Oil Lamp Guide: Get Refill Animal Fat
Four ways to restore HP in Windrose: and you're currently using one of them wrong. Recipes, combat priority, armor synergies, and when each method wil
Bandages are a wonderful first healing item to master in Windrose! They are incredibly cost-effective and will be your primary source of health recovery throughout the early game.
You can craft them easily at your Workbench using 1x Coarse Fabric, which is processed from the Plant Fiber you gather from nearby bushes and ferns.
|
Category |
Details |
|
HP Restored |
900 HP |
|
Duration |
30 seconds |
|
Recipe |
1× Coarse Fabric |
|
Crafted At |
Workbench |
While restoring 900 HP over 30 seconds is a fantastic boost, there is one very important mechanic to keep in mind: taking any damage will instantly cancel the healing effect. Because the effect stops completely the moment an enemy touches you, it is always best to find a peaceful moment to patch yourself up. If you are mid-encounter, simply create some distance, break line of sight, or duck behind a tree before starting the heal to make sure your bandage isn't accidentally wasted!
Instead of using your sword to slash at bushes, try using a shovel on the ground beneath the foliage! A single dig yields significantly more Plant Fiber in less time, saves your weapon's durability, and helps you craft your bandages much faster. It is a great habit to stock up on at least ten bandages before heading out to explore!

Health Potions are instant. No wait, no channel, no risk of a dodo ruining everything at the critical moment. They restore a flat percentage of maximum HP immediately, which means they scale with your max HP: invest in Windrose Vitality stat early and every potion tier becomes more valuable. A 55% restore on 300 HP is 165 HP. On 800 HP it is 440. The math rewards preparation, which the game's enemies are counting on you not to do.
|
Potion |
Recipe |
Healing Effect |
Cast Time |
|
Minor Healing Potion |
1× Alchemical Base |
35–40% max HP |
Instant |
|
Healing Potion |
1× Alchemical Base + 3× Healing Herbs OR 2× Undead Essence |
55% max HP |
Instant |
|
Great Healing Potion |
Recipe found in world chests (Points of Interest) |
80% max HP |
Instant |
All potions require the Alchemy Table, which requires the Misty Orchid: a Key Discovery in the Coastal Jungle on your second island. Not your starting island. You will need to sail there. When you pick it up, three recipes unlock simultaneously: the Alchemy Table, the Stove, and the Minor Healing Potion. The resource bottleneck is clay, which makes Clay Bottles, which form the Alchemical Base, which underlies every potion. Prioritize clay the moment you land on island two.
Where to find Healing Herbs in Windrose: exclusively at Ancient Ruins points of interest, in unique chests and crates. Mark every Ancient Ruins on your map immediately. Running out of Healing Herb supply mid-archipelago is a specific kind of suffering that is entirely preventable.
Before the Alchemy Table is unlocked, loot every chest at every point of interest. World chests commonly contain Minor Healing Potions and occasionally Great Healing Potions. The game is subsidizing your incompetence until you can manufacture your own supply. Once you can craft potions, start stockpiling in bulk before anything resembling a dungeon run.
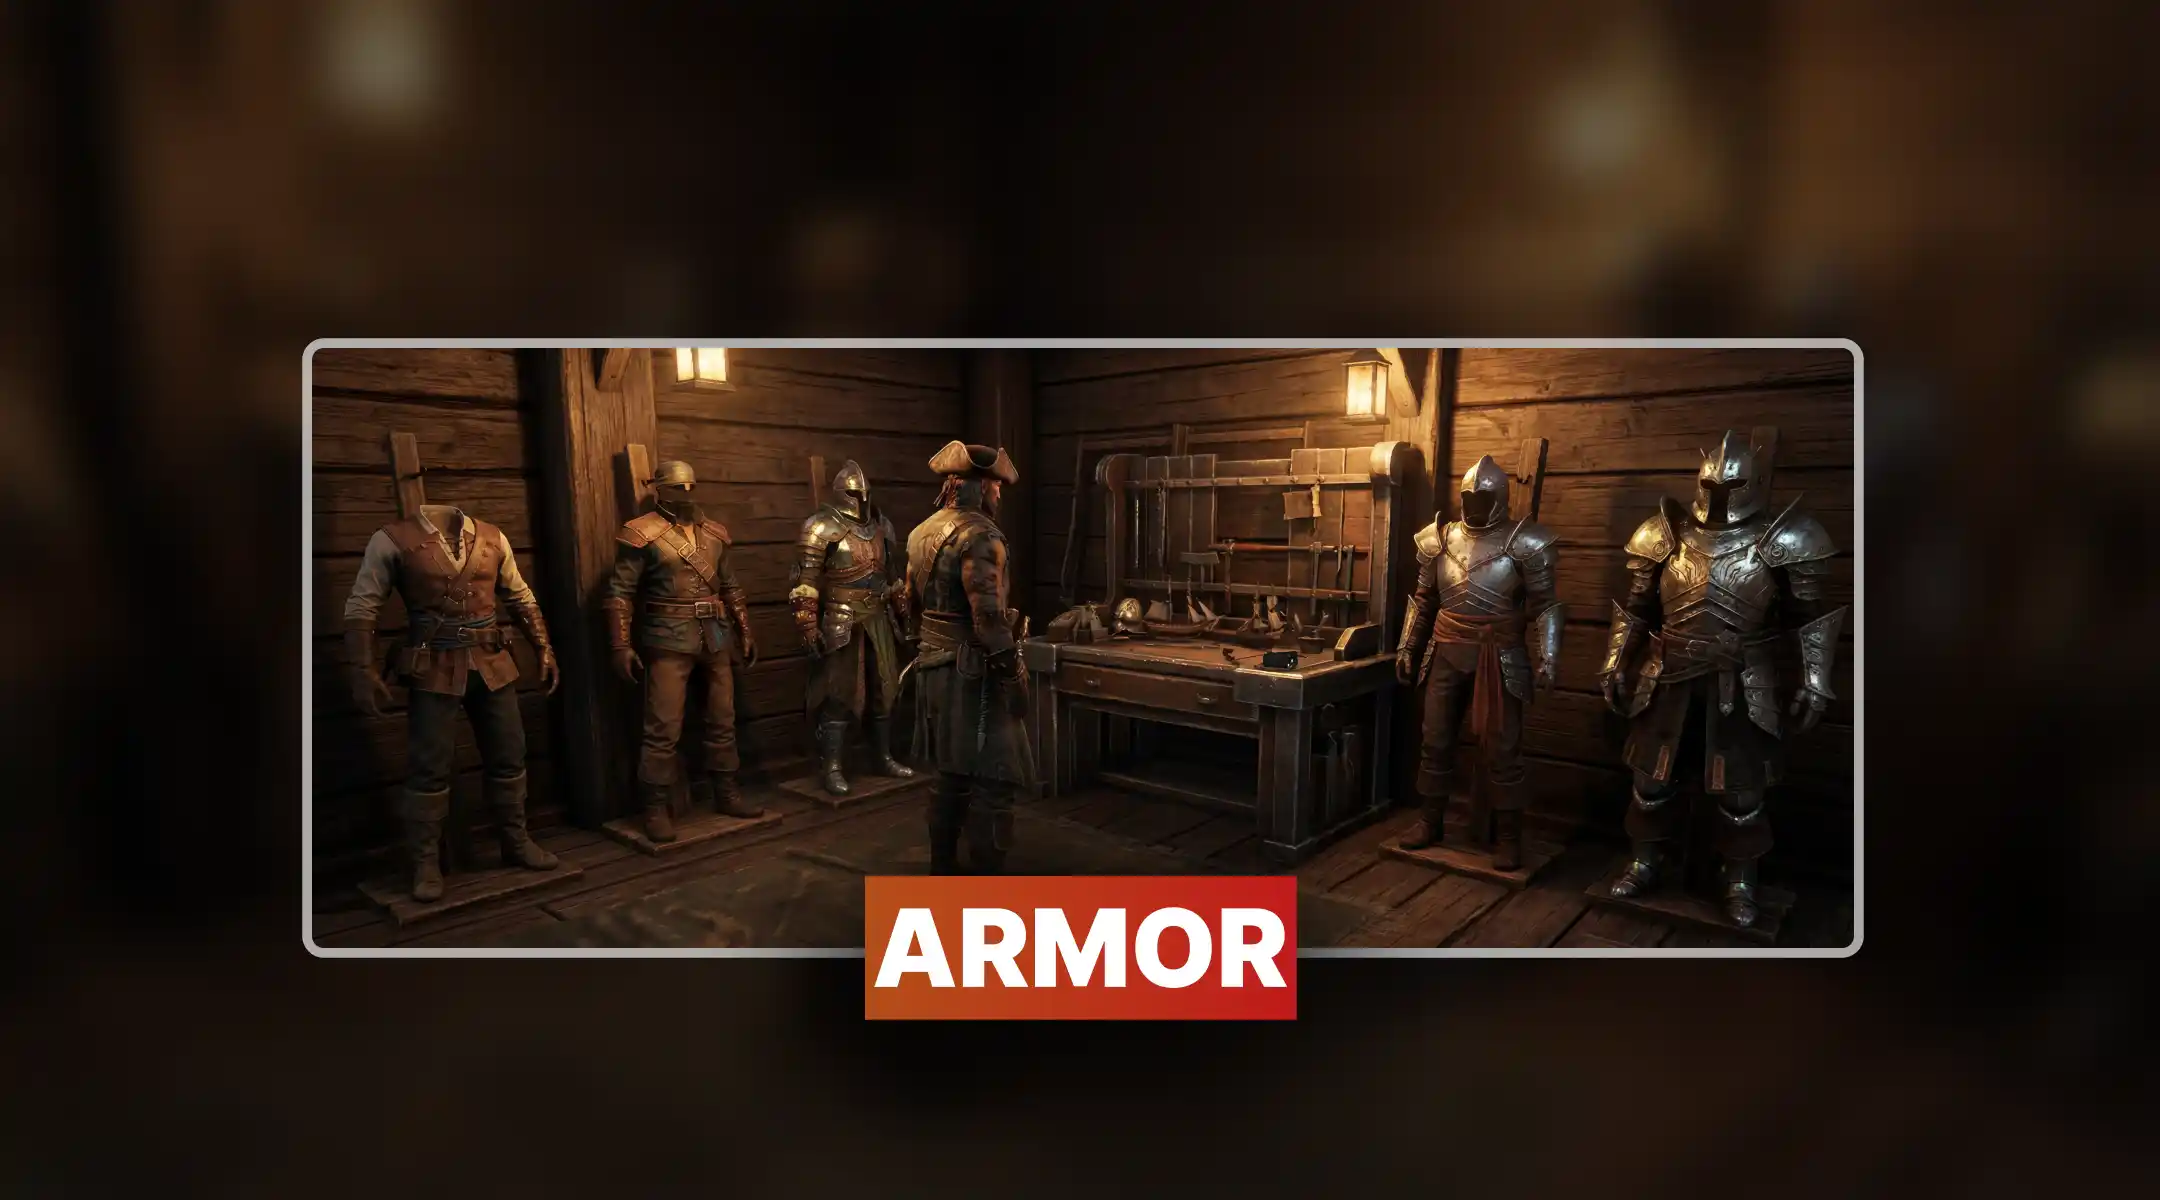
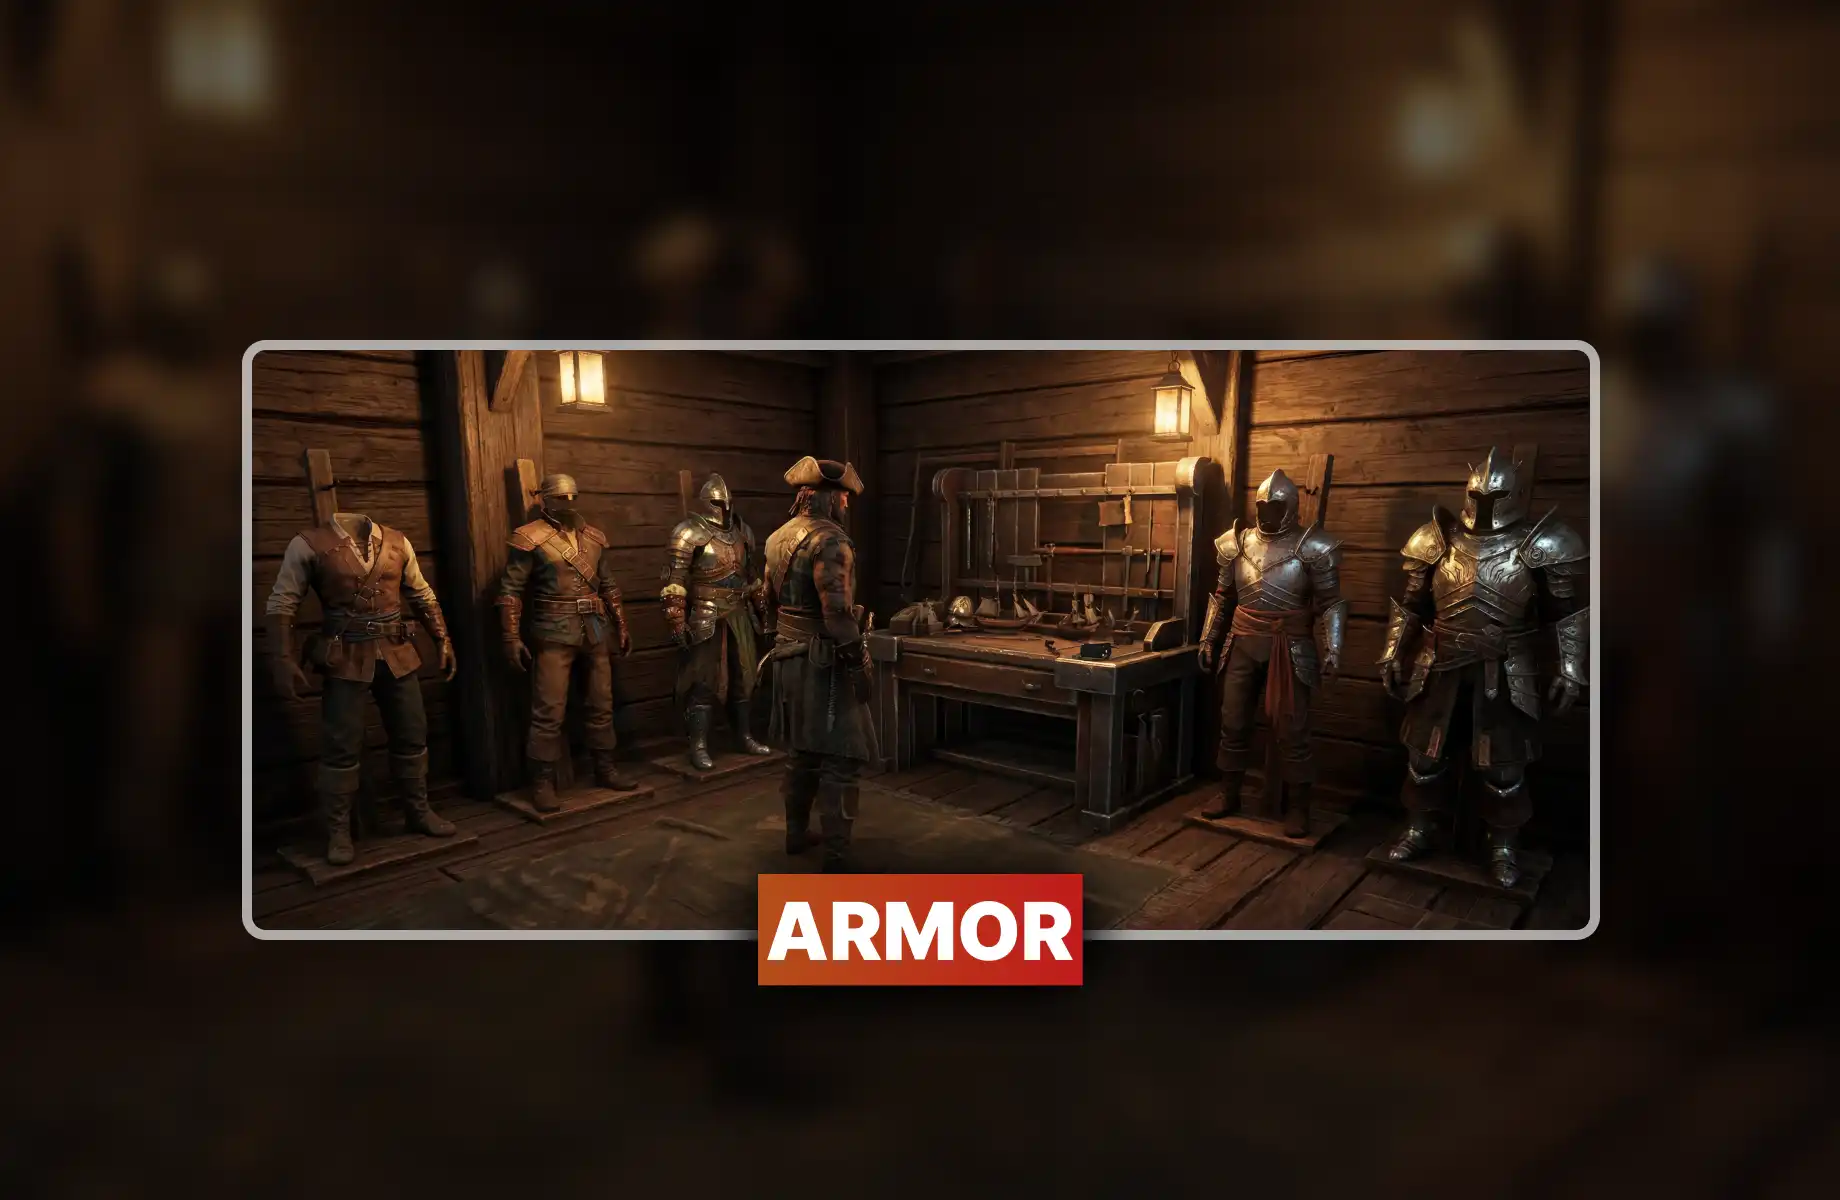
The Tracker's Leathers 4-piece set bonus adds 45% healing effectiveness to every consumable. That Minor Healing Potion at 35–40% base climbs to approximately 58% with the bonus active. Every tier scales identically. If survival matters more than raw damage, this is the single most impactful equipment choice available. The best healing build in Windrose currently starts here.
The Rally mechanic in Windrose is the only healing method with zero cost, zero cooldown, and zero crafting requirement. Land counterattacks immediately after taking a hit and recover a portion of the health you just lost. The window is tight. The enemies are still swinging. There is no polite pause in the combat while you collect yourself and reconsider your life choices.
|
Category |
Details |
|
Cost |
Nothing |
|
Cooldown |
None |
|
Requirement |
Hit back. Fast. |
|
Cancels if |
You stop attacking |
This is the strongest sustained heal in the game once the habit forms: and the one most players discover embarrassingly late, because the early instinct is to back away after being hit. That instinct is wrong. Backing away closes the recovery window immediately. Rally only works during active combat. Distance kills it. Hesitation kills it. The second you decide the safer approach is to create space and reassess, you have decided to spend a potion instead.
Build this habit in the early game against low-stakes targets. Dodos and boars are ideal practice material: predictable patterns, forgiving damage, and losing a fight to a dodo for the purposes of learning Rally is at least a loss you can justify to yourself. By the time Windrose dungeon encounters or fast-attacking Mercenaries arrive, the counterattack rhythm needs to be automatic. Starting to learn Rally during a boss fight is a memorable experience in the wrong direction.
Backing away to "play it safe" is the primary reason players burn through potions unnecessarily. Safe play in Windrose is aggressive play. Every hit you absorb without hitting back is HP you paid full price for when it was available at a discount.

Bonfires restore HP passively when you stand near them. No items consumed. No cooldown. No decision-making required beyond not being in an active combat zone, which is admittedly a different and larger problem. Set one up on virtually any island in the game, stand near it, and let the Windrose Bonfire resting system work while you sort your inventory and contemplate the sequence of decisions that brought you here.
|
Category |
Details |
|
Material Cost to Use |
Zero |
|
Speed |
Slow, passive |
|
Viable Mid-Combat |
Absolutely not |
The tradeoff is time. Bonfire recovery is gradual and completely useless if enemies are nearby. Using it as an emergency mid-combat heal is a creative approach to dying while standing next to fire. Treat it as the recovery phase between engagements: the transition ritual between clearing one area and approaching the next one at full HP.
The Bonfire does more than restore HP. Your base Bonfire generates the Rested buff, which dramatically increases stamina regeneration during exploration. The buff duration scales with your base's Comfort Level: raised by placing diverse furniture around the fire, with each furniture sub-category contributing one point. Five identical stools add one point of Comfort, not five. The game does not explain this. At maximum Comfort, the Rested buff lasts up to 30 minutes, which transforms stamina from a recurring crisis into a background consideration. Also, entering your base triggers the Comfort buff itself, which further slows stamina drain and accelerates recovery. There is genuinely no reason not to invest in base furniture.


Four ways to restore HP in Windrose: and you're currently using one of them wrong. Recipes, combat priority, armor synergies, and when each method wil

Four ways to restore HP in Windrose: and you're currently using one of them wrong. Recipes, combat priority, armor synergies, and when each method wil

Four ways to restore HP in Windrose: and you're currently using one of them wrong. Recipes, combat priority, armor synergies, and when each method wil

Four ways to restore HP in Windrose: and you're currently using one of them wrong. Recipes, combat priority, armor synergies, and when each method wil

Four ways to restore HP in Windrose: and you're currently using one of them wrong. Recipes, combat priority, armor synergies, and when each method wil

Every point of the 900 HP heal cancels instantly the moment you take any damage at all. Any damage. From anything.
Ancient Ruins points of interest only: inside unique chests and crates. Mark every one you find on your map immediately.
Find the Misty Orchid Key Discovery in the Coastal Jungle on your second island. The Alchemy Table recipe unlocks automatically on pickup.
No cooldown at all. The window simply closes the instant you stop attacking. Hit back fast, or the opportunity is gone entirely.
Tracker's Leathers 4-piece adds 45% healing effectiveness. Every consumable you own becomes meaningfully more powerful with it equipped.

GTA 6, new seasons, major updates — get ready to dominate from day one