




Windrose Boost
Windrose Base Building Guide
Windrose just dropped into Early Access and your character is already dying. Here's the complete armor set guide: all 7 sets ranked
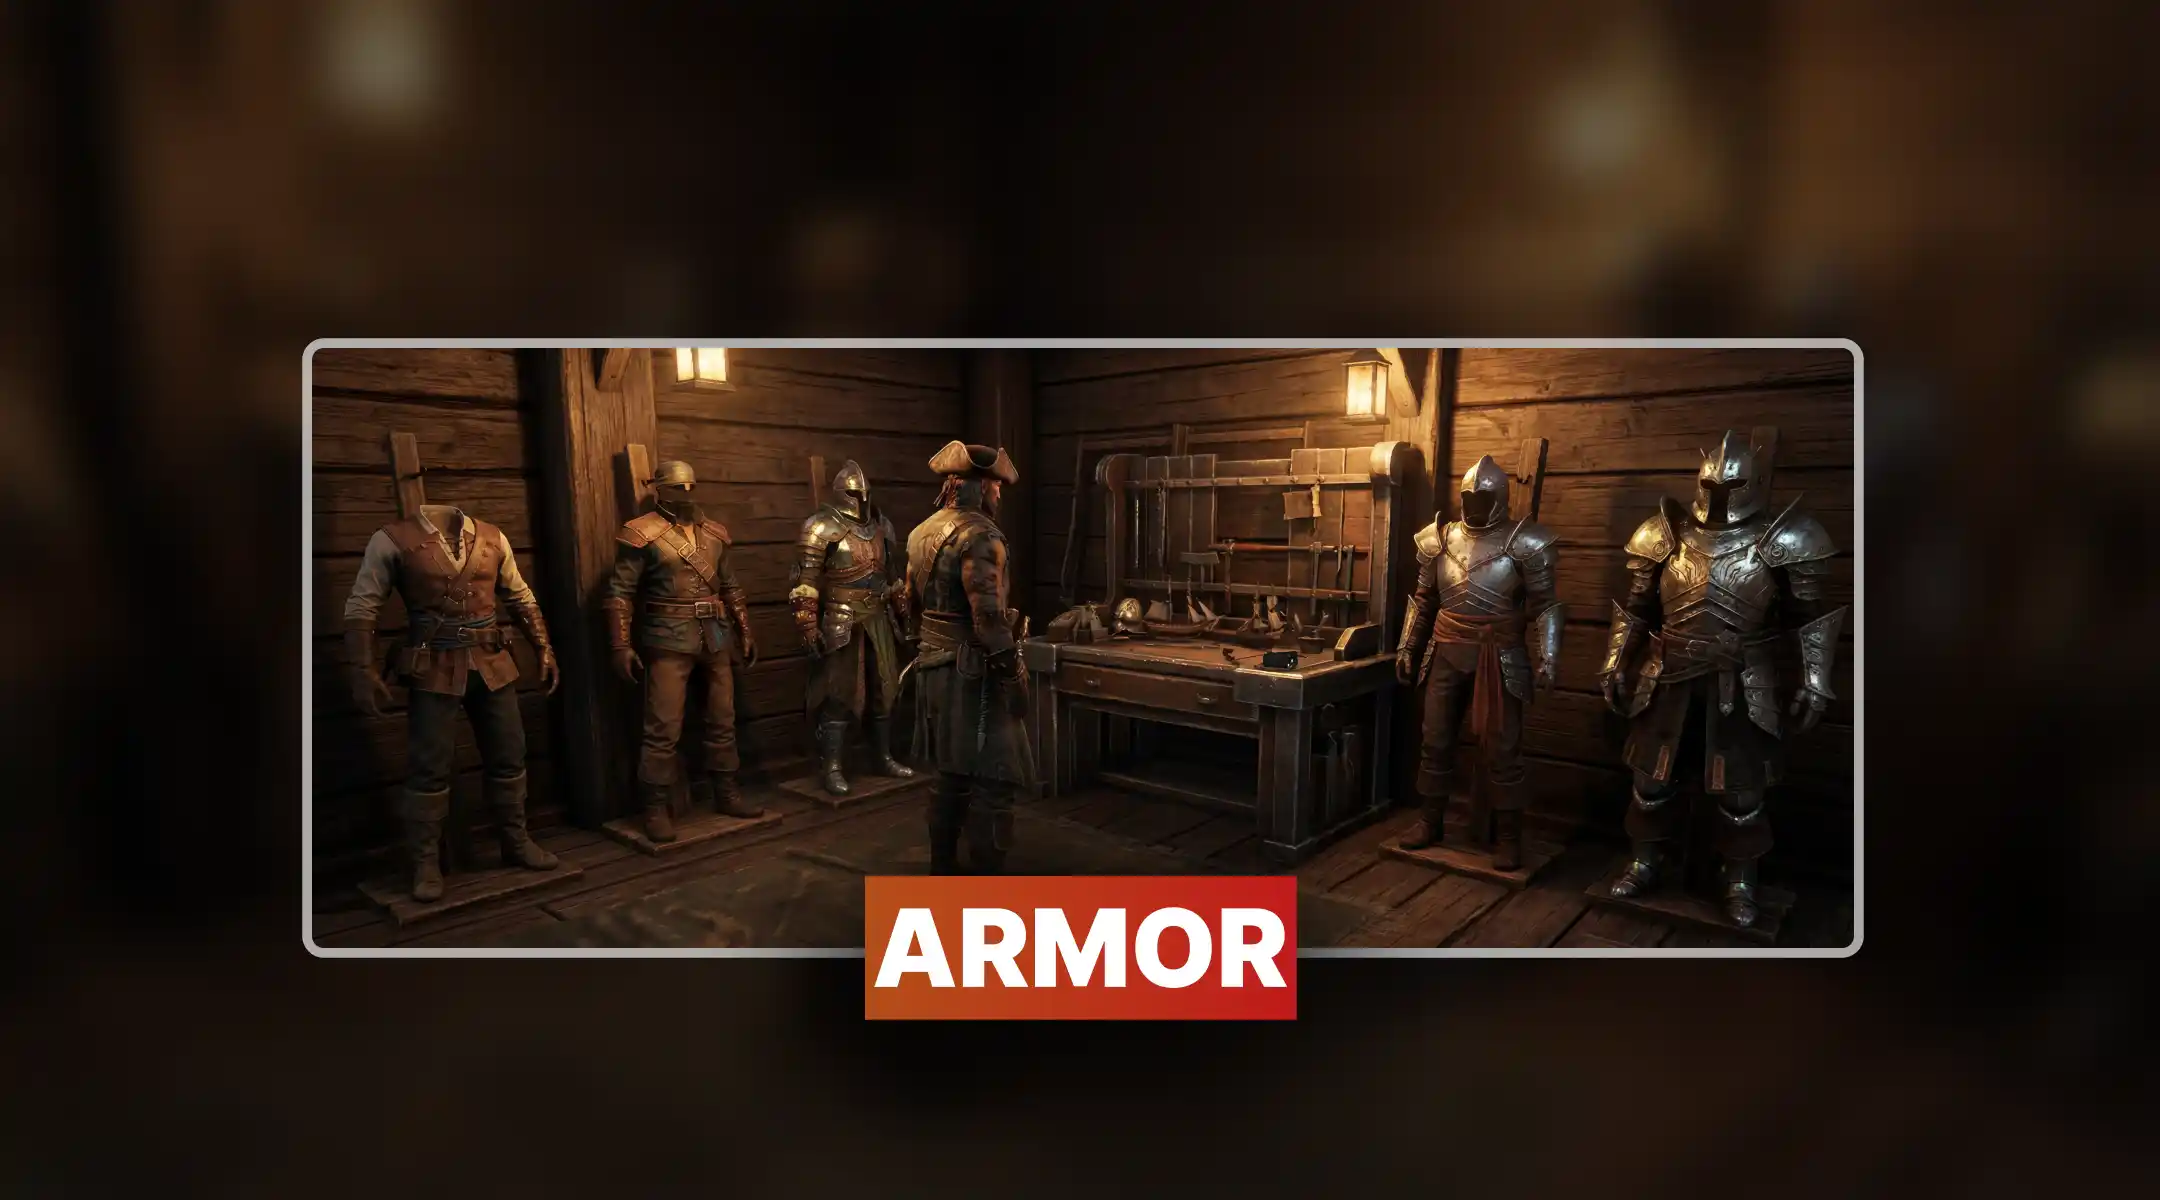
Every Windrose armor set bonus operates on a simple principle: equip two pieces from the same named set and the 2-piece bonus activates. Equip four pieces and the 4-piece bonus activates on top of it. Since there are five equipment slots: Head, Chest, Legs, Hands, Feet: you have room to mix sets if you only want a 2-piece effect from two different sets simultaneously. Which sounds very clever until you realize you are essentially admitting you cannot commit to anything.
The game does not hold your hand here. It will not tell you which combination is optimal. That is your problem. Gear follows a rarity tier system running from Common up through Uncommon, Rare, Epic, Legendary, and Mythic, and higher rarity pieces of the same set have meaningfully better base stats: the set bonus itself does not scale with rarity, but the raw armor values certainly do. If you are wearing a Rare chest piece and a Common helmet from the same set, you are technically getting the 2-piece bonus, and you are also technically wearing garbage on your head.
Worth knowing: Windrose features a rally healing mechanic similar to Bloodborne. After taking a hit, a portion of your health bar becomes recoverable by dealing damage back quickly. Several armor sets interact directly with healing efficiency, which means your recovery ceiling depends on what you are wearing: not just how many potions you are hoarding.
Respec is available in Windrose if you decide your build was a catastrophic mistake: and it will be, at least once. However, respeccing requires a rare in-game currency whose exact source has not been fully documented at launch. Treat your first build like a committed relationship: think it through before you sink hours into it, because changing your mind later will cost you something.
For those who absorb information better in a grid format, possibly because reading paragraphs requires a stamina pool they have not yet unlocked:
|
Armor Set |
2-Piece Bonus |
4-Piece Bonus |
Best For |
Weapon Type |
|
Tracker's Leathers |
+10% Damage Resistance |
+45% Healing Effectiveness |
Solo survivability, Vitality builds |
Greatsword (Vitality) |
|
Privateer's Regalia |
+10% Critical Hit Chance |
+10% Crit Dmg per nearby enemy |
Crowd clearing, Precision builds |
Rapier, Pistol |
|
Pikeman's Armor |
+15% Two-Handed Damage |
+200 Max Health |
Strength/Agility, boss trading |
Halberd, Greatsword |
|
Flibustier's Attire |
-20% Attack Stamina Cost |
+15% One-Handed Damage |
Agility, combo-focused play |
Saber, Rapier |
|
Conquistador's Armor |
+15% Damage Resistance |
Bulwark (no interrupt) |
Strength frontline, slow weapons |
Club, Halberd |
|
Marksman's Rig |
-30% Movement Stamina Cost |
+15% Ranged Damage |
Precision ranged, kiting builds |
Musket, Pistol, Blunderbuss |
|
Survivor's Outfit |
Unconfirmed |
Unconfirmed |
Early game / placeholder |
Whatever you found |



Because there are five equipment slots and you only need four pieces for a full set bonus, you always have one slot left over. The community has already identified several effective hybrid configurations for players who refuse to follow the clearly labeled path. The most documented combination pairs two pieces of Flibustier's Attire with two pieces of Marksman's Rig: picking up the attack stamina reduction and the movement stamina reduction simultaneously. The result is a character who never seems to run out of breath, which is less inspiring than it sounds in practice but genuinely useful during extended Pirate Camp clears.
The second popular hybrid drops two pieces of Privateer's Regalia into a Flibustier build to layer the flat 10% critical hit chance on top of the one-handed damage bonus. This is the Windrose Privateer Regalia build configuration that Rapier users tend to default to when they discover that critical hits on combo finishers deal obscene damage. You can feel the developers wincing when they playtested this. They released it anyway. Appreciate their suffering.
Important note on mixing: if you split across two sets to grab two 2-piece bonuses, neither set ever activates its 4-piece bonus. The 4-piece bonuses are consistently more powerful than the sum of two 2-piece bonuses. Mixing is a convenience tradeoff, not an upgrade. Do not let anyone convince you otherwise.
Windrose takes food seriously in a way that most survival games pretend to but do not. The game uses food to directly modify your health and stamina ceiling: Spicy Chicken with Sweet Potato adds Vitality, Hearty Egg Broth boosts Agility, and Coconut Milk with Bananas increases maximum stamina. None of this is decoration. These are build components that you cook on a fire.
The Windrose Tracker's Leathers healing build exploits this system mercilessly. The 4-piece bonus adds 45% effectiveness to every healing source in the game: bandages, potions, and food included. Stack the Stitches and Rum talent from the Toughguy tree on top of that, and you create a feedback loop where taking damage barely matters because you recover it faster than most enemies can sustain offense. This is the set you use when the content is above your level and your pride refuses to accept the alternative of waiting.
Healing potions in Windrose come in multiple tiers. Minor Healing Potions, craftable via the Alchemy Table after obtaining Misty Orchids, restore 40% of your maximum health. With the Tracker's Leathers 4-piece bonus active, that same potion restores approximately 58% of your health. When combined with high-quality food buffs like Crab Soup with Diced Tomatoes or Meat in Tangy Mushroom Sauce, the effective health ceiling climbs high enough that solo runs against dungeon encounters become genuinely viable rather than heroically stupid.
Four builds have emerged as clear community favorites for the Windrose Early Access 2026 release. Each one pairs an armor set with a weapon choice and a talent branch in a way that actually functions rather than theoretically sounding good in a forum post. Below they are, ordered from most aggressive to most infuriating for enemies to fight.
Fencer Talent Tree
Flibustier's AttireSaber / Cutlass
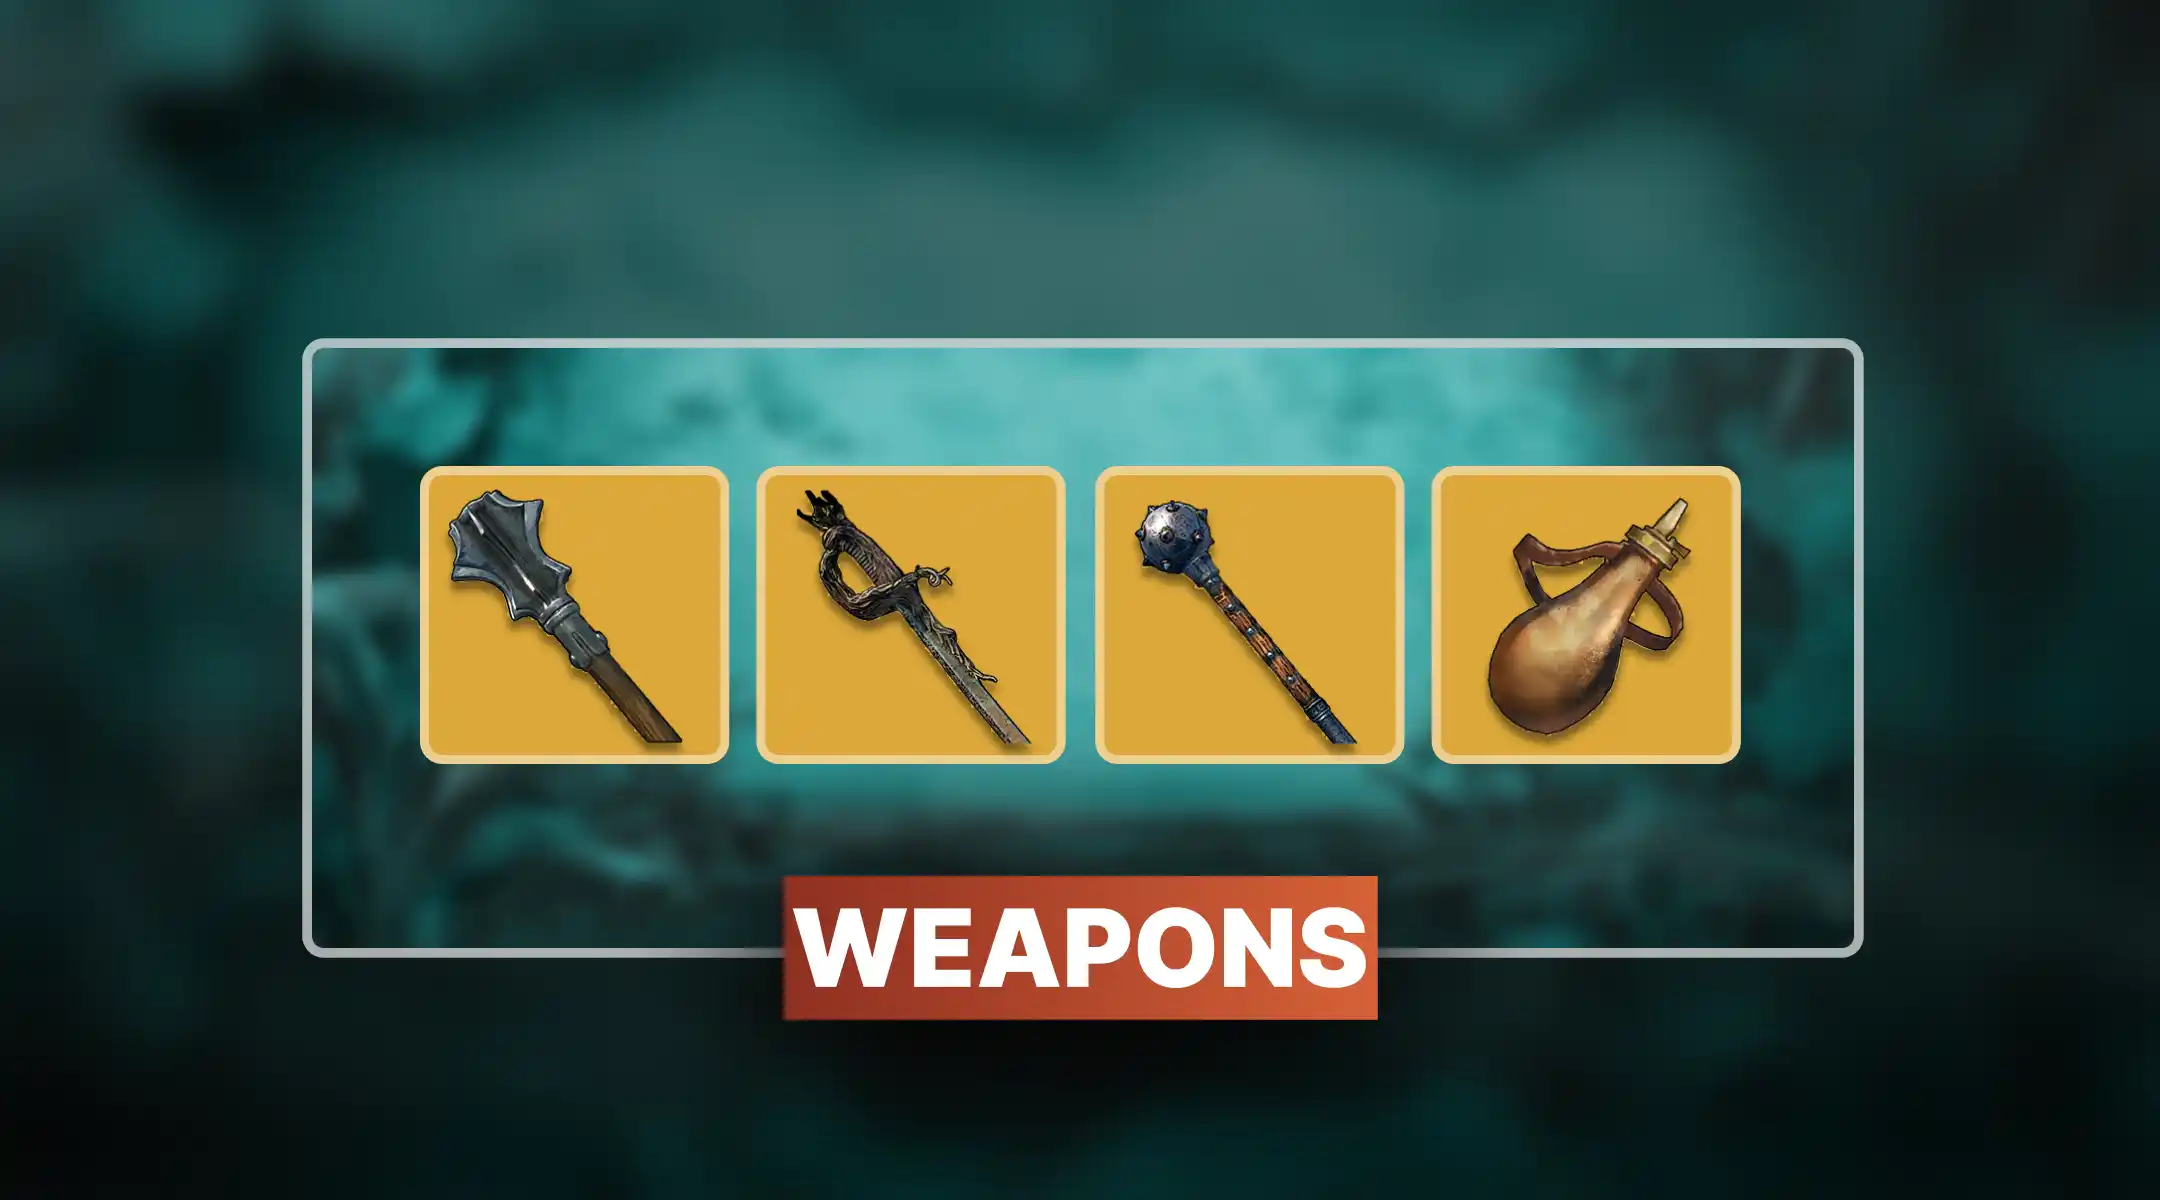
A fast, mobile build that chains dodges into counterattacks with relentless efficiency. The Perfect Counter and Evasive Fencer talents hand you substantial damage windows every time you successfully dodge, which is every time if you are paying attention and never if you are not. The Flibustier stamina reduction keeps combos flowing without the embarrassing pause where you run out of breath mid-fight and stand there waiting while the enemy's AI politely reconsiders its life choices. The recommended weapon is the Arboris Saber or a standard Cutlass, both of which scale well with Agility and feel snappy enough to reward good timing rather than punish bad positioning as hard as the heavier alternatives.
Crusher Talent Tree
Conquistador's ArmorExecutioner Halberd
The Conquistador's Armor Bulwark build is the closest thing Windrose has to an unstoppable object. The Bulwark effect from the 4-piece bonus means incoming hits do not stagger your attack animations. Combined with the Crusher talent Berserk: which increases damage output as your health drops: you create a character who becomes more dangerous the more badly the fight is going for them. The Toughguy talent Too Angry to Die prevents lethal damage once per fight, which is an ability that sounds like it was named by someone who has played too many of these encounters and emerged furious but intact. Pair with the Executioner Halberd or the Plague Halberd for maximum gravitational damage presence.
Marksman Talent Tre
eMarksman's RigInfantry Musket + Plague Pistol
A pure ranged build designed to eliminate enemies before the concept of melee range becomes relevant to the conversation. The Sniper's Focus and Extended Reach talents from the Marksman tree extend your effective engagement distance to a point where fights feel less like combat and more like a scheduling problem for your ammunition. The Plague Pistol serves as a sidearm for situations where the enemy has failed to respect the arrangement. Musket reloads in Windrose are deliberate and slow: the build's entire philosophy is that you should never need to reload under pressure, because nothing should be alive when you get to that point.
Toughguy Talent Tree
Tracker's LeathersSoul Eater Greatsword
A tanky build that wins by refusing to stop existing. The Soul Eater Greatsword scales with Vitality, meaning the same attribute that builds your health pool also powers your offense: a design decision that rewards commitment to the defensive stat instead of treating survivability as a sacrifice. Combined with the 45% healing effectiveness from Tracker's Leathers and the Stitches and Rum talent, recovery rates become genuinely offensive. Enemies deal damage. You absorb it. You eat a meal. You are fine. They are not. This is the Windrose Vitality build that solo players doing above-level content reach for when they have accepted that dying is simply not on the agenda.

Armor in Windrose is not static. You place an Upgrading Station at your base and use it to push existing pieces to higher tiers, improving base stat values without changing the set name or its bonuses. This matters because the Windrose armor crafting system means your named set can remain viable well into mid-game as long as you keep the upgrade levels competitive: you are not necessarily discarding Flibustier's Attire the moment you find a higher-rarity chest piece from a different set, because the set bonus you lose may cost more than the raw stats you gain.
There is also a Disassembly Bench available later in progression that returns 100% of crafting materials from gear you no longer want. This means experimentation carries no permanent cost beyond the time spent. If you try the Conquistador build and decide you hate swinging slowly at things that stagger you anyway, you can disassemble it and start building something else without weeping over sunk materials.
The early game prioritizes resources over set synergies. Rough Hide from boars, Coarse Fabric from the Workbench using Plant Fiber: these unlock the Armor and Clothing Workshop and get you the Survivor's Outfit tier of protection. Until you are finding named set pieces in the world, do not stress about optimization. Stress about not dying to a boar, which is a sentence that applies to Windrose specifically and not a reflection on your general life choices.
Windrose supports up to four players in cooperative PvE. The talent system becomes genuinely powerful in this context because characters can specialize in ways that would be liabilities solo but become assets with teammates covering the gaps. One player running the full Juggernaut setup draws attention at the front. A Sharpshooter eliminates priority targets from a distance. A Duelist handles flanking enemies. A Survivor exists and continues to exist, which occasionally saves everyone.
The most important practical note for co-op: characters persist across world seeds. You can bring your fully geared Windrose co-op build into a friend's world without resetting your progress. This means the optimization you do in your own session carries forward: which is either a generous design decision or an invitation to make your friends feel inadequate. Possibly both.
Food buffs stack independently per player. If your team establishes a base with a proper cooking setup early, each player maintaining two active food buffs simultaneously increases survivability by a margin that no individual talent point investment fully replicates. In a game where the combat is deliberately brutal and every swing matters, showing up to a dungeon with maxed food buffs is the closest thing to a legitimate advantage that does not require grinding for an extra four hours.



Windrose just dropped into Early Access and your character is already dying. Here's the complete armor set guide: all 7 sets ranked

Windrose just dropped into Early Access and your character is already dying. Here's the complete armor set guide: all 7 sets ranked

Windrose just dropped into Early Access and your character is already dying. Here's the complete armor set guide: all 7 sets ranked

Windrose just dropped into Early Access and your character is already dying. Here's the complete armor set guide: all 7 sets ranked

Windrose just dropped into Early Access and your character is already dying. Here's the complete armor set guide: all 7 sets ranked

Windrose just dropped into Early Access and your character is already dying. Here's the complete armor set guide: all 7 sets ranked

Windrose just dropped into Early Access and your character is already dying. Here's the complete armor set guide: all 7 sets ranked

Windrose just dropped into Early Access and your character is already dying. Here's the complete armor set guide: all 7 sets ranked

Windrose just dropped into Early Access and your character is already dying. Here's the complete armor set guide: all 7 sets ranked

Windrose just dropped into Early Access and your character is already dying. Here's the complete armor set guide: all 7 sets ranked

Windrose just dropped into Early Access and your character is already dying. Here's the complete armor set guide: all 7 sets ranked

Windrose just dropped into Early Access and your character is already dying. Here's the complete armor set guide: all 7 sets ranked

Windrose just dropped into Early Access and your character is already dying. Here's the complete armor set guide: all 7 sets ranked

Yes. Two pieces from two different sets each activate their respective 2-piece bonuses. Neither 4-piece bonus activates. This is a conscious tradeoff, not a bug.
Tracker's Leathers, by a significant margin. The 45% healing effectiveness bonus turns every consumable into an emergency lifeline. You will die less. Probably.
Yes. The Bulwark 4-piece effect prevents all hit-interrupts on your actions, including against fast-attacking Mercenaries and grouped Pirates. It is broadly powerful and moderately unfair.
Respec is available but costs a rare in-game currency. Changing your mind is possible and expensive. Plan accordingly. Or do not. Experience the consequences.
The 4-piece damage bonus is ranged-only. The 2-piece stamina reduction on movement applies universally and pairs with any playstyle that values mobility over standing still.

GTA 6, new seasons, major updates — get ready to dominate from day one