


Windrose Boost
Windrose Base Building Guide
Windrose crafting stations explained from Bonfire to Enchanting Table. Full build order, resources by island tier, and tips to stop wasting time
If you picked up Windrose expecting a relaxing pirate sandbox, congratulations on your optimism. The game will correct that delusion within the first ten minutes by sending two boars to rearrange your face while you are still figuring out which button opens your inventory. This is a Windrose beginners guide written under the assumption that you are a reasonable adult who has nevertheless managed to starve to death because you forgot to build a Cooking Fire before sprinting off to mine copper.
Windrose is, at its cold mechanical heart, a crafting progression game. Every weapon that keeps you alive, every piece of armor absorbing sword strikes you really should have dodged, and every potion you chug while screaming was produced at one of the game's 21 buildable structures. Understanding these stations is not optional. It is the game. Everything else is aesthetics.
This guide covers every station in exhaustive, occasionally judgmental detail. It will tell you what each structure does, what it costs, why you need it, and exactly how badly you will regret skipping it. The game launched into Steam Early Access on April 14, 2026, and the crafting systems present here are current as of that build.
All 21 buildable structures, their tier placement, and what they actually do for you. Note that every indoor station requires a roof overhead and must be placed within Bonfire range, because apparently your tools refuse to function without the warm glow of a fire they never use.
|
Station |
Tier |
Primary Function |
|
Bonfire |
Tier 1 |
Respawn point, base range anchor, light source. Build this before anything else, or enjoy permanent death. |
|
Workbench |
Tier 1 |
Foundation of all crafting. Required to build every other station and most basic items. 5 Wood. No excuses. |
|
Cooking Fire |
Tier 1 |
Converts raw ingredients into cooked food with health regen and stat buffs. Required for survival. |
|
Charcoal Kiln |
Tier 1 |
Turns Timber into Charcoal. Feeds the Smelting Furnace. Everything downstream depends on this. |
|
Smelting Furnace |
Tier 2 |
Smelts raw ores into ingots. Copper first, iron later. Has a Large variant for faster throughput. |
|
Tanning Rig |
Tier 2 |
Converts animal hides into leather using Tannin from Tree Bark. Medium armor starts here. |
|
Spinning Wheel |
Tier 2 |
Processes Flax Fiber into cloth and thread. Required for light armor, sails, and numerous recipes. |
|
Millstone |
Tier 2 |
Grinds raw materials into powders. Feeds alchemy and advanced cooking. |
|
Weaponsmith |
Tier 3 |
Forges Uncommon through Rare tier weapons. Ends the era of fighting with a stick. |
|
Armor & Clothing Workshop |
Tier 3 |
Produces full armor sets from leather, cloth, and metal. Set bonuses live here. |
|
Jewellery Table |
Tier 3 |
Crafts accessories from Pearls and gems. Passive stat bonuses and unique effects. |
|
Alchemy Table |
Tier 4 |
Brews potions from herbs and reagents. Minor Healing Potions restore 40% health instantly. |
|
Enchanting Table |
Tier 4 |
Adds magical properties to weapons and armor. The endgame ceiling for gear optimization. |
|
Upgrading Station |
Tier 4 |
Upgrades existing equipment. Also upgrades your bag capacity, which matters more than it should. |
|
Disassembly Bench |
Tier 4 |
Breaks down gear for 100% material recovery. Never vendor anything ever again. |
|
Shipwright's Workshop |
Tier 4 |
Builds and upgrades all ships, from Rowboat to Frigate. Required to leave the starting island properly. |
|
Wharf |
Tier 4 |
Docking structure. Required before you can actually set sail. You need both. |
|
Fast Travel Point |
Tier 2 |
Instant travel between any two you have built. Place one everywhere. Time is finite. |
|
Tent |
Tier 1 |
Secondary respawn point. Deploy near dungeons or resource nodes to avoid the full walk of shame. |
|
Floor-Standing Torch |
Tier 1 |
Wide-area illumination. Useful once your base grows beyond a single campfire and a box of regrets. |
|
Campfire (field) |
Tier 1 |
Portable cooking option for extended expeditions. Unlocked after your base Cooking Fire is established. |
The Windrose crafting stations system begins, as all things do, with fire and denial. Your opening stations exist to establish that you are, at minimum, capable of not dying immediately. The game is generous enough to give you a tutorial for this phase. It is also generous enough to send boars to attack you during the tutorial, which is how you know the developers have a sense of humor.
Your first build. Five pieces of Wood. That is all it costs, and yet a shocking number of players somehow manage to die before placing one. The Bonfire functions as your respawn anchor and the power source for every indoor station in its radius. Every crafting station that requires a roof also requires Bonfire proximity to operate. If your Bonfire goes out, your base effectively ceases to exist as a functional space. Treat it accordingly.
The Windrose workbench recipes unlock the entirety of the crafting tree. Build this with 5 Wood immediately after your Bonfire and do not leave the area without one in your back pocket. Every crafting station built afterward traces its lineage back to this unassuming table. Tools, basic gear, Coarse Fabric (3 Plant Fiber each), all of it lives here at the start. The Workbench also allows you to craft gathering tools, specifically the Stone Axe and Stone Pickaxe, which you will need before you can do anything else worth doing.
Craft a Backpack from the Workbench as early as possible. Your default inventory is an insult to your ambitions. The bag expansion changes the entire tempo of your resource runs.
Three Wood, three Stones. The most immediately life-saving station in Tier 1, and the one most frequently skipped by players who are too excited about weapons. Food buffs in Windrose are not optional seasoning. Spicy Chicken with Sweet Potato grants +10 VIT and lasts 30 minutes. Hearty Egg Broth gives +10 AGI for the same duration. Coconut Milk with Bananas increases your maximum stamina. Running two food buffs simultaneously is the difference between a character who survives encounters and one who does not. The Cooking Fire is where that difference begins.
Converts Timber into Charcoal. This is the single least glamorous station in the entire game, and also the one that everything downstream depends on. The Smelting Furnace requires Charcoal to operate. The Smelting Furnace produces ingots. Ingots produce metal gear. Metal gear keeps you alive. The Charcoal Kiln is, in effect, the engine of your entire material economy, disguised as a pile of smoldering wood.


This is the phase where Windrose base building starts to look like an actual operation rather than an emergency campsite. Your Tier 2 stations transform raw materials into crafting ingredients. None of them produce anything you can equip directly. All of them are absolutely required before you can equip anything worth having. This is the nature of the crafting loop, and you will spend a significant portion of your first playthrough simply feeding materials through these stations while wondering why you cannot just punch the ore into a sword.
The Windrose smelting furnace is where your Copper Ore becomes Copper Ingots and your progression ambitions become slightly more realistic. The cave on the Starting Island contains your first Copper deposit. Mine it with an Iron Pickaxe, smelt it with Charcoal, and immediately craft upgraded gathering tools before you craft a weapon. Copper tools accelerate your resource income. A copper weapon is nice. Faster resource gathering is better. Do the copper tools first. The Large Smelting Furnace, available as an upgrade, processes materials faster and becomes necessary once you reach Iron and beyond.
Animal hides are plentiful. Boars will ensure this. The Tanning Rig converts those hides into leather using Tannin, which you extract from Tree Bark. Leather is the primary material for medium armor, and medium armor is where survival becomes less of a desperate prayer. The Starting Island provides Rough Hide from Dodos and Boars. Higher-tier islands yield better hides and correspondingly better leather products.
Flax Fiber becomes cloth. Cloth becomes light armor. Light armor becomes the thing standing between you and an embarrassing death at the hands of something that should not be able to kill a person wearing full plate. The Spinning Wheel also produces sail cloth, which means it is a prerequisite for your shipbuilding ambitions whether you acknowledge that now or discover it later when the Shipwright's Workshop refuses to cooperate.
Grinds raw materials into powders and refined ingredients. The Millstone feeds both the Alchemy Table and advanced Cooking recipes. If you are wondering why your potions recipe requires a powder you cannot seem to produce, the Millstone is the answer. It is quiet, unglamorous, and present in every high-functioning base.
Build a Fast Travel Point at the end of Tier 2 before moving on. Placing one at your base and one near the copper cave alone will save you more cumulative time than any single upgrade you will make for the next three hours.
You have been gathering. You have been smelting. You have been tanning hides and grinding powders like a medieval artisan who has had a very bad week. Tier 3 is where the payoff arrives, in the form of three stations that actually produce things you can wear and wield. The Windrose progression tips all converge here: do not rush Tier 3 without a full Tier 2 operation, or you will arrive at your new stations with nothing to feed them.
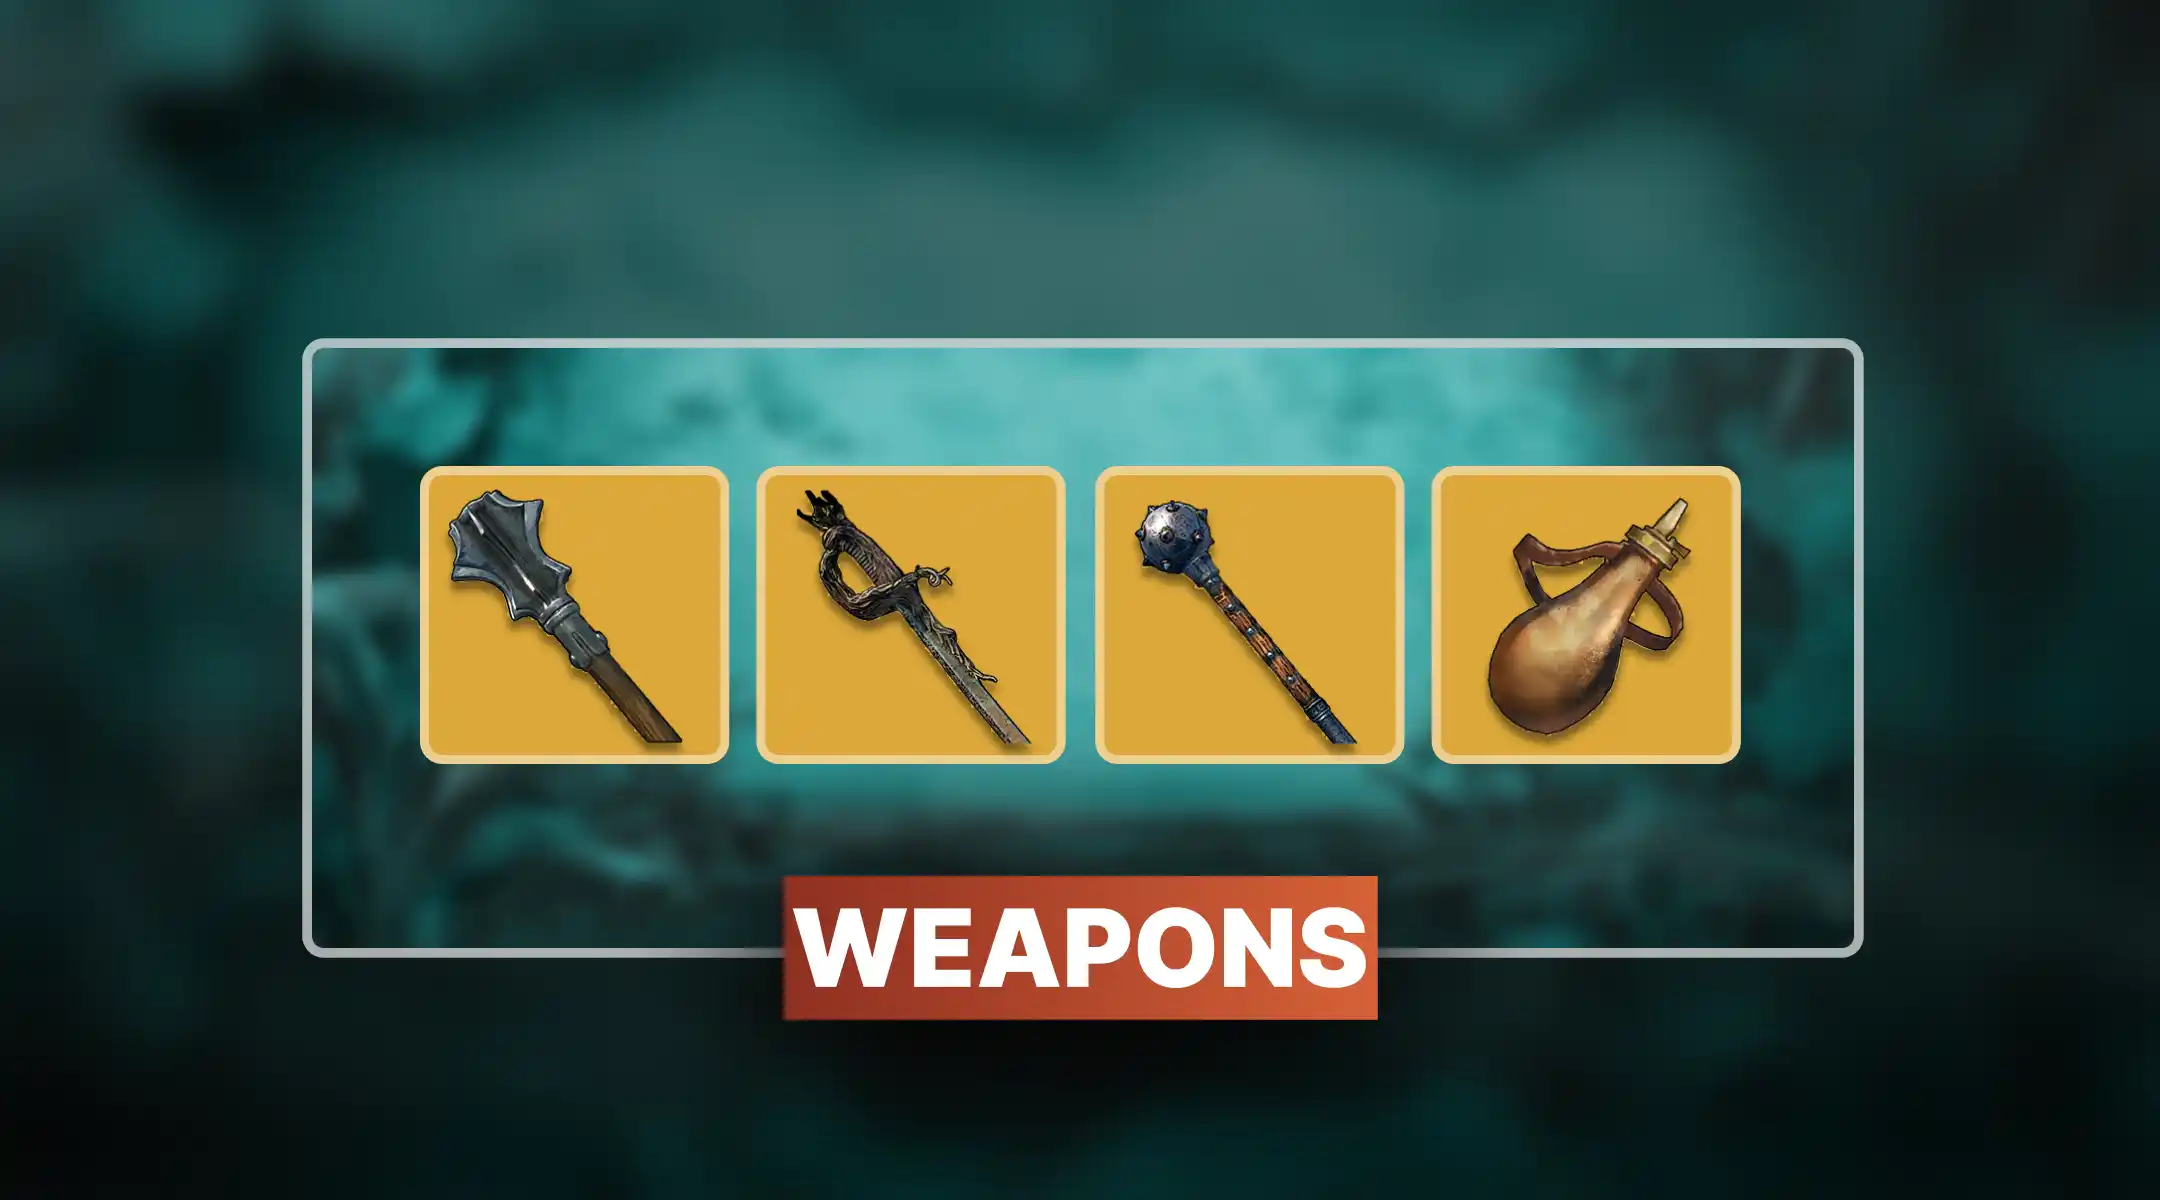
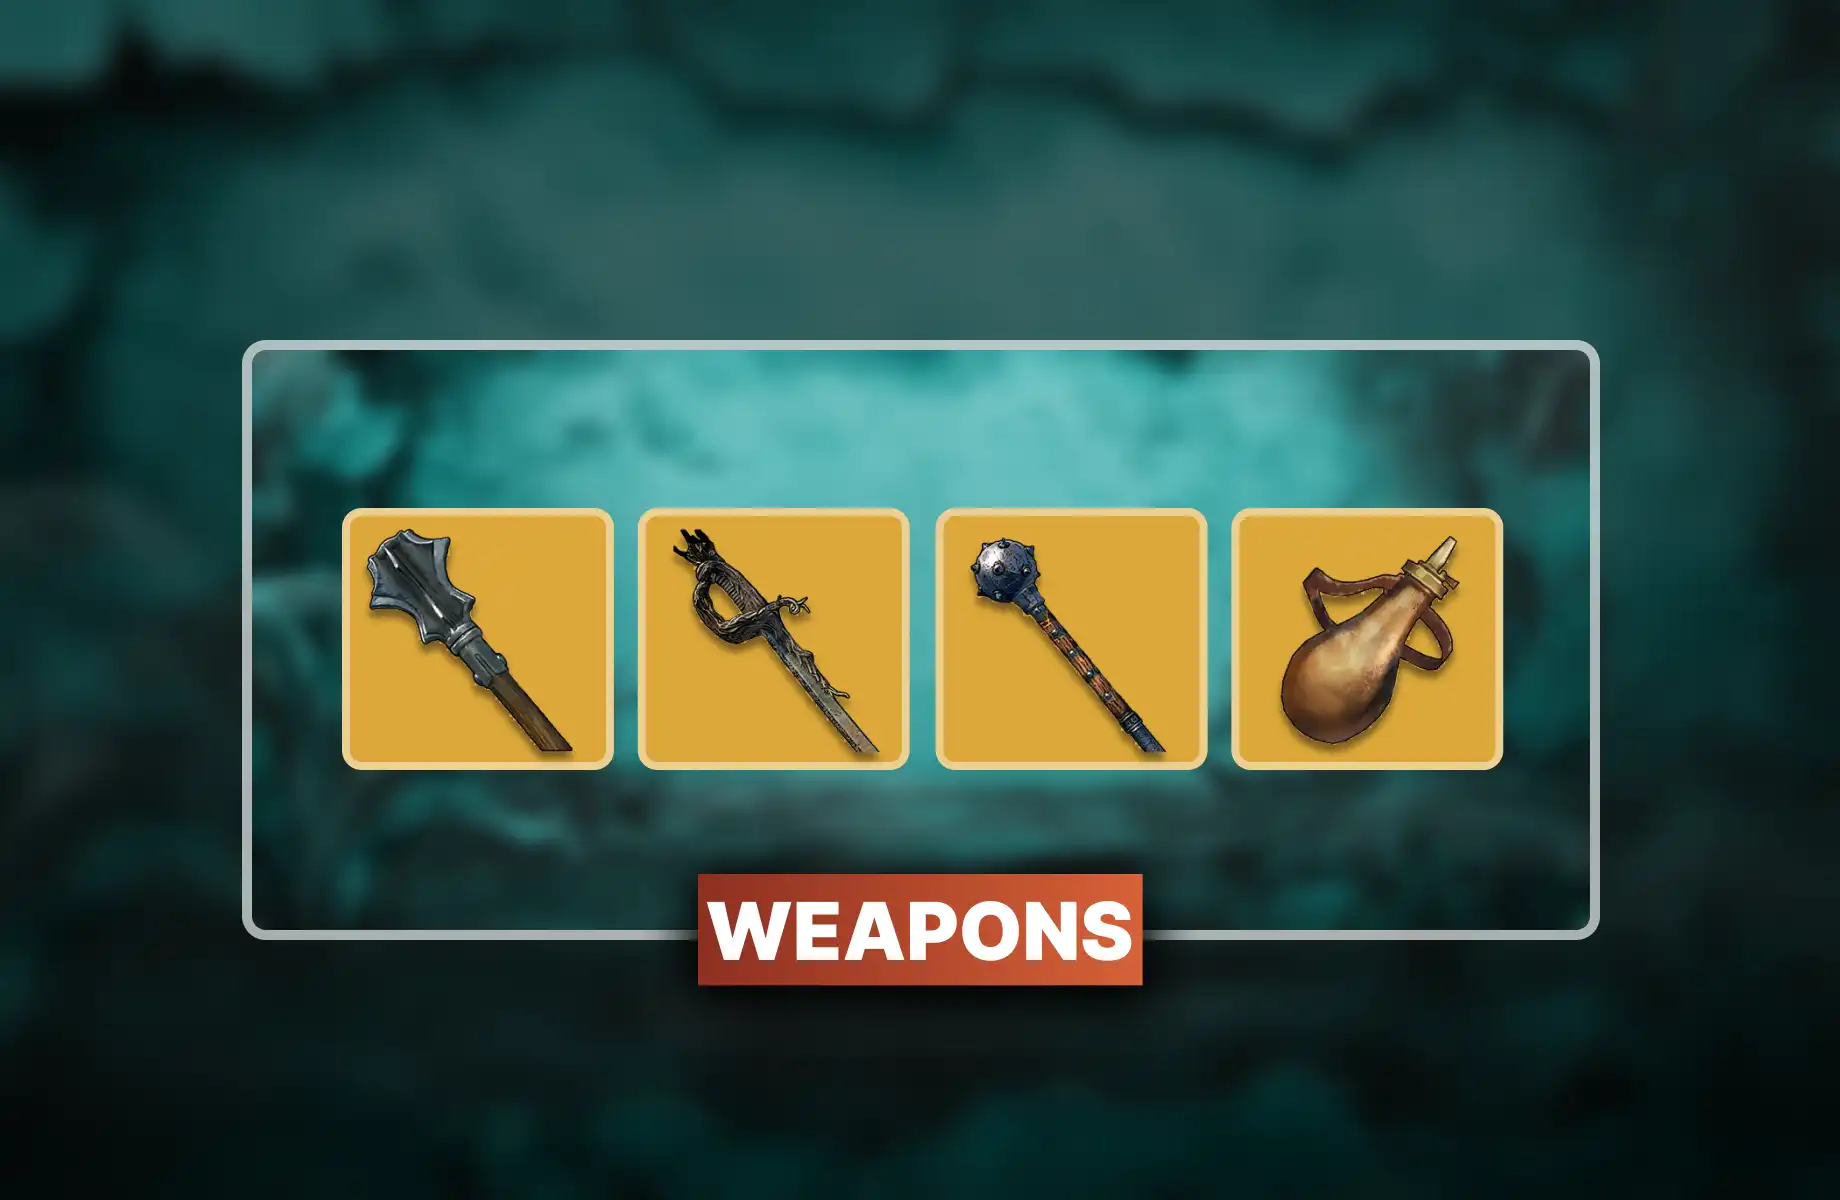
Requires 10 Wood and 5 Copper Ingots. The Weaponsmith is where the Islander tutorial ends and the game begins in earnest. You choose your first melee weapon here: Club, Rapier, or Saber. The Rapier scales with Agility and applies bleed. If you have already found the Rapier of a Thousand Cuts from the buried treasure on the Starting Island, you already know what bleed stacking feels like, and you are probably ahead of this guide in ways that cannot be taught. For everyone else: craft something, upgrade it, and continue existing.
The Weaponsmith produces weapons from Uncommon through Rare tier. Each weapon type has specific material requirements, all of which flow from your Tier 2 processing stations. The station can be upgraded, with higher levels unlocking better weapon quality tiers.
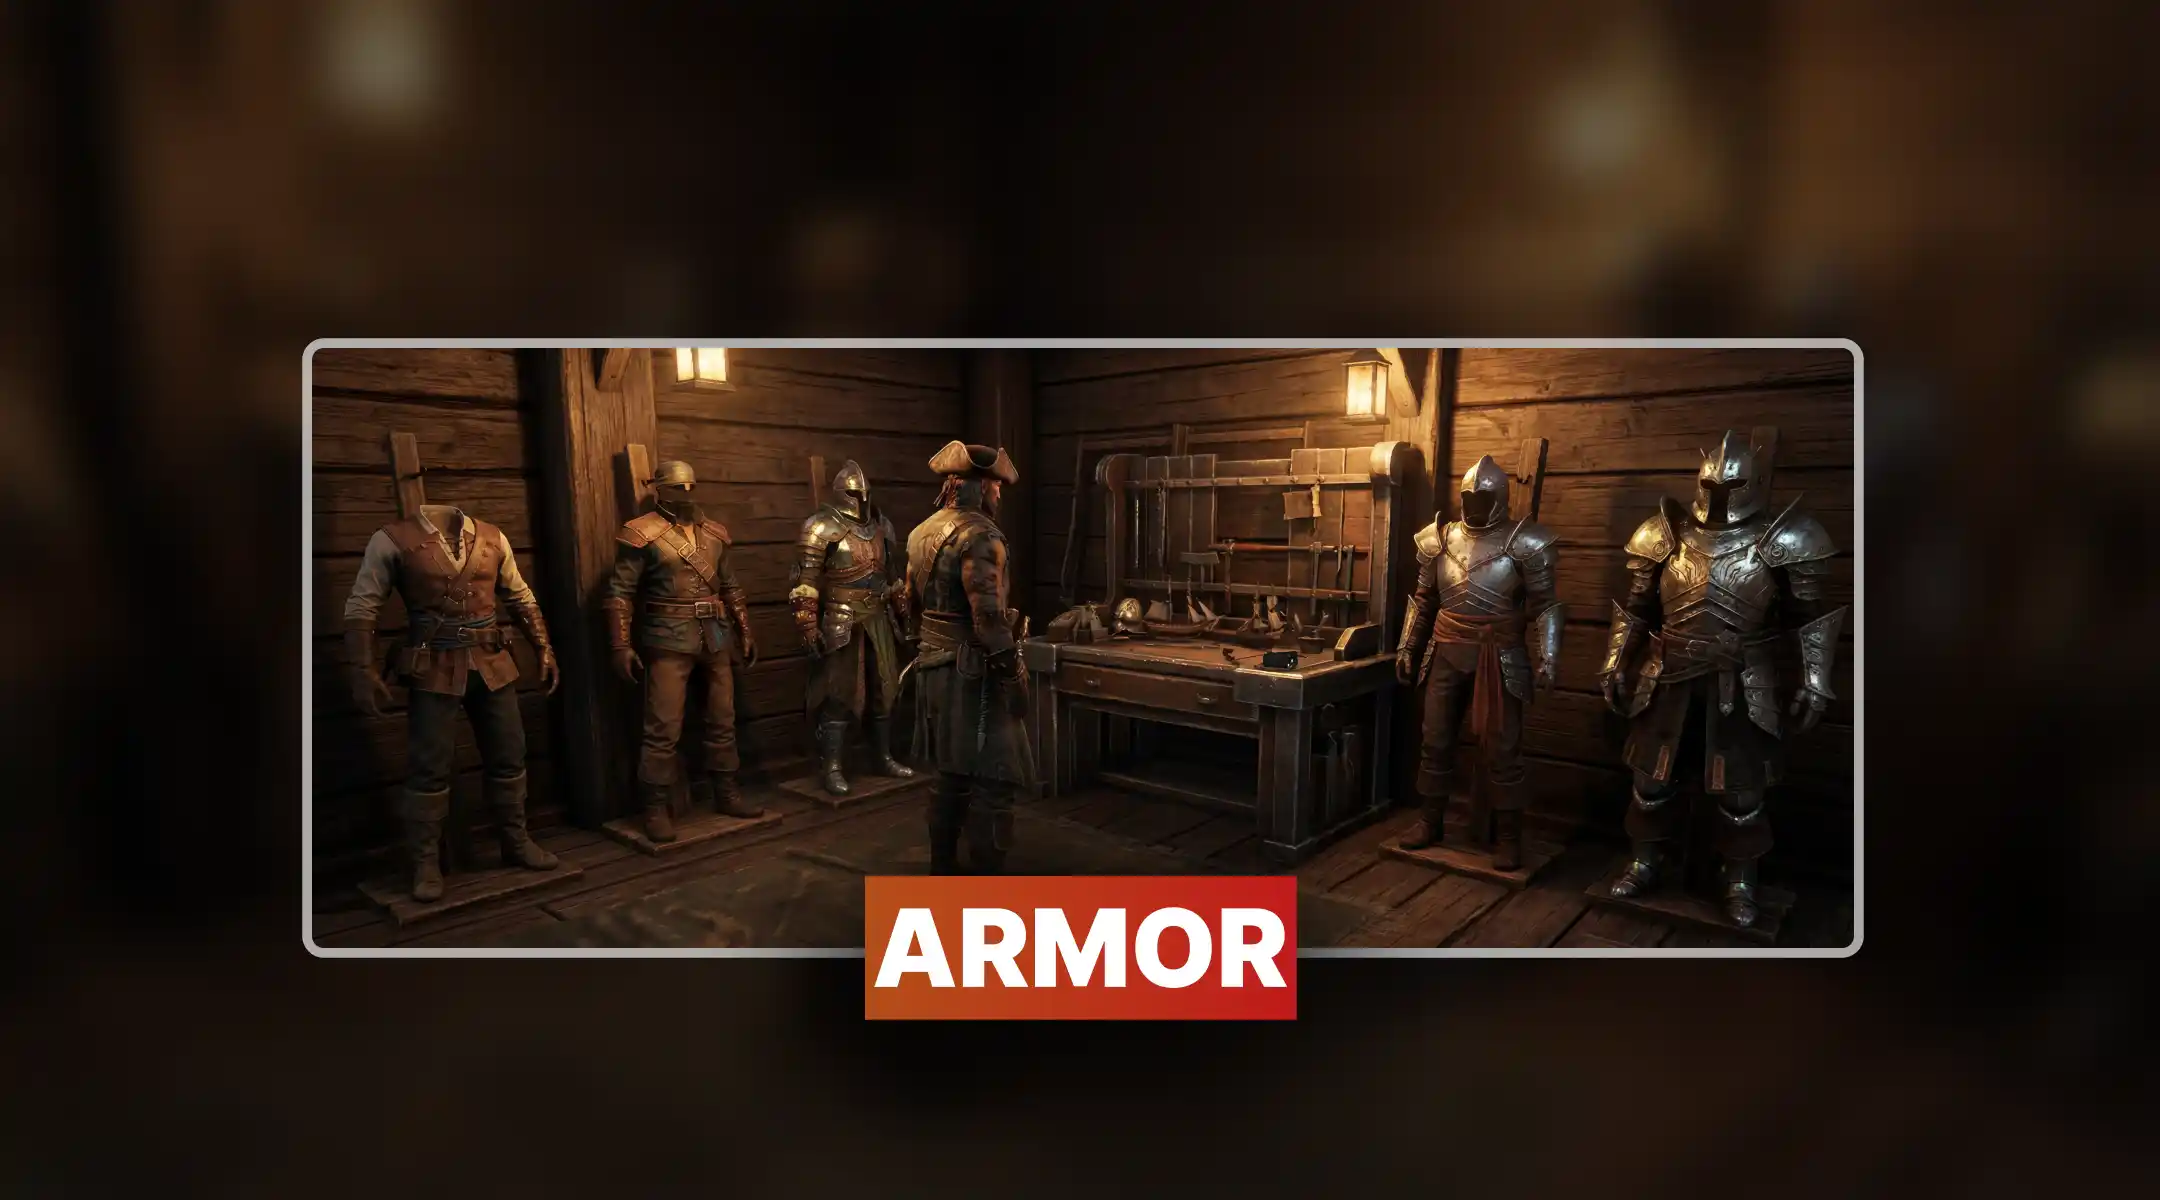
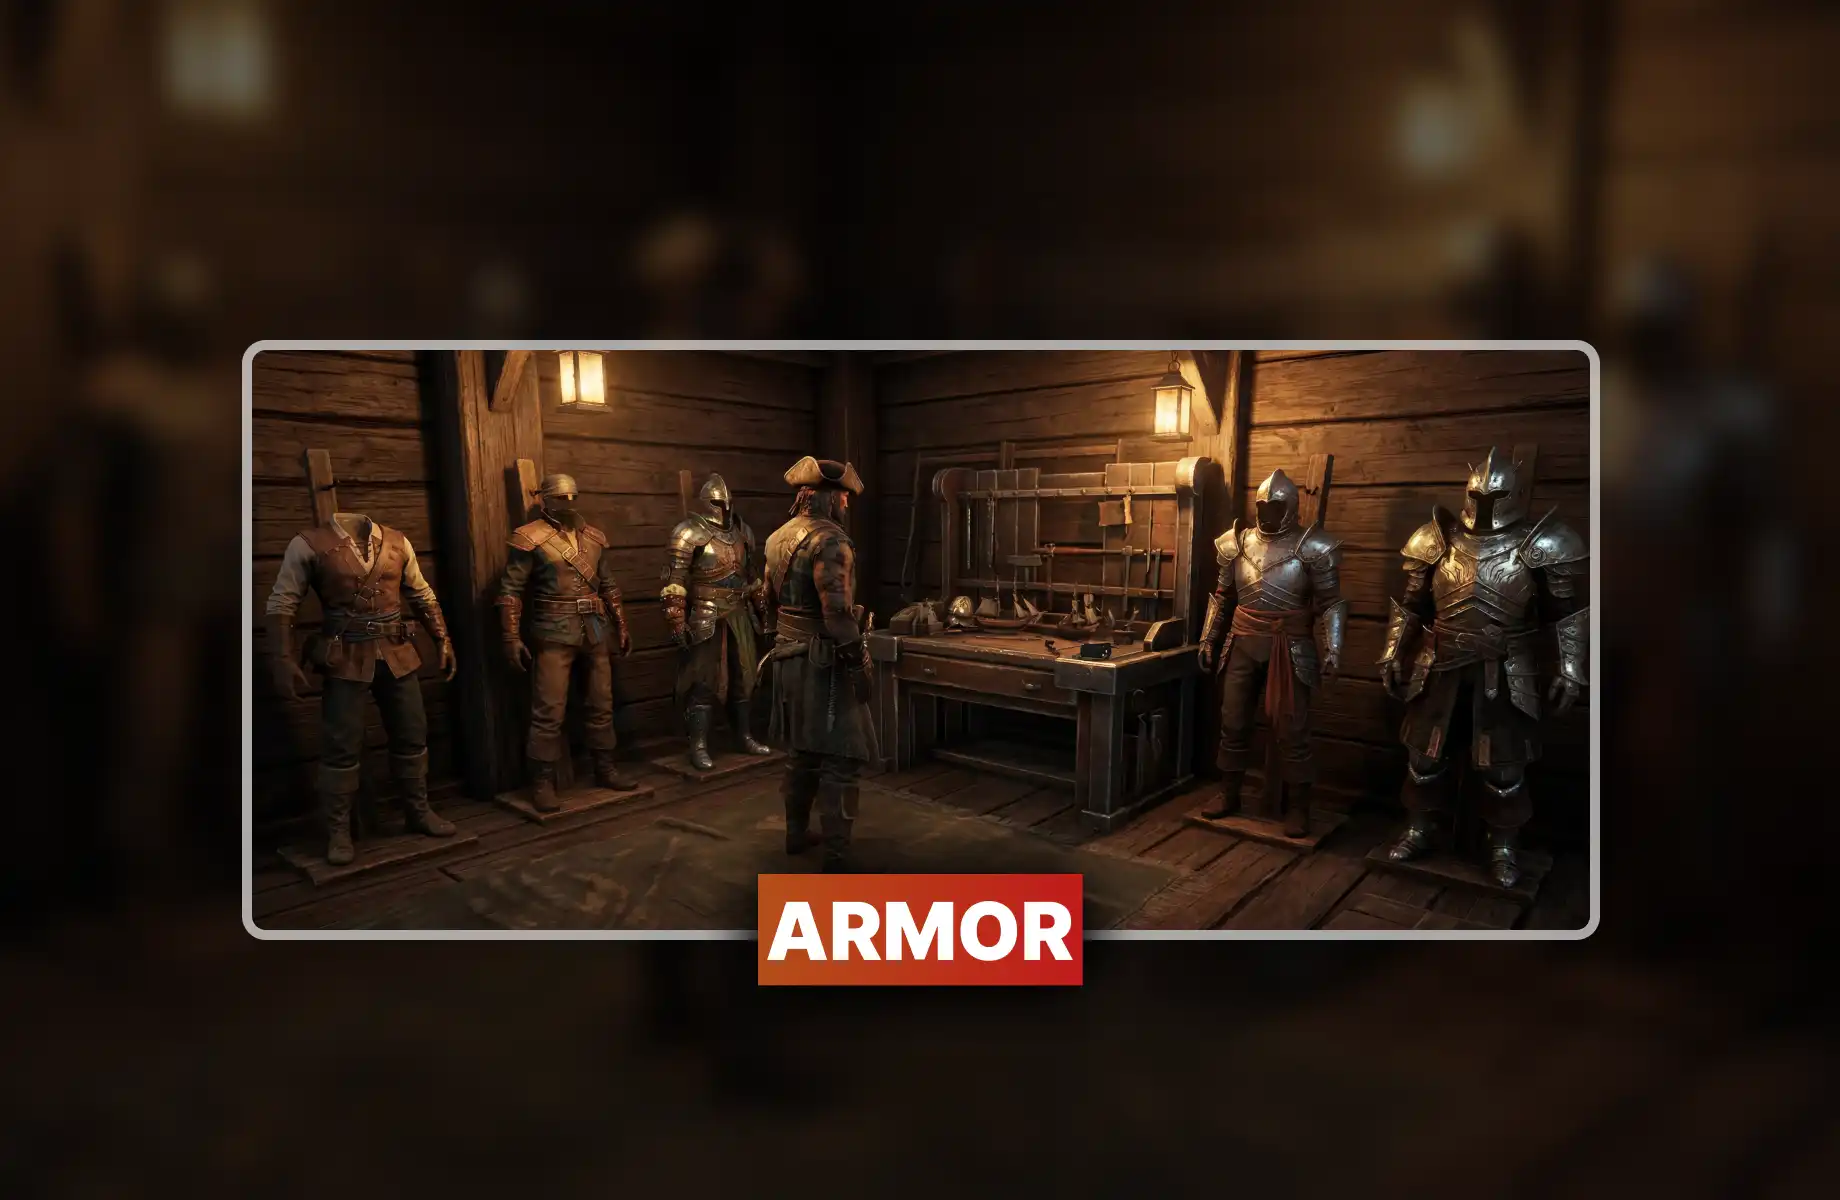
Requires 5 Wood and 10 Coarse Fabric. Must be placed under a roof, because apparently armor crafting is a delicate indoor art. This station produces complete armor sets and is the only place to access armor set bonuses, which provide passive effects that individual piece stats do not capture. A full medium leather set, for example, behaves differently than the sum of its individual defense values. The Workshop also accepts higher-tier materials as your exploration pushes into Foothills and Swamp zones.
Accessories from Pearls, gems, and refined materials. This is not mere vanity, though the game does treat it as late Tier 3. Jewellery provides additional stat bonuses and unique passive effects that weapons and armor cannot replicate. Wolf Fang, available from traders and high-tier zones, functions as an alchemical ingredient that also feeds into jewellery recipes. Do not discard unusual drops assuming they are vendor fodder.
Tier 4 stations represent the full expression of Windrose's crafting ambitions. This is where Windrose alchemy table potions stop being emergency health recovery and start being planned combat consumables. This is where the Windrose enchanting table transforms competent gear into something genuinely dangerous. And this is where the Windrose shipbuilding guide portion of your existence begins in earnest, as you stop paddling around on a Rowboat and start commissioning something with actual broadside cannons.
Unlocked by finding a Misty Orchid in the wild. Once the Alchemy Table is built, Minor Healing Potions become available, restoring 40% of your health pool instantly. That number is not a typo. The Alchemy Table uses herbs and reagents gathered across biomes: Aloe Leaf and Healing Herbs from the Starting Island, Bezoar from Swamp zones, Quagmire Powder from Tier 3 areas. The Elixir of Firm Hand grants +10 melee damage for 15 minutes and represents the kind of consumable that turns difficult encounters into merely unpleasant ones. Always stock both healing and offensive potions before sailing to a new island.
The Windrose enchanting table adds magical properties to existing weapons and armor. This is the endgame ceiling for gear optimization. No amount of weapon upgrading produces the same qualitative leap as a well-chosen enchantment. The station requires a roof and Bonfire proximity, and the materials it consumes come from the game's most demanding zones. Do not expect to access this casually. Do expect to feel powerful when you do.
Perhaps the most underestimated station in the entire game. Upgrading increases weapon damage, armor defense, power level, and damage resistance. More importantly, it upgrades your bag capacity. The difference between base inventory and a fully upgraded bag is the difference between one resource run and three resource runs per trip. Build this early in Tier 4 and use it immediately. You can also upgrade the crafting stations themselves, with station level displayed as a number in the build menu, allowing access to higher quality outputs as your progression advances.
Returns 100% of component materials from any disassembled item. If you have been vendoring your outdated gear, stop. Every weapon or armor piece you discard for Piastres was a collection of materials you already gathered and processed. The Disassembly Bench converts your old equipment into your next upgrade. It is the only loot sink in Windrose that pays you back in full.
Two stations, one function. The Shipwright's Workshop builds and upgrades naval vessels. The Wharf is the docking structure that actually lets you launch them. You need both, and you need the Wharf before the Workshop becomes useful in a practical sense. The Workshop requires specialized materials including Wooden Planks, processed metals, and sail cloth. The progression runs: Rowboat to Ketch to Brig to Frigate. Each tier of vessel opens different areas of the archipelago and changes the nature of naval combat you can engage in. Gunpowder fuels naval encounters, wood and iron stabilize repairs, and the Spinning Wheel's sail cloth output becomes a continuous demand. Plan your material supply chain before commissioning a Frigate.

The following sequence represents the most resource-efficient path through the crafting tree. Deviating from it is your prerogative. The consequences of deviating from it are also your prerogative.
Windrose gates its materials behind island tiers. You cannot smelt Iron before you reach the Foothills. You cannot brew Bezoar potions before you survive the Swamps. The game is structured so that your crafting progression mirrors your geographic exploration, which is elegant design if you appreciate that sort of thing, and a source of considerable frustration if you do not.
|
Zone |
Tier |
Key Resources |
Unlocks |
|
Starting Island |
Tier 1 |
Timber, Tree Bark, Healing Herbs, Flax Fiber, Tannin, Copper Ore, Rough Hide (Dodo, Boar), Misty Orchid, Potato, Pepper, Banana, Coconut |
All Tier 1–3 stations; basic leather and cloth armor; first weapons; Alchemy Table via Misty Orchid |
|
Foothills / Second Island |
Tier 2 |
Foothills Iron Ore, Mountain Goat Horn, Bromeliad, higher-quality animal hides |
Iron weapons and armor; upgraded smelting outputs; higher-tier leather goods |
|
Swamps / Tier 3 Zones |
Tier 3 |
Plague Wood, Quagmire Powder, Ancient Scraps, Crocodile Tail, Bezoar, Bone Meal |
Advanced alchemy reagents; endgame armor materials; enchanting components |
Build a Tent near every significant resource deposit. The walk back to your base bonfire respawn after a Crocodile disagrees with your life choices is a walk you will want to make as short as possible.
The Windrose crafting guide experience does not end at simply building the stations. Several systems interact with each other in ways the game does not explain, because explaining things is apparently optional game design now.
First: station upgrades are sequential. Every crafting station displays its current level as a number in the build menu. Upgrading a station unlocks access to higher-tier recipes at that station specifically. A Level 1 Weaponsmith does not produce the same range of weapons as a Level 3 Weaponsmith. This is separate from the Upgrading Station, which improves your gear. Both systems exist and both matter.
Second: the Disassembly Bench returns 100% of materials. This changes the calculus of crafting experimentation entirely. Build the weapon you want to try. Disassemble it if it disappoints you. Craft something else. The material economy is not a one-way street once this station is active.
Third: crafting is not decorative. As the game's own internal documentation puts it, crafting defines whether you survive the next island tier. Gunpowder fuels naval encounters. Wood and iron stabilize ship repairs. Alchemy provides the health recovery that boss encounters assume you have stocked. A beautiful set of enchanted armor crafted without an adequate potion supply is how you discover that the Swamp Crocodile has considerably more health than you expected.
Fourth: the cooperative multiplayer architecture rewards specialization. In a co-op session, dividing station responsibilities between players dramatically accelerates progression. One player managing the smelting and material pipeline while another handles combat and resource gathering is not just efficient. It is the intended design of the system. The game peaked at over 22,000 concurrent players during Steam Next Fest, and a substantial portion of them were figuring out exactly this division of labor.

Windrose crafting stations explained from Bonfire to Enchanting Table. Full build order, resources by island tier, and tips to stop wasting time

Windrose crafting stations explained from Bonfire to Enchanting Table. Full build order, resources by island tier, and tips to stop wasting time

Windrose crafting stations explained from Bonfire to Enchanting Table. Full build order, resources by island tier, and tips to stop wasting time

Windrose crafting stations explained from Bonfire to Enchanting Table. Full build order, resources by island tier, and tips to stop wasting time

Windrose crafting stations explained from Bonfire to Enchanting Table. Full build order, resources by island tier, and tips to stop wasting time

Windrose crafting stations explained from Bonfire to Enchanting Table. Full build order, resources by island tier, and tips to stop wasting time

Windrose crafting stations explained from Bonfire to Enchanting Table. Full build order, resources by island tier, and tips to stop wasting time

Windrose crafting stations explained from Bonfire to Enchanting Table. Full build order, resources by island tier, and tips to stop wasting time

Windrose crafting stations explained from Bonfire to Enchanting Table. Full build order, resources by island tier, and tips to stop wasting time

Windrose crafting stations explained from Bonfire to Enchanting Table. Full build order, resources by island tier, and tips to stop wasting time

Bonfire first, always. Workbench immediately after. Nothing else functions without both of these placed.
Yes. Food buffs are not optional. Two active buffs change your survivability dramatically. Build the fire.
One hundred percent of all component materials. Disassemble freely. Nothing is wasted once this station exists.
Technically yes. Practically, you will have nothing worth enchanting. Build in tier order.
Yes. Each base requires its own stations. Use Fast Travel Points to minimize how often you actually need to go back.

GTA 6, new seasons, major updates — get ready to dominate from day one