
Arc Raiders Boost
ARC Raiders Deal Damage to Shredders Trial Guide
Flashpoint dropped. Shredders escaped. The Surge Coil arrived. Our full ARC Raiders 1.22 traps tier list tells you exactly what to craft and what to b
This ARC Raiders flashpoint traps tier list exists because the ARC Raiders traps meta shifted in the Flashpoint update, and most of you are still carrying a Gas Grenade Trap like it is a personality trait. Shredder spawns are now everywhere. Mine Sweeper can disarm Remote Raider Flares now. The Surge Coil has joined the deployable family and needs a placement in the rankings. Consider this guide a professional intervention before you waste another stack of craft parts on a beeping glowwire that any raider with functional eyes spots from the far end of a corridor.
Traps in ARC Raiders split into two categories with very different failure modes. Laser Traps deploy a red trip wire up to five meters long that detonates when crossed. They beep. They glow. Any raider who has played more than six hours will spot them and simply walk around. Mines sit flush to the ground, proximity-triggered, and work on both ARC and Raiders. The Surge Coil, new in Flashpoint 1.22, works differently from both: it sits in the environment and electrifies its radius on a repeating cycle, not a single-trigger event. This ARC Raiders best traps guide covers all of them honestly, which is going to hurt some of your feelings.
Before ranking anything, it is worth being precise about what patch 1.22 changed relative to traps specifically, because "Flashpoint is huge" does not automatically mean your Jolt Mine got better.
The confirmed trap-relevant changes from the official patch notes are as follows. Remote Raider Flares can now be disarmed using the Mine Sweeper skill, which is a meaningful shift for anyone who uses flares as part of a defensive placement strategy. The Trailblazer and Shrapnel Grenade kill credit bug was fixed, so your ARC Raiders flashpoint best traps performance on the achievement tracker now registers correctly. Shredders spawn across all maps now, which changes the risk profile of every ground-level mine placement. Rocketeers take less collision damage and survive being stunned rather than dying on impact, which has limited but real implications for Jolt Mine usage against aerial targets near ceilings.
The Surge Coil is not a traditional trap. It does not have a trip wire. It does not require a proximity trigger. It sits, it cycles, it damages. Think of it as a Jolt Mine that never stops firing, covers a wider area, and does not require an enemy to step directly on it.
• Fast blueprint farming service
• Secure targeted item delivery
• Guaranteed high-tier recipes
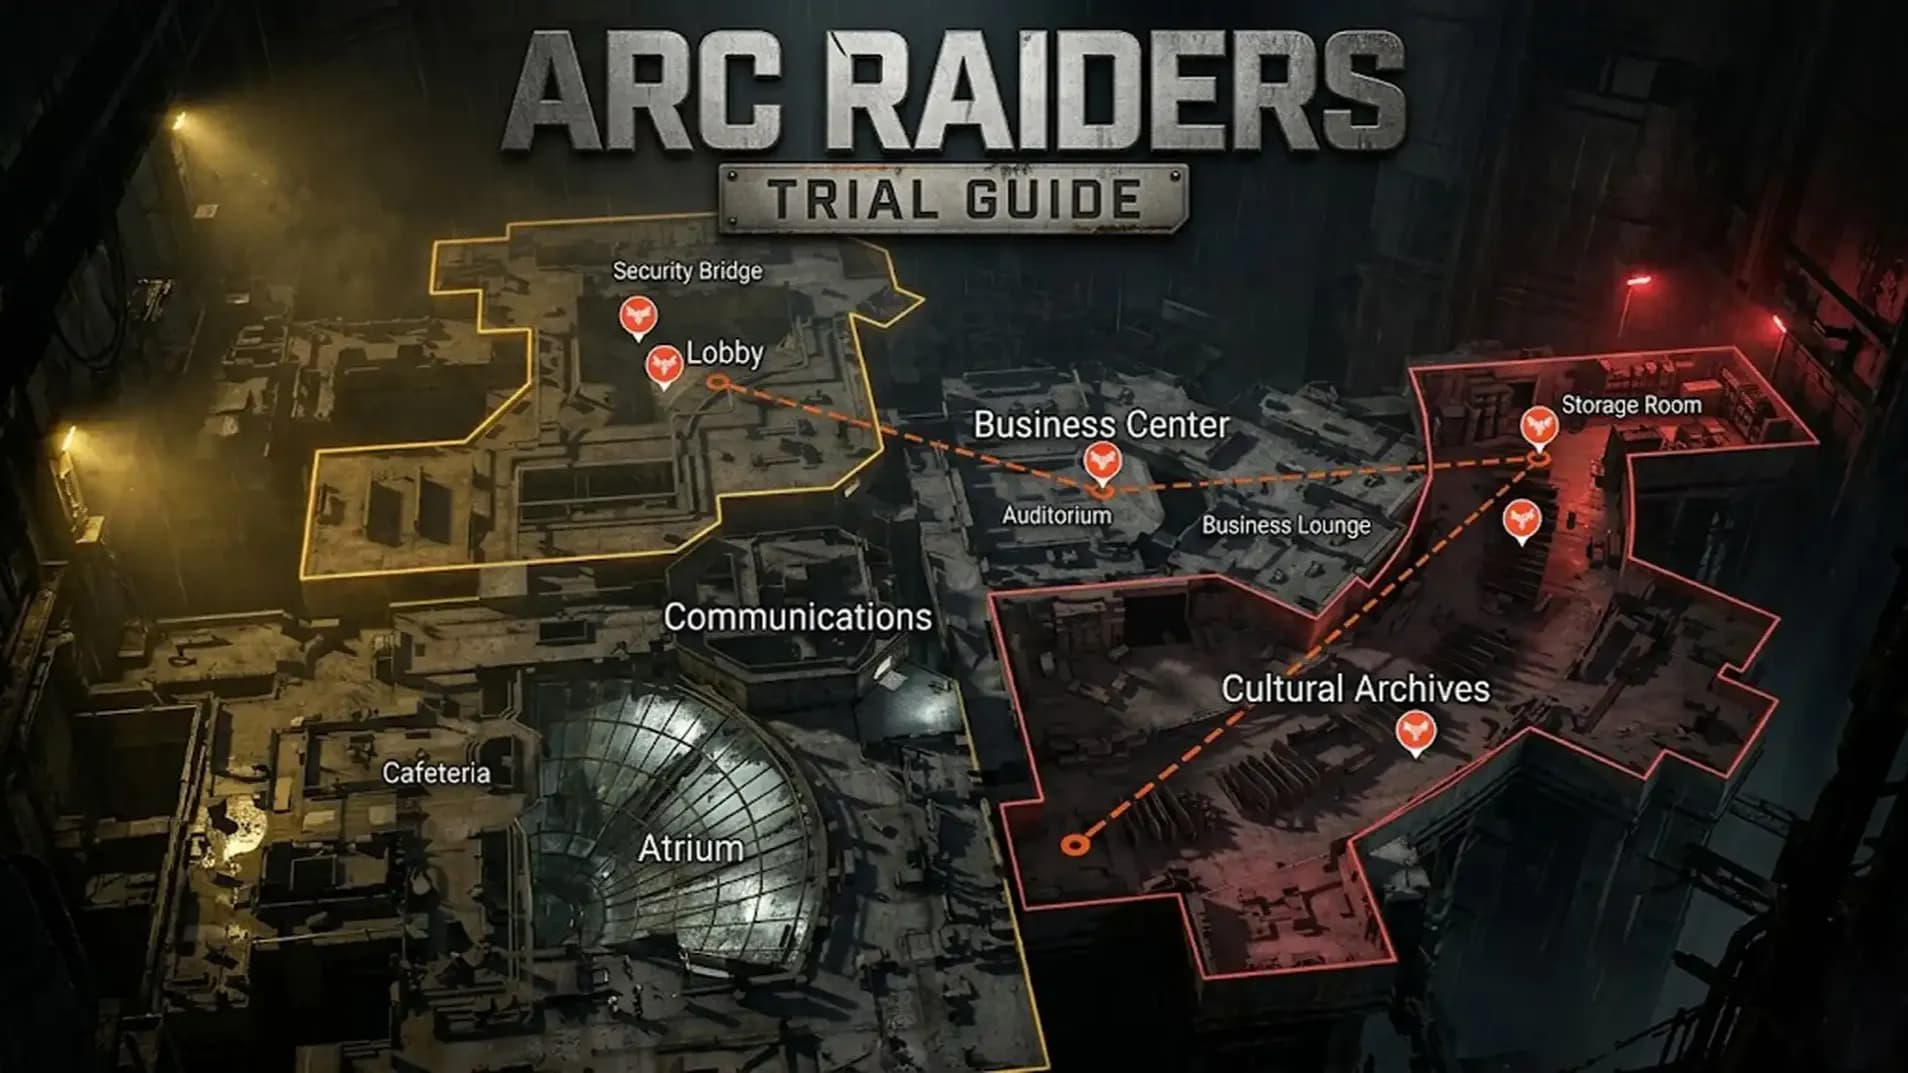
These rankings cover the ARC Raiders traps tier list across both PvE boss encounters and PvP corridors, doorways, extracts, and the Close Scrutiny ARC Operation, which arrived in 1.22 and concentrates both loot and enemy contact into the same expensive, crowded location where you absolutely want good traps.
|
Tier |
Gadget |
Role & Performance Notes |
|
S |
Jolt Mine |
Elite CC: Hard stuns both ARC and Raiders. Remains the undisputed "crown" of crowd control. |
|
S |
Surge Coil |
New (v1.22): Repeating electric pulse. Provides superior area denial without the single-trigger drawback. |
|
A |
Blaze Grenade Trap spiceport |
DoT King: Exceptional for tight spaces and corners; provides high, consistent burn damage. |
|
A |
Explosive Mine |
Burst Damage: Can be deployed during a slide. Stacking these effectively "deletes" pursuers. |
|
A |
Deadline |
Boss Tech: Timer-based mine that excels in boss rooms with predictable pathing. |
|
B |
Pulse Mine |
Displacement: Pure knockback. Great for breaking a chase, but lacks finishing power. |
|
B |
Smoke Grenade Trap |
Utility: The "red laser" self-smoke trick keeps this relevant for creative players. |
|
C |
Lure Grenade Trap |
Niche: Redirects ARC but requires perfect placement and cooperative AI behavior. |
|
C |
Gas Mine |
Alarm: Low damage but drains stamina. Most targets simply walk out of the cloud. |
|
D |
Gas Grenade Trap |
Waste of Resources: Highly visible and audible. Most enemies survive it easily; zero ROI. |


• Fast Buried City completion
• Guaranteed loot and rewards
• Secure professional raid carry
The ARC Raiders traps guide table below covers trigger type, primary use case, and the honest verdict on what each trap actually does when it matters. Inflated damage numbers from trailers are not included. Only things that work in a real run where a Shredder is closing distance and you have two seconds to make a decision.
|
Trap |
Type |
Tier |
PvE |
PvP |
Verdict |
|
Jolt Mine |
Proximity Mine |
S |
Exceptional |
Exceptional |
Hard stun, wide coverage, works on everything |
|
Surge Coil |
Deployable / New |
S |
Strong |
Strong |
Repeating pulse denies areas without needing a trigger |
|
Blaze Grenade Trap |
Laser Trap |
A |
Good |
Strong in corridors |
Fire damage over time punishes raiders in tight doorways |
|
Explosive Mine |
Proximity Mine |
A |
Good |
Strong |
High burst, stackable, drop-slideable during a chase |
|
Deadline |
Timer Mine |
A |
Strong |
Situational |
Place ahead of path, retreat, let the timer do the work |
|
Pulse Mine |
Proximity Mine |
B |
Situational |
Good |
Cheap knockback, breaks a chase, does not kill anything |
|
Smoke Grenade Trap |
Laser Trap |
B |
Niche |
Creative use |
Walk through your own laser for on-demand smoke cover |
|
Lure Grenade Trap |
Laser Trap |
C |
Niche only |
Useless |
ARC redirect that never quite lands where theory suggests |
|
Gas Mine |
Proximity Mine |
C |
Alarm only |
Alarm only |
Stamina drain is real, damage is not, targets walk out clean |
|
Gas Grenade Trap |
Laser Trap |
D |
No |
No |
Visible, audible, survivable. A craft parts bonfire. |
The Jolt Mine has been S tier since before Flashpoint and it has given no reason to move. A proximity trigger that stuns ARC units for roughly ten seconds and Raiders for two to four seconds is the most reliable combat tool in the entire trap category. Ten seconds on a Bastion is enough time to circle to a weak point, land three clean shots, and re-position. Two seconds on a Raider is enough time to push through a door and remove them from the equation permanently.
Flashpoint's Mine Sweeper skill change: where Remote Raider Flares can now be disarmed using Mine Sweeper: reminds every raider that skilled opponents will eventually counter your mine setup. It does not apply to Jolt Mines directly, but it signals that mine awareness among the player base is increasing. Place Jolt Mines in positions where the target cannot see the glow until it is already too late to react. Avoid flat open floors in daylight. Prefer stairs, door frames, and the far side of blind corners where the approach forces a commit before the mine becomes visible.
The ARC Raiders best traps ranking for PvE puts Jolt Mine at the top of the list specifically for the Close Scrutiny ARC Operation introduced in 1.22. Fighting through heavy Assessor patrols and Vaporizer coverage while the entire map around you is loot-barren means every engagement counts. A Jolt Mine placed on the approach to your looting position converts a dangerous flank into a free window.
The ARC Raiders surge coil is the most interesting trap addition since the Deadline mine. It is classified as a Rare Deployable rather than a traditional trap, but its function belongs in this guide. Place it down and it periodically electrifies the surrounding area, damaging anything that moves into range. The repeating cycle is what separates it from every other trap in the game. Traditional mines fire once and sit dead. Laser traps trip once and vanish. The Surge Coil keeps working.
Drop it in a doorway while looting a container and it covers your position without requiring you to watch the entrance. Place it near an extraction point and it discourages camping from any raider who wanders into range. In the Close Scrutiny ARC Operation, where Raiders are funneled toward the same Assessor target, placing a Surge Coil on a secondary approach is not a deterrent. It is a deletion tool. The blueprint requires a trip to the Assessor loot pool for the best drop chance, which means early access comes at appropriate risk.
Flashpoint note: The Surge Coil blueprint drops with the highest frequency inside the new Close Scrutiny ARC Operation. Budget runs relying on general world loot will find it, but slowly. Prioritize the Assessor if you want it fast.
The Blaze Grenade Trap is the best laser trap in the game by a distance that makes the other laser traps quietly uncomfortable. It deploys on walls and high surfaces, it catches Raiders in tight corridors with fire that damages over time, and it punishes the specific type of careless player who sprints into buildings without checking their ankle height. Post-Flashpoint, with Shredders now appearing across all maps rather than being confined to Stella Montis, the Blaze Grenade Trap on a ground-level door frame becomes significantly more entertaining.
Place it high when possible. The red laser at ankle level gets spotted. A laser at chest height in a dark stairwell gets respected only after it has already fired. The ARC Raiders traps placement guide principle here is simple: if the enemy can see the laser before committing to the movement, the trap has already failed. Make the laser the reward for committing, not the warning before it.
The Explosive Mine does not trick anyone. It does not need to. Proximity triggers, pops up, delivers burst damage, and asks no further questions about your feelings. The slide-and-drop mechanic means a raider running from a chase can turn a retreat into an ambush in one movement. Stack two Explosive Mines in the same location and the combined burst becomes a one-hit conversation-ender against unshielded targets.
With Shredders now on all maps in Flashpoint, the ARC Raiders mines guide use case for Explosive Mines expanded specifically against these melee-heavy ground units. Two Hullcracker hits drop a Shredder, which means they are durable, and they close distance fast. An Explosive Mine in their path shortens the math significantly.
The Deadline mine detonates on a timer rather than proximity, which makes it the trap most often wasted by raiders who do not understand what it is for. It is not a reactive tool. You cannot drop it when someone is already on top of you. It is a preemptive tool. Place it in a boss room before the encounter starts, on a path you have identified as the ARC's movement lane, and let it fire into the target's flank while your primary weapon engages the front. Used this way, it is outstanding in ARC Raiders PvE traps setups against Bastions and Bombardiers where the movement paths are predictable enough to reward preparation.
The Pulse Mine knocks back. That is the whole list of things it does. No stun, no burn, no real damage. Just a forceful suggestion that the target stand somewhere else for a moment. In PvP this is occasionally enough, because knocking a raider out of cover gives you a shot window they did not plan for. In PvE it is a soft interrupt that buys a few meters of space before the ARC resumes its commitment to removing you from the map.
What keeps the Pulse Mine in B tier rather than lower is cost and speed. It is cheap to acquire and fast to place. In the ARC Raiders traps best budget options category for 1.22, it serves as an honest alarm and light deterrent for flank coverage when you cannot afford a Jolt Mine on every approach. It is the trap for players who understand they cannot afford better and have accepted that gracefully.
The Smoke Grenade Trap has exactly one use case worth discussing and it is the self-smoke trick. Deploy it, walk through your own red laser, and receive immediate smoke coverage on demand. Used this way it is a creative and effective tool. Used as an actual trap against enemies, it provides vision denial that gives them time to think clearly and walk around it. The ARC Raiders flashpoint traps tier list puts it in B tier specifically because the creative application is genuinely useful in extract coverage and healing windows. If you are running it as a traditional enemy trap, you are using it wrong.

The Lure Grenade functions beautifully as a throwable. You throw it at a Shredder pack, the Shredders investigate the noise, you are no longer surrounded. Clean and functional. The Lure Grenade Trap takes this excellent concept and threads it through a wire craft that costs additional parts, requires the laser to be positioned precisely on the exact movement path the ARC will use, and then hopes that the ARC decides to cooperate with your positioning theory. They frequently do not.
With Shredders now appearing on all maps in Flashpoint 1.22, the appeal of a Lure-based setup is at least conceptually higher. The problem remains execution. Save the craft parts for the throwable version. The ARC Raiders 1.22 traps ranked section places Lure Grenade Trap in C tier because it works in narrow situations but asks too much from the environment and too little from the enemy.
Gas Mine drains stamina. Stamina drain matters in the sense that it limits sprinting and rolling, which is real and useful. It does not kill. It does not stun. It tells a raider that you were here, deployed a small glowing disc, and wanted them to be slightly less mobile for the duration of a cloud they have already walked out of. Buy them from the vendor as cheap map awareness tools on flanks you cannot watch. Do not build a strategy around the stamina drain output.
The Gas Grenade Trap is in D tier and has been in D tier and has earned its residency there through consistent underperformance across every patch. It costs a grenade and a wire. It produces a glowing, beeping laser that any experienced player spots from across a corridor. When triggered, it produces a gas cloud that drains stamina and that targets walk out of before anything meaningful happens. The ARC Raiders traps tier list for Flashpoint 1.22 does not find a single scenario where a Gas Grenade Trap is the correct choice over any of the options above it. If you are currently crafting these, the guide suggests redirecting those materials toward anything else. Literally anything.

Understanding trap tiers is half the work. Knowing where to deploy them in the Flashpoint 1.22 environment is what converts theory into extractions. The Close Scrutiny ARC Operation concentrates all major loot and all major threats into one location, which makes trap placement there significantly higher stakes than a standard run on Blue Gate.
|
Scenario |
Recommended Traps |
Why |
|
Close Scrutiny Assessor approach |
Surge Coil + Jolt Mine |
Repeating denial plus hard stun covers the funnel toward the objective |
|
Boss room (Bastion/Bombardier) PvE |
Deadline + Blaze Grenade Trap |
Pre-set the Deadline on the movement path, fire trap on the secondary entrance |
|
Extract defense PvP |
Jolt Mine + Explosive Mine |
Stun on approach and burst on follow-through remove the push window |
|
Healing / looting cover |
Surge Coil |
Place it and forget it while you complete the action |
|
Chase escape |
Pulse Mine drop + Explosive Mine stack |
Pulse breaks momentum, Explosive catches the raider if they continue |
|
Shredder-heavy map areas (all maps post-1.22) |
Explosive Mine + Jolt Mine |
Shredders close fast and hit hard: stun first, burst second |
|
Flank monitoring on a budget |
Gas Mine (vendor) |
Cheap, visible glow, at least tells you something crossed the position |
The Mine Sweeper skill change in 1.22 means that any skilled raider running Mine Sweeper can disarm your Remote Raider Flares in addition to your mines. This does not make mines useless. It makes placement more important. A mine that can be seen and approached cautiously is a suggestion. A mine placed in a location that forces the enemy into the trigger zone to proceed is a tax on their existence.
In Stella Montis corridors and the tight hallways of Buried City, the ARC Raiders PvP traps guide recommendation remains placing mines on the second step of any staircase rather than the bottom landing. The bottom landing gets checked. The second step gets committed to after the raider has already decided to move.
The ARC Raiders shredder threat escalated significantly in Flashpoint 1.22. Previously a Stella Montis problem, Shredders now spawn across Blue Gate, Buried City, Spaceport, and Dam Battlegrounds, with Dam limited to specific map conditions. Embark's own official ARC Raiders account called Shredders the deadliest ARC type in the game, which is a bold piece of transparency from a developer about their own content.
Shredders are ground-level melee threats. They close distance fast and they are durable enough to require two Hullcracker hits to drop. This directly affects how you set up ground-level trap coverage on every map that was previously Shredder-free. Explosive Mines become a first-line tool rather than an optional addition. The Jolt Mine's ten-second stun window becomes the margin between a clean extraction and a Shredder eating your entire loot run.
The Canto SMG added in Flashpoint 1.22 is worth mentioning here because its close-range effectiveness against ARC makes it the natural companion to a Jolt Mine setup. Stun with the mine, finish with the Canto at range before the stun expires. Clean, efficient, and survivable in a way that trying to melee a Shredder is not.

Flashpoint dropped. Shredders escaped. The Surge Coil arrived. Our full ARC Raiders 1.22 traps tier list tells you exactly what to craft and what to b
Flashpoint dropped. Shredders escaped. The Surge Coil arrived. Our full ARC Raiders 1.22 traps tier list tells you exactly what to craft and what to b
Flashpoint dropped. Shredders escaped. The Surge Coil arrived. Our full ARC Raiders 1.22 traps tier list tells you exactly what to craft and what to b
Flashpoint dropped. Shredders escaped. The Surge Coil arrived. Our full ARC Raiders 1.22 traps tier list tells you exactly what to craft and what to b
Flashpoint dropped. Shredders escaped. The Surge Coil arrived. Our full ARC Raiders 1.22 traps tier list tells you exactly what to craft and what to b
Flashpoint dropped. Shredders escaped. The Surge Coil arrived. Our full ARC Raiders 1.22 traps tier list tells you exactly what to craft and what to b
Flashpoint dropped. Shredders escaped. The Surge Coil arrived. Our full ARC Raiders 1.22 traps tier list tells you exactly what to craft and what to b
Flashpoint dropped. Shredders escaped. The Surge Coil arrived. Our full ARC Raiders 1.22 traps tier list tells you exactly what to craft and what to b
Flashpoint dropped. Shredders escaped. The Surge Coil arrived. Our full ARC Raiders 1.22 traps tier list tells you exactly what to craft and what to b

Flashpoint dropped. Shredders escaped. The Surge Coil arrived. Our full ARC Raiders 1.22 traps tier list tells you exactly what to craft and what to b
Flashpoint dropped. Shredders escaped. The Surge Coil arrived. Our full ARC Raiders 1.22 traps tier list tells you exactly what to craft and what to b

Flashpoint dropped. Shredders escaped. The Surge Coil arrived. Our full ARC Raiders 1.22 traps tier list tells you exactly what to craft and what to b

Flashpoint dropped. Shredders escaped. The Surge Coil arrived. Our full ARC Raiders 1.22 traps tier list tells you exactly what to craft and what to b

Yes. S tier deployable that covers your position without a single-trigger limitation. Blueprint drops best from the Assessor loot pool inside the operation.
Mine Sweeper now disarms Remote Raider Flares too. It applied to all mines before. Place them where enemies cannot approach cautiously.
Jolt Mine stuns them for ten seconds. Explosive Mine delivers the burst. Stack both and Shredders stop being an emergency.
No. D tier. Buy Gas Mines from the vendor instead if you need cheap flank awareness. Save craft parts for Jolt Mines or the Surge Coil.
Jolt Mine on the push angle, Explosive Mine on the follow-up. Surge Coil on the secondary approach if you have the slot.

GTA 6, new seasons, major updates — get ready to dominate from day one