


Arc Raiders Boost
ARC Raiders Search Raider Caches Trial Guide
Week 7 is live. Damage Comets is back. Our ARC Raiders Damage Comets trial guide covers every spawn, route, and loadout you need to hit 3 stars before
The Damage Comets trial is a weekly challenge active from April 13 to April 19, 2026 (Season 3, Week 7). You are tasked with dealing damage to Comets: armored spherical ARC units that spawn outdoors and charge directly at Raiders before self-destructing in a seismic explosion. Kill four of them and you complete the challenge. Kill them without letting them detonate and you also walk away with Comet Igniters for the Weather Monitor System project. Efficiency and loot in one miserable rolling package.
Points are awarded per damage dealt. Finishing a Comet cleanly: meaning you crack it open and destroy the core before self-detonation: nets you more interaction time and therefore more points. Letting it blow itself up wastes both your points and the Igniter drop, which is exactly as bad as it sounds.
Before you can maximize score in ARC Raiders Damage Comets trials, you need to understand what you are dealing with. A Comet is not subtle. It is a heavy armored sphere that roams near larger ARC clusters until it detects a Raider, at which point it begins rolling toward you at increasing speed. The ARC Raiders Damage Comets damage guide principle is simple: shoot it before it reaches you, focus the exposed core when it cracks open, and never let it close the gap.
Critical Warning If a Comet self-detonates, the Igniter is destroyed. You get nothing from the core piece: just the outer ring with generic ARC parts. Prevent the explosion at all costs, or at least pretend you meant to let it blow up.
The Comet spawn ARC Raiders pattern is consistent enough that you can plan an entire farm run around it. Comets appear on most maps during raids: regular and Hurricane conditions both work. The one map where Comets do not spawn is Stella Montis. Avoid it this week unless you enjoy waiting for nothing.
Major Map Conditions double your trial points, so loading into a Hurricane or any active condition on Dam Battlegrounds or The Spaceport is the move if you want to maximize score in ARC Raiders Damage Comets trials fast.
|
Achievement Tier |
Description |
Strategy/Goal |
|
1 STAR |
Low damage threshold |
Barely trying. Relatable. |
|
3 STAR |
~4 Comets destroyed |
The actual goal. Do this. |
|
MAX POINTS |
Hurricane + clean kills |
Double XP, flawless drops. |
For the Comet 5-star requirements ARC Raiders threshold, you want to run Hurricane conditions for the double-point bonus and rack up as many clean kills as possible. Four Comets under Hurricane conditions will push you well past the standard three-star requirement.
The ARC Raiders Damage Comets best loadout question has a clear answer: Seeker Grenades, a heavy weapon, and enough brain cells to maintain distance. Here is how the best weapons for Damage Comets ARC Raiders break down:
|
Slot |
Recommended Option |
Why It Works |
Alternative |
|
Primary Weapon |
Hullcracker / Anvil / Ferro |
Breaks armor fast, high burst damage output |
Any high-damage mid-range weapon |
|
Grenade |
Seeker Grenade |
Tracks target, strips outer shell in 2–3 throws |
Heavy Fuze, Trigger 'Nade |
|
Secondary |
Volcano (situational) |
Spam shots into exposed core at range |
Any weapon you can actually aim |
|
Shield |
Any solid shield |
Seismic explosion will drain you instantly at close range |
Whatever you can afford to lose |
The snap hook strategy ARC Raiders Damage Comets is not your friend here. Close-range bursting with hooks is how you end up inside the explosion radius. Seeker Grenades are the universally accepted safe play: two usually strip the shell, three if the core has not opened yet. Get close enough to land them properly. Throwing from across the map reduces effectiveness significantly, as the damage is far less impactful when the core is still sealed.
The Damage Comets trial route ARC Raiders splits cleanly across two maps. Pick whichever is available: or whichever one has a Hurricane condition active, since that is where your double-point multiplier lives.
The ARC Raiders Damage Comets rotation and ARC Raiders Damage Comets farm route are essentially the same thing: pick a map, hit the known spawn clusters in order, and extract cleanly. Repeat next week when the game inevitably cycles this trial back into the rotation, because it always does.
The core of the ARC Raiders Damage Comets trial strategy is maintaining distance until you have stripped the armor. The moment you let a Comet close in, you are gambling with your shield and your sanity. High ground helps: it gives you angle, reaction time, and the satisfaction of watching something very angry roll below you helplessly.
Here is how to actually beat Damage Comets ARC Raiders without unnecessary drama:
For a solo Damage Comets ARC Raiders guide, the Seeker Grenade approach is non-negotiable. Squads can coordinate fire and melt a Comet fast enough that positioning barely matters. Solo players do not have that luxury. Keep sightlines clear, maintain repositioning space, and never let two Comets aggro you simultaneously. That is a scenario with exactly one outcome and it is not in your favor.
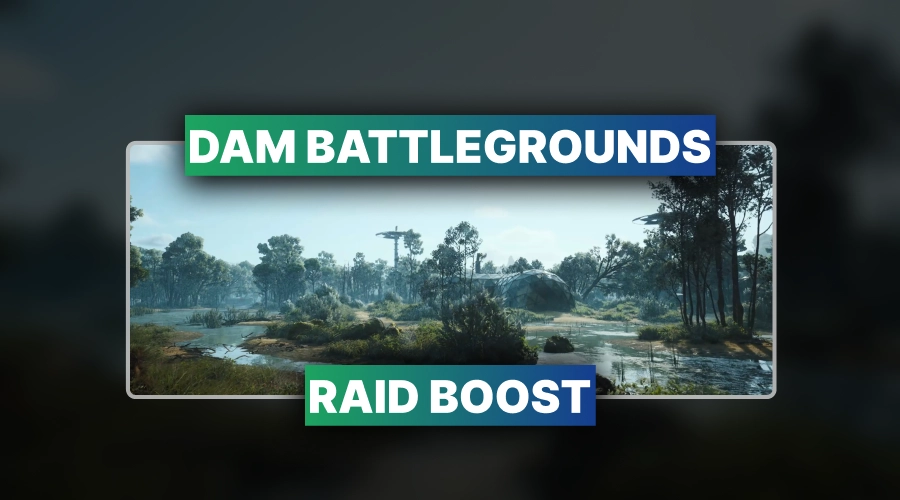
The ARC Raiders Damage Comets location matters most when running this on a timer. Dam Battlegrounds' north swamp cluster is denser than Spaceport's spread-out tower loop, which is why it is the preferred choice for anyone who wants this done quickly. If you are going for an ARC Raiders Damage Comets speedrun, Dam Battlegrounds under Hurricane conditions is your best shot at a clean four-kill run in a single raid.
For ARC Raiders Damage Comets night trial tips: visibility drops significantly on Night Raid conditions, and Comets are already not the most graceful targets to track at distance. Bring a thermal or high-sensitivity scope if you have one. The double-point bonus from Night Raid still applies and is worth the annoyance of squinting into the dark, but Hurricane is generally the better Major Condition pick since Comets spawn more predictably during it.
The Damage Comets flawless clear ARC Raiders standard: meaning all four kills before self-detonation with clean extractions: is achievable on Night Raid but demands more patience. The spawn audio cue (a low mechanical roll that gets louder) is your best early detection tool in low visibility. Listen before you look.


• Fast ARC Raiders crafting upgrade
• Maximize crafting efficiency
• Secure, manual service

• Fast ARC Raiders Dam clears
• Guaranteed loot and resources
• Secure professional raid boosting


• Fast Buried City completion
• Guaranteed loot and rewards
• Secure professional raid carry
• Fast blueprint farming service
• Secure targeted item delivery
• Guaranteed high-tier recipes


Week 7 is live. Damage Comets is back. Our ARC Raiders Damage Comets trial guide covers every spawn, route, and loadout you need to hit 3 stars before

Week 7 is live. Damage Comets is back. Our ARC Raiders Damage Comets trial guide covers every spawn, route, and loadout you need to hit 3 stars before

Week 7 is live. Damage Comets is back. Our ARC Raiders Damage Comets trial guide covers every spawn, route, and loadout you need to hit 3 stars before

Week 7 is live. Damage Comets is back. Our ARC Raiders Damage Comets trial guide covers every spawn, route, and loadout you need to hit 3 stars before

Week 7 is live. Damage Comets is back. Our ARC Raiders Damage Comets trial guide covers every spawn, route, and loadout you need to hit 3 stars before

Dam Battlegrounds north swamp under Hurricane conditions: broken bridge, north stretch, then dome clusters.
Two if the core is open, three if sealed. Get close enough for them to actually connect or you will waste throws.
Yes: current evidence shows it always drops from the core piece on a clean kill. Do not let it blow up.
Yes. Any Major Map Condition doubles your Trials points. Hurricane is ideal since Comets actively spawn during it.
Fully soloable. Use Seeker Grenades, maintain range, and never let two Comets aggro you simultaneously.

GTA 6, new seasons, major updates — get ready to dominate from day one