










Arc Raiders Boost
ARC Raiders Flashpoint Grenade Tier List 1.22
New guide is live: ARC Raiders Damage Wasps trial. Nine Wasps. Five Scanners. One Wolfpack. Get 4,000 score in under a minute and extract
The ARC Raiders Damage Wasps trial guide you did not know you needed but here we are. Wasps are small, unarmored, moderately annoying flying machines that exist to be shot repeatedly in the center mass for your weekly score obligations. The good news: the threshold to maximize score ARC Raiders damage trials reward is genuinely one of the lower bars you will clear this week. The bad news: if you show up without Snitch Scanners, you will spend fifteen minutes wandering Dam Battlegrounds squinting at the sky like a lost tourist.
This guide covers the fast 4,000 score exit, the leaderboard grind, and every map option in between. Read it. Remember it. Stop doing this the hard way.
Critical reminder: Points only count if you extract safely. Die with 80,000 score and you walk away with nothing. The ARC do not issue posthumous receipts. Extract or it did not happen.
The Damage Wasps trial rewards you for dealing damage to and destroying Wasps inside a raid. Each Wasp kill under a 2x major map condition nets 440 pts. That means you need roughly nine Wasps destroyed under a modifier to crack the 4,000-point threshold for maximum weekly rewards. Nine. That is the number. Keep it in mind while you overpack your loadout with things you will not use.
The trial tracks individual damage contribution, which means your squadmates stealing your kills is a relationship problem as much as it is a scoring one. Plan accordingly.
|
Unit |
Points (2x Modifier) |
Notes |
|
Wasp |
440 |
Primary target. Unarmored. Aim center mass, avoid propellers. |
|
Snitch Scanner (thrown) |
— |
Spawns 2 Wasps per throw. No Hornets. The one mercy this game offers. |
|
Natural Snitch (aggroed) |
— |
Spawns 1 Hornet + 2 Wasps. More chaotic. Still useful. |
|
Wasp (propeller destroyed) |
Reduced |
Do not shoot the props. Shoot the center. This is not complicated. |

You do not need to bring a palace into this raid. The Wasps are small. Your loadout should reflect that. Here is what actually works rather than what looks impressive in the lobby.
|
Slot |
Item |
Why |
|
Primary |
Anvil IV (or Anvil I if you are frugal and stubborn) |
High fire rate, excellent against unarmored flying targets. One-shots Wasps cleanly. |
|
Secondary |
Renegade |
Weak-point precision. Useful if Wasps scatter or you want to conserve heavy ammo. |
|
Grenade |
Wolfpack x1 |
Single Wolfpack clears a cluster of Wasps summoned by Snitch Scanners. Minimum one. |
|
Grenade 2 |
Seeker Grenade x2–3 |
Good for cleanup when Wasps are moving erratically and you have already embarrassed yourself with misses. |
|
Key Item |
Snitch Scanners x5–9 |
The entire strategy. Farm these before the scoring run. Three stack per slot. Nine per loadout if you prepared. |
|
Utility |
Barricades x2 |
Set up at elevation. Blocks zipline access. Stops other Raiders from stealing your Wasps and your dignity. |
|
Consumable |
Adrenaline Shots |
Infinite stamina on demand. Mandatory for any trial involving movement and mild competence. |
|
Augment |
Looting MK2 (optional) |
Auto-removes Ticks after 1 second. Irrelevant for Wasps specifically but keeps the run cleaner if you aggro other ARC while repositioning. |
Free loadout option: Yes, you can clear the 4,000-point threshold with a free loadout. You will have limited ammo and no Wolfpack. It works. It is also slower, messier, and a reminder that preparation is a concept that exists.
The Snitch Scanner is the backbone of this entire ARC Raiders Damage Wasps trial guide. Unlike aggroing a real Snitch, which summons a Hornet you then have to deal with on top of everything else, a thrown Scanner calls in exactly two Wasps and zero aerial nightmares. Five Scanners equals ten Wasps equals 4,400 points with a Wolfpack to clean up. You are done in under a minute. You can then extract and pretend you were productive.
Bring at least one safe pocket slot. You are here to farm Scanners, not to be a hero. The map does not matter. The Snitches do.
Snitches patrol predictably. They hear movement, so approach from cover. Break the white plating first. Once downed, loot the Scanner from their remains like the scavenger you have become.
Each inventory slot holds three Scanners. Three slots gives you nine Scanners per run. Nine Scanners means 18 Wasps on demand. That is the ceiling you want for a competitive run.
Do not die with the Scanners. That would be deeply embarrassing and also wasteful. Extract. Restock. Enter the scoring raid prepared for once.
If you want the fast 4,000 score trial rewards ARC Raiders hands out for three-starring this trial, the route is simple enough that explaining it in detail almost feels condescending. Almost.
Load into Dam Battlegrounds or Blue Gate on any major map condition. Find elevated cover, ideally somewhere other Raiders will struggle to reach without a zipline or a lot of optimism. Place your Barricades. Then throw your Snitch Scanners one at a time with a two-to-three second delay between each throw.
The game has a spawn cap on simultaneous ARC units. Throw too fast and some Scanners will sit inert on the ground until you realize you wasted them. You will know a Scanner activated when you hear the Snitch Alarm and see a beam descend from the sky. Two Wasps arrive. Shoot them. Throw the next Scanner. Repeat until you hear the sound of your own mild satisfaction.
Once you have summoned a cluster, a single Wolfpack grenade clears them efficiently. Five Scanners plus one Wolfpack and you are past 4,000 points inside the first minute of the raid. Extract immediately. You have earned the right to leave.
The ARC Raiders Electromagnetic Storm trial strategy is legitimately useful here. The storm suppresses ambient sound, meaning you can destroy flying enemies from range without announcing yourself to every Raider on the map. Natural Wasp density on both maps under storm conditions is high enough that nine kills without any Scanner farming is realistic. You just need patience, decent aim, and the Anvil IV's fire rate doing most of the work.
Can also attract Snitches, which will each spawn one Hornet and two additional Wasps if you are equipped to handle the Hornet without crying. That is two extra Wasps per Snitch encounter. Bring Seeker Grenades for cleanup.
The ARC Raiders Stella Montis night trial tips apply here in a limited capacity. Wasps patrol the exterior of Stella Montis during night conditions and the 2x night modifier stacks score nicely. The problem is that Stella Montis night is one of the highest-PvP windows in the game. You will be competing with other Raiders who are also there to do trials, which means your Wasps will occasionally become their Wasps and there is nothing civil about that situation. Go here for variety, not for peace.
|
Map |
Condition |
Score Potential |
PvP Risk |
Notes |
|
Dam Battlegrounds |
Electromagnetic Storm |
High |
Medium |
Suppressed audio helps. Good for the Dam Battlegrounds trial route ARC Raiders strategy. Pairs naturally with Leaper and Rocketeer damage trials this week. |
|
Blue Gate |
Electromagnetic Storm / Locked Gate |
Very High |
Low–Medium |
Pilgrim's Peak elevation advantage. Scanner method devastatingly efficient here. 40-min raid timer on Locked Gate events. |
|
Stella Montis |
Night Raid |
Medium |
High |
Night modifier is good. Other Raiders are not. Proceed with the understanding that someone will try to steal your Wasps. |
|
Spaceport |
Any / Hidden Bunker |
Medium |
Low |
Trench tower vantage works well. Snap Hook or zipline required for best position. Hidden Bunker gives 40-minute timer. |

If casual 4,000-point extraction is beneath you and you have decided this week is the week you climb the Speranza Hotshots board, the following information will help. It will also consume an uncomfortable amount of your free time, which is presumably why you are here.
Nine Snitch Scanners is the floor for a competitive run. More is better. Each Scanner spawns two Wasps, meaning nine Scanners is 18 Wasps on demand before you even touch the natural spawn pool. A full squad of three, each carrying nine Scanners, is 54 on-demand Wasps plus whatever the map provides naturally. The score ceiling for this trial sits between 40,000 and 100,000 or more depending on Scanner count, map conditions, and how efficiently your team communicates rather than argues.
Blue Gate with an ARC Raiders Electromagnetic Storm trial strategy active is the preferred high-score environment. Get to Pilgrim's Peak. It requires elevation access via zipline or the snap hook strategy ARC Raiders trials veterans know well: a Snap Hook from the correct box gets you to the top without advertising your presence via zipline to every Raider within eyesight. Place Barricades. Block the ziplines if you want to be thorough and slightly territorial about it.
Once established, begin Scanner throws one at a time. Pace them. Wait for the Snitch Alarm confirm before the next throw. Designate one squad member as the Scanner operator and the other two as the people actually shooting the Wasps as they appear. Split roles. Do not have everyone throwing Scanners simultaneously and then discovering half of them did not activate because the spawn cap was hit three throws ago.
While running Scanners, send one squadmate to aggro natural Snitches on the map. A natural Snitch that fully activates its alarm spawns a Hornet and two Wasps. The Hornet is worth additional score and the Wasps stack directly onto your trial count. Kill all Wasps and Snitches in an area to force the map to repopulate with new spawns. The cycle continues as long as the raid timer runs.
Spawn cap note: The game limits how many ARC units can be active simultaneously. Throw Scanners too rapidly and some will simply not activate, sitting on the ground waiting for you to notice them. Throw one, hear the Alarm, confirm two Wasps, shoot them, then throw the next. Patience is a scoring multiplier.
The Damage Wasps trial does not exist in isolation. This week's rotation includes the ARC Raiders Leaper and Rocketeer damage guide territory alongside what is effectively the ARC Raiders Damage Bastions 3-star guide category. These trials overlap in geography and execution, which means a competent rotation captures multiple trial scores in a single run rather than doing five separate raids like someone who has not thought this through.
The Pipeline Tower bastion spawn ARC Raiders players already know is the key intersection point. The Pipeline Tower on Dam Battlegrounds has a guaranteed Bastion spawn. From the top of that tower, you can also tag Rocketeers and Leapers in the red lakes below, hitting the ARC Raiders Leaper and Rocketeer damage guide objectives simultaneously. One Bastion kill on a major condition already pushes past 4,000 on both bastion-adjacent trials. If Wasps are also active in the area during Electromagnetic Storm, you are scoring three trials in one rotation without any particular genius required, just the awareness to do it.
The Dam Battlegrounds trial route ARC Raiders high scorers use rotates between the Pipeline Tower bastion spawn and the Hydrodomes bastion spawn, aggroing every Leaper and Rocketeer visible from elevation in between. Add Snitch Scanner throws for Wasp score during the wait between bastion respawns. Extract when the raid timer threatens your survival, not before. You are welcome.



• Fast ARC Raiders crafting upgrade
• Maximize crafting efficiency
• Secure, manual service

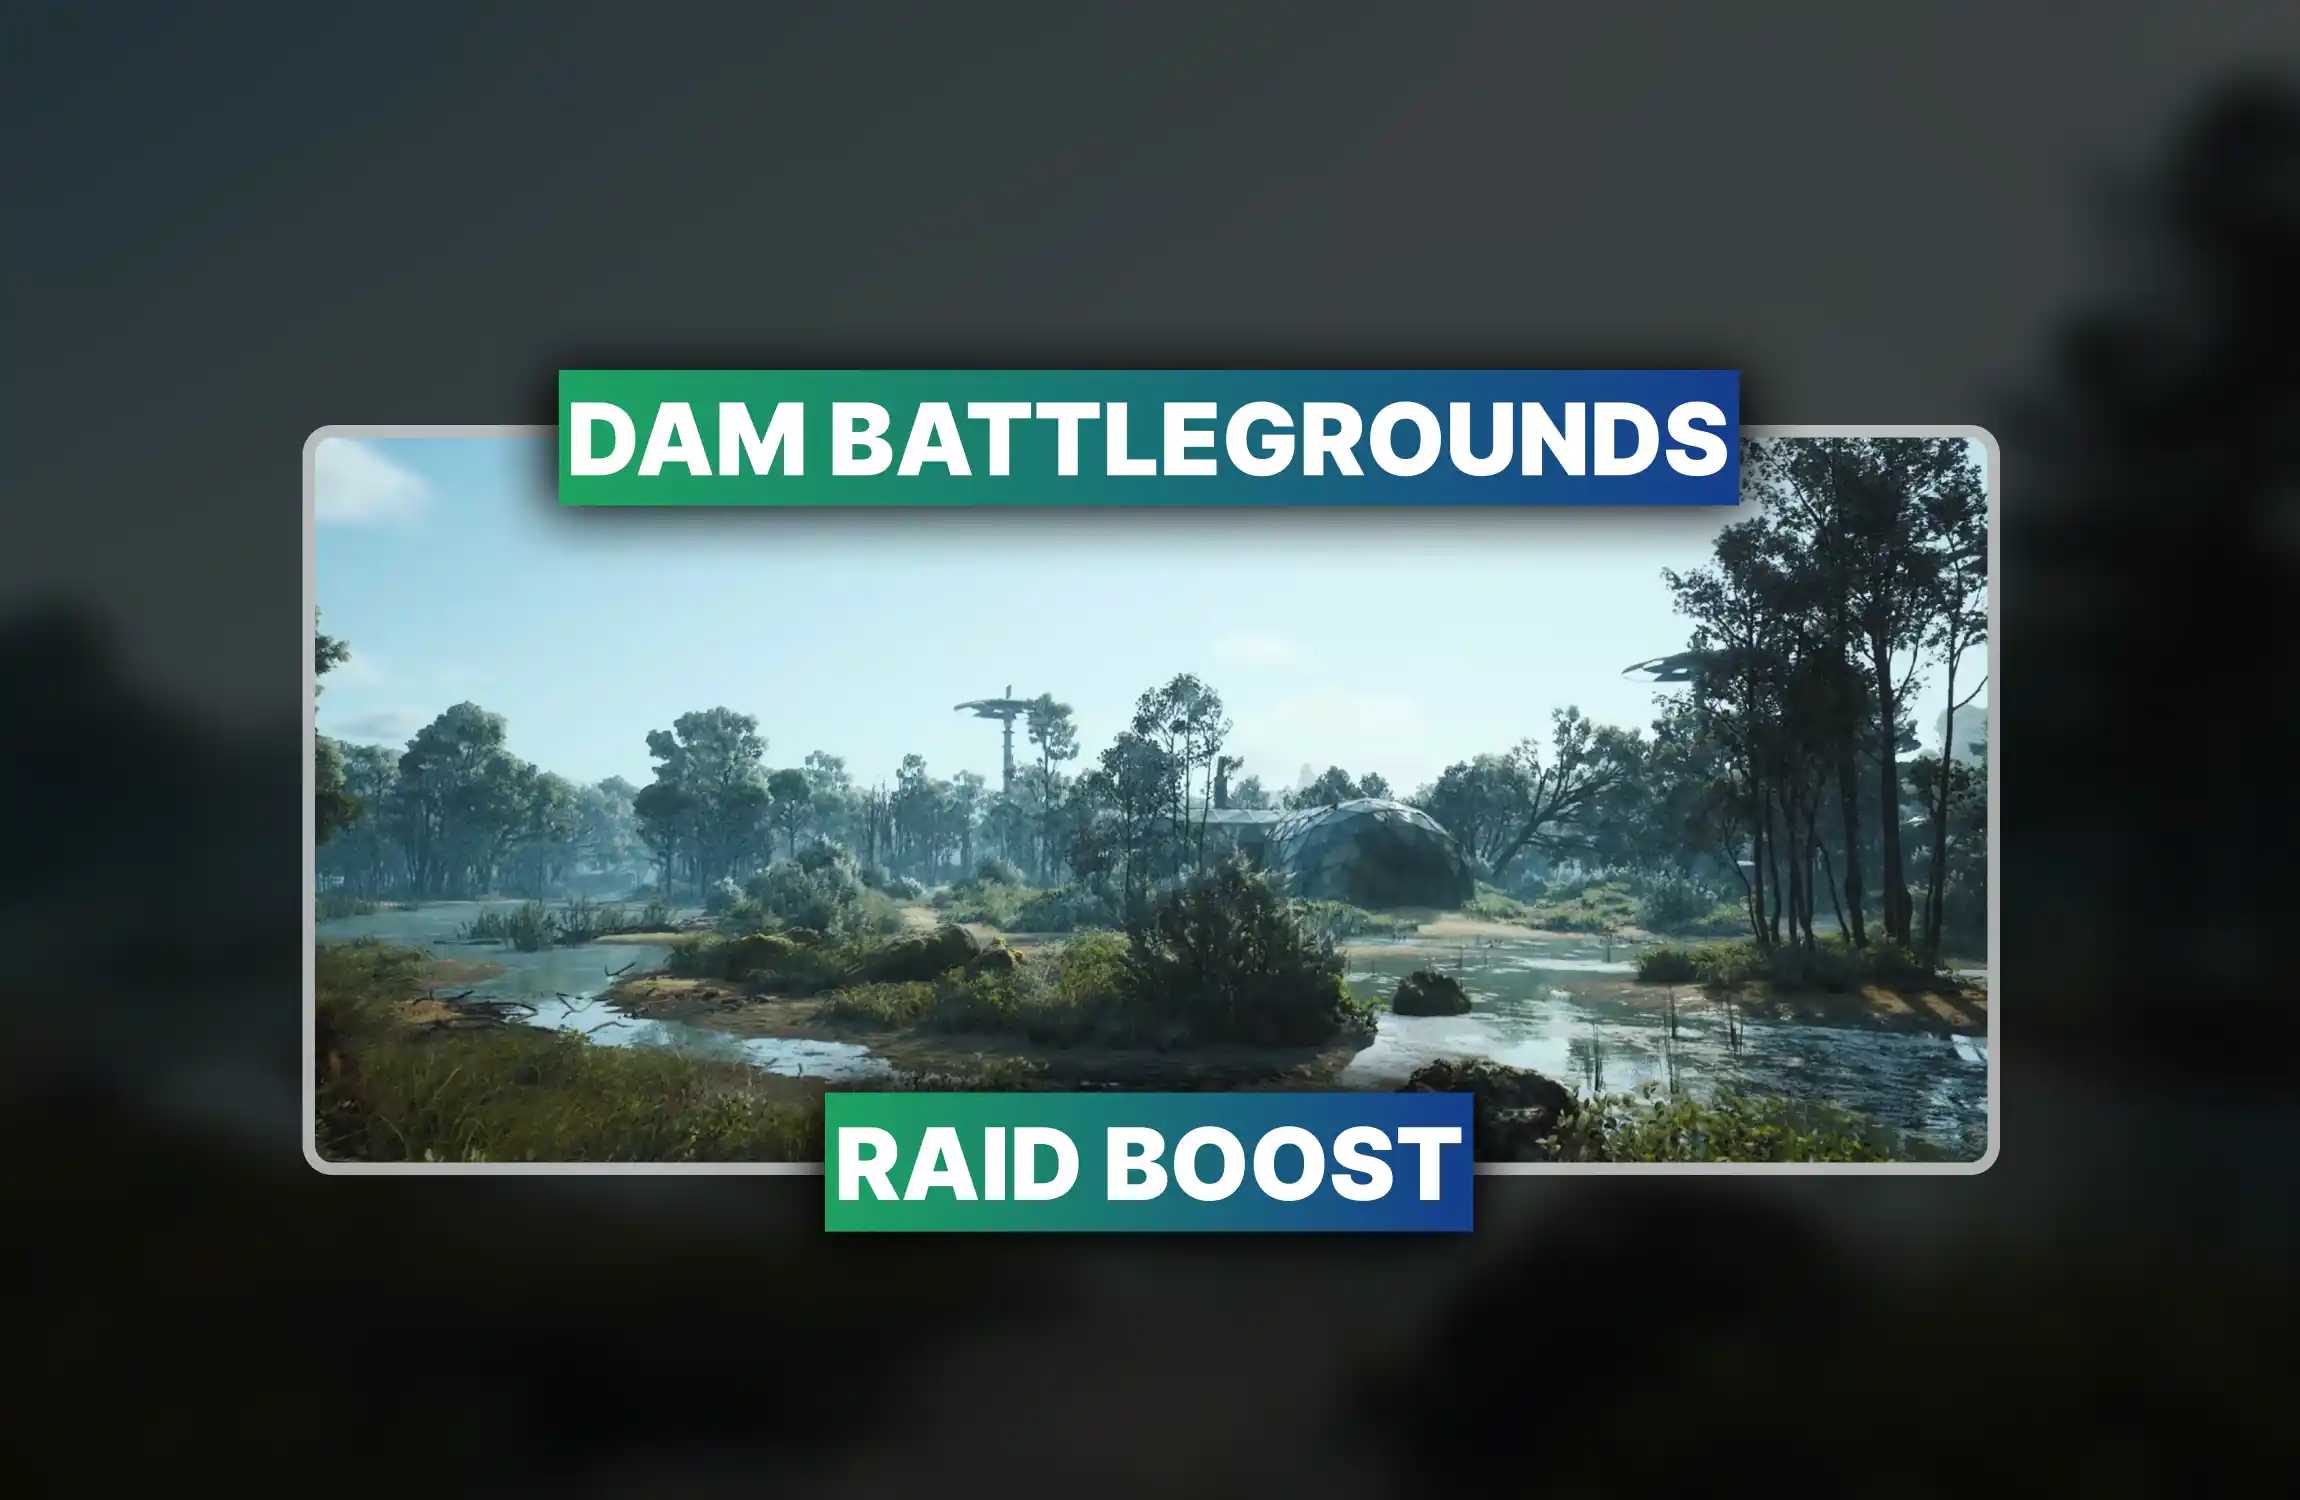
• Fast ARC Raiders Dam clears
• Guaranteed loot and resources
• Secure professional raid boosting


• Fast Buried City completion
• Guaranteed loot and rewards
• Secure professional raid carry

• Fast blueprint farming service
• Secure targeted item delivery
• Guaranteed high-tier recipes


• Level 40 unlocked
• Rare blueprints gained
• 300,000 coins earned





New guide is live: ARC Raiders Damage Wasps trial. Nine Wasps. Five Scanners. One Wolfpack. Get 4,000 score in under a minute and extract
New guide is live: ARC Raiders Damage Wasps trial. Nine Wasps. Five Scanners. One Wolfpack. Get 4,000 score in under a minute and extract
New guide is live: ARC Raiders Damage Wasps trial. Nine Wasps. Five Scanners. One Wolfpack. Get 4,000 score in under a minute and extract

New guide is live: ARC Raiders Damage Wasps trial. Nine Wasps. Five Scanners. One Wolfpack. Get 4,000 score in under a minute and extract

New guide is live: ARC Raiders Damage Wasps trial. Nine Wasps. Five Scanners. One Wolfpack. Get 4,000 score in under a minute and extract

New guide is live: ARC Raiders Damage Wasps trial. Nine Wasps. Five Scanners. One Wolfpack. Get 4,000 score in under a minute and extract

New guide is live: ARC Raiders Damage Wasps trial. Nine Wasps. Five Scanners. One Wolfpack. Get 4,000 score in under a minute and extract
New guide is live: ARC Raiders Damage Wasps trial. Nine Wasps. Five Scanners. One Wolfpack. Get 4,000 score in under a minute and extract

New guide is live: ARC Raiders Damage Wasps trial. Nine Wasps. Five Scanners. One Wolfpack. Get 4,000 score in under a minute and extract

New guide is live: ARC Raiders Damage Wasps trial. Nine Wasps. Five Scanners. One Wolfpack. Get 4,000 score in under a minute and extract

New guide is live: ARC Raiders Damage Wasps trial. Nine Wasps. Five Scanners. One Wolfpack. Get 4,000 score in under a minute and extract

New guide is live: ARC Raiders Damage Wasps trial. Nine Wasps. Five Scanners. One Wolfpack. Get 4,000 score in under a minute and extract

New guide is live: ARC Raiders Damage Wasps trial. Nine Wasps. Five Scanners. One Wolfpack. Get 4,000 score in under a minute and extract

Nine Wasps under a 2x major map condition nets exactly 4,000 score for maximum weekly rewards. That is the number. Nine.
Dam Battlegrounds or Blue Gate with Electromagnetic Storm active. Good Wasp density, suppressed audio, and enough elevation to work cleanly from range.
No. Scanners spawn two Wasps only, no Hornets. That is the only generous mechanic this trial contains. Use it accordingly.
Yes. Five Scanners and one Wolfpack handles the 4,000-point threshold solo in under a minute. Leaderboard scores benefit from a squad but solo is perfectly fine for rewards.
No. Die and the score disappears entirely. Extract or it did not happen. There is no partial credit and no sympathy available at the extract elevator.

GTA 6, new seasons, major updates — get ready to dominate from day one