

Arc Raiders Boost
ARC Raiders Damage Vaporizers Trial Guide
New guide live: ARC Raiders Search Supply Drops trial. Best maps, loadout, spawn routes & 3-star strategy: read it before the weekly resets on you.
Trials in ARC Raiders are weekly challenges that unlock at level 15. Each week you get five objectives, and this is typically the one that rewards patience over precision. Every Supply Drop you search awards 1,600 score points. You need 4,000 for three stars. Do the math: yes, that's three drops. Three. You don't even need to call them in yourself. If someone else popped a flare and left, that's their charity work and your free progress.
Key mechanic: You do NOT have to be the one who activated the Call Station. Any Supply Drop container on the map: already looted or fresh: counts toward your trial progress when searched. Other players are essentially doing your homework.
Before diving into the ARC Raiders Search Supply Drops trial strategy, let's appreciate just how forgiving the scoring is: and then immediately become ungrateful about it, because maximizing score for leaderboard placement is a different beast entirely.
|
Metric |
Value |
|
Points Per Drop |
1,600 |
|
1-Star Threshold |
1,000 |
|
2-Star Threshold |
2,500 |
|
3-Star Threshold |
4,000 |
|
Points from 2 Drops |
3,200 |
|
Event Modifier |
2x |
Regarding the Search Supply Drops 5-star requirements in ARC Raiders: this trial is widely considered a poor leaderboard performer. The RNG-dependent spawn system means you cannot reliably chain enough drops in a single raid to compete at the top of standings. Use it for your three-star reward and move on with your dignity intact.
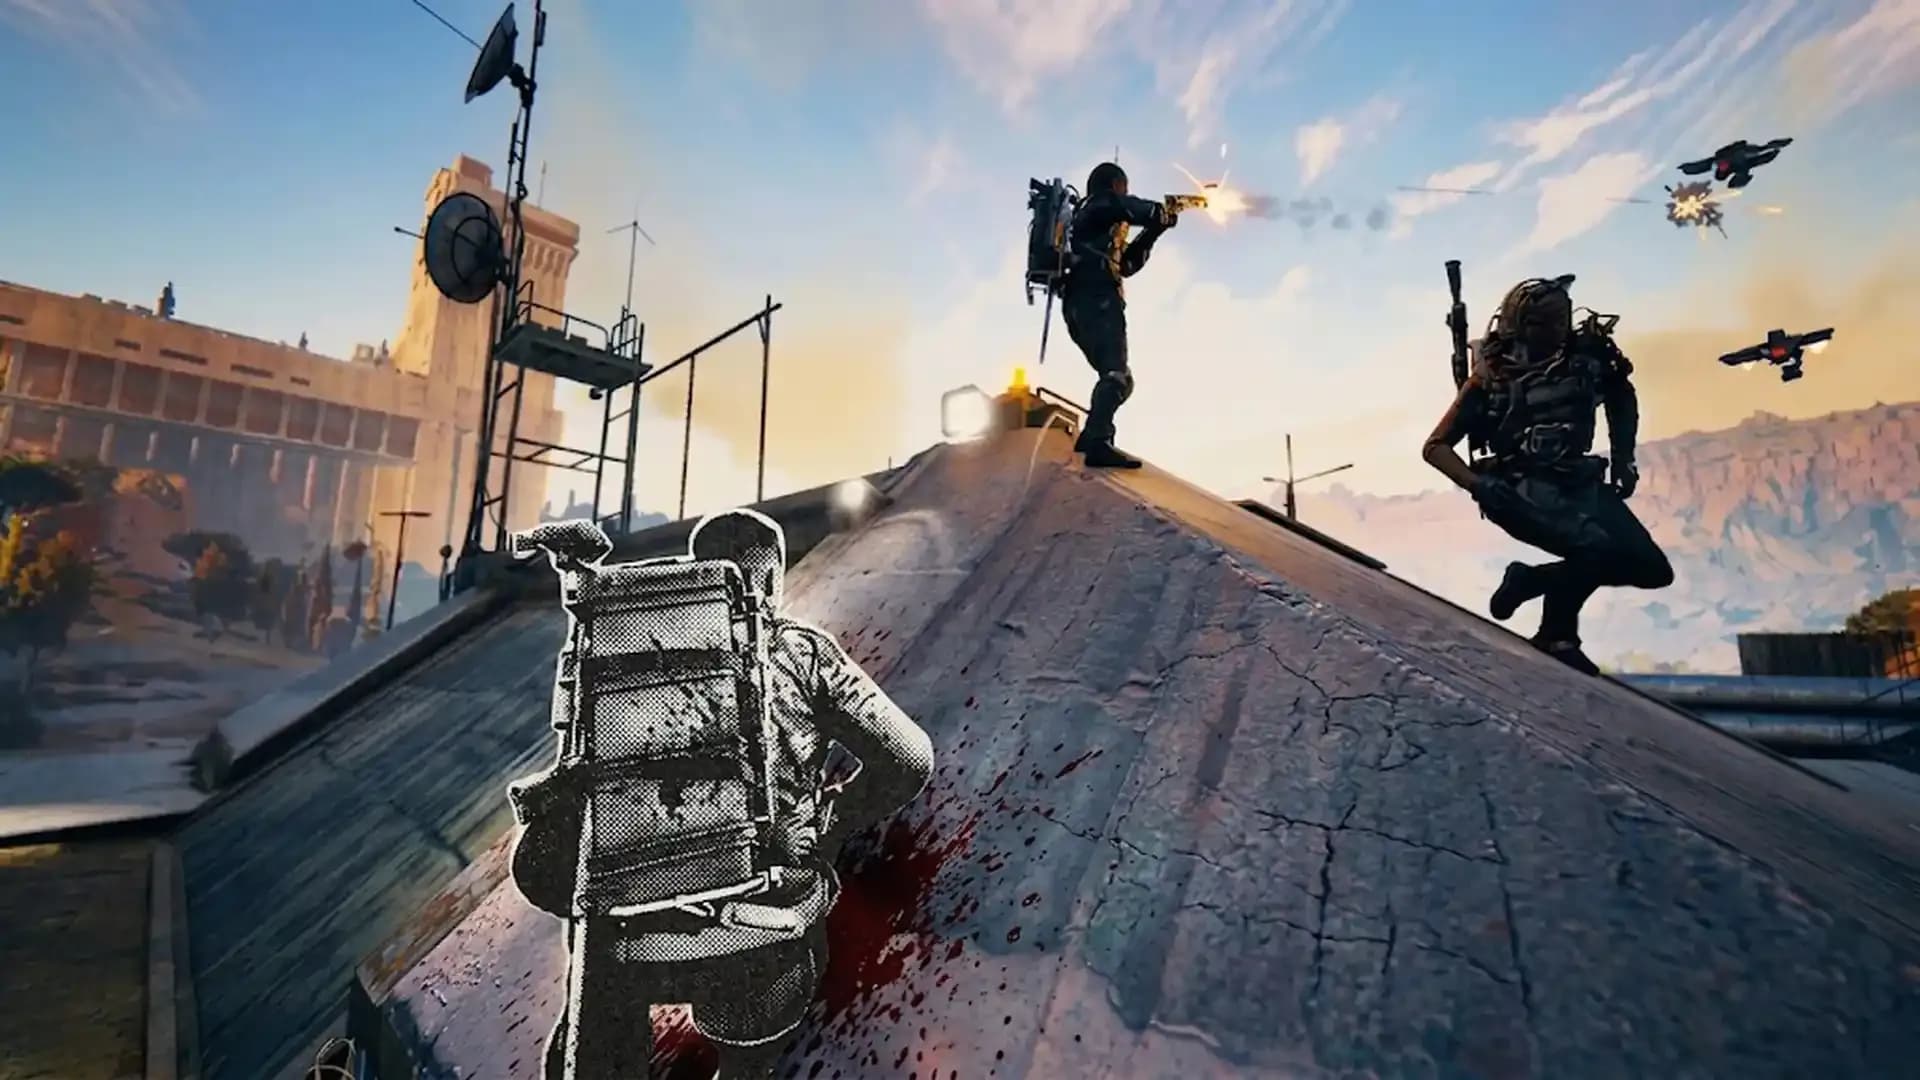
The ARC Raiders Search Supply Drops best loadout is a beautiful exercise in minimalism, because you're not here to fight: you're here to speed-loot cardboard boxes. That said, ignoring survival gear entirely is how you end up ragequitting at extraction. Use the best weapons for Search Supply Drops in ARC Raiders only as a last resort; prioritize mobility and staying alive over raw firepower.
|
Slot |
Item |
Why You Need It |
Priority |
|
Primary |
Anvil IV (or Anvil I) |
Handles ARC threats you'll inevitably attract. Fire rate matters when something decides you're a snack. |
Medium |
|
Secondary |
Tactical MK.2 |
Backup for close encounters. Supply Drops attract ARCs. ARCs do not care about your plans. |
Medium |
|
Gadget |
Photovoltaic Cloak |
The single most important item in this build. ARCs ignore you. You ignore ARCs. Everyone ignores each other. Beautiful. |
Critical |
|
Shield |
Light Shield + 10x Rechargers |
Buffer for when the cloak runs out or you stumble into a raider who read the same guide. |
High |
|
Healing |
10–15x Bandages, 10–15x Adrenaline Shots |
Extraction is the goal. Getting there bleeding is still getting there. |
High |
|
Utility |
2–5x Smoke Grenades |
Pop one if a raider sniffs out your drop. Disappear. Don't become the supply drop yourself. |
Situational |
|
Ammo |
80x Heavy Ammo |
You probably won't need it. Bring it anyway because optimism is expensive. |
Low |
Solo Search Supply Drops ARC Raiders guide note: Running solo means no one to split up and check multiple spawn points simultaneously. Compensate by choosing a map with dense Supply Drop clusters: like Dam Battlegrounds: and plan your ARC Raiders Search Supply Drops rotation before you drop in.
Let's talk Search Supply Drops spawn in ARC Raiders. Supply Call Stations are the thin antenna structures with a radio console at their base: the kind of thing you'll walk directly past three times before noticing it. They appear on your minimap only when you're close enough that spotting them manually would have been faster anyway. Each station, once activated, fires a visible yellow flare into the sky, parachuting a Supply Drop crate to a nearby location roughly a minute later.
Maps where Supply Call Stations are available: Dam Battlegrounds, Buried City, The Blue Gate, and Spaceport. Stella Montis is blessedly off the list, which is convenient because that map punishes every other kind of life decision too.
|
Map |
Supply Drop Density |
Verdict |
Notes |
|
Dam Battlegrounds |
Highest |
Best |
Most spawn points in the game. Dense layout = fast ARC Raiders Search Supply Drops farm route. Pair with Electromagnetic Storm for 2x points. |
|
Buried City |
Good |
Solid Alternative |
Confined layout makes scanning spawn points quick. Compact enough for efficient solo runs. |
|
Spaceport |
Moderate |
Decent |
Usable. The mid-section near the extraction point reliably hosts a spawn. Functional, not exciting. |
|
Blue Gate |
Lower |
Skip |
Fewer stations, more time wasted walking. Save yourself. |
For your ARC Raiders Search Supply Drops location planning, use the interactive maps at metaforge.app: filter everything except Supply Drop spawns and plan your route before the raid. The spawns are not guaranteed to all be active, but the general locations are consistent enough that you won't be wandering around like you've never seen a map before.
Here's the full ARC Raiders Search Supply Drops trial strategy, condensed for people who value their time. The Search Supply Drops trial route in ARC Raiders hinges on one rule: don't fight what you don't have to fight. You're a scavenger on a timetable, not a hero.
Always queue into a raid running Night, Electromagnetic Storm, or Hidden Bunker conditions. These grant a 2x Trial Points multiplier, meaning two Supply Drops is suddenly 3,200 points and three drops rockets you well past the 4,000 threshold. Running this trial without an active modifier is technically possible and also technically a waste of your extraction slot.
Before loading in, mark your intended spawn locations using the MetaForge interactive map. On Dam Battlegrounds, identify three to four clusters: near Hydroponic Dome Complex, south of Water Treatment Control, south of Loading Bay, and east of Control Tower. Your ARC Raiders Search Supply Drops farm route should connect these in a logical loop that ends near an extraction point: because the whole exercise collapses if you die carrying your three stars.
Approach each Call Station antenna, interact with the console, and resist every urge to admire the flare. That yellow streak in the sky is also a signal to every raider within visual range that a loot crate is about to descend. The how to beat Search Supply Drops in ARC Raiders answer is depressingly simple: activate, disengage, wait at cover, loot fast, leave. The Photovoltaic Cloak is your best friend during the waiting period: ARCs lose interest and enemy raiders can't justify rushing you through a smoke-and-cloak combination.
Night trial tip: During ARC Raiders Search Supply Drops night trial runs, the flare is dramatically more visible from a distance. This is both a curse (more raider attention) and a gift (you can spot other players' flares from rooftops, intercept their drops, and let their effort become your score). Bring binoculars or climb high early in the raid to scan for active flares.
Running a squad? Split up and cover separate spawn clusters simultaneously. This is the closest thing to a legitimate ARC Raiders Search Supply Drops speedrun strategy. The RNG still controls whether stations are active, but covering three zones at once compresses your completion window from "twenty minutes of hiking" to "actually viable." Reunite for extraction: don't be the team that fragments at the worst possible moment and watches someone's three-star run evaporate at the extract gate.
The actual contents of a Supply Drop are hit-or-miss: ammo, healing, consumables, occasional gear. Don't stand there alphabetizing your new acquisitions while a hostile closes distance. Grab what matters, leave what doesn't, and push to extraction. The Search Supply Drops flawless clear in ARC Raiders is just three drops and a clean extract: no additional heroics required.
|
Situation |
What To Do |
What Not To Do |
|
Station is already activated by another player |
Wait nearby in cover, search the drop when it lands |
Contest the other player and die with 0 progress |
|
Drop has already been looted |
Search it anyway: empty containers still count |
Walk past muttering about loot thieves |
|
ARC machines converging on drop zone |
Activate Photovoltaic Cloak, wait them out |
Open fire and broadcast your location to every raider on the map |
|
Hostile raider spotted near your drop |
Use smoke grenade, cloak, reposition |
Fight over a crate full of bandages you didn't need |
|
No stations found at planned spawn |
Move to next marker on your pre-planned route |
Stand there for four minutes hoping it materializes |
|
Night raid / storm event active |
Climb elevated positions to scan for flares visually |
Stay ground level and miss every active drop across the map |

New guide live: ARC Raiders Search Supply Drops trial. Best maps, loadout, spawn routes & 3-star strategy: read it before the weekly resets on you.

New guide live: ARC Raiders Search Supply Drops trial. Best maps, loadout, spawn routes & 3-star strategy: read it before the weekly resets on you.

New guide live: ARC Raiders Search Supply Drops trial. Best maps, loadout, spawn routes & 3-star strategy: read it before the weekly resets on you.

New guide live: ARC Raiders Search Supply Drops trial. Best maps, loadout, spawn routes & 3-star strategy: read it before the weekly resets on you.

New guide live: ARC Raiders Search Supply Drops trial. Best maps, loadout, spawn routes & 3-star strategy: read it before the weekly resets on you.

New guide live: ARC Raiders Search Supply Drops trial. Best maps, loadout, spawn routes & 3-star strategy: read it before the weekly resets on you.

New guide live: ARC Raiders Search Supply Drops trial. Best maps, loadout, spawn routes & 3-star strategy: read it before the weekly resets on you.

No. Searching any Supply Drop container — regardless of who activated it: counts toward your trial progress.
Three drops at 1,600 points each equals 4,800, which clears the 4,000 threshold with room to spare.
Dam Battlegrounds has the highest Supply Drop station density and pairs well with any 2x event modifier.
No. Supply Call Stations are only available on Dam, Buried City, Blue Gate, and Spaceport.
Not strictly required, but it eliminates ARC interference near drop zones and dramatically speeds up safe looting.

GTA 6, new seasons, major updates — get ready to dominate from day one