WoW Boost
WoW Midnight Sunkiller Sanctum Delve Guide
Twilight Crypts is live & already killing people who thought "don't stand in void zones" was optional advice. Our full guide covers every trap, lever
You've voluntarily descended into a troll crypt packed with reanimated corpses, bear traps, and a woman named Darza who treats void zones like a personal hot tub. Welcome to this comprehensive WoW Twilight Crypts Guide: because apparently someone needs to explain that standing in purple glowing circles is still bad in 2026.
Twilight Crypts is a WoW Midnight delve tucked inside ancient Amani ruins at the Broken Throne in southwestern Zul'Aman, added in Patch 12.0.1 on February 10, 2026. It is one of two Zul'Aman-based Midnight delves alongside Atal'Aman. The Twilight Crypts zone is a solo-or-group scenario available from Tier 1 through Tier 11, scaling aggressively in mob health, density, and boss void zone coverage as tiers increase. It features three rotating daily variants, a single boss who appears in all three, a permanent Spear Trap system, and three hidden Sturdy Chests.
The defining mechanic throughout all variants is the Spear Trap system. Certain corridors are blocked by rows of spears that damage and knock back anyone who walks into them. Hidden levers scattered around the instance deactivate specific traps. Knowing which lever opens which corridor is the primary navigational puzzle. Understanding the Twilight Crypts location and internal layout before your first run dramatically reduces the time spent walking into walls of spears like a heroic idiot.
|
Property |
Detail |
|
Location |
SW Zul'Aman, Broken Throne area |
|
Added |
Patch 12.0.1 (Feb 10, 2026) |
|
Difficulty Tiers |
Tier 1 – Tier 11 |
|
Group Size |
Solo or 2–5 players |
|
Companion |
Valeera Sanguinar |
|
Boss |
|
|
Variants |
Loosed Loa · Party Crasher · Trapped |
|
Sturdy Chests |
3 per run, all variants |
|
Nemesis Pactsworn |
Active at Tier 4+ (gray helm icons on map) |
|
Max Loot Tier |
Tier 8 (Tiers 9–11: Crests only) |
If you’re reading this, you might be interested in a discount just for you—my blog reader! Use code CRINGEBLOG to get an amazing discount on any offer in our shop.

The Twilight Crypts location sits on the southwestern edge of Zul'Aman within the Broken Throne subregion: crumbling troll ruins that Blizzard apparently felt needed more existential dread, so they filled them with undead and void magic. The entrance appears as a door icon on your Midnight zone map. Before entering, pick up the active delve quest from Valeera Sanguinar at the Delver's Headquarters in Silvermoon City, and confirm the current variant by hovering over the delve icon: because showing up for "Trapped" expecting "Loosed Loa" is the kind of disorientation that ends friendships and ruins timers.
TomTom Waypoints Use these TomTom commands for AddOn-assisted navigation to the entrance and all three Sturdy Chests.
TomTom · Twilight Crypts Entrance · Zul'Aman
/way Zul'Aman 28.4 80.6 Twilight Crypts Entrance
Sturdy Chest Waypoints · All Three Locations
/way Zul'Aman 57.23 85.52 Sturdy Chest 1
/way Zul'Aman 46.96 49.84 Sturdy Chest 2
/way Zul'Aman 21.72 36.21 Sturdy Chest 3
All three Sturdy Chests are accessible in every variant with no special conditions. You need the correct levers activated to clear Spear Trap corridors blocking Chests 2 and 3. Looting all three contributes toward the Twilight Crypts Discoveries achievement (ID 61896) and grants Voidlight Marl each time.
Twilight Crypts has three story variants rotating daily on the Midnight reset. The active variant determines objectives, NPC encounters, and routing before you reach Blademaster Darza. All three share the Spear Trap mechanic and the same boss. The following tables cover every variant in specific detail, because vague descriptions are for people who enjoy dying to traps they didn't know existed. Understanding each Twilight Crypts trash mob guide nuance starts with knowing which variant you're actually in.
|
Element |
Detail |
|
Opening NPC |
Scout Lok'aemon: speaks to you immediately on entry, provides the Evasive Elixir |
|
Special Item |
Evasive Elixir: Extra action button. Click to become an invulnerable pot for 4 seconds, knocking back nearby enemies. Multiple charges. |
|
Central Hazard |
Mot'amra the Loa of Pestilence: unattackable, rampages the central room. Anything he hits takes heavy damage and is stunned 2 seconds. Use the Evasive Elixir to avoid his path while funneling enemies into it. |
|
Primary Objectives |
1. Defeat Vilebranch Skeleton Charmers (count varies by tier) |
|
Routing Strategy |
Follow the outer green route until the branching arrow. If totems or enemy count remain, clear the side room. If objectives are done, cut the red path directly to the boss. Don't overpull near Mot'amra: he stuns but doesn't one-shot enemies. |
|
Key Risk |
Mot'amra's patrol overlaps pull zones. Time the Evasive Elixir to avoid being caught during AoE. At higher tiers, the 2-second stun can interrupt your own defensive casts at the worst possible moment. |
|
Boss Room |
Standard boss room at the far end of the instance. |
|
Element |
Detail |
|
Opening NPC |
Dulgor Legstuck: an Explorer's League dwarf with his leg irreversibly stuck in a bear trap. He's fine. Probably. |
|
Hazard Type |
Bear Traps: scattered across corridors. Standing in one stuns you for approximately 2 seconds. Visible on the ground. Look down occasionally. It costs nothing. |
|
Primary Objectives |
1. Kill 4 Twilight Summoners: marked on minimap, easy to locate |
|
Lever Mechanic |
All 7 levers function identically to the base Spear Trap levers: each removes one trap gate. Levers and Summoner positions share the same route, so completing both simultaneously is efficient. |
|
Routing Strategy |
Hit summoner positions in order while clicking every lever along the route. Grinding extra trash is unnecessary and wastes time at higher tiers where every second of Darza uptime costs floor space. |
|
Key Risk |
Pulling a Twilight Summoner near an unclicked Spear Trap creates bad positioning during combat. Clear the trap path before engaging where possible. |
|
Boss Access |
Boss room unlocks after all 4 Summoners are dead and all 7 levers clicked. |
|
Element |
Detail |
|
Opening Sequence |
Attempt to free the first hostage near the entrance. Clicking the key triggers a blackout transition that teleports you to the southernmost room of the instance. This is intentional. Maybe. |
|
Primary Objective |
Open all locked side rooms and free captive hostages held by Twilight's Blade cultists throughout the crypt. |
|
Routing Direction |
Reversed from other variants: south to north, then loop back. Navigation feels counterintuitive on the first run. Map awareness is essential. |
|
Key Mechanic |
Levers still control Spear Traps. Hostage rooms sit behind trap-gated corridors. Prioritize the lever for each room before engaging inside, or you'll fight in a dead end with no exit. |
|
Boss Room |
Slightly smaller than other variants: fight occurs near the entrance area rather than the far end. Reduced floor space means Bask in the Twilight void zones eat through usable area faster. This is intentionally terrible. |
|
Known Bug |
Blademaster Darza has occasionally failed to spawn in this variant at Tier 2 since launch. If she doesn't appear after freeing all hostages, relog and reload. Blizzard is "aware." |
Spear Trap Lever Map The lever-to-trap mapping is consistent across all three variants. Each lever deactivates exactly one trap corridor. Clicking an already-used lever does nothing: more courtesy than this dungeon usually extends.
|
Mob |
Abilities |
Priority Action |
|
Hexbound Necrowraith |
Necrotic Bolt: interruptible, heavy single-target damage; |
Interrupt Necrotic Bolt on cooldown. Step out of Upheaval circles immediately: don't wait to see if you can tank it. You cannot. |
|
Ghoulish Strength: short cast, +100% damage / -90% movement speed (dangerous for non-tanks); |
Stun during Reconstitution the moment the cast bar appears. Kite during Ghoulish Strength if not tanking. Never let two Abominations cast Reconstitution at the same time. |
|
|
Leering Skulltaker |
Hex Strike: shadow damage + 5% all-stat reduction debuff per hit, stacks |
Don't let Skulltakers linger in large packs. Stacking stat reduction becomes punishing at Tier 6+. Burst them down or break the pack before engaging other targets. |
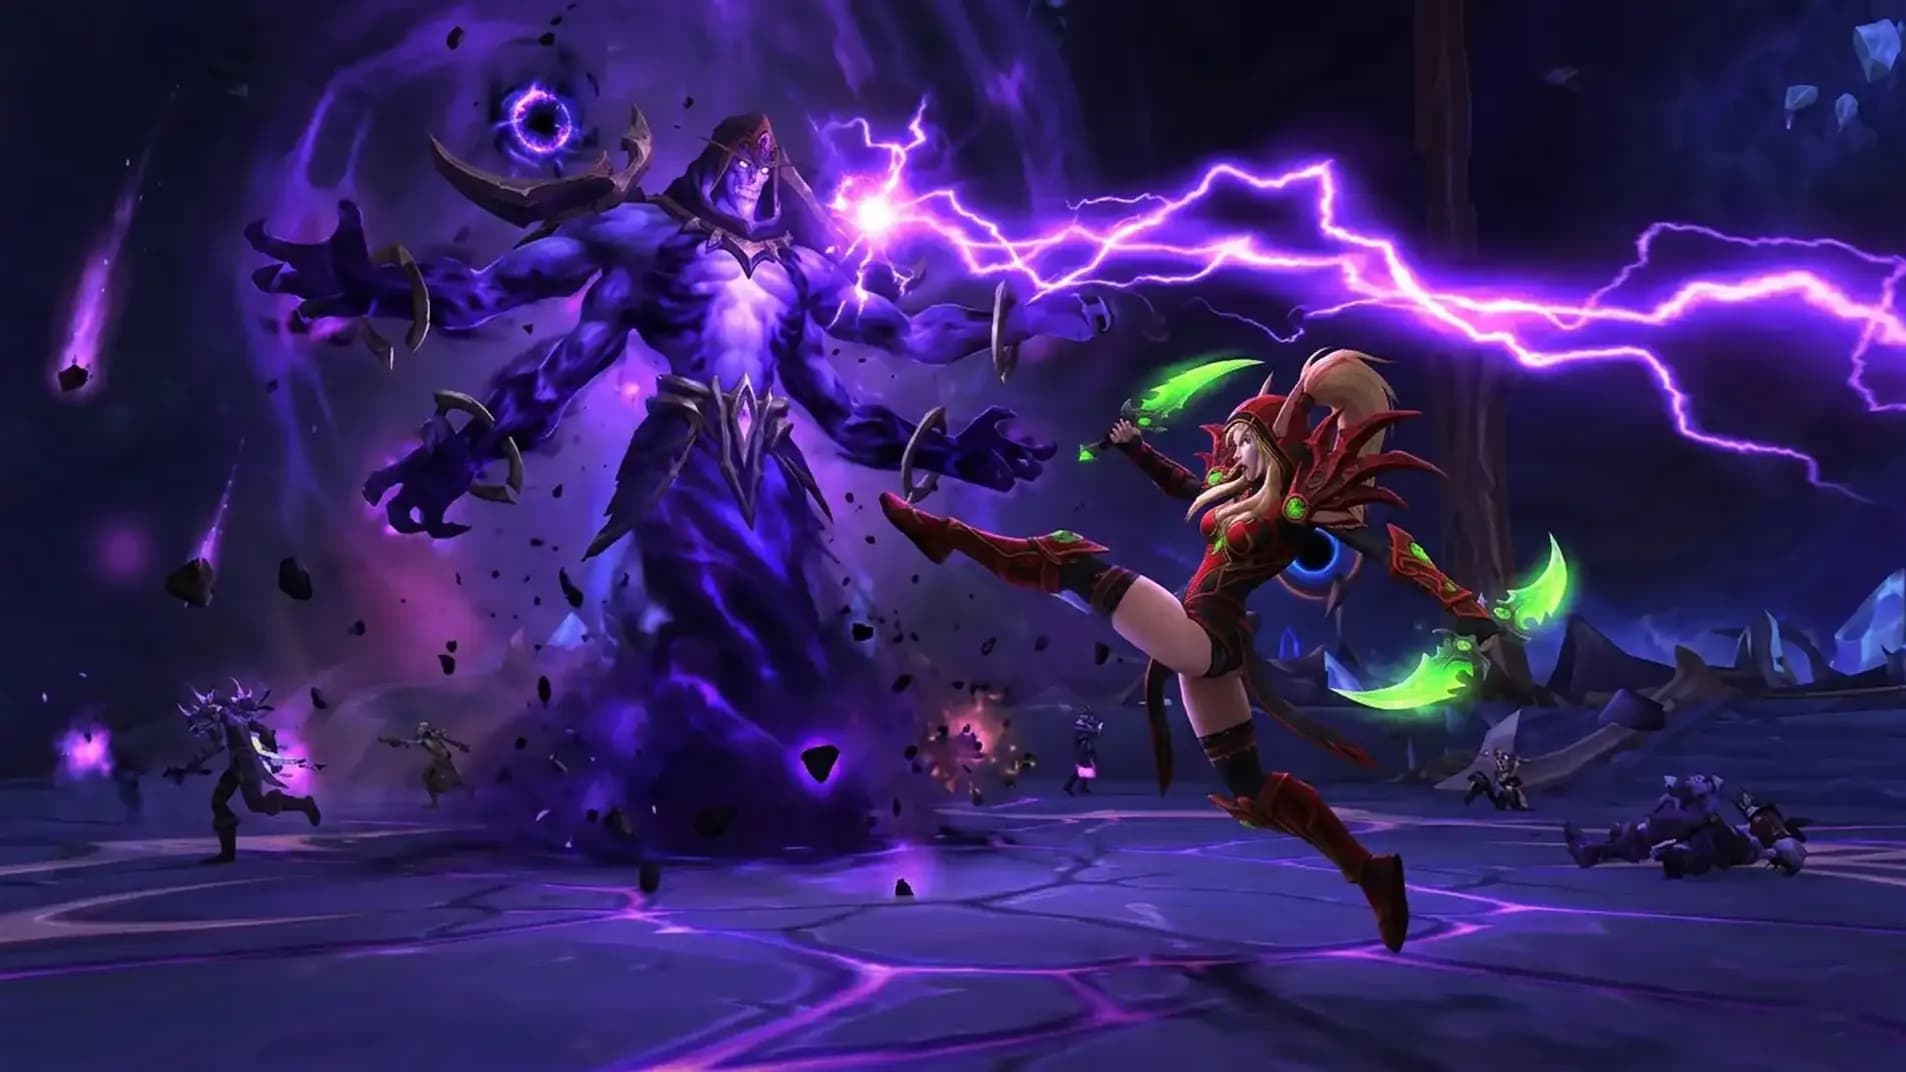
Blademaster Darza is the final boss of all three Twilight Crypts variants: the same woman, every run, apparently contractually haunting these ruins regardless of storyline. She is the most straightforward Twilight Crypts boss guide WoW encounter in Midnight. The difficulty doesn't escalate through complex sequences; it escalates through floor attrition, because every Bask in the Twilight void zone she drops persists and stacks. By Tier 8, the Eye of Revelation mechanic-style positional awareness required to preserve clean floor space is effectively the entire encounter. Understand the spacing or inherit the void.
Tier 8–11 Critical Note Bask in the Twilight void zones persist and accumulate. Darza gains 30% increased damage while standing inside her own zones. Miss one repositioning rotation and you enter a spiral: smaller floor, higher damage, no recovery. Correct perimeter movement prevents this entirely.
|
Ability |
Description |
Counter |
|
Shade Cleave |
Wide frontal cone. Locks to a fixed direction at cast start: does not track mid-cast. Massive physical damage to anything in the cone. |
Stay within melee range and sidestep 90° at cast start. Close range makes the angle far more forgiving than fighting at distance. |
|
Dark Pursuit / Charge |
Gap closer: only used when the player is at range from Darza. Minor damage and knockback on impact. (Icy Veins names it "Dark Pursuit"; Method calls it "Charge." Same ability.) |
Stay in melee range. The ability never fires if you are adjacent. Simple. |
|
Bask in the Twilight |
Long cast. Spawns a large void zone circle centered on Darza. Remaining inside at cast end: heavy AoE damage + knockback. Zone persists as ground DoT puddle. Darza gains 30% increased damage while standing in the zone. |
Begin moving Darza toward the room edge during the cast. Once the zone lands, position her fully outside it. Rotate around the room perimeter with each subsequent cast to keep clean floor available. |
|
Tier Range |
Darza Behavior |
Floor Situation |
|
Tier 1–3 |
Low frequency, small void zones |
Ample room throughout |
|
Tier 4–7 |
Higher frequency, zones noticeably larger |
Active perimeter rotation required |
|
Tier 8 |
One missed rotation eats 40%+ of usable floor |
Strict positioning discipline required |
|
Tier 9–11 |
Maximum scaling; 30% buff punishes any overlap |
Execute cleanly or die to the void. It is not a metaphor. |
The Twilight Crypts Tier 11 guide reality: you are not fighting a complex mechanic rotation, you are fighting your own spatial awareness and ability to maintain melee uptime on a progressively shrinking canvas. Use every movement speed tool available. For Valeera Twilight Crypts companion tips: position her on the far edge of Darza away from void zone accumulation: her AI maintains DPS without walking into puddles with reasonable consistency, which is more than can be said for certain living, breathing players.
Twilight Crypts offers a base completion quest and variant-specific tracking that feeds achievement progress. The Delver's Call: Twilight Crypts is your first-run reward: picked up from Valeera at Delver's Headquarters in Silvermoon, tied to the Amani crypt storyline about clearing interlopers before the dead within can be defiled further. The lore implication being that the dead in Zul'Aman are somehow in a worse state than standard troll necromancy already inflicted on them, which takes some imagination. This quest feeds Undercoin income and companion experience within the WoW Midnight Zul'Aman delves seasonal progression structure.
|
Quest Name |
Source |
Requirement |
Reward |
|
Valeera Sanguinar / NPC Tavikko in-zone |
Complete Twilight Crypts on any difficulty |
Undercoins, companion XP, Delver's Journey progress, 70,600 XP |
|
|
Twilight Crypts: Loosed Loa |
Scout Lok'aemon (in-delve) |
Defeat Vilebranch Skeleton Charmers + destroy 6 Hex Totems |
Variant credit toward Twilight Crypts Stories |
|
Twilight Crypts: Party Crasher |
Dulgor Legstuck (in-delve) |
Kill 4 Twilight Summoners + activate 7 levers |
Variant credit toward Twilight Crypts Stories |
|
Twilight Crypts: Trapped |
In-delve objective tracker |
Free all hostages from Twilight's Blade captors |
Variant credit toward Twilight Crypts Stories |
Twilight Crypts: like all WoW Midnight delves: technically requires only Level 90 to enter on any tier. In practice, gear determines whether you complete the run or become a respectful smear on the crypt floor. Blizzard's recommended item levels per tier are visible by hovering over the delve tier selector in-game. Tiers 1 through 3 are comfortable at launch gear for fresh Level 90 characters. Tiers 4 through 7 are the general endgame bracket where normal Midnight gear and Heroic dungeon drops put you in a workable position. Tier 8 is the loot ceiling: highest tier that awards item level gear, and the primary benchmark for Great Vault optimization. Tiers 9 through 11 award only Crests, making them relevant solely for players capping gear who need Crest currency for upgrade tracks. The Trapped variant's smaller boss room makes Tier 8+ marginally more punishing than the other two variants at equal gear: if you're still learning Darza's void zone rhythm, run Loosed Loa or Party Crasher first.
|
Tier Range |
Recommended Avg iLvl |
Gear Source |
Loot Type |
|
Tier 1–3 |
~580–600 |
Leveling / Starter Crafted |
Gear tokens, Undercoins |
|
Tier 4–7 |
~610–635 |
Normal Dungeons / Open World |
Scaling Midnight loot |
|
Tier 8 |
~645–655 |
Heroic Dungeons / Crafted BiS |
Heroic-equivalent gear + Great Vault slot |
|
Tier 9–11 |
~260–271+ |
Mythic / Raid gear |
Crests only: no item level upgrades |
Twilight Crypts contributes to four achievements: two specific to this delve, two feeding into the seasonal meta. Every ID anchored below is verified via a live Wowhead URL. Completing all four puts you on track toward the Glory of the Midnight Delver meta, which rewards the Giganto Manis ground mount, the Nullaeus Domaneye cosmetic head, and the Treasure Seeker title. The WoW Midnight Twilight Crypts achievement contribution is not skippable if you want the full meta before season end: the Nullaeus kill required for My Shady Nemesis is time-gated to the current season.
|
Achievement |
Requirement |
Notes |
|
Complete all 3 story variants: Party Crasher, Loosed Loa, Trapped |
Feeds into Delve Loremaster: Midnight. Three variants, daily rotation: typically requires three separate resets unless the rotation cycles favorably. |
|
|
Find and open all 3 Sturdy Chests in Twilight Crypts |
Feeds into Midnight: Leave No Treasure Unfound. No variant restriction. Lever knowledge required for Chests 2 and 3. |
|
|
Delve Loremaster: Midnight |
Complete all story variants across all Midnight Delves |
Twilight Crypts Stories (61730) is one of its inputs. Required sub-criterion of Glory of the Midnight Delver (61906). |
|
Complete: Delve Loremaster: Midnight + Midnight: Leave No Treasure Unfound + Curio Fanatic: Midnight + My Shady Nemesis (kill Nullaeus) |
Rewards: Giganto Manis mount + Nullaeus Domaneye cosmetic + Treasure Seeker title. Nullaeus kill is time-limited: must happen before the next Delves season begins. |
Twilight Crypts is an honest delve. It tells you exactly what it's going to do: spear traps, hexed abominations, a rampaging plague god, and a blademaster who wants to stand in her own void zones while you try not to die. The mechanics are clean, the three variants provide genuine replayability, and the only thing between you and consistent Tier 8 clears is accepting that void zones are permanent features of your floor plan. Run your three variants for the Stories achievement, loot your three chests, keep Darza off her puddles, and this becomes one of the more enjoyable entries in the Midnight delve roster. Not that it will thank you for saying so.


Twilight Crypts is live & already killing people who thought "don't stand in void zones" was optional advice. Our full guide covers every trap, lever

Twilight Crypts is live & already killing people who thought "don't stand in void zones" was optional advice. Our full guide covers every trap, lever

Twilight Crypts is live & already killing people who thought "don't stand in void zones" was optional advice. Our full guide covers every trap, lever

Twilight Crypts is live & already killing people who thought "don't stand in void zones" was optional advice. Our full guide covers every trap, lever

Twilight Crypts is live & already killing people who thought "don't stand in void zones" was optional advice. Our full guide covers every trap, lever

Twilight Crypts is live & already killing people who thought "don't stand in void zones" was optional advice. Our full guide covers every trap, lever

Twilight Crypts is live & already killing people who thought "don't stand in void zones" was optional advice. Our full guide covers every trap, lever

Yes. Twilight Crypts cycles through Loosed Loa, Party Crasher, and Trapped on the daily Midnight reset. Hover over the delve map icon before entering to confirm the current variant: routing for the wrong objectives is a special kind of suffering.
Yes. All three Sturdy Chests are present in every variant. Activating the correct levers clears the Spear Trap corridors to Chests 2 and 3. No variant-specific requirement exists: just lever knowledge and willingness to take the detours.
You take heavy AoE damage and are knocked back. Simultaneously, Darza gains 30% increased damage while standing in the same zone. You get hurt, she hits harder, and the floor space keeps shrinking. Move out of the zone, then move her out too.
No. Item level gear stops scaling after Tier 8. Tiers 9–11 award only Crests. Run Tier 8 for loot and Great Vault value. Push higher tiers only if you have capped gear and need Crest currency for the upgrade track.
Reconstitution cannot be interrupted but can be stopped with any hard CC or stun applied during the cast. The moment you see the cast bar appear at low HP, stun immediately. Letting it complete at Tier 6+ is effectively a full health reset on a mob you just spent 30 seconds killing.
In most cases yes: one variant per day. If the rotation cycles favorably within a given week you may clear all three without a three-day wait. Check the achievement tracker to see which of the three criteria (Party Crasher, Loosed Loa, Trapped) you still need.

GTA 6, new seasons, major updates — get ready to dominate from day one.