



WoW Boost
The Grudge Pit Delve Guide: Harandar's Finest Fungal Bloodsport | WoW Midnight
Back from the dead and meaner than ever: Pit of Saron is in the Midnight M+ pool and it WILL wipe your PUG. Full guide: bosses, skips, loot & route.
The WoW Midnight Pit of Saron M+ guide you didn't know you desperately needed has arrived. This frozen hellhole of a mining operation is back in the Season 1 rotation and it's bringing every single one of its death-dealing tricks into a modern tuning pass. Congratulations. You get to navigate a labour camp run by Scourge middle-management. Again.
In Midnight Season 1, Pit of Saron is one of four legacy dungeons in the M+ pool alongside Magister's Terrace, Algeth'ar Academy, and Skyreach. You access it not through Northrend this time: instead, head to the Timeways portal in Silvermoon City (coords: /way 40.8 59.4). Someone at Blizzard thought it would be funny to put the icy death dungeon next to the blood elf fashion capital.
Structurally you're looking at three boss fights preceded by a sprawling open quarry that you must fully interact with: specifically liberating all 6 prisoner camps before Scourgelord Tyrannus will even acknowledge your existence. The dungeon is linear-ish but requires path decisions, trash management, and a group that can handle simultaneous interrupts without everyone pointing fingers at each other.
Are you going to wipe? Probably. Is it going to be because someone missed an interrupt on Dreadpulse Lich? Definitely. But with this guide: and maybe a Boostmatch carry: you'll at least know which interrupt to miss.
Key Detail All 6 Quarry Camps in the main area must be liberated before Scourgelord Tyrannus becomes accessible. Skipping these is not optional: the game physically gates you. Plan your trash route to walk past all of them.
Buckle up. Let's talk about frozen dirt, diseased ghouls, and a gnome sitting on a giant skeleton's back.
What This Guide Covers
If you’re reading this, you might be interested in a discount just for you—my blog reader! Use code CRINGEBLOG to get an amazing discount on any offer in our shop.




The Pit of Saron timer and key levels in WoW Midnight Season 1 are as follows. The dungeon sits at a 33-minute timer for a +2 chest. It's not the tightest timer in the pool but don't let that lull you into thinking you can goof around: the prisoner camp liberation requirement plus the natural travel time through the quarry eats clock faster than you'd expect.
On Fortified weeks the trash: especially the Dreadpulse Lich and Ymirjar Graveblade (both CC-immune): will absolutely ruin your group if you're sloppy. On Tyrannical weeks, Tyrannus gains so much health that the add-management phase drags on uncomfortably. Budget your cooldowns accordingly.
The quarry section is deceptively long. Start heading toward Garfrost first: the path right: and loop around liberating camps as you go. This tends to be the more efficient route because Garfrost's arena gives you good positioning for the fight ahead.
The quarry is home to an assortment of undead individuals who have absolutely nothing better to do than ruin your key. The Pit of Saron interrupt priority list for M+ starts here: and it is long. Welcome to a dungeon designed by someone who hated healers.
This is the Pit of Saron boss mechanics summary for Midnight's first chapter. Garfrost is a positioning fight masquerading as a tank-and-spank. The moment your group treats it like a tank-and-spank, he will immediately remind you it is not.
The arena has 2 Forges around its edge. Garfrost gains energy and at full energy channels Glacial Overload into the nearest forge, dealing catastrophic frost damage to everyone caught in line-of-sight and applying a stacking 75% frost damage taken debuff. The only way to survive it is Line of Sight behind an Ore Chunk: and that's where the positioning game begins.
He throws Throw Saronite at 2 players, spawning Ore Chunks at their location. Then he uses Orebreaker: a tank-targeted AoE around himself that stuns the tank for 8 seconds if they're NOT standing on an ore to destroy. This means after Orebreaker resolves, only one ore remains and your entire group needs to be behind it when Glacial Overload channels. After the channel, he uses Cryostomp, destroying the last ore and slapping a magic debuff on 2 players (slow + 50% increased frost damage taken). Dispel this immediately.
|
Ability |
Target |
Priority |
Notes |
|
Glacial Overload |
Group |
LoS Required |
Get behind the surviving Ore Chunk. This is the fight's defining mechanic. |
|
Throw Saronite |
2 Players |
Positioning |
Targeted players place ore chunks. Keep them close together, away from forge frontal arcs, and LoS-viable for upcoming Overload. |
|
Orebreaker |
Tank |
Tank Action |
Tank MUST stand on an ore to break it. If they miss: 8-second stun. During Glacial Overload prep. Bad. |
|
Cryostomp |
2 Players |
Dispel |
Magic debuff: slow + 50% frost damage amplification. Dispel instantly. The passive Siphoning Chill aura makes this debuff deadly. |
|
Siphoning Chill |
Group |
Passive |
Constant frost damage ticking on the group. Healer will be busy. Don't stand in leftover puddles from destroyed ores. |
Tank Note: Garfrost Positioning After Orebreaker, immediately drag the boss AWAY from the destroyed ore puddle. The remaining ore needs clear access for LoS. If your puddles overlap the surviving ore, your group has nowhere to hide. This is the #1 avoidable wipe cause on this boss.
Bloodlust / Heroism Timing The Pit of Saron Bloodlust/Heroism timing in WoW Midnight for Garfrost: pop Bloodlust at the pull. The fight has no meaningful execute phase and the longer it goes the more puddles litter the arena, making positioning progressively more cursed. Burst him down.
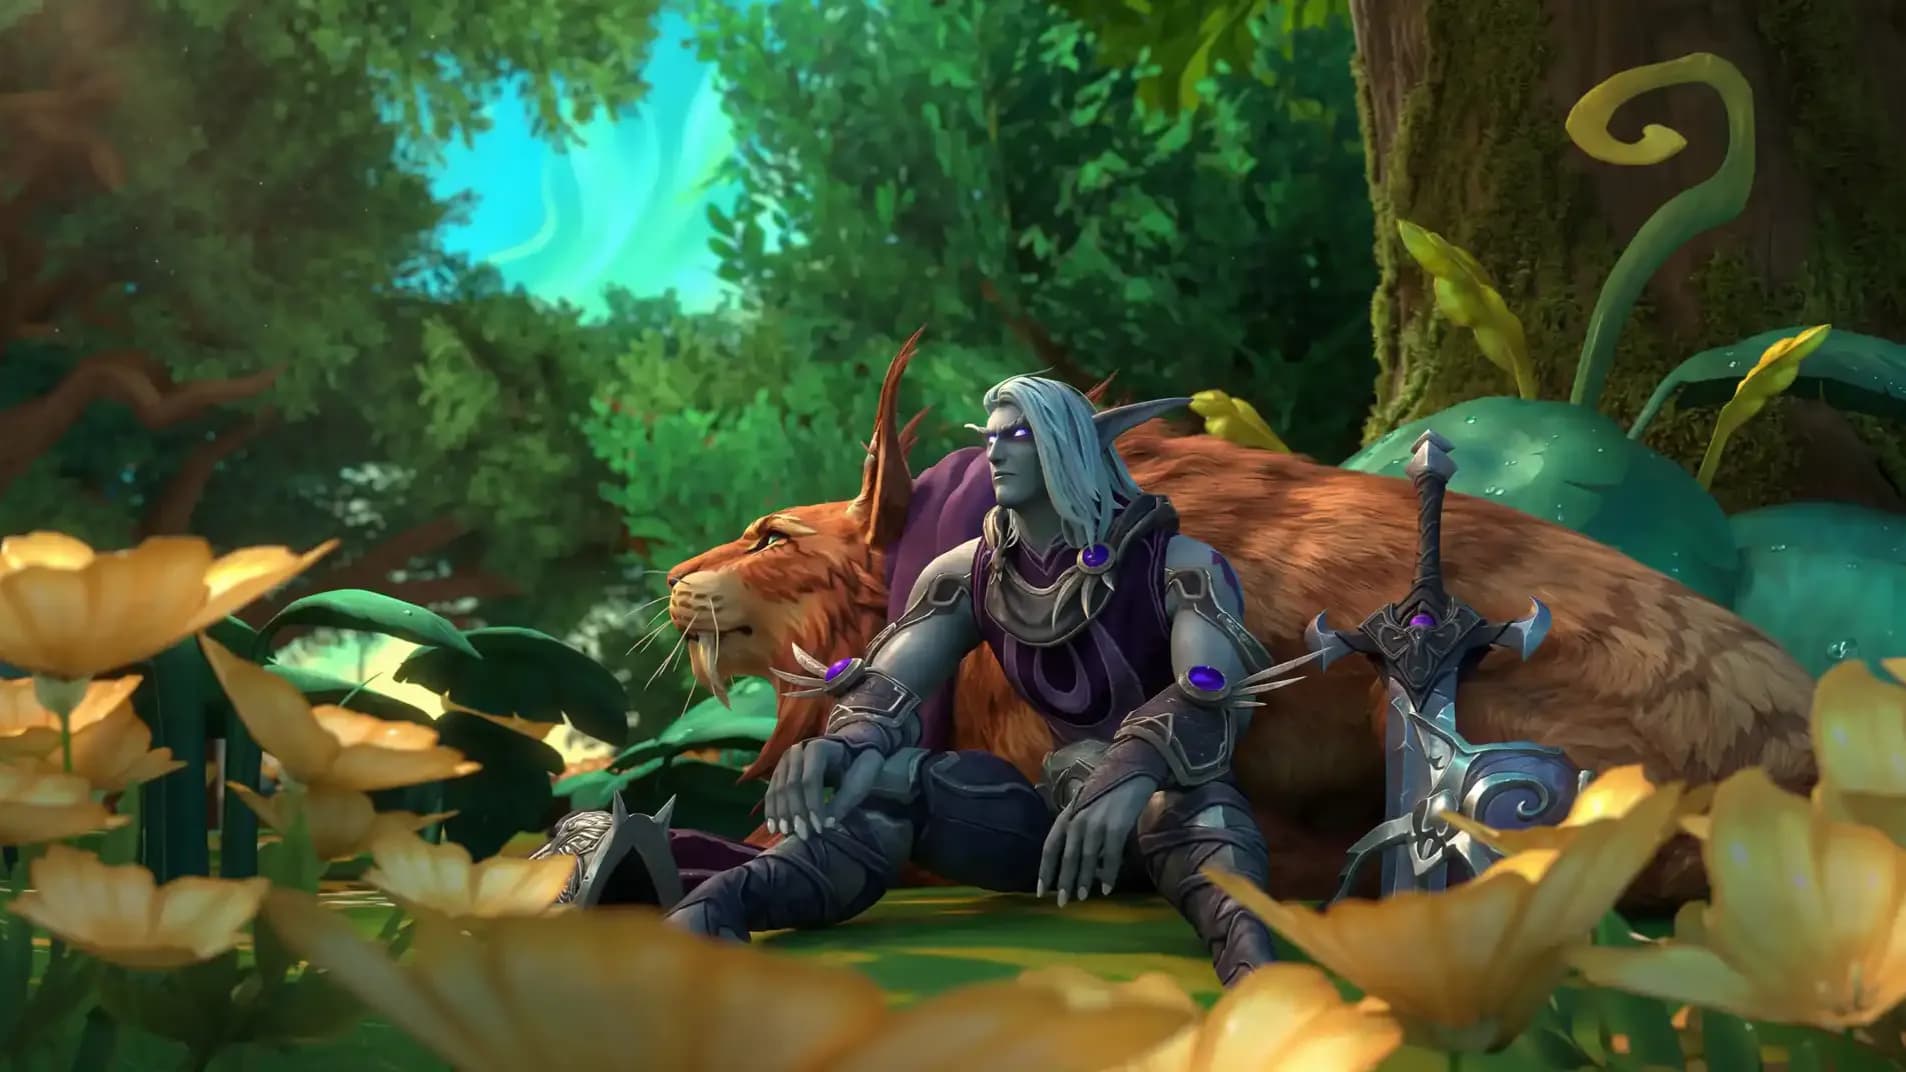
Continuing the Pit of Saron boss mechanics summary for Midnight: Ick and Krick is a two-phase chaos fight with puddle management, interrupt responsibilities, and a fixate mechanic that requires your group to not panic-run into walls.
The phase begins when Shade Shift applies a group DoT and spawns 2 Shades of Krick near the arena edges. The tank needs to drag Ick to the shades so the group can cleave them down: if the shades live too long, they explode for AoE group damage. Once shades die, stack Ick on top of Krick. The bosses share health via the Necrolink passive, so cleaving both is efficient.
In this phase, priority interrupts are Death Bolt from Krick (random target, must kick) and Shadowbind from the Shades (channel on a player, can be curse-dispelled, freed with freedom effects, or dropped with combat-drop abilities). The tank eats Blight Smash: an AoE hit that leaves a 75-second puddle. Position these puddles at the edges so they don't consume your arena space.
Plague Explosion spawns puddles under 4 random players simultaneously. Everyone spread, everyone move when targeted. Yes, all of you. Yes, even the caster who "just started their cast."
When Krick yells Get 'em, Ick!: which he will do with the energy of a man who has been waiting his whole undead life for this moment: he leaps onto Ick and forces a fixate on a random player for 7 seconds, cycling through players for 28 seconds total. During this time, Krick continues firing random-target shadow projectiles and more puddles spawn. The designated kite target needs to move calmly and predictably around the arena while the rest of the group piles damage.
|
Ability |
Target |
Priority |
Notes |
|
Death Bolt (Krick) |
Random |
Interrupt #1 |
The real Krick's priority cast. Every single one must be stopped. No exceptions. We're serious. |
|
Shadowbind (Shades) |
Random |
Interrupt/Dispel |
Curse dispel, freedom, Feign Death/Vanish, or spare interrupt. Lower priority than Death Bolt. |
|
Blight Smash |
Tank (AoE) |
Tank Positioning |
Places a 75s puddle. Position at arena edge or existing puddle to minimize area loss. |
|
Plague Explosion |
4 Players |
Dodge / Spread |
All targeted players spawn puddles beneath them. Move to edge positions. Keep moving. |
|
Get 'em, Ick! |
Random (Fixate) |
Kite Phase |
Kite Ick around the safe arena space for 28s. Don't run into puddles. Don't run into walls. Breathe. |
|
Necrolink |
— |
Passive |
Shared health pool. Cleave both bosses whenever possible. |
DPS Priority Note During Phase 1: Shades first (they explode), then cleave Ick+Krick stacked. During Phase 2: dump everything while kiting. The boss DPS target priority in Pit of Saron M+ is clear: shades are the only real target-switch and you can't ignore them.
After both bosses are dead and all 6 camps liberated, the gate opens to an ice cave tunnel leading to Tyrannus. The same trash archetypes from the quarry reappear with their usual agenda of destruction, plus one new addition: the Glacieth mini-boss.
LoS Pull Tip The ice cave has multiple natural pillars and rock formations. For the final packs, pull to the cave entrance corner and let the mobs path to you. This is one of the better Pit of Saron safe spots and LoS pull opportunities in M+: it also lets you deal with Glacieth in a controlled space rather than mid-corridor.
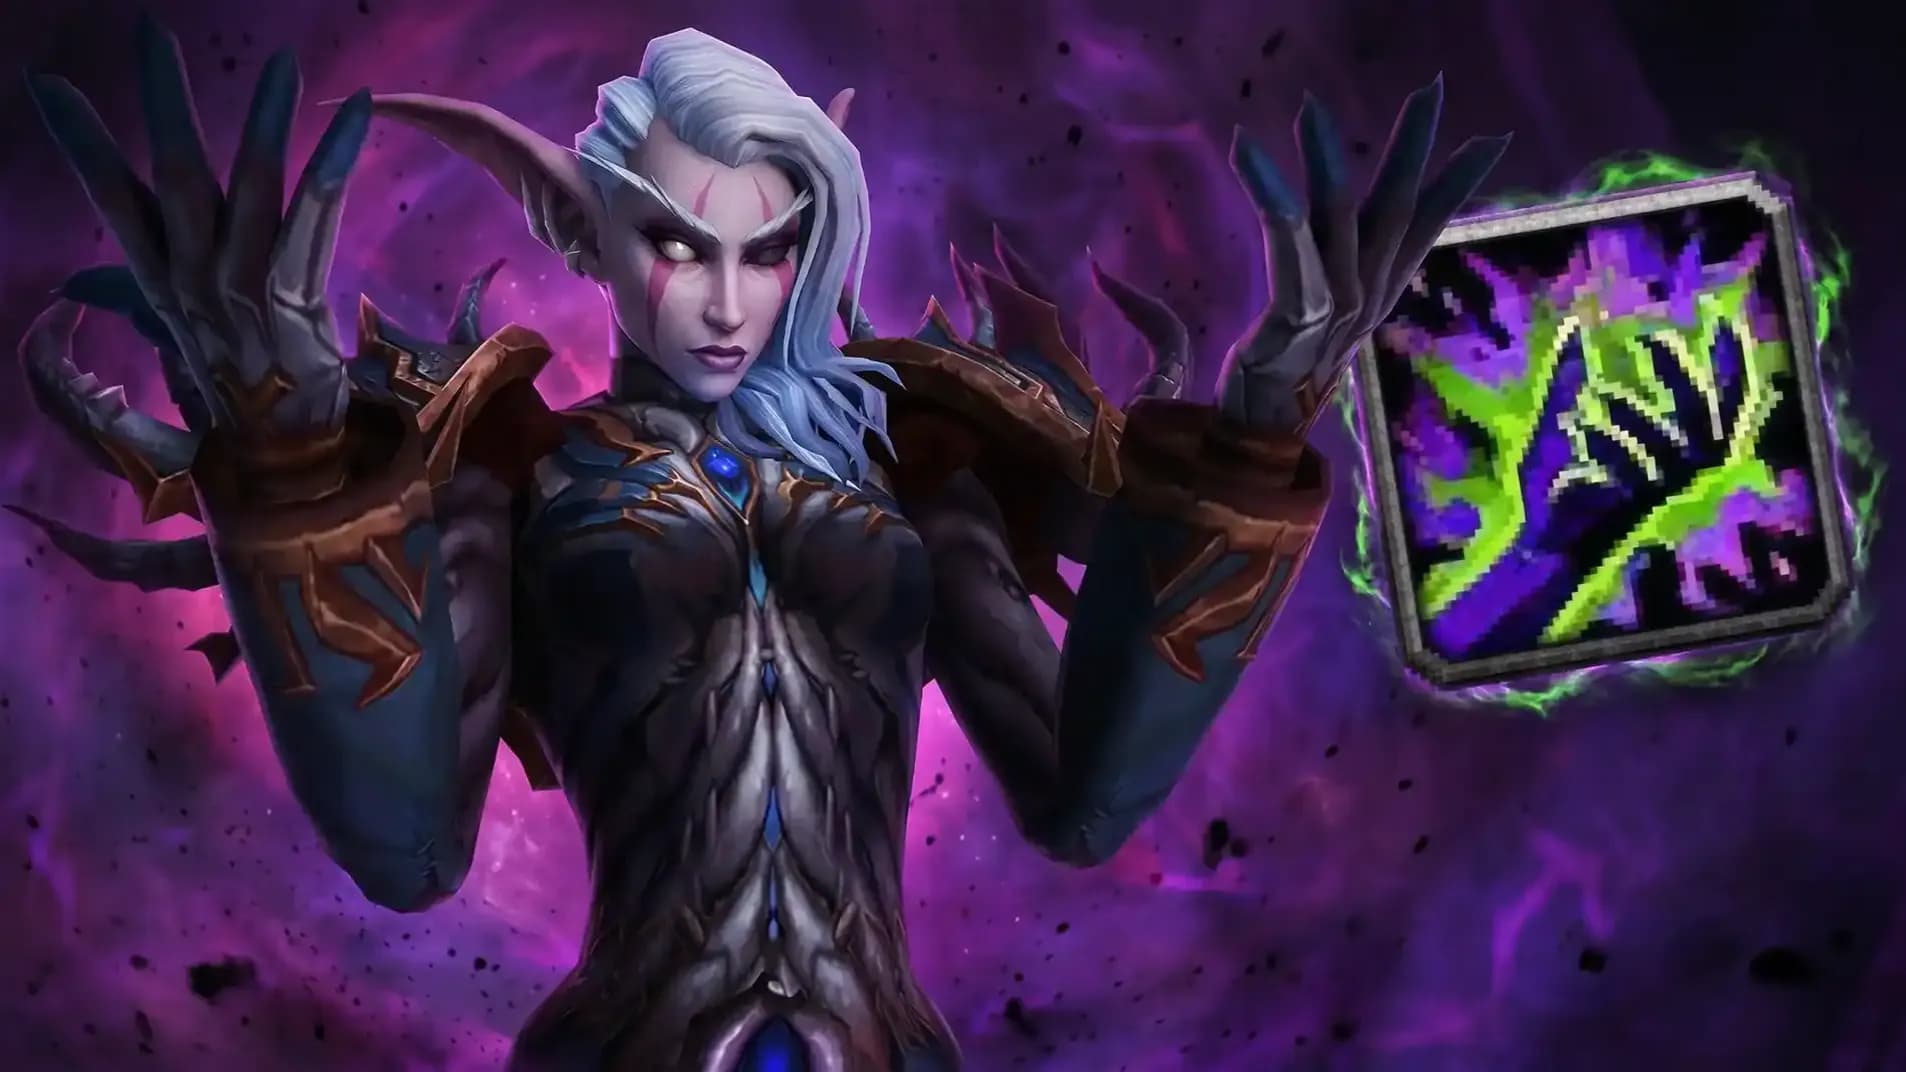
"Mounted on his frost wyrm Rimefang, Tyrannus oversees the entire slave operation from the comfort of dragon-back. He is extremely unpleasant about visitors."
The Pit of Saron boss mechanics summary for Midnight concludes with Tyrannus: a fight that rewards preparation and punishes random chaos. The arena is littered with Bone Piles, five of which glow with a green infused light. This is foreshadowing. Ominous, predictable foreshadowing.
Tyrannus periodically casts Rime Blast, targeting each non-tank player once per phase (twice total). Players targeted by Rime Blast can: and MUST: aim the projectile at an infused Bone Pile, encasing it in ice and preventing it from spawning an empowered add. There are 5 infused piles and 4 non-tank players, so ideally you freeze 4 of the 5 piles before the boss casts Army of the Dead, leaving only one Scourge Plaguespreader to deal with instead of a full circus.
When Army of the Dead fires, the unfrozen infused piles spawn Scourge Plaguespreaders and all regular piles spawn Rotlings. Plaguespreaders are the nightmare: they deal constant group damage via Festering Pulse and have a random-target Plague Bolt that must be interrupted. Kill them fast. Rotlings stack Rotting Strikes on the tank: Disease dispel or kite to manage.
Scourgelord's Brand is Tyrannus's tank buster: he knocks you back with the initial hit, then immediately leaps to your landing location to slam the area. Save a movement ability for the leap: don't get knocked into adds, don't land on top of the group. Tyrannus also creates ground hazards via Death's Grasp circles and an Ice Barrage channel. Keep moving.
|
Ability |
Target |
Priority |
Notes |
|
Rime Blast |
Non-Tank Players |
Aim at Bone Pile |
AIM AT INFUSED BONE PILES. Freezes them. Prevents Plaguespreader spawns. This is the most important mechanic in the fight. |
|
Army of the Dead |
— |
Add Spawn |
Unfrozen infused piles → Plaguespreaders. Regular piles → Rotlings. Target Plaguespreaders first. |
|
Plague Bolt (Plaguespreader) |
Random |
Interrupt |
Must be interrupted. Kick rotation on Plaguespreaders while burning them down. |
|
Festering Pulse (Plaguespreader) |
Group |
Passive |
Constant AoE damage from Plaguespreaders. One is manageable. Five is a wipe. This is why you freeze Bone Piles. |
|
Scourgelord's Brand |
Tank |
Knockback + Leap |
Knockback followed by leap to knocked-to location. Save movement. Don't land in adds. Don't drag boss into group. |
|
Death's Grasp |
Group |
Dodge |
Circle ground effects. Dodge them. Yes, during adds. Yes, also during Scourgelord's Brand. Welcome to the final boss. |
|
Ice Barrage |
Group |
Dodge |
AoE channel. Move away from impact zones. |
|
Rotting Strikes (Rotlings) |
Tank |
Disease Dispel / Kite |
Same stacking debuff from quarry trash. Manage via Disease dispel or movement if stacks run high. |
Bloodlust / Heroism Timing: Tyrannus If you saved Bloodlust from Garfrost (some groups prefer to), pop it immediately when Army of the Dead triggers and the Plaguespreader(s) are active. Burst the Plaguespreader fast to minimize Festering Pulse uptime, then redirect to Tyrannus.
Tyrannical Tip On Tyrannical weeks, Tyrannus hits noticeably harder with Scourgelord's Brand and the add phase is more punishing due to Plaguespreader health scaling. Do NOT let more than one Plaguespreader live. Freeze your Bone Piles. This is not optional. This is survival.
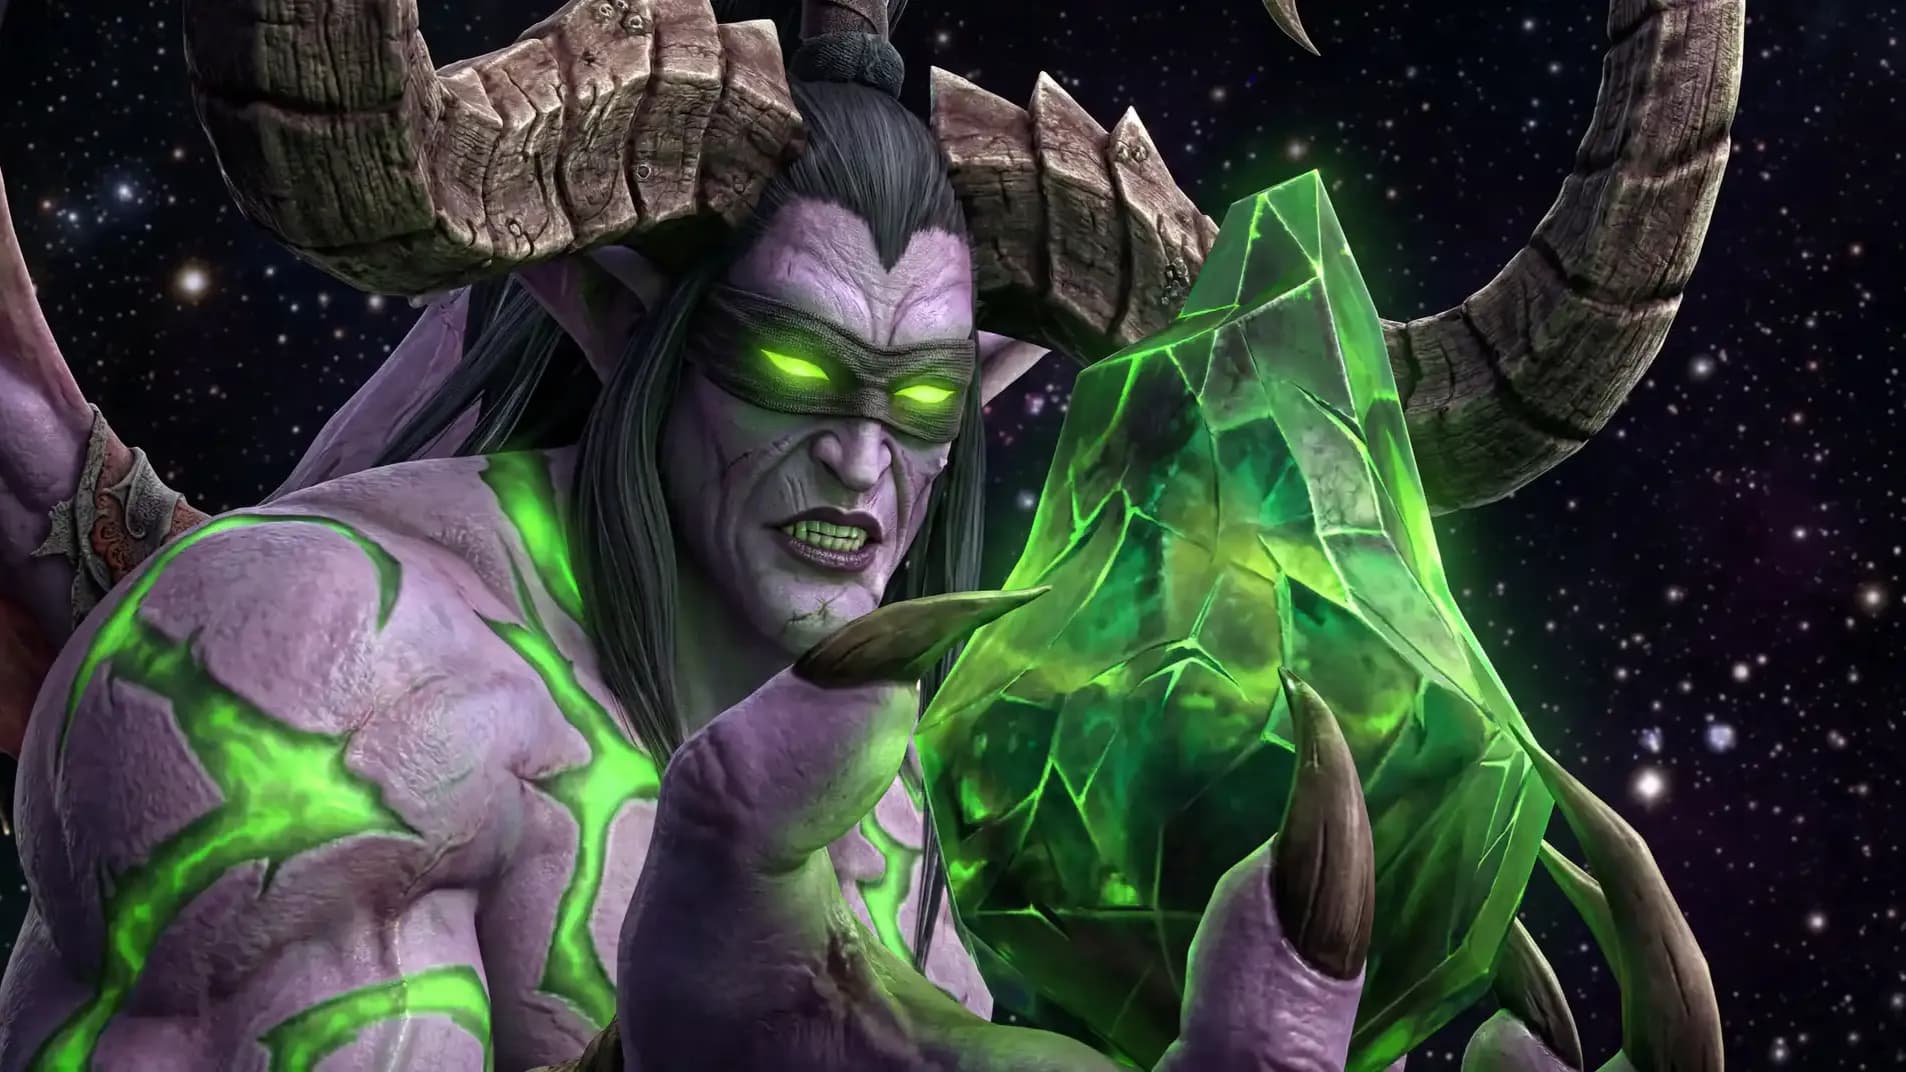
As the Pit of Saron M+ tank, your two primary responsibilities: beyond not dying: are puddle management and interrupt assignment ownership. The Dreadpulse Lich's Icy Blast targets you: if your group's interrupt rotation isn't covering it, you will die, and it will be at least partially your fault for not communicating the assignment. On Garfrost, internalize the Orebreaker timing and always know which ore you're breaking: ideally positioned away from forge frontal arcs and close enough to the surviving ore for group LoS.
On Tyrannus, the Scourgelord's Brand knockback is your main positioning challenge. Fight the boss in the centre-ish of the arena so you have room to land without splashing into adds or walls. Save a gap-closer or defensive dash for the follow-up leap.
The Pit of Saron healer tips and massive damage phases: there are three moments in this dungeon where your throughput will be tested to the fullest. First is any pull containing a Dreadpulse Lich going into its sub-50% Dread Pulse: save a minor cooldown for this. Second is the Siphoning Chill aura on Garfrost combined with un-dispelled Cryostomp debuffs: dispel quickly and never let that debuff sit. Third is the Festering Pulse passive from multiple Plaguespreaders on Tyrannus: pop a major cooldown if somehow more than one is alive. Otherwise, prioritize dispelling over raw healing output wherever possible. This dungeon has a lot of disease, curse, and magic dispel opportunities.
The Pit of Saron DPS target priority for M+ is as follows. In trash pulls, always identify and kill Deathwhisper Necrolyte first (its minions are immune until it's dead). Assign someone to track the Dreadpulse Lich and ensure your interrupt rotation is functional before the pull, not after the tank is dead. In the Tyrannus fight, prioritize Plaguespreaders on spawn: then rotate back to the boss immediately when they're down. Do not stay on Rotlings longer than a couple globals.
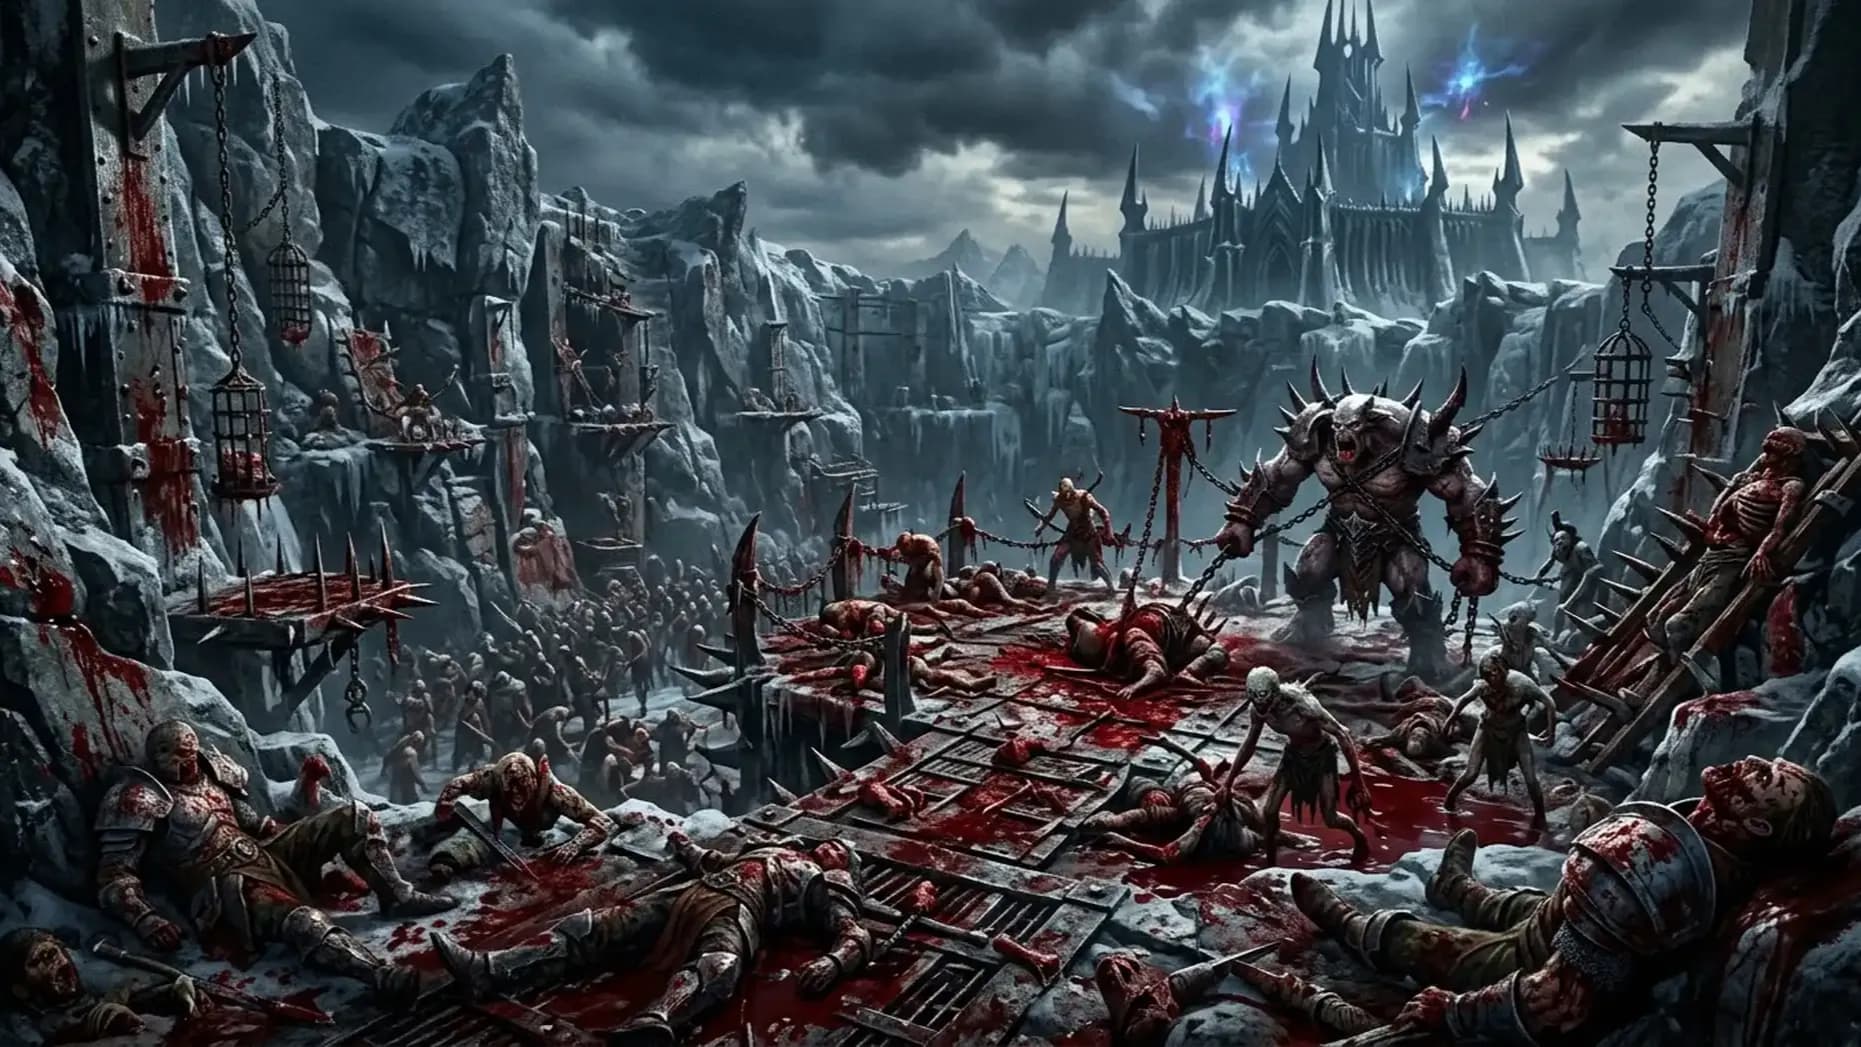
The Pit of Saron M+ loot table for WoW Midnight Season 1 features gear appropriate to the keystone level tuned for the current Midnight gear track (Veteran at +0, scaling through Champion and Hero at higher key levels). Below is a breakdown of notable loot by boss:
|
Source |
Item |
Type |
Notable For |
|
Forgemaster Garfrost |
Frozen Iron Clasp |
Belt |
Physical DPS / Tanks |
|
Forgemaster Garfrost |
Garfrost's Forge-Tempered Pauldrons |
Shoulders |
Plate DPS |
|
Forgemaster Garfrost |
Saronite-Cooled Grips |
Trinket |
Pit of Saron BiS trinket for DK/Warrior: on-use physical damage amp |
|
Ick and Krick |
Krick's Beetle Stabber |
Dagger |
Rogues / Windwalkers |
|
Ick and Krick |
Necrolink Choker |
Neck |
Casters / Healers |
|
Ick and Krick |
Plague Vial of the Wretched |
Trinket |
BiS trinket for Unholy DK and Affliction Warlock: stacking DoT amplification passive |
|
Scourgelord Tyrannus |
Rimefang's Frostweave Drape |
Cloak |
Healers / Casters |
|
Scourgelord Tyrannus |
Brand of the Scourgelord |
Trinket |
High-value tank trinket: active damage reduction with passive armour secondary |
|
Scourgelord Tyrannus |
Tyrannus's Permafrost Legguards |
Legs |
Plate Tanks |
|
Trash |
Quarry Tormentor's Shackles |
Ring |
Melee DPS with haste / mastery |
BiS Trinket Note The Plague Vial of the Wretched from Ick and Krick is generating early community discussion as a top-tier DoT-class trinket for Unholy DK, Affliction Lock, and Balance Druid. Confirm updated sims on Raidbots before making gear decisions: tuning passes happen frequently in early Season 1.

Back from the dead and meaner than ever: Pit of Saron is in the Midnight M+ pool and it WILL wipe your PUG. Full guide: bosses, skips, loot & route.
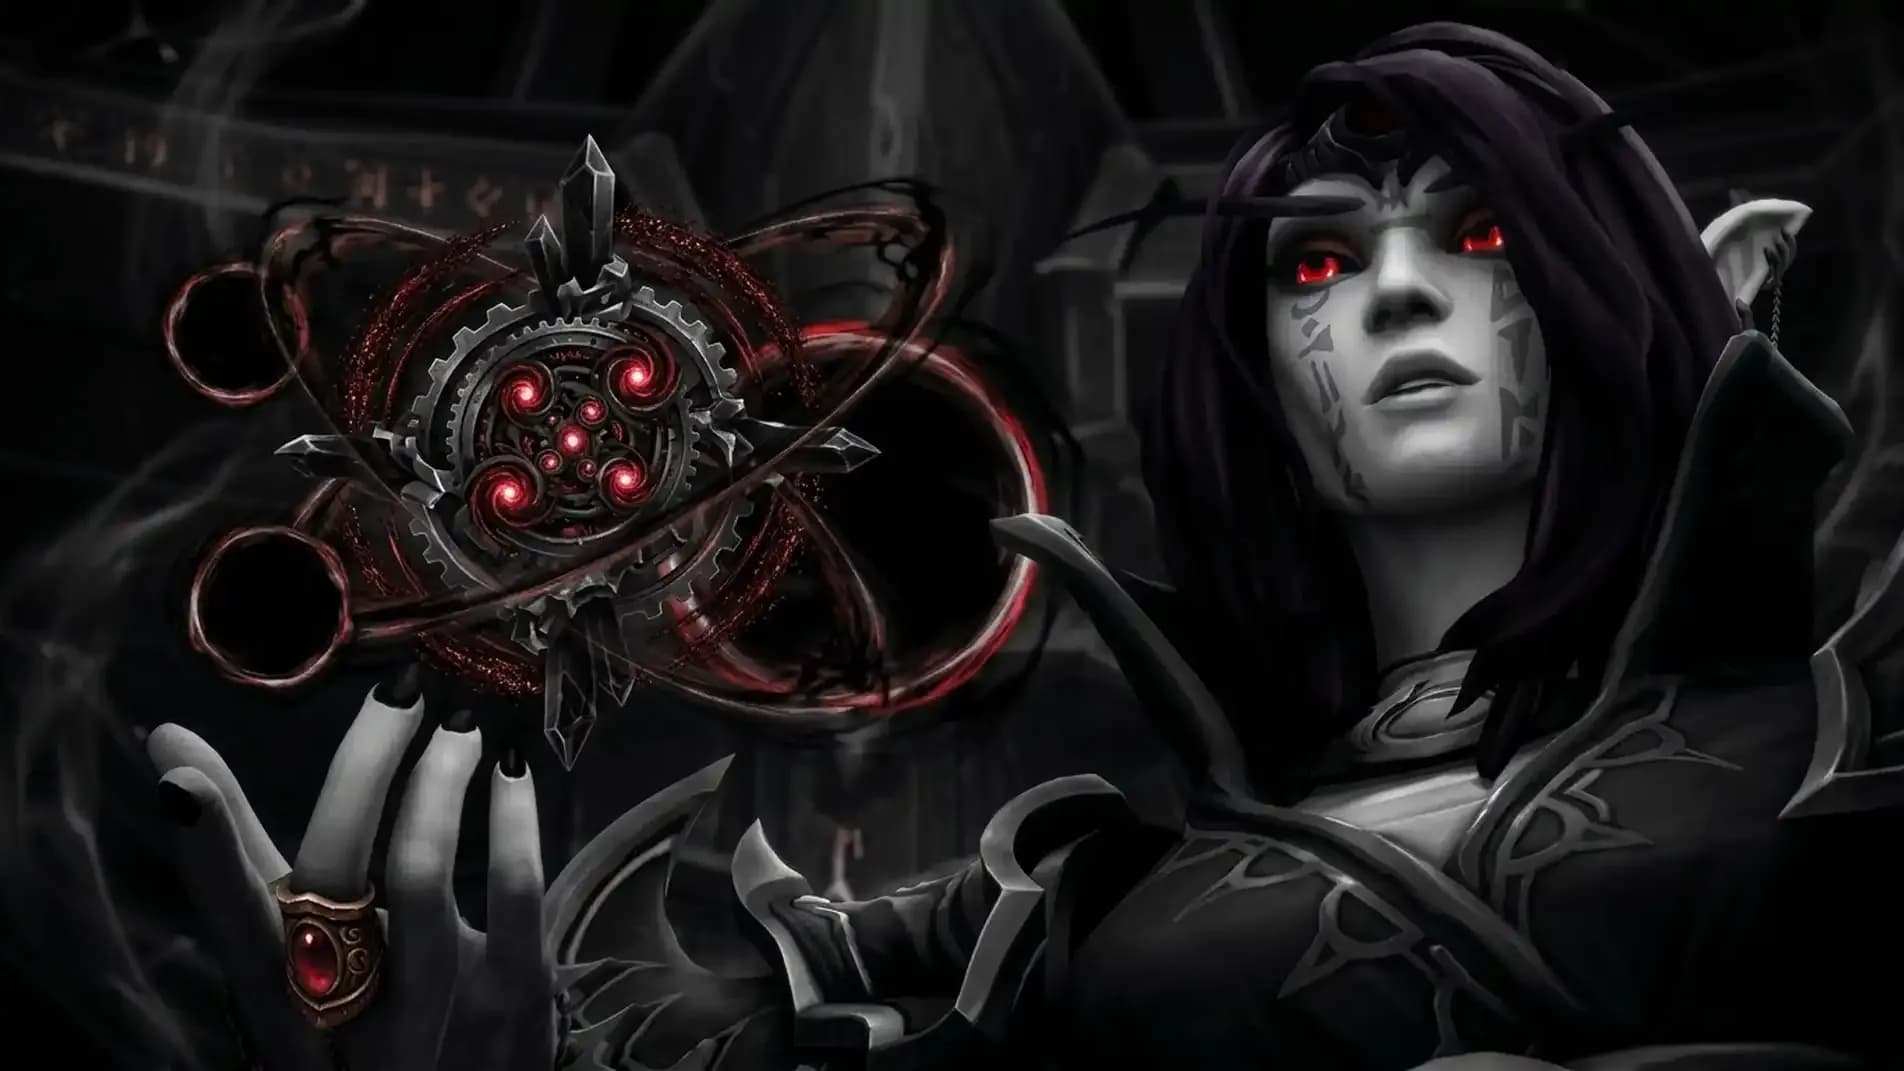
Back from the dead and meaner than ever: Pit of Saron is in the Midnight M+ pool and it WILL wipe your PUG. Full guide: bosses, skips, loot & route.
Back from the dead and meaner than ever: Pit of Saron is in the Midnight M+ pool and it WILL wipe your PUG. Full guide: bosses, skips, loot & route.
Back from the dead and meaner than ever: Pit of Saron is in the Midnight M+ pool and it WILL wipe your PUG. Full guide: bosses, skips, loot & route.

Back from the dead and meaner than ever: Pit of Saron is in the Midnight M+ pool and it WILL wipe your PUG. Full guide: bosses, skips, loot & route.
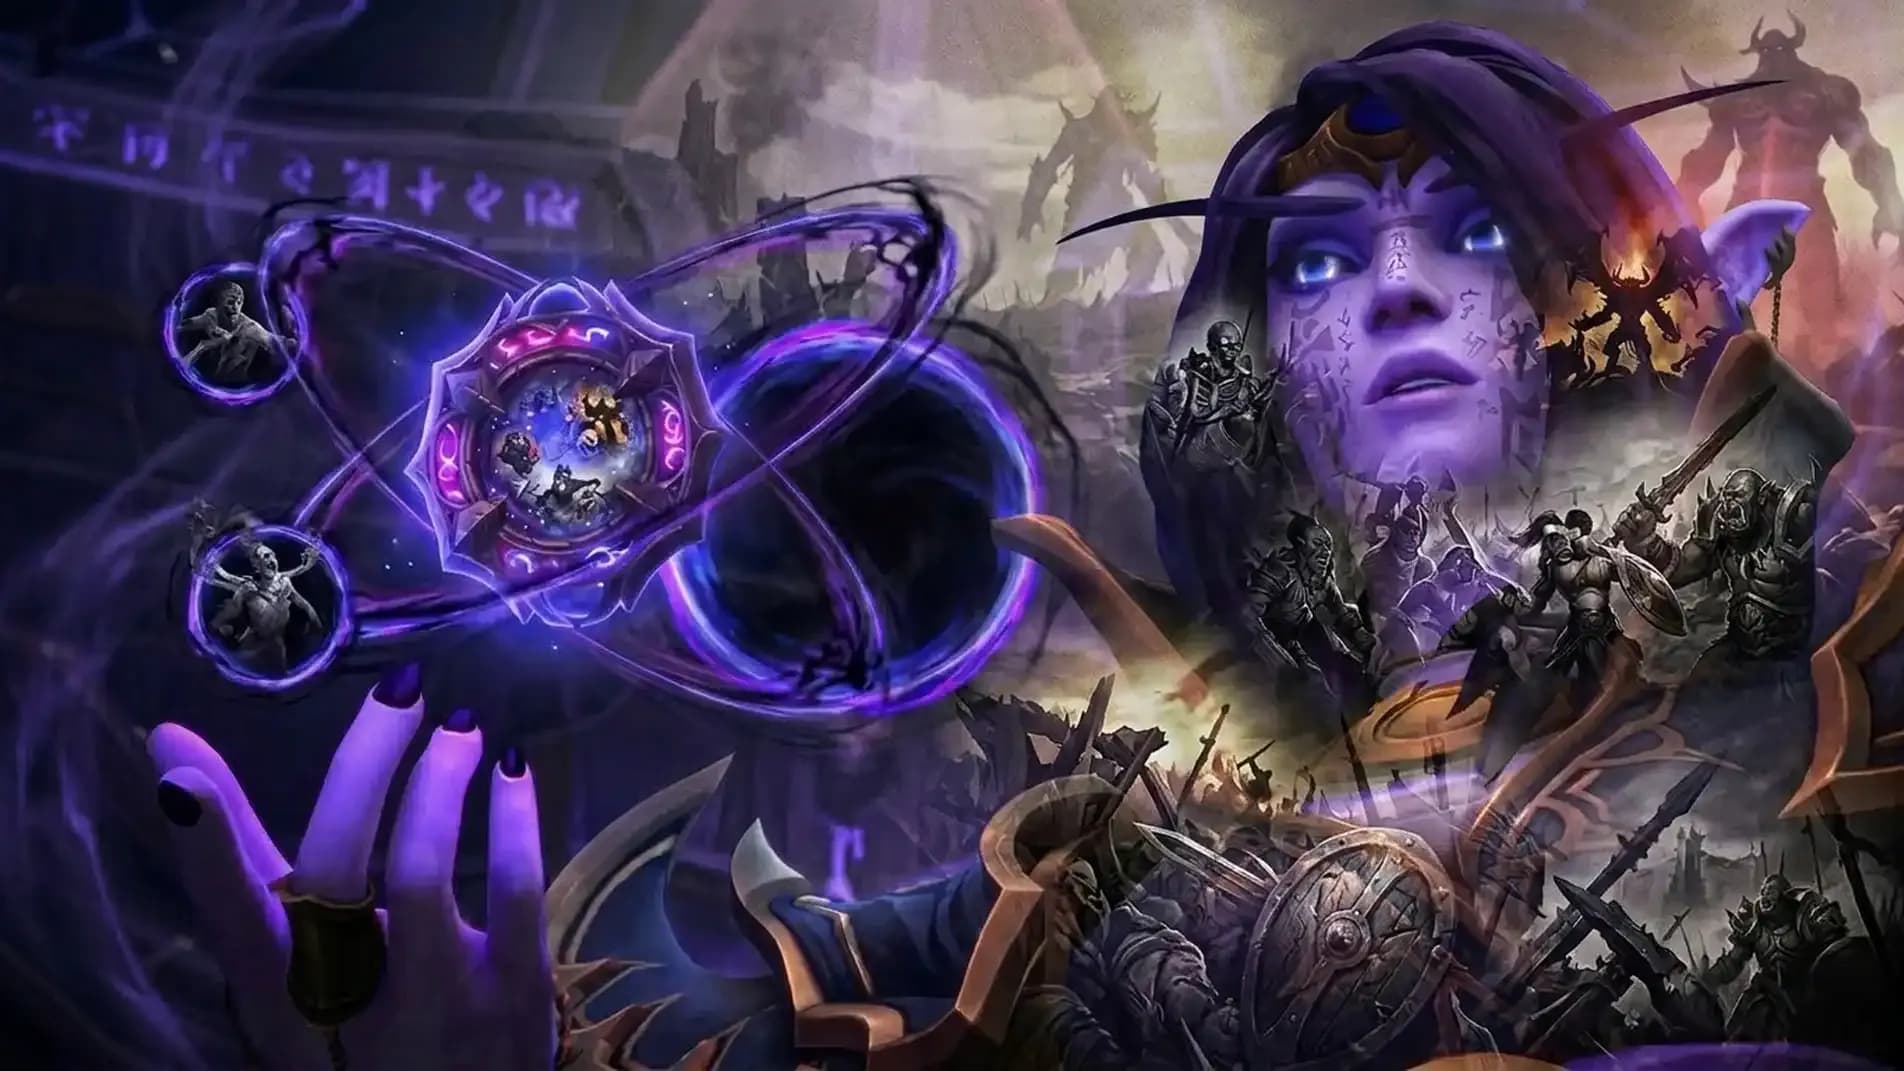
Back from the dead and meaner than ever: Pit of Saron is in the Midnight M+ pool and it WILL wipe your PUG. Full guide: bosses, skips, loot & route.
Back from the dead and meaner than ever: Pit of Saron is in the Midnight M+ pool and it WILL wipe your PUG. Full guide: bosses, skips, loot & route.
Back from the dead and meaner than ever: Pit of Saron is in the Midnight M+ pool and it WILL wipe your PUG. Full guide: bosses, skips, loot & route.

Back from the dead and meaner than ever: Pit of Saron is in the Midnight M+ pool and it WILL wipe your PUG. Full guide: bosses, skips, loot & route.
Back from the dead and meaner than ever: Pit of Saron is in the Midnight M+ pool and it WILL wipe your PUG. Full guide: bosses, skips, loot & route.
Back from the dead and meaner than ever: Pit of Saron is in the Midnight M+ pool and it WILL wipe your PUG. Full guide: bosses, skips, loot & route.

Yes. All six Quarry Camps must be liberated. The game hard-gates the path to Tyrannus until this is complete. Route around them proactively rather than running back.
The Dreadpulse Lich, without question. CC-immune, its Icy Blast can one-shot tanks on Fortified keys, and its sub-50% Dread Pulse phase spikes group damage severely. Assign interrupts before every pull containing one.
Garfrost on pull for most groups since the arena gets worse over time. Alternatively save it for Tyrannus's Army of the Dead add phase if your group struggles with Plaguespreader uptime and Festering Pulse damage.
Aim to freeze all 4 with your four non-tank players, leaving a maximum of one infused pile. Each active Plaguespreader multiplies group damage dramatically: letting multiple spawn is a recipe for a wipe.
It's moderate difficulty for PUGs. Interrupt discipline is critical and random players often have no assigned kick rotation. Communicate before bosses and trash pulls. Or just use Boostmatch and let professionals handle it.

GTA 6, new seasons, major updates — get ready to dominate from day one