


WoW Boost
The Grudge Pit Delve Guide: Harandar's Finest Fungal Bloodsport | WoW Midnight
The most mechanically brutal dungeon of WoW Midnight Season 1 just got dissected. Meet Maisara Caverns: where your PUG dies, and we explain exactly wh
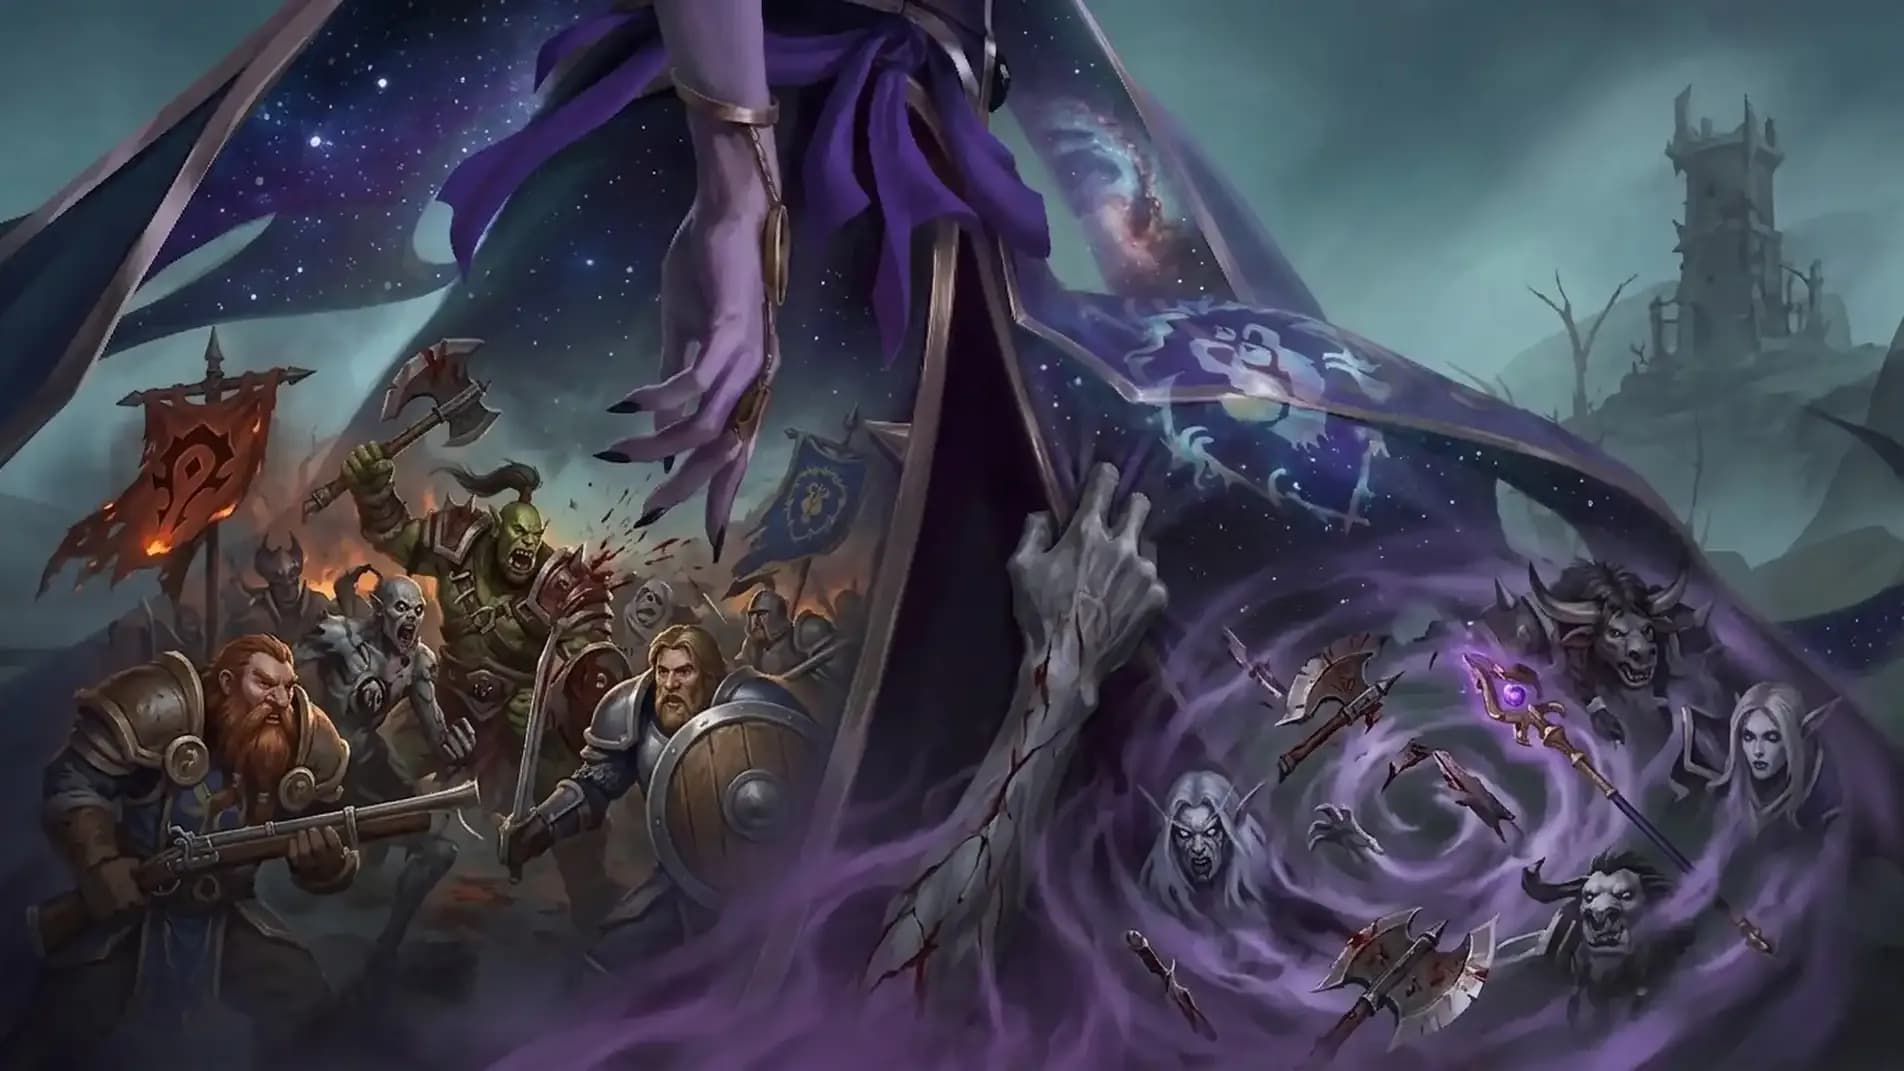
Maisara Caverns: the crown jewel of WoW Midnight's sadistic design philosophy, tucked inside the mountains of Zul'Aman like a surprise nobody asked for. You'll free prisoners, dodge exploding lost souls, survive a duo boss that shares exactly zero health and maximum contempt for your party, then navigate through a necromancer's personal nightmare before facing a soul-bloated abomination that will hurl your sorry spirits off a bridge on a timer. This is the dungeon that players surveyed as the most mechanically complex in Midnight Season 1: which means your PUG healer is absolutely going to stand in every single puddle while screaming "why am I dead?"
For the WoW Midnight Maisara Caverns timer and key levels: the dungeon timer scales with keystone level in the standard Midnight Season 1 bracket. Completing a timed +10 unlocks your teleport portal. Tyrannical weeks are the ones where your group will quietly consider deleveling their characters and returning to farming herbs.
Tyrannical Week Warning: Vordaza's Necrotic Convergence shield and Rak'tul's intermission damage windows both scale to murderous levels on Tyrannical. If your key says Tyrannical, say a prayer and pop your Maisara Caverns healer tips and massive damage phases knowledge early.
If you’re reading this, you might be interested in a discount just for you—my blog reader! Use code CRINGEBLOG to get an amazing discount on any offer in our shop.


The Maisara Caverns MDT route import WoW Midnight standard PUG-friendly path goes: right side first (grab the Hearty Vilebranch Stew +3% leech/avoidance buff from the Cooking Pot), free 8 of 12 Witherbark Prisoners while clearing to Muro'jin & Nekraxx, then proceed into the spirit halls toward Vordaza, and finally navigate the bridge gauntlet to Rak'tul. A Maisara Caverns PUG friendly route M+ must handle prisoner-freeing out of combat: clear nearby trash before attempting to interact.
Right Side First: The Hearty Vilebranch Stew buff persists through death and lasts 30 minutes: if you're on pace to time the key, it'll cover the entire run. The Ritual Concoction buff from the left Cauldron deals negligible bonus damage. Take the stew. Always take the stew.
The Maisara Caverns trash count percentage guide highlights a few things to keep in mind: you need to free 8/12 Witherbark Prisoners to unlock the first wing. You cannot interact with prisoners in combat: clear all adjacent packs first. The mini-boss Rokh'zal seals the exit to the second area and must be killed to progress toward Vordaza. Maisara Caverns trash skips and shroud spots are limited but exist: Rogues and Druids can shroud past the right-side optional Ritual Hexxer + Warding Mask pack without sacrificing prisoner count, buying ~30 seconds.
Maisara Caverns safe spots and LoS pulls M+: the doorways between each troll hut on the first section are excellent LoS anchors for pulling Keen Headhunters: their Throw Spear has a minimum range, so stacking in melee completely negates it. Hex Guardians in the mid-section pulse constant AoE with Searing Presence: do NOT face-pull these into a hallway chokepoint or you will cook your healer alive.
MDT Import: Import the standard Maisara Caverns route in Mythic Dungeon Tools. The recommended PUG route hits right side → prisoners → Muro'jin & Nekraxx → Rokh'zal → Vordaza wing → bridge → Rak'tul, reaching trash % before the final boss with comfortable margin.
Muro'jin is a hunter who captures victims for Vilebranch rituals. Nekraxx is the resurrected eagle he refuses to let die: literally, because if Muro'jin survives Nekraxx he'll just Revive Pet in 10 seconds. This is a duo fight where both bosses share the arena but absolutely do NOT share a health pool, which is the universe's way of testing whether your DPS can target-switch or will instead tunnel one boss to death while the other becomes a 20%-damage-stacking nightmare.
This is the core of all Maisara Caverns boss mechanics summary Midnight: kill them together, or suffer consequences. Period.
|
Ability |
Who |
Type |
What To Do |
|
Flanking Spear |
Muro'jin |
Tank |
Boss disengages, knocks tank back + 10s Bleed. Use movement ability to close gap. Pop a defensive. Don't get knocked into a Freezing Trap. |
|
Freezing Traps |
Muro'jin |
Dodge |
Spawned under all players: incapacitates 8s on touch. Move as a group to corner traps. They detonate after 40s leaving 3-min frost puddles: rotate around the room as space shrinks. |
|
Barrage |
Muro'jin |
Dodge |
Frontal channel following a random player. Stacks a Magic slow debuff. Target stands still; everyone else steps out. Don't dispel: no damage attached; use a freedom instead. |
|
Infected Pinions |
Nekraxx |
Dispel |
30s Disease on entire group: main source of party damage. Dispel aggressively. More disease dispels in your comp = easier time. |
|
Carrion Swoop |
Nekraxx |
Deadly |
Line charge at a random player: massive damage, launches target into the air. Step into a Freezing Trap before it hits to bait Nekraxx into the ice, stunning her 5s. YOU must step into the trap yourself. |
|
Fetid Quillstorm |
Nekraxx |
Dodge |
Leap to a random player + AoE hit + circle spawns. Stack loosely so Nekraxx charges short distances. Dodge circles after leap lands. |
|
Revive Pet |
Muro'jin |
Deadly |
Cast if Muro'jin is the last alive. 10s to kill him or Nekraxx resurrects at 35% HP. This is where bad DPS target priority becomes everyone's problem. |
Maisara Caverns one-shot mechanics to avoid: Carrion Swoop is effectively a one-shot on squishies at higher key levels if you don't bait it into a Freezing Trap. It is also the most satisfying mechanic in the dungeon when you execute it correctly and the most humiliating when you don't.
Spread loosely to reduce Barrage splash and Quillstorm overlap
Vordaza is the Vilebranch's master of souls: a necromancer who turned her victims' suffering into necromatic fuel for Rak'tul, her nightmare creation. She will blast you with necrotic energy, summon phantoms that chase players, and at key moments wrap herself in a shield that makes her immune to interrupts while unleashing escalating waves of shadow damage. This is a Maisara Caverns healer tips and massive damage phases nightmare dungeon: Vordaza has multiple overlapping damage windows and a soft enrage mechanic built into Necrotic Convergence.
|
Ability |
Type |
What To Do |
|
Withering Miasma |
Passive |
Constant shadow damage pulse on all players every 2 sec. This is just your new normal. Heal through it. |
|
Drain Soul |
Tank |
Heavy damage on current target + healing absorb. Tank cooldowns here. Let your healer know. |
|
Wrest Phantoms / Final Pursuit |
Dodge |
Spawns Unstable Phantoms that chase players. Force phantoms to COLLIDE with each other: they take 99% reduced damage from attacks. Run toward another player being chased so phantoms run into each other. Each phantom death applies Lingering Dread to all players: so never let more than 2 stack or your healer will eat the cost. |
|
Necrotic Convergence |
Deadly |
Vordaza shields herself with Deathshroud (interrupt immune), then unleashes ramping shadow damage for up to 1 min. Burn her shield with offensive CDs immediately: the longer it stands, the worse it gets. Dodge Coalesced Death orbs during this phase. |
|
Deathshroud |
DPS Check |
The absorb shield during Necrotic Convergence. Shattering it ends the damage phase early. This is where you pop Bloodlust/Heroism. |
|
Coalesced Death |
Dodge |
Masses of soul ichor flowing across the dais during Necrotic Convergence. Move out of them while maintaining DPS on the shield. |
|
Unmake |
Deadly |
A frontal that must be dodged. Sidestep it. Do not face the boss casually. Tanks: point her away from the group at all times. |
Phantom Collision Mechanic: If two phantoms are chasing separate players, those two players need to converge so the phantoms collide and die together. Resist every instinct to run away from each other. The Maisara Caverns DPS target priority M+ here is simple: do NOT attack phantoms individually (99% damage reduction). Coordinate movement. Let them kiss each other. It's beautiful.
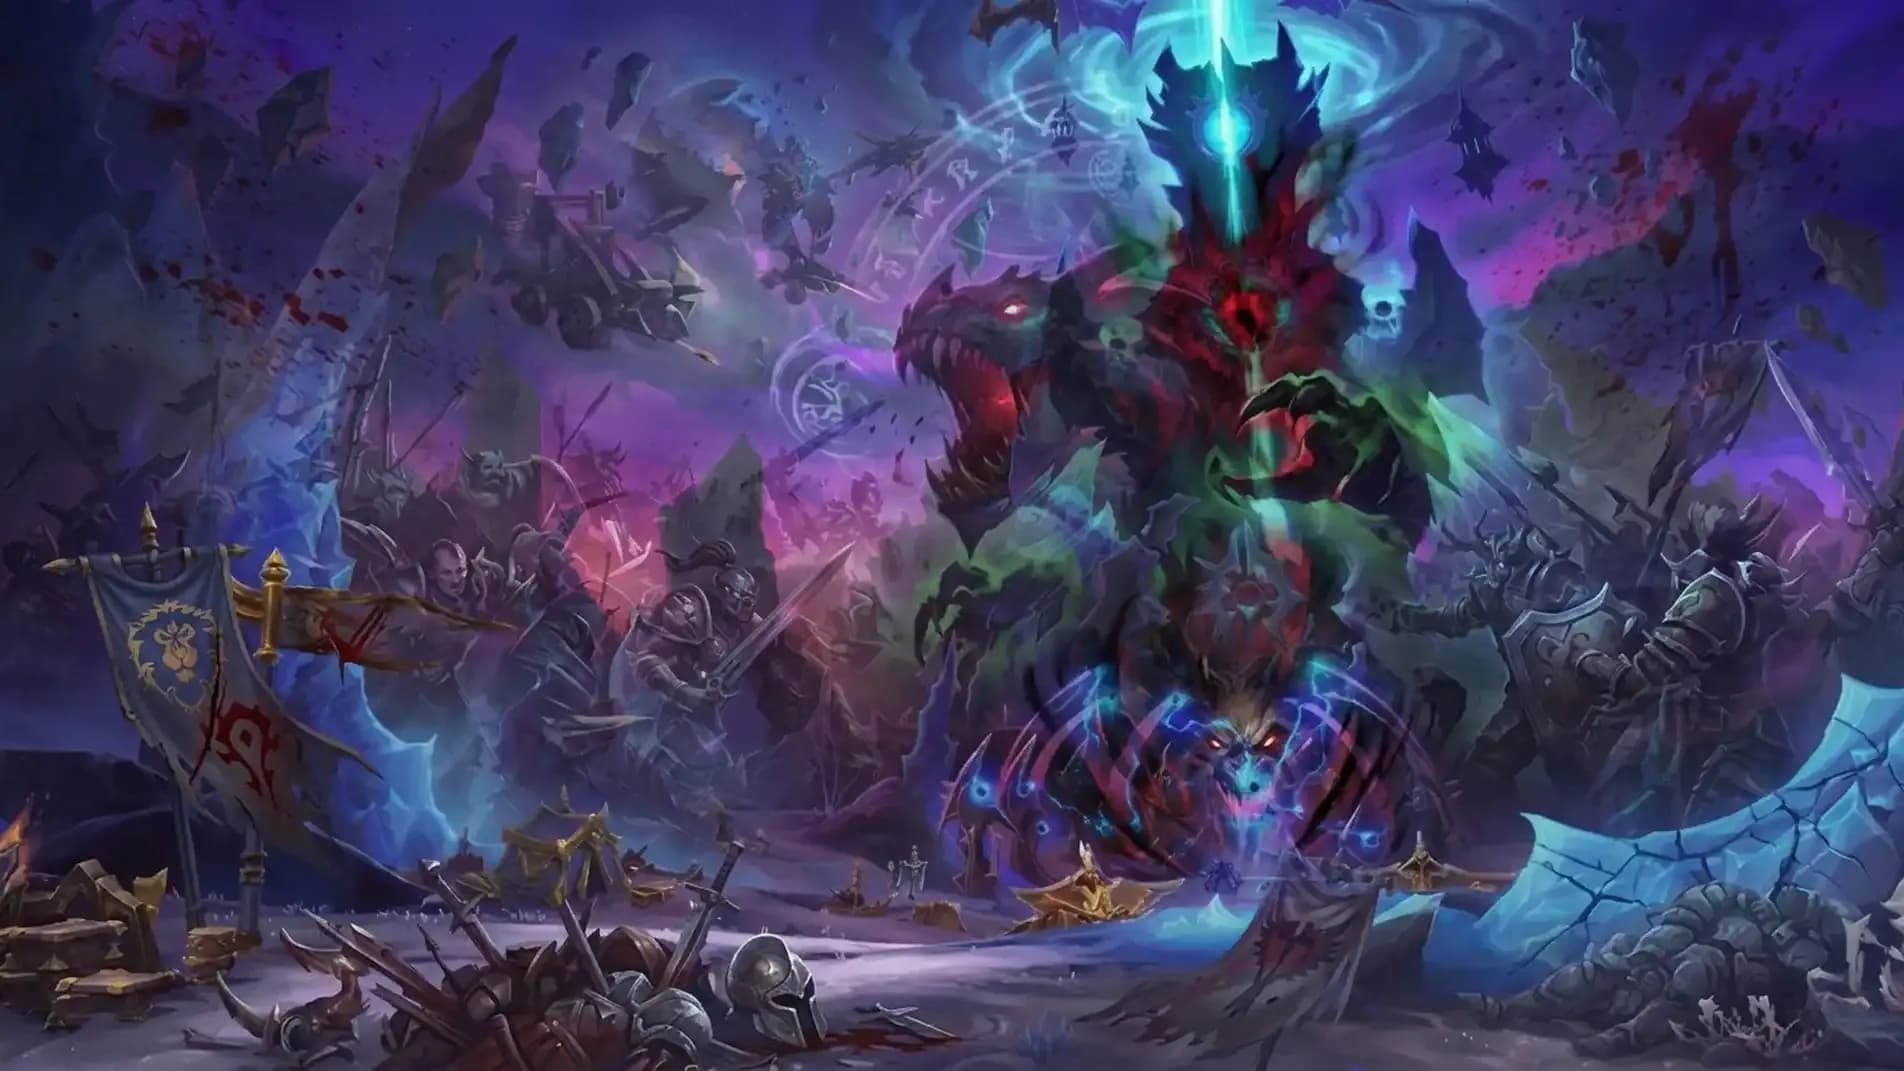


Rak'tul is what happens when you cram the tortured essences of every soul Vordaza ever stole into one undead troll-shaped container and give him anger management issues. He is grotesquely bloated, completely unhinged, and according to Blizzard's own lore "drunk on newfound power and driven mad by souls' endless suffering." So: same as every raid tank, basically. The Maisara Caverns boss mechanics summary Midnight culminates here: Rak'tul combines massive melee pressure with totem mechanics and a punishing intermission that ejects your souls off a bridge while a drummer tries to kill you.
|
Ability |
Type |
What To Do |
|
Spiritbreaker |
DeadlyTank |
Devastating combo: launches tank airborne, pummels with physical hits, then delivers an empowered shadow blow. Pop your best defensive the moment you see the cast bar. This is a Maisara Caverns one-shot mechanics to avoid candidate at high keys: no defensive = dead tank. |
|
Crush Souls |
Totem |
Boss leaps and slams at target's location, planting a Soulbind Totem. Totems pull nearby players toward them with gravity. Group up when Crush Souls is cast to cluster totem spawns: cleave them. Run away from any totem you're near. Do not destroy them; just avoid their pull. |
|
Soulbind (Totem Cast) |
Dodge |
Each totem casts Soulbind on a nearby player applying a debuff. Simply run away from totems as they spawn to avoid being chained. |
|
Deathgorged Vessel |
Passive |
Every 6 seconds, AoE shadow damage to all players + ejects Volatile Essences that explode after a short delay. Sidestep the Volatile Essence puddles. Consistent group damage: never go below half health during this phase. |
|
Soulrending Roar (Intermission) |
Deadly |
Triggers after every even-numbered Crush Souls. Sends all souls down to the bridge below: you get Withering Soul (ramping damage). Shatters remaining totems for heavy burst. Boss is stunned 45s. The clock is ticking to get back. Go NOW. |
|
Bridge Phase |
Intermission |
Lost Souls patrol and explode on contact. Malignant Souls channel Eternal Suffering (slowing zones): INTERRUPT them for Spectral Residue buff (speeds the fight). A mini-boss at the far end channels Ritual Drums, sending shadow orbs down the bridge: avoid orbs, kill mini-boss, return to Rak'tul. |
Intermission Priority: During Soulrending Roar, the 45-second stun on Rak'tul is your golden DPS window. Pop Bloodlust/Heroism if you haven't yet (see timing section below) and burn him. If you return from the bridge and the boss still has 80%+ health... you're going to be here a while. The Withering Soul debuff makes every subsequent intermission more punishing.
Spectral Residue: Interrupting or CCing Malignant Souls on the bridge during the Soulrending Roar intermission grants a stacking Spectral Residue buff that makes the main boss phase faster. Don't just run through the bridge like a headless chicken: interrupt the Eternal Suffering channels. Your future self will thank you.
The Maisara Caverns interrupt priority list M+ is longer than your attention span. This dungeon is, per community consensus, the most interrupt-heavy dungeon in Midnight Season 1. Assign interrupts. Track them. Or watch someone die to Hex while your three Shamans are all on cooldown.
Hex (Ritual Hexxer): Wipes player from the fight for its duration. Magic dispel if it lands. Interrupt first, always.
Necrotic Wave (Dread Souleater): Applies a healing absorb that arcs through the group. Immune to CC. Interrupt or stagger defensives. Cannot be ignored.
Reanimation (Reanimated Warrior): Revives the mob. Use interrupt or CC to prevent resurrection at low health. Failing this is just embarrassing.
Shrink (Umbral Shadowbinder): Channels on a random player. Interrupt or CC to stop it. Annoying if left to complete.
Eternal Suffering (Malignant Soul: Bridge Phase): Interrupt this for the Spectral Residue buff. Reduces Rak'tul encounter time.
Spirit Rend (Tormented Shade): Targets random player, applies DoT on successful cast. Magic dispel if it lands. High-priority interrupts when grouped with other casters.
Shadow Bolt (Ritual Hexxer): Random target ranged nuke. Use spare interrupts when Hex is already handled.
Piercing Screech (Gloomwing Bat): Line toward tank. Interrupt if available, otherwise tank positions mob away from group.
Shadowfrost Blast (Hollow Soulrender): Tank buster. Use spare interrupts. Immune to CC: interrupts only.
The Maisara Caverns Bloodlust / Heroism timings WoW for Season 1 M+ depend on your group's comp and key level, but here's the efficient breakdown:
Recommended Timing
During the 45s stun window post–Soulrending Roar. Maximum free damage, boss can't fight back.
Vordaza – Necrotic Convergence
Pop Lust to shatter Deathshroud faster and cut the ramping damage phase short.
Boss 1 Pull
Muro'jin & Nekraxx don't have a window that justifies wasting the 10-min CD this early.
In very high keys where Vordaza's Necrotic Convergence phase is threatening a wipe from the ramp, using Heroism on the Deathshroud is the correct call. In most keys, saving it for Rak'tul's intermission delivers the highest value. If someone pops it on the first trash pack, you are allowed to mute them.
Maisara Caverns trash skips and shroud spots are modest. This dungeon is not a skip-fest: it has prisoner interaction requirements that force engagement. That said:
Safe Spots: The doorway thresholds between troll structures in the first area are your primary LoS anchors. The pillar near the central altar in the Vordaza approach area provides a clean LoS reset for Hex Guardians: drag them to it before they start pulsing Searing Presence.
Tanks in Maisara Caverns need to maintain awareness of two simultaneous problems at all times: where the boss is pointing, and where the mechanics are landing. On Muro'jin & Nekraxx, you are herding two bosses whose abilities synergize lethally. On Vordaza, your positioning dictates whether phantom collisions are easy or a disaster. On Rak'tul, your choice of where to stand determines whether totems are cleanly clustered or scattered across the arena like a bad dream. Keep everything centered. Keep frontals away from the group. Pop defensives on labeled ability names, not on instinct.
Healers: you will be tested in every section of this dungeon. Dread Souleater's Necrotic Wave arcs healing absorbs through the group at range: stagger your external support and healing CDs around these casts in trash. Hex Guardians pulse constant AoE from Searing Presence from the moment they're engaged: assign CDs preemptively when you pull them. In boss fights, save your major healing cooldown for Vordaza's Necrotic Convergence and Rak'tul's Spiritbreaker. Neither will wait politely.
On trash: Ritual Hexxer > Dread Souleater > Hex Guardian > remaining. On Boss 1: even split between Muro'jin and Nekraxx: deviating from this will get you a stern look from your tank. On Vordazboss at all times except during Wrest Phantoms: coordinate phantom collisions instead of attacking them. On Rak'tul: boss during normal phases, mini-boss on bridge during intermission, then back to Rak'tul during the stun window with all CDs.

The most mechanically brutal dungeon of WoW Midnight Season 1 just got dissected. Meet Maisara Caverns: where your PUG dies, and we explain exactly wh

The most mechanically brutal dungeon of WoW Midnight Season 1 just got dissected. Meet Maisara Caverns: where your PUG dies, and we explain exactly wh

The most mechanically brutal dungeon of WoW Midnight Season 1 just got dissected. Meet Maisara Caverns: where your PUG dies, and we explain exactly wh

The most mechanically brutal dungeon of WoW Midnight Season 1 just got dissected. Meet Maisara Caverns: where your PUG dies, and we explain exactly wh

The most mechanically brutal dungeon of WoW Midnight Season 1 just got dissected. Meet Maisara Caverns: where your PUG dies, and we explain exactly wh

The most mechanically brutal dungeon of WoW Midnight Season 1 just got dissected. Meet Maisara Caverns: where your PUG dies, and we explain exactly wh

Community testing consistently cites the density of must-interrupt casts, the duo boss requiring strict damage-split discipline, and Rak'tul's soul-ejection intermission mechanics as uniquely punishing compared to other Season 1 dungeons. Your group will be tested simultaneously on mechanical awareness, interrupt coordination, and positional discipline.
Step into a Freezing Trap immediately before the charge connects. The charge must hit the ice block to stun Nekraxx: you personally need to be frozen inside the trap, not just near it. Pre-position near an active trap once Carrion Swoop is targeted on you.
The optimal window is during Rak'tul's 45-second stun after Soulrending Roar. The boss cannot fight back, giving your full group free offensive uptime. Alternatively, use it during Vordaza's Necrotic Convergence to shatter Deathshroud faster on Tyrannical weeks.
Force two phantoms to collide by having both targeted players run toward each other. Phantoms take 99% reduced damage from attacks: attacking them is a waste of time. Collision kills them. Each phantom death applies a Lingering Dread stack on the group, so never let more than two die in rapid succession.
It's manageable in a PUG with the right route and communication: the Maisara Caverns PUG friendly route focuses the right side first and clusters mechanical requirements. That said, above +12 or on Tyrannical weeks, voice communication and assigned interrupt rotations are strongly recommended unless you enjoy suffering in silence.

GTA 6, new seasons, major updates — get ready to dominate from day one.