

Windrose Boost
How to Beat Thomas Richards Coastal Jungle Threat
Struggling to survive naval battles and boss fights in Windrose? This complete upgrade guide covers wood farming tricks.
Welcome to Windrose! If your first few naval battles have been a bit of a challenge, please don't worry—you are definitely in the right place. Navigating the open seas and defending your ship takes a good deal of preparation, and checking out a guide is a wonderful way to set yourself up for smooth sailing ahead.
Wood is one of the most foundational and essential resources you will need in Windrose. From building up your home base to upgrading your ship and crafting the wooden planks needed for your cannon enhancements, you will find yourself needing quite a bit of it!
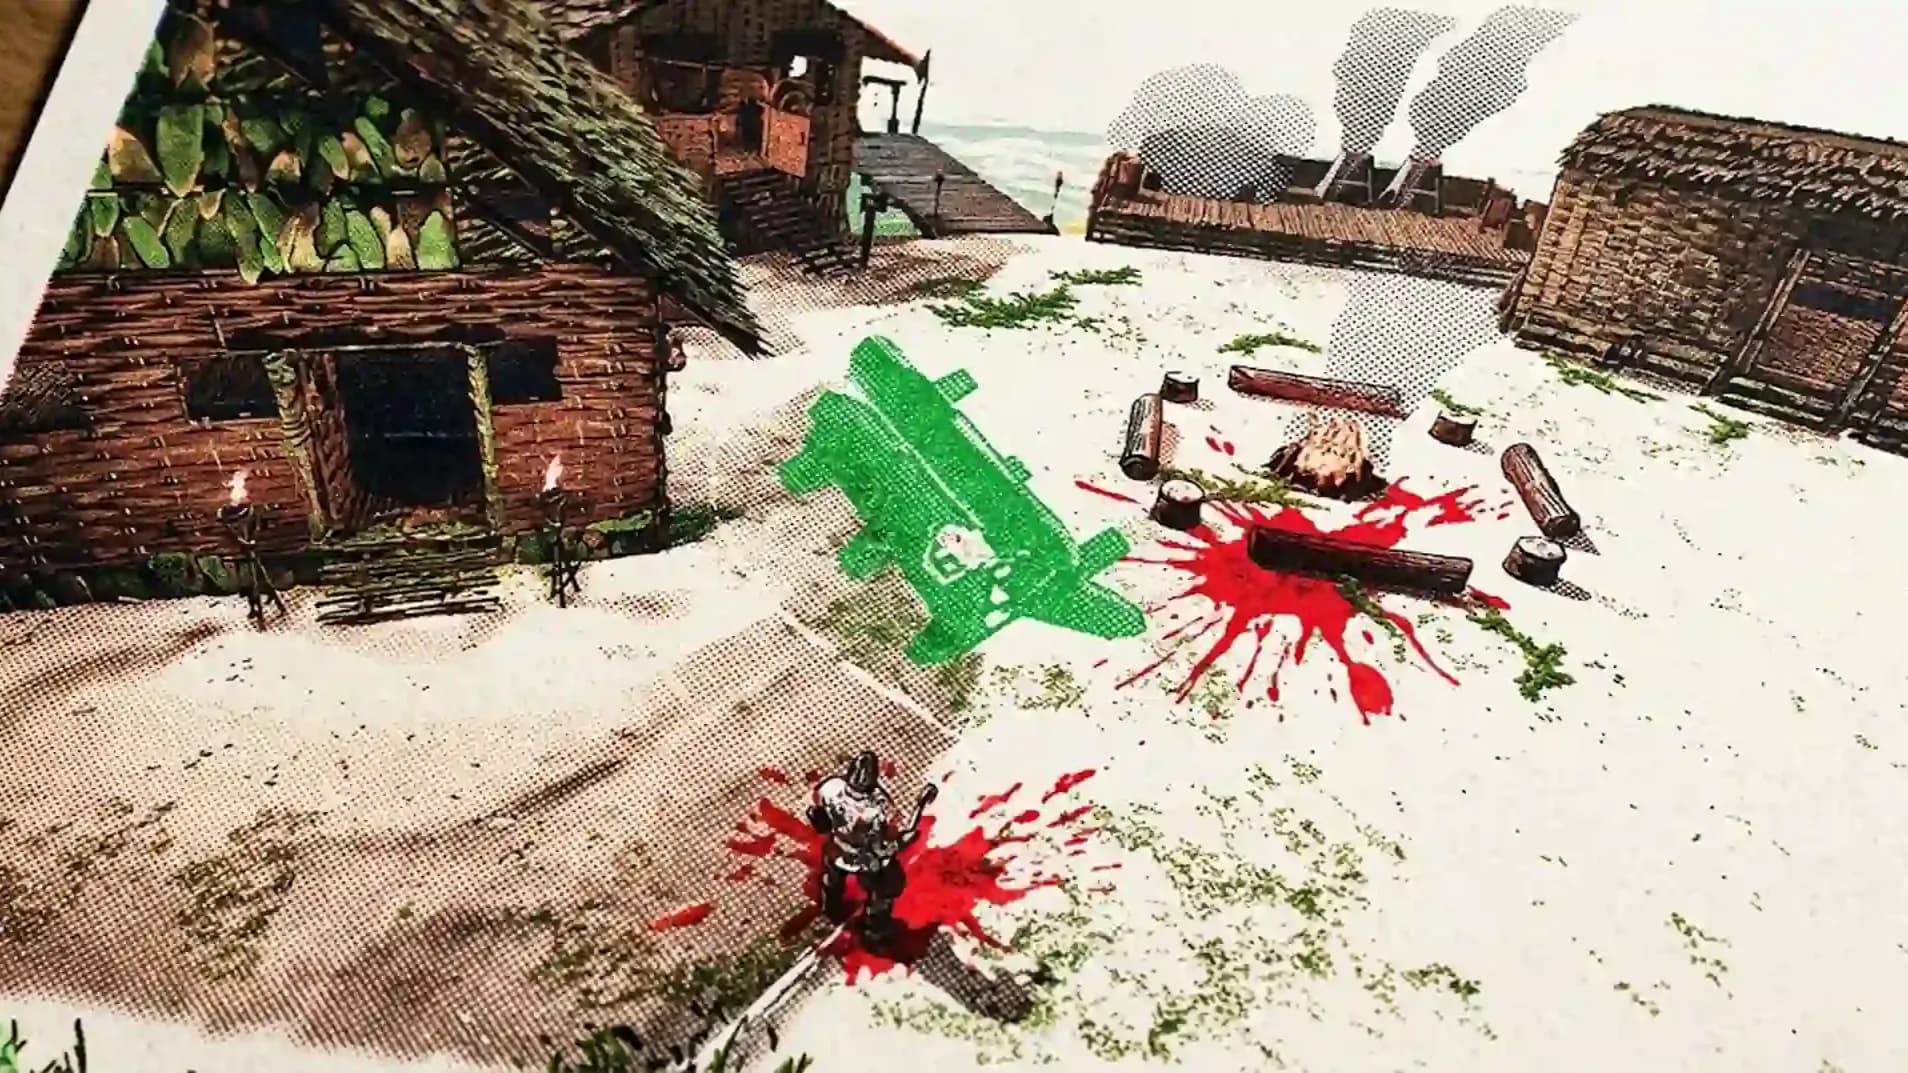
While manual harvesting is always an option, there are a few incredibly clever and efficient ways to gather timber much faster:
The glowing lights you see bobbing on the waves are a wonderful way to identify valuable items from afar. Each color corresponds to a specific rarity tier, letting you know exactly what kind of excellent rewards you are sailing toward. Here is a handy quick-reference guide to help you decide which treasures to stop for:
|
Color |
Rarity |
Typical Contents |
Worth Stopping? |
|
White |
Common |
Wood, basic repair kits, plant fiber |
Only if you are desperate for wood, which you always are |
|
Green |
Uncommon |
Better materials, small silver amounts |
Yes. Always. |
|
Blue |
Rare |
Silver, currency, steel nails, quality loot |
Drop everything. Stop the ship. |
|
Yellow |
Epic |
Epic gear, rare crafting components |
Abandon whatever quest you are on. Immediately. |


The standard 12-pounder cannon that your ship comes equipped with is technically a weapon in the same way a strongly worded letter is technically a weapon. It will function. It will not impress anyone. It will absolutely not carry you through the 1v3, 1v4, and occasionally 1v5 naval engagements the game's quest system will cheerfully assign you as if this is a reasonable request.
There are two upgrade paths, and you should pursue both simultaneously rather than picking one and wondering later why the other exists.
Your base's Ship Rights Workshop allows direct Windrose cannon upgrade for your existing guns. This costs copper ingots and wooden planks. Copper you will have in reasonable abundance. Wooden planks you craft at your workbench from wood, which is why we spent so much time discussing wood in the previous section. Upgrade these cannons before you engage anything that can shoot back. This is not optional advice.
To build the two core upgrade stations — the Shipwright's Workbench and the Wharf — you will need to establish them at your base. The Wharf is locked until after the cannon quest, which means the game is specifically forcing you to complete at least one naval engagement before it trusts you with proper naval infrastructure. This is either sensible game design or a personal insult. Possibly both.
Once you have reached Tortuga and unlocked the Buccaneer's Hideout through the Bounty Agent, you can begin accumulating reputation by handing over Deck Insignias — collectibles earned by sinking ships and eliminating Blackbeard's crew. At rank two reputation with the relevant faction, the Provisioner will sell you a significantly superior cannon variant. The recommended option: the Perfectly Ordered 12-Pounder, which grants a 30% reload speed bonus for 22 seconds after landing a hit within 4 seconds of your previous shot. In practice, you fire once, reload, and from that point forward you are reloading at an almost alarming pace. The enemy will find this deeply unpleasant. That is the goal.
Reputation is NOT shared between factions. Every Insignia you hand to the Buccaneers is an Insignia the Smugglers never see. Decide in advance which faction's rewards matter most to your build before you dump your entire stockpile into the first Bounty Agent you encounter. You will regret impulse decisions here.
At Rank 3 with the Smugglers of Port Royal, you unlock access to Windrose naval tactics — passive bonuses that slot directly into your ship and function permanently during combat. They are expensive. They are worth it. Examples of what you can equip include: a 3% hull health regeneration every 3 seconds when out of combat; a debuff that reduces enemy reload speed by 20% on hit; or the magnificent option of dealing 130% increased volley damage after 2 minutes without taking or dealing damage. That last one is specifically for players who have mastered the art of sailing directly at an enemy while technically not engaging them until the moment they want to end the fight conclusively.
Tortuga is also where you hire NPC workers for your camp. Two are worth your attention above all others. Rosalinda Merca, assignable to your Alchemist's Table, doubles clay bottle production and gives a 30% chance to craft an extra elixir — critical for any player who has ever entered a boss fight with four health potions and emerged needing six. Jasper Crow applies a 30% chance to recover resources spent on item upgrades, which, given how expensive cannon upgrades are, essentially makes him pay for himself within a few upgrade sessions. Both cost 500 currency to hire. This will feel like a lot until you need them.
Windrose runs on a dual-currency system: Piastre (Spanish silver, everyday transactions) and Guinea (English gold, premium purchases). The game explains this via tooltips you will absolutely ignore until you have spent twenty minutes at the wrong vendor wondering why nothing is for sale. Consider this your advance warning.
The most reliable Windrose piastre farming methods, ranked by effort-to-return ratio:
Letters of Favor are accepted at any faction's Bounty Agent and can be earned through non-combat activities. If you find them, use them for whichever faction you are currently trying to rank up. Do not stockpile them for a faction you have already maxed.
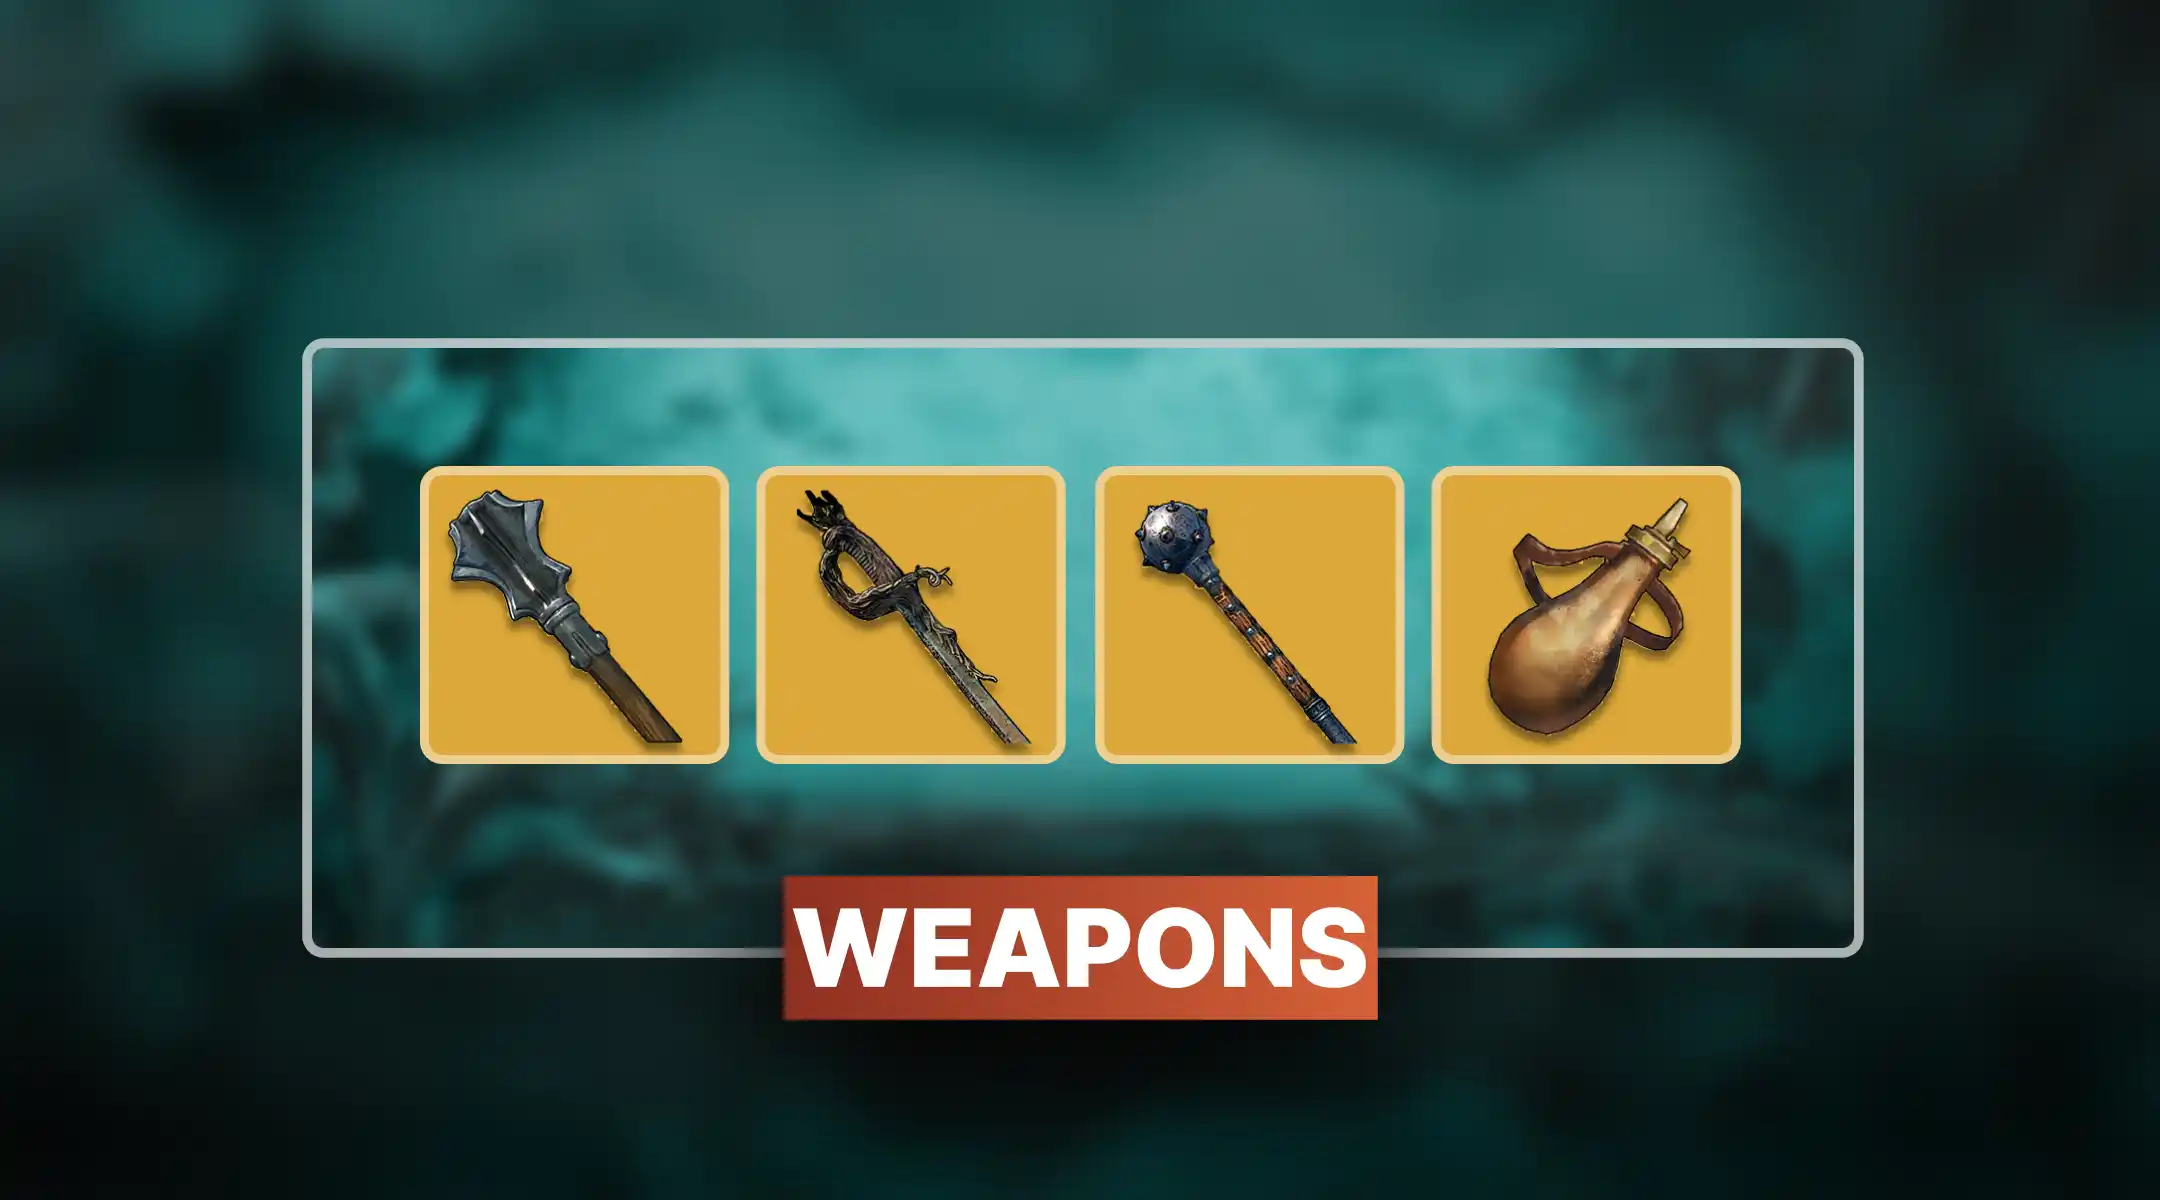
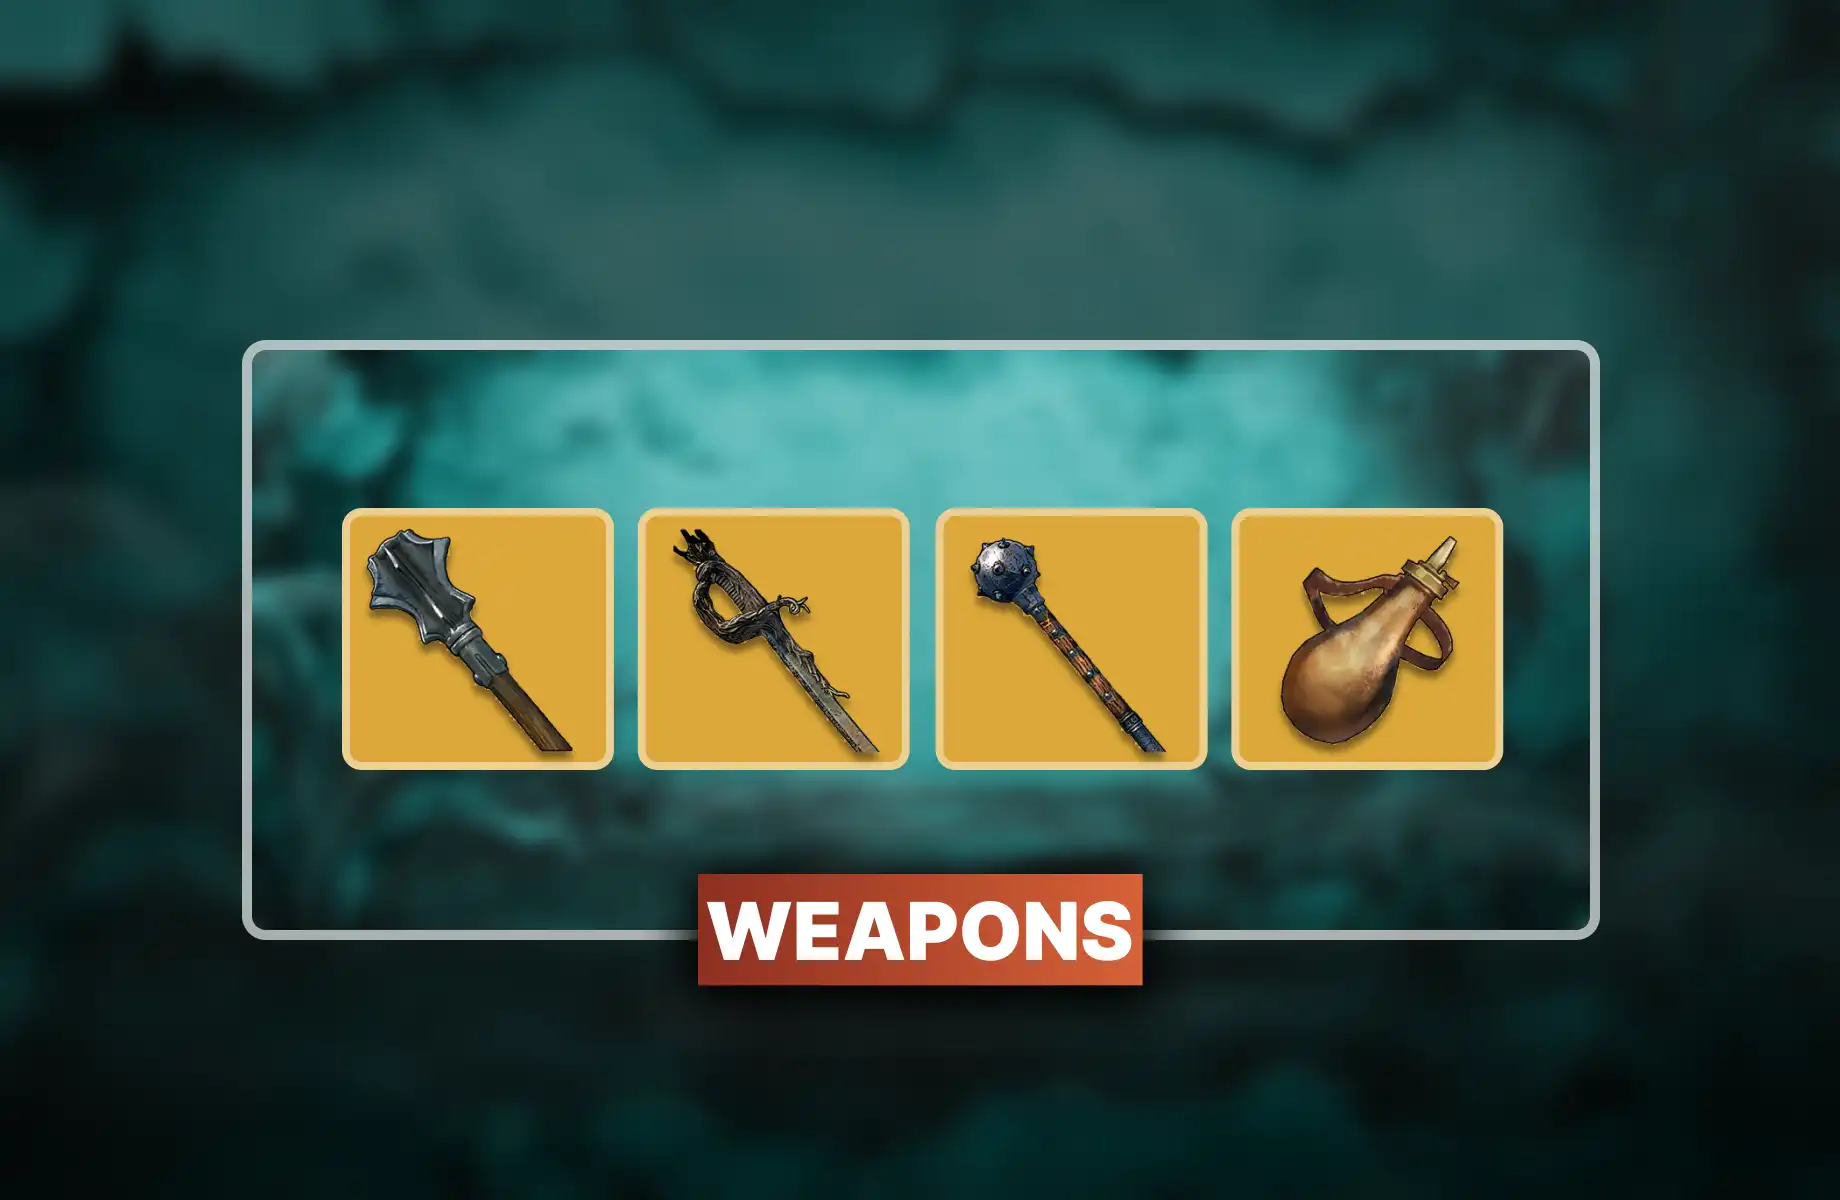
At some point during your coastal jungle excursions, you will encounter a boss. The boss hits with the force of a structural engineering decision gone catastrophically wrong. The boss also absorbs damage as though it studied under the finest armorsmiths in the Caribbean. Your fully upgraded weapon will tickle it. Your gun, if unupgraded, will irritate it slightly less than a strongly worded letter. This section exists to prevent you from learning all of this the hard way.
When you have 3 stat points: 1 Vitality, 1 Endurance, 1 Strength. When you have 4 stat points: 1 Vitality, 1 Endurance, 2 Strength. This distribution is not glamorous. It is not what the internet's damage-focused build guides recommend. It is, however, what keeps you alive long enough to deal damage at all, which is a prerequisite for winning that the damage-focused guides conveniently omit. Windrose character build optimization is meaningless if you are dead.
The game allows you to reset your talent points. Before a boss fight, it is worth switching your talent distribution toward melee damage resistance and away from whatever temporal health passive you normally run. After the boss, reset back. The game is not judging you for this. Use every available tool. The boss certainly does not fight fair.
The Windrose food buffs boss fight preparation list that most players skip entirely:
Upgrade every piece of gear to its current maximum tier before the fight. Blue items should all be upgraded. Weapons should be at cap. An unupgraded gun does so little damage per hit that you will spend more time healing after pulling it out than you will gain from the shot. If your weapon needs foothills iron ingots to upgrade further, that means you are already at the ceiling and this note does not apply to you. If you are not at the ceiling: fix that first.
Copper ore is required for a significant portion of upgrades, and at some point you will run out of it completely while standing in front of a crafting station holding a recipe you cannot complete. This is avoidable. The prevention strategy is simple: place fast travel points on every island you visit, specifically near the copper deposits on each one. Windrose fast travel tips: you can place a maximum of 10 custom fast travel points. Once you move into a new biome — the foothills — disassemble the older fast travel markers you no longer need and redeploy them near the new region's resource deposits.
Points of Interest like Tortuga come with their own permanent fast travel markers that do not count against your 10-point limit. This means your 10 custom points are exclusively for the locations the game does not prioritize for you — which is to say, the copper deposits, the forest clearings, and the strategic ambush positions you have scouted for naval engagements.
Also: your inventory will fill in under a minute on distant islands. Build a backpack. The Torn Sailor Backpack requires only 2 Coarse Fabric and 1 Rope, crafted at Workbench Level 1, and adds 4 inventory slots. This sounds modest. After your third trip cut short by a full backpack 45 seconds after arriving, 4 extra slots will feel like a personal gift from the developers.
Windrose tools do not degrade. Once your axe is upgraded, it stays upgraded permanently. The game is not going to punish you for using it. Upgrade gathering tools early and stop worrying about durability — that particular anxiety does not exist here.
The Filibuster armor set, purchasable via set piece blueprints from the faction provisioner in Tortuga, offers a two-piece bonus that reduces stamina consumption on attacks by 20%. This means more attacks before you are gasping and immobile. In combat scenarios involving multiple enemies — which is every naval boarding action, most jungle encounters, and the entirety of the boss fight — stamina management determines whether you survive or perform an involuntary demonstration of what it looks like to run out of dodge rolls mid-combo. Two pieces minimum. The best armor Windrose early game debate ends here for stamina-oriented builds.
The pieces cost 200 Piastre each. They are expensive relative to your early income. Buy them anyway. Everything else in the game becomes easier once your stamina stops being the primary obstacle between you and winning a fight.


Struggling to survive naval battles and boss fights in Windrose? This complete upgrade guide covers wood farming tricks.

Struggling to survive naval battles and boss fights in Windrose? This complete upgrade guide covers wood farming tricks.

Struggling to survive naval battles and boss fights in Windrose? This complete upgrade guide covers wood farming tricks.

Struggling to survive naval battles and boss fights in Windrose? This complete upgrade guide covers wood farming tricks.

Struggling to survive naval battles and boss fights in Windrose? This complete upgrade guide covers wood farming tricks.

At the Smuggler's Archipelago buyer NPC, unlocked via a follow-up quest after visiting Tortuga.
Fire cannons at dense coastal tree lines, then collect felled trunks. Strip shipwrecks on beaches for planks and nails.
Buccaneers first for Deck Insignia access, then Smugglers of Port Royal for naval tactics at Rank 3.
Yes. Respec freely. Swap talent points before difficult encounters and reset afterward without consequence.
Co-op significantly accelerates progression. Resource gathering, base building, and naval combat all scale favorably with additional crew members.

GTA 6, new seasons, major updates — get ready to dominate from day one