Fellowship Boost
Fellowship Beginners Guide | Quickplay + Season 2 Prep
Jump in with route notes, CC calls, Legacy warnings, and Malgut steps, so you keep Akari alive and finish Everdawn Grove in Fellowship right now!
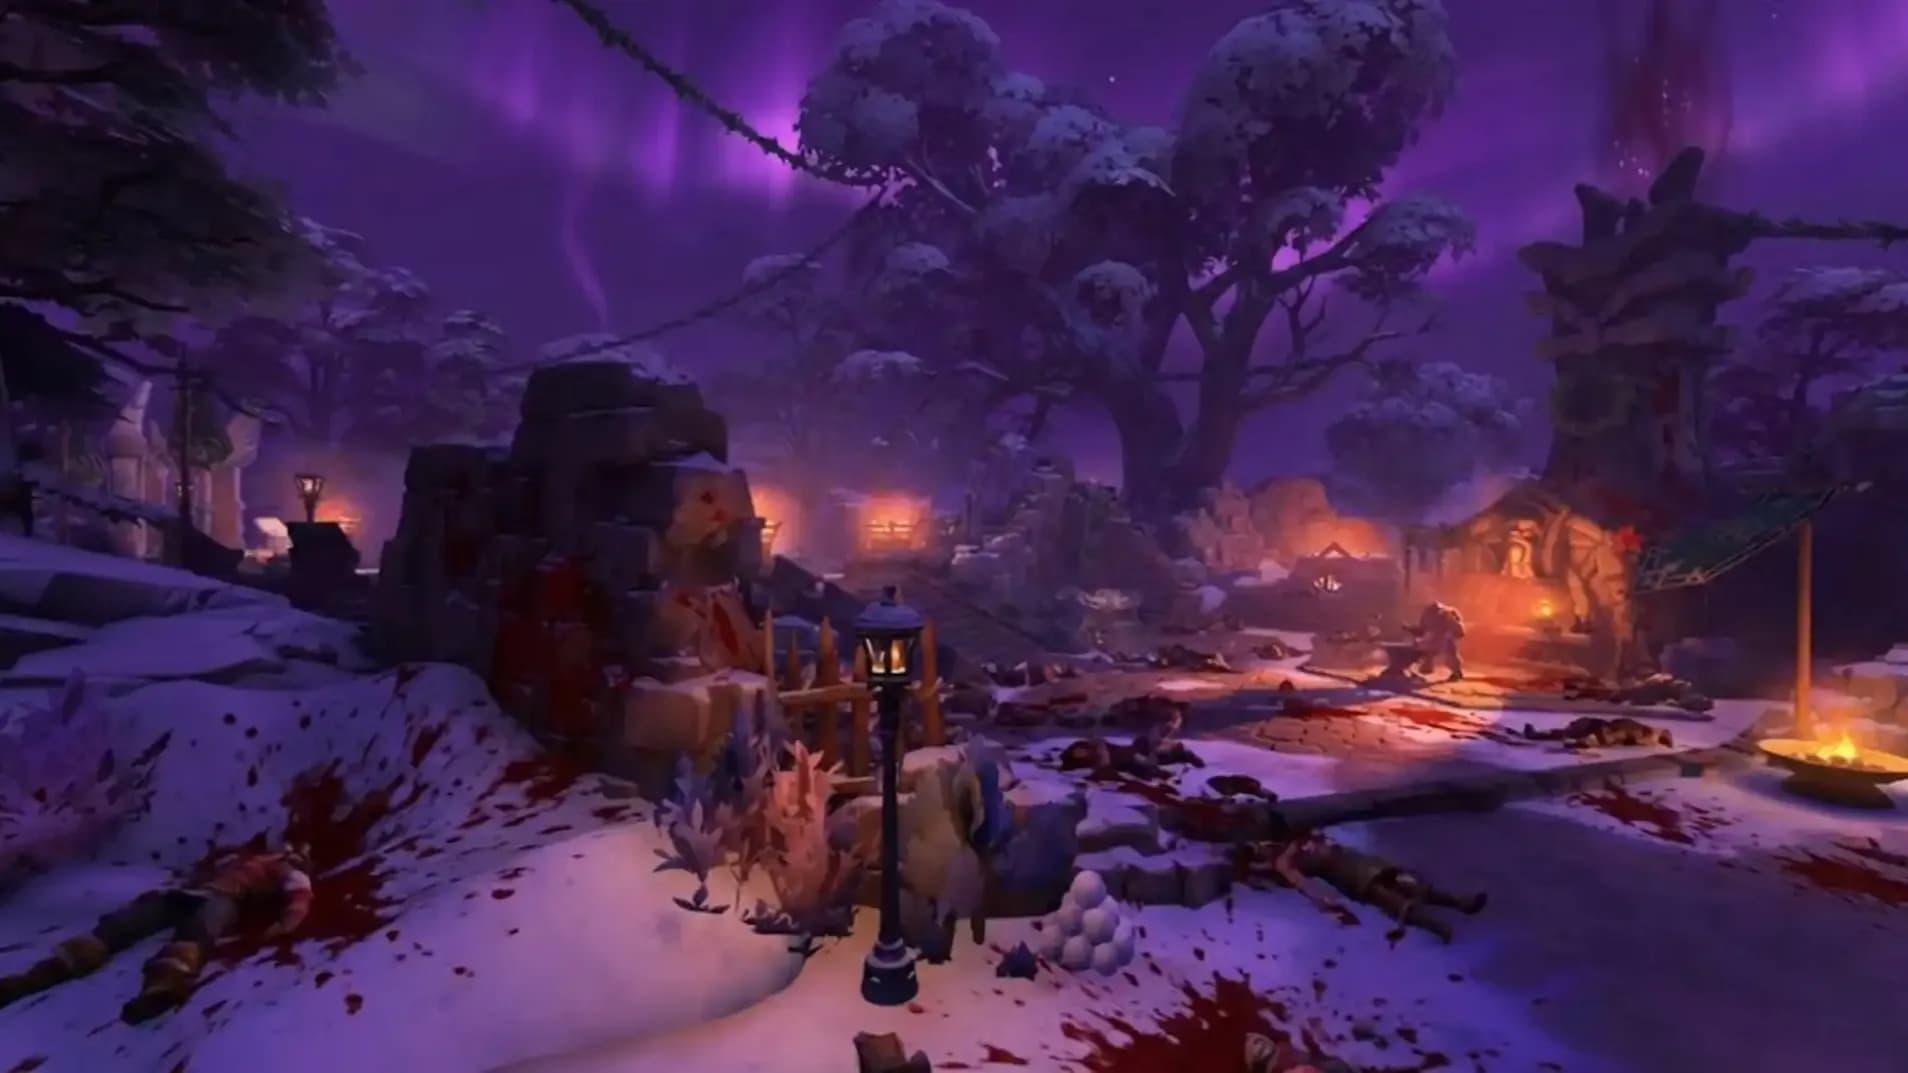
You enter a pretty forest dungeon, then the game hands you cones and puddles, and it also hands you Akari like a fragile VIP you must keep alive while you fight Malgut the Fedded, so yes, you play dungeon and babysitter at the same time.
If you’re reading this, you might be interested in a discount just for you—my blog reader! Use code CRINGEBLOG to get an amazing discount on any offer in our shop.

You play around three Legacy switches, because mobs gain extra effects when a Legacy is active, so you plan pulls around that timing.
You also save crowd control for key casts, because stopping one cast can save your healer, and it also saves your cooldowns for the boss.
|
Mob |
What happens |
What you do |
|
Brutes |
Bash hits the tank, and packs feel dangerous when brutes stack up |
You hold defensives for big pulls, and you group mobs so your team hits them down together |
|
Blighted Dawn Bloom |
Blighted aims a frontal at a random player, and it applies a magic DoT to the target and anyone hit |
Target stands still, team sidesteps the cone, healer dispels the player hit, and you use CC to stop the cast when you can |
|
Blighted Dawn Bloom with Bear’s Legacy |
On death, Glory drops a puddle that heals mobs inside |
Tank drags the pack away from the puddle, or you pre-move the flower away from mobs that cannot move |
|
Mob |
What happens |
What you do |
|
Skitter Shards with Vay’s Legacy |
On death, stacks of Crystalline Corruption go on the group, with a healing reduction |
Healer prepares heals as shards get low, because heals can remove stacks, and you also use dispels or a mass dispel relic when needed |
|
Desecrators |
Channel Volley to place circles under players |
You step out of circles, and you stop the channel with CC when you can spare it |
|
Desecrators with Ver’s Legacy |
Infernal Explosive throws a soak, and failing it causes a group hit |
One player steps into the soak fast, and you call it early so the group stays calm |
After early pulls, the path splits, and both sides use the same mob set, with different pack shapes, so we take the left fork for simpler navigation and fewer awkward pulls.
|
Mob |
What happens |
What you do |
|
Outrunners |
Bola Throw hits a random target with a slow |
You watch your feet during other damage, and healer keeps an eye on slowed players |
|
Outrunners with Ver’s Legacy |
They gain Charge, so tagging packs can hurt non-tanks |
Tank starts the pull, and DPS avoids early tagging |
|
Horned Seers |
Painbolt hits the tank, and Orb of Blood hits a random player and also buffs the mob damage for 10 seconds |
You interrupt Painbolt when tank pressure rises, and you decide on Orb of Blood based on your healer comfort |
|
Horned Seers with Ver’s Legacy |
Sanguin Offering fires multiple orbs, and damage spikes hard |
You treat this as top interrupt, or you CC the caster during the channel |
|
Corrupted Totemics |
Shadow Lob hits a random target, and they can summon a Bloodstone Totem that spams group damage |
You keep an interrupt for Shadow Lob when possible, and you swap to the totem right away to stop the group hit |
|
Corrupted Totemics with Ver’s Legacy |
Corrupted Prayer drops puddles that stun |
You keep moving out of puddles, and you save CC for other threats if your team can dodge well |
These mobs ignore CC, so you win with movement and cooldown planning.
You open with early packs, then you take the left fork, then you work toward the final boss room.
You keep Akari alive, because Akari charge is your tool for control, and it also stops the lethal cast later.
Akari targets a random player with a line, then the line stuns and damages anything in its path, so the targeted player aims the line through the boss, then steps aside once the line becomes solid.
|
Mechanic |
What happens |
What you do |
|
Crystal Volley |
Boss fires a cone at all four players, so spread matters, and Akari can get hit |
You spread so you avoid cleave, and you watch Akari position so you avoid hitting him, and healer can patch him up if he takes damage |
|
Bloodstone Totems |
Two totems spawn, and both spam the corruption group hit |
You focus one totem with damage, then the charge target aims Akari line at the second totem to delete it instantly |
|
Corruption Shot |
Debuff on a random player, then an explosion on expire or dispel, and damage splits across players inside |
You group up before dispel so damage splits, and you delay grouping if Crystal Volley is active so you avoid overlap danger |
|
Umbreal Eruption |
Heavy pulsing damage hits anyone outside a small safe zone behind the boss, and the safe zone moves with boss facing |
Tank keeps a defensive running, then turns the boss so the safe zone points at Akari, and the whole group stacks in that safe spot and moves with it |
|
God Rot |
Lethal channel unless stopped |
You stop it by sending Akari charge through the boss, so you keep Akari alive so you always have that stop ready |
When you run Everdawn Grove, you win by respecting Legacy upgrades on trash, and by saving your big answers for Goliath Discharge and boss totems, then you keep Akari alive so charge deletes threats and also stops God Rot, and the dungeon suddenly feels like a plan instead of panic.

Jump in with route notes, CC calls, Legacy warnings, and Malgut steps, so you keep Akari alive and finish Everdawn Grove in Fellowship right now!

Jump in with route notes, CC calls, Legacy warnings, and Malgut steps, so you keep Akari alive and finish Everdawn Grove in Fellowship right now!

Jump in with route notes, CC calls, Legacy warnings, and Malgut steps, so you keep Akari alive and finish Everdawn Grove in Fellowship right now!

Jump in with route notes, CC calls, Legacy warnings, and Malgut steps, so you keep Akari alive and finish Everdawn Grove in Fellowship right now!

The targeted player holds position, the team moves out of the cone, then healer dispels the magic DoT, and you also use CC to stop the cast during busy pulls.
Vay’s Legacy adds an on-death group debuff with healing reduction, so healers prepare heals as shards drop low, since healing also removes stacks and keeps the group alive.
Sanguin Offering deserves top priority due to burst, and Shadow Lob also deserves attention, and you can stop Volley with spare CC when pulls feel heavy.
It gains Searing Absorption stacks during damage, then Discharge consumes stacks for rising group damage, so you plan defensives around Discharge and you avoid mixing it with other high damage packs.
You focus one totem with damage, then the player targeted by Akari charge aims the line at the healthy totem, since the charge instantly destroys it and removes the pair fast.
You stack in the small safe zone behind the boss, and you move with the boss as the tank turns him, and tank keeps a defensive running so the pulsing damage never catches you.

GTA 6, new seasons, major updates — get ready to dominate from day one.