Fellowship Boost
Fellowship Beginners Guide | Quickplay + Season 2 Prep
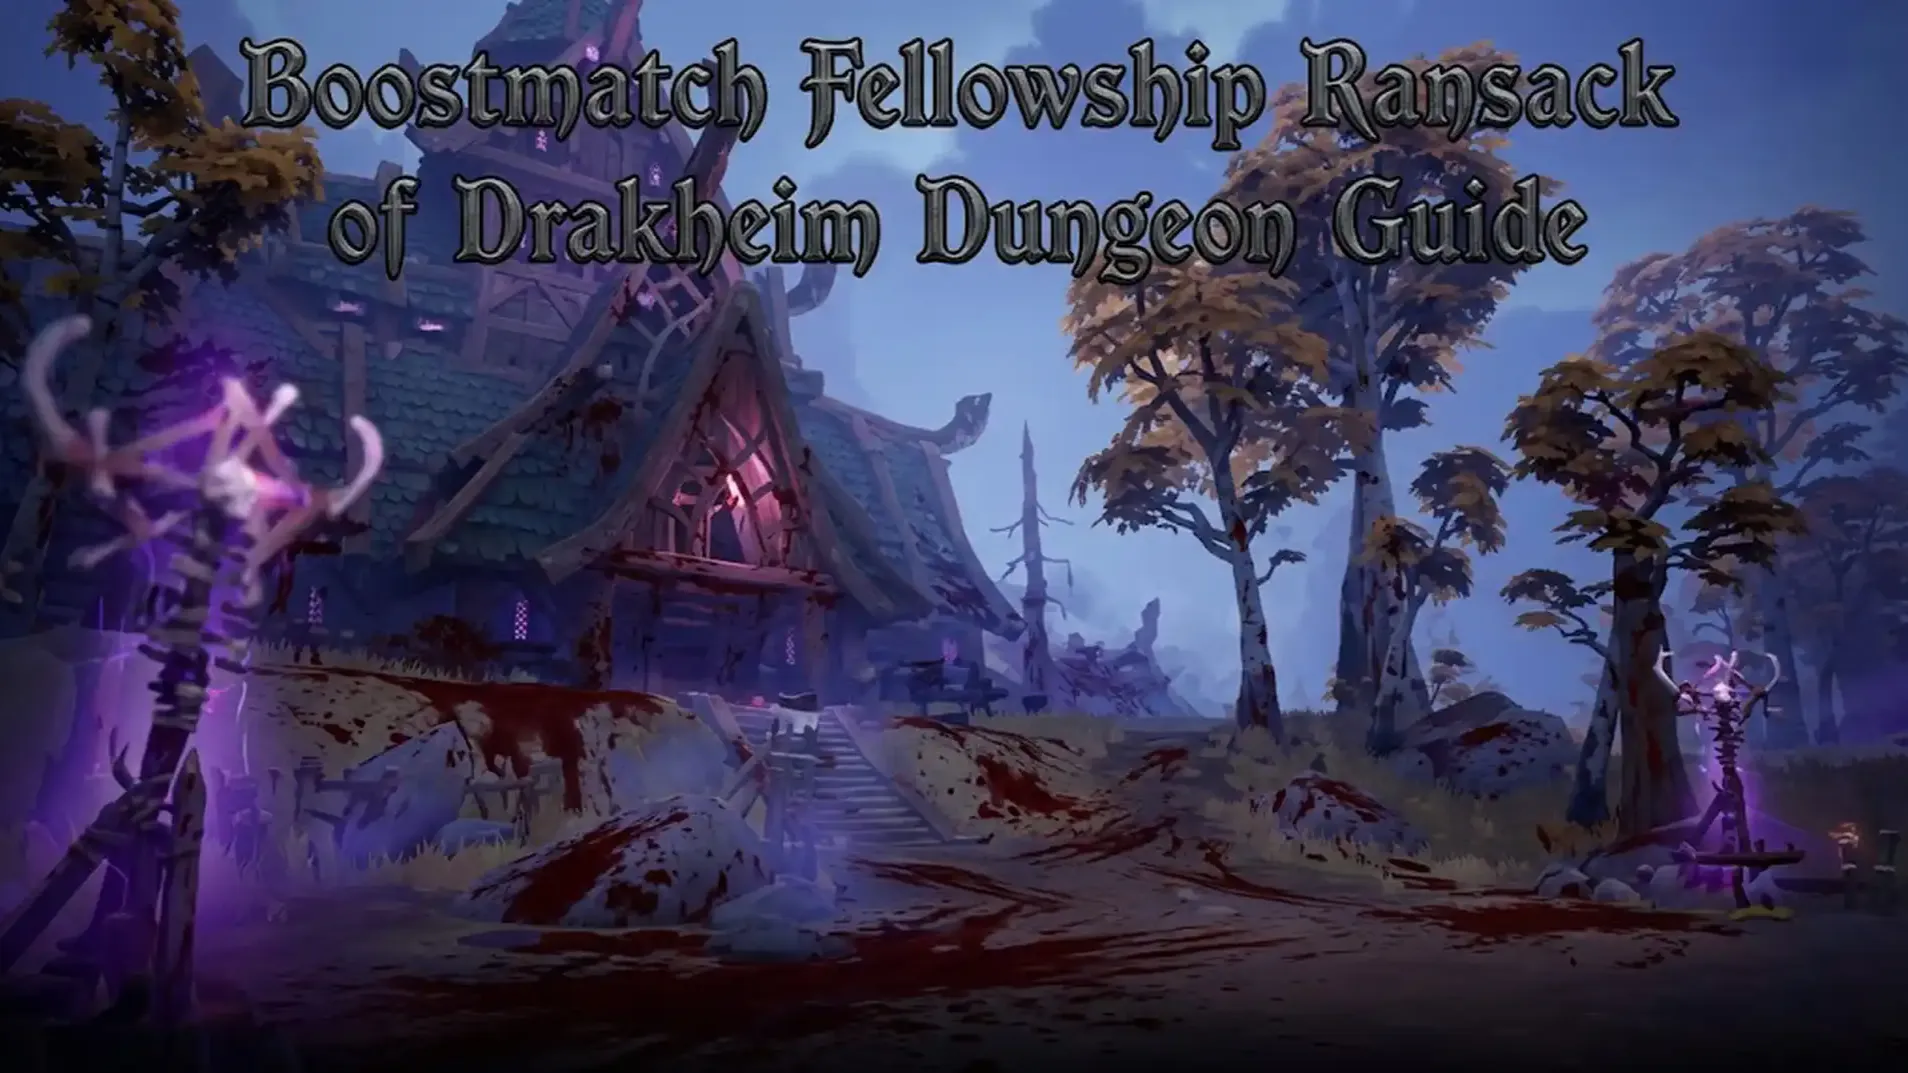
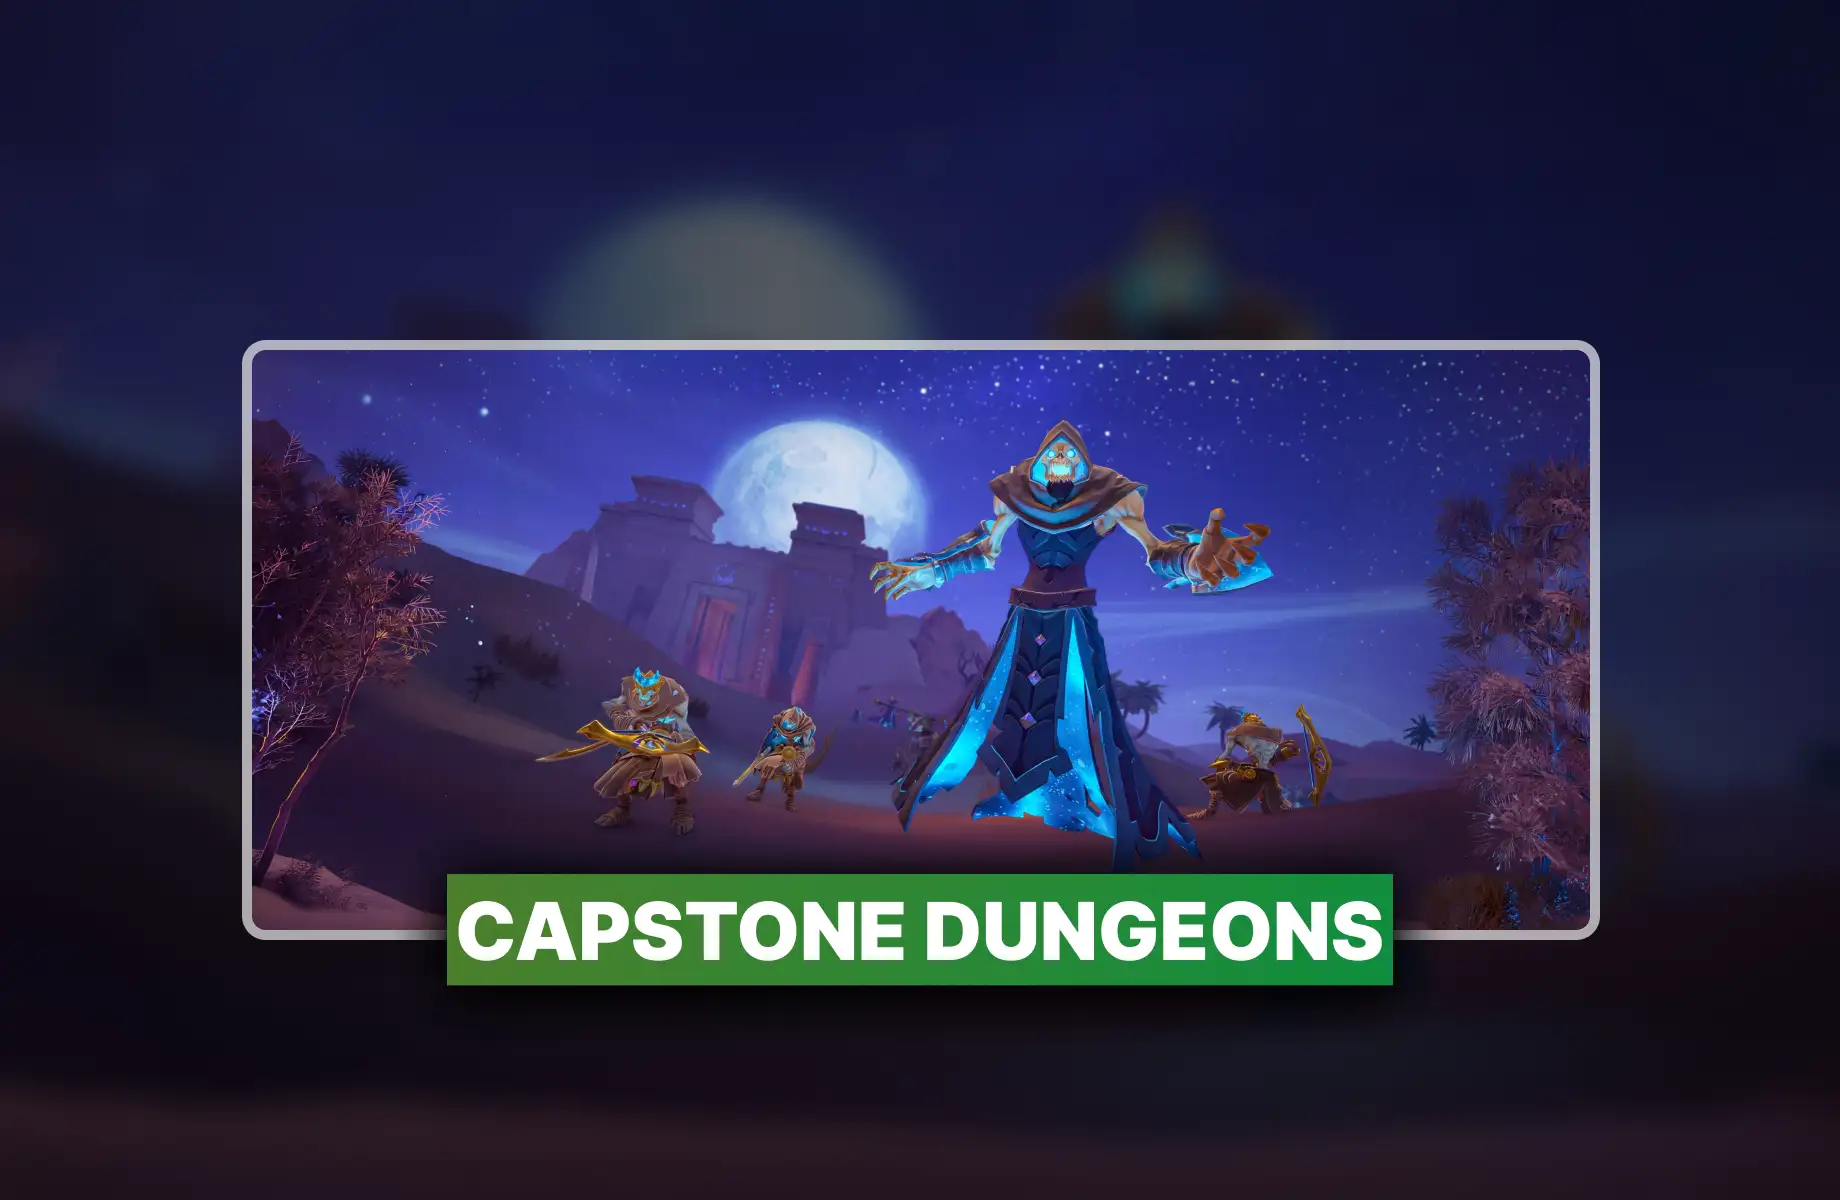
New Ransack of Drakheim Dungeon Guide: route on icy side plus boss rhythm for Fodier and Auga. Keep dispels ready and win calm in Paragon runs!!
You walk into a town that is half fire and half ice, and it feels like the dungeon designer wanted you to do homework while your screen shakes. We still beat it, because you follow a simple route from our Fellowship Ransack of Drakheim guide, respect interrupts, and stop feeding the bosses free hits.
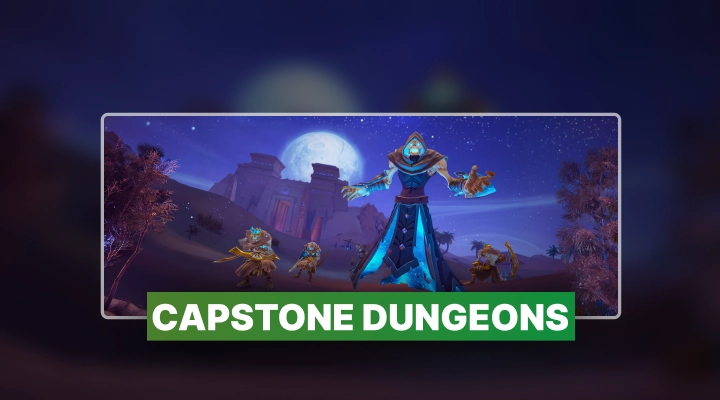
We guide You to run a capstone dungeon for the Paragon League, and you handle key trash abilities, a pug-friendly route, and three boss fights.
This info comes from pre–early access testing, so skills and tuning can change before launch.
The Fellowship Ransack of Drakheim starts with two sides, and the our guide route goes down the icy left side first.
After boss one, we go left to the icy lake side, because that path lets you skip extra scary packs on the hill path.
If you’re reading this, you might be interested in a discount just for you—my blog reader! Use code CRINGEBLOG to get an amazing discount on any offer in our shop.


|
Mob |
What hurts you |
What you do |
|
Craven mobs |
Craven Wound bleed stacks fast, and Frenzy Stab jumps a random ally |
Tank keeps an eye on stacks, and you use CC to stop the jump target fast |
|
Ash and Arseness casters |
Big flame DOT on a random target, plus a tank frontal |
You interrupt or CC the DOT, and you face the frontal away from your group |
|
Frenzy looters |
Gold piles give a stacking damage buff, and also a slow |
You walk over gold for damage, and healer avoids dispelling that buff |
|
Pillagers |
Blood Frenzy stacks when mobs die near it |
You kill the pack evenly, or you focus the pillager before it ramps |
|
Ice Bite Reavers |
Creeping Frostbite stacks on tank hits, plus Glacial Sunder lines |
Healer dispels Frostbite stacks, and tank faces it away then steps out |
|
Ice Bite Reavers |
Frostbitten Strength buffs nearby mobs |
You assign an interrupt for this cast, so pulls stay under control |
|
Bleak Frost Mystics |
Invigorate is a big heal, Frostbolt adds a magic slow, rotating beams appear |
You stop Invigorate, you dispel slow when needed, and you dodge the rotating beams |
You get one mini boss on fire side, and one on ice side, and they empower the first boss aura damage by 50% while alive.
This fight is about space control, because Blazing Slam makes puddles that stay on the floor until the fight ends. You pull the boss to the outside edge, you move it along the wall as puddles drop, and your group plays near the middle.
|
Mechanic |
What happens |
What you do |
|
Blazing Slam puddles |
Puddles stay and eat space |
Tank drags boss along the edge, and you try to overlap puddles |
|
Freezing Aura phase |
Standing still gives stacking DOT |
You keep moving a bit, and healer can dispel stacks from one ally |
|
Burning Aura phase |
Moving gives stacking DOT |
You stay still when safe, and you move only for puddles and circles |
|
Elemental Shift |
The boss swaps aura about 25 seconds |
You call the swap early, so your group changes movement right away |
|
Frostbite |
Tank takes a direct hit |
Tank plans defensives around it |
|
Ice Tomb |
One ally gets stunned until the tomb breaks |
You swap and break it fast, and you avoid dropping it near puddles |
If puddles fill the outside ring, you start a second ring inside, and you still stay calm with movement rules for the current aura.
If you waste space early, you hit the “room is full” problem, so tank movement and puddle overlap is the real timer.
You can go right to the hill toward Auga, or left to the icy lake toward Chillgar the Drowned, and our guide path goes left for simpler pulls.
|
Mob |
What hurts you |
What you do |
|
Bleak Frost Slavers |
Barbed Chain links two allies, damage drops when you stand close |
You interrupt, and linked players stack together fast |
|
Cold Brine Fiend |
Icy Annihilation hits hard on a random ally |
You interrupt or CC the cast |
This fight is a dodge test with a soak check, so you keep your camera wide and you save mobility for waves.
You also want pillar placement to stay out of the center, so your group keeps room for waves and soaks.
|
Mechanic |
What happens |
What you do |
|
Arctic Winds |
A tornado spawns near a random ally, it moves and applies a freezing DOT |
You dodge it early, and you avoid knockback into waves |
|
Freezing Flood |
Waves cross the platform, and they can come from four sides |
You watch edges, and you step through safe gaps |
|
Glacial Slam soak |
Tank gets a soak that explodes and splits damage |
Your group stacks inside the soak, and tank uses a defensive if people are late |
|
Grasping Pillar |
A circle forms, then a pillar chains anyone too close |
You bait it near the outside edge, and you break it if someone gets tethered |
Nightmist Cutthroats teleport behind the tank and try to backstab, so tank keeps moving the mob face and you stay ready to reposition.
Night Mist Whisperer has a silence you stop with interrupt or CC, and healer can dispel it if it hits someone else.
Shadows of El Morgot cast Dark Ritual, they spawn fiends plus totems with symbols, and you kill the fiend with the symbol that does not match any totem.
You do it fast, because the fiends cast Devouring Darkness and group damage ramps with successful casts.
This fight is a repeating rhythm, so you learn the order and you move as a team.
You start close for the soak teleport, then you spread for the X lines, then you collapse again for the next soak.
|
Mechanic |
What happens |
What you do |
|
Revelation |
Boss teleports to a random ally, roots them, and creates a soak |
Your full group gets inside the soak to split damage |
|
Shadow Conduit |
X lines fire through players after a short delay |
You spread so lines do not overlap, then you regroup for Revelation |
|
Abyssal Offering |
A tank hit right before intermission |
Tank uses a defensive on the cast |
|
Dark Ritual intermission |
Totems plus fiends spawn, and you kill the mismatched symbol fiend |
You call symbols fast, and you kill the impostor first |
|
Late intermissions |
Shadow Conduit lines keep coming while you do symbols |
You keep movement wide, and you still finish the impostor kill first |
You win Fellowship Ransack of Drakheim when you keep the icy left route, you treat interrupts as a real job, and you respect space on Fodier Calder puddles. When symbols appear on trash or on Auga Hanhafi, the Blind, you call the odd one and you delete it fast, then the run feels calm.

New Ransack of Drakheim Dungeon Guide: route on icy side plus boss rhythm for Fodier and Auga. Keep dispels ready and win calm in Paragon runs!!

New Ransack of Drakheim Dungeon Guide: route on icy side plus boss rhythm for Fodier and Auga. Keep dispels ready and win calm in Paragon runs!!

You start on the icy left side, you unlock the campfire, then you kill the icy mini boss and the fire mini boss, then you beat Fodier, go left to Chillgar, then go up to Auga.
You stop big heals like Invigorate, and you stop big frontals or nukes when your group looks shaky. You also watch the rotating beams, because you only dodge those.
On Burning Aura you stand still when safe, and you move only for circles or puddles. On Freezing Aura you keep small movement, and healer can dispel stacks from one ally.
You drag the boss along the outside edge, and you try to overlap puddles, so the middle stays playable. If space gets tight, you start a second ring inside.
You stack for Glacial Slam soaks with the tank, and you bait Grasping Pillars near the outside edge. If someone gets chained, you swap and break the pillar.
You look at the totem symbols, then you find the fiend symbol that does not match any totem, and you kill it first. You do it fast, because Devouring Darkness ramps damage.

GTA 6, new seasons, major updates — get ready to dominate from day one.