




Call of Duty Boost
Film Reel Relic Guide: Kowakujo Cursed Mode (BO7)
New guide: unlock the Valkyrie Helmet relic in Kowakujo Cursed mode, covering cat cafe, Maneki Neko, Nekomancer, and the full relic trial steps.
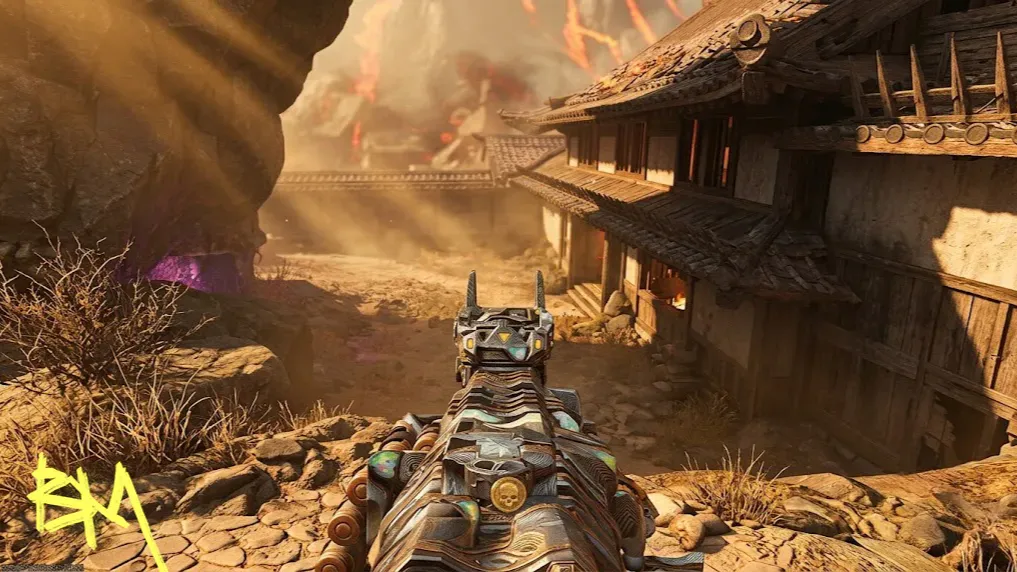
Congratulations, you picked the longest Valkyrie Helmet relic checklist in Black Ops 7 zombies. This is not a quick errand, it is a part time job with cats. You need the main quest done and you need to be sitting in a cursed tier 1 or higher match before any of this matters. Everything below is the full route, condensed for people who do not enjoy suffering more than necessary.

The whole relic hinges on the cat cafe easter egg, but only halfway. Collect five toy mice and scare away exactly four cats. Do not find the fifth cat and do not stare at the group above the cafe yet, or the catnip required later refuses to spawn and the relic dies with it. Eight possible spots exist for mice and eight for cats, one pair always sits near each other.
| Mouse Spawn Number | Location |
|---|---|
| 1 | Gatehouse, near the entrance |
| 2 | Flower Garden, in front of the zombie spawn building |
| 3 | Kitchens, behind a vase |
| 4 | Central Courtyard, in the lava crack |
| 5 | Training Area, behind the ammo crate |
| 6 | Stables, in front of the zombie spawn |
| 7 | Tenshu Entrance, on the tiles and wood |
| 8 | Onsen Baths, on a wooden stool by the pop machine |
Cats are slower and rotate one at a time. Get one, wait one to three rounds, and the next appears at a different spot from the list below.
| Cat Spawn Number | Location |
|---|---|
| 1 | Central Courtyard, behind the zombie spawn |
| 2 | Kitchens, near the lamp |
| 3 | Tenshu Entrance, on the roof |
| 4 | Flower Garden, behind the zombie barrier |
| 5 | Stables, on the rooftop |
| 6 | Gatehouse, inside the zombie spawn building |
| 7 | Training Area, on the rooftop above the ammo crates |
| 8 | Onsen Baths, on the rafter |
To scare a cat off, just stare at it until it runs. No shooting, no throwing gear, just patience and mild intimidation. Every collected cat and mouse pair eventually gathers above the tea garden cats tower, and that is exactly where you must stop.
Stare at all five cats above the tea garden tower and the side quest completes early, permanently soft locking the catnip you need. Get four cats and five mice, then walk away and ignore that building until told otherwise.
The Maneki Neko upgrade needs three base parts before it even becomes an option, and each part rolls between three random spots. Collect them in any order.
Part | Possible Locations |
|---|---|
Maneki Neko cat figure | Kitchens on a barrel, Kitchens behind a box, or Gatehouse by the barrel and boxes |
Furin wind chime | Stables under a collapsed house, Training Area near the blossom tree, or the staging area hanging up high |
Karakuri mechanism | Storage Rooms top floor, Storage Rooms on a table, or Workshop downstairs by a barrel |
Build the base Maneki Neko at the workshop crafting bench once all three parts are in hand. It throws like a monkey bomb and pulls zombie attention, and it costs 500 salvage to rebuy after each use.
You must have the Maneki Neko equipped as your tactical for paw prints to appear at all, and this step is pure RNG. Paw prints show up in zombie blood near four doll locations: the stables entrance, the kitchen entrance, the gatehouse to flower garden path, and the flower garden itself. One shortcut helps though, the paws always land near whichever entrance sits by the active lava fissure, so scan for that first instead of checking every spot blind.
Buy Death Perception first, since it reveals three squeaky board locations near the training area and two spots in the kitchens. Crouch, do not sprint, and absolutely do not shoot near the sleeping cat guarding these boards. Walk slowly around the creaky sections, or skip the entire dance by flopping to the cat with PhD Flopper and grabbing it instantly. Carry the cat to Shogun Sanctum and drop it on the world seed, where it will gorge itself, glow red, and get yanked back by vines repeatedly.
Between the cat's painful pulsing fits, rush in and melee it a few times. Enough hits and it spits out the Nekomancer wonder weapon along with an intel pickup. It carries three modes, a single shot spirit bolt, a charge up hairball that clears crowds, and a melee claw swipe, and yes, it can be pack a punched.
Grab matches and coal in the kitchens, near the shelf and just behind it. Then head to the ghostly rifleman trap by the central courtyard, tuck behind it toward the Tenshu entrance, and simply reload near the hole to drop white powder onto the ground. With all three materials collected, return to the workshop bench and craft the upgrade. The upgraded version drops a shield bubble on throw and detonates when it expires, and max ammo still refills it.
Group zombies, throw the upgraded Maneki Neko, stand inside its shield, and kill with the Nekomancer's charged attack. Enough kills spawns a plate shard where the bomb went off. Repeat this a total of four times, then bring all four shards to the kitchen fire, throw a Molotov on them, and pick up the fused plate.
Now go back and actually finish the cat cafe by staring at the full group of cats above the tower. Collect the catnip from the cat holder inside, then place both the plate and the catnip near the rock in the central courtyard. You need two failed defense waves banked before this point, since the next assault wave will land specifically in the courtyard. Kill zombies there until the catnip absorbs about 50 kills worth of souls, then listen for Mr Peeks laughing, which confirms the trial is live.
The portal spawns in the training area. Step in solo or vote it in with a squad. Reloading during this trial detonates you for roughly 50 damage and a slow effect, so only reload at full health and away from zombies. Avoid the Ray Gun Mark II specifically, since reloading it seems to hurt worse than other weapons for no good reason. Five waves total, with round two and round five bringing HVT Oni targets to prioritize. Golden armor is strongly recommended, this is not the moment to be cheap.
Clear all five waves and you get teleported back with the Valkyrie Helmet relic in hand, pulled straight from Gorod Krovi lore. Equipped, it reveals special enemies, HVTs, and treasure through walls in a radius, plus a permanent 15 percent headshot damage bonus against marked targets. The catch is brutal: no tactical sprint for the entire match and roughly 10 percent slower base movement, which makes fleeing zombie corners a genuine liability. Some community datamining instead lists this relic as spawning damaging electric fields wherever you linger, so treat it as an anti-camping tool either way and do not plan on parking in one spot for round after round.
This entire relic trial guide exists because one wrong stare at the cat tower ruins hours of setup, so pace yourself and double check every step before advancing. Anyone farming the full set of BO7 zombies relics already knows the Valkyrie Helmet is the one that punishes patience, which is ironic for a mode built entirely around slow grinding.

New guide: unlock the Valkyrie Helmet relic in Kowakujo Cursed mode, covering cat cafe, Maneki Neko, Nekomancer, and the full relic trial steps.
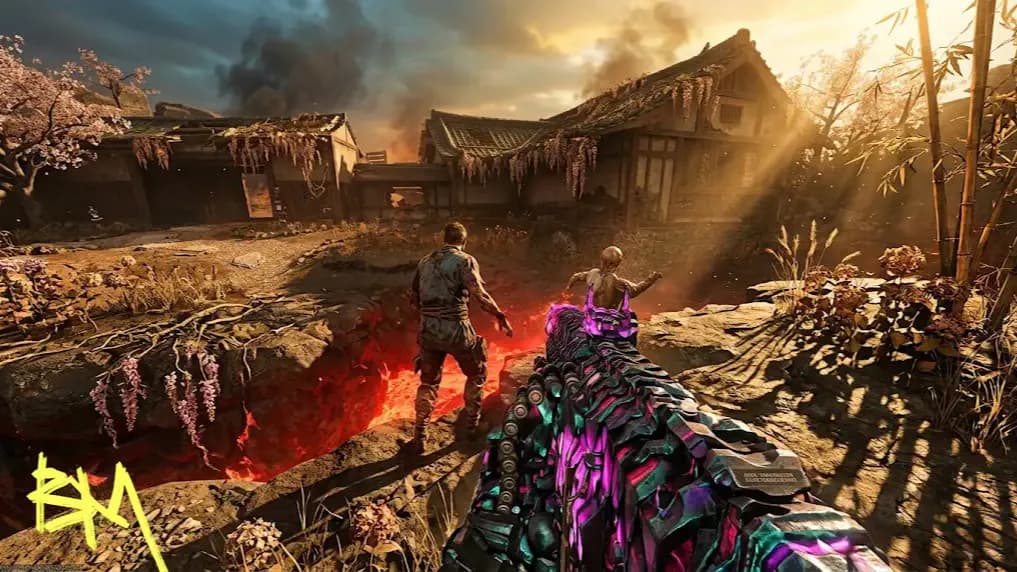
New guide: unlock the Valkyrie Helmet relic in Kowakujo Cursed mode, covering cat cafe, Maneki Neko, Nekomancer, and the full relic trial steps.
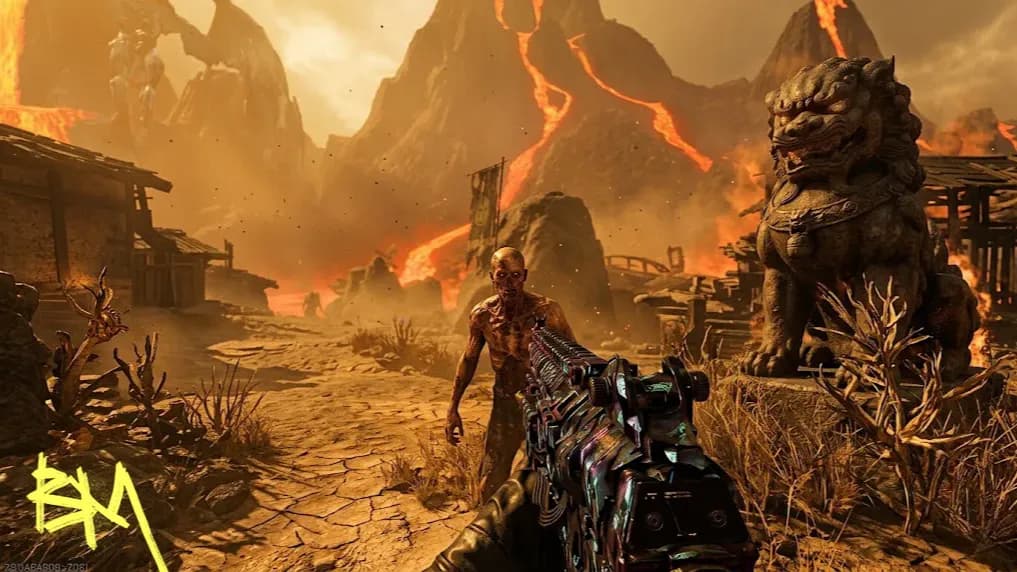
New guide: unlock the Valkyrie Helmet relic in Kowakujo Cursed mode, covering cat cafe, Maneki Neko, Nekomancer, and the full relic trial steps.

No, staring at all five cats early softlocks the catnip and kills the whole relic permanently.
Tier 1 or higher Cursed is enough, and any round works for the early collection steps.
Yes, unless you use PhD Flopper to flop straight to the cat and skip the sneaking entirely.
The trial detonates you on reload for around 50 damage, so only reload at full health.
It reveals enemies and loot through walls but removes tactical sprint and slows base movement.

GTA 6, new seasons, major updates — get ready to dominate from day one