Table of content
How to Unlock Innovate Camo in BO7 Freerun Ascent Guide
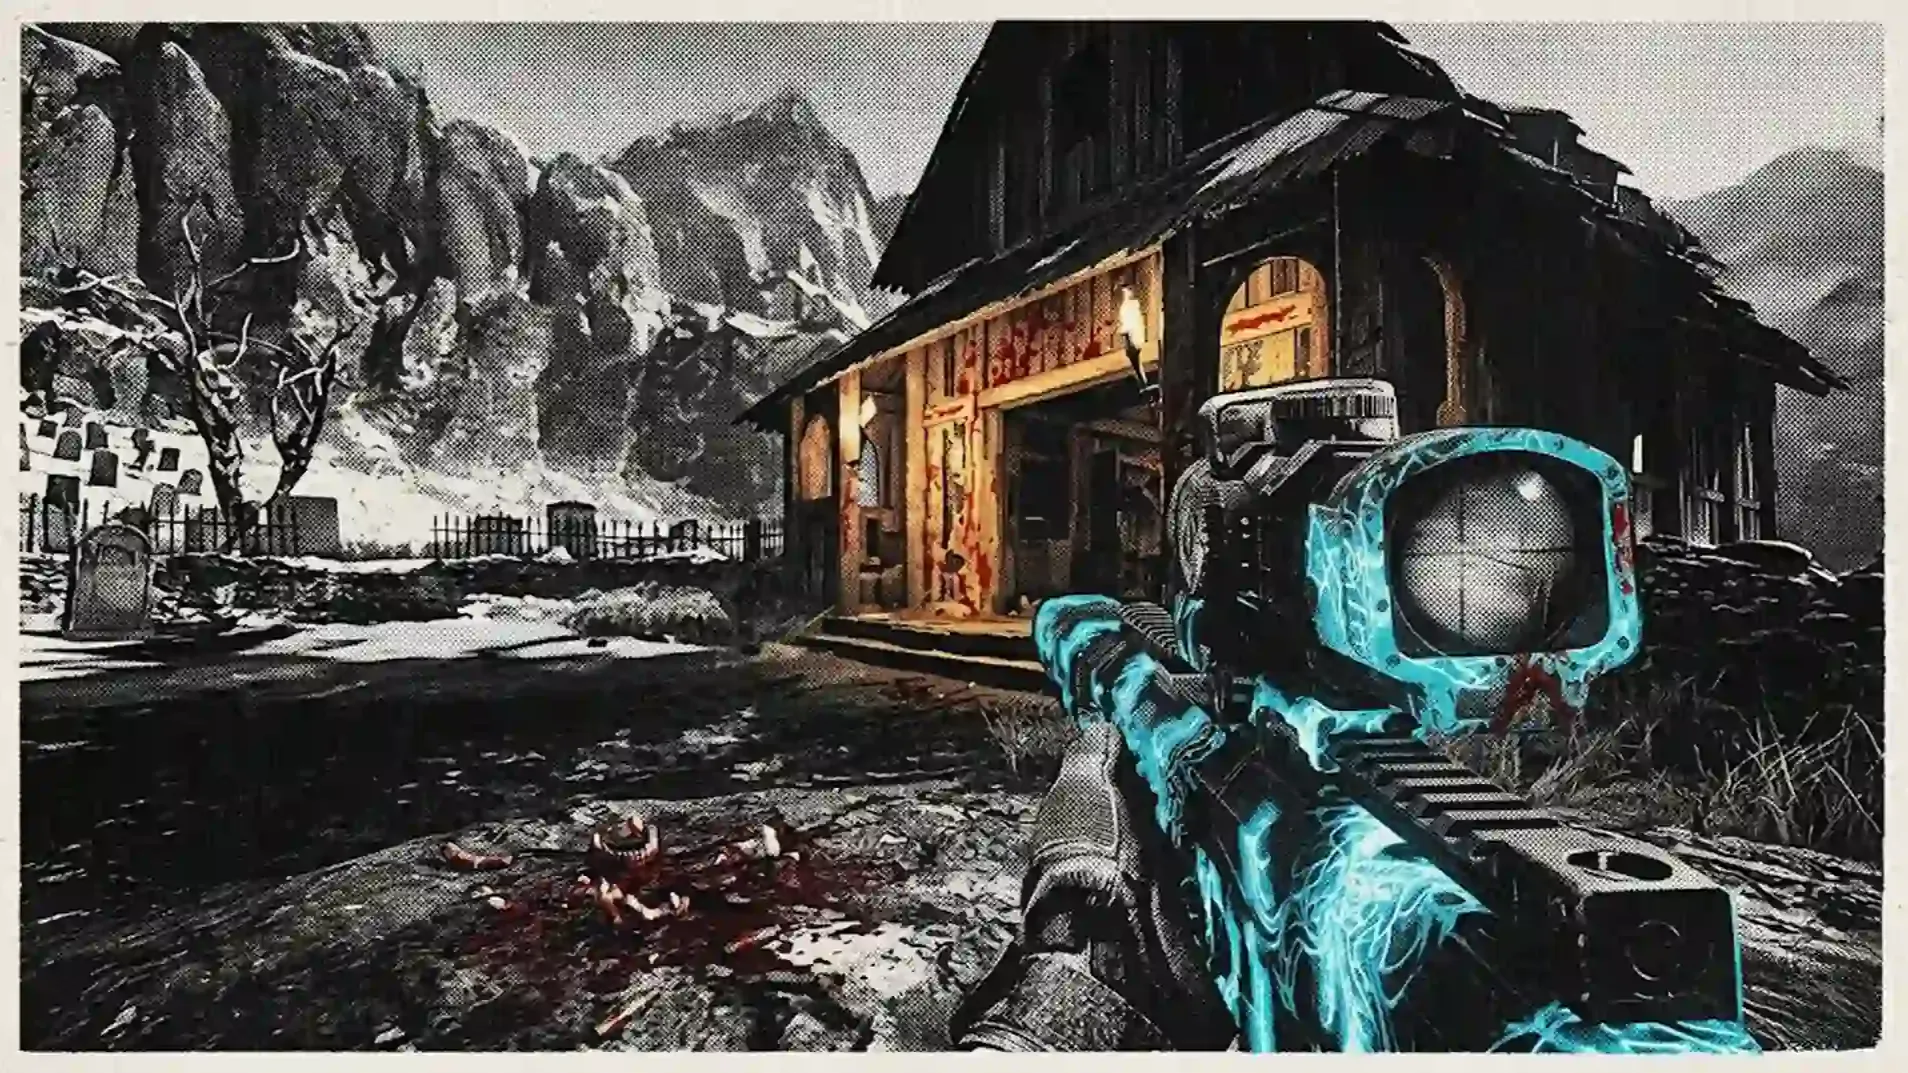
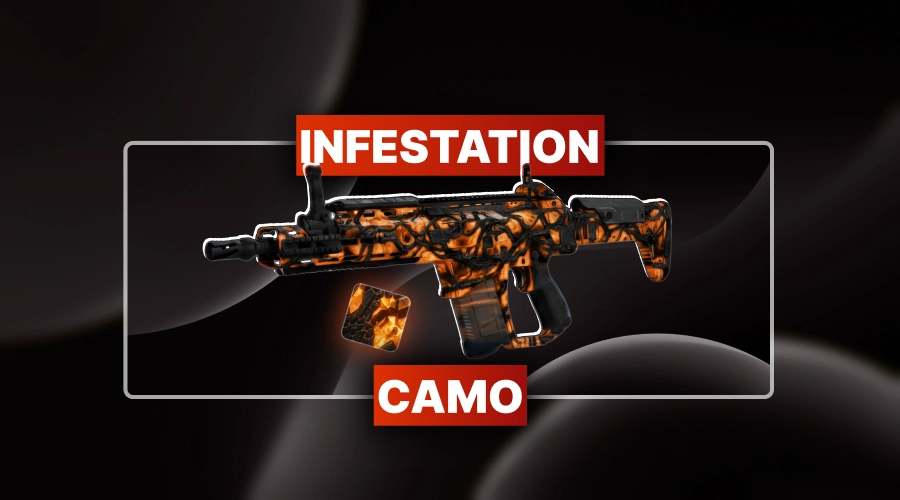
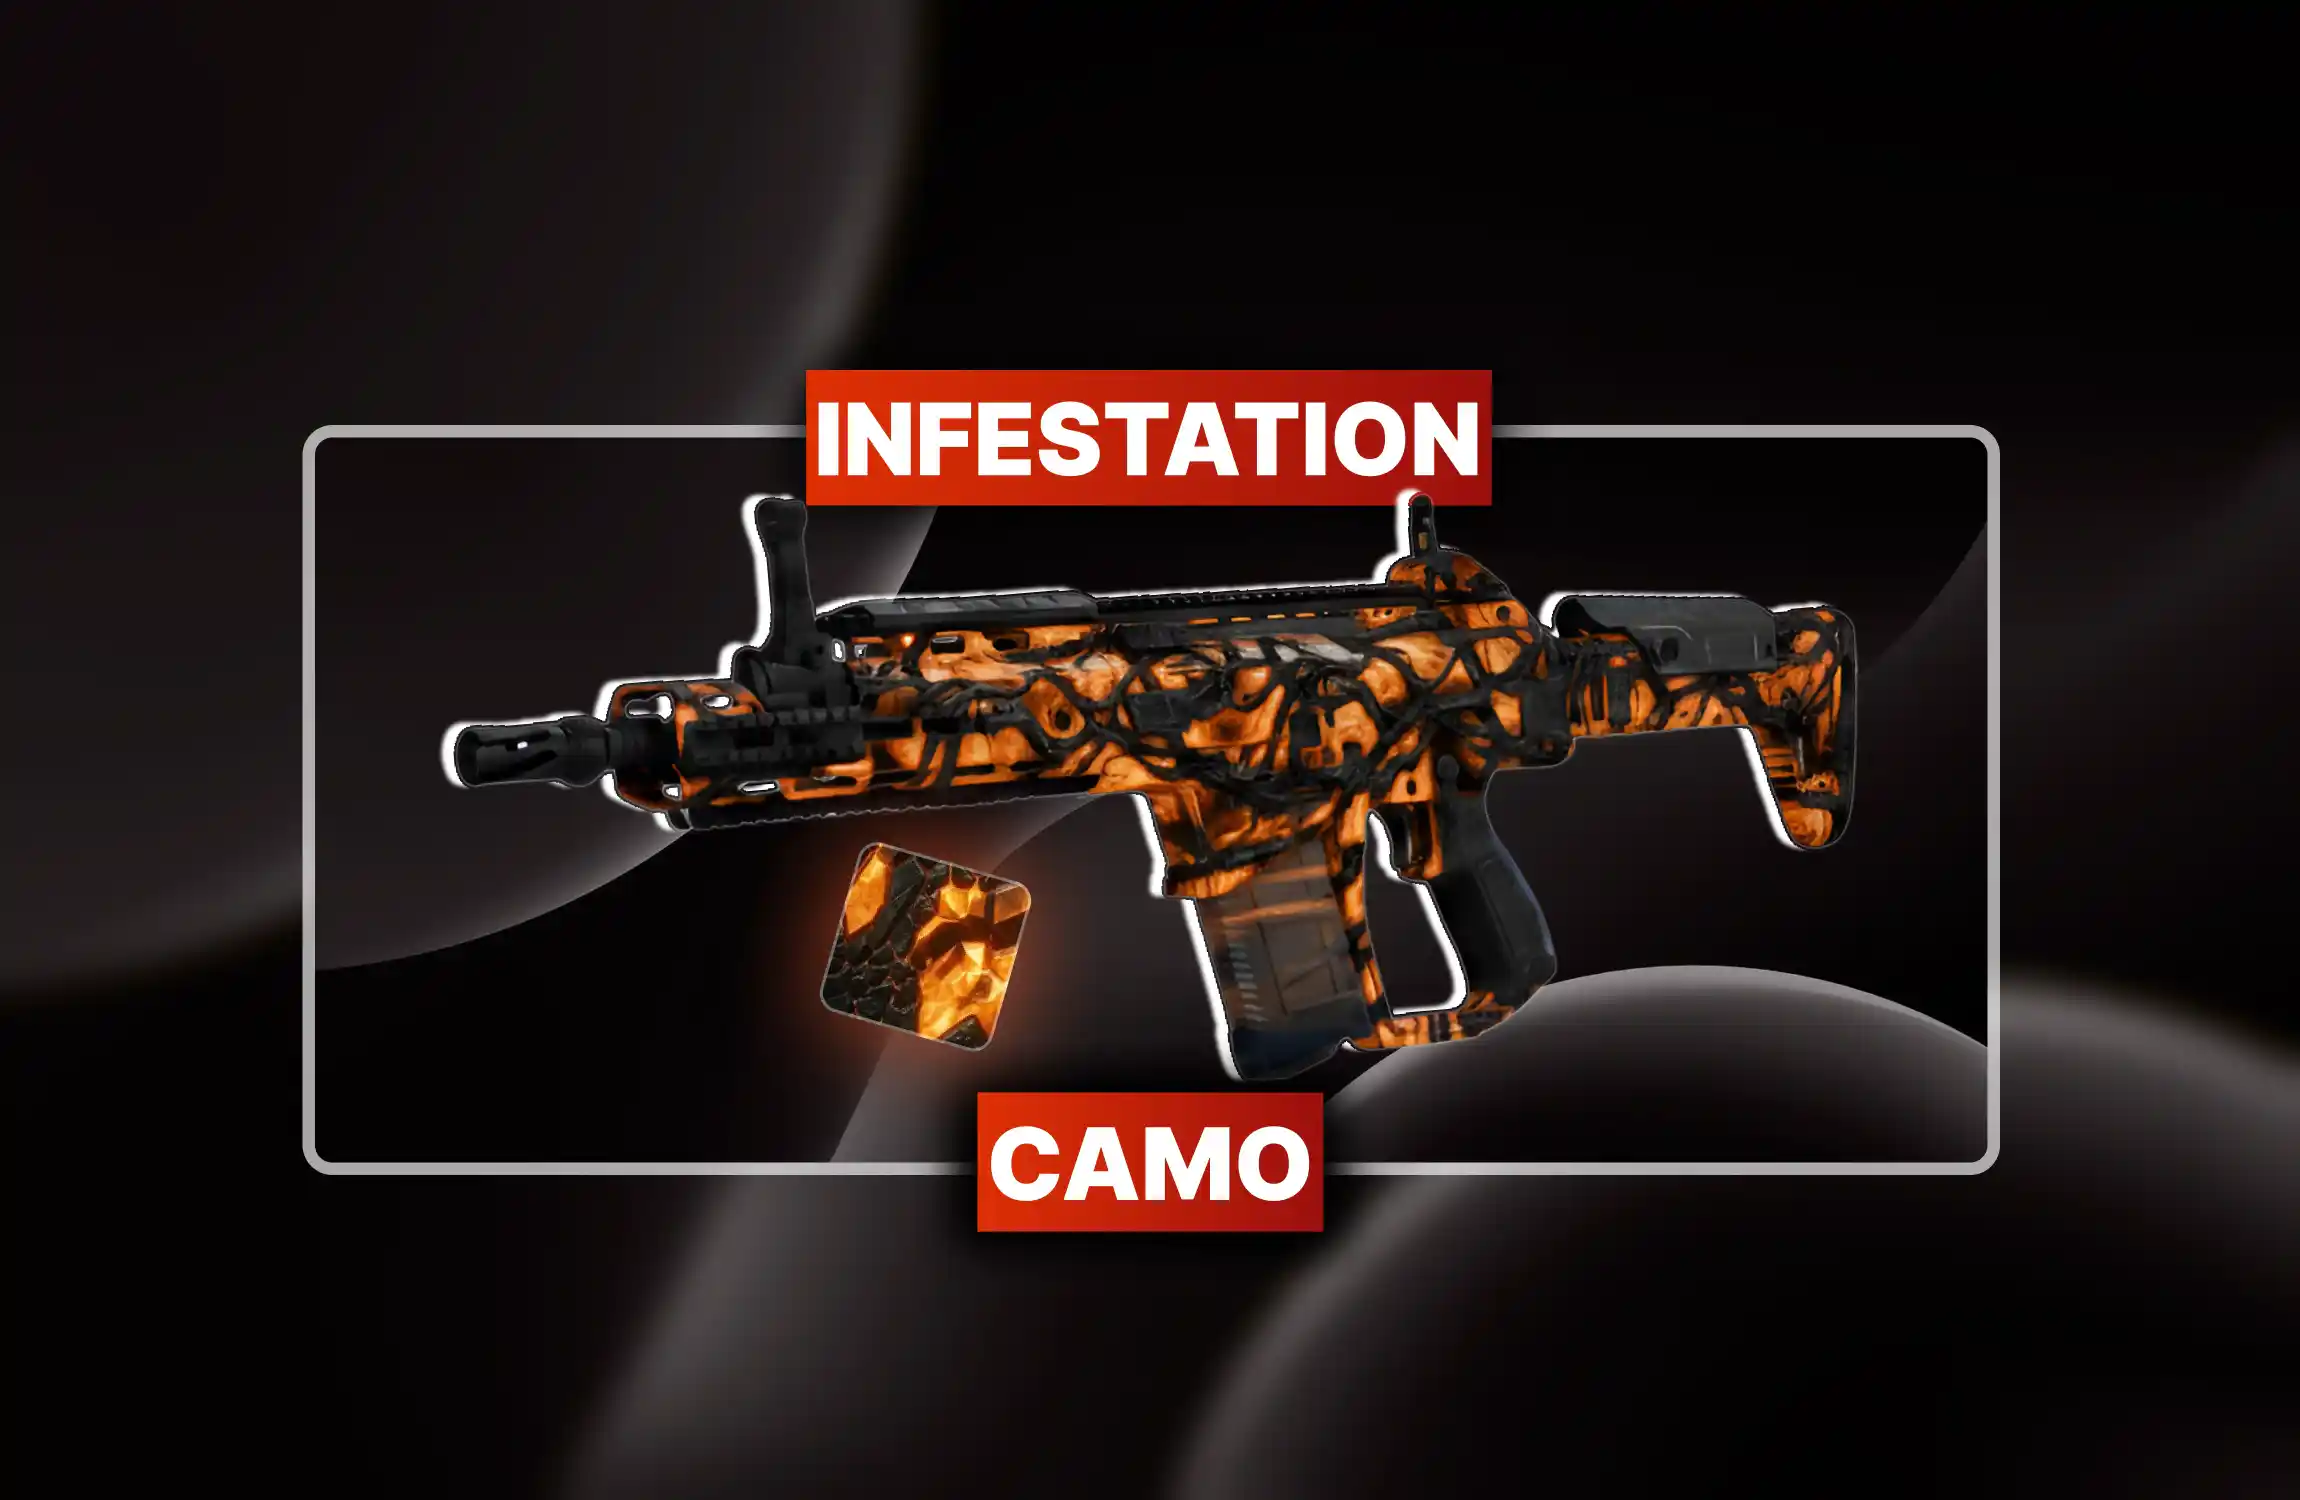
The Innovate camo arrived with Black Ops 7's Season 3 Reloaded update on April 30, 2026. It's a universal weapon camo: meaning you put it on everything: handed out by a parkour obstacle course called Freerun: Ascent. Ten players race simultaneously through a Guild-built tower with 10 escalating zones. The Guild, apparently, has strong opinions about your movement mechanics.
The real killer here is not the 14-minute clock. If you're falling fewer than 10 times, you will finish comfortably under time. The fault limit is where most players implode. One stupid stumble costs you nothing. Eight stupid stumbles cost you a retry. Nine stupid stumbles and a brainfart on the grapple section costs you your evening.
Core Rule The Innovate camo unlock for Freerun Ascent requires completing the course in under 14 minutes with fewer than 10 total faults. Slow and controlled beats fast and stupid every single time.
All Freerun: Ascent Rewards
Yes, there are other things to collect besides the camo you're here for. Completionists may proceed to suffer through these as well.
Reward 01. Scaled Emblem+ 1,000 XP: Complete the course 3 times total
Reward 02. Upswing Charm+ 2,500 XP: Collect all Ciphers in Freerun: Ascent
Reward 03: PRIMARY TARGETInnovate Camo+ 5,000 XP: Sub-14 min, under 10 faults
Zone-by-Zone Breakdown
The Ascent course pushes movement skills, combat precision, and equipment handling in sequence. Early zones will make you feel competent. Later zones exist to correct that delusion. Here's what each phase actually demands, and where people routinely destroy their fault count.
|
Zone(s) |
Mechanic |
Primary Hazard |
Difficulty |
|
1–2 |
Wall jumps, basic traversal |
Wall jump required before mount: skip it and you fall |
Easy |
|
3 |
Crouch jump sequence |
Hidden hole behind first crouch jump. Every lobby loses someone here |
Trap |
|
4 |
Wall jump chains |
Jump from the very edge, not mid-platform. Early jump kills momentum |
Medium |
|
5 |
Pistol + zip line targets |
Double zip line: second one is left side, nearly invisible. Missed constantly |
Hard |
|
6 |
Pistol, wall run, box platforms |
Two wall jumps before the box mount. No shortcuts. Target timing is tight |
Hard |
|
7 |
Grappling Hook traversal |
Grapple has a cooldown. Spam it at vehicles/surfaces. Skip crouch sections entirely |
Medium |
|
8 |
Weapon targets + ballistic knife |
Tiny landing platform. Slow down. Shoot both targets simultaneously when possible |
Hard |
|
9 |
Box sprint & shoot sequence |
Start on the right, sprint to the left corner. Most frustrating single obstacle in the course |
Hard |
|
10 |
Wingsuit + butterflies |
Follow butterflies, not rings. Slow analog input only. Flicking ends your run |
Medium |
• Full Operator Orders
• Operator skins unlocked
• Animated camos unlocked
$14.99
$49.99

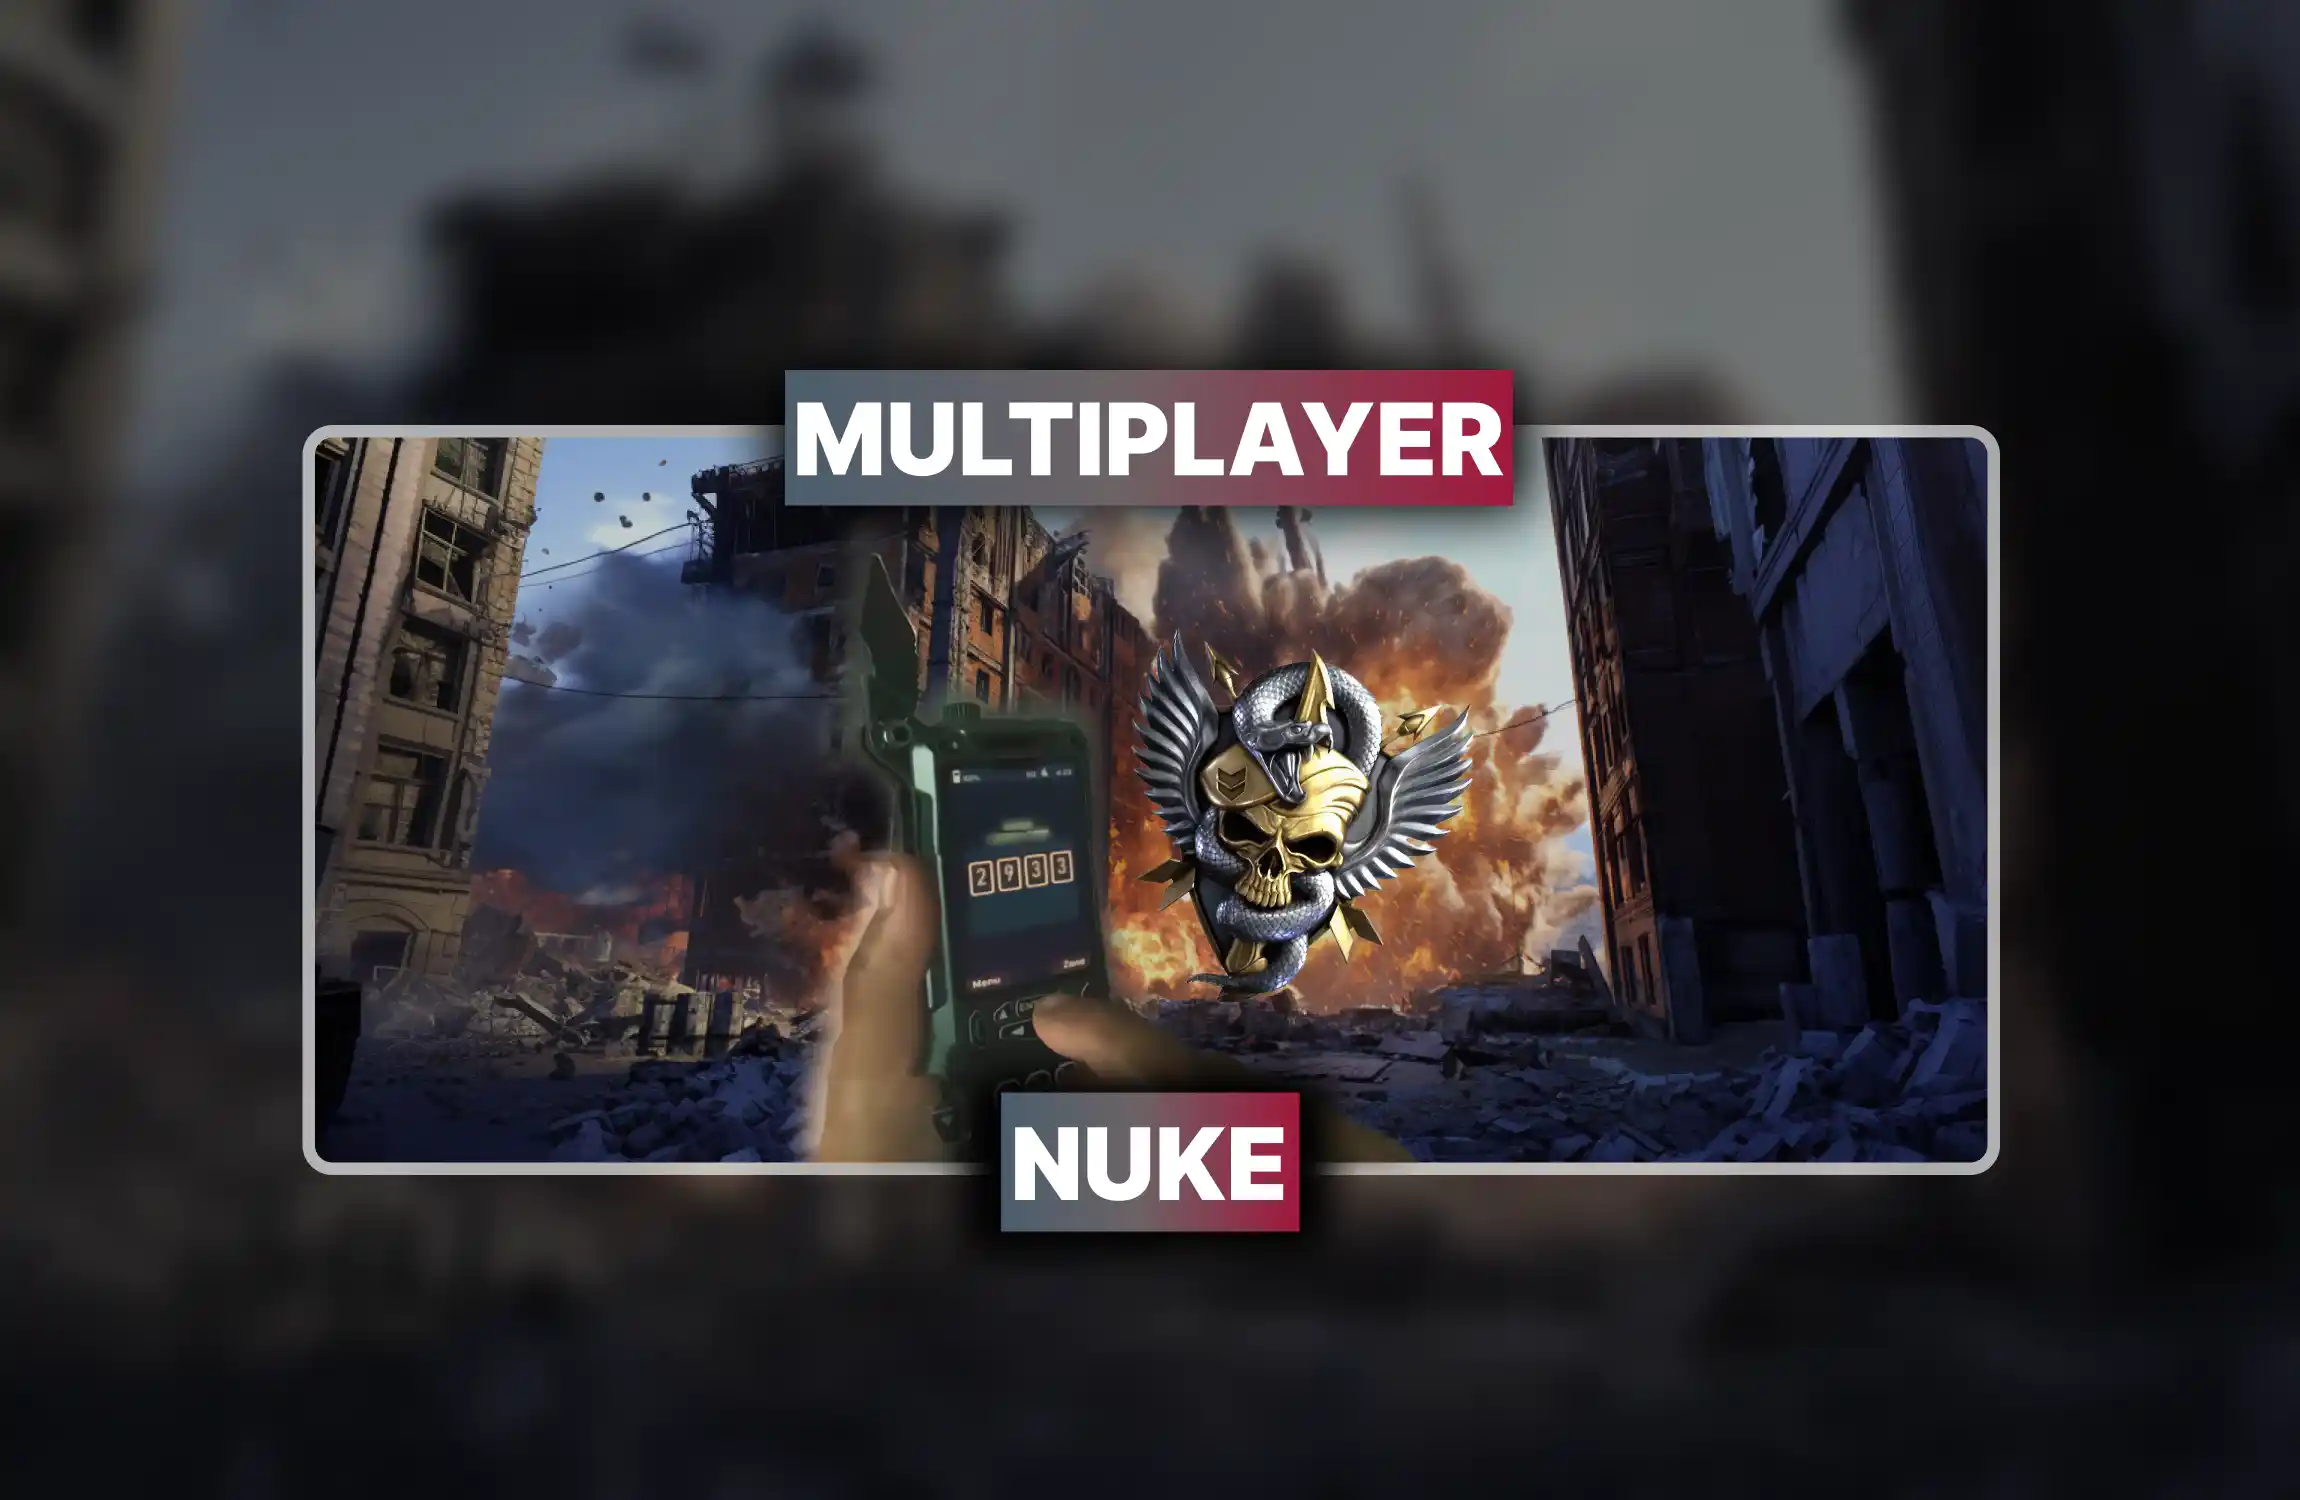
• Guaranteed 30-kill streak.
• Unlock ultimate Nuke reward.
• Safe, fast, expert carry.
$9.99
$29.99
• Fast Battle Pass leveling
• Exclusive skins blueprints unlocked
• Zero grind instant rewards
$1.79
$2.99
Wall Jumps: A Recurring Nightmare
Wall jumps are the BO7 Freerun Ascent speedrun mechanic you will need to internalize before the first checkpoint. Every wall in this course wants you to hit the tip of the arrow markers: the very edge, not the flat face. That's where your momentum carries forward rather than bleeding off into the void. Miss it and you get the pleasure of watching your operator slowly slide into the failure animation.
The second common failure: trying to mount surfaces without wall-jumping first. The game does not tell you this. You will try to grab a ledge, physics will politely decline your input, and you will fall. Wall jump first. Then mount. Treat it as a two-button compound move on every obstacle, not a shortcut opportunity.
Wall Jump Rule Aim for the tip of arrow indicators on every wall. Jump from the absolute edge of platforms, not the middle. And always wall jump before attempting any mount: skipping this step is responsible for the majority of early-zone faults.
Shooting Targets: Don't Trust Your Teammates
Multiple zones require hitting targets with a pistol or other weapon before paths unlock. This is where relaxed players die quietly. The targets are not obvious: several appear at the last second, and one notorious double-zip-line section has a second target positioned hard-left that most people in a Black Ops 7 Freerun lobby will completely ignore.
Your teammates will miss shots. Counting on them is how you stand on a locked platform watching the timer run. Shoot every target yourself, as if your teammates don't exist, because functionally they do not. The pistol section mid-course rewards patience: pause, confirm the reload, then proceed. Running dry at the final target is a special kind of avoidable.
- Double zip line area: shoot the right target first, then immediately find the left. It will not announce itself.
- Box platform sequence: shoot the target twice: once on approach, once after landing: to ensure it doesn't expire before the sequence ends.
- Ballistic knife section: straightforward. Shoot and jump. The only way to fail this is to be a menace to yourself.
- Final pistol segment: alternate targets across platforms and keep moving. Skip the last target: there's enough time without it.

• Guaranteed 30-kill streak.
• Unlock ultimate Nuke reward.
• Safe, fast, expert carry.
$9.99
$29.99

• Unlock all Prestige levels.
• Pro players skip grind.
• Safe, secure rank boost.
$23.99
$49.99
• Unlock corrupted mastery camo.
• Complete all RBZ challenges.
• Fast, secure pro farming.
$6.99
$99.99
Grappling Hook: Controlled Chaos
The grapple section is where overconfident players crater their run. The instinct is to treat it like a jetpack: spam it, fly everywhere, skip the ground entirely. That instinct is correct in spirit but catastrophic in execution without some discipline. The grappling hook has a 2–3 second cooldown after sustained use. Fly too aggressively into a section requiring a precise land, forget the cooldown is active, and congratulations: fault number seven.
For the Black Ops 7 grapple hook Freerun section, aim at vehicles, walls, and structural surfaces rather than open air. Skip the crouch slides entirely: just go over them. You save seconds without the risk. The hook disappears without warning past a certain checkpoint, so once it's gone, shift back to conventional movement. Don't waste a wall jump slot trying to grapple something that no longer responds.
Grapple Protocol Spam L1/LB proactively once you pick it up. Grapple surfaces: vehicles, walls, ledges: anything structural. Skip crouch zones overhead. When it goes on cooldown mid-air, use wall jumps to bridge the gap. The hook disappears after a checkpoint with zero notification.
Wingsuit Zone: Pretend You Have Patience
The wingsuit section is the last major zone before the finish and the most mechanically different part of the course. You are flying. You are also terrible at flying on the first attempt. The course provides butterfly guides that drift left, right, up, and down to indicate your path. Follow the butterflies, not the circular checkpoint rings. The rings are often positioned where obstacles will destroy you if you aim straight for them.
The single most important technical note for wingsuit control in Freerun: move the analog stick slowly. No flicking. No sharp correction. Flick the stick and your operator banks hard into a building, a railing, or a design decision by whoever thought this section was a good idea. Smooth, deliberate inputs only. If you feel yourself losing control, ease: don't overcorrect. Overcorrection is what makes a 1-fault wingsuit section into a 3-fault one.
Do Not Pull up the menu during the wingsuit zone to check your fault count. This will cause a fault. Possibly two. This is documented. It happened. Learn from it.
• Guaranteed 30-kill streak.
• Unlock ultimate Nuke reward.
• Safe, fast, expert carry.
$9.99
$29.99
• Unlock all Prestige levels.
• Pro players skip grind.
• Safe, secure rank boost.
$23.99
$49.99
Fault Economy: The Only Math That Matters
Nine faults and you can still unlock the Innovate camo. Zero faults and you're probably speed-running a leaderboard event by this point. The target window is wide enough that small, stupid mistakes: a missed wall jump, a distracted landing: won't end a run. What ends runs is clustered failure: three faults in the zone-6 box sprint, two more in the grapple section, and one in the wingsuit because you checked the menu. Those add up.
The time limit is not your enemy. A clean run of under 10 faults will almost always finish under 12 minutes. Do not rush sections you haven't internalized. Rushed sections convert into fault clusters. Fault clusters convert into restarts. Restarts convert into longer sessions than just taking it methodically would have required.
|
Fault Count |
Status |
Notes |
|
0–3 |
Clean run |
Leaderboard territory. You either practiced or got lucky: probably both. |
|
4–6 |
Normal |
Comfortable margin. Keep composure in the final zones and the camo is yours. |
|
7–9 |
Uncomfortable |
Every zone from here is a high-stakes situation. Slow down. Breathe. Don't check the menu. |
|
10+ |
Failed |
Camo not awarded. Take a moment. Question your choices. Try again. |
Condensed Tips Before You Queue
- Wall jump before every mount. No exceptions. The game requires it even when it doesn't look like it does.
- Jump from the edge. On all platform gaps, leave from the absolute edge for maximum distance.
- Shoot targets yourself. Teammates exist to make you complacent and miss things. Shoot independently.
- Find the hidden left-side zip line target. It is to the left. Look left. Shoot it.
- Skip grapple cooldown gaps with wall jumps. The hook goes on 2–3 second cooldown. Plan for it.
- Zone 9 box sprint: start right, aim left corner. This one maneuver ends more runs than any other section.
- Wingsuit: slow analog only. Flicking kills runs. Follow butterflies, not rings.
- Don't open the menu during wingsuit. This is apparently worth saying twice.
- Faults matter more than time. If you're under 10 faults, you're under 14 minutes. The clock is not the problem.
- Crouch sections in grapple zone: go over them. Save time. Reduce risk. Do not crouch slide when you can fly.
The Freerun: Ascent mode is part of BO7 Season 3 Reloaded, live from April 30, 2026. The Innovate camo is a universal weapon camo, applicable to all weapons in loadout. The event also offers a leaderboard challenge with additional camo rewards for top-ranked completions: meaning there are people out there competing seriously at this obstacle course, and that information is yours to process however you need to.
Table of content

The Freerun: Ascent mode is part of BO7 Season 3 Reloaded, live from April 30, 2026. The Innovate camo is a universal weapon camo, applicable to all w
30 April, 2026

The Freerun: Ascent mode is part of BO7 Season 3 Reloaded, live from April 30, 2026. The Innovate camo is a universal weapon camo, applicable to all w
30 April, 2026

The Freerun: Ascent mode is part of BO7 Season 3 Reloaded, live from April 30, 2026. The Innovate camo is a universal weapon camo, applicable to all w
30 April, 2026

The Freerun: Ascent mode is part of BO7 Season 3 Reloaded, live from April 30, 2026. The Innovate camo is a universal weapon camo, applicable to all w
30 April, 2026

The Freerun: Ascent mode is part of BO7 Season 3 Reloaded, live from April 30, 2026. The Innovate camo is a universal weapon camo, applicable to all w
30 April, 2026

The Freerun: Ascent mode is part of BO7 Season 3 Reloaded, live from April 30, 2026. The Innovate camo is a universal weapon camo, applicable to all w
30 April, 2026

The Freerun: Ascent mode is part of BO7 Season 3 Reloaded, live from April 30, 2026. The Innovate camo is a universal weapon camo, applicable to all w
30 April, 2026

The Freerun: Ascent mode is part of BO7 Season 3 Reloaded, live from April 30, 2026. The Innovate camo is a universal weapon camo, applicable to all w
30 April, 2026

The Freerun: Ascent mode is part of BO7 Season 3 Reloaded, live from April 30, 2026. The Innovate camo is a universal weapon camo, applicable to all w
30 April, 2026
How to Unlock Innovate Camo in BO7 Freerun Ascent Guide FAQ
Does the 14-minute time limit actually matter, or is fault count the real challenge?
Fault count is the real challenge. Under 10 faults equals under 14 minutes, reliably.
What happens if teammates miss targets on the zip line sections?
You fall. Shoot every target yourself and assume your teammates are decorative objects throughout.
Is the Innovate camo universal: can it go on any weapon?
Yes. It's a universal weapon camo applicable across all weapons in your loadout. That's the whole point.
How do I control the wingsuit without falling off in zone 10?
Slow analog stick movements only. Follow butterflies, not rings. Never flick. Never check the menu mid-flight.
Can I unlock Innovate camo if I finish with exactly 9 faults?
Yes. Fewer than 10 means up to and including 9. Nine faults in time equals Innovate camo unlocked.