
Call of Duty Boost
Paradox Junction Zombies Guide
Grind is back. The Venice Beach skatepark returns in Black Ops 7 S2 Reloaded: full map guide: zones, loadouts, mode strategy, and top tips.
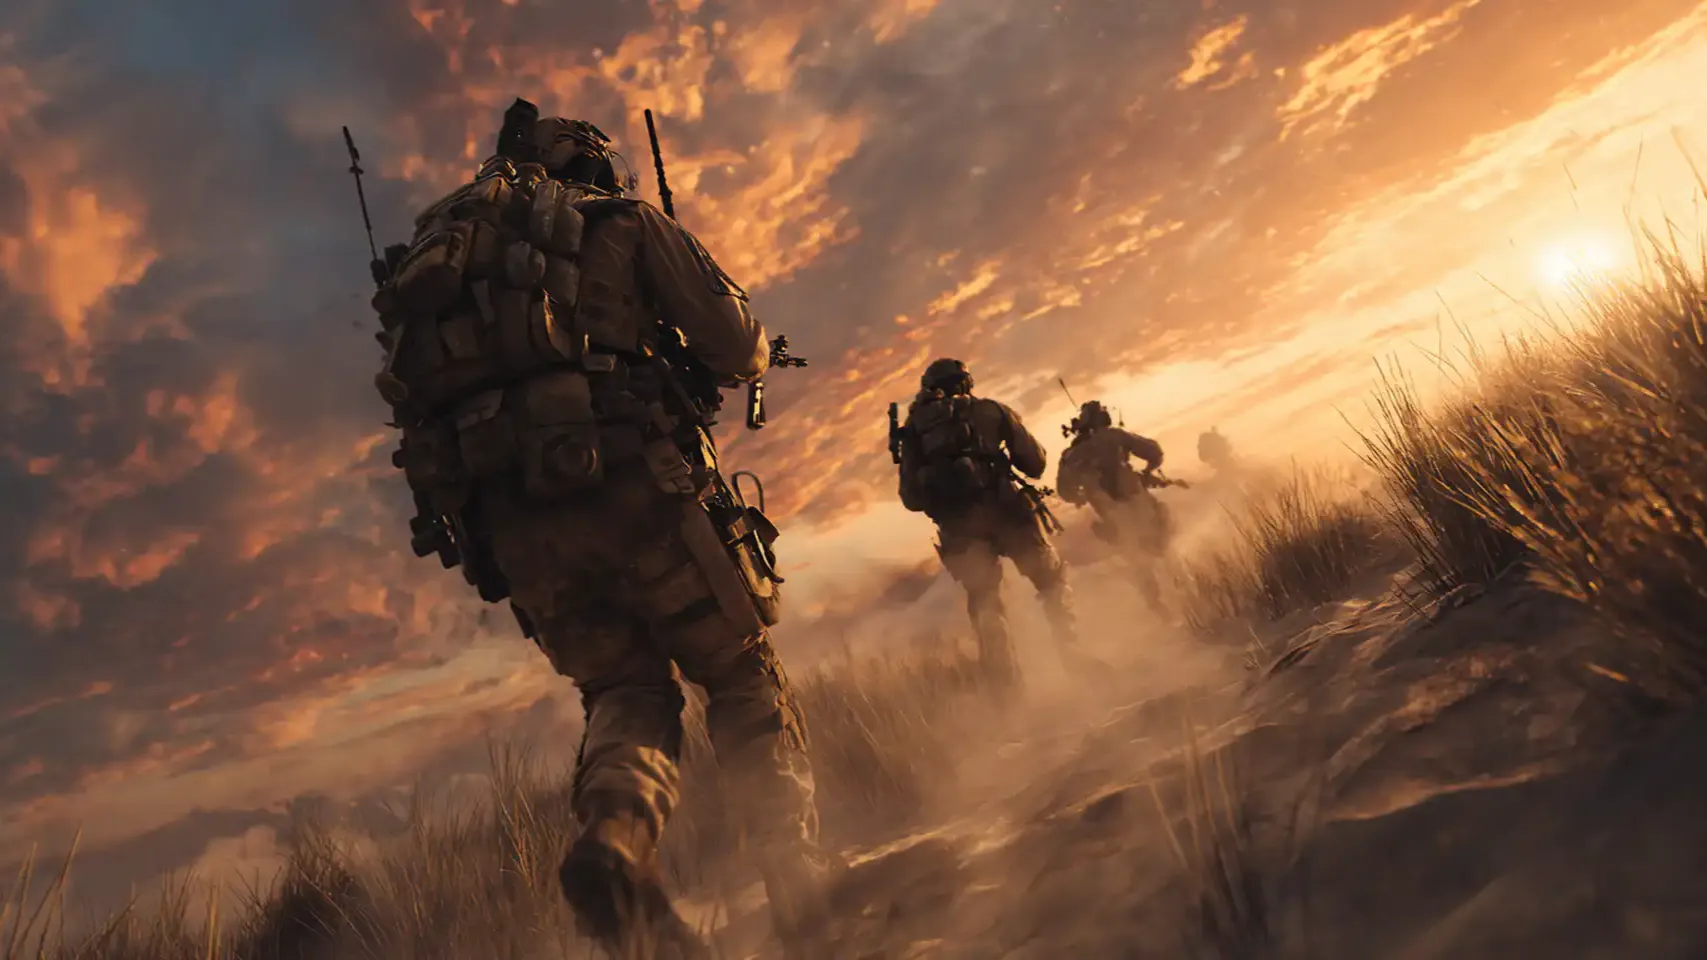
The Grind… A place… no… The place where the sweeping concrete curves and sudden elevation drops transform a standard three-lane shootout into a vertical bloodbath, I can tell you that mastering this Black Ops 7 arena means abandoning ground-level predictability and taking to the ramps to exploit angles your enemies won't even see coming. Whether you're anchoring the Quarter Pipe pocket, threading the needle through the devastating Full Pipe flank, or fighting for your life in the relentless new Gauntlet mode, this Black Ops 7 Grind Map Guide is your definitive blueprint for turning a chaotic skate park into your personal shooting gallery.
Grind is structured as a classic three-lane multiplayer map, but elevation transforms what would otherwise be a flat arena into a vertical battlefield. The map's west side spawns into the Parking area, while the east side pushes through the Quarter Pipe corridor. The center lane is dominated by the Full Pipe and the Indoor area, providing crucial flanking routes that bypass direct line-of-sight engagements on the exterior lanes.
The flat entry area featuring booths, parked vehicles, and a raised planter. Both top and bottom lanes converge here. The Bathroom in the northwest corner provides overhead concealment and a strong off-angle.
Named after angled skate grinds. Dense with ramps, ledges, and grind rails leading into Quarter Pipe. Gates cap most ramps, preventing easy vertical control, but the corner ramp remains climbable for a solid vantage point.
The southeast choke point funnel. Corner ramp here is the best defensive position with clear sightlines down the bottom path and into the Indoor doorway. Grind rails and platforms are climbable.
The cylindrical concrete pipe snaking through the map's center. A critical flanking lane connecting the top path to the Half Pipe. The center ledge inside the pipe provides an elevated vantage that many players underestimate.
The map's tallest structure. The top ledge is the single best long-range vantage on the map and a magnet for sharpshooters. Accessible via inner ramp or the curved walkway. A middle counter-ledge offers a response position.
The skate shop running through the map's interior. Close-quarters corridors with two entry points. Provides dry-route travel away from the open Half Pipe sightlines. A receipt from a CVS in Worcester, MA is a fun hidden detail on the floor.
The upper staircase ledge connecting Half Pipe to Parking. Crouching here gives elevation advantage over ground-level enemies. The stand on the opposite end provides evasive cover during rotations.
The outdoor skating bowl and cradle. Open exposure makes aggressive pushes risky without a coordinated team. Speed builds and UAV-up timing are essential when crossing through this zone.
Tucked in the northwest corner near Parking spawn. Offers overhead cover and off-angle positions that enemies rarely check. Useful for planting traps and baiting aggressive pushers on the west lane.
If you’re reading this, you might be interested in a discount just for you—my blog reader! Use code CRINGEBLOG to get an amazing discount on any offer in our shop.
The Full Pipe is the most underused high-value flank on Grind. Rather than taking the exterior lanes and trading unfavorable angles, route through the Pipe from top lane. The center ledge inside provides a brief pause-and-observe position before pushing out near the Half Pipe. Enemies contesting the Half Pipe top are often fixed forward and completely exposed to a Full Pipe entry from behind. This flank single-handedly shifts spawn pressure mid-match.
The Half Pipe's top ledge holds the map's longest consistent sightline stretching toward Parking. In Black Ops 7, attachment tuning and the game's movement speed make this position viable but punishable: enemies who anticipate it will use the Full Pipe or Indoor to collapse your position from below. Pair a mid-range optic with a secondary pistol or SMG for when the position breaks. Do not hold the top ledge indefinitely; rotate to the middle counter-ledge to reset angles.
The climbable corner ramp at Quarter Pipe is the single most defensible elevated position for objective play. From here you have clear views of the bottom path, the Indoor doorway, and the eastern skate area. It requires a clean climb animation: you are briefly exposed: so initiate the climb when the immediate surroundings are clear, not under fire. Once up, this pocket controls B flag in Domination and Hardpoint rotations reliably.
Test the ramps. Not all obstacles are climbable: gates cap many of the ramp tops preventing foot holds. The corner ramp at Quarter Pipe and the ledge halfway through the Full Pipe are the two confirmed climbable vantages. Learn their climb animations to avoid fumbling under fire.
Hunter's Instinct synergy. The perk introduced in BO6 S2R that marks the next closest enemy after an elimination carries into BO7. On Grind's dense obstacle layout, this perk reveals targets you could never pre-aim: particularly enemies hiding behind the large Half Pipe structure and the Indoor shelving. Slot it in Enforcer Perk 2.
Open ground means open fights. Grind's outdoor bowl and Parking area produce constant heads-up engagements. Run a lightweight setup with Slipstream and high-mobility boots when playing the exterior lanes. Avoid camping: the map punishes static positional play harshly in its open sections.
Spawn awareness at Parking. The Bathroom in the northwest corner is the fastest spawn-trap anchor. If the enemy collapses this corner and holds both the Bathroom and the Ledge simultaneously, your team's west spawn is compromised. Break this by pushing through Indoor and flanking out near the parked van on the Half Pipe side.
Vertical priority in BO7. Black Ops 7's movement system places a premium on vertical positioning. Grind's ramps and ledges pair natively with BO7's enhanced movement: use wall-run assists off the skate bowl edges where the geometry allows, and always pre-aim elevation changes rather than head-level when a ramp transition is ahead.
Indoor is never truly safe. The Store corridor looks like a protected indoor lane, but both ends funnel into high-traffic areas. Running through Indoor without checking the two entry thresholds almost always results in a punish. Slow-peek both doorways before committing to a full run-through: especially in Search & Destroy.
|
Weapon Class |
Map Rating |
Best Zone |
Weakness |
Notes |
|
SMG |
S Tier |
Indoor / Full Pipe |
Half Pipe top lane |
Dominant in the tight indoor corridors and pipe; speed enables fast rotations between all three lanes |
|
Assault Rifle |
A Tier |
Parking / Ledge |
CQB inside Indoor |
Covers the mid-range open sightlines between Parking and Ledge effectively; flex pick across all lanes |
|
Shotgun |
A Tier |
Bathroom / Indoor |
Cradle open ground |
Pairs naturally with the tight chokepoints; devastating on stairwells and corner ambushes at Hubba |
|
Sniper Rifle |
B Tier |
Half Pipe top |
Full Pipe flanks |
The Half Pipe top sightline justifies a sniper, but the map's rotation speed means snipers are often caught off-angle; use semi-aggressive quick-scoping |
|
LMG |
B Tier |
Ledge / Quarter Pipe |
Indoor CQB |
Strong suppression on objective zones from elevated ledge positions; mobility penalty hurts in BO7's faster meta |
|
Marksman Rifle |
A Tier |
Full Pipe / Parking |
True CQB corners |
Ideal range bracket for Grind's medium sightlines; avoids the mobility drawback of a sniper while beating ARs at distance |
|
Pistol / Secondary |
A Tier |
Everywhere |
— |
The new Lockshot Scorestreak auto-lock pistol is particularly satisfying on Grind's clustered objective zones in BO7 |
|
Category |
Street |
Vert |
Park |
|
Role |
Speed Rusher: SMG Focus |
Elevated Anchor: AR / MR |
Objective Grinder: Shotgun |
|
Primary |
SMG (fastest TTK available) |
Marksman Rifle (optic) |
Shotgun (pump or semi) |
|
Secondary |
Pistol / Sidearm |
SMG for close backup |
AR for open-ground cover |
|
Perk 1 |
Slipstream (Tactical) |
Ghost (Recon) |
War Cry (Enforcer) |
|
Perk 2 |
Hunter’s Instinct (Enforcer) |
Hunter’s Instinct (Enforcer) |
Hunter’s Instinct (Enforcer) |
|
Perk 3 |
Lightweight (Enforcer) |
Cold-Blooded (Enforcer) |
Flak Jacket (Tactical) |
|
Lethal |
Frag Grenade |
Claymore |
Semtex |
|
Tactical |
Stun Grenade |
Smoke Grenade |
Concussion |
|
Field Upgrade |
Trophy System |
Dead Silence |
Razor Wire |
TDM on Grind favors the interior lanes. The exterior paths: particularly the Cradle bowl: produce long open engagements that spike deaths. Contest the Full Pipe and Indoor corridor early to dictate rotation paths. The team controlling the Half Pipe top typically wins the kill-count race simply because their vantage generates clean overhead shots on enemies rotating between Ledge and Parking.
Flags traditionally land near Parking (A), the center Indoor/Pipe area (B), and the Quarter Pipe section (C). B flag is the tug-of-war zone: it sits in a transition area between the Indoor and the outdoor bowl, constantly contested. Hold A from the Bathroom corner, contest B from the Full Pipe flank, and anchor C from the Quarter Pipe corner ramp. Never defend C from ground level.
Hardpoint rotations on Grind are fast and relentless. The Half Pipe and Ledge area appear as prime hill locations: hold them with teammates covering the Full Pipe and Indoor entries, or you will be flanked from two directions simultaneously. When the hill rotates to Parking, the Bathroom provides cover while one player takes the hill and two others cover the vehicle and lane approaches.
S&D reduces Grind to careful site reads. The Indoor corridor is the safest route to most bomb sites but it telegraphs your approach. Split your attack between Indoor and the Full Pipe flank to force a two-way defense. On defense, claymores at the Indoor doorways are high-value. The Half Pipe top position covers bomb-plant attempts in the open central area but leaves flanks wide open: always have a teammate watching the Pipe entrance.
Tag collection requires entering open ground, which Grind punishes heavily. Dog tags near the Half Pipe and Cradle are the most contested: they drop in exposed areas after sniper or long-range eliminations. Use the Bathroom and Indoor as cover bubbles and dash-collect from there. Concussion grenades timed on tag spawns create brief windows to grab and escape without taking return fire.
The brand-new Gauntlet mode cycles five game modes: Domination, Kill Confirmed, Hardpoint, TDM, and Roulette: every two minutes. On Grind, this demands the most versatile loadout possible. The Street build (SMG + Hunter's Instinct) adapts to all five sub-modes. Track the mode clock and pre-rotate to the anticipated objective zone during the final 20 seconds of each sub-mode cycle.
|
Detail |
Location |
Notes |
|
Bike Bell Easter Egg |
Various BMX bikes across the map |
Walking over certain BMX bikes triggers an audible bike bell. Bikes are branded "Stunter S." Completely non-tactical but a beloved detail since BO2. |
|
CVS Receipt |
Indoor store floor |
An authentic receipt from a CVS pharmacy in Worcester, Massachusetts is visible on the ground inside the store: a developer Easter egg present since the original 2013 map. |
|
Vert Games Sign |
Multiple locations |
Signs reading "Vert Games" are spread throughout the park: a nod to the X Games extreme sports competition traditionally held in California. |
|
BO2 Map Movie Posters |
Interior walls |
Posters for fictional films based on other BO2 maps: Meltdown, Hijacked, and Express: are visible on interior walls, serving as franchise callbacks. |
|
Black Ops II Skateboards |
Scattered throughout |
Several skateboards feature the signature BO2 orange stripe coloring. A nod to the game's original branding that has persisted through every remaster. |
|
TMNT Graffiti (BO6 Only) |
Entire park (BO6 variant) |
In BO6's Grind Ooze variant, Turtle-themed graffiti, Ooze branding, and cel-shaded posters covered nearly every surface. Absent in the BO7 build which returns to the original aesthetic. |

Grind is back. The Venice Beach skatepark returns in Black Ops 7 S2 Reloaded: full map guide: zones, loadouts, mode strategy, and top tips.

Grind is back. The Venice Beach skatepark returns in Black Ops 7 S2 Reloaded: full map guide: zones, loadouts, mode strategy, and top tips.

Grind is back. The Venice Beach skatepark returns in Black Ops 7 S2 Reloaded: full map guide: zones, loadouts, mode strategy, and top tips.

Grind is back. The Venice Beach skatepark returns in Black Ops 7 S2 Reloaded: full map guide: zones, loadouts, mode strategy, and top tips.

SMGs dominate Grind due to tight corridors and medium-range rotations. Marksman Rifles work well for longer sightlines, but avoid using LMGs unless anchoring objectives.
It's an Enforcer perk that briefly marks the next closest enemy on your minimap after kills, perfectly exposing hidden targets across Grind's obstacles.
Alongside Grind, the update includes the returning Firing Range, two new 6v6 maps named Torque and Cliff Town, and a 20v20 map, Mission: Peak.

GTA 6, new seasons, major updates — get ready to dominate from day one.