

Call of Duty Boost
CoD Bo7 Mars Guide | Survival leaderboard
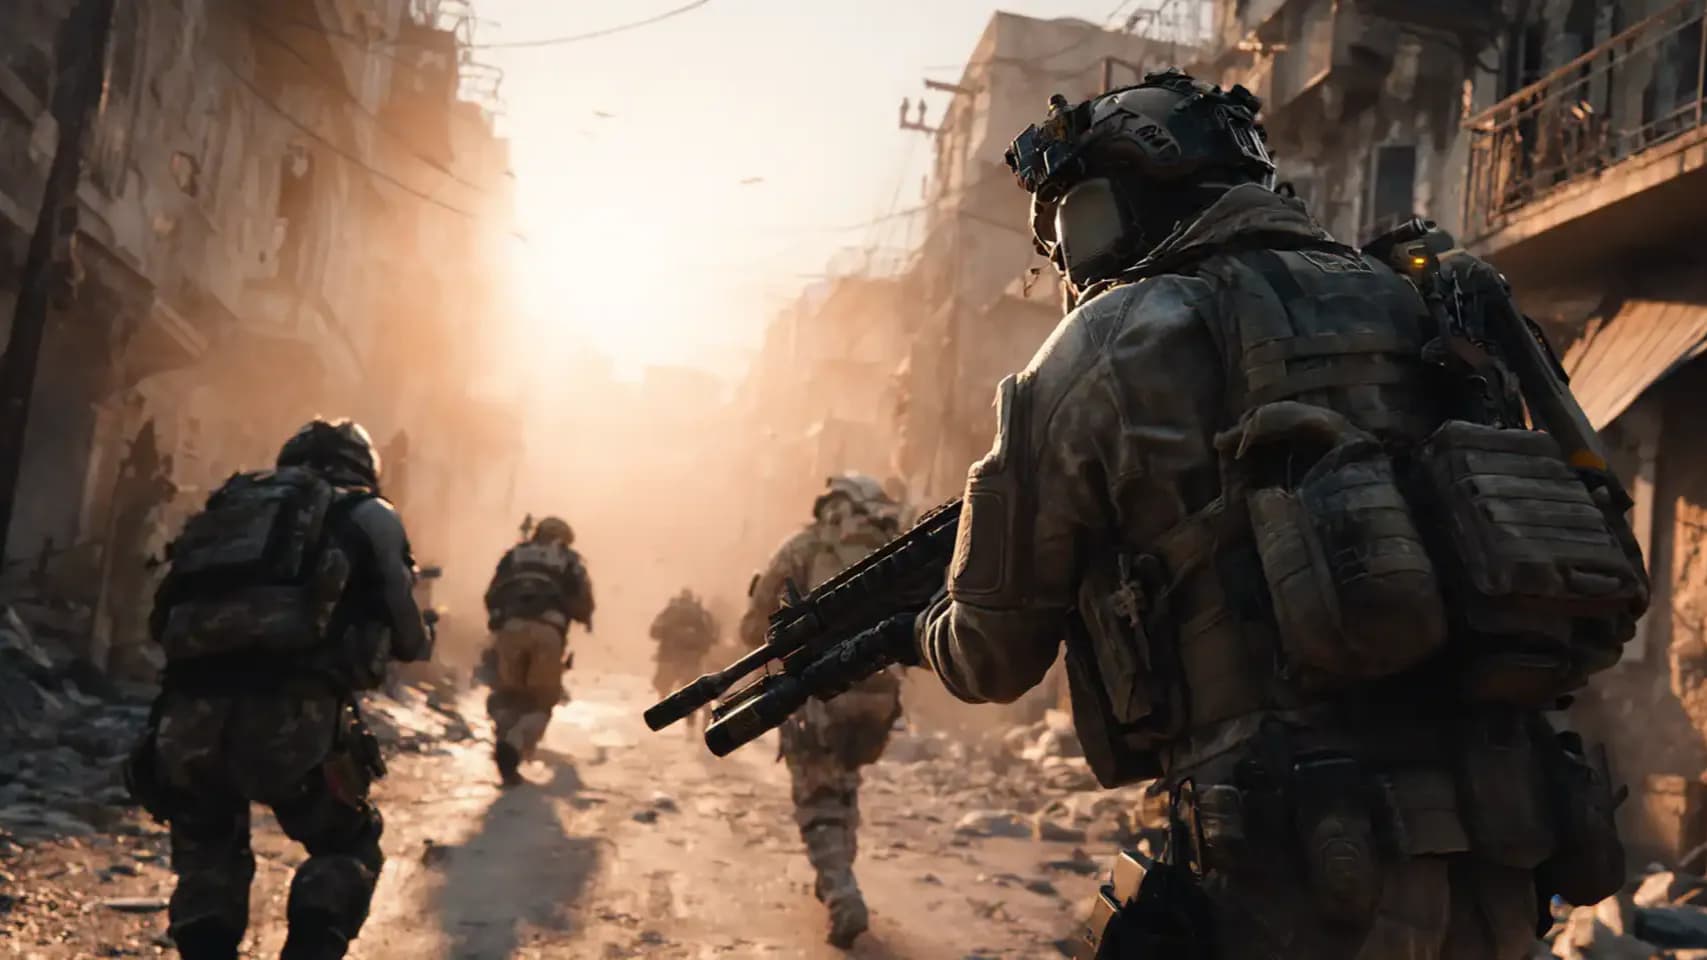
Forget everything you know about Warzone! No loadouts, no Gulag—just pure survival. Drop into Avalon and outsmart them all. Are you ready?
With the massive Season 02 Reloaded update scheduled for March 12–13, 2026, the Call of Duty: Warzone ecosystem is undergoing its most radical transformation in years. The introduction of the Black Ops Royale mode marks a fundamental conceptual shift. For a long time, the Warzone meta has been stagnant, rigidly tied to the loadout concept where matches were often decided in the Gunsmith menu before dropping in. Black Ops Royale shatters this paradigm, returning to the roots of the Battle Royale genre inspired by the cult-classic Blackout mode from Call of Duty: Black Ops 4. So it’s time for a Black Ops Royale Guide!
The core of this new architecture is absolute starting equality. A match unites 100 players, formed into 25 Quads, dropping onto the Avalon archipelago. There are no pre-built loadouts, no Buy Stations, no in-game cash economy, and no Gulag for a guaranteed second chance. Every operator begins exclusively with a base Jäger 45 pistol, a melee knife, a wingsuit, and two starting armor plates.
This harsh environment shifts the gameplay focus away from mechanical reliance on pre-calibrated "meta builds" toward absolute adaptability, heuristic thinking under resource scarcity, chaos control, and tactical positioning. This report provides a comprehensive analysis of the mode's mechanics, offering a professional tactical guide on dominating the Avalon map, optimizing Omnimovement, manipulating the weapon archetype economy, and managing the consumable perk CoD Warzone.
Black Ops Royale matches unfold on the new large-scale Avalon map. Unlike the version seen in the Endgame mode, the Warzone iteration features significant topographical changes. Developers have drained large bodies of water, exposing sandbars and creating new land corridors between islands to stimulate dynamic ground rotations and reduce the vulnerability of swimming players. The map is divided into five key tactical zones.
Characterized by elevation changes, abundant natural cover, and multi-level architecture.
Geared toward open firefights and sniper duels.
Consists of a small group of islands (Coastal Security, Firing Range, Fort, Listening Post). Survival here relies on swimming mechanics and using Tactical Rafts. Coastal defenses hold abundant armor and upgrades, but the bridges connecting the islands are deadly chokepoints perfect for ambushes.
The geographical and logistical heart of the map, featuring the highest building density.
If you’re reading this, you might be interested in a discount just for you—my blog reader! Use code CRINGEBLOG to get an amazing discount on any offer in our shop.
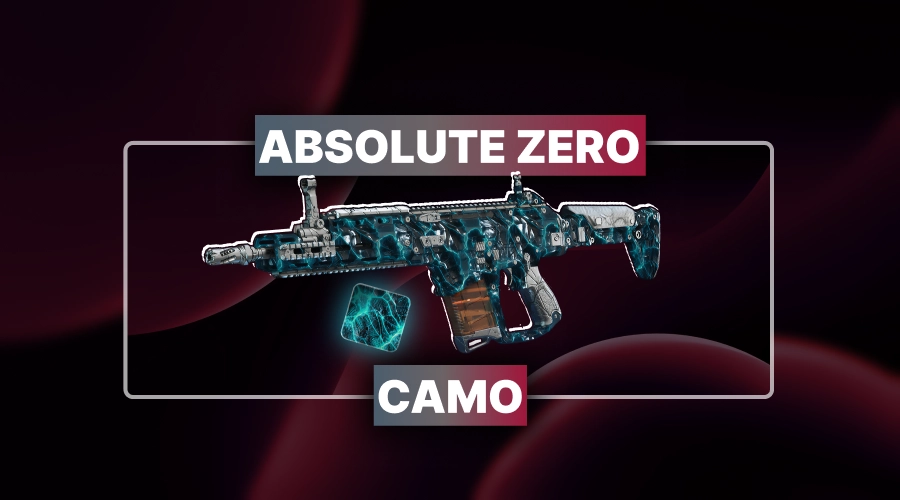
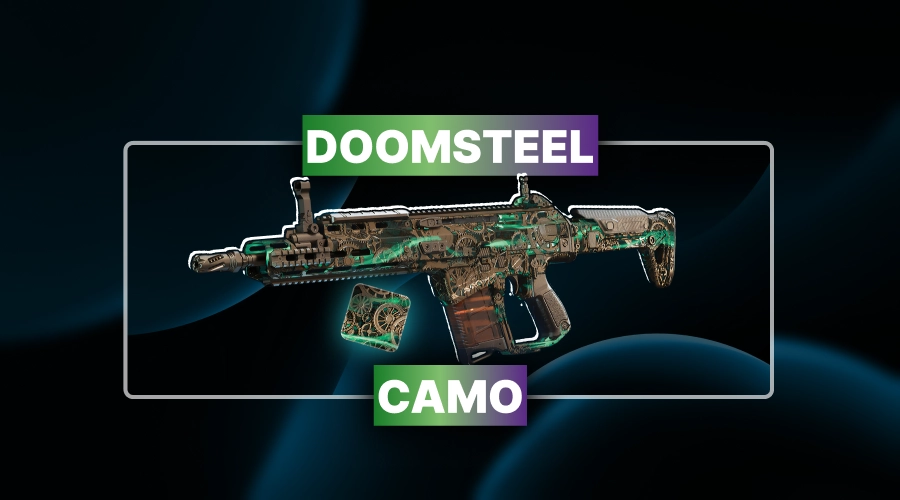
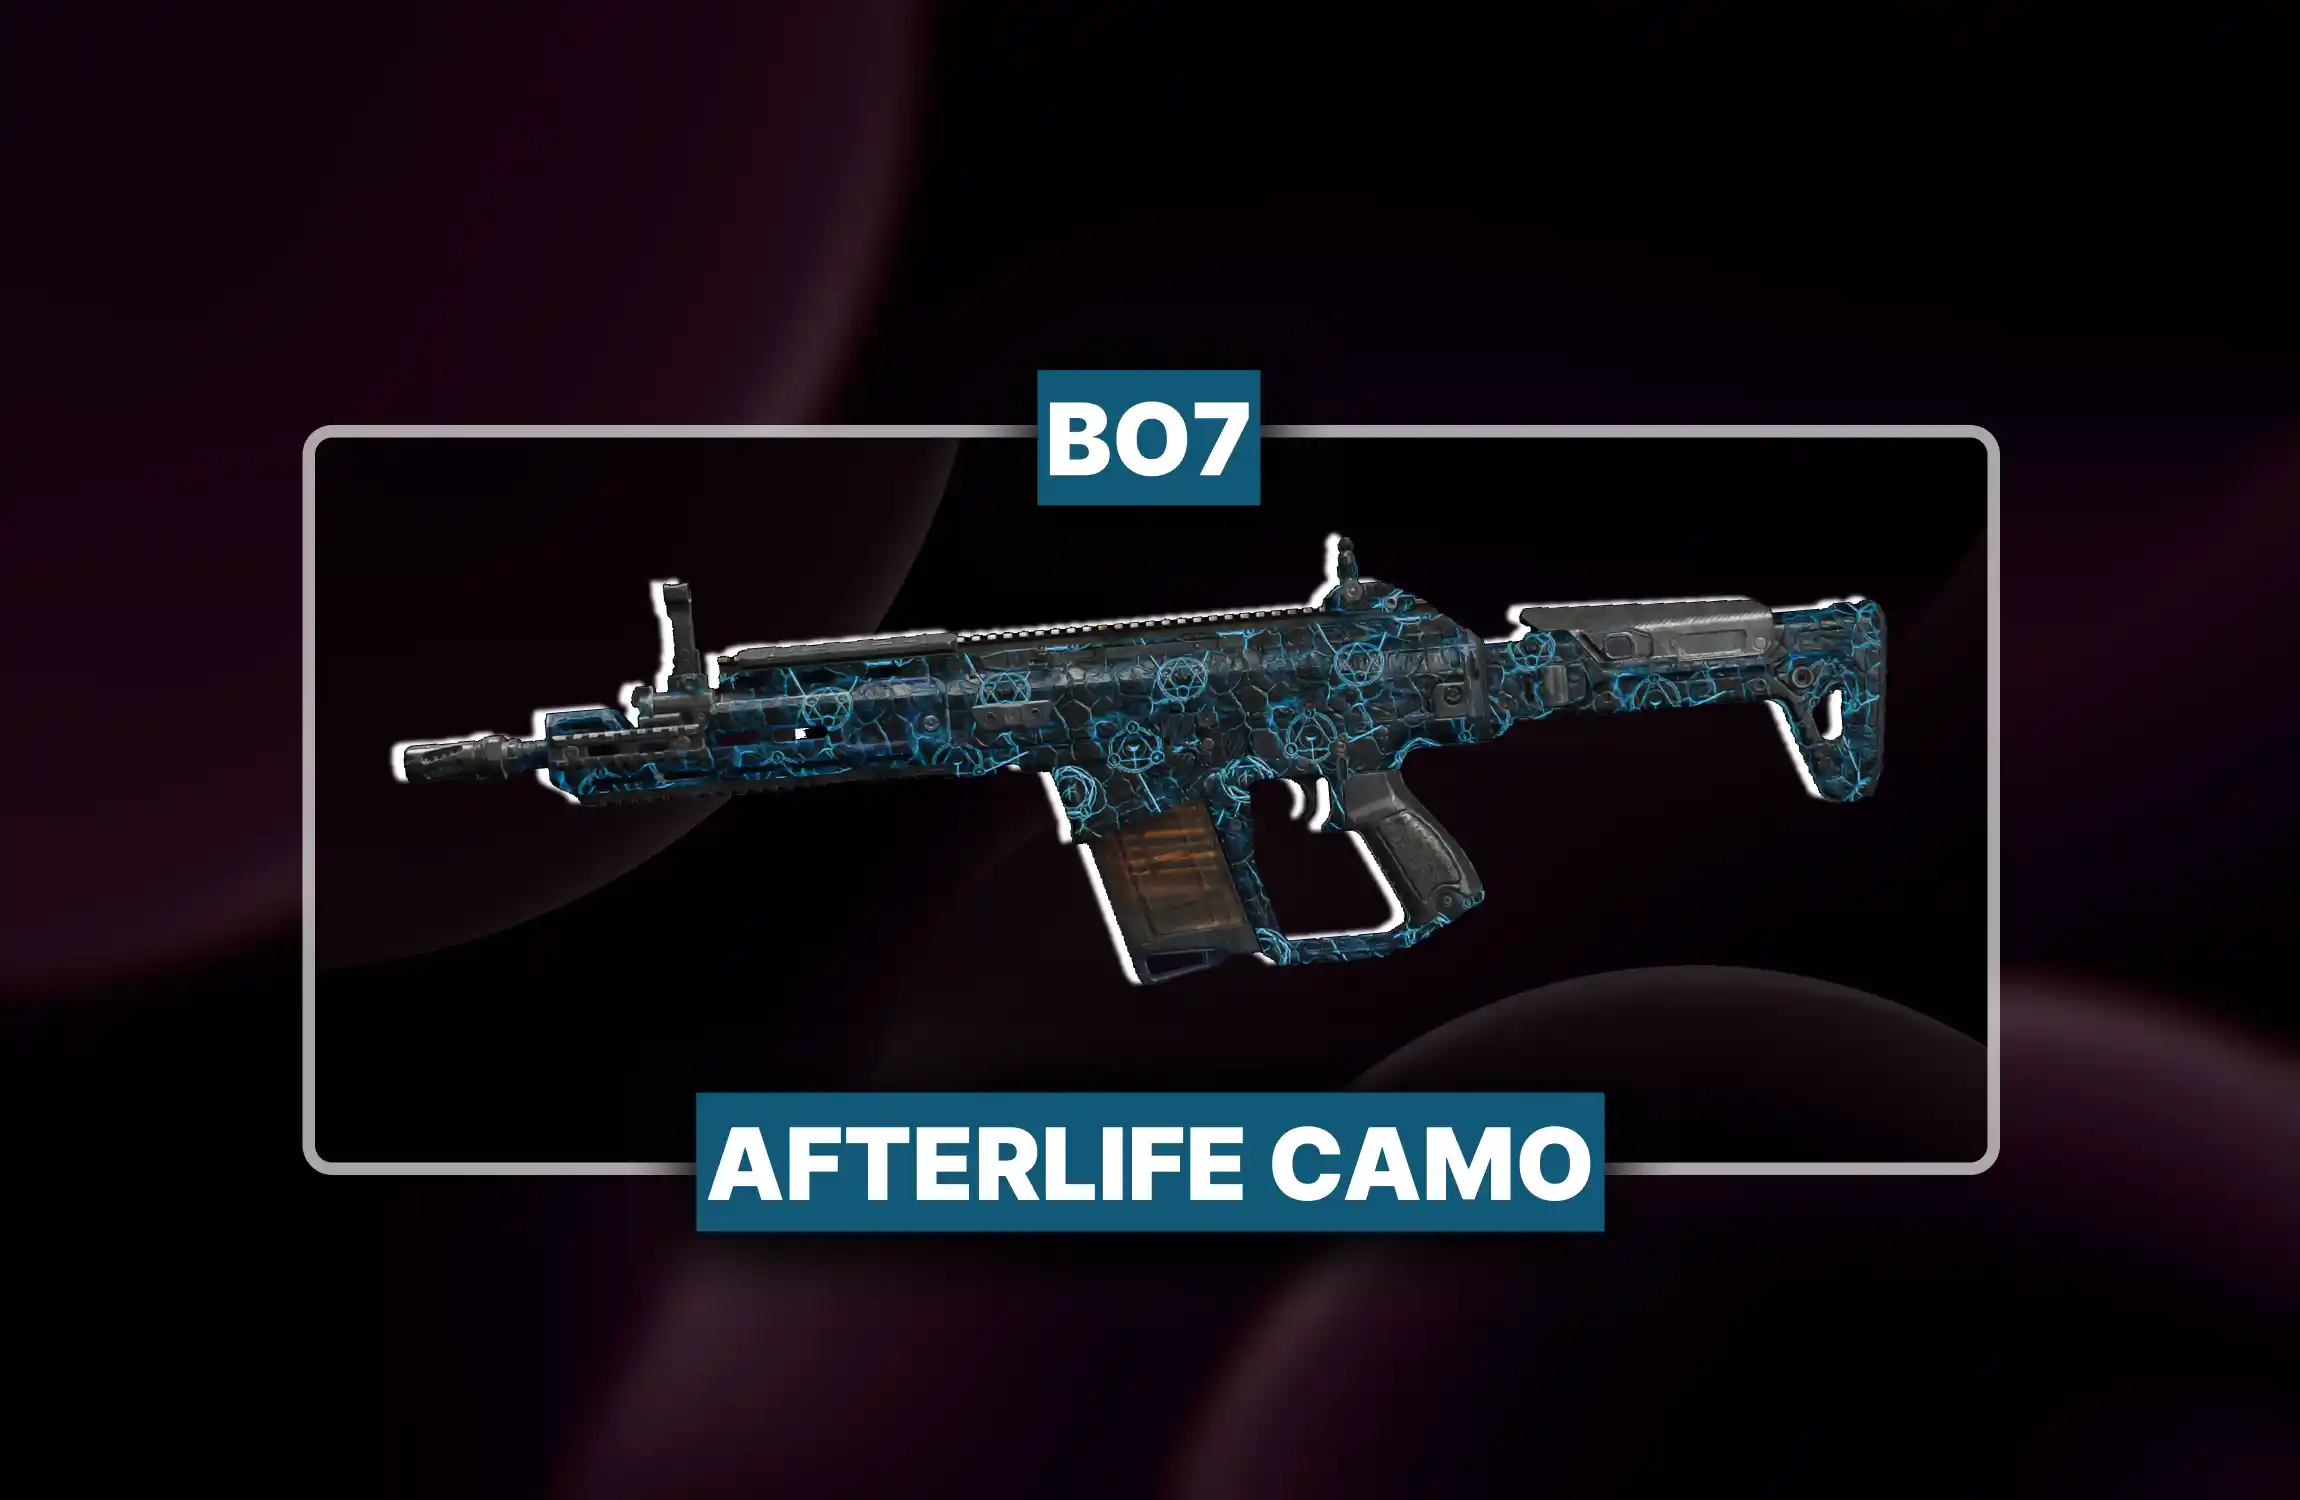
• Unlock light-blue mastery camo.
• Complete 3rd WZ tier.
• Fast, secure camo unlock.
Success in Black Ops Royale is directly tied to mastering character kinetics. The integration of Omnimovement from BO6/7 breaks traditional positioning patterns.
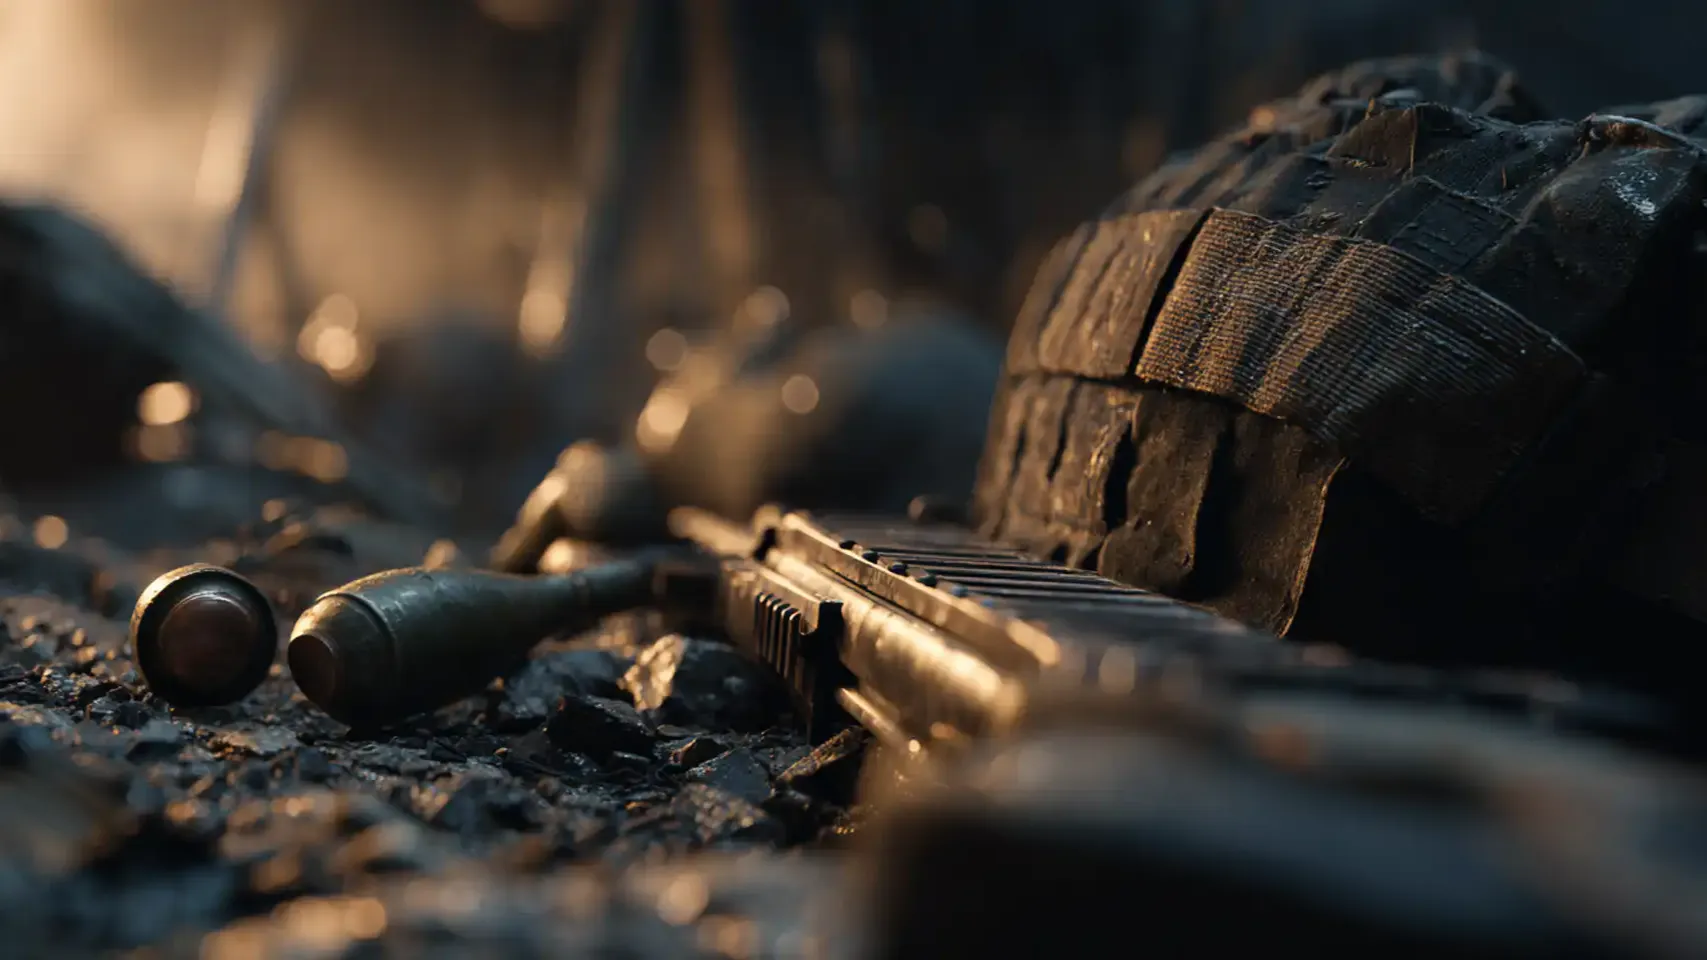
The arsenal is now strictly scavenged and upgraded in real-time. Upgrades are done by finding Attachment Kits (identified by a purple ground glow).
Rarity Tiers:
You cannot manually choose attachments. They are locked to the specific Archetype listed in the weapon's name.
|
Weapon Class |
Archetype |
Tactical Role & Modifiers |
Example Weapons |
|
Assault Rifles |
CQB |
Aggressive pushing. Bridges AR and SMG. Faster ADS and sprint-to-fire. |
M15 MOD 0, Peacekeeper Mk1 |
|
Assault Rifles |
Recon |
Long-range hold. Max recoil control, bullet velocity, and flinch resistance. |
AK-27, Maddox RFB |
|
Assault Rifles |
Covert |
Stealth and mobility. Suppressed, extended mag, faster ADS strafe. |
MXR-17, DS20 Mirage |
|
SMGs |
Burner |
Extreme close-quarters. Max fire rate, elite hip-fire. Uses iron sights. |
Ryden 45K, Kogot-7 |
|
SMGs |
Stalker |
Stealth flanking. Integrated suppressor prevents mini-map pings. |
Carbon 57, Razor 9mm |
|
SMGs |
Mantis |
"Mini-AR" build. Tighter spread and better damage range for open areas. |
Dravec 45, Sturmwolf |
|
Shotguns |
Raider / Striker |
Raider: Sprint speed and hip-fire. Striker: ADS pellet spread control. |
M10 Breacher, Echo 12 |
|
LMGs |
Lockdown |
Perimeter defense. Sacrifices mobility for zero horizontal recoil and a suppressor. |
Sokol 545 |
|
Marksman Rifles |
Scout / Widow |
Scout: Quickscoping mobility. Widow: Suppressed mid-range stealth. |
M34 Novaline |
|
Sniper Rifles |
Viper |
Classic one-shot headshot system. Max bullet velocity. |
VS Recon |
|
Sniper Rifles |
Redacted |
Aggressive hybrid. Suppressed, fast rechamber and ADS. |
Hawker HX |
The new Cerebral Link HUD shows numerical health values (allowing mathematically calculated aggressive pushes when you see an enemy is down to 15 HP). You can carry two of each item type (plates, lethals, tacticals, killstreaks) but no duplicates (preventing late-game UAV/grenade spam).
Perks are now consumables found as loot, stored in 5 inventory slots, and manually activated for temporary buffs (2 to 4 minutes).
|
Perk Name |
Duration |
Tactical Application & Meta Strategy |
|
Awareness |
Short (~2m) |
Amplifies footsteps and shows digital footprints. Perfect for activating right before breaching a building in Low Town for aggressive pre-firing. |
|
Brawler |
Long |
Massive melee damage, lifesteal on melee, HP boost, and Tactical Sprint. Best given to the squad's "Entry Fragger" to combine with a Grappling Hook for aggressive room-clearing. |
|
Dexterity / Lightweight |
Medium |
Dexterity boosts parkour. Lightweight increases base speed and negates fall damage (allowing silent, parachute-free drops from High Town skyscrapers). |
|
Flak Jacket |
Long |
Radically reduces explosive damage. Mandatory for the final 5th/6th Collapse circles to survive grenade spam. |
|
Gung-Ho |
Medium |
Fire weapons while sprinting. Core element of the aggressive SMG meta (Burner/Raider archetypes). |
Random map sectors will occasionally be engulfed in red gas. Entering causes hallucinations and spawns Zombies. Clearing it culminates in a boss fight against an Armored Mangler.
This cross-progression event features Free and Premium tracks.
|
Content Type |
Free Track Rewards |
Premium Track Rewards |
|
Weapons/Mods |
Base Swordfish A1 Marksman Rifle; Echo 12 Backlash Launcher mod. |
"Bypass" Ballistic Knife blueprint; "Field Hunt" & "Waylay" blueprints. |
|
Operator Skins |
"Aeronaut", "Command Op" |
"Hedge", "Underbrush" (Foliage textures, literal pay-to-hide camouflage for the Winery). |
|
Cosmetics |
"Fired Up" camo, Emblems, 1hr 2WXP. |
"Overpowered" calling card, "Loot Grab" finishing move. |
Tactical Note: Unlocking the base Swordfish A1 via the free track is an absolute priority, as historically, launch event weapons have overtuned stats and will likely dethrone the M8A1.
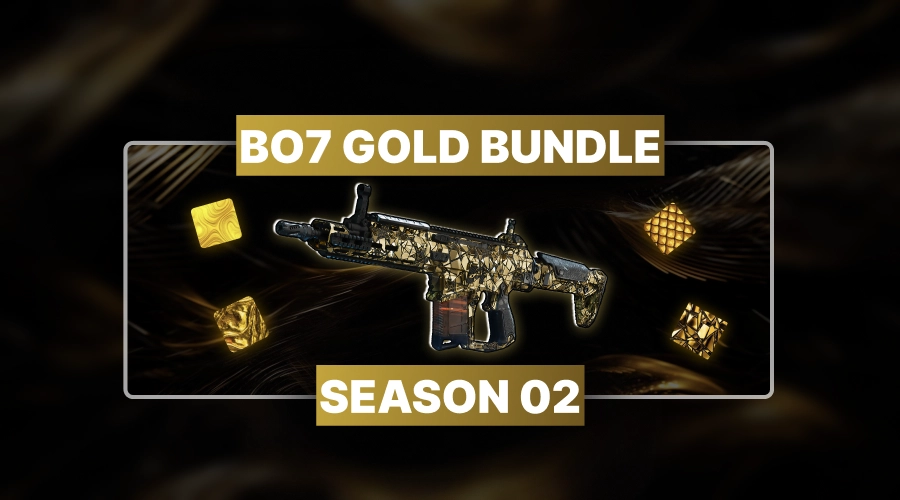
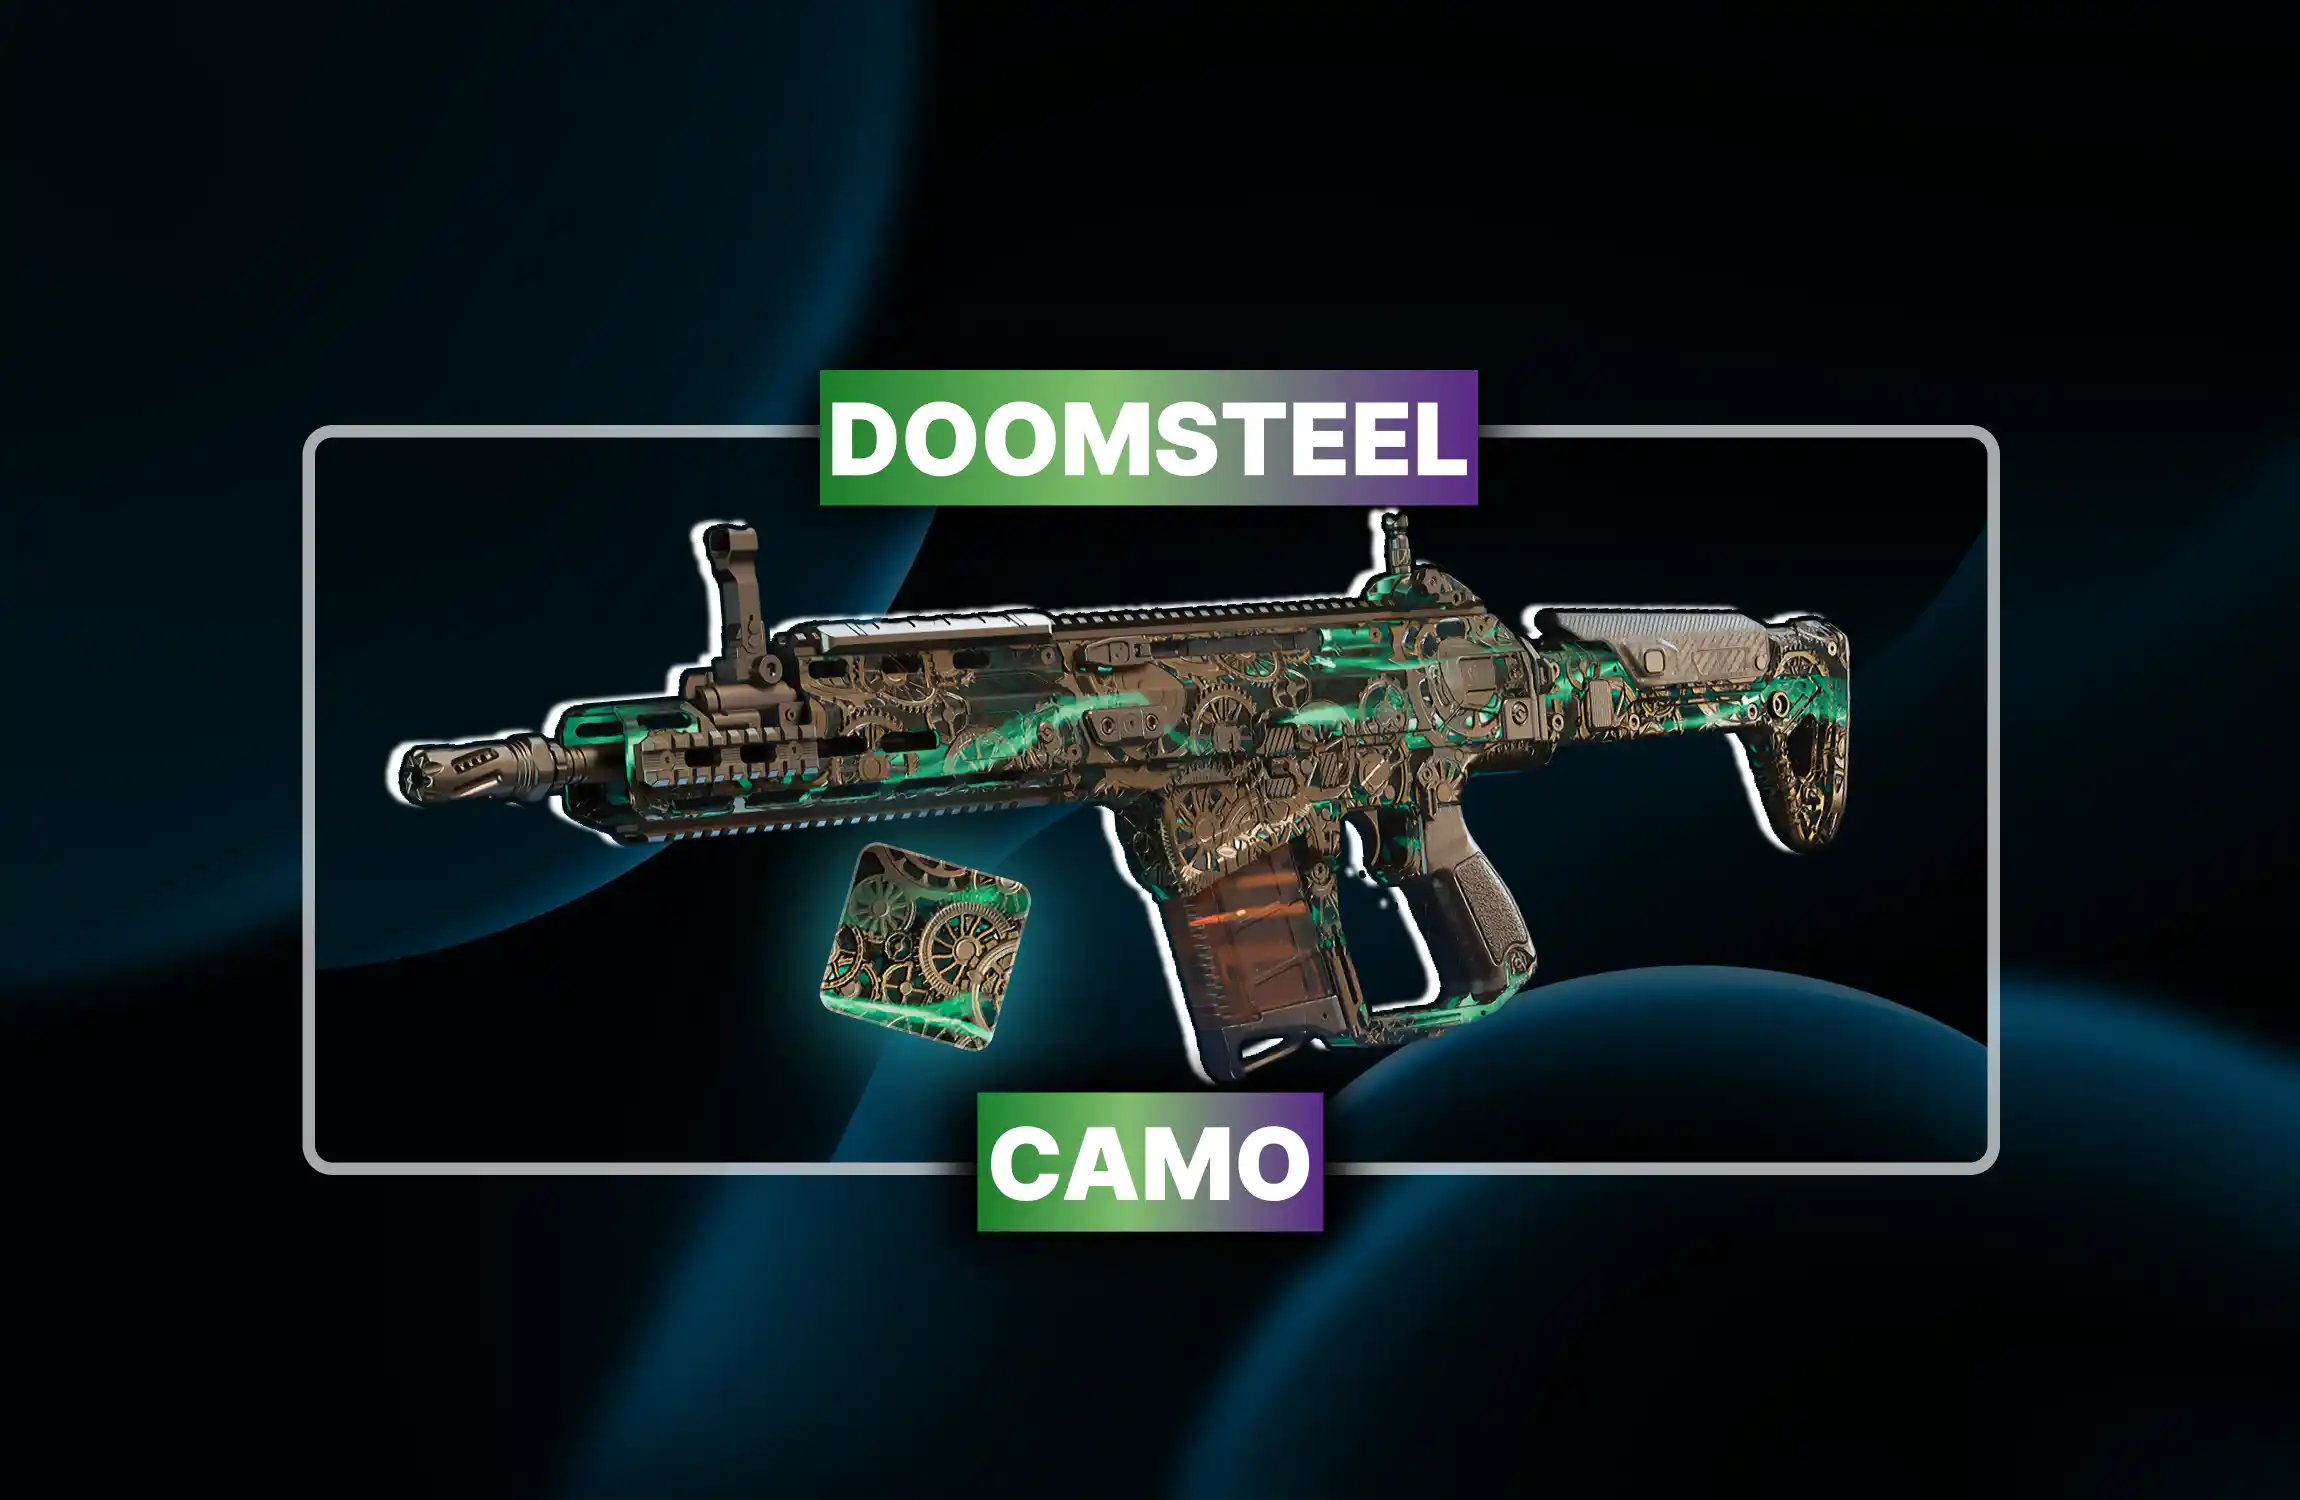
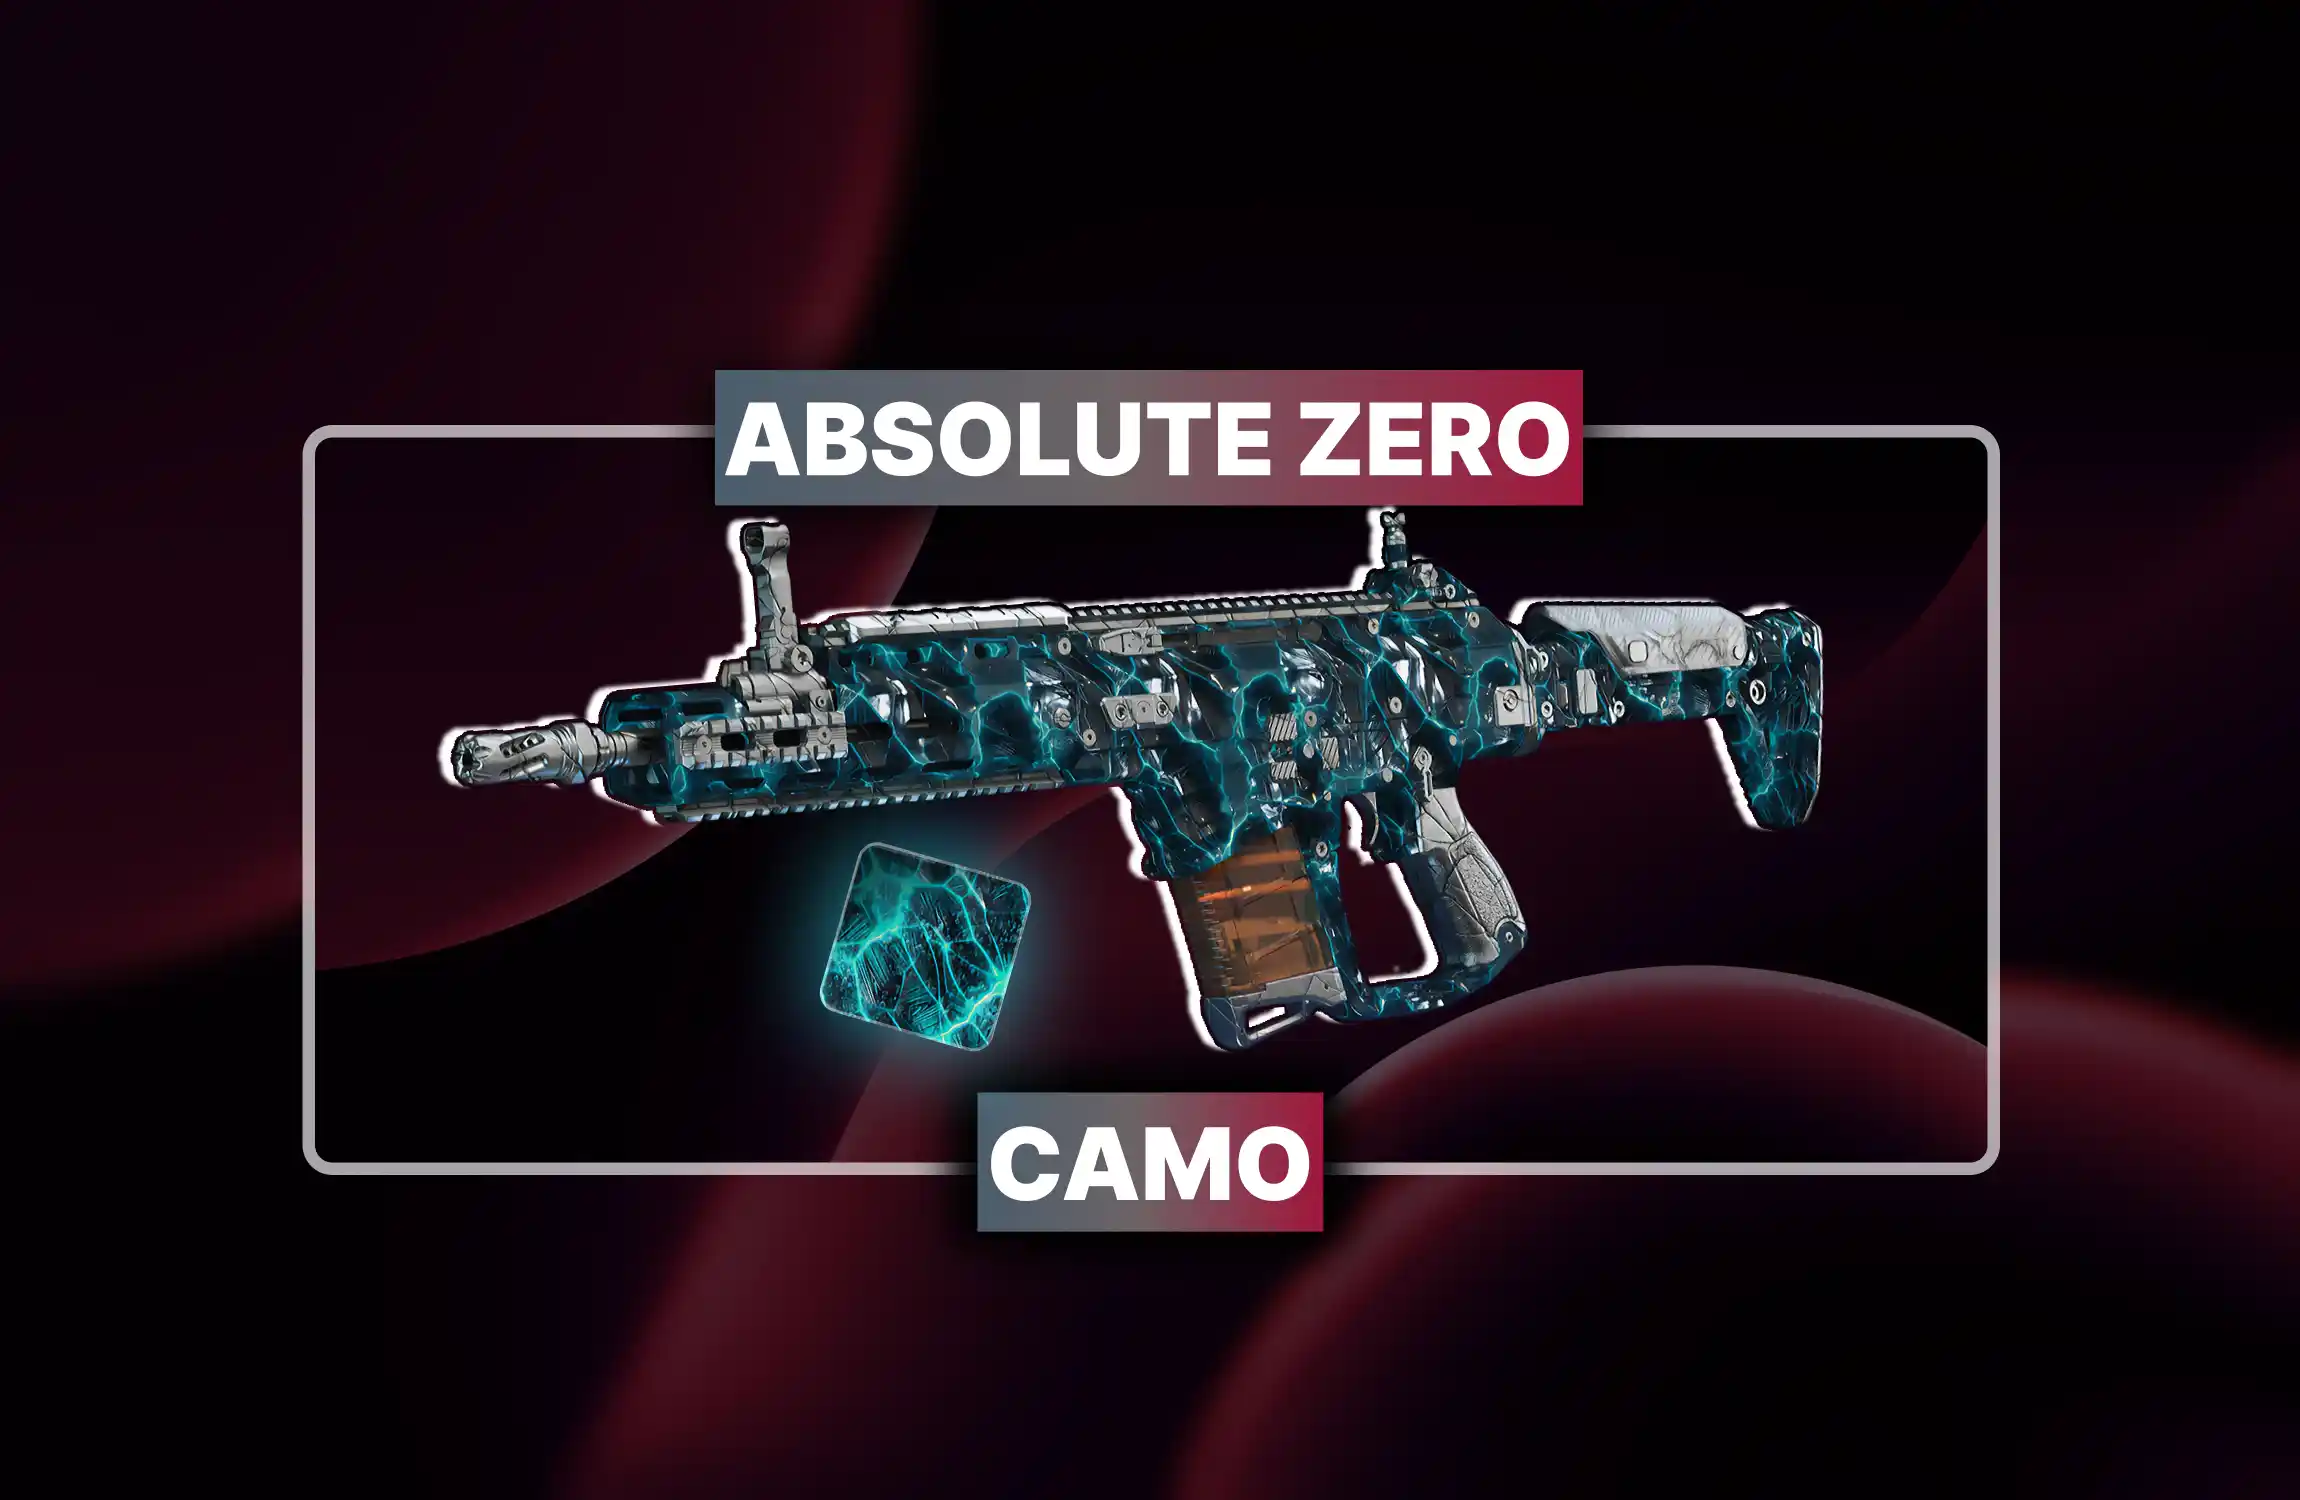
• Unlock light-blue Mastery camo.
• Complete 4th WZ tier.
• Fast, secure camo unlock.
Black Ops Royale is a complete deconstruction of the Warzone formula. The return to Blackout's roots, multiplied by the hyper-dynamics of BO6/BO7 Omnimovement, creates a landscape where adaptability trumps muscle memory.
Mastery requires a symbiosis of three skills:
Squads that weaponize Redeploy Towers as bait and systematically farm Cradle Breaches for Exotic weapons will dominate Avalon. Players looking for Buy Stations out of habit will simply become easy prey.

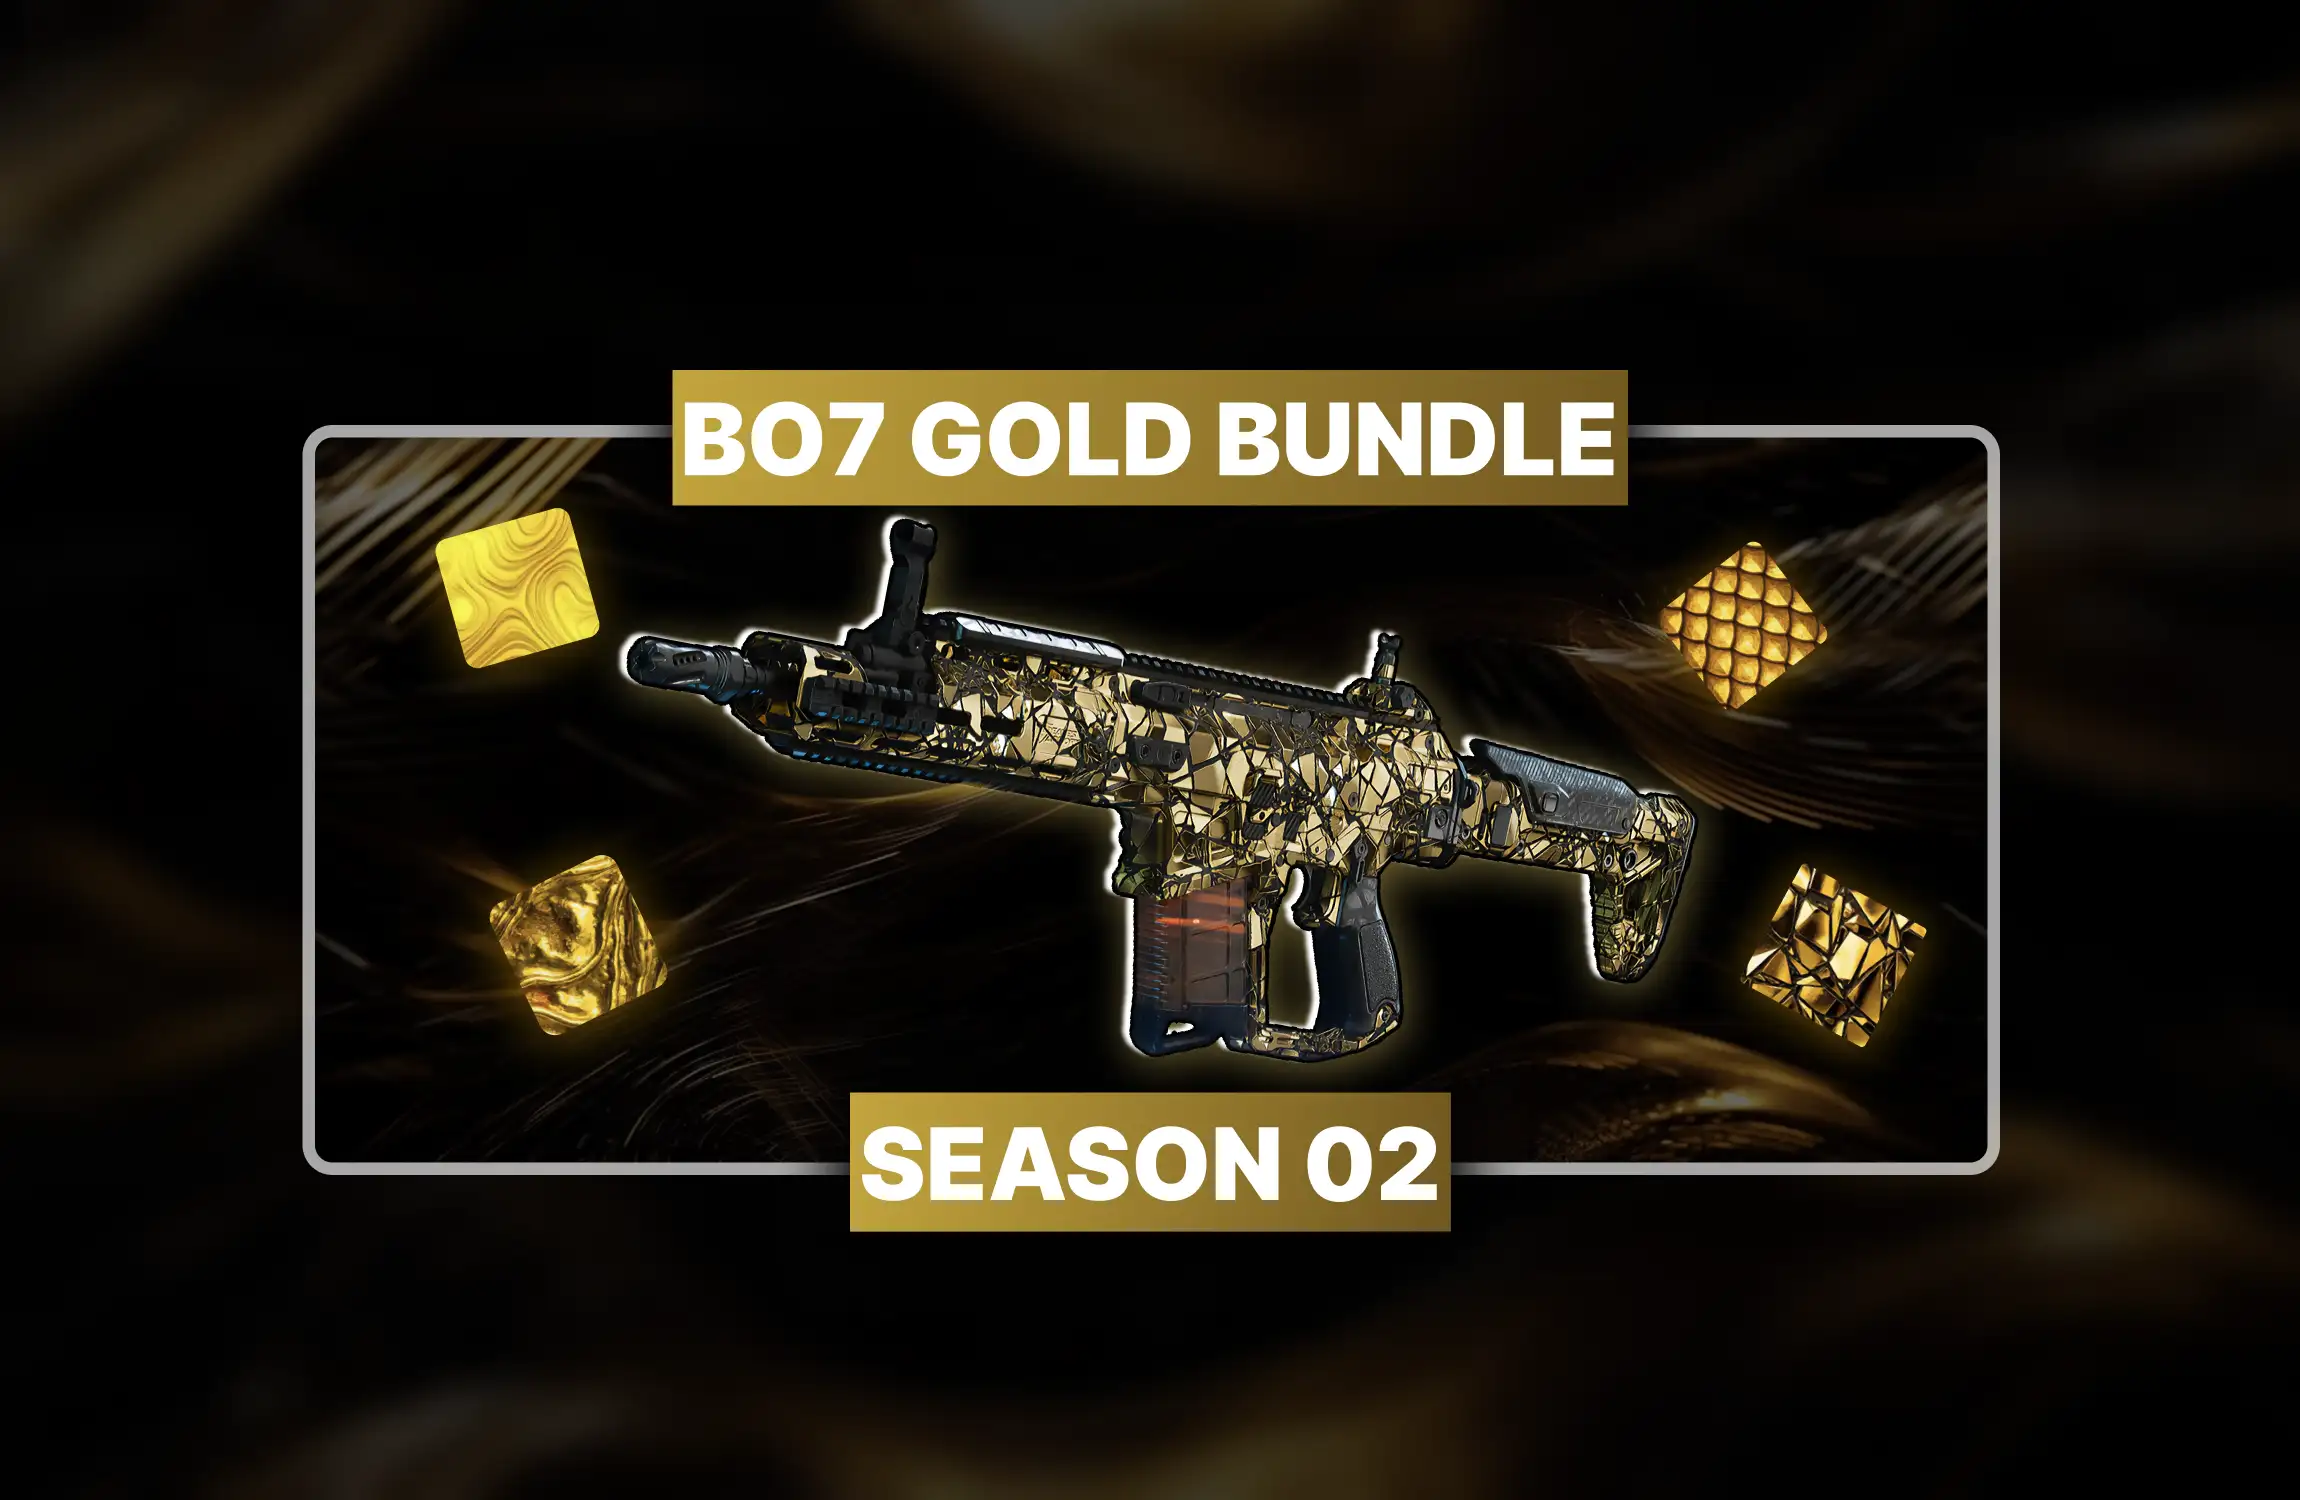
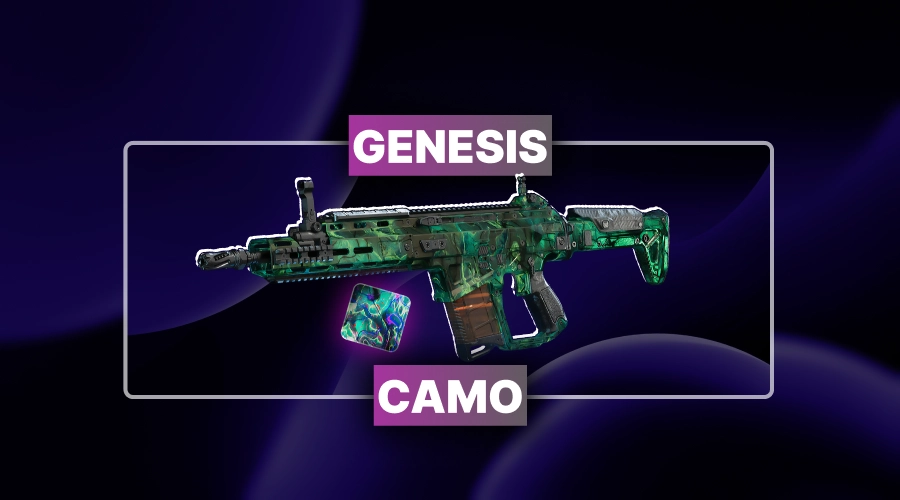
• Unlock light-blue Mastery camo.
• Complete 4th WZ tier.
• Fast, secure camo unlock.
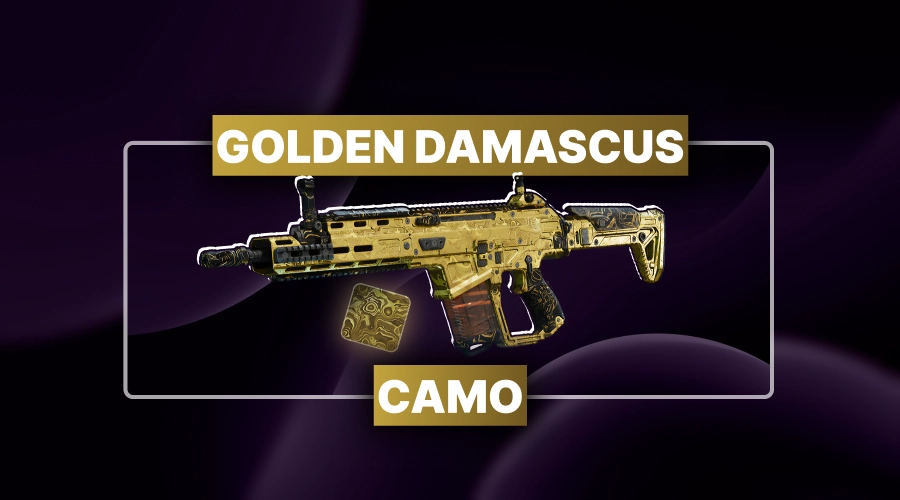
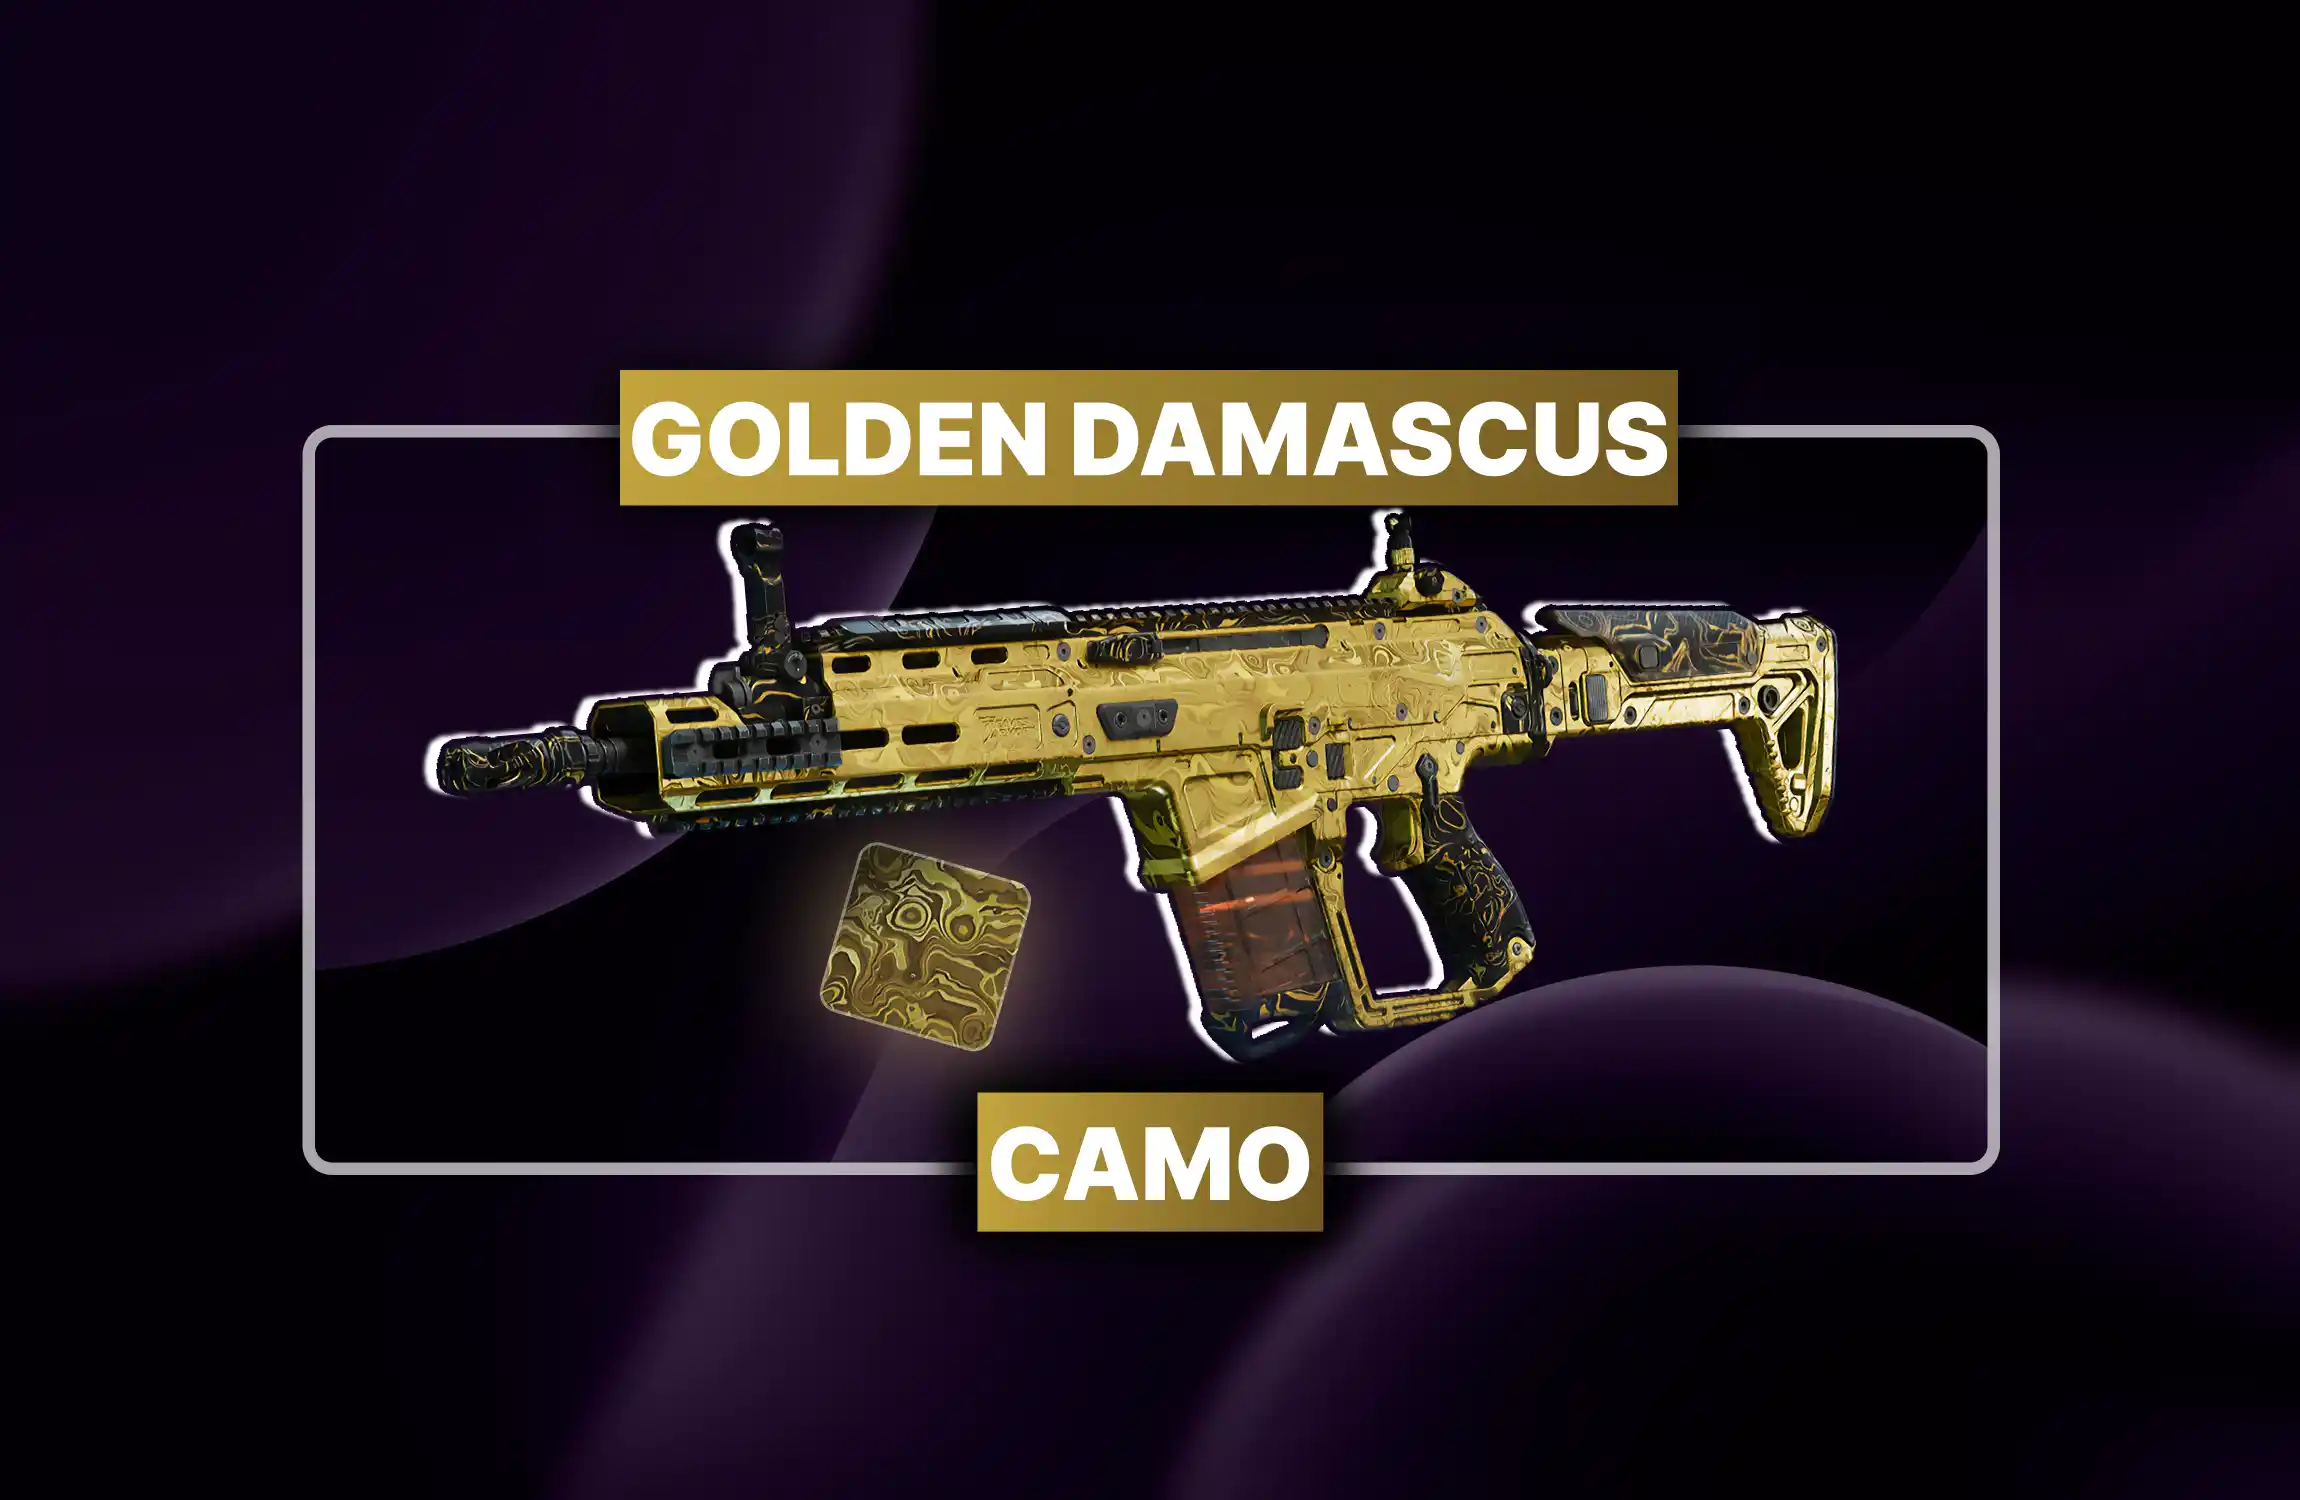
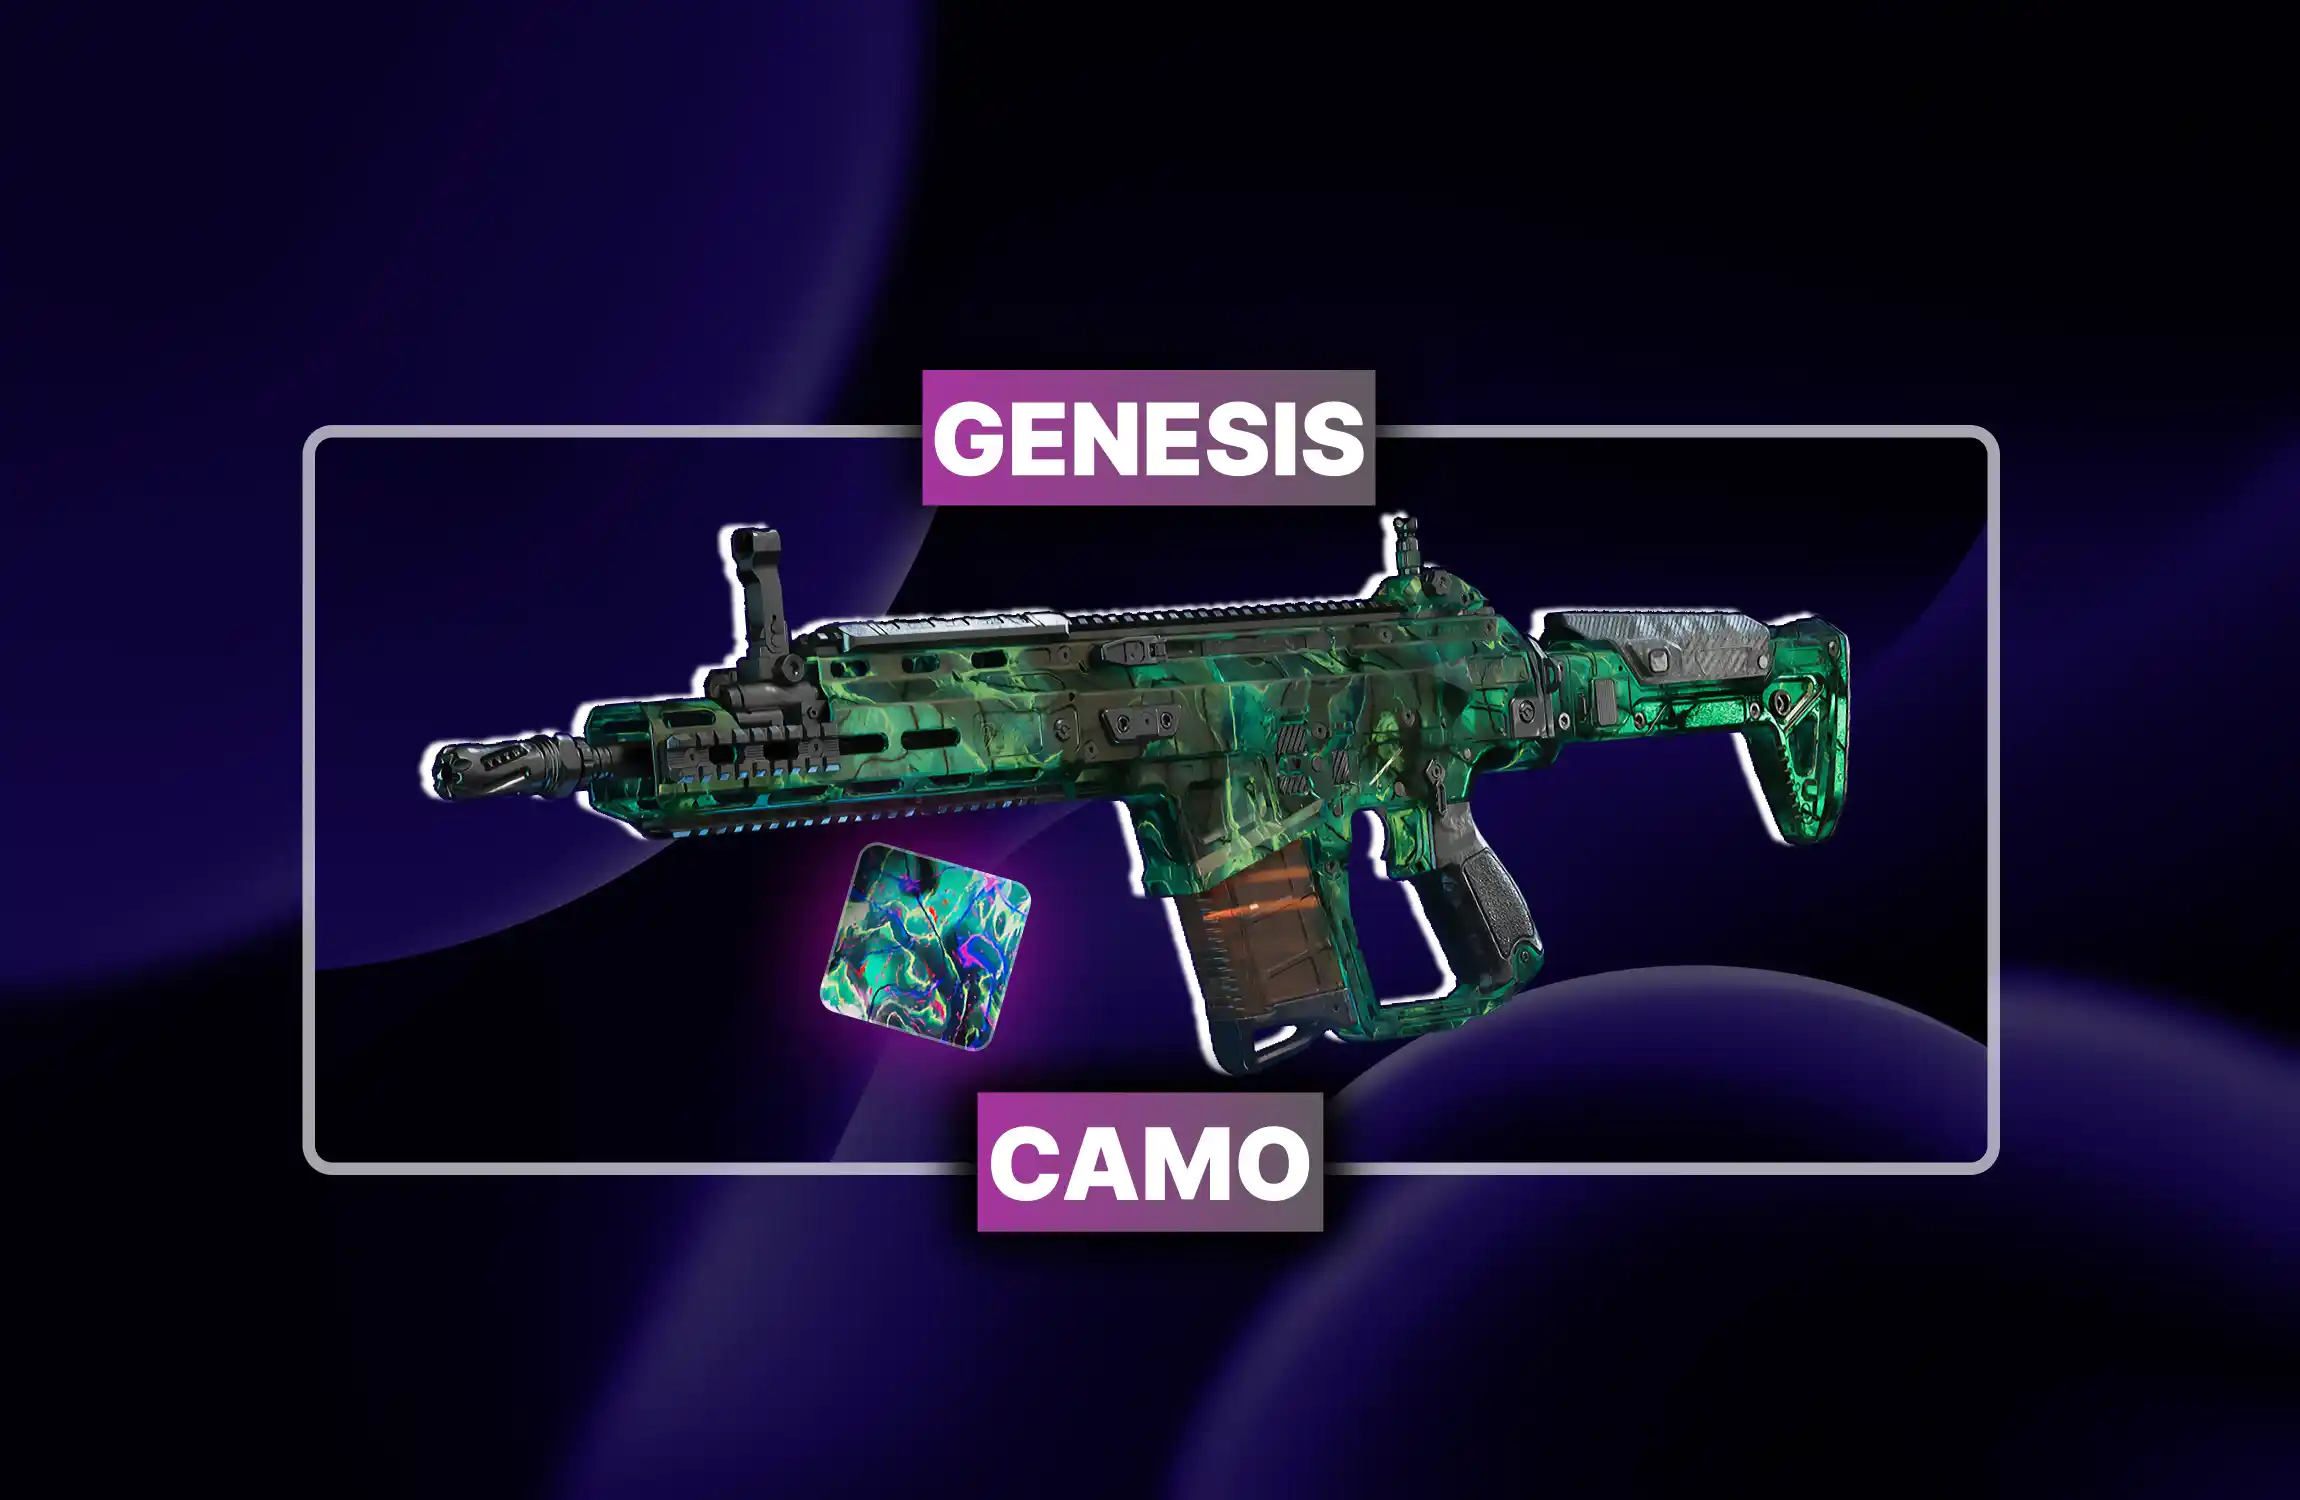
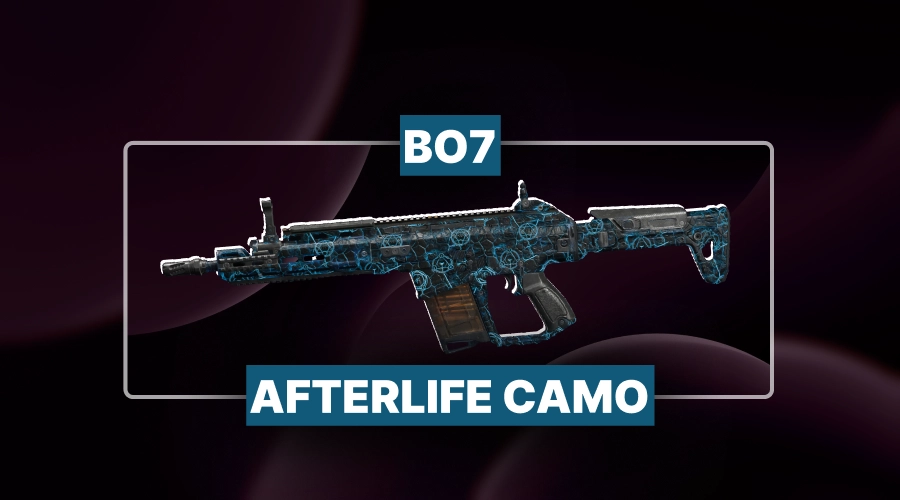
• Unlock light-blue mastery camo.
• Complete 3rd WZ tier.
• Fast, secure camo unlock.
• Complete all Zombies objectives
• Fast safe expert boosting
• Track progress live anytime
• Buy 3, get 1 for free Gold camos
• Fast secure mastery boosting
• Clear status updates provided
• Fast Battle Pass leveling
• Exclusive skins blueprints unlocked
• Zero grind instant rewards
Forget everything you know about Warzone! No loadouts, no Gulag—just pure survival. Drop into Avalon and outsmart them all. Are you ready?

Forget everything you know about Warzone! No loadouts, no Gulag—just pure survival. Drop into Avalon and outsmart them all. Are you ready?

Forget everything you know about Warzone! No loadouts, no Gulag—just pure survival. Drop into Avalon and outsmart them all. Are you ready?

Forget everything you know about Warzone! No loadouts, no Gulag—just pure survival. Drop into Avalon and outsmart them all. Are you ready?

No. You drop with a pistol and must scavenge and upgrade weapons using Attachment Kits found across Avalon.
The Gulag is completely gone. Squadmates can only bring you back using rare Redeploy Tokens or Redeployment Towers.
The M8A1 marksman rifle and Stalker-archetype Carbon 57 SMG currently dominate the meta for long and close range.
Perks are lootable items stored in your inventory. You activate them manually for temporary, powerful tactical buffs.
It is a red gas zone filled with zombies. Defeating the Armored Mangler boss drops ultra-rare Exotic weapons.

GTA 6, new seasons, major updates — get ready to dominate from day one.