




Arc Raiders Boost
ARC Raiders Search Lockers Trial
The Damage Rocketeers Trial is back. Blue Gate, Pilgrim's Peak, a bag full of Wolfpacks, and the audacity to want 32,000 score. Here's how to actually
The ARC Raiders Damage Rocketeers Trial is a weekly Trial where the game politely asks you to stand beneath a flying armored death machine and poke it until it gives you points. Five Trials rotate every week, and this one has the courtesy of being straightforward: deal damage, extract alive, collect score. The less courteous part is the Rocketeer itself, which fires guided missiles, has armored thrusters, and holds a grudge. This guide covers how to get your easy 3-star reward and, for the deranged among you, how to push toward 32,000+.
Points only register on extraction. Die at 29,000 score and the game takes everything. It does not apologize. Neither will this guide.
Before you commit an entire loadout to this Trial, know what you're getting per kill. Rocketeer score per kill sits at 1,430 during normal conditions. Under any active Major Map Condition: such as the Locked Gate event: that number doubles.
|
Condition |
Score per Rocketeer |
Kills for 3-Star (4,000) |
|
Normal |
1,430 |
3 kills |
|
2x Event Modifier (e.g. Locked Gate) |
2,860 |
2 kills |
|
Trio run, 2x modifier |
2,860 per player |
Potentially 32,000+ |
The arithmetic is not subtle. Schedule your raids around active Major Map Conditions. Daytime modifier + active event = the only time this grind makes sense from an efficiency standpoint.
The Rocketeer is a large flying ARC unit with four thrusters, a front sensor assembly, and twin rocket launchers. It targets Raiders with a laser lock-on before firing 1–4 guided missiles. Two direct hits are enough to down an unprepared Raider. Understanding its weak points is mandatory before you go wave a gun at one.
Thrusters (Primary) Four propulsion units keep it airborne. The tops are unarmored: shooting them from above skips the armor entirely. Destroy two thrusters and it crashes, grounded and fully exposed for several seconds. That is your damage window.
Front Sensor / "Eyebrow" Armor Stripping the front plate with a high-penetration weapon exposes the weak point beneath. The Aphelion is notably effective here: its kinetic push also slows the Rocketeer's advance while you work.
Red Glowing Core (Secondary) Located underneath, revealed during reload cycles. Ideal for precision fire or Wolfpack cleanup after thrusters are damaged. Do not stare at it so long you take a missile to the face.
Shoot the propellers to destroy them for environmental fall damage. Those hits do not count toward your Trial score. Aim the body. Be precise. Be annoyed when you clip a thruster by accident anyway.
One useful behavioral note: after losing line of sight, the Rocketeer stays in combat mode roughly 20 seconds before going to alert, then patrol. Its thrusters visibly return to an upright position when it calms down. This is your window to reposition.
For the best loadout for Rocketeers ARC Raiders, there is no single correct answer, but there is a wrong one: showing up unprepared. The following covers everything needed to manage threats, absorb punishment, and deal enough burst damage to make the Trial worthwhile.
For Blue Gate Locked Gate event ARC Raiders, the ideal setup is straightforward: load in during the Locked Gate Major Map Condition to activate the 2x score modifier and extend your raid timer to 40 minutes. Dam Battleground with any 2x modifier is a workable fallback, but Blue Gate is the preference.
The top of Pilgrim's Peak is the recommended position. Elevated, open sightlines in every direction, and far enough from high-traffic areas that you will not spend the entire raid negotiating with other Raiders. High ground gives you better angles on Rocketeer thrusters and lets you pull them from a distance before they have time to build up a targeting lock.
One caveat: a Locked Gate key spawns at Pilgrim's Peak. Expect occasional visitors. Most want to do the Event itself: vocalize your intentions and the majority will move on. The ones who don't are why you packed Smoke Grenades.
Set up Barricade Kits before pulling any Rocketeers. Block the zipline access points. Position with cover at your back. Only then start shooting at things that will immediately try to kill you.
The how to kill Rocketeer ARC Raiders flow is consistent regardless of loadout:
Pull from range Tag the Rocketeer with your Anvil or Renegade from a distance. This brings it to you on your terms, not while you're reloading in the open.
Use missile volleys as a tempo window After a volley lands on cover, you have roughly 3 seconds before the next cycle. That is your peek. Aim. Fire. Return to cover. Do not stay out because you think you can finish it in one go.
Deploy Wolfpack One Wolfpack Grenade handles most of the damage. The homing rockets strip armor and hit the body center where it counts for Trial score. Follow immediately with Anvil shots to finish. The Wolfpack + 3 Anvil shots is the most efficient kill sequence currently available.
Ground it if needed A Showstopper Grenade or Hornet Driver stuns the Rocketeer for roughly 10 seconds, bringing it to ground level. This makes thruster targeting trivial and lets you dump heavy ammo freely into the exposed core.
For players without Wolfpacks, the Wolfpack Grenade Rocketeer strategy can be approximated with Snap Blast Grenades stacked on top of the unit. It is slower, more dangerous, and requires you to get uncomfortably close to something that shoots missiles. Bring more cover.
Solo runs are viable for the 3-star reward. Two Rocketeers under a 2x modifier gets you to 5,720 score: done. The risk profile is entirely on you, which means positioning discipline matters more than firepower. Stay elevated, do not chase damaged Rocketeers into open ground.
Duo and trio Rocketeer Trial strategy multiplies output significantly. Three players sharing the same spawn can process Rocketeers in seconds with staggered Wolfpack throws and converging heavy fire. A clean trio run on Blue Gate with the Locked Gate modifier active can realistically hit 20,000–32,000+ score. Damage is not shared between players: every Raider must deal their own hits to earn their own points. Coordinate pulls and avoid overlapping targets.
The Rocketeer Driver: a rare crafting component: drops from destroyed Rocketeers. It is used in high-tier station upgrades. Farming this Trial also doubles as progression fuel if you're short on Drivers.
For the ARC Raiders Trials 3-star reward fast path, minimal investment required: load into any map with an active 2x modifier, locate two Rocketeers, throw two Wolfpack Grenades, and extract. Total time: under 10 minutes if you know the spawn locations. You do not need a full loadout, a specific map, or an elevated position. You need two Wolfpacks and the ability to throw them in a roughly correct direction.
Rocketeers spawn predictably at high-value patrol zones on Blue Gate, Spaceport, and Dam Battleground. Blue Gate's Spaceport Launch Towers area and the area east of the Control Tower both produce reliable spawns. Check before loading in, adjust based on which event is active.

The Damage Rocketeers Trial is back. Blue Gate, Pilgrim's Peak, a bag full of Wolfpacks, and the audacity to want 32,000 score. Here's how to actually
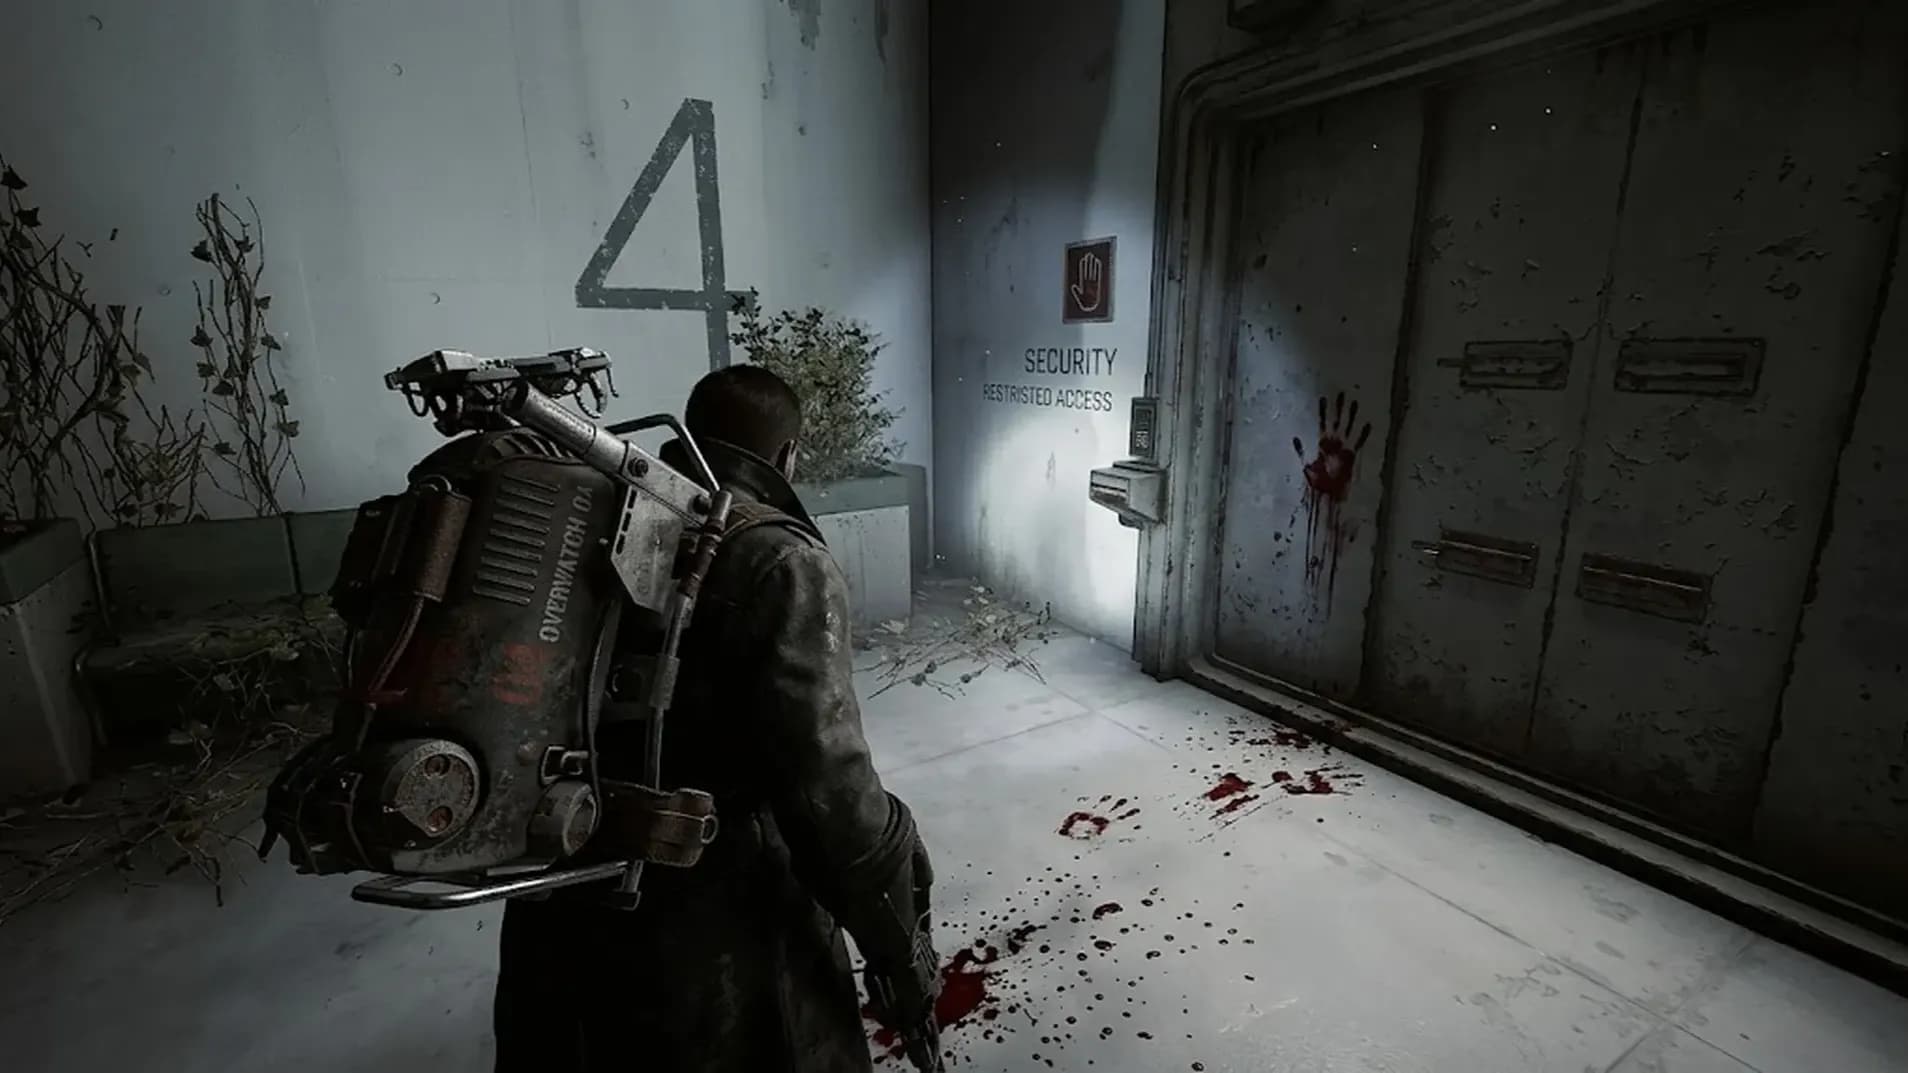
The Damage Rocketeers Trial is back. Blue Gate, Pilgrim's Peak, a bag full of Wolfpacks, and the audacity to want 32,000 score. Here's how to actually
The Damage Rocketeers Trial is back. Blue Gate, Pilgrim's Peak, a bag full of Wolfpacks, and the audacity to want 32,000 score. Here's how to actually
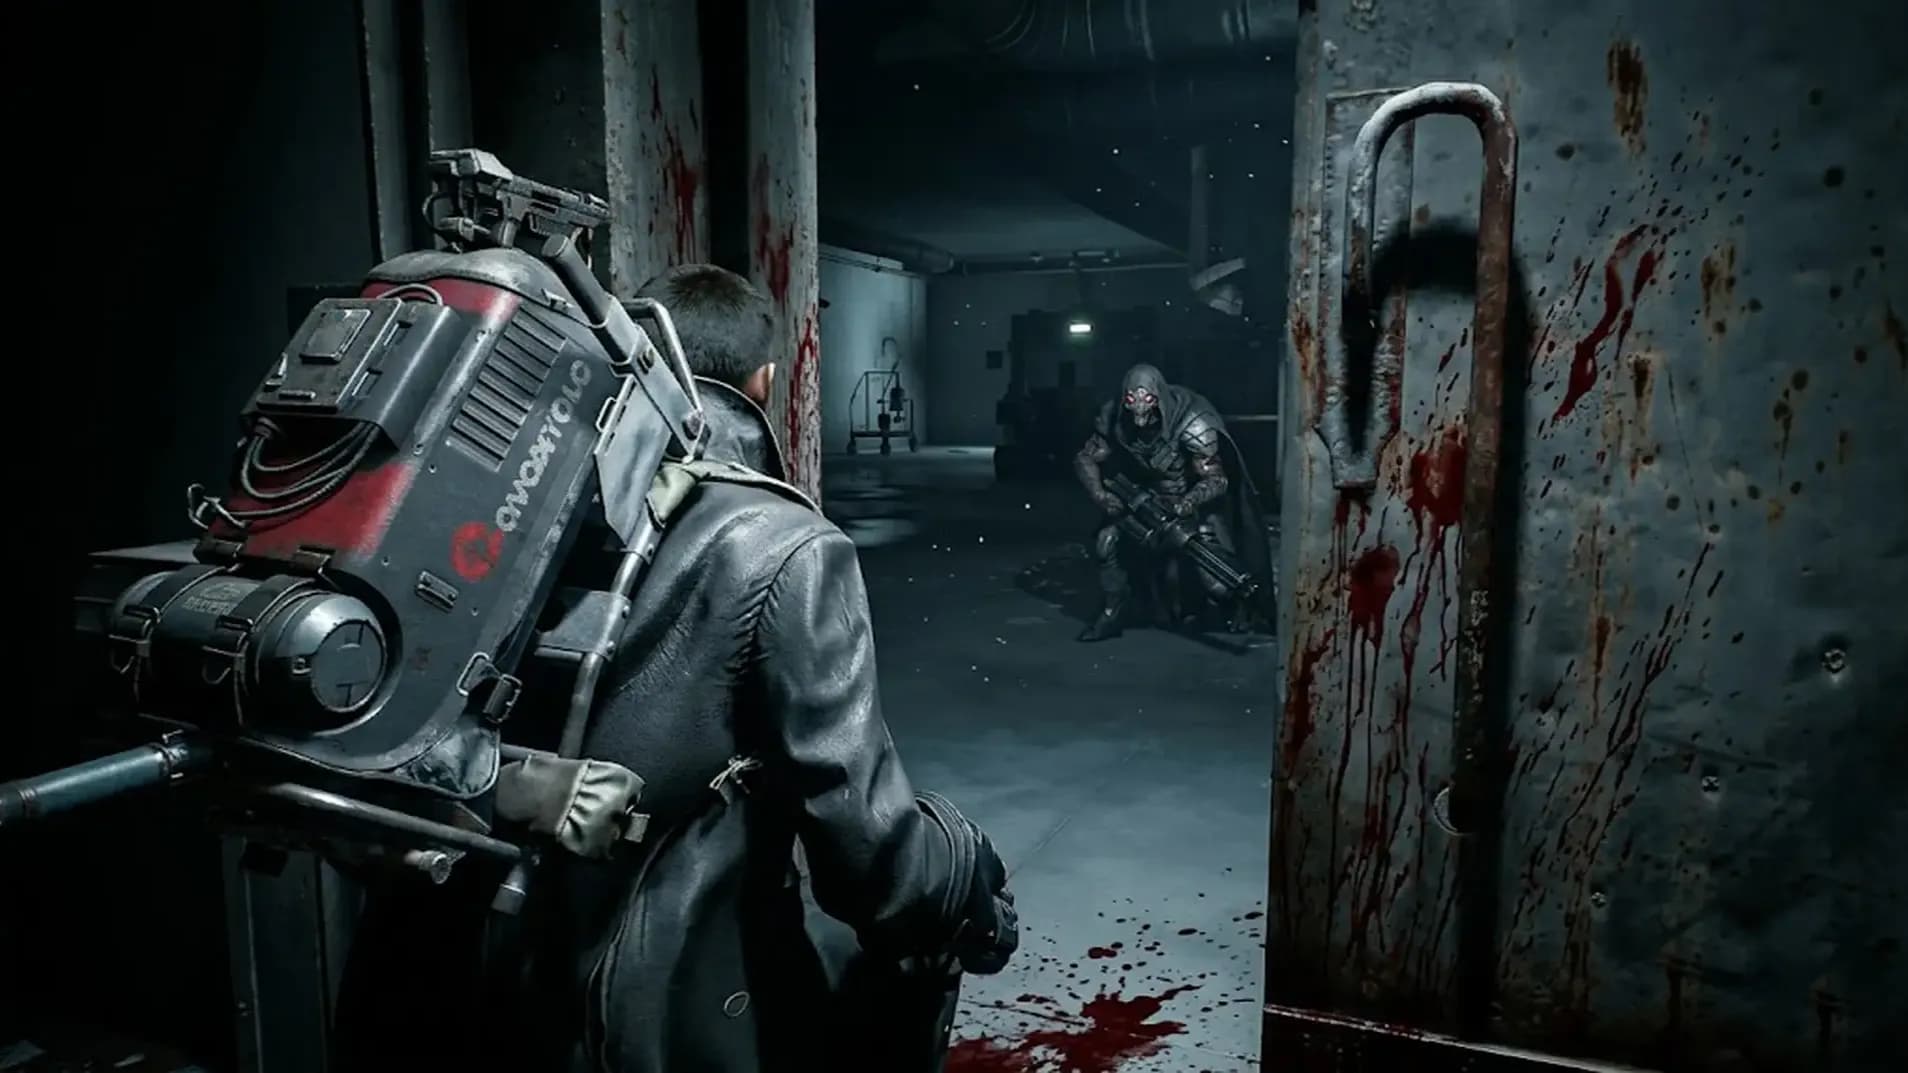
The Damage Rocketeers Trial is back. Blue Gate, Pilgrim's Peak, a bag full of Wolfpacks, and the audacity to want 32,000 score. Here's how to actually

Only body hits count. Thruster destruction that crashes the Rocketeer via environmental fall damage does not register score.
Blue Gate with the Locked Gate 2x modifier active. Pilgrim's Peak gives elevation, sightlines, and a 40-minute raid timer.
Yes. It takes longer, uses more ammo, and is significantly more dangerous. Snap Blast Grenades plus heavy weapons work as a substitute.
No. Each Raider earns score from their own hits only. Everyone needs to land damage on the same target independently.
It disappears. The game keeps nothing. Extract alive or the entire run meant nothing at all.

GTA 6, new seasons, major updates — get ready to dominate from day one