
Arc Raiders Boost
ARC Raiders Wipe Guide
You want 3 stars in 3 minutes or your name etched at the top of the Speranza Hotshots, this guide covers every route, every modifier, and shortcut...
ARC Raiders Trials run on a weekly rotation. Five challenges, a competitive leaderboard, cosmetic rewards dangled in front of you like a treat. Destroy Pops is one of the more generous ones — the objective is so straightforward that explaining it feels condescending, yet here we are, because some of you will still die before extracting and wonder why the points didn't count.
You need to destroy Pops, extract alive. That's it. Dead Raiders earn nothing. The ARC do not issue posthumous receipts.
Trials become available at Level 15. Each week resets on Monday. Only your personal best score per challenge counts. You are placed in a division of 100 Raiders on a first-come, first-serve basis.
The Destroy Pops scoring system rewards patience exactly once: when you wait for the Night Raid 2x modifier. Outside of that, the math is embarrassingly simple.
|
Condition |
Score Per Pop |
Pops for 3-Star (4,000 pts) |
Upper Limit (Trio Split) |
|
Day Raid (no modifier) |
400 pts |
10 Pops |
~25,000+ |
|
Night Raid (2x modifier) |
800 pts |
5 Pops |
50,000+ |
Five Pops at 800 each. That's your 3-star. A child with one functioning eye and a loaded Anvil I can accomplish this in under three minutes. There is no excuse.
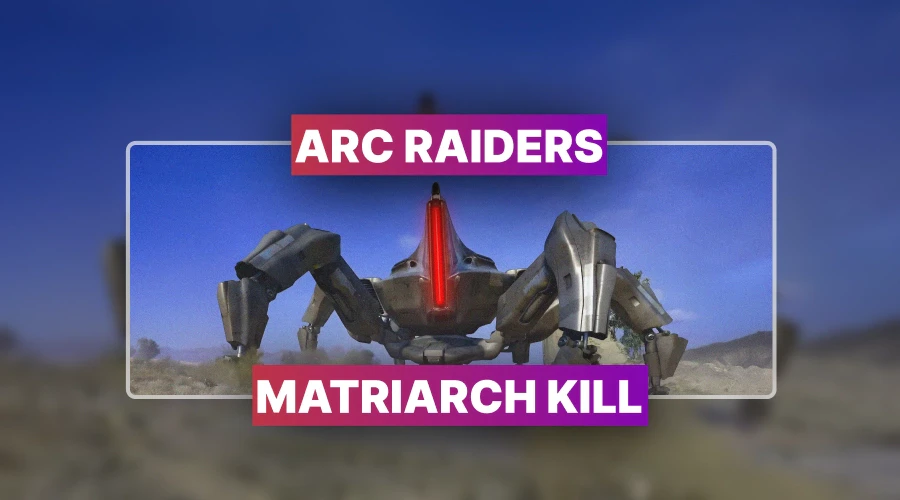
Pops are small, rolling ARC units. Low armor, minimal threat on their own, genuinely irritating when they show up mid-firefight because they will not wait for you to finish your PvP drama. They patrol indoor locations almost exclusively. One heavy round ends them. Don't overthink it — they're worth 400 points in daylight and double at night, not your life savings.
Shoot their propellers or aim center-mass. Either works. Do not let one sneak behind you in a corridor while you're looting. That is a preventable embarrassment.


Pop spawn locations are consistent enough to plan routes around. The table below covers the maps worth your time and the ones that will waste it.
|
Map |
Best Zones |
Risk Level |
Verdict |
|
Stella Montis |
Assembly, Medical Research, Lobby Metro, Sandbox A/B, Cultural Archives |
High PvP (Night Raid) |
Best for score |
|
Buried City |
Hospital, Research, Space Travel, Galleria, Subway Tunnels (2-3 per platform) |
Medium |
Best for quick 3-star |
|
Dam Battlegrounds |
Underground route: Water Treatment to Control Tower |
Medium |
Solid loop farming |
|
Blue Gate |
Underground tunnels only |
Low-Medium |
Thin pickings |
• Fast Trials rank progression
• Guaranteed three-star completions
• Premium rewards unlocked instantly
You're hunting small, fragile ARC in enclosed corridors. The ARC Raiders best loadout for this Trial is not complicated. Bring enough ammo to kill everything, enough healing to survive a bad decision, and enough smoke to escape the one PvP situation you absolutely walked into.
|
Item |
Amount |
Note |
|
Anvil IV |
Primary |
Fire rate matters. Anvil I works, IV is preferred. |
|
Tactical MK.2 |
Sidearm |
Backup. You'll know when. |
|
Light Shield |
1 |
Non-negotiable. |
|
Heavy Ammo |
160+ |
You will burn through this faster than you think. |
|
Shield Rechargers |
10 |
— |
|
Bandages |
10-15 |
— |
|
Adrenaline Shots |
10-15 |
— |
|
Smoke Grenades |
2-5 |
Escape tool. Not a toy. |
Going for a pure 3-star grab? Free Loadout is fine. You need 5 kills. Save your gear for raids that actually require it.
Stella Montis Night Raid is the answer. Compact layout, dense indoor Pop spawns, and the 2x modifier that doubles every kill's value. The map has exactly one problem: other Raiders, who also know it's the best map, and who will make the first ten minutes a social experiment in how quickly trust evaporates.
Stay alert during the opening ten minutes. Most PvP resolves itself: the impatient ones kill each other. Once it quiets down, the Stella Montis map routes below become a clean farming loop. Know your three extraction points: Airshaft Extract (safest, far end of map), Loading Bay Metro (dangerous: Bastion patrols nearby), and the standard Metro exits.
The solo path covers the lower layer of Stella Montis. Straightforward, repeatable, sufficient for high score without the coordination overhead of a trio. A clean solo run nets a minimum of 40,000 score. With optional branches into Assembly and Medical Research: 60,000+.
Clear the lower floor, then both left and right staircases. Pops spawn on both sides and above the outer staircase exits. Don't rush past the upper landings: they are not empty.
From Metro, follow the route to Sandbox A. Start on the lower floor beneath the control room, then push up to the control rooms of both Sandbox A and B. Clear everything inside. Pops and Fireballs concentrate here.
Assembly, Medical Research, and Lower Loading Bay can be added for additional volume. Only worth pursuing once the core loop is clean and the map has calmed down.
Splitting a trio across three simultaneous routes is the highest-yield method available. Trio split farming on Stella Montis pushes the upper limit past 50,000 points. It is also the method most likely to end in a total party wipe if your squad treats the first ten minutes like a guided tour.
This only works if: (1) your team actively plays out the early PvP, (2) you time your queue as an event ends so late joiners can't spawn in, or (3) the lobby is genuinely quiet: which happens less often than you'd like.
Identical to the solo route above. One player owns this loop for the duration. Repeat until extraction.
Start at Assembly and rotate through the full area. Move into Medical Research, sweep upper rooms and walkways, then drop to the lower level. Exit through Loading Bay: pick off any ARC visible from the bay: then loop North back into Assembly.
Begin in Cultural Archives. Sweep each aisle, avoid the Shredders: they are not worth the ammo and will ruin your momentum. Take the zipline up to Business Centre (Pops appear fast here). Exit through metal detectors into Lobby, drop to the 3rd floor, clear ARC in the open ground floor, move into Communications, then push through to the Atrium. Loop back to Cultural Archives and repeat.
Not everyone is here for leaderboard glory. Some Raiders just want the weekly 3-star Trial rewards and out. Respect. Here is the fastest way to make that happen without wasting a proper loadout on it.
Alternative: Buried City. Hit Hospital, Research, or the subway tunnels. Three subway platforms at 2-3 Pops each gets you to threshold in one pass. No Night Raid modifier required. Safer lobby. Same result.
Do not load into a Stella Montis Night Raid with a full kit, farm 4,500 points, then die to a Shredder in a corridor because you got greedy. Your score goes to zero. The ARC will not feel bad about it.
• Fast blueprint farming service
• Secure targeted item delivery
• Guaranteed high-tier recipes
ARC Raiders Trials rank progression works on divisions of 100 Raiders. You need a top-60 finish in your division to advance. Ranks run from Rookie I through Hotshot, with the top 1,000 players across all Hotshot divisions forming Cantina Legend. There are 14 total ranks, each split into three sub-ranks.
For Destroy Pops specifically: 3-star is not promotion. 3-star is the floor. If you want to move up, you are competing against 99 other Raiders who all read the same guides and know the same maps. The Trials leaderboard strategy is straightforward: farm Night Raid during 2x modifier windows, run trio splits when the lobby permits, and do not die.
|
Stars |
Score Required |
Pops Needed (Night Raid) |
|
1 Star |
1,000 pts |
2 Pops |
|
2 Stars |
2,500 pts |
4 Pops |
|
3 Stars |
4,000 pts |
5 Pops |

• Fast Trials rank progression
• Guaranteed three-star completions
• Premium rewards unlocked instantly
You want 3 stars in 3 minutes or your name etched at the top of the Speranza Hotshots, this guide covers every route, every modifier, and shortcut...
You want 3 stars in 3 minutes or your name etched at the top of the Speranza Hotshots, this guide covers every route, every modifier, and shortcut...
You want 3 stars in 3 minutes or your name etched at the top of the Speranza Hotshots, this guide covers every route, every modifier, and shortcut...
You want 3 stars in 3 minutes or your name etched at the top of the Speranza Hotshots, this guide covers every route, every modifier, and shortcut...

Queue into Stella Montis Night Raid on a Free Loadout, destroy 5 Pops, extract immediately. Done in under three minutes.
No. Check Event Timers; Night Raid 2x is map-specific. Stella Montis is the target for maximum score efficiency.
No. All points from that raid are forfeited. Extract alive or accept zero. The game does not negotiate.
Trio splits on a clean lobby can exceed 50,000 combined score. Noisy lobbies will cut that significantly.
Yes. Subway tunnels hold 2-3 Pops per platform. Safer lobby, lower score ceiling, ideal for quick 3-star runs.

GTA 6, new seasons, major updates — get ready to dominate from day one