









Arc Raiders Boost
ARC Raiders Frozen Trail Release Date & Overview
ARC Raiders Damage Leapers Trial guide is live. Optimal route, Dam Battlegrounds spawn map, loadout tiers, and 2× modifier strategy
Every week, the same cycle repeats: five Trials appear, Raiders either grind for leaderboard glory or grab their 3-star loot and vanish. If you ended up here, you probably died to a Leaper in ARC Raiders at least twice and now want to feel competent. Good. Read this. Do not die.
The Damage Leapers Trial is straightforward: find Leapers, reduce them to scrap, extract with score. The catch is that a Leaper will happily crush you flat in a single leap, fire mid-air rockets, and shockwave you into the ground for good measure. ARC Raiders Trials scoring rewards aggression, so standing around hoping for the best is not a strategy.
|
Metric |
Value / Details |
|
3-Star Threshold |
4,000 points |
|
Score per Leaper (Day) |
~1,760 points |
|
Score per Leaper (2× Modifier) |
~3,500 points |
Key Math Two Leapers during a 2× Major Map Condition is enough for your 3-star reward. Outside a modifier, you need three. Stop raiding without checking the event timer first.

• Fast Trials rank progression
• Guaranteed three-star completions
• Premium rewards unlocked instantly
The ARC Raiders weekly Trial rotation scores you per damage event: exactly 2 points per damage dealt to a Leaper, Bastion, Rocketeer, Bombardier, or Vaporizer. Score shown on screen is doubled: what you see is not what you get. Plan accordingly.
A standard daytime Leaper is worth roughly 1,760 points destroyed. Flip on a 2× Major Map Condition: Cold Snap, Night Raid, Electromagnetic Storm: and that same kill yields around 3,500. Two kills. Extract. Done. If you want to push the ARC Raiders leaderboard, stay on the map and loop spawns until the raid timer dies. This method nets 4,000–28,000+ depending on party size and how efficiently you rotate.
Promotion Fast Track Top 30 in your division earns a 2× rank promotion: skipping an entire sub-rank. If you are aiming for Speranza Hotshots, Night Raid on Dam with a full squad during a 2× event is non-negotiable.
The best loadout for Leaper farming is not exotic. It is whatever lets you kite a machine that jumps at 60 mph without dying to a stray AoE pulse. Below is a tiered breakdown. Bring the essentials column if you want your 3-star and out. Bring the premium column if you intend to embarrass people on the leaderboard.
|
Item |
Tier |
Why |
|
Anvil IV Recommended |
Essential |
Fire rate makes it far more effective than Anvil I. Primary DPS for sustained kiting. |
|
Tactical MK.2 |
Essential |
Secondary weapon. Reliable damage at range while Leaper is closing distance. |
|
Light Shield |
Essential |
You will eat a pulse sooner or later. The shield buys you the second it takes to back off. |
|
Shield Rechargers (5–10) |
Essential |
Long loops require multiple Leaper fights. Keep the shield topped up or stop looping. |
|
Bandages (10–15) |
Essential |
Health is finite. Bring enough for extended rotation without rationing every heal. |
|
Heavy Ammo (160+) |
Essential |
Leapers are heavily armored. Running out mid-fight is a personal failure. |
|
Smoke Grenades (2–5) |
Essential |
PvP escape tool. Not a Leaper counter: for the Raider who shows up to ruin your score. |
|
Trailblazer Grenades (2–3) |
Essential |
Two Trailblazers destroy one Leaper outright. Land them underneath. Do not miss. |
|
Blaze Grenades / Light Impact Grenades (20+) |
Optional |
Fire is a confirmed Leaper weakness. Blaze Grenades sustain a burn that drains health fast. |
|
Ziplines (2–3) |
Essential |
The Dam map requires vertical movement. Get caught on flat ground during a leap and you are scrap. |
|
Hullcracker Premium |
Premium |
Roughly 10 shots from a level 4 Hullcracker destroys a Leaper. Available from Tian Wen daily for 30,000 coins. |
|
Jupiter Premium |
Premium |
Ignores ARC armor entirely. No damage falloff at range: tag Leapers before they even notice you. |
|
Wolfpack Grenades (multiple) |
Premium |
Near-instant Leaper destruction. If you have these and are still struggling, the problem is you. |
|
Osprey / Binoculars Optional |
Utility |
Spot all Dam Leaper paths from the building near the generator room. Saves enormous time. |
There is one correct answer: Dam Battlegrounds Leaper locations. Every other map is a backup plan for people who enjoy suffering. Dam hosts up to five Leaper spawn points across four distinct areas, offers wide sightlines, elevated cover for kiting, and is structurally far more forgiving than Buried City subway tunnels where a Leaper can pin you against a wall with zero escape angle.
Blue Gate is a valid secondary choice: Reinforced Reception, Adorned Wreckage, and Ruined Homestead all have confirmed spawns: but the spawn density simply does not compare. Do not waste a 2× modifier window on a lesser map. Leapers do not spawn at all on Stella Montis. This is not a secret. Choose accordingly.
Scouting Tip Climb the building near the generator room that overlooks the broken bridge. From here, every Leaper patrol path on the Dam map is visible except the Testing Annex unit when it walks out of line of sight. Binoculars or an Osprey make this faster. Blind rotations are wasted time.
Route logic: how to kill Leapers efficiently is not about raw damage speed, it is about spawn cycling. Leave a zone immediately after a kill. Leaper respawns require the area to be vacated. Sitting on a corpse waiting for another one to materialize is a beginner mistake that costs you score every loop.
Solo or squad: the route is the same. In a squad during a 2x modifier ARC Raiders event, optionally split: one player holds Control Tower, one covers Testing Annex. Full map coverage with coordinated callouts doubles effective score per minute. In public lobbies with PvP risk, stay together.
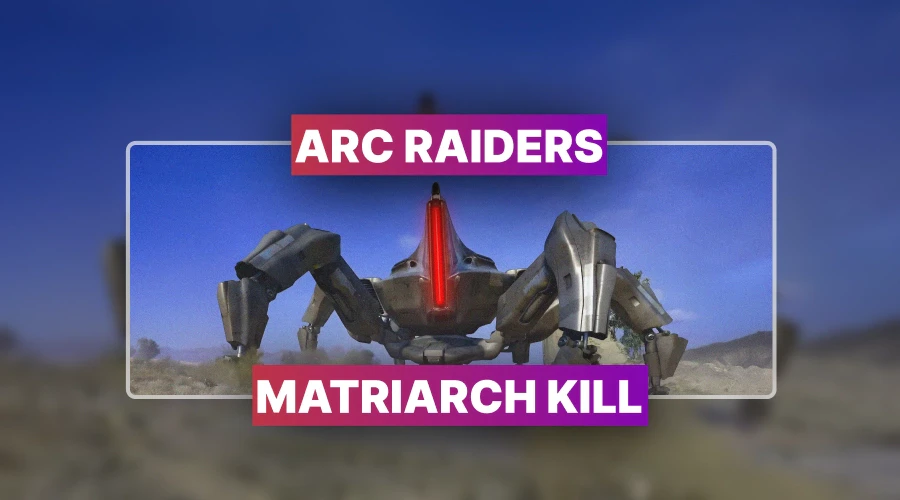
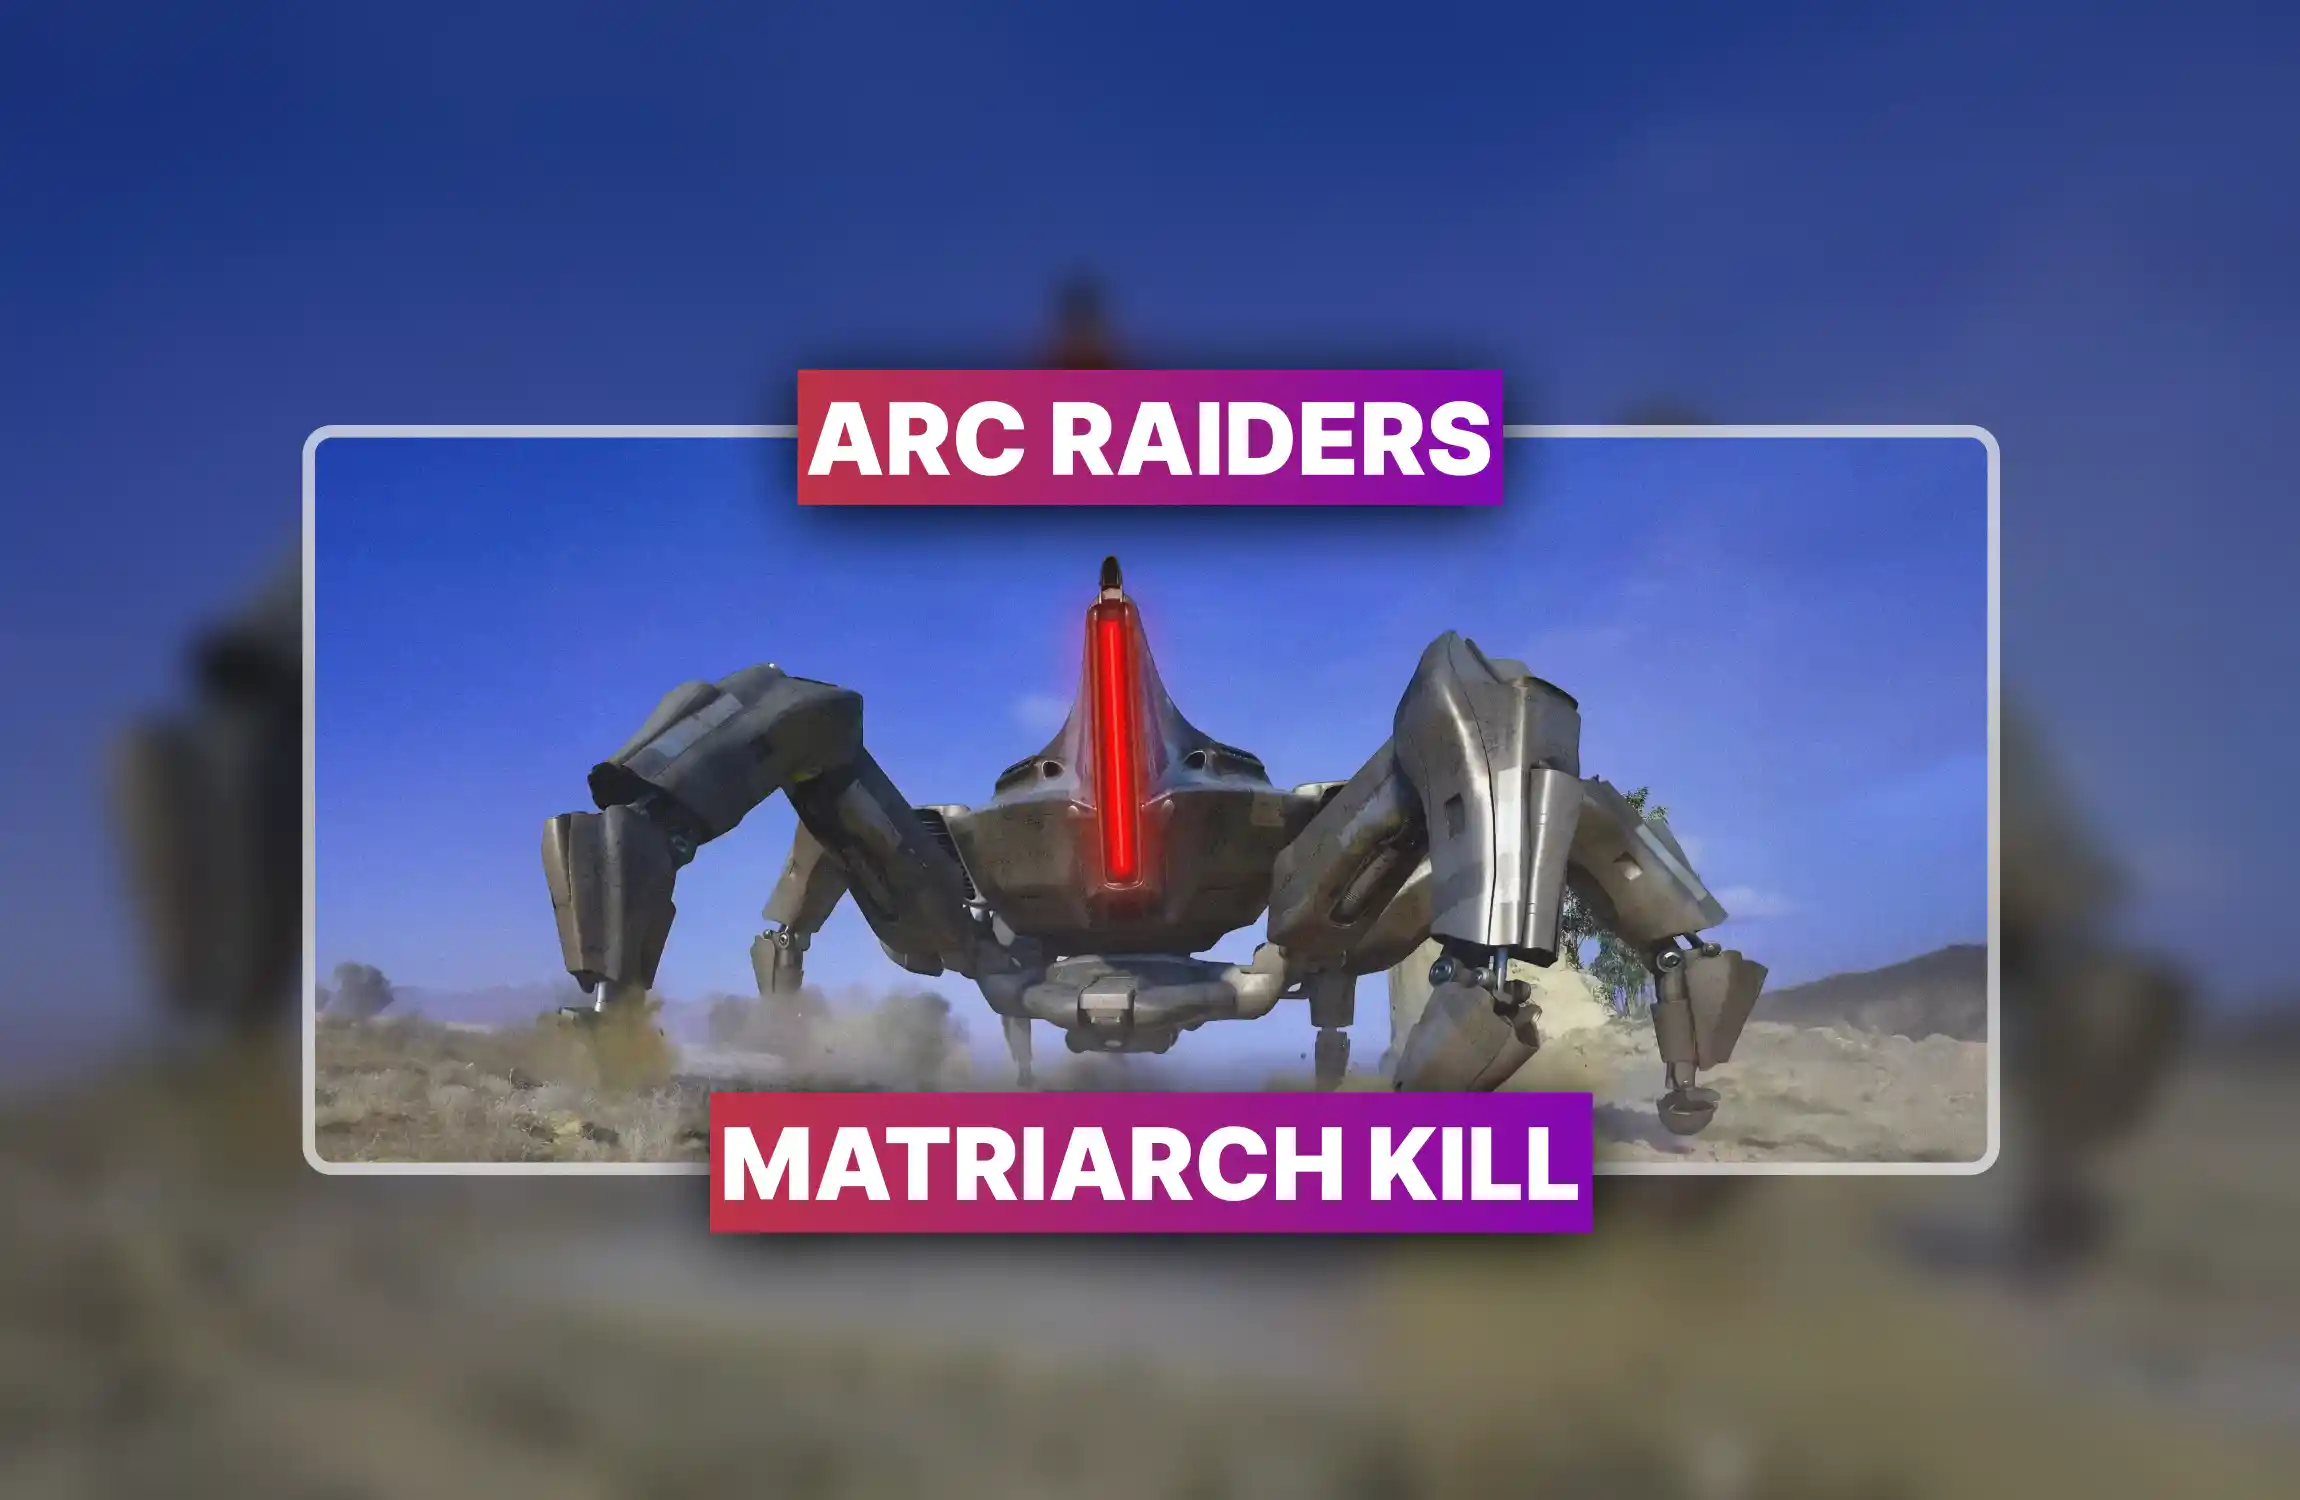
A Leaper is a four-legged armored brute with a shockwave pulse, a long-range leap that will hit a sprinting Raider running in a straight line, and mid-air rockets. Its primary weak point is the central eye. Leaper weak point ARC Raiders: shoot the eye. Hitting it causes knockback, interrupting a leap charge and buying repositioning time. Targeting the eye consistently also reportedly increases the chance of dropping two Leaper Pulse Units instead of one.
AoE Pulse Warning The harvested Leaper Pulse Unit can itself be thrown as a weapon: it generates a kinetic AoE strong enough to break a blue shield. If another Raider lobs one at you mid-fight, you have approximately no time to react. This is mentioned purely so your death has context.
Dam Battlegrounds is a high-traffic map. Other Raiders know where Leapers spawn. The ARC Raiders best map for Trials is also the map where someone is most likely to third-party your fight the moment you commit to pulling a Leaper. Solutions, in ascending order of effort: die several times without shooting in a pre-raid lobby to be matchmade into quieter lobbies; bring Smoke Grenades for disengagement; set Barricade Kits at chokepoints near your farming position; accept that some runs will be lost to PvP and factor that into session goals.
In genuinely friendly or PvE-weighted lobbies, split the squad. One at Control Tower, one at Testing Annex. The increase in score per raid is significant. In contested lobbies, cluster up and treat Leaper farming as a secondary objective while maintaining situational awareness. Dying mid-loop resets your position and wastes time. ARC Raiders score maximization requires surviving, not just killing.
Once a Leaper is destroyed it explodes into several lootable pieces. Each fragment can contain materials. The primary item is the Leaper Pulse Unit farming drop: required for Shani's Into the Fray quest, Utility Station upgrades (Station 2 to 3 requires four units), late-stage Outfitting projects, and selling at 5,000 coins per unit. Do not leave without looting the legs and side panels: most Raiders take only the core and leave units on the ground. If you are farming Trials score, you can skip looting and rotate faster. Choose your priority before the raid, not during it.
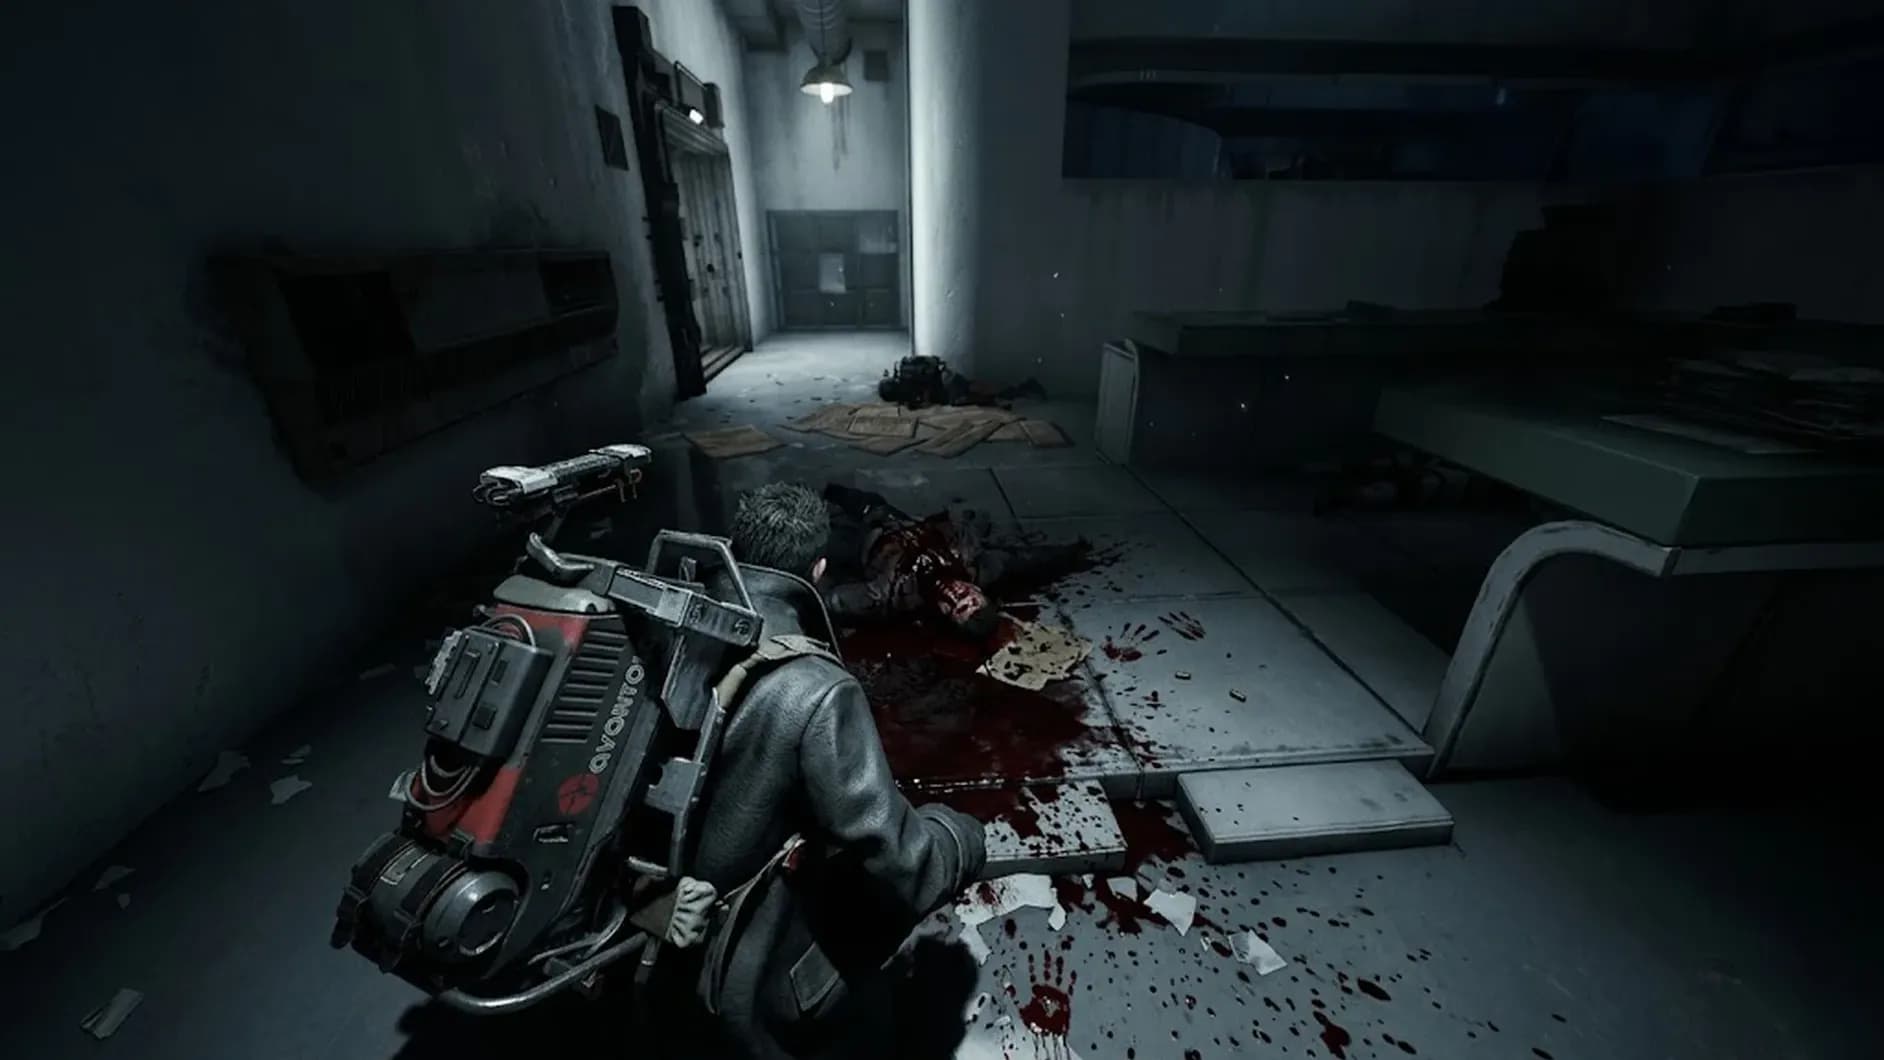

ARC Raiders Damage Leapers Trial guide is live. Optimal route, Dam Battlegrounds spawn map, loadout tiers, and 2× modifier strategy
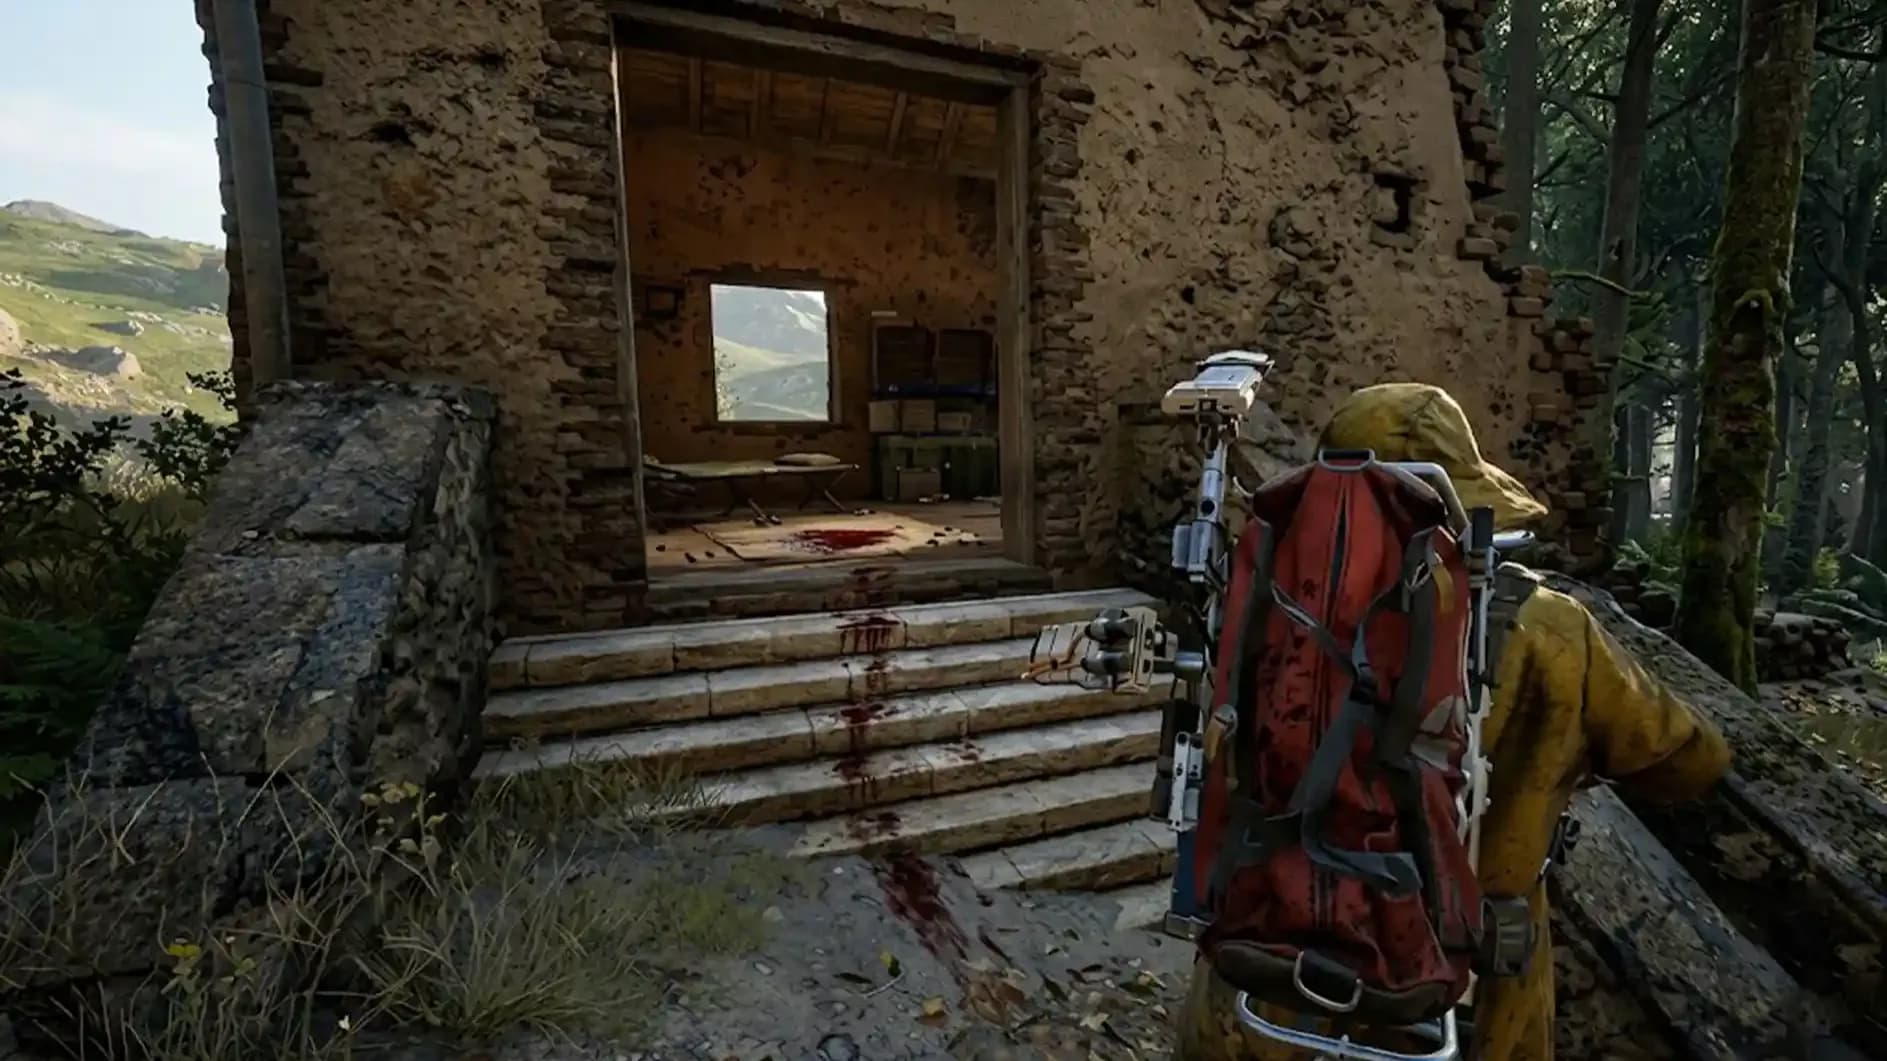
ARC Raiders Damage Leapers Trial guide is live. Optimal route, Dam Battlegrounds spawn map, loadout tiers, and 2× modifier strategy
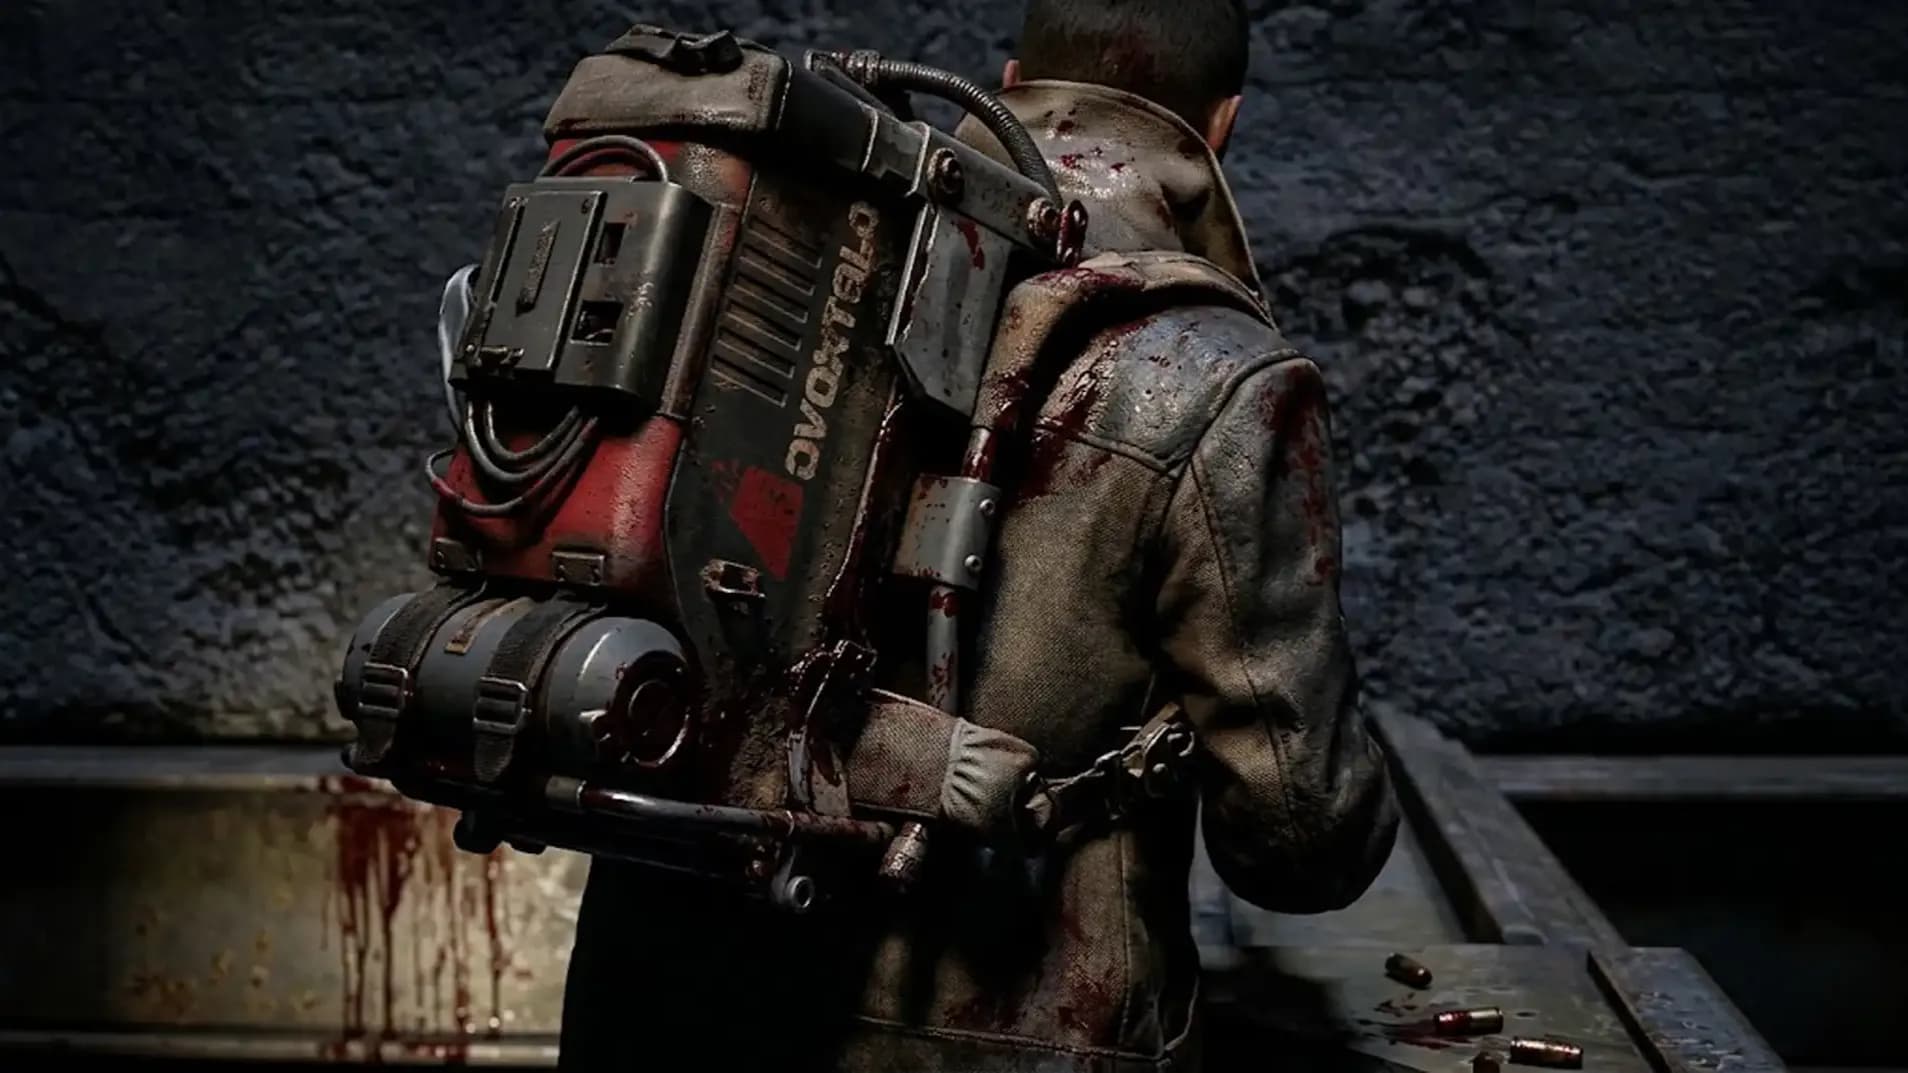
ARC Raiders Damage Leapers Trial guide is live. Optimal route, Dam Battlegrounds spawn map, loadout tiers, and 2× modifier strategy

No. Two Leaper kills during a 2× modifier is enough for 3 stars solo. Squad only matters for high-score pushes.
Two Trailblazer Grenades landed underneath, or Wolfpack Grenades. Hullcracker level 4 takes roughly ten shots total.
Skip it. Wasting Heavy Ammo on a Bastion mid-loop costs more than the detour. Rotate back and check later.
Yes. Reinforced Reception and Ruined Homestead have reliable spawns, but fewer total than Dam. Expect longer loops.
Yes. Death before extraction wipes the run. Only extracted score counts. Survive first, optimize second.

GTA 6, new seasons, major updates — get ready to dominate from day one