


Arc Raiders Boost
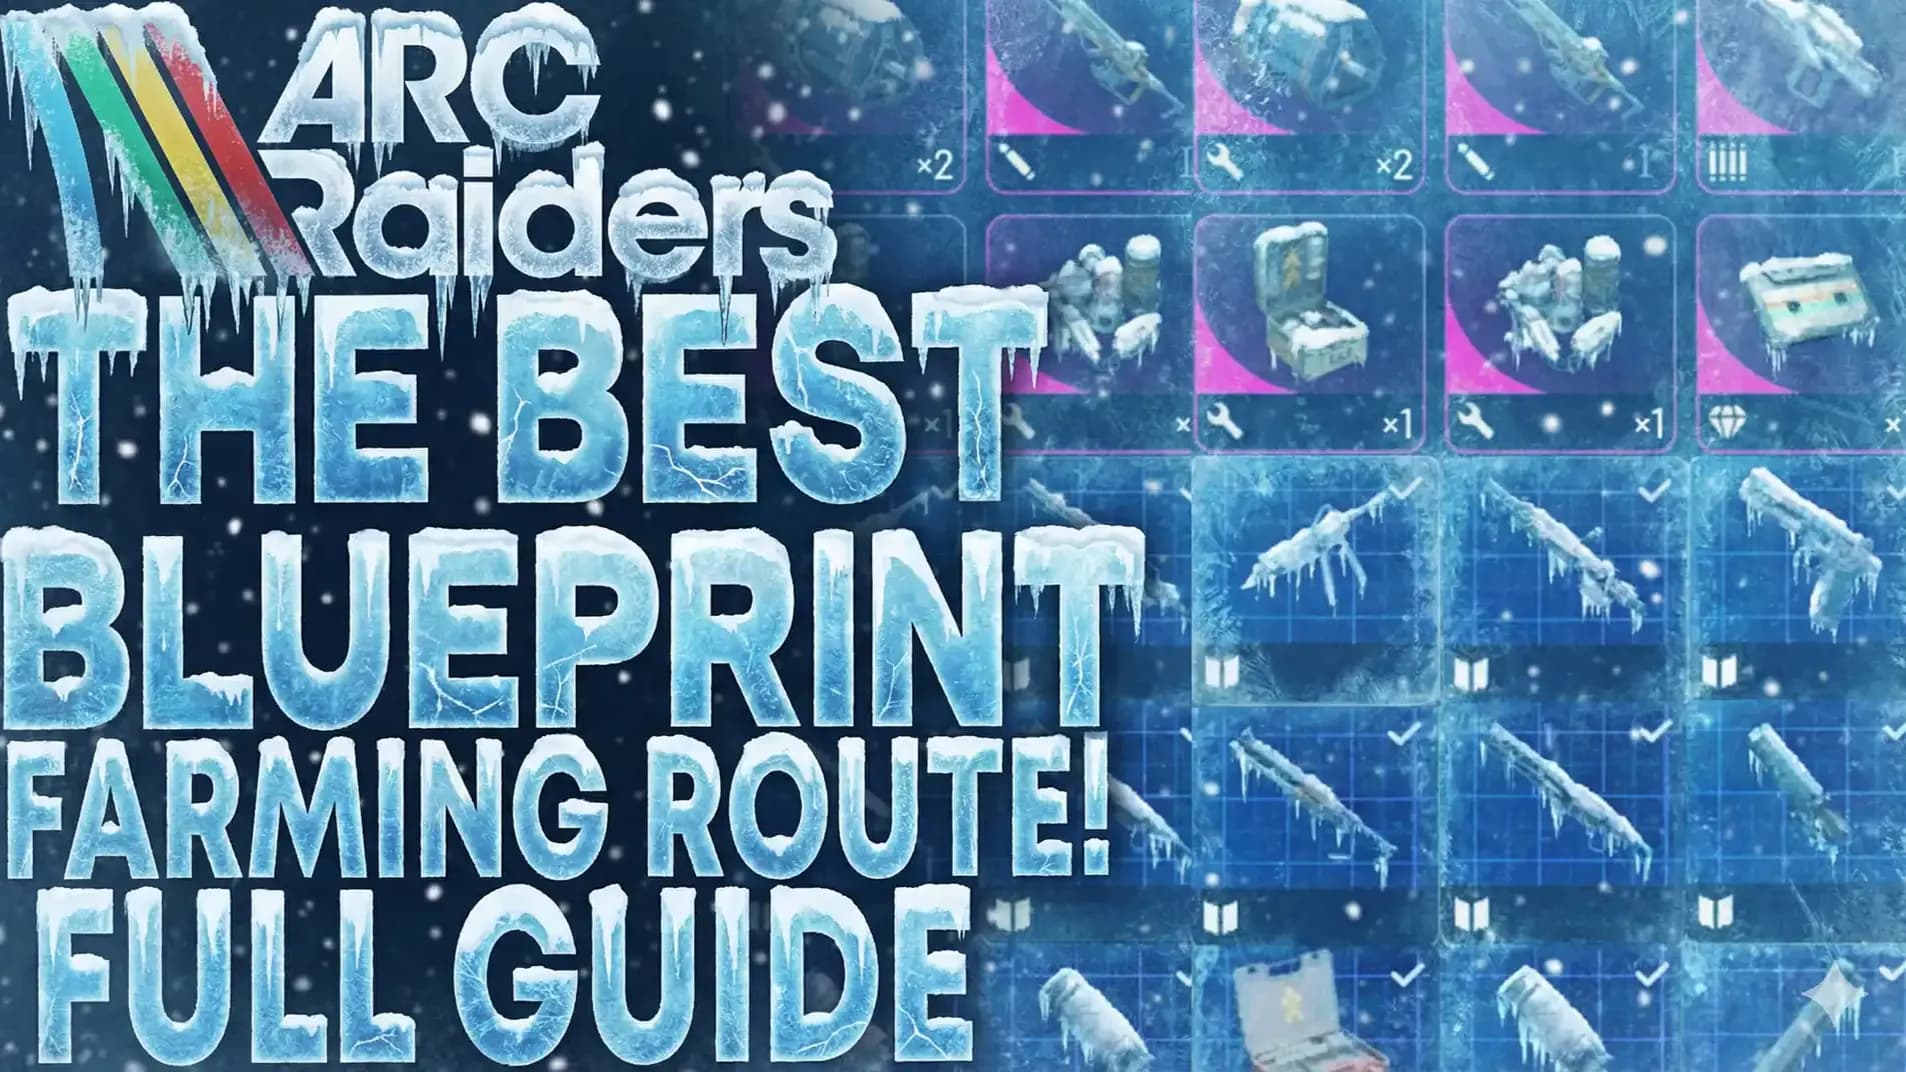
ARC Raiders Bobcat Blueprint Guide
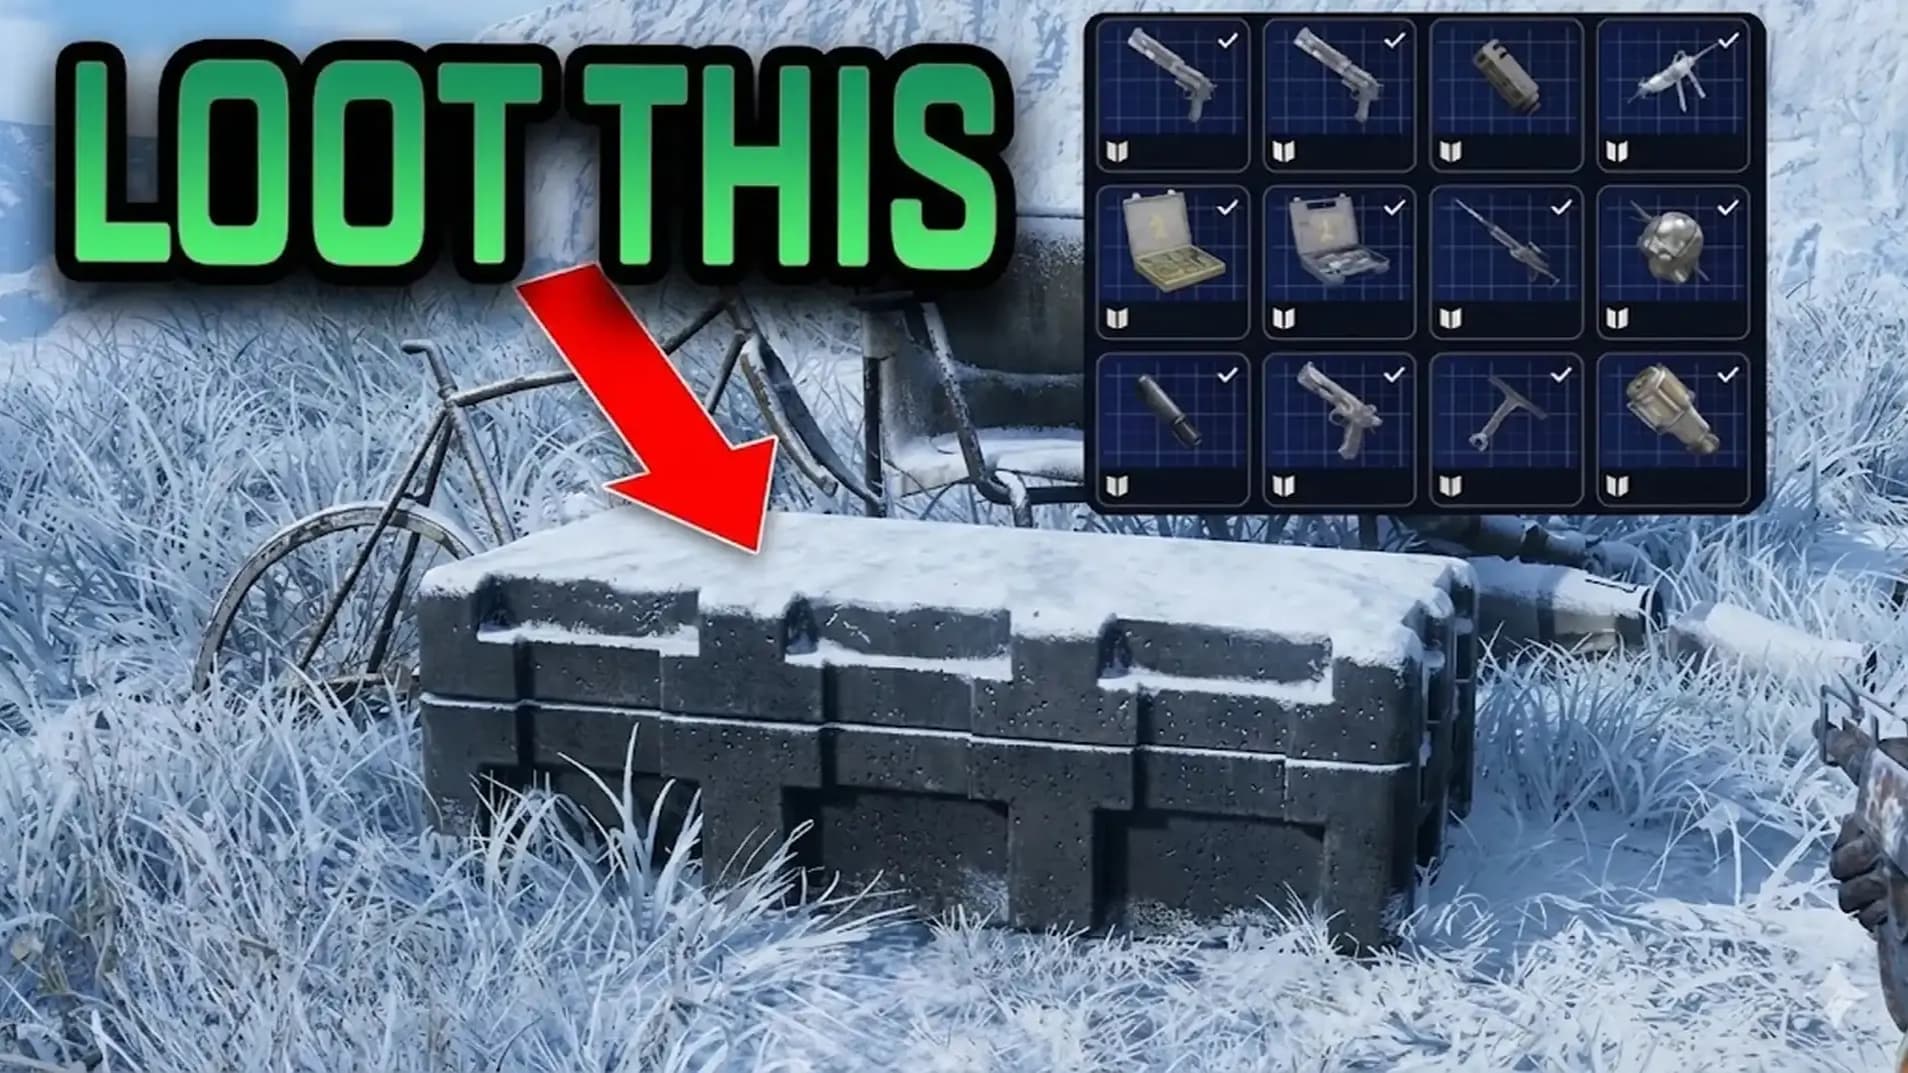
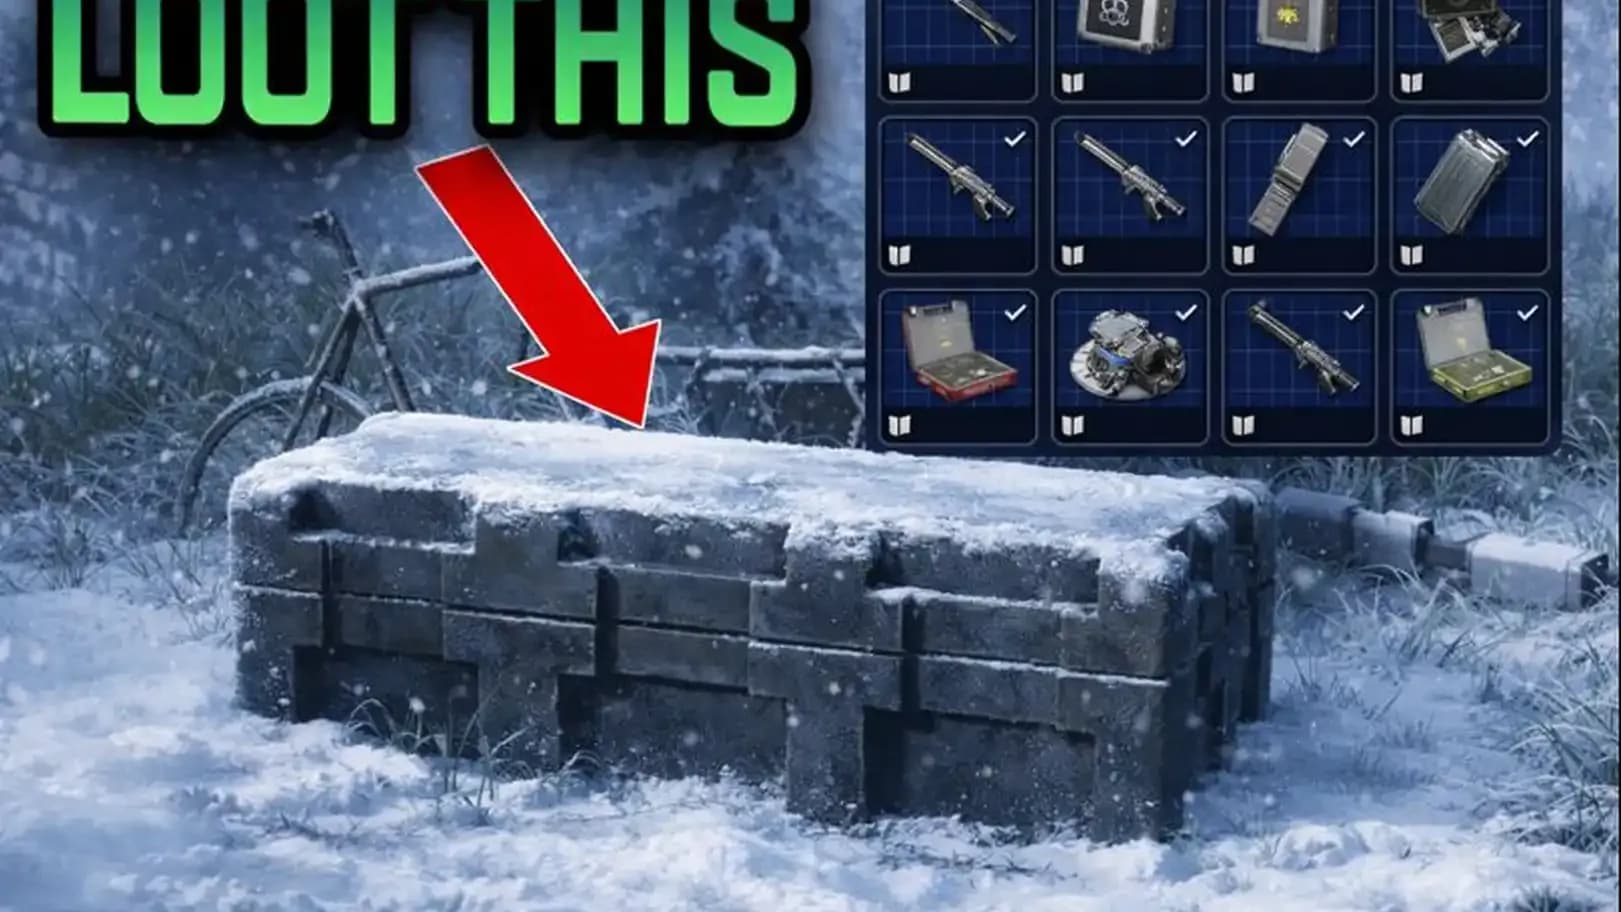
74/74 blueprints get farmed with a plan – run Locked Gate and Electromagnetic Storm loot black lockers, then extract early so the run stays calm.
Arc Raiders hides blueprints inside normal loot, then acts surprised when the player turns into a walking spreadsheet. This guide follows the blueprint names that appear in the provided text, and it explains the places and the simple ways to farm them.
This guide is not covering the “Crafting” blueprints. Because… Just because… But you can find answers for a following questions:
If you’re reading this, you might be interested in a discount just for you—my blog reader! Use code CRINGEBLOG to get an amazing discount on any offer in our shop.
• Fast blueprint farming service
• Secure targeted item delivery
• Guaranteed high-tier recipes
The game gives “random”, then the player gets a plan anyway, because pain feels calmer when it has a route.
Arc Raiders rewards routine, then punishes excitement, so the player wins by acting like a mailman with a rifle.
The player loads in, checks for Hidden Bunker, then goes straight to the bunker marker, clears the containers, and extracts after the bunker sweep.
| Map | Place | Container focus | Simple way |
|---|---|---|---|
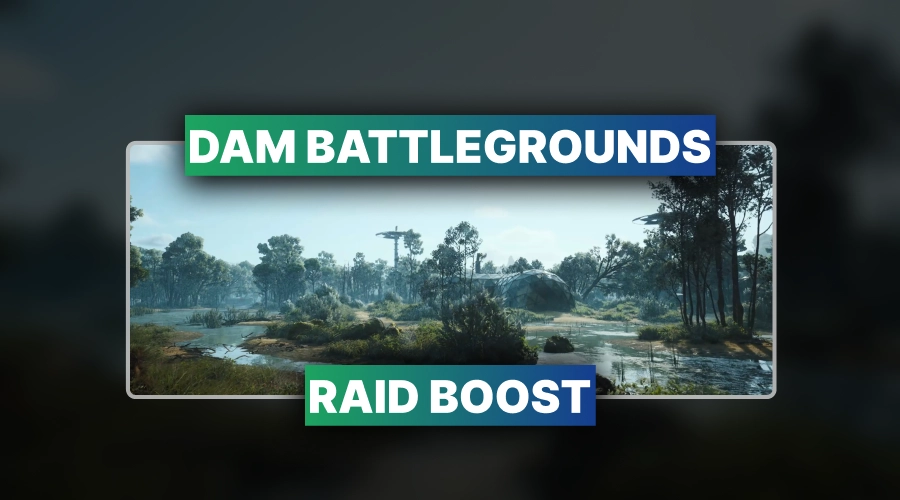
| Damn Battlegrounds | Research and Administration building, top floor | desk drawers across office spaces | enter, climb fast, clear drawers, extract |
| Blue Gate | underground security wing | green lockers near the zip line | reach wing, clear lockers, leave through safe exit |
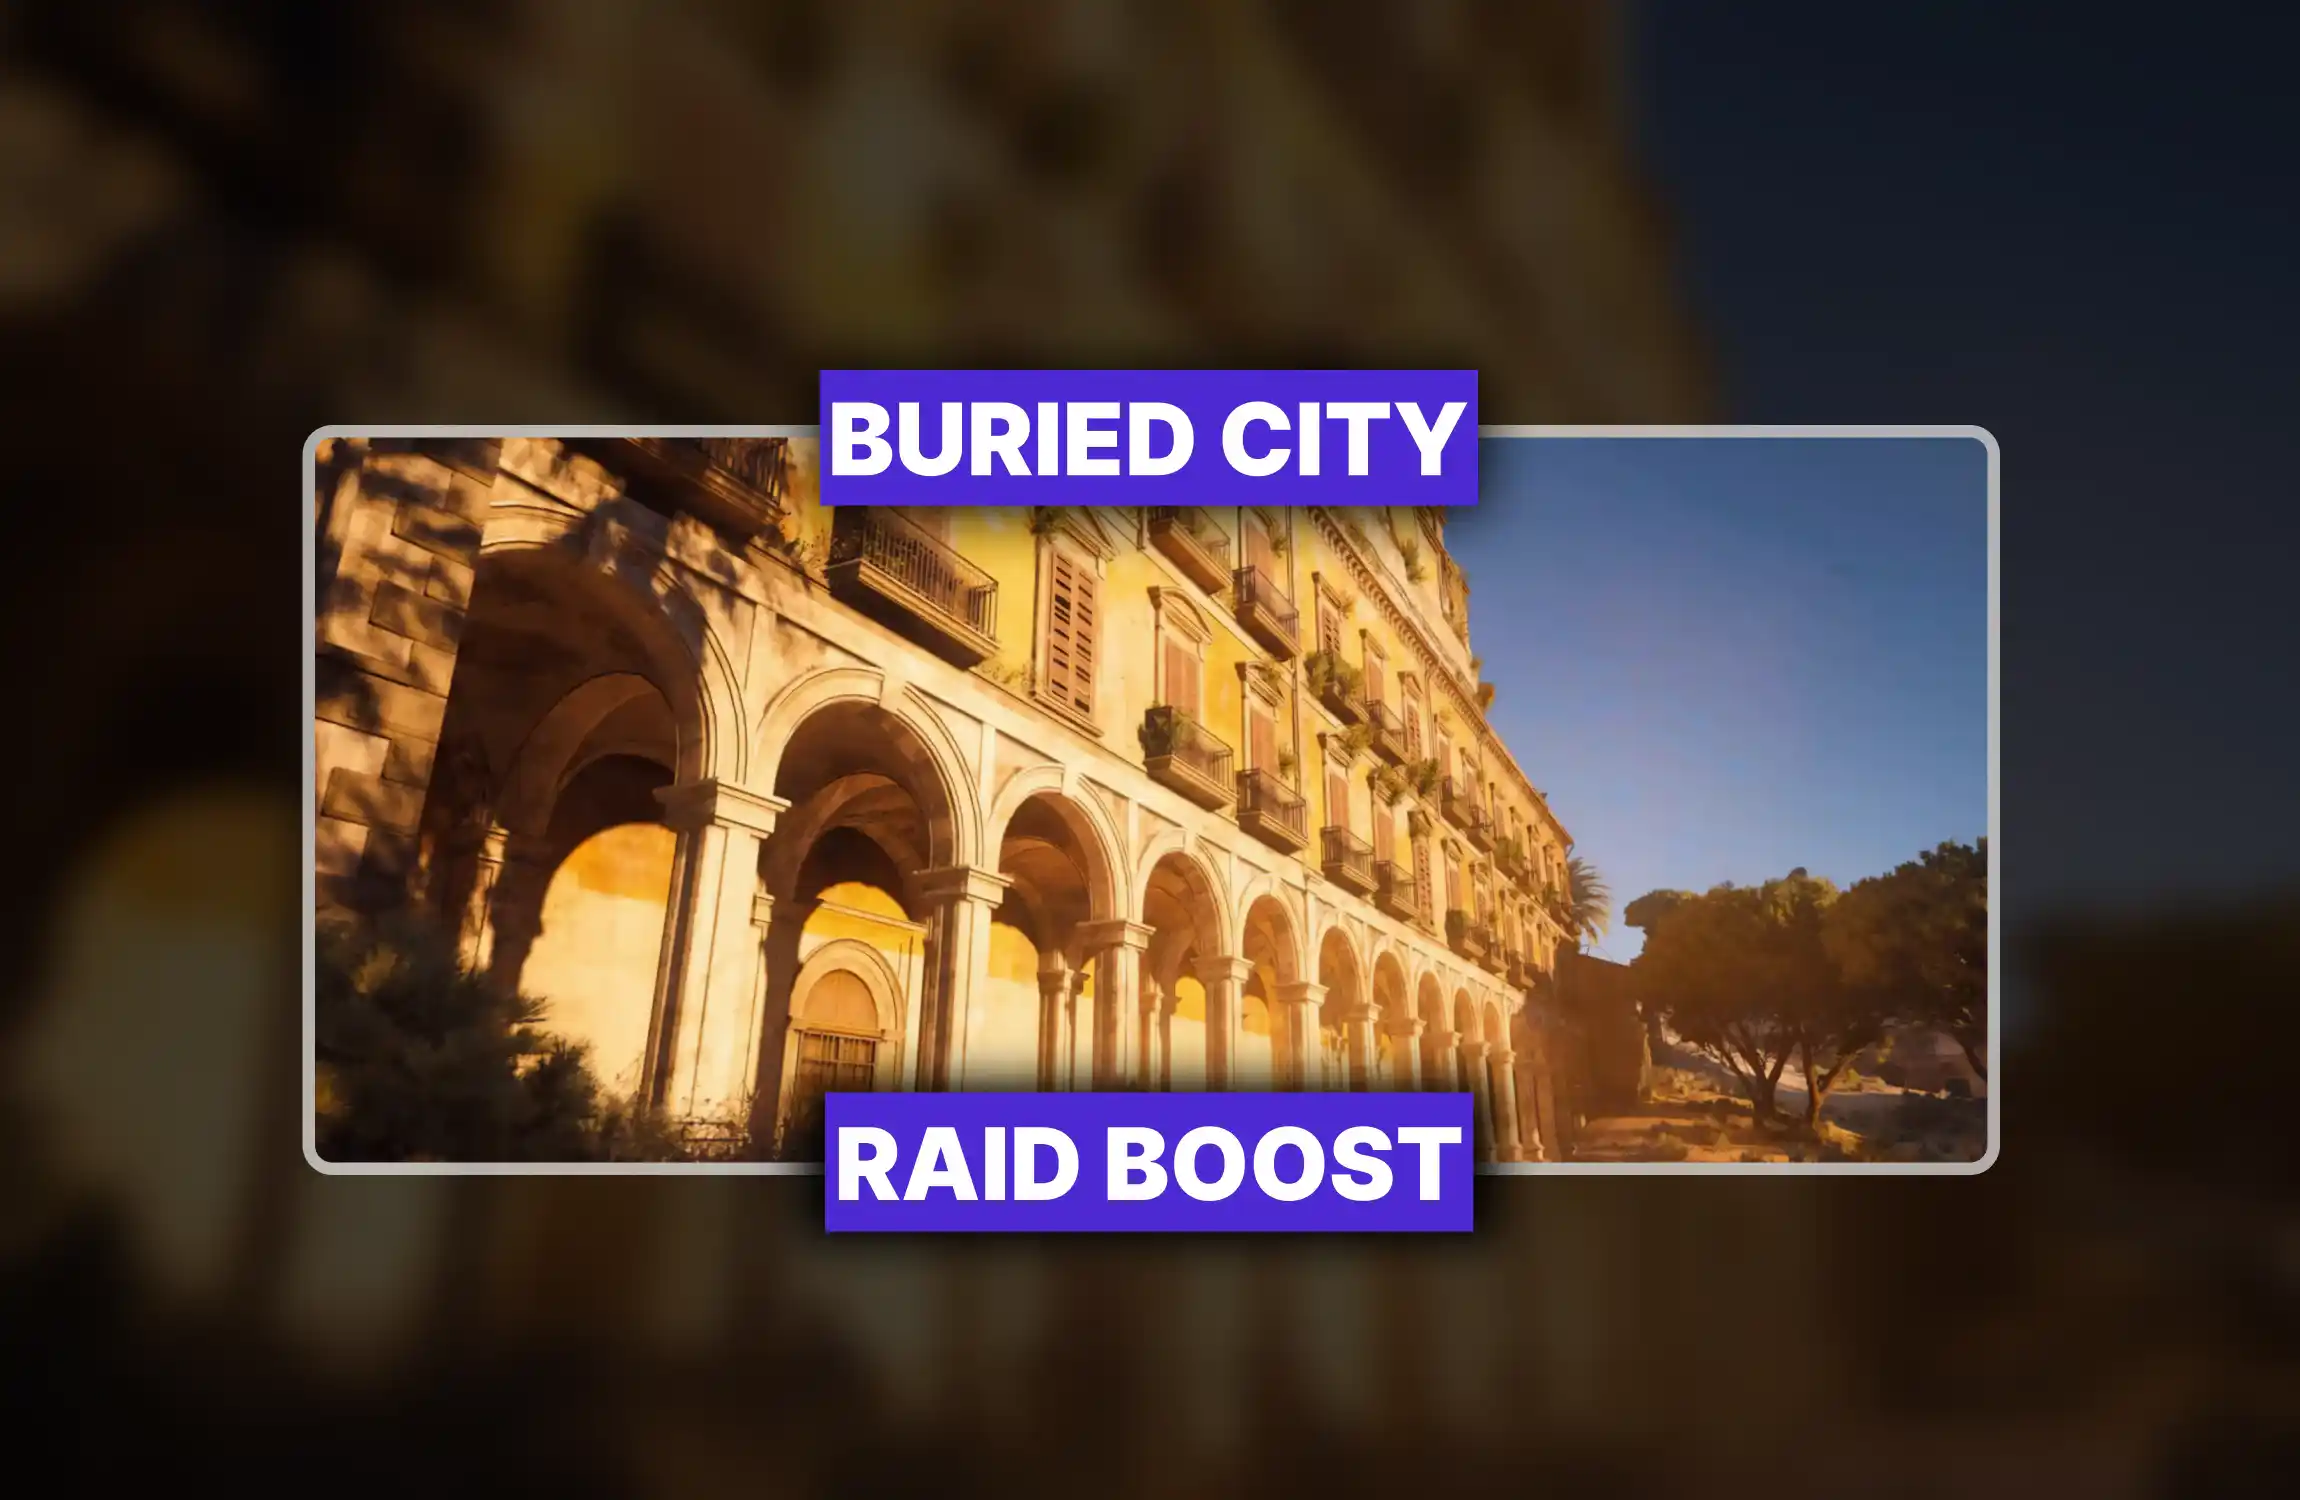
| Buried City | pharmacy | general looting around the tag | clear pharmacy area, then extract |
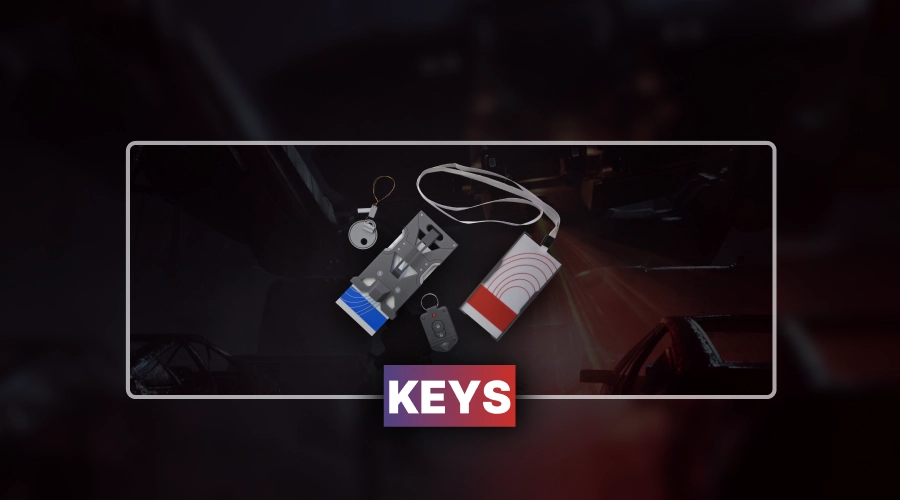
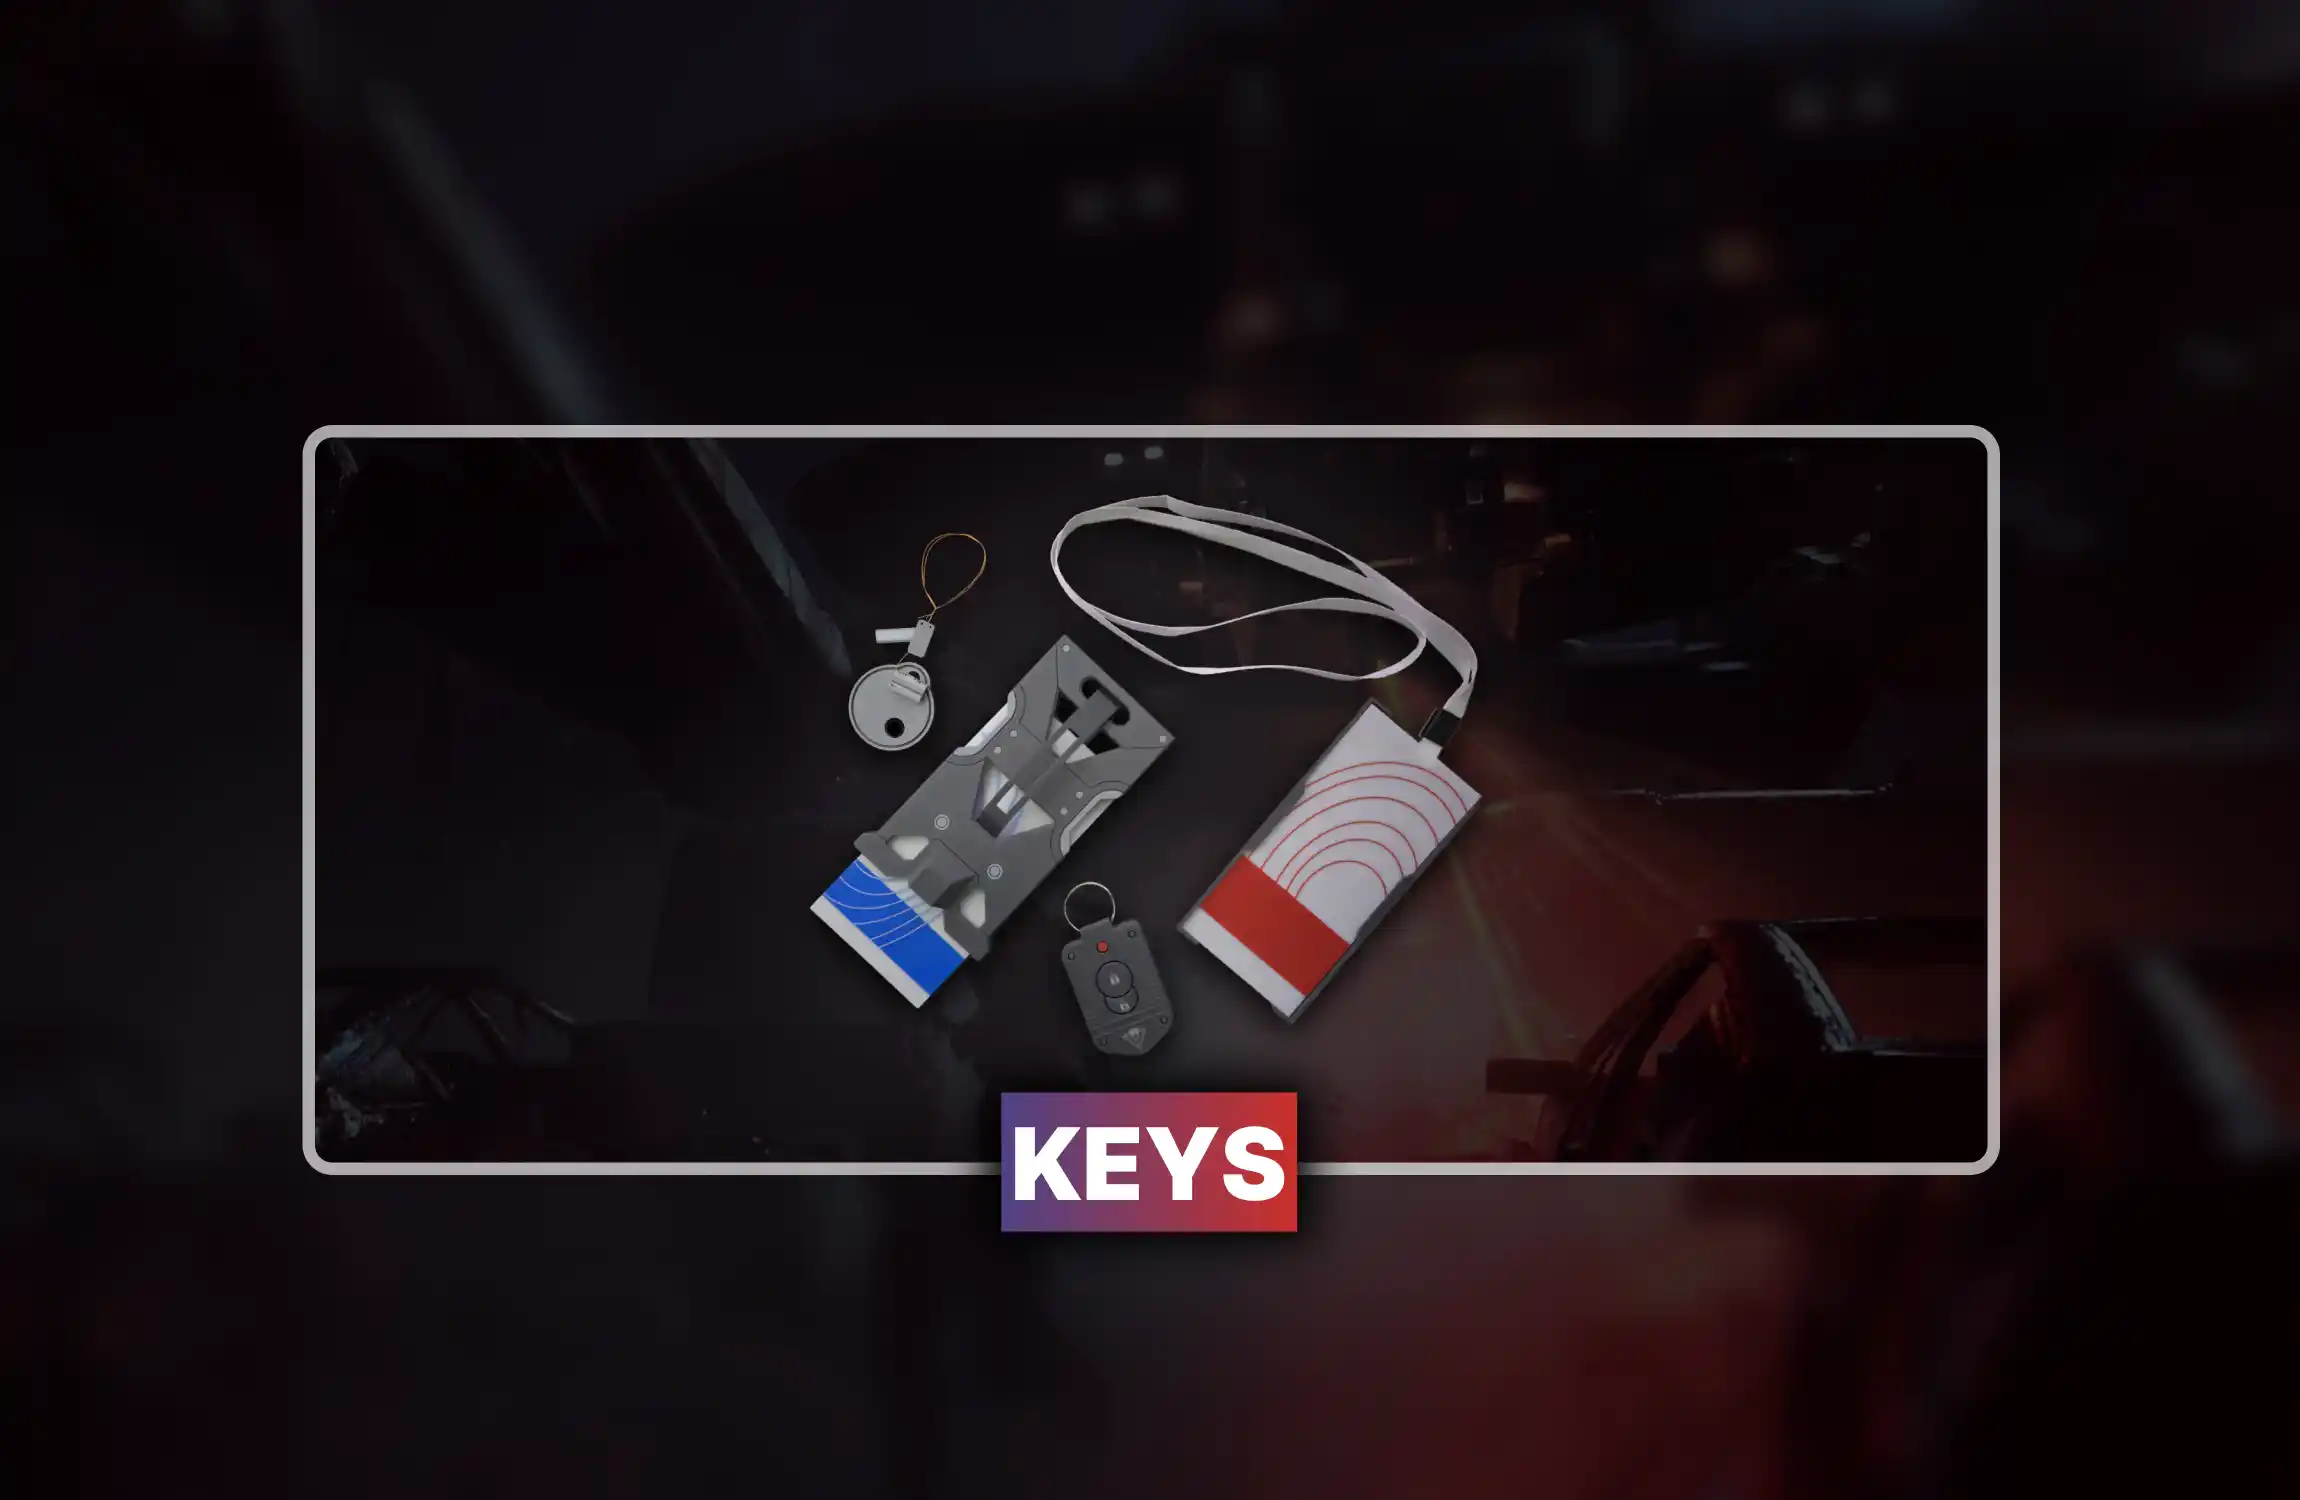
Key farm places used for the four keys
Arc Raiders loves “collect four items first”, so the player gets a scavenger hunt as a warmup.
The player farms the four keys, puts keys in the safe pocket, then goes to the warehouse above checkpoint, inputs keys, enters underground, loots hard, and extracts once the underground is cleared.
• Fast blueprint farming service
• Secure targeted item delivery
• Guaranteed high-tier recipes
The player loads in during a night run, picks one dense loot area, clears it fast, then extracts before the night run becomes a long fight.

The player completes Harvester, opens the three reward containers, then extracts right after the reward sweep, because the job is done and greed is how raids end.
Dummy_cringe
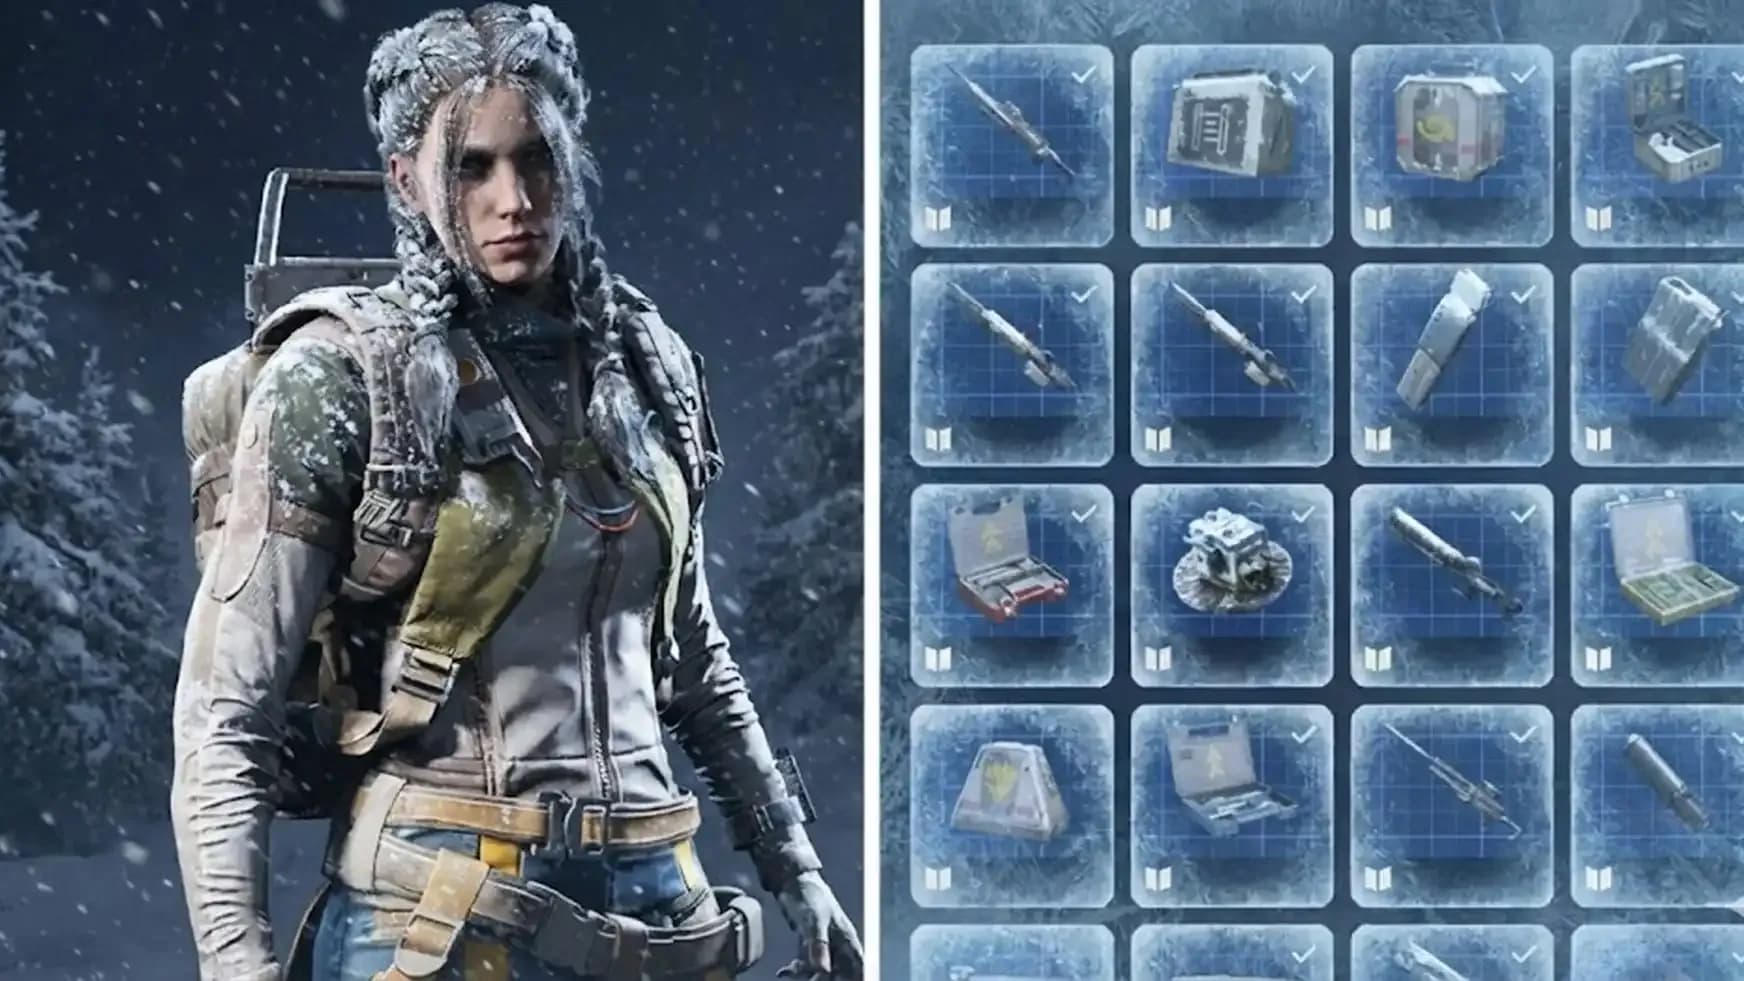
Stella Montis gets a special list, because the game enjoys moving drops around and watching the player re-learn routes.
| Blueprint | Place to farm | Container focus | Simple run method |
|---|---|---|---|
| Deadline Mine blueprint | Stella Montis armory style rooms | black lockers, black crates, box lockers | hit the armory cluster, clear containers, extract |
| Sneaker Grenade blueprint | Stella Montis armory style rooms | black lockers, black crates, box lockers | same route, repeat until blueprint pops |
| Trailblazer blueprint | Stella Montis armory and nearby loot rooms | black lockers, black crates, box lockers | clear the condensed rooms, then leave |
| Affilion blueprint | Stella Montis, after the drop move | high value loot in Stella Montis clusters | focus Stella Montis runs, clear red outline loot |
Named rooms that help this farm
      Map
      Place
      Why it helps


      Blue Gate
      Manticor lab, armor room
      condensed black locker and black crate style loot


      Stella Montis
      armory room in lounge, plus key room
      condensed containers in a tight area


      Stella Montis
      medical research room, ground floor
      medical tag pool plus mixed containers nearby
The player picks a route with black locker clusters, clears them fast, then extracts after the container sweep.
The player treats Surveyor cores like a blueprint slot machine, so the run becomes “hunt Surveyor, loot core, leave” with a short loop.
The player clears Trials weekly, aims for three stars, then collects rewards and lets the blueprint pool roll in the background.
• Fast blueprint farming service
• Secure targeted item delivery
• Guaranteed high-tier recipes
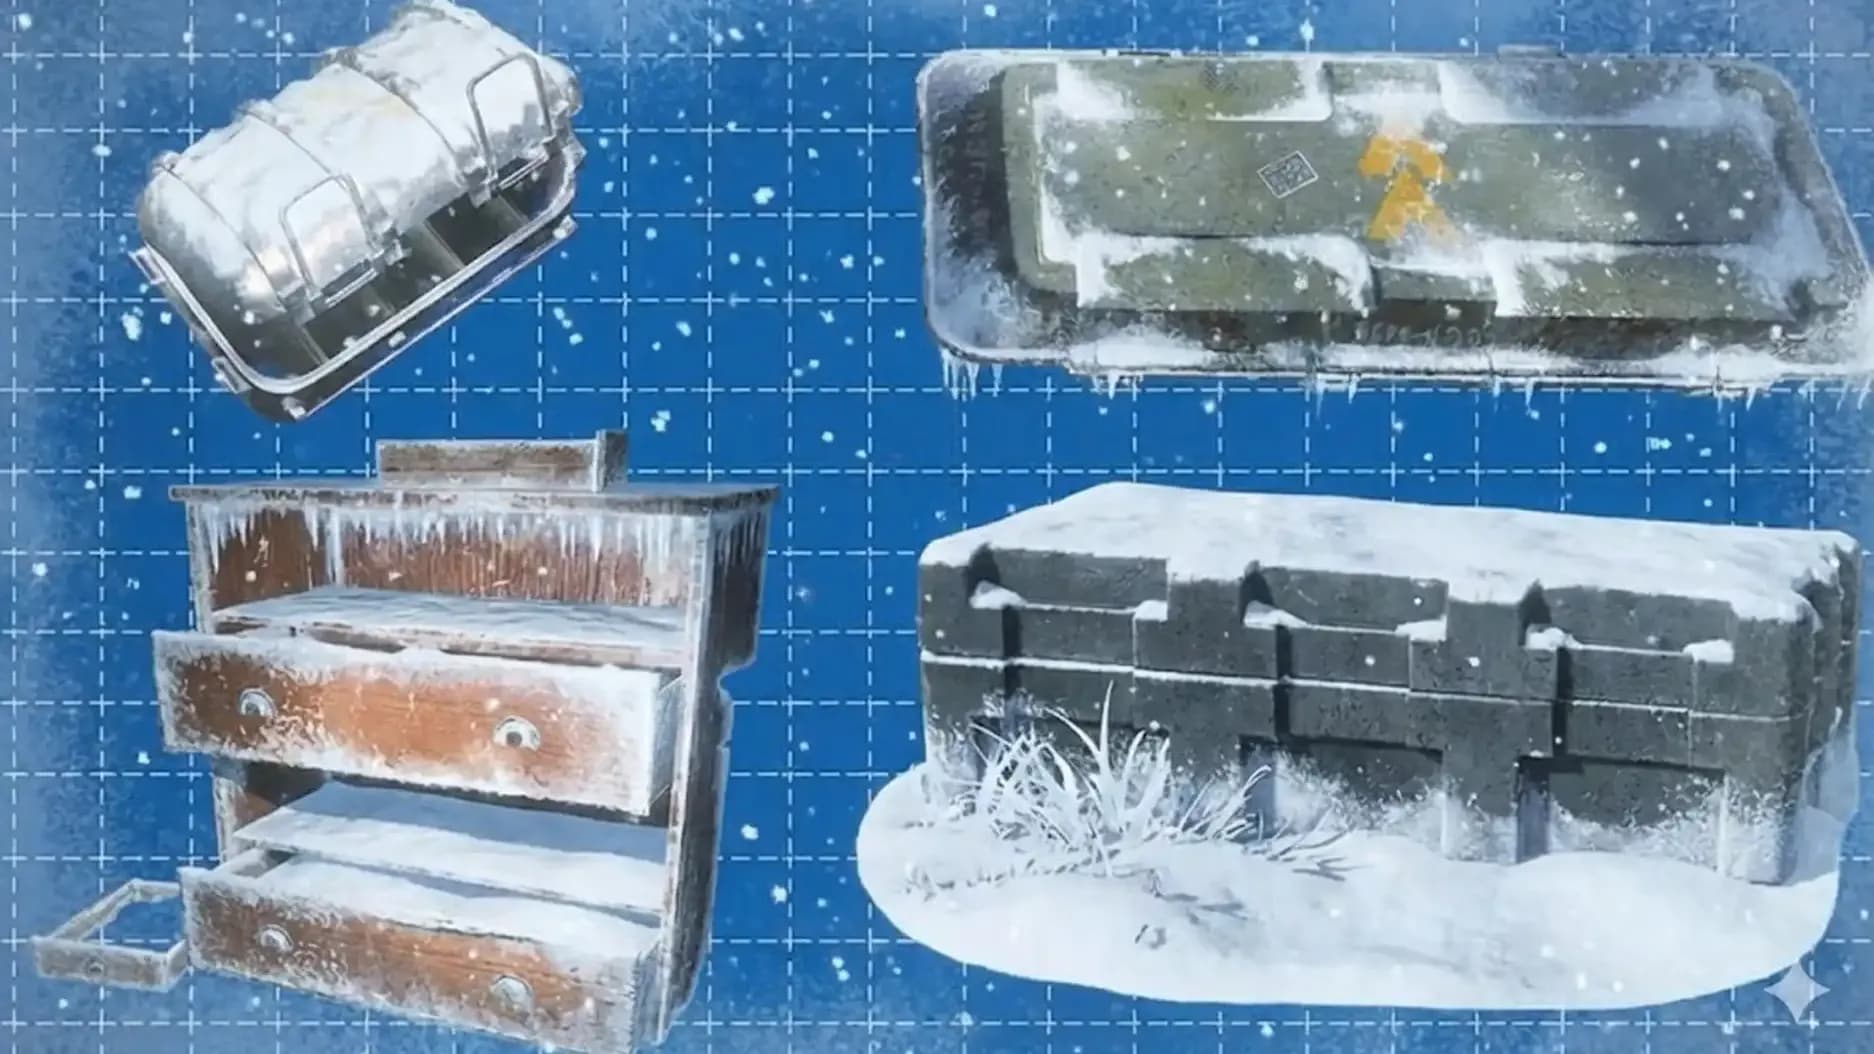
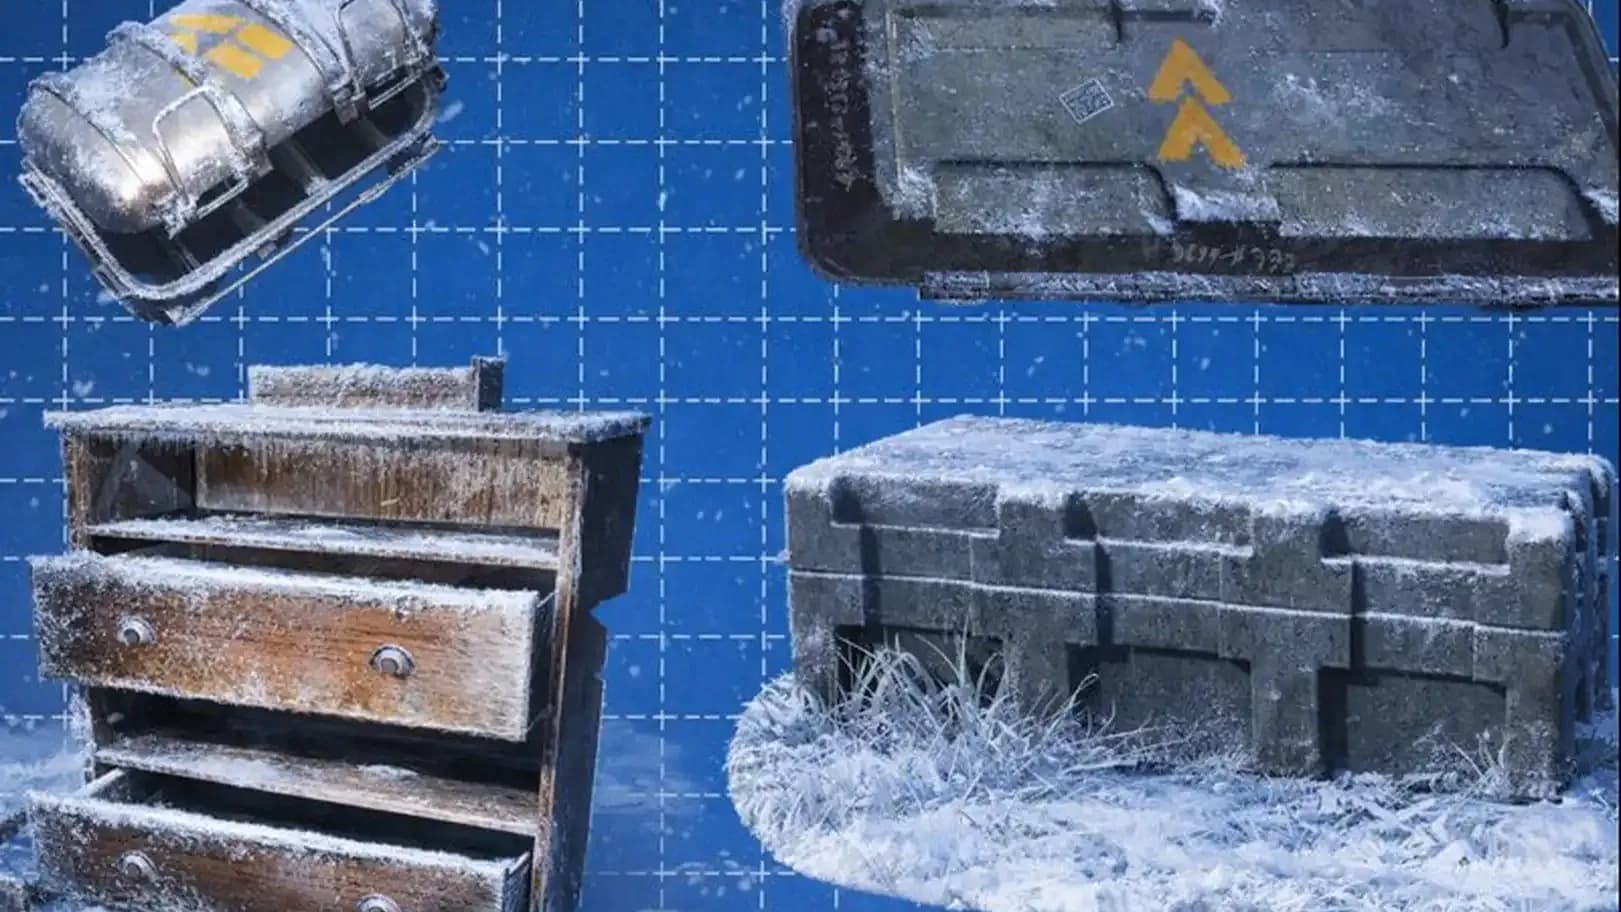
Arc Raiders calls it “raider loot”, then hides it in raider bags, so the player learns the same containers like a bedtime story.
| Blueprint | Place type | Container focus | Simple way |
|---|---|---|---|
| Osprey blueprint | raider container areas | weapon cases, raider bags | clear raider containers, then extract |
| Anvil blueprint | raider container areas | weapon cases, ammo cases | same loop, repeat |
| Ventor blueprint | raider container areas | raider caches event, weapon cases | clear cache event, then sweep cases |
| Toro blueprint | raider container areas | weapon cases, raider bags | clear raider containers, then leave |
| Patina blueprint | raider container areas | ammo crates | keep ammo crates in the sweep, stay patient |
| Blueprint | Place to farm | Container focus | Simple way |
|---|---|---|---|
| Vita Shot Spray blueprint | medical tag rooms | medical containers, plus nearby high value loot | clear medical room loop, extract |
| Defib blueprint | medical tag rooms | medical containers | repeat short medical runs |
Quest rewards feel like the game showing mercy for a moment, then it remembers what genre it is.
| Blueprint | How it is obtained | Simple way |
|---|---|---|
| Trigger blueprint | after completing “Sparks Fly” | finish the quest chain, then claim reward |
| Lur Grenade blueprint | after “Greasing Her Palms” | finish quest, claim reward |
| Bleta blueprint | after “Industrial Espionage” | finish quest, claim reward |
| Hullcracker blueprint + launcher ammo | from “The Major’s Foot Locker” | finish quest, claim reward |
The player could roam and “have fun”, then the blueprint stays hidden in a trash can, so the player picks routes instead.


• Fast ARC Raiders crafting upgrade
• Maximize crafting efficiency
• Secure, manual service

• Fast ARC Raiders Dam clears
• Guaranteed loot and resources
• Secure professional raid boosting

• Fast Buried City completion
• Guaranteed loot and rewards
• Secure professional raid carry
• Fast blueprint farming service
• Secure targeted item delivery
• Guaranteed high-tier recipes
74/74 blueprints get farmed with a plan – run Locked Gate and Electromagnetic Storm loot black lockers, then extract early so the run stays calm.

74/74 blueprints get farmed with a plan – run Locked Gate and Electromagnetic Storm loot black lockers, then extract early so the run stays calm.

74/74 blueprints get farmed with a plan – run Locked Gate and Electromagnetic Storm loot black lockers, then extract early so the run stays calm.

74/74 blueprints get farmed with a plan – run Locked Gate and Electromagnetic Storm loot black lockers, then extract early so the run stays calm.

The game rolls blueprints from loot, and the player gets higher odds by matching the pool. Events, location tags, and container types shape the rolls, so the run plan matters more than raw luck.
The player checks the map condition, then goes straight to a target room and opens the target containers. After the sweep ends, the player extracts, because long stays invite ambush and wasted time.
The player runs Blue Gate and watches for the Locked Gate event, then farms four keys and stores them in the safe pocket. After gate input, the player clears the underground loot and extracts.
The player waits for the Electromagnetic Storm condition, then loots the storm area and nearby high value rooms. The run stays simple, because the storm pool is the goal and roaming spreads the odds.
The player looks for the Hidden Bunker event, then goes straight to the bunker marker. After clearing bunker containers and nearby outlined loot, the player extracts, because the bunker sweep is the full job.
The player completes the Harvester event, then opens the reward containers at the finish area. After the three containers are cleared, the player extracts, because the blueprint roll already happened.
Stella Montis has a named list tied to that map, so repeated runs there make sense. The player focuses armory style rooms and dense container clusters, then extracts, because the route stays compact.
The player targets medical tag rooms, then clears medical containers and nearby loot. Stella Montis medical research rooms fit this plan, and the player extracts after the loop, because the pool is location driven.

GTA 6, new seasons, major updates — get ready to dominate from day one.