


Arc Raiders Boost
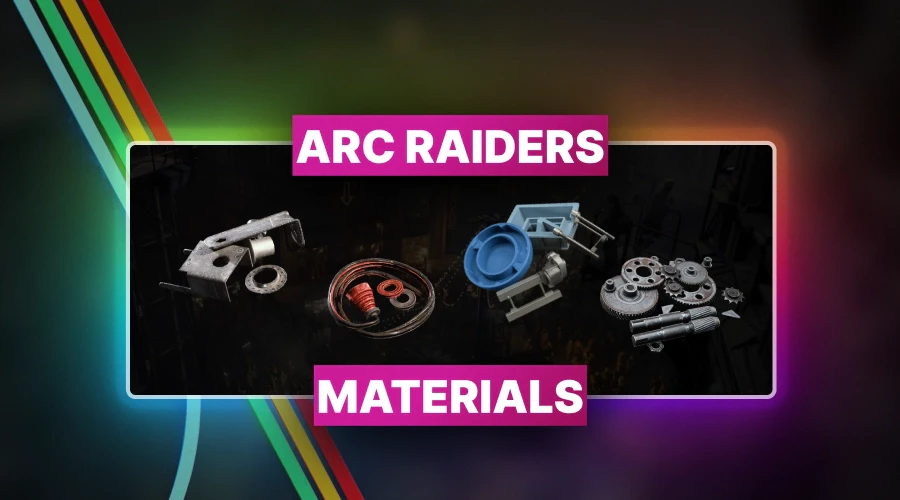
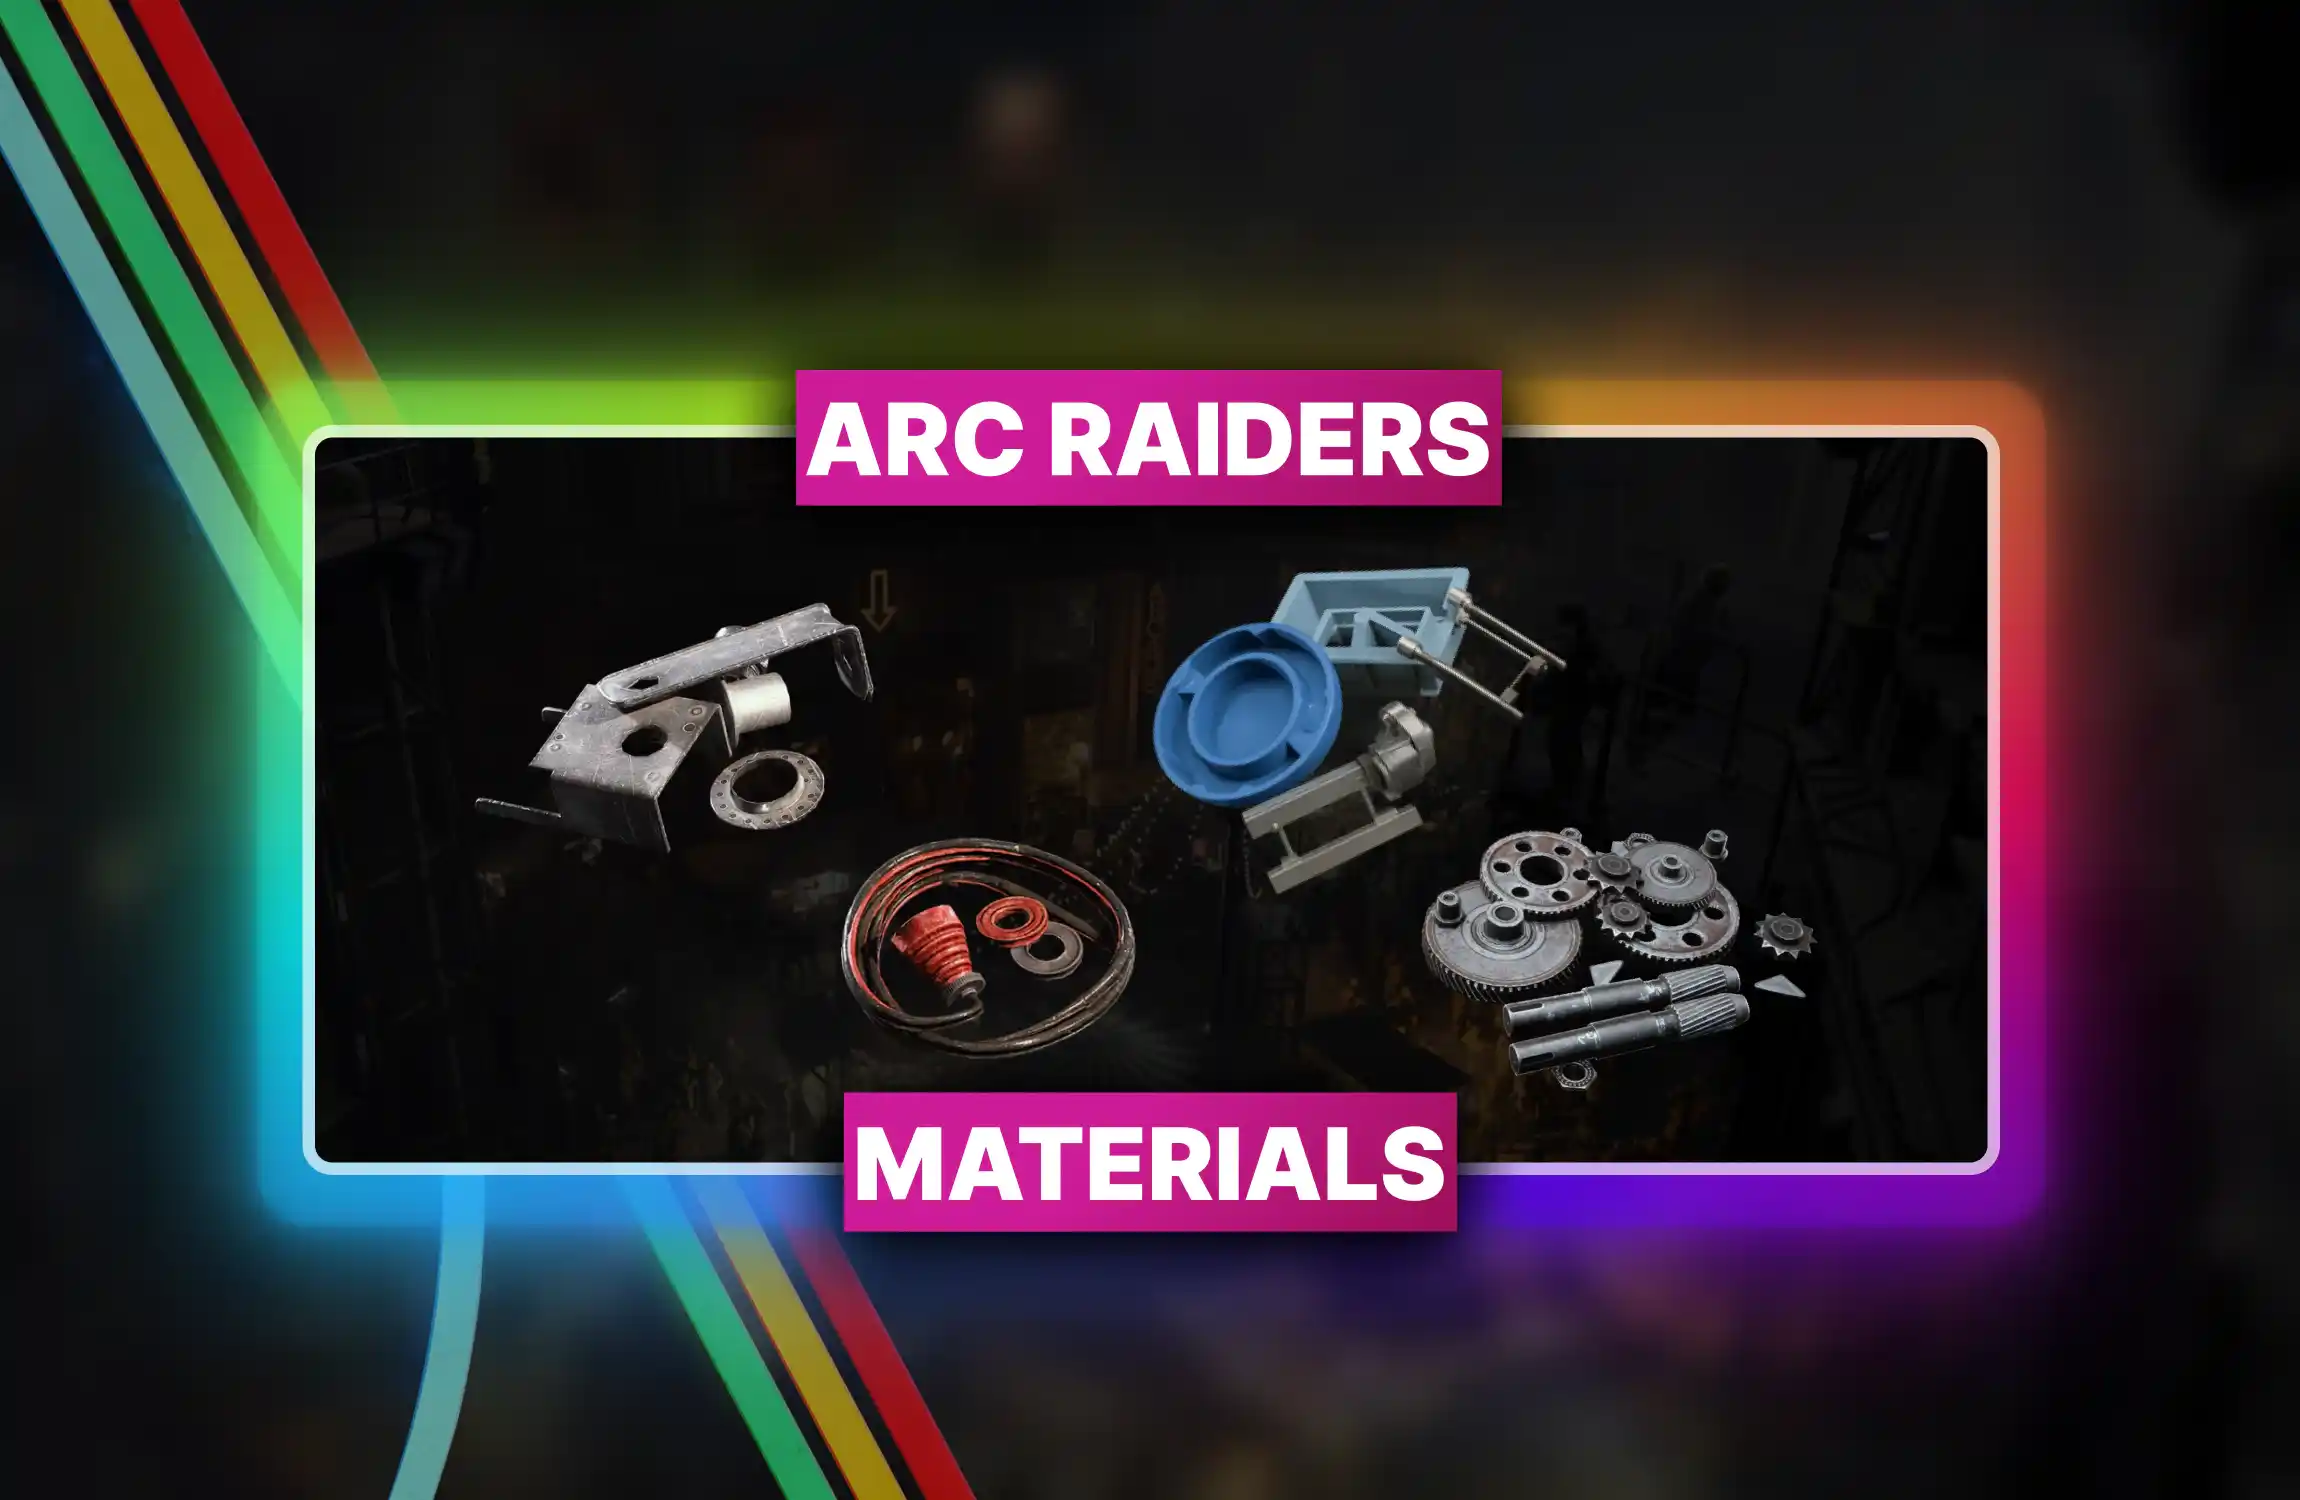
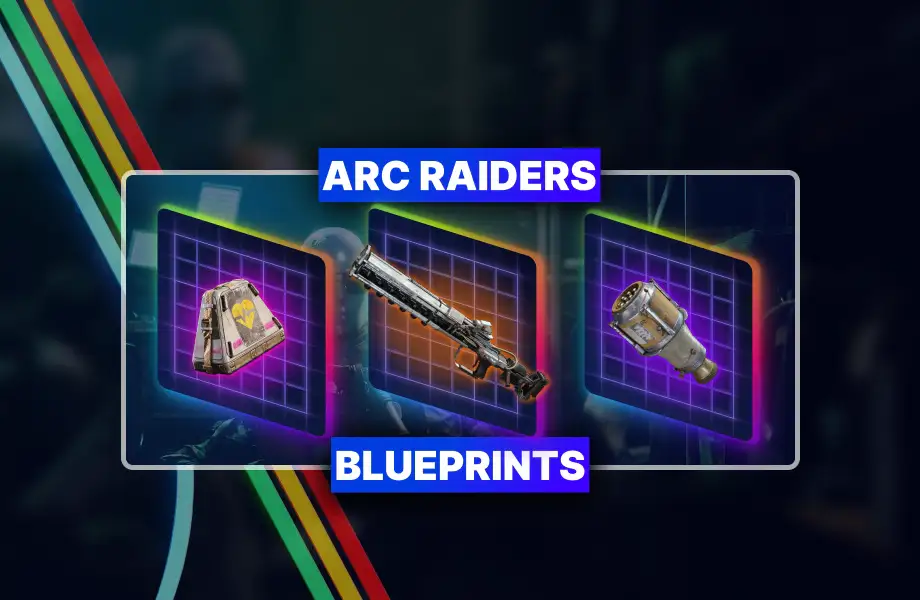
Arc Raiders Workshop guide
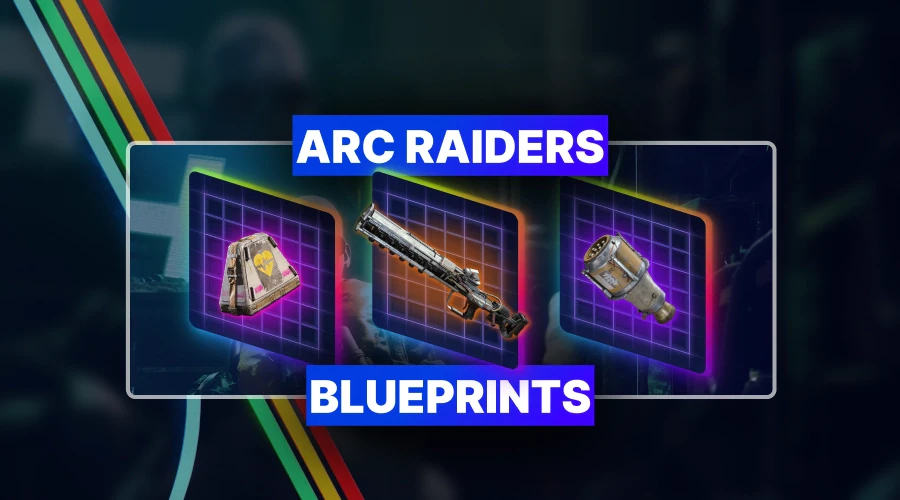
Blueprints hide in drawers and trash cans, so player stays sharp. Farm routes and Harvester steps are here, then Guitar puzzle path comes today!

Arc Raiders treats legendary gear like a joke with teeth, so the player gets shiny power and pays with risk. The drop can sit in a trash can, or behind a ladder jump that exists to punish confidence, so the run plan matters more than hope.
If you’re reading this, you might be interested in a discount just for you—my blog reader! Use code CRINGEBLOG to get an amazing discount on any offer in our shop.

• Fast blueprint farming service
• Secure targeted item delivery
• Guaranteed high-tier recipes
Before chasing legendary loot, the player brings tools that keep the run alive, because death deletes plans with zero sympathy.
| Target | Type | Main place | Best condition | Core action |
|---|---|---|---|---|
| Kinetic Converter | Weapon attachment | Damn Battlegrounds – Control Tower roof route | Cold Snap, Night Raid, Electromagnetic Storm | Breach roof access, loot secret crates |
| Anvil Splitter | Weapon attachment | Buried City – Pharmacy in Plaza Rosa | Cold Snap, Night Raid | Loot drawers inside pharmacy |
| Snap Hook Blueprint | Blueprint | Damn Battlegrounds – Research/Admin offices | Electromagnetic Storm | Loot desk drawers on top floor |
| Snap Hook (item) | Item | Buried City – Pharmacy | Cold Snap | Loot pharmacy like a maniac |
| Aphelion Blueprint | Blueprint | Matriarch event or Cella Montis loot | Matriarch, plus Night Raid for loot runs | Loot Matriarch core, or sweep loot containers |
| Equalizer Blueprint | Blueprint | Harvester event on maps with Harvester condition | Harvester | Solve Harvester puzzle, loot spawned containers |
| Jupiter Blueprint | Blueprint | Harvester event on maps with Harvester condition | Harvester | Solve Harvester puzzle, loot spawned containers |
| Queen or Matriarch Reactor | Craft material | Any Queen or Matriarch fight | Any | Break armor, loot fallen plates, use smoke trick |
| Guitar | Cosmetic item | Buried City – hidden button puzzle | Any | Press 15 buttons in order, then loot room |

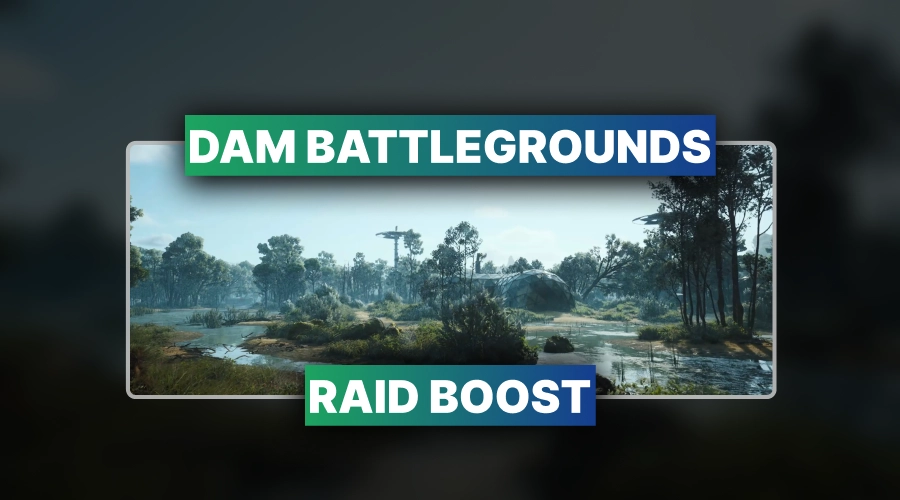
The Kinetic Converter is a weapon attachment that boosts rate of fire by 15%, then slaps recoil on top as the “payment,” because Arc Raiders loves deals that bite. The farm route sits on Damn Battlegrounds, and the transcript points at Cold Snap, Night Raid, or Electromagnetic Storm as the best Loadout for the attempt.
The step path below describes the Control Tower roof route that leads to the secret breachable crates.
The exit choices are simple, and both options come with danger baked in, since the ladder exists to test ego.

The Anvil Splitter is an attachment for the Anvil revolver that changes one shot into four pellets, so close-range hits can feel brutal and long lanes can feel awkward. This drop in the Pharmacy building on Buried City, and it points at Cold Snap or Night Raid as the preferred conditions for loading in. The short run plan below focuses on the single building and its drawers, since the route is about repetition, not hero moments.

The Snap Hook is a grapple tool that lets the player zip to ledges, or latch onto an Ark for a ride, because subtle movement is for polite games. Blueprint finds on Bluegate and Damn Battlegrounds, with Electromagnetic Storm called out as the modifier that shows this blueprint often.
| Map | Target | Exact area | Container focus |
|---|---|---|---|
| Damn Battlegrounds | Snap Hook blueprint | Research and Administration building – top floor | Desk drawers across office spaces |
| Bluegate | Snap Hook blueprint | Underground security wing | Green lockers near the zip line |
| Buried City | Snap Hook item | Pharmacy | General looting during Cold Snap |
The quick office sweep list below fits the Damn Battlegrounds method, since it is straight drawer work with high repetition.


• Fast Harvester puzzle completion
• Guaranteed loot and rewards
• Secure boosting by professionals
Two methods are exsisted, and the first one is a public fight where the blueprint is guaranteed, then the whole lobby runs at the prize like starving dogs.
The Matriarch method list below focuses on the exact timing window around the core sphere.
The second method is a loot hunt on Cella Montis, with Night Raid mentioned as a small boost, and the transcript gives two example container spots to show what “random” looks like.
| Container type | Why it matters | Example spot from transcript |
|---|---|---|
| Small drawer | Small containers can still roll the blueprint | Green drawer by shipping containers, top floor loading bay |
| Trash can | Trash can rolls exist, because the game enjoys irony | Atrium trash can |
The short loot route list below keeps the player moving through high-traffic loot areas without turning the raid into a sightseeing tour.

Equalizer and Jupiter are both legendary weapons, and their blueprints come from the same event, so the player farms one loop and prays for either drop.
To complete the Harvester mini-game on any map that has the Harvester map condition, and it warns that the Queen sits near the icon like a living tax collector.
| Phase | What happens | What the player does | Main danger |
|---|---|---|---|
| Entry | Harvester doors get breached | Enter and start climbing ledges | Queen nearby outside |
| Search | Plates get breached for power cells | Find three power cells in breachable areas | Time loss inside |
| Insert | Cells go into center slots | Pry slots, insert one at a time | Getting trapped during hazard |
| Shoot | Yellow buttons spawn on walls | Shoot buttons until broken | Fire and shock cycles |
| Loot | Containers emerge from center column | Loot containers for Equalizer or Jupiter blueprint | Greed after success |
The hazard control list below follows the transcript warning signs, since the Harvester signals the hit right before it happens.

• Fast blueprint farming service
• Secure targeted item delivery
• Guaranteed high-tier recipes
Queen and Matriarch reactors are crafting materials for Equalizer, Jupiter, and Aphelion, so the blueprint farm still asks for boss scraps, because the grind loves company.
The main method is to damage the boss until armor breaks off, then loot the fallen plate for a reactor roll, and the transcript calls out Hullcracker from Sparza as a clean armor-break tool.

The guitar is a playable instrument earned from a hidden puzzle on Buried City, and the puzzle uses 15 hidden buttons pressed in an exact order, because a simple reward would feel like mercy.
The puzzle resets when a wrong button gets pressed, even by a random raider, so the run works best when the player moves with patience and keeps distance from loud zones.
• Fast Harvester puzzle completion
• Guaranteed loot and rewards
• Secure boosting by professionals
The thing below give single-purpose runs, so the player farms one target and leaves with a pulse.
This grind looks like treasure hunting, yet it plays like the game holding loot behind a trap door and asking the player to smile. Pick one target, run it hard, extract early, then repeat until the drop finally stops laughing.


Blueprints hide in drawers and trash cans, so player stays sharp. Farm routes and Harvester steps are here, then Guitar puzzle path comes today!

Blueprints hide in drawers and trash cans, so player stays sharp. Farm routes and Harvester steps are here, then Guitar puzzle path comes today!

Blueprints hide in drawers and trash cans, so player stays sharp. Farm routes and Harvester steps are here, then Guitar puzzle path comes today!

The player picks one target and follows one route. The player extracts fast. Greed creates loud fights, and loud fights create deaths. The game stays cruel, so the player stays disciplined and leaves with loot.
Breach charges open roof doors and secret crates. A zipline helps safe exits from high places. Smoke grenades cover reactor plates. Hullcracker helps break Queen or Matriarch armor, so plates drop for reactor rolls.
The player climbs Control Tower and breaches the roof door. The player uses the ladder jump to reach a small platform. A breachable crate sits there. Loot it, then exit using a carried zipline or the ladder route.
The player loads into Buried City under Cold Snap or Night Raid, then goes to Plaza Rosa near extraction. Inside Pharmacy, the player loots drawers across the building, then leaves early before raiders arrive.
On Damn Battlegrounds, the player loots top floor desk drawers in Research and Administration. On Bluegate, the player checks green lockers in the underground security wing. Electromagnetic Storm helps this blueprint show up.
The player loads into a Matriarch raid as a solo, then joins the kill with other solos. When the boss dies, the core sphere appears. The player sprints to it and loots fast, before the crowd swarms.
The player enters the Harvester, then finds three power cells. The player inserts the cells into the center slots. Yellow wall buttons spawn and get shot. After hazards cycle, loot containers that rise from the center column.
The player breaks armor until plates fall off, then loots the fallen plates for reactor chances. Smoke grenades help when pressure rises. Hullcracker speeds armor break, so the player reaches plate drops sooner.
The player presses 15 hidden buttons in a strict order. A door unlocks, then the guitar can be looted. A wrong press resets the puzzle, even from another raider, so calm movement matters.

GTA 6, new seasons, major updates — get ready to dominate from day one.