


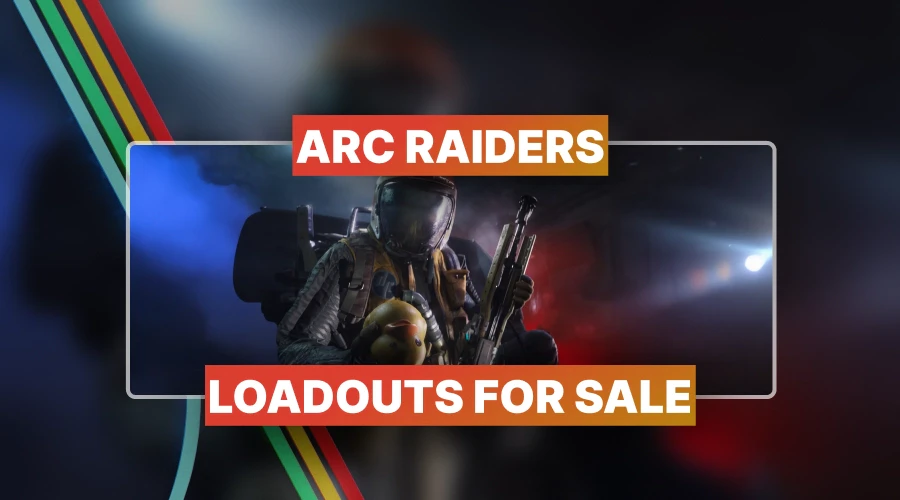


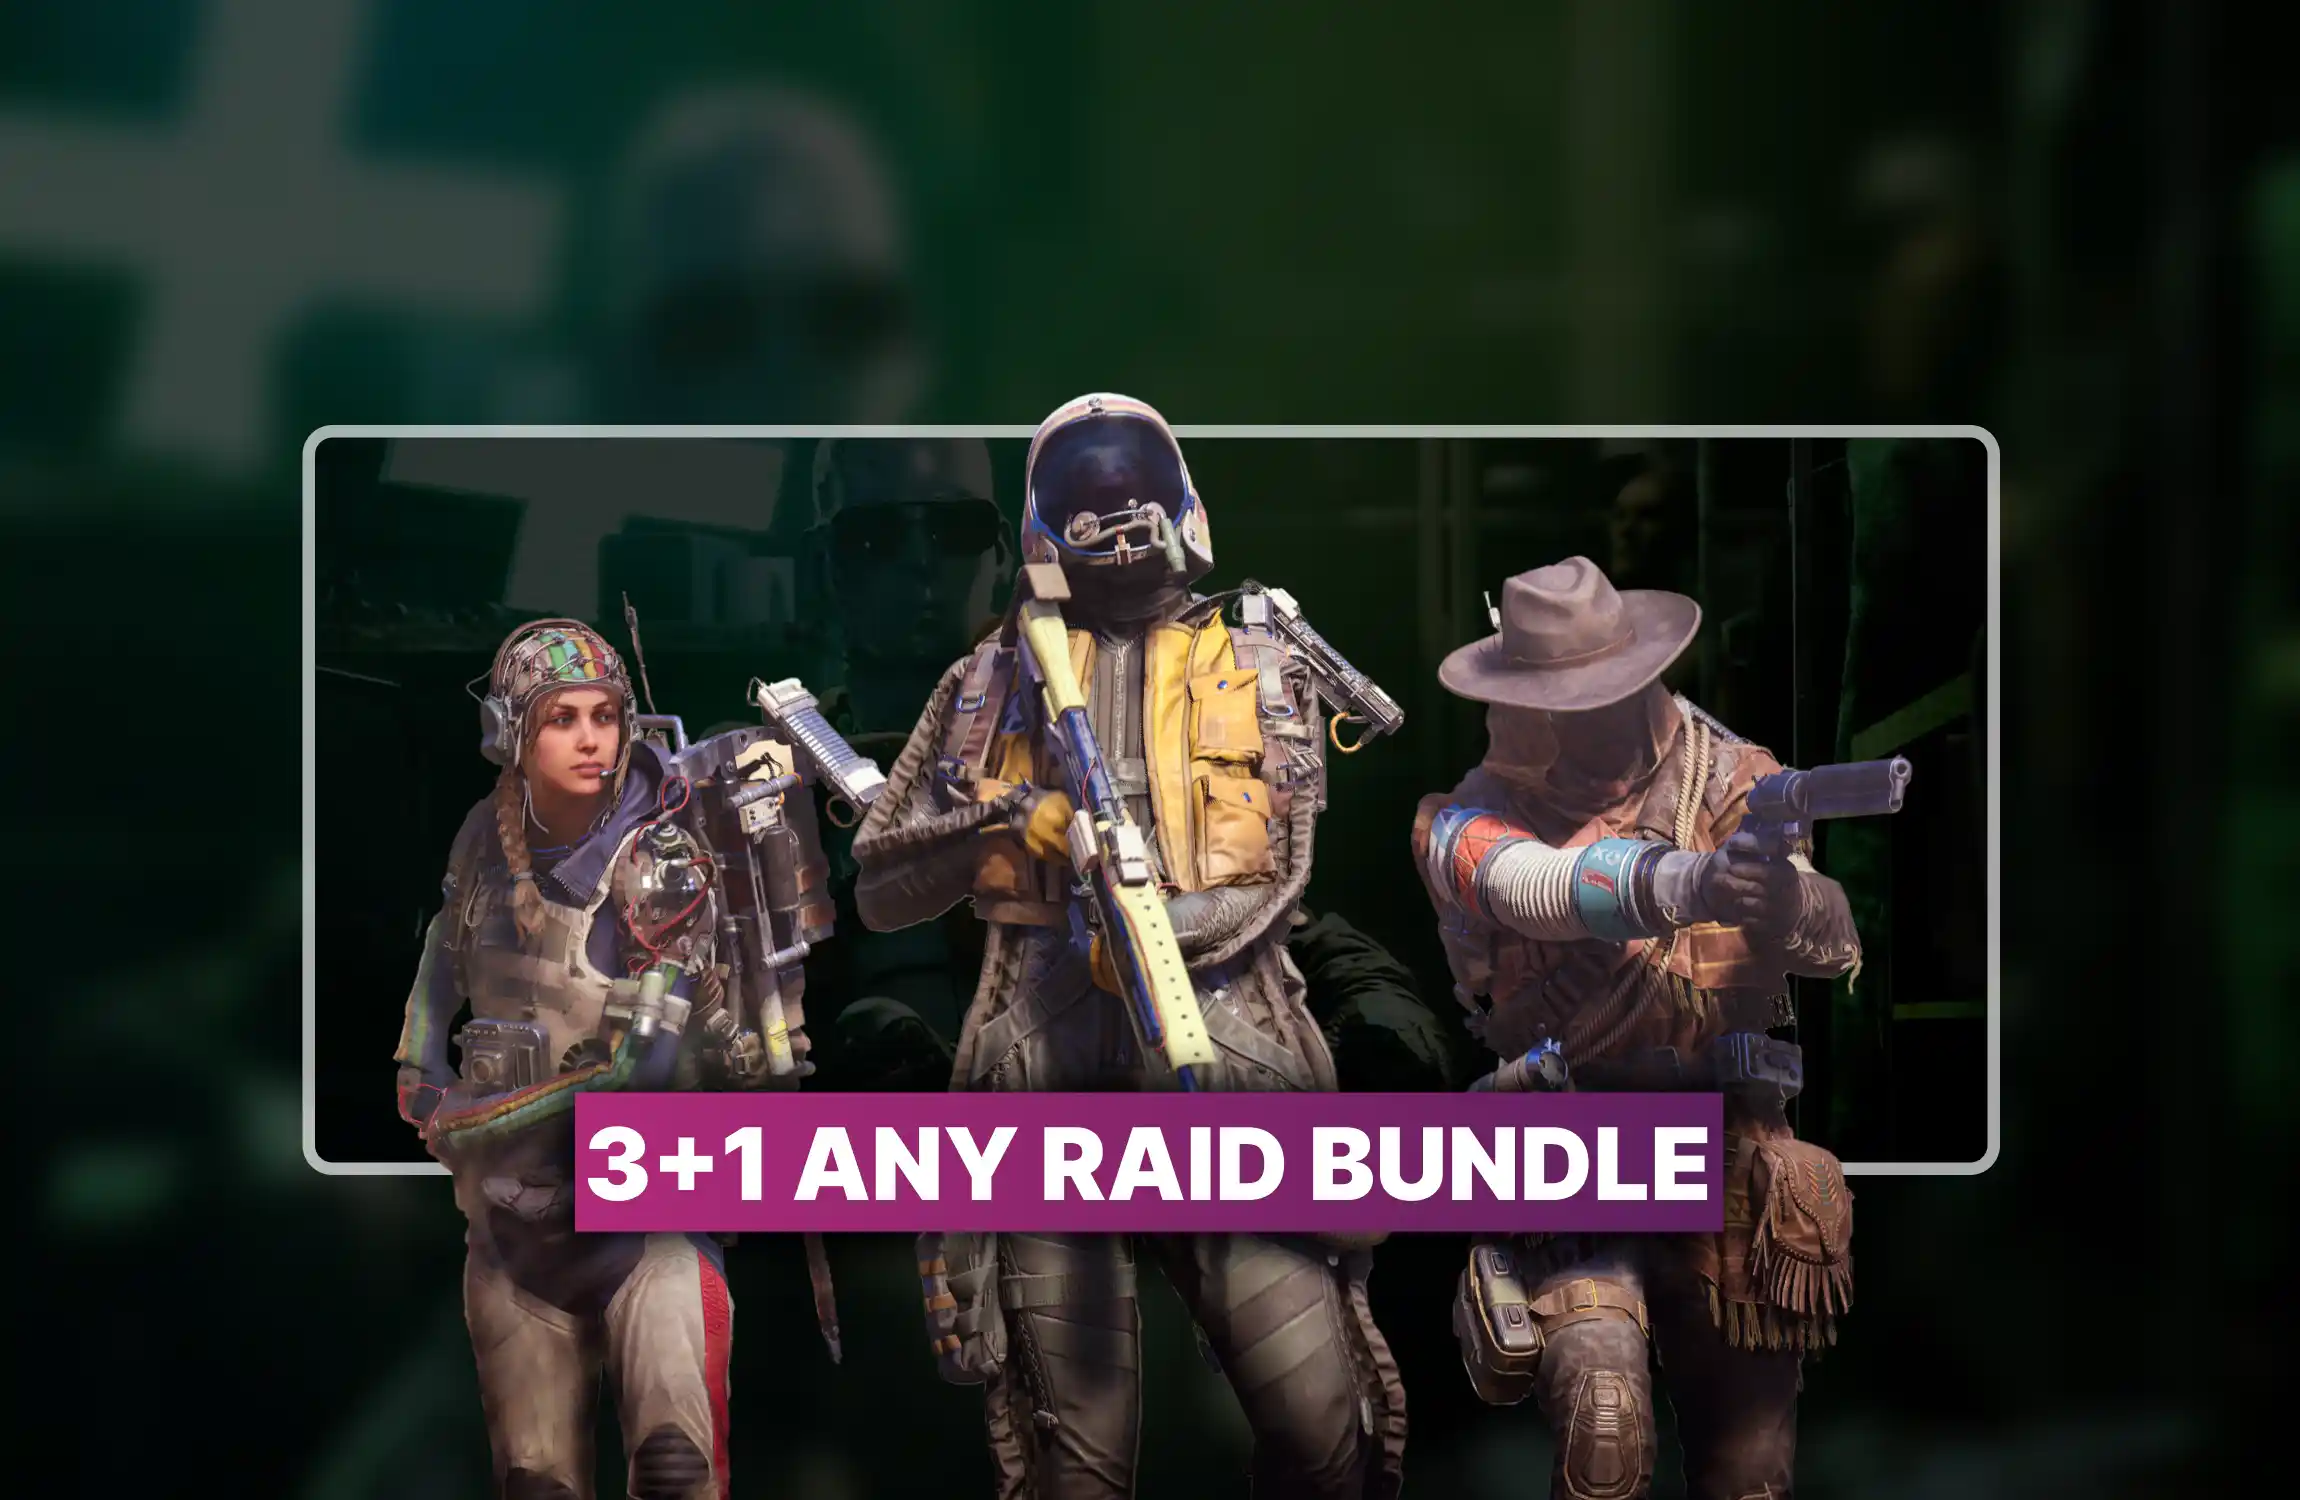
Arc Raiders Boost
ARC Raiders Bobcat Blueprint Guide
Arc fights run clean with weak points and stun windows. Arc Raiders arc weaknesses guide adds pocket ammo. Bastion and Bombarder get kill loops.
Large Arc farming looks “skillful” in the lobby, then turns into a repeatable chore where the player either brings a plan or brings a death screen. The whole loop stays simple – strip armor, hit the weak point, force a stun window, then dump damage while the Arc acts confused, and that is the full point of an Arc Raiders arc weaknesses guide.
If you’re reading this, you might be interested in a discount just for you—my blog reader! Use code CRINGEBLOG to get an amazing discount on any offer in our shop.
• Fast blueprint farming service
• Secure targeted item delivery
• Guaranteed high-tier recipes
| Budget tier | Main idea | What gets carried | What gets saved on death |
|---|---|---|---|
| Low | Level 3 Pharaoh strips armor, then swap to a fast firing weapon into the weak point | Pharaoh plus swap gun | Nothing special |
| Mid | Hullcracker daily buy, launcher ammo sits in safe pockets, Hullcracker pulls ammo from there | Hullcracker plus launcher ammo | Launcher ammo stays safe |
| High | Deadline for ground units, Wolfpack for flyers, plus burst explosives | Mines plus rockets plus grenades | Safe pocket ammo still matters |
The Hullcracker setup works because the player runs an augment with two safe pockets, then places launcher ammo into those pockets, and the Hullcracker draws ammo straight from the safe pocket when firing, which is a key detail inside an Arc Raiders arc weaknesses guide.
A practical baseline Loadout stays like this:
      Tier
      Item
      What it does in a fight
      Notes


      High
      Deadline mine
      Deletes ground Arc when placed well
      Ground target focus


      High
      Wolfpack
      Deletes flyers on a good roll
      Flyer focus


      Mid
      Heavy fuse grenade
      Big hit with a delay
      Listed as 80 damage


      Mid
      Trigger grenade
      Sticks, then detonates together on command
      Listed as 90 damage


      Mid
      Trailblazer
      Gas line, then pop damage with stacked hits
      “20” is bait, the pop stacks


      Low
      Snap blast
      Sticky burst option
      Mentioned under mid-cost tier


      Low
      Light impact grenades
      Utility, leg breaks, armor strip
      Cheap pressure tool
Utility that changes fights without “damage numbers”:
Utility that changes fights without “damage numbers”:

• Fast Trials rank progression
• Guaranteed three-star completions
• Premium rewards unlocked instantly
Arc vision comes from scanners, and scanner color tells the mood. Blue stays neutral, yellow searches, red is full aggro, and aggro can be traded by letting a friend tag the target so it overfocuses them, which makes fights look “tactical” in an Arc Raiders arc weaknesses guide.
A dirty trick for third-party chaos. put an Arc into yellow search, then let it pick another team that walks close. Line of sight still matters in blue or yellow state, and bushes or hard cover help resets, while the cloak blocks spotting during its active window. Flyers react hard to bullet velocity, since high velocity hits can knock and fling them around in the air.
The Bastion dies from core damage, and core hits use a damage multiplier, with a clear sound and spark cue, which is the main reason Bastion sits inside an Arc Raiders arc weaknesses guide.
Weak point logic:
A pack of impact grenades thrown into one leg from cover can break a leg fast, then the player leans around cover and farms the stun window.
Snap blasts act as the “more spend than impacts” option, and about 12 snap blasts matches a six heavy fuse style budget.
The core window becomes simple when the Bastion is stunned, then a Deadline mine or stacked grenades can be placed during that lock.
Control tools. keep the Bastion harmless long enough:
A single stack of 24 launcher ammo is enough for a Bastion, and the play stays leg stun first, then Hullcracker shots into the exposed side core during the head-lean window.

Bombarders stay dangerous while active, and a solo kill leans on surprise plus burst, since long fights waste time and add risk, and that is why Bombarder positioning matters in an Arc Raiders arc weaknesses guide.
Their shots arc like mortars from above, so a roof or building overhead turns incoming fire into harmless splashes. Breaking a leg joint stuns it, and spotters can be ignored while it stays CC’d. A single Deadline mine placed on the center unit is described as a kill, and a lur grenade can hold attention long enough to place it. Snap up on top, let it spin like a confused carnival ride, then place the mine while it fails to track the player.
Explosive backup. when the mine stays at home:
Safety habit. if the Bombarder survives the burst, the guide suggests retreat, let it de-aggro, then repeat the surprise burst loop.
The beam aims, tightens, then fires a rocket, and the dodge pattern is sideways movement plus sprint roll to avoid the landing blast, while hard cover can soak the rocket, which keeps Rocketeer manageable in an Arc Raiders arc weaknesses guide.
Wolfpack can drop it instantly on some rolls, and seekers can finish a damaged Rocketeer, while a full seeker opener is described as over 10 grenades for heavy chip and burn.
Classic kill paths:
High bullet velocity can fling flying units, and an extended barrel attachment increases bullet velocity, letting the player push the Rocketeer back with repeated hits.
The Shredder kill condition is destroying three blue vents under the main unit, and accurate fire works even on light ammo, which keeps Shredder simple inside an Arc Raiders arc weaknesses guide.
After two vents break, firing into the bottom area where the vents were is described as enough to finish the job.
Line of sight triggers the wind-up explosion, so the player stands in view near cover, triggers the wind-up, then steps into cover to avoid damage, then repeats.
Explosives hit multiple vents if placed well, and sticky options like snap blasts or trigger grenades are ideal for that vent area.
Trailblazer timing. throw when it starts to stop and wind up, so the gas line lands clean and the pop connects.

The Leaper plan stays simple. break the armor protecting the core, then shoot the exposed eye, and that weak point loop belongs in an Arc Raiders arc weaknesses guide.
Impact grenades can expose the core in about three throws, and extra impacts can also become direct damage once the core is visible.
A Leaper cannot fit inside buildings, so tight cover spaces give safety, while the player still respects the explosion radius.
Sticky explosives like snap blasts or trigger grenades become strong once the eye is exposed, and Hullcracker shots into the core delete health quickly if the player spends that ammo.
Two blaze grenades plus a few core shots can kill, and three blaze grenades can kill alone per the guide’s example.
Trailblazers can work when the cloud covers the core area and legs, then pops, with positioning and timing doing the heavy lifting.
| Target | Safest solo plan | “Spend to end it” plan | Core mistake that gets the player deleted |
|---|---|---|---|
| Bastion | Break a leg from cover, then core damage during head lean | Deadline mine during stun, or Hullcracker core dump | Standing in open sightlines during main gun uptime |
| Bombarder | Fight under a roof, stun leg, then burst, then reset if it lives | Deadline mine with lur distraction, or climb placement | Ego-peeking into mortar arcs without overhead cover |
| Rocketeer | Hard cover, beam bait, sprint roll, then turbine or top plate focus | Wolfpack roll, or seeker spam opener | Standing still after beam tightens |
| Shredder | Vent focus, bait wind-up, step behind cover, repeat | Sticky explosives into vent zone | Chasing it in open space during wind-up |
| Leaper | Impact grenades to expose eye, then core shots from tight cover | Blaze or sticky burst into exposed eye | Letting it close distance before the eye opens |
A player that wants clean Large Arc kills plays like a miserable accountant. safe pocket ammo, cover angles, stun windows, then burst into the part that screams with sparks. The rest is just drama for people that enjoy paying repair bills with pride, and that wraps the Arc Raiders arc weaknesses guide idea into one ugly routine.


• Fast ARC Raiders crafting upgrade
• Maximize crafting efficiency
• Secure, manual service
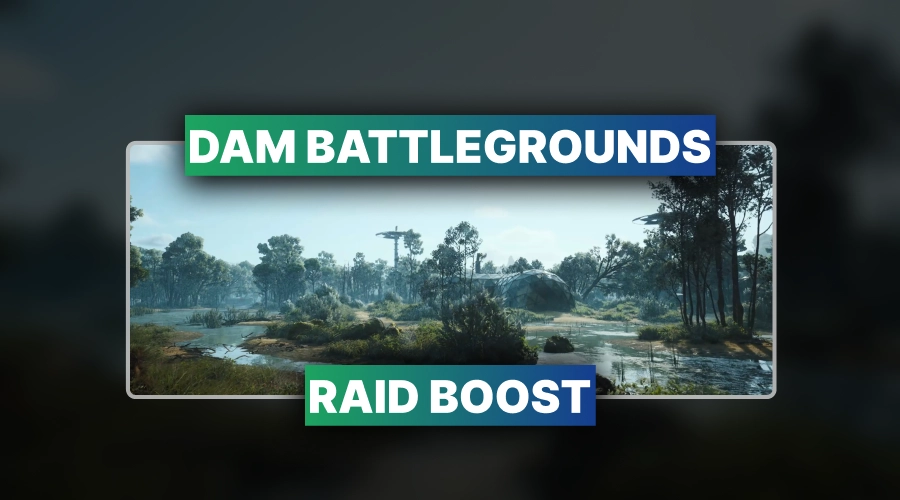

• Fast ARC Raiders Dam clears
• Guaranteed loot and resources
• Secure professional raid boosting


• Fast Buried City completion
• Guaranteed loot and rewards
• Secure professional raid carry
• Fast blueprint farming service
• Secure targeted item delivery
• Guaranteed high-tier recipes
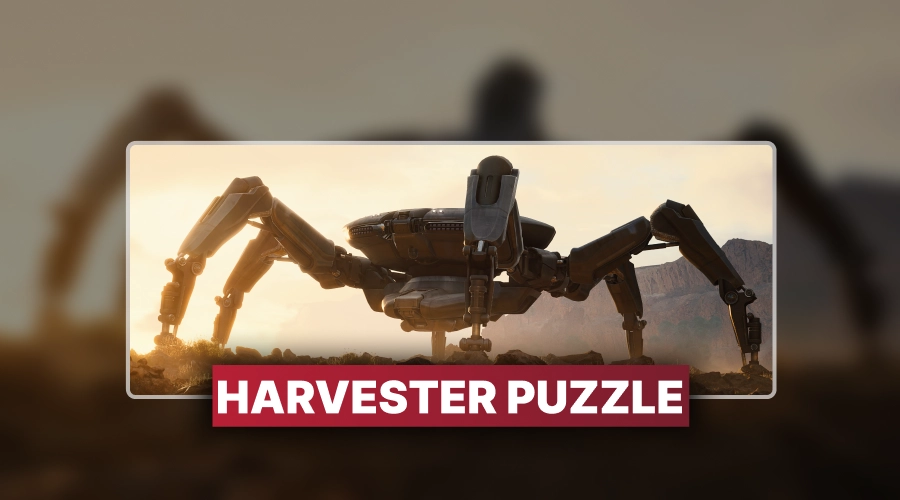
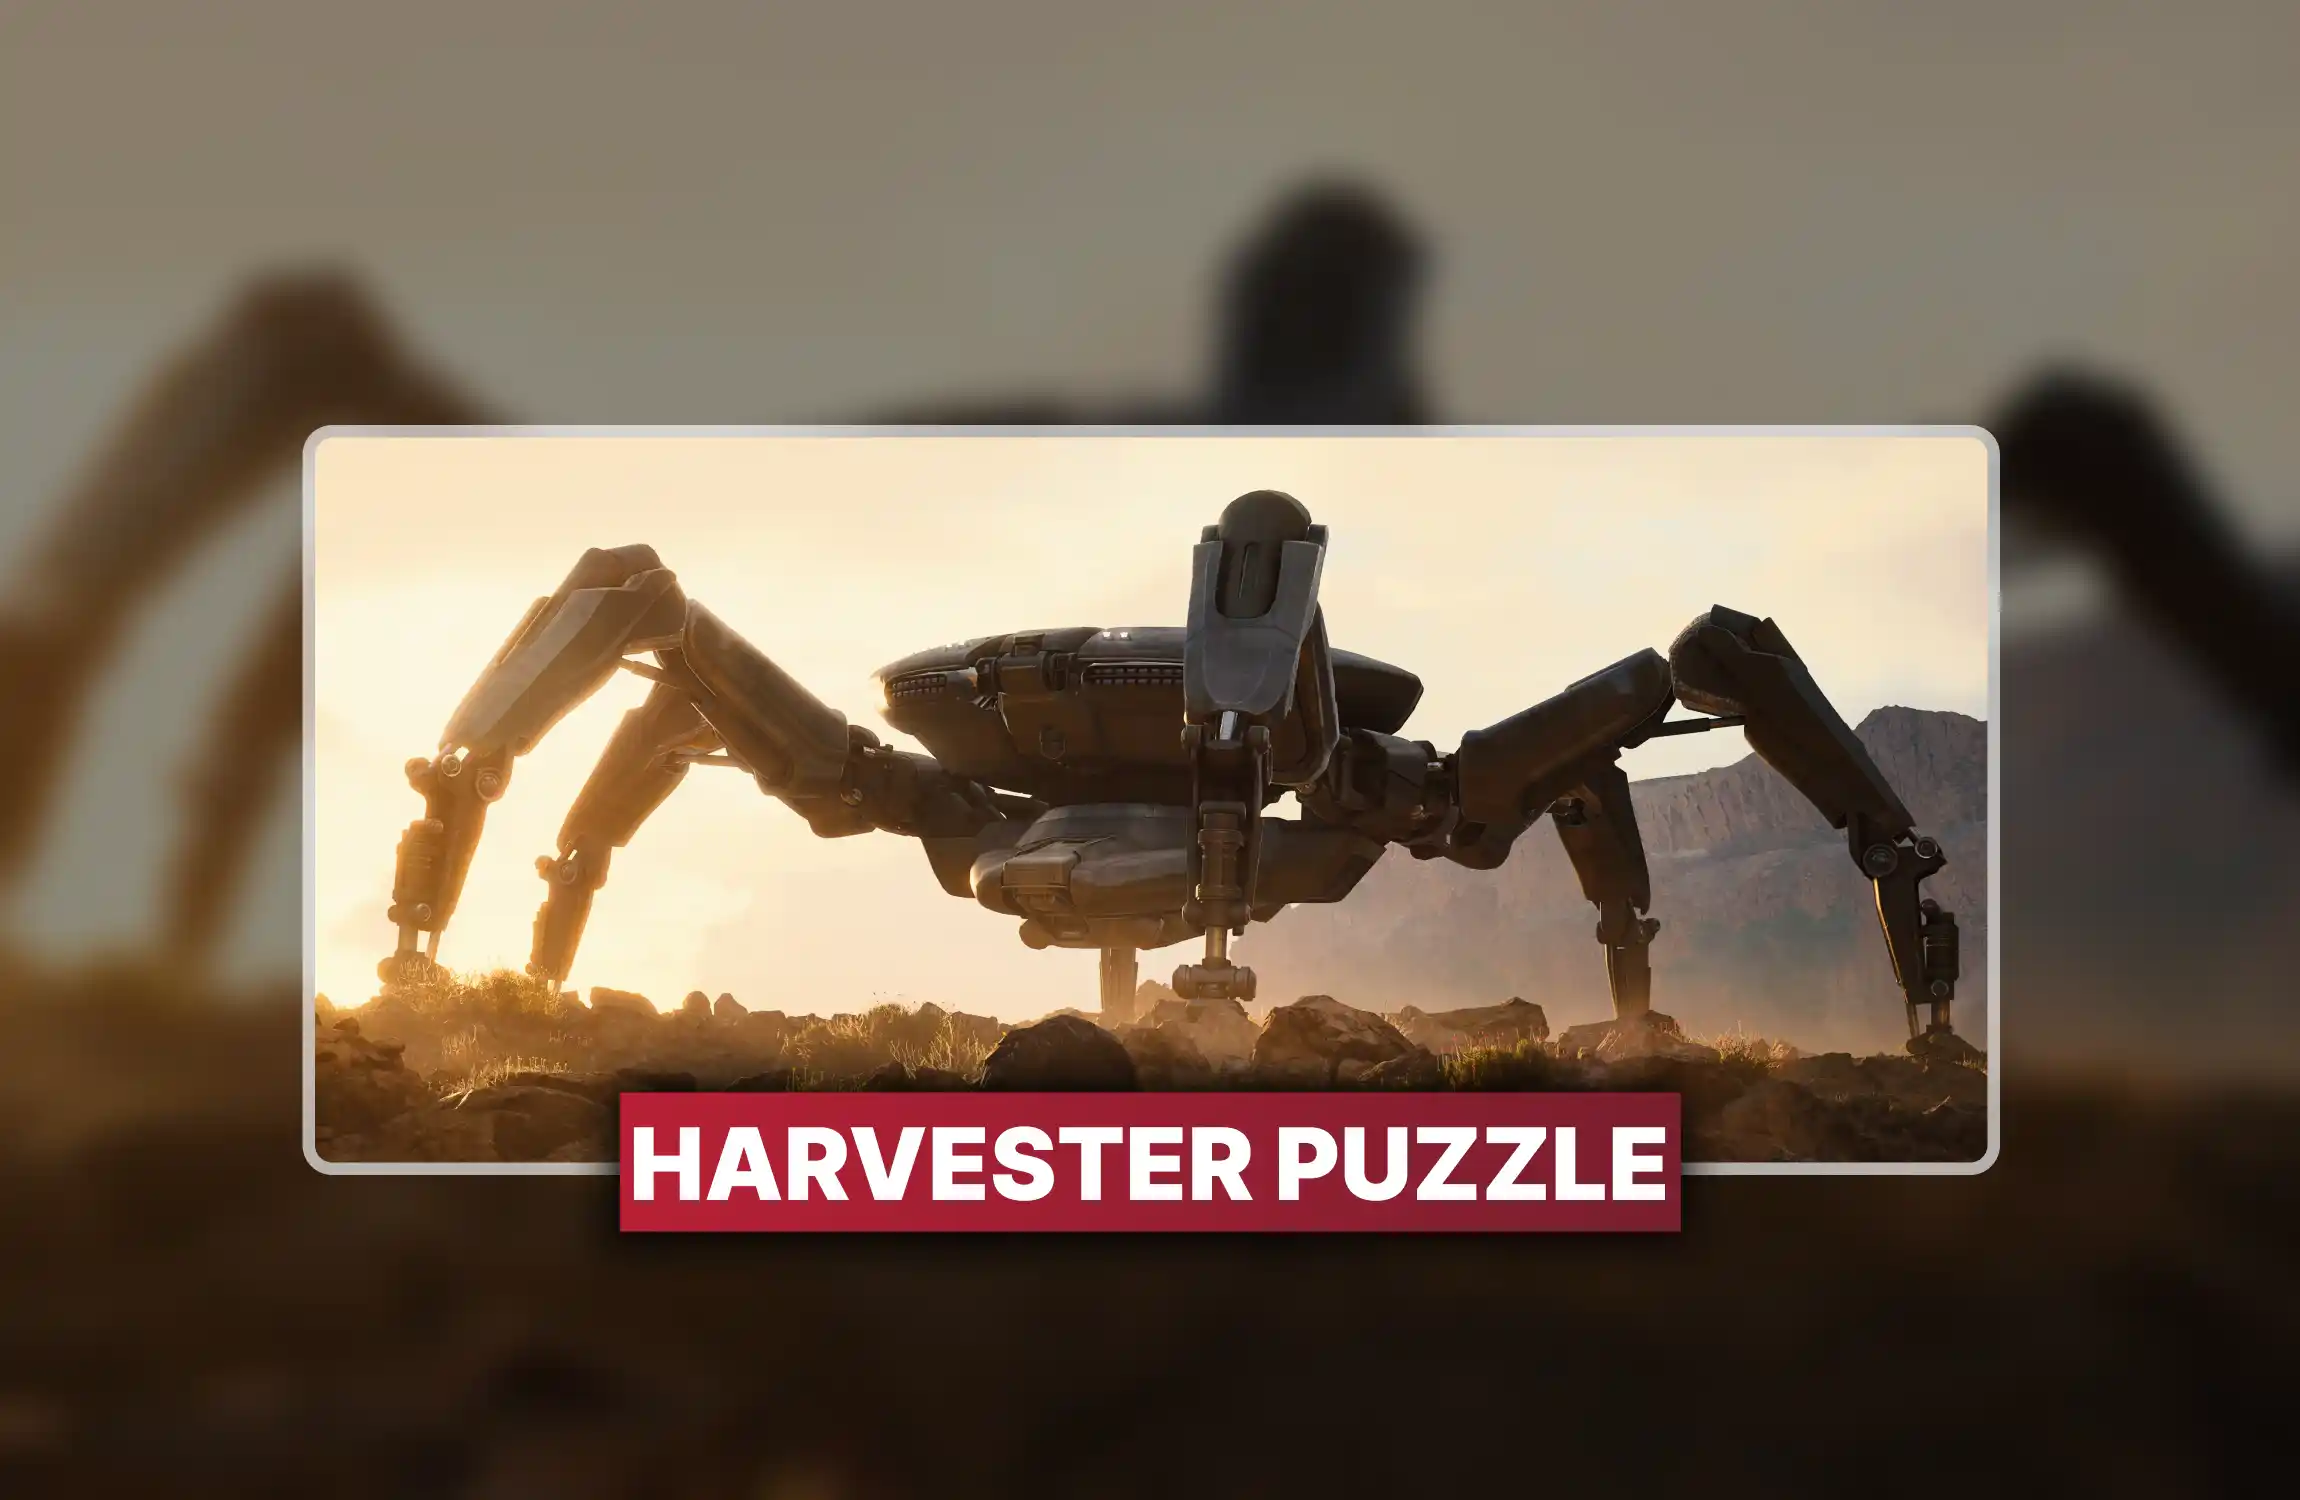
• Fast Harvester puzzle completion
• Guaranteed loot and rewards
• Secure boosting by professionals
Arc fights run clean with weak points and stun windows. Arc Raiders arc weaknesses guide adds pocket ammo. Bastion and Bombarder get kill loops.

Arc fights run clean with weak points and stun windows. Arc Raiders arc weaknesses guide adds pocket ammo. Bastion and Bombarder get kill loops.

Arc fights run clean with weak points and stun windows. Arc Raiders arc weaknesses guide adds pocket ammo. Bastion and Bombarder get kill loops.

The player strips armor, then hits the weak point until a stun window opens. During the stun, the core takes boosted damage, so burst damage goes there and the fight ends before greed brings a death screen.
Pharaoh at level 3 handles armor strip, then the player swaps into a fast firing gun for weak point pressure. That swap keeps spend controlled while the stun and core window get forced on demand.
With an augment that gives two safe pockets, the player stores launcher ammo inside those pockets. Hullcracker pulls ammo from the safe pocket while firing, so a death keeps the ammo for later runs.
Scanner color shows Arc state. Blue means neutral scanning, and yellow means searching. Red means full aggro, and a teammate tag can pull that focus for a short window to create safer angles.
The player breaks a Bastion leg joint from cover, since the leg break stuns and exposes the core on side angles. During the head lean, core damage gets dumped, or a mine gets placed.
Bombarder shots arc from above, so the player fights under a roof or near a building edge. A leg stun creates a safe burst window, then explosives or a mine finish the center unit.
Rocketeer pressure comes from the beam lock and rocket splash, so the player uses hard cover plus sideways movement with a sprint roll. Kill paths focus turbines for a drop, or top plate shots after armor strip.
Shredder dies when three blue vents break under the unit, so the player peeks to bait the wind-up, then steps into cover. Leaper dies after the eye armor breaks, then core shots land from tight building cover.

GTA 6, new seasons, major updates — get ready to dominate from day one.