





















WoW TBC Anniversary Boost
TBC Classic Anniversary Frost & Nature Resistance Guide
Phase 2 drops April 16. SSC is open. Six bosses, mandatory resistance gear, and Lady Vashj waiting at the end. Our full guide is live: go read it befo

Serpentshrine Cavern is a 25-player raid instance lurking beneath Zangarmarsh inside the Coilfang Reservoir, and it is the definitive litmus test for whether your guild is a raid team or simply twenty-five people who happen to log on at the same time. Six bosses stand between you and Lady Vashj, each one seemingly designed by a developer who had just been turned down for a raise and wanted to share their pain with the community.
SSC is one of the two flagship Tier 5 raids of TBC Classic Anniversary Phase 2, alongside Tempest Keep. Unlike the relatively forgiving Tier 4 content your guild has been coasting through in Karazhan and Gruul's Lair, SSC punishes miscoordination, inadequate resistance gear, and anyone whose attention span is shorter than a Spout rotation. The raid is built on bridges and platforms above water, and the water is not your friend. Nothing here is your WoW Anniversary reputation help.
|
Property |
Value |
|
Location |
Zangarmarsh, Coilfang Reservoir (50, 41) |
|
Size |
25-Player Raid |
|
Boss Count |
6 |
|
Tier |
Tier 5 (Gloves, Legs, Helms) |
|
Final Boss |
|
|
Phase |
TBC Anniversary Phase 2 |
|
Required Attunement |
Yes (for Champion of the Naaru title) |
|
Boss Order |
Flexible (Vashj must be last) |
Getting into Serpentshrine Cavern originally required completing one of TBC's more involved attunement chains. While the hard gate has been removed for the Anniversary version, completing the chain still rewards the prestigious Champion of the Naaru title, which is the only reason a reasonable person should voluntarily do this. Here is how it works, presented as a numbered list because you are clearly not reading the walls of text:
Every member of your 25-player roster needs their own attunement. Every single one. If your main healer has been "meaning to do Heroic Slave Pens all phase" and has not done it yet, they are about to become intimately familiar with the concept of urgency.

SSC is one of the few raid tiers in TBC that demands genuine resistance gear from multiple tank roles simultaneously. Attempting to walk in without it is a perfectly valid strategy if your goal is to experience a wipe on the first pull of the very first boss and have your guild blame each other in Discord for forty minutes. Otherwise, prepare the following:
Nature resistance gear is mandatory for the Hydross the Unstable encounter. Two dedicated resistance tanks need to reach 365 Nature and Frost resistance respectively before walking into the room. This is not a soft recommendation. It is a binary: either your tanks have the resistance sets, or your first pull ends in approximately nine seconds.
Nature resistance gear can be crafted through Leatherworking (the Thick Clefthoof set for physical tanks), acquired through reputation rewards with Cenarion Expedition, or looted from specific TBC dungeon bosses. Prioritise getting both resistance tanks to their caps before your first attempt on Hydross, rather than discovering mid-pull that you assigned the wrong tank to the wrong form.
Fire resistance gear is strongly recommended for the Leotheras the Blind encounter, specifically for the Warlock or tank assigned to his Demon Form phase. Chaos Blast applies a stacking fire damage debuff that escalates quickly without mitigation. A dedicated fire resistance tank with roughly 365 fire resistance and around 18,000 health raid-buffed is the target. The Flask of Chromatic Wonder is your friend here, assuming you have enough gold to pay for things your guild members should have organised two weeks ago.
|
Consumable |
Purpose |
Priority |
|
Flask of Supreme Power / Distilled Wisdom / Fortification |
Core throughput or survivability |
Mandatory |
|
Nature Protection Potions |
Hydross P1 support |
High |
|
Fire Protection Potions |
Leotheras Demon Phase |
High |
|
Food Buffs (spell damage, healing, stamina) |
General raid performance |
Mandatory |
|
Mana Potions / Healthstones |
Sustain on extended fights |
Mandatory |
|
Greater Nature Protection Potion |
Hydross P2 Nature spikes |
Moderate |
Unlike many raids, SSC does not enforce a strict path to the final boss. Most guilds, however, follow the same progression order based on mechanical difficulty and gear requirements:

Six bosses. Each of them has decided that your evening should be educational. Below is every encounter broken down by mechanics, roles, and the specific type of failure each fight is designed to produce in under-prepared guilds. Pay attention to the ones that require specific gear setups. You cannot prayer-of-healing your way out of missing resistance caps.
A water elemental kept prisoner by Lady Vashj's arcane seals, Hydross alternates between two elemental forms: Water (Frost) and Poison (Nature): depending on which side of his platform boundary he occupies. The transition is triggered by your tanks deliberately walking him across the threshold when his debuff stacks reach four. Managing these transitions without summoning adds that eat your healers is the entire fight. Everything else is noise.
Two dedicated resistance tanks are required: one at 365 Frost resistance for his Water Form, and one at 365 Nature resistance for his Poison Form. Every transition wipes threat completely. Every transition spawns four elemental adds that must be killed before anything else. If your raid lets a transition add reach a healer, your repair bill will be philosophical in scale. Assign an off-tank specifically to intercept transition adds and make sure they know this assignment before the pull, not during the wipe review.
The Lurker Below is, in a rare moment of mercy, the most forgiving encounter in Serpentshrine Cavern. He is an ancient sea creature living in a pool, and he must be fished out of that pool with 300+ Fishing skill before the encounter begins. The irony of requiring a fishing rod to initiate a 25-player raid boss is either endearing or maddening, depending on whether you remembered to level Fishing before Phase 2 opened.
The fight alternates between two 60-second phases. During Phase 1, melee stand on the central platform while ranged hold the outer platforms. When Lurker casts Spout: a 360-degree rotating water beam: ranged drop into the water immediately to avoid it. Melee run around the boss. During Phase 2, Lurker submerges and nine adds spawn across the platforms: six ranged Coilfang Ambushers and three melee Coilfang Guardians. Crowd-control the ranged adds and burn the melee ones. Clean, structured, survivable: which means your guild will find a creative way to wipe to it at least twice while learning Spout timing.
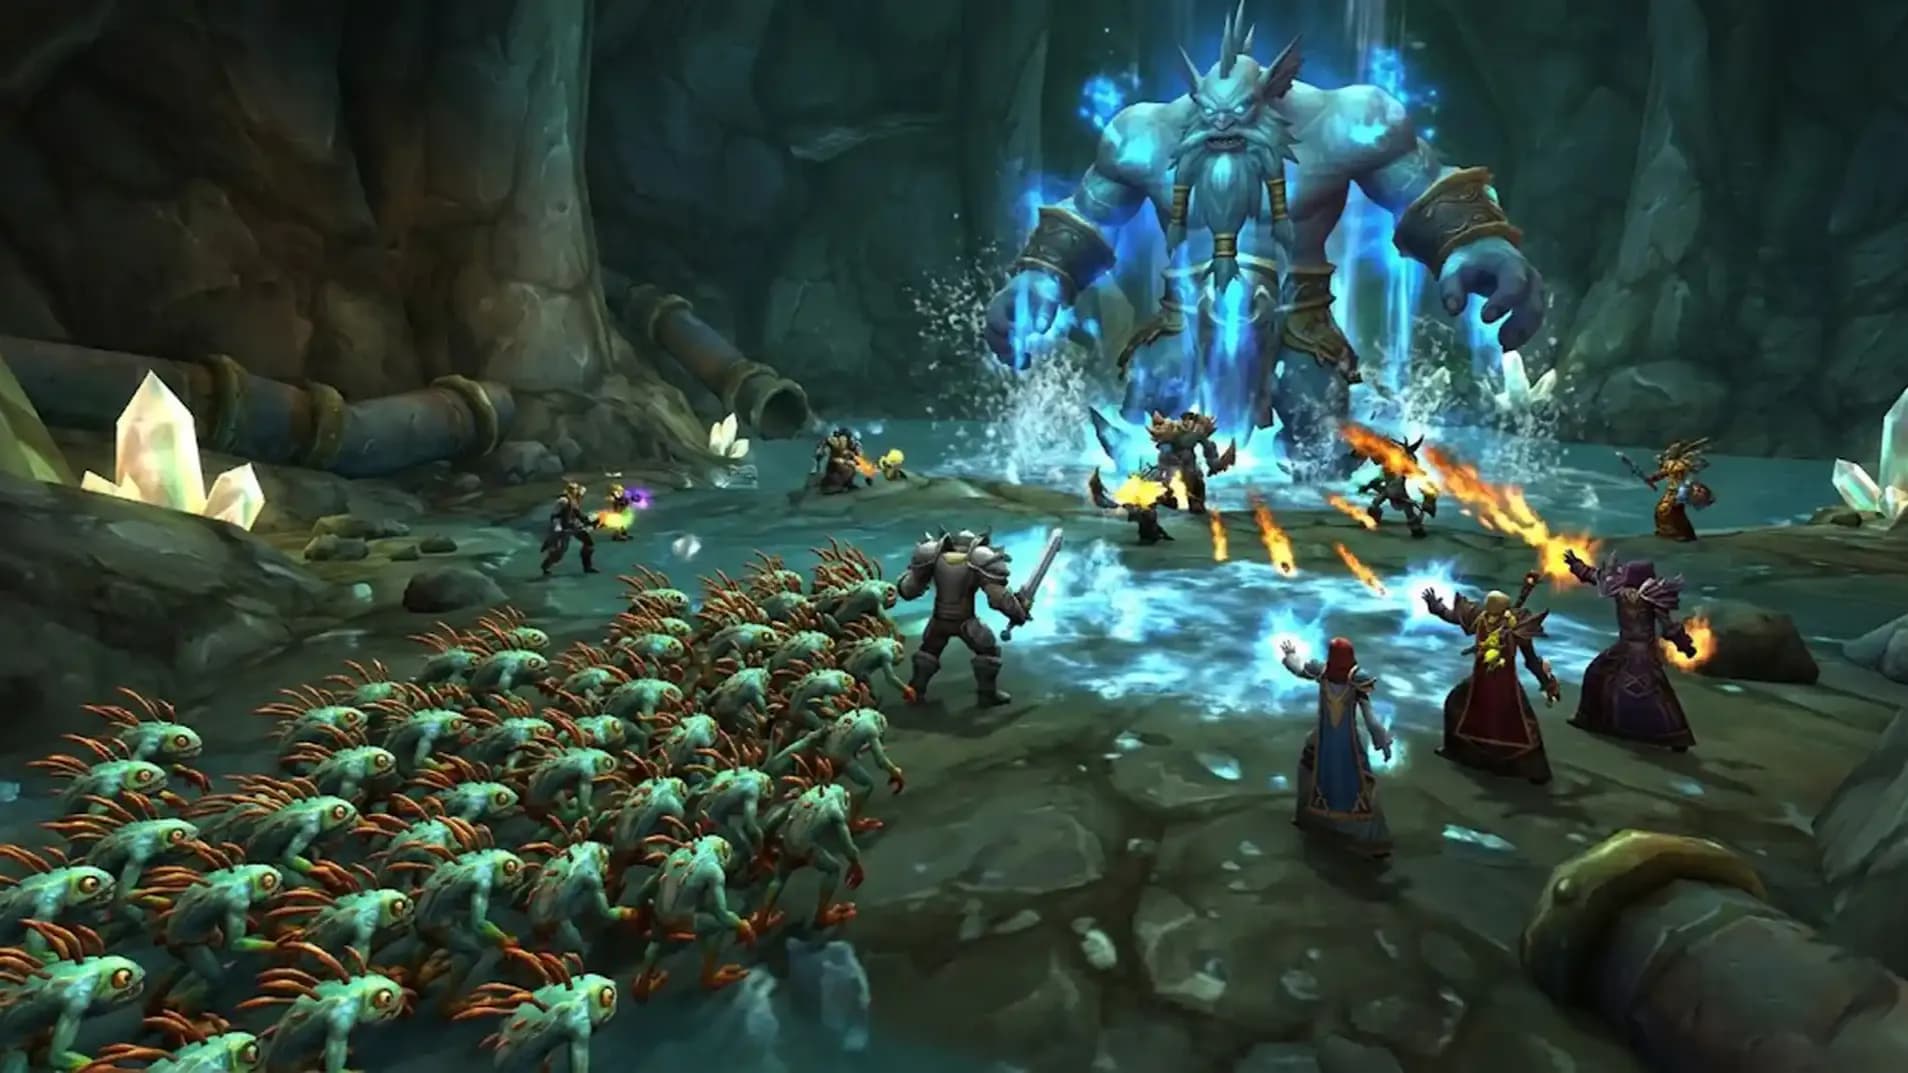
Morogrim is a colossal sea giant with an appreciation for murlocs. Specifically, he summons six of them every time he casts Earthquake, which he does with reliable regularity. The murlocs spawn from the north and south of the room and must be funnelled to Morogrim's position for AoE execution. Off-tanks herd them; AoE DPS: Mages, Warlocks, Paladins: burn them down before they overwhelm healers. This pattern repeats until Morogrim dies.
The additional complication is Water Globules: spheres that move slowly toward random players and deal significant damage on contact. The positioning solution is to stack your raid inside the doorway when globules are active, forcing them to despawn without reaching the cluster. Morogrim also applies a Watery Grave ability to random raid members, briefly submerging them. This is disorienting but not lethal if your healers track the afflicted players. The fight is largely a test of your AoE rotation and off-tank communication. If your murloc-management falls apart, so does your healer mana, and so does your pull.
Fathom-Lord Karathress is a council-style encounter featuring the boss himself plus three Fathom-Guard adds: Tidalvess (Shaman), Sharkkis (Hunter), and Caribdis (Siren). Four separate tanks are required. The critical mechanic is that each add death transfers their signature ability to Karathress, which means the kill order directly determines how hard the final phase of the fight becomes. The recommended order is Tidalvess first (his Spitfire Totem is the most immediately dangerous), then Sharkkis, then Caribdis, then Karathress himself.
Karathress casts Cataclysmic Bolt on random mana users, dealing exactly 50% of their maximum health. This is not a soft DoT. Healers must keep everyone above 50% at all times without exception, because the game is entirely uninterested in timing those bolts around your healers being out of range. Warlocks must be mindful of Life Tap for the same reason. Tank Caribdis in a corner away from the group to isolate her AoE Tidal Surge and Wind Cyclones from the main cluster, and assign dedicated casters to interrupt her Healing Wave. Mishandling Caribdis while the rest of the fight is in progress is how guilds develop creative new vocabulary.
Leotheras is a blood elf Demon Hunter who went insane, was exiled to Zangarmarsh, and then made himself comfortable inside Lady Vashj's raid instance. He fights in two forms that alternate every 45-60 seconds. In Humanoid Form, he casts Whirlwind, spinning toward random players and applying a stacking bleed DoT to anyone hit. In Demon Form, he casts Chaos Blast on his current target, stacking a debuff that increases fire damage taken until the tank is functionally incandescent. A Warlock with high fire resistance is the conventional Demon Form tank, leveraging their class toolkit and talent mitigation to absorb the escalating fire damage more efficiently than a conventional plate wearer.
The truly menacing mechanic is Insidious Whisper: cast during Demon Form on five random players: which spawns a personal demon copy for each targeted player. The copy can only be damaged by the player it belongs to, and must be killed before Leotheras reverts to Humanoid Form. Fail to kill your copy in time and that player is permanently mind-controlled for ten minutes. Non-removable. Ten minutes of your own guildmate attempting to murder the rest of the raid while the fight continues. Threat resets occur at every form transition, which means DPS must pause output after each Whirlwind ends and allow the appropriate tank to re-establish aggro before unleashing again. At 15% health, both forms are simultaneously active: burn the Humanoid Form first and the Demon Form despawns with it.
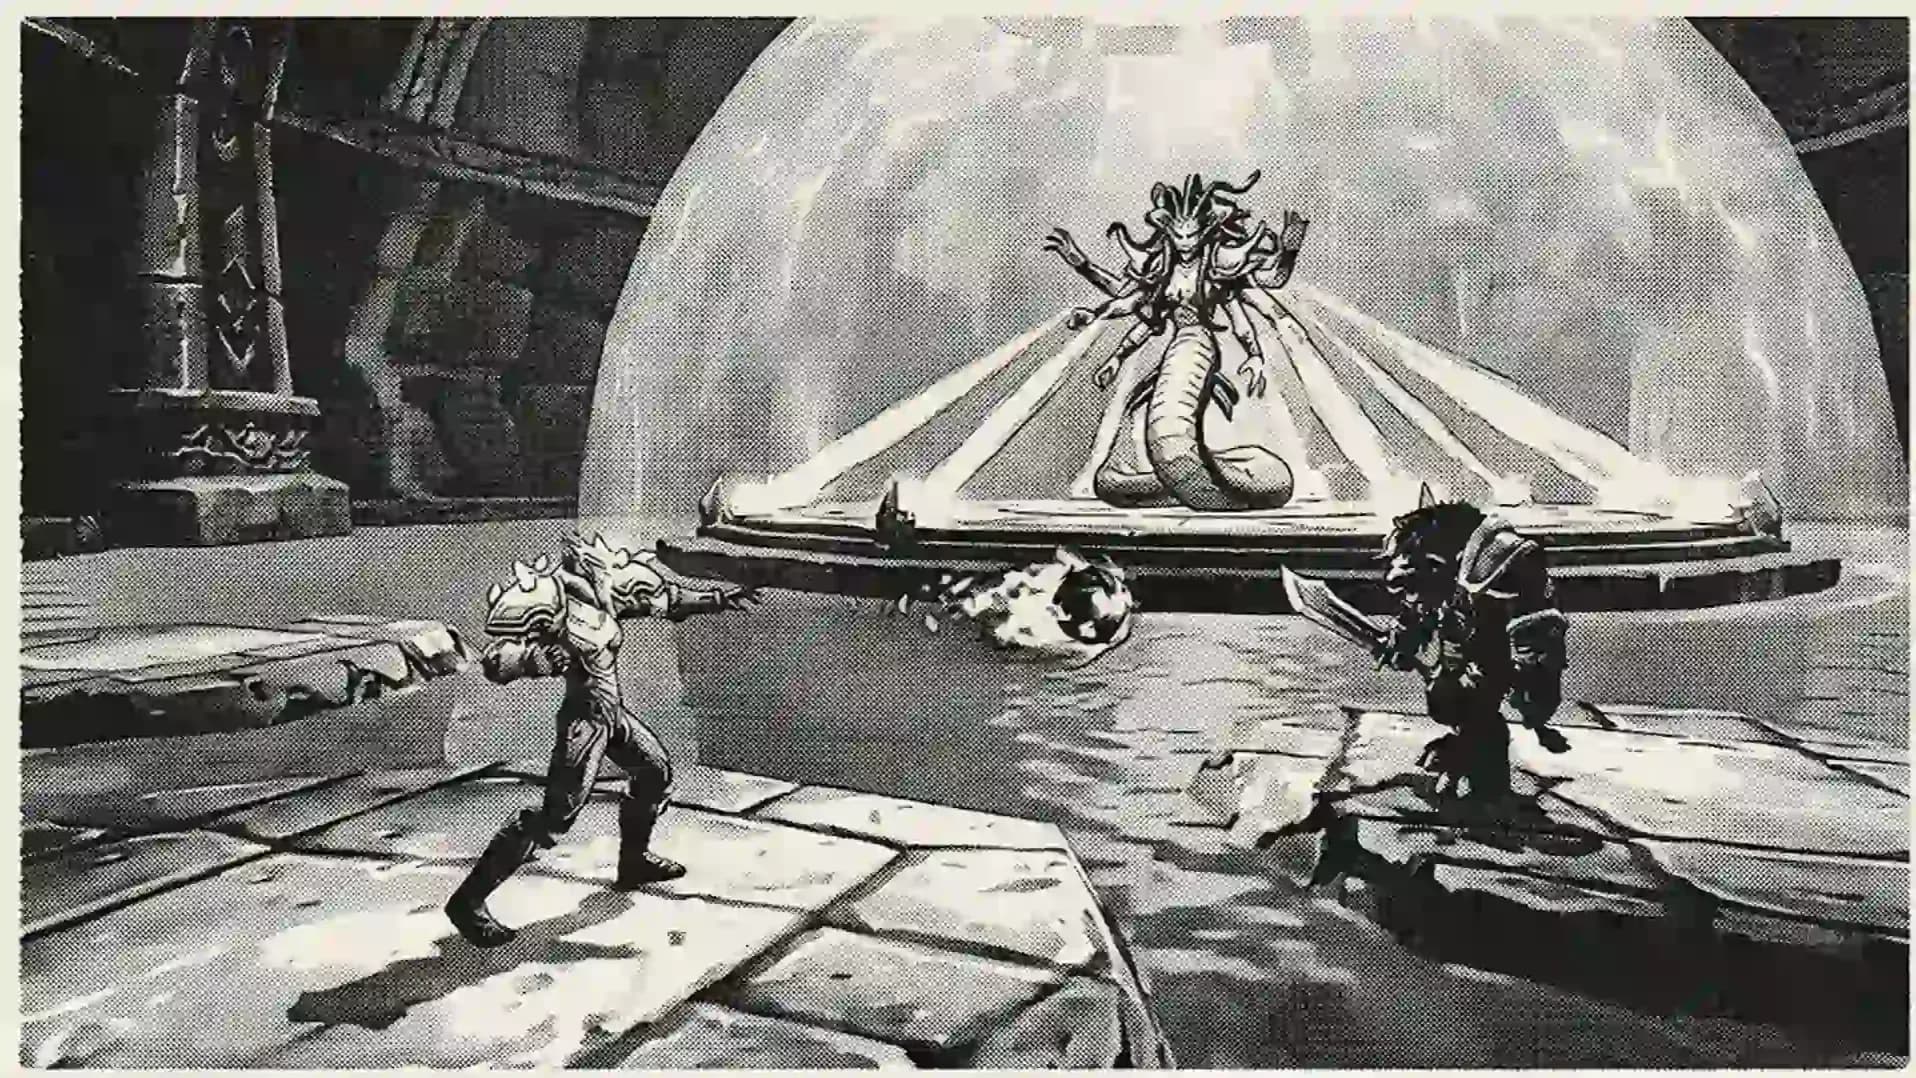
Lady Vashj is the final boss of Serpentshrine Cavern and arguably one of the most coordination-intensive encounters in TBC Classic. She is a three-phase fight that introduces a mechanic in Phase 2 requiring players to physically pass items between each other in real time. The encounter is not theoretically complex. It is execution-complex, which is a different and more personal type of suffering.
Vashj fights at range while her melee attacks and Multi-Shot hit the primary tank. Spread the raid to minimize splash damage. This phase ends when she reaches 70% health and is entirely straightforward: assuming your healers are online and your DPS did not open with a crit-chain that immediately pulled aggro.
At 70% health, Vashj becomes immune to damage and activates four Shield Generators around the room. Each generator must be deactivated by delivering a Tainted Core: dropped by specific add types: to a player adjacent to the generator, who then manually hands it off to a designated pre-assigned player who can interact with the generator. A single dropped core, a single communication failure, a single player clicking the wrong thing, resets the shield. All four generators must be deactivated simultaneously (in close succession) to drop her shield. Meanwhile, Striders, Coilfang Elite Naga, and Toxic Sporebats continuously add pressure. Assign a dedicated shot-caller whose entire job is to call Tainted Core handoffs by name. Document the relay chain before the raid. Practice the communication protocol in the first wipe review, not the fifth.
Once all four generators fall, Phase 3 begins. Vashj becomes damageable again and the mechanics from Phases 1 and 2 partially persist alongside increased ability frequency. Mana Burn becomes a meaningful raid-wide threat at this stage. Healers who spent the previous two phases at the edge of their mana reserves will now discover exactly how gracefully they can heal through 20% of a raid boss with empty bars. Save raid cooldowns for Phase 3. Kill her before your healers run dry.
Lady Vashj drops Vashj's Vial Remnant, one of two items required for the The Vials of Eternity quest and Hyjal Summit attunement. If your guild plans to progress into Phase 3 content, killing Lady Vashj is not optional: it is the literal gate. She knows this. She has always known this. She is fine with it.




Serpentshrine Cavern is one of two sources of Tier 5 set tokens in TBC Classic Anniversary Phase 2, alongside Tempest Keep. SSC specifically covers Tier 5 tokens for Gloves, Legs, and Helms across all classes. Tempest Keep handles the remaining slots. Clearing both raids weekly is the intended path to completing Tier 5 sets, which Blizzard has arranged with the same sensitivity to player time as a flight connection routed through six airports.
|
Token Type |
Slot |
Boss Drops |
Redeemed By |
|
Glove Token |
Hands |
Multiple SSC bosses |
All classes (class-specific sets) |
|
Leg Token |
Legs |
Multiple SSC bosses |
All classes (class-specific sets) |
|
Helm Token |
Head |
Multiple SSC bosses |
All classes (class-specific sets) |
Beyond tier tokens, SSC distributes meaningful weapon upgrades and best-in-slot items across the instance. Fathom-Lord Karathress and Morogrim Tidewalker are particularly valuable sources of high-quality weapons and trinkets. Lady Vashj additionally drops Vashj's Vial Remnant: a quest item with zero equip stats and limitless strategic value for any guild intending to progress beyond Tier 5.
If your guild is running a full clear of both SSC and Tempest Keep weekly, expect Tier 5 token saturation to plateau after roughly six to eight weeks of consistent progression. Prioritise distributing tokens to specs with the strongest Tier 5 set bonuses early in the progression cycle to maximise raid-wide throughput while content remains relevant.
Killing Lady Vashj is not only a Phase 2 progression milestone: it is a required step on the road to Phase 3's Hyjal Summit and Black Temple. The The Vials of Eternity quest, obtained from Soridormi in the Caverns of Time, requires two items: Vashj's Vial Remnant from Lady Vashj, and Kael's Vial Remnant from Kael'thas Sunstrider in Tempest Keep.
Both vials must be collected and returned to Soridormi to complete the Hyjal attunement chain. This is the game informing you, diplomatically, that you must kill the final boss of both Phase 2 raids before you are permitted to enter Phase 3 content. The Black Temple attunement additionally routes through SSC (defeating Fathom-Lord Karathress to speak with Seer Olum inside the instance) and Hyjal itself, meaning that falling behind in SSC progression compounds Phase 3 access delays in a way that can rapidly embarrass a guild that finished Phase 1 on WoW Anniversary items help.


Phase 2 drops April 16. SSC is open. Six bosses, mandatory resistance gear, and Lady Vashj waiting at the end. Our full guide is live: go read it befo

Phase 2 drops April 16. SSC is open. Six bosses, mandatory resistance gear, and Lady Vashj waiting at the end. Our full guide is live: go read it befo

Phase 2 drops April 16. SSC is open. Six bosses, mandatory resistance gear, and Lady Vashj waiting at the end. Our full guide is live: go read it befo
Phase 2 drops April 16. SSC is open. Six bosses, mandatory resistance gear, and Lady Vashj waiting at the end. Our full guide is live: go read it befo
Phase 2 drops April 16. SSC is open. Six bosses, mandatory resistance gear, and Lady Vashj waiting at the end. Our full guide is live: go read it befo

Phase 2 drops April 16. SSC is open. Six bosses, mandatory resistance gear, and Lady Vashj waiting at the end. Our full guide is live: go read it befo

No: the hard attunement gate is removed. Completing the old chain still grants the Champion of the Naaru title, making it worth doing for prestige collectors.
Two tanks need 365 Nature and Frost resistance respectively for Hydross. Fire resistance at ~365 is strongly recommended for the Leotheras Demon Form tank.
Technically yes: there is no mandatory kill order. Practically, the gear and coordination needed for Vashj requires progressing through earlier bosses first.
She drops Vashj's Vial Remnant, a required item for The Vials of Eternity quest, which gates Hyjal Summit access and feeds into the Black Temple attunement chain.
Phase 2 opens April 16, 2026, bringing both Serpentshrine Cavern and Tempest Keep simultaneously alongside Arena Season 2 and two new daily faction hubs.

GTA 6, new seasons, major updates — get ready to dominate from day one