


Destiny 2 Boost
Destiny 2 Renegades Preparation Guide + Checklist
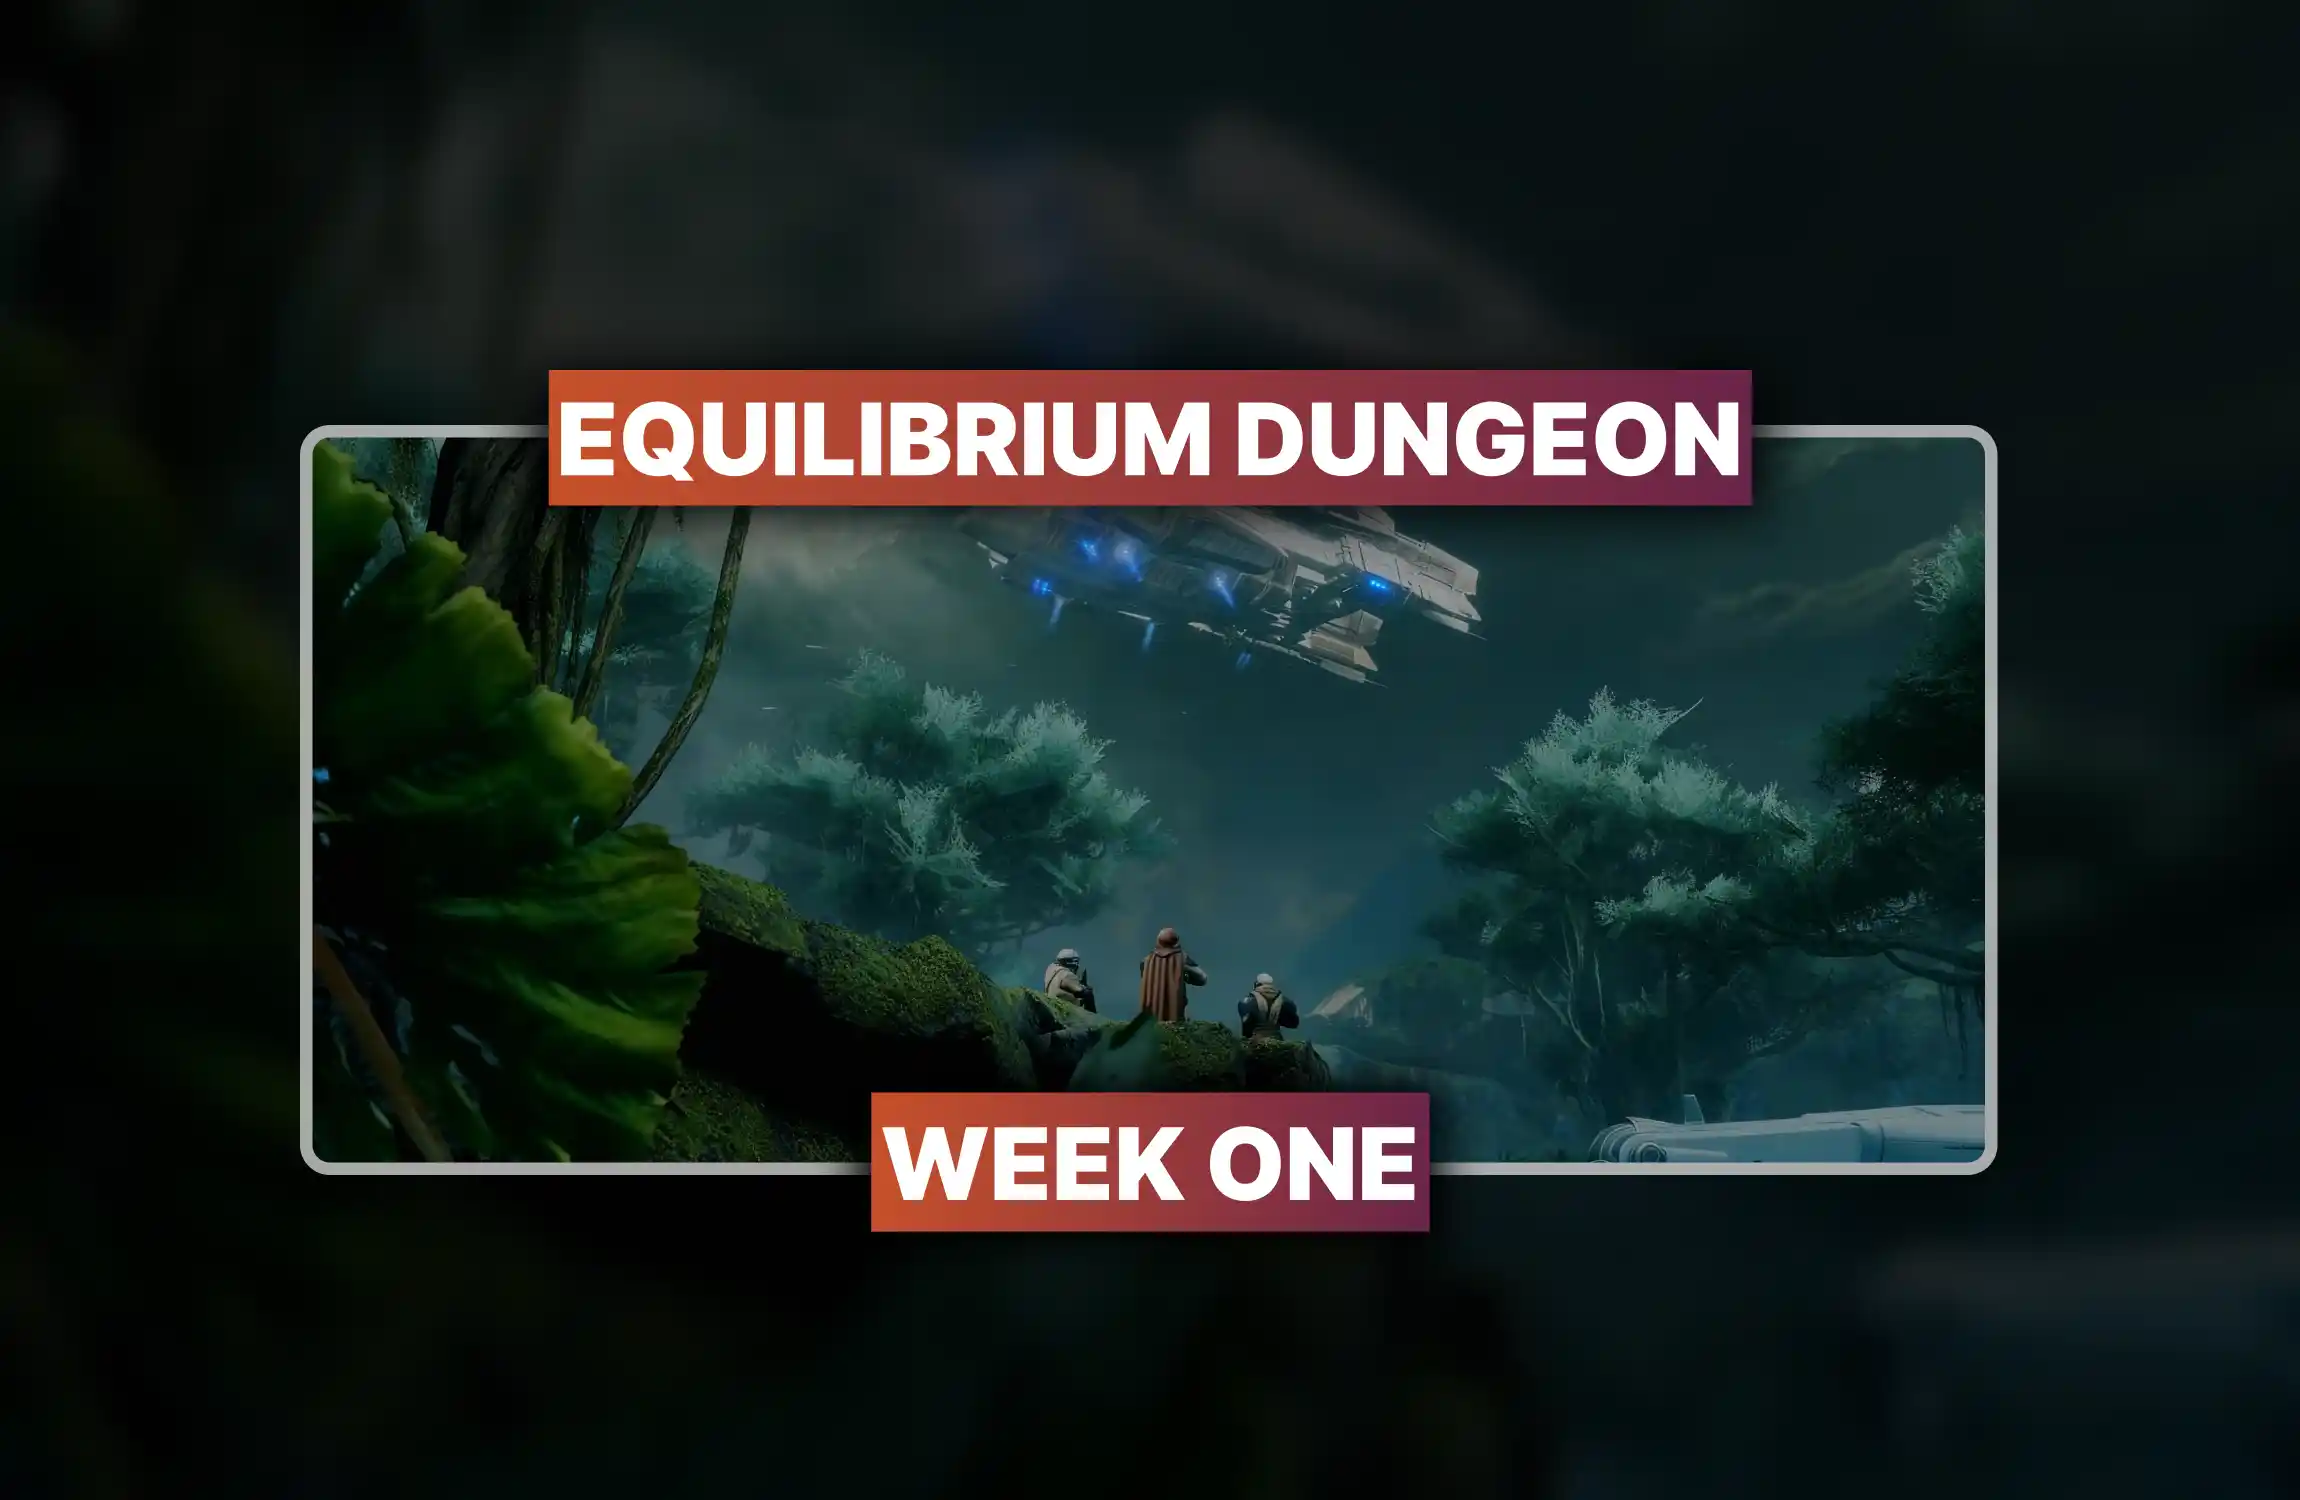
Equilibrium is live on Venus. learn Shadow Power loops, beat Harrow and Dredgen Sere, and target Heirloom with a full loot table.

Equilibrium pulls the Guardian into a tight dungeon loop on Venus, where shadow power replaces comfort play, movement carries real risk, and progress comes from reading mechanics calmly while pressure keeps rising through bosses, traversal, and the final two-dimension fight.So prepare the following things in our new, comprehensive Destiny 2 Equilibrium guide, and you’ll know:
So, let it begin!
If you’re reading this, you might be interested in a discount just for you—my blog reader! Use code CRINGEBLOG to get an amazing discount on any D2 boost in our shop.

Equilibrium is a Destiny 2: Renegades dungeon on Venus, and the fireteam goes in to fight Bael’s newly formed Dredgen fleet across Imperial ships, then push to the final arena where Dredgen Sere waits.
The run ties into Shadow Power that replaces the grenade slot, upgrades through Shadow nodes, then ends on a two-dimension loop where orbs get destroyed, lightning zones turn the platform into a hazard, and the clear lands when Sere falls.
| Aspect | What it is | What it changes in the run |
|---|---|---|
| Location | Venus on the Destinations screen, or launch through in game LFG. | The dungeon icon sits on Venus, so the start stays direct after unlock. |
| Entry gate | Renegades DLC plus Power 370. | Power affects survival and damage rhythm through the run. |
| Unlock step | “The Way Between” Pursuit from Aunor in Tharsis Outpost Cantina after Step 5, then reach step 2. | The dungeon remains locked until Pursuit progress exists. |
| Live time | December 13, 2025 at 9:00 AM PST UTC −8. | This defines the first open window for runs and contest planning. |
| Dungeon structure | Two boss encounters, Harrow then Dredgen Sere. | The flow stays boss pressure, traversal, then final mechanics loop. |
| Intro encounter feature | Temple grounds fight started by interacting with the ship in the arena. | The opener creates urgency and movement into Shadow setup. |
| Time pressure | Enrage timer capped at five minutes in that arena. | Slow clears can end the attempt, so pacing stays tight. |
| Mobility and gating | Sparrows appear, shield walls block lanes, generators disable walls. | Movement becomes part of the clear and generators turn priority. |
| Shadow Power first form | Collect seven shadow nodes to gain Shadow Novice. | Shadow replaces grenades and becomes a core tool. |
| Harrow boss identity | Cabal Dredgen with teleports and explosive pressure. | The fight forces split play across side rooms and center. |
| Harrow shield gate | Shadow upgrades to Shadow Apprentice, nodes drop the shield. | Damage windows come only from mechanics. |
| Harrow finish rule | Final stand with a strict damage check. | Failure ends the attempt, so resources get saved. |
| Traversal section | Malphas Contemptus platforming across ship structures. | Knockbacks and enemy density raise death risk. |
| Dredgen Sere arena | Round arena with floating platforms and Arc focus. | The layout demands clean movement and callouts. |
| Final boss core loop | Kill apprentices for orbs, interrupt Shadow Master, reach five orbs. | The loop repeats with shadow work and orb control. |
| Dimension swap rule | Lure of the Dark forces teleports between dimensions. | The team must split roles and sync orb progress. |
| Compel choice | Compel Sere into shadow or clear orbs in place. | Compel speeds phases, orb clears keep stability. |
| Damage phase trigger | Five orbs destroyed in both dimensions. | One main damage window opens in the arena. |
| Lightning hazard | Lightning zones fill the center area. | Edge positions stay safer for ranged damage. |
| Lightning control | Shadow Apprentice disables lightning devices. | Shadow utility stays useful after orb phases. |
| Clear condition | Dredgen Sere defeated. | The run ends after the final kill. |
| Contest mode window | Contest Mode active for forty eight hours. | The window limits time and rewards clears. |
| Contest mode rewards | Guaranteed Heirloom plus Dredgen’s Descent emblem. | Heirloom becomes a focused reward path. |
| Contest mode rule | NotSwap locks loadouts for the run. | The team commits to choices through wipes. |
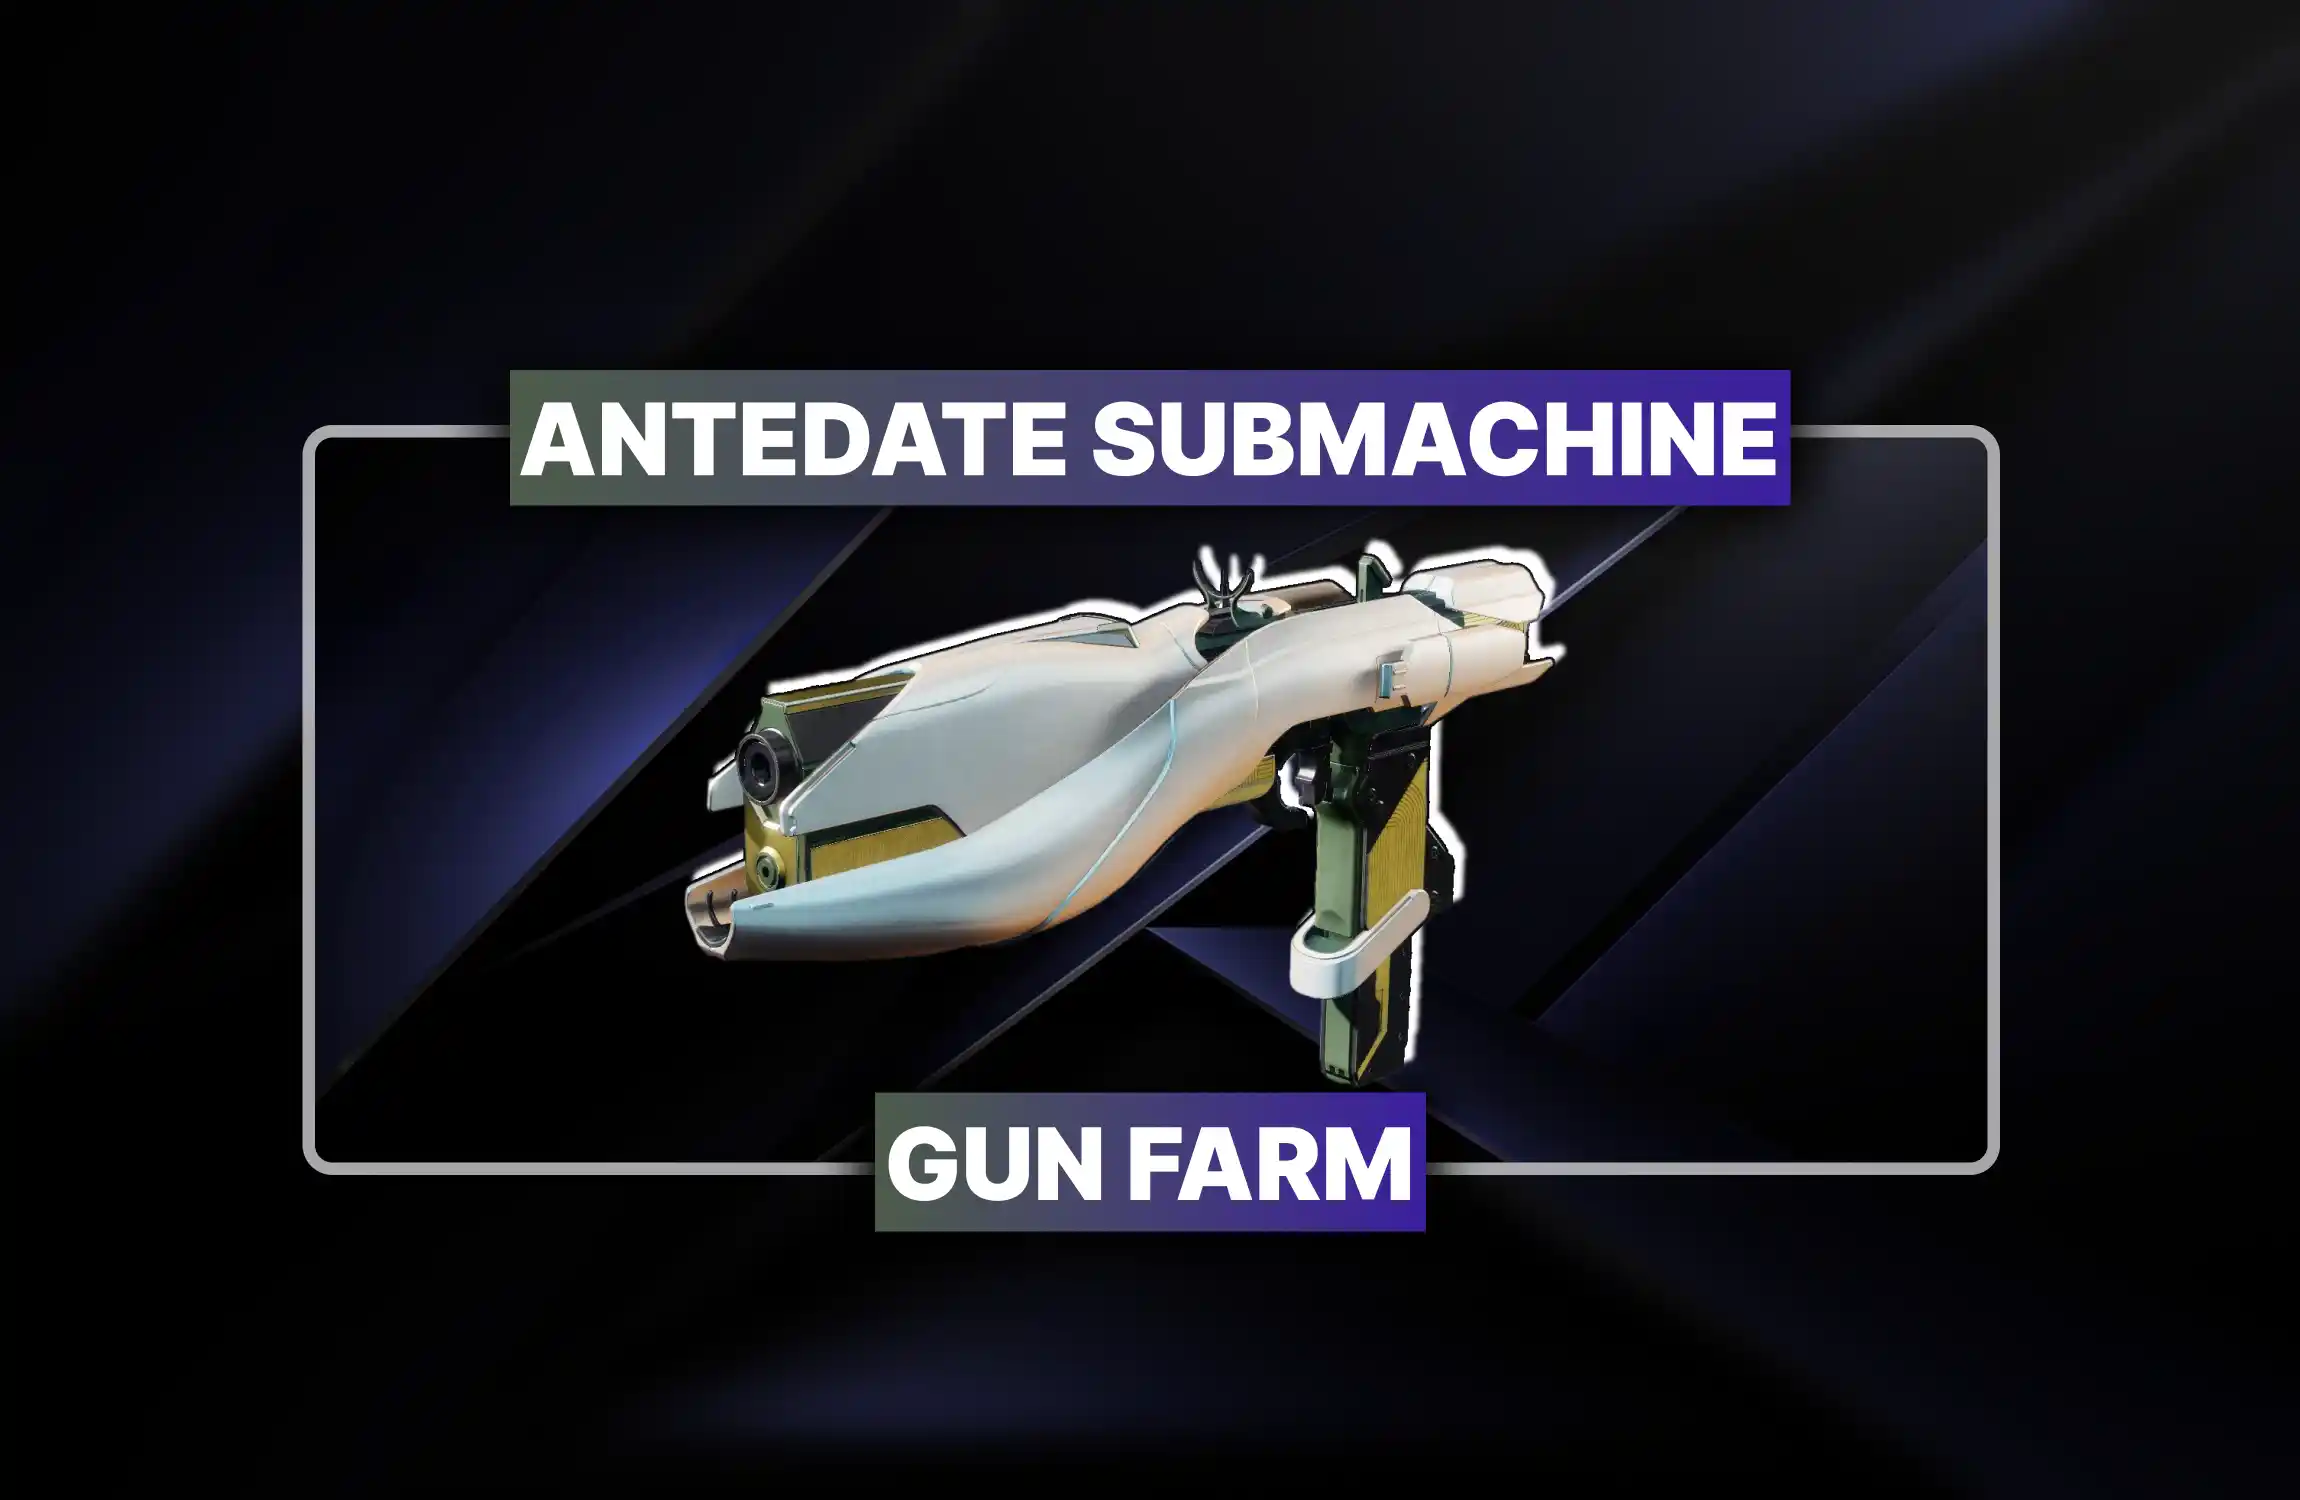
| Weapon highlight | Heirloom Strand exotic crossbow with explosive bolts. | This weapon stands as the main chase item. |
| Weapon pair | Zealous Ideal and Bitter End. | They support add clear and sustained fire. |
| Weapon pair | High Tyrant and Voltaic Shade. | They cover mid range control and utility. |
| Weapon pair | Conspiracy Honed and Sullen Claw. | They support burst picks and close finish. |
| Armor set | The Collective Sage armor set. | Repeat clears build the set with weapon farming. |
| Cosmetics | Emblems and shaders tied to dungeon challenges. | Cosmetics track goals beyond gear drops. |
| Titles | Contest, Solo, Solo Flawless, Flawless. | Triumph chasing continues after loot. |

To eventually reach Equilibrium on Venus without dead ends in the launch flow, the Guardian needs Renegades ownership, Power 370, and the intro Pursuit “The Way Between” from Aunor in the Tharsis Outpost Cantina, with story progress far enough to unlock it and then at least Step 2 done so the D2 leveling icon becomes usable.
| Requirement area | Requirement | Notes |
|---|---|---|
| Base access | Own Renegades DLC | Needed to launch the activity. |
| Base access | Power level 370 | This is the stated entry target. |
| Base access | Dungeon live time | December 13, 2025, 9:00 AM PST UTC −8. |
| Base access | Intro Pursuit | “The Way Between” from Aunor in Tharsis Outpost Cantina. |
| Base access | Story unlock point | The Pursuit appears after Step 5 of the main story quest. |
| Base access | Minimum Pursuit progress | Reach at least Step 2 to enter the dungeon. |
| Contest mode | Contest duration | Active for 48 hours after start. |
| Contest mode | Contest rewards | Guaranteed Heirloom plus the “Dredgen’s Descent” emblem. |
| Contest mode | Limited gear list | A limited pool of weapons and exotics applies. |
| Contest mode | NotSwap rule | Loadout swaps during the run stay blocked, with ammo types as the stated exception. |
| Contest mode | World first eligibility | One fireteam member streams with a pre installed overlay. |
| Contest mode | Power behavior | Power tracks per player, and a player under 370 takes extra damage. |
| Contest mode | Disabled items | Some artifact perks, abilities, and weapons stay disabled during contest and world first. |
In the equilibrium dungeon, the Guardian lives inside a simple loop of slaying and shadow tech, where enemies spawn in waves and the fireteam builds shadow energy to break immune shields and open a clean damage phase.
The core rhythm is gathering shadow to reach Shadow Novice, then earn the Shadow Apprentice buff for deeper mechanics.
In the final encounter, that shadow power grows into shadow master ability, and the fight turns into a two-dimension check with taken orbs on the line.
Board Harvester starts by interacting with the ship in the arena center, then enemies spawn and Nameless Apprentice drops with immune shields.
A generator gets exposed, the blast hits it, and the shield drops so the fireteam can do the sparrow loop and build gathering shadow.
The second encounter begins in the middle room, and the Harrow’s Decree warning shows the boss is near while shadow novice upgrades into shadow apprentice for the outside rooms.
The final boss runs under the lure of the dark timer, and the team shoots the boss hands to stop the lightning pressure.
Then the team clears five taken orbs in both dimensions, and the damage phase happens in the normal dimension.
In the shadow side, shadow energy builds into shadow master, and “compel” fills squares to enable D2 Portal service.
In the destiny 2 equilibrium dungeon first encounter, the Guardian steps into a wide encounter area where a Harvester ship sits like a trap in the center, and the whole room feels like creeping shadows are waiting for a mistake once the Harvester Boarded prompt gets touched.
The Guardian activates the Harvester ship in the center, then clears the first wave right away, because the next step starts only after that wave gets wiped.
Three Cabal drop pods land and bring Nameless Apprentices with immune shields, and the Guardian uses movement to bait the blast near a nearby generator, then activates that generator so its core is exposed when the blast hits.
When the exposed core gets hit, the generator goes down and the red shield wall drops on that side, so the Guardian repeats that same bait step on the other sides until all sides are open, because the ring route needs enough shadow energy pools to stay alive.
The Guardian hops on a Falcon or a sparrow, then rides the outside loop and collects darkness pools to build Gathering Shadow, while watching Creeping Shadows because the rider dies if the next pool is missed for too long.
After the bar fills, the shadow novice buff appears and the grenade slot becomes a shadow push, and the Guardian uses the renegade ability swap to switch back to a normal grenade when needed, then switches again to use the shadow hit on an Apprentice during its charge to stop the blast and drop the shield for the kill.
When an Apprentice dies, it drops a darkness pool that refreshes the Shadow Novice timer, so the Guardian keeps the loop going by killing the next Apprentice, grabbing the refresh pool, and handling the Behemoths that start dropping in after kills.
On contest mode the room demands clean slaying with tight time use, so the Guardian spends heavy ammo on Behemoths, then uses Falcons for extra damage support when ammo gets thin, and keeps the Shadow Novice cycle alive until the final Apprentice set is cleared and loot D2 Renegades service.
| Mechanic | What it means in the room | What the Guardian does |
|---|---|---|
| Board Harvester | The start trigger on the Harvester ship. | Interact with the ship, then clear the first wave. |
| Nameless Apprentice immunity shield | The Apprentice stays immune at this stage. | Bait the blast toward a generator, then prepare the core. |
| Generator core exposure | The core must take the blast hit. | Activate the generator as the blast lands. |
| Red shield wall | The wall locks one side of the ring route. | Disable the generator to drop the wall. |
| Gathering Shadow | Progress toward Shadow Novice builds. | Ride the loop and collect shadow pools. |
| Creeping Shadows | Death pressure grows while riding. | Keep moving and reach the next pool in time. |
| Shadow Novice buff | The buff unlocks the shadow ability tool. | Use it on the charging Apprentice to drop the shield. |
| Refresh pool from a killed Apprentice | The pool extends the Shadow Novice timer. | Collect it right after the kill. |
| Behemoth drops | Heavy targets enter during the loop. | Use burst damage, then return to the Apprentice cycle. |
The fight feels clean when the Guardian treats it like one repeating job.open the ring, build Shadow Novice, then use that power to delete Apprentices while Behemoths try to slow the tempo.

After the first loot, the Guardian rides the ship proper into the Imperial carrier, and the new equilibrium dungeon starts to show its real teeth in the Renegades expansion, because the path forward turns into tight hallways, green lights gates, and a space jump that loves to shove bodies off the map.
The Guardian interacts with the ship again, then heads forward by climbing boxes, shooting the first vent, and squeezing through small hallways until the first gate appears.
The fireteam stacks on the door plate and waits for green lights to show for teammates, because the door stays locked until the team is present.
The Guardian keeps moving and skips the big Cabal, because the route continues forward and fighting here wastes time and ammo.
The Guardian enters the next room and shoots three small power cores, then the windows open and the ship flying through space becomes the setup for the big jump.
The Guardian starts the jump from the far left platform, because the ship momentum pushes the jump line to the right, and an eager edge sword can save the jump if the drift feels ugly.
After landing, the Guardian heads inside, then goes far left for another small power core that drops the Cabal shield, and the next exposed power core gets shot to keep the bay door path open.
The Guardian shoots vents to expose more targets, then stands back because the exposed parts explode and can drop the Guardian fast.
The Guardian keeps moving through corridors, because one room has a window that blows out and can kill on contact, so hugging safe space and staying alert keeps the run alive.
The Guardian continues through more vents and tight halls, then the rally banner spot appears right before the next encounter at D2 The Edge of Fate boost
In the Equilibrium new dungeon, the Guardian drops through a trap floor, the lights die, and Harrow walks in with two blades, so the room instantly feels like blistered shadows and a wipe timer in the head.
The Guardian starts trapped inside the room, so the exit happens only when enemies push through the doors, and the Guardian slips out during that door open window.
Outside, the Guardian uses the three outer rooms to farm shadow by killing a lackey for a darkness pool, then keeping that flow going with scions to build up to Shadow Novice, and then keep collecting until Shadow Apprentice shows.
When Harrow’s Decree appears, Harrow is close, and the Guardian backs off fast because the blast hits hard, then uses the shadow grenade ability to interrupt the blast if Shadow Novice or Shadow Apprentice is up.
With Shadow Apprentice, the Guardian enters one outer room and hits the three switches in quick succession, because the door lights only stay green when the hits are close together.
After an outer room is done, the Guardian returns to the center and hits more switches while keeping Shadow Apprentice alive with scion drops, and this eventually powers electrical generators in the middle for shield work.
To strip Harrow’s shield, the Guardian baits Harrow over a trap floor spot, shoots the ceiling fuses to drop Harrow through the floor for two shield chunks, then baits Harrow into swinging on an electrical generator to pop the last chunk.
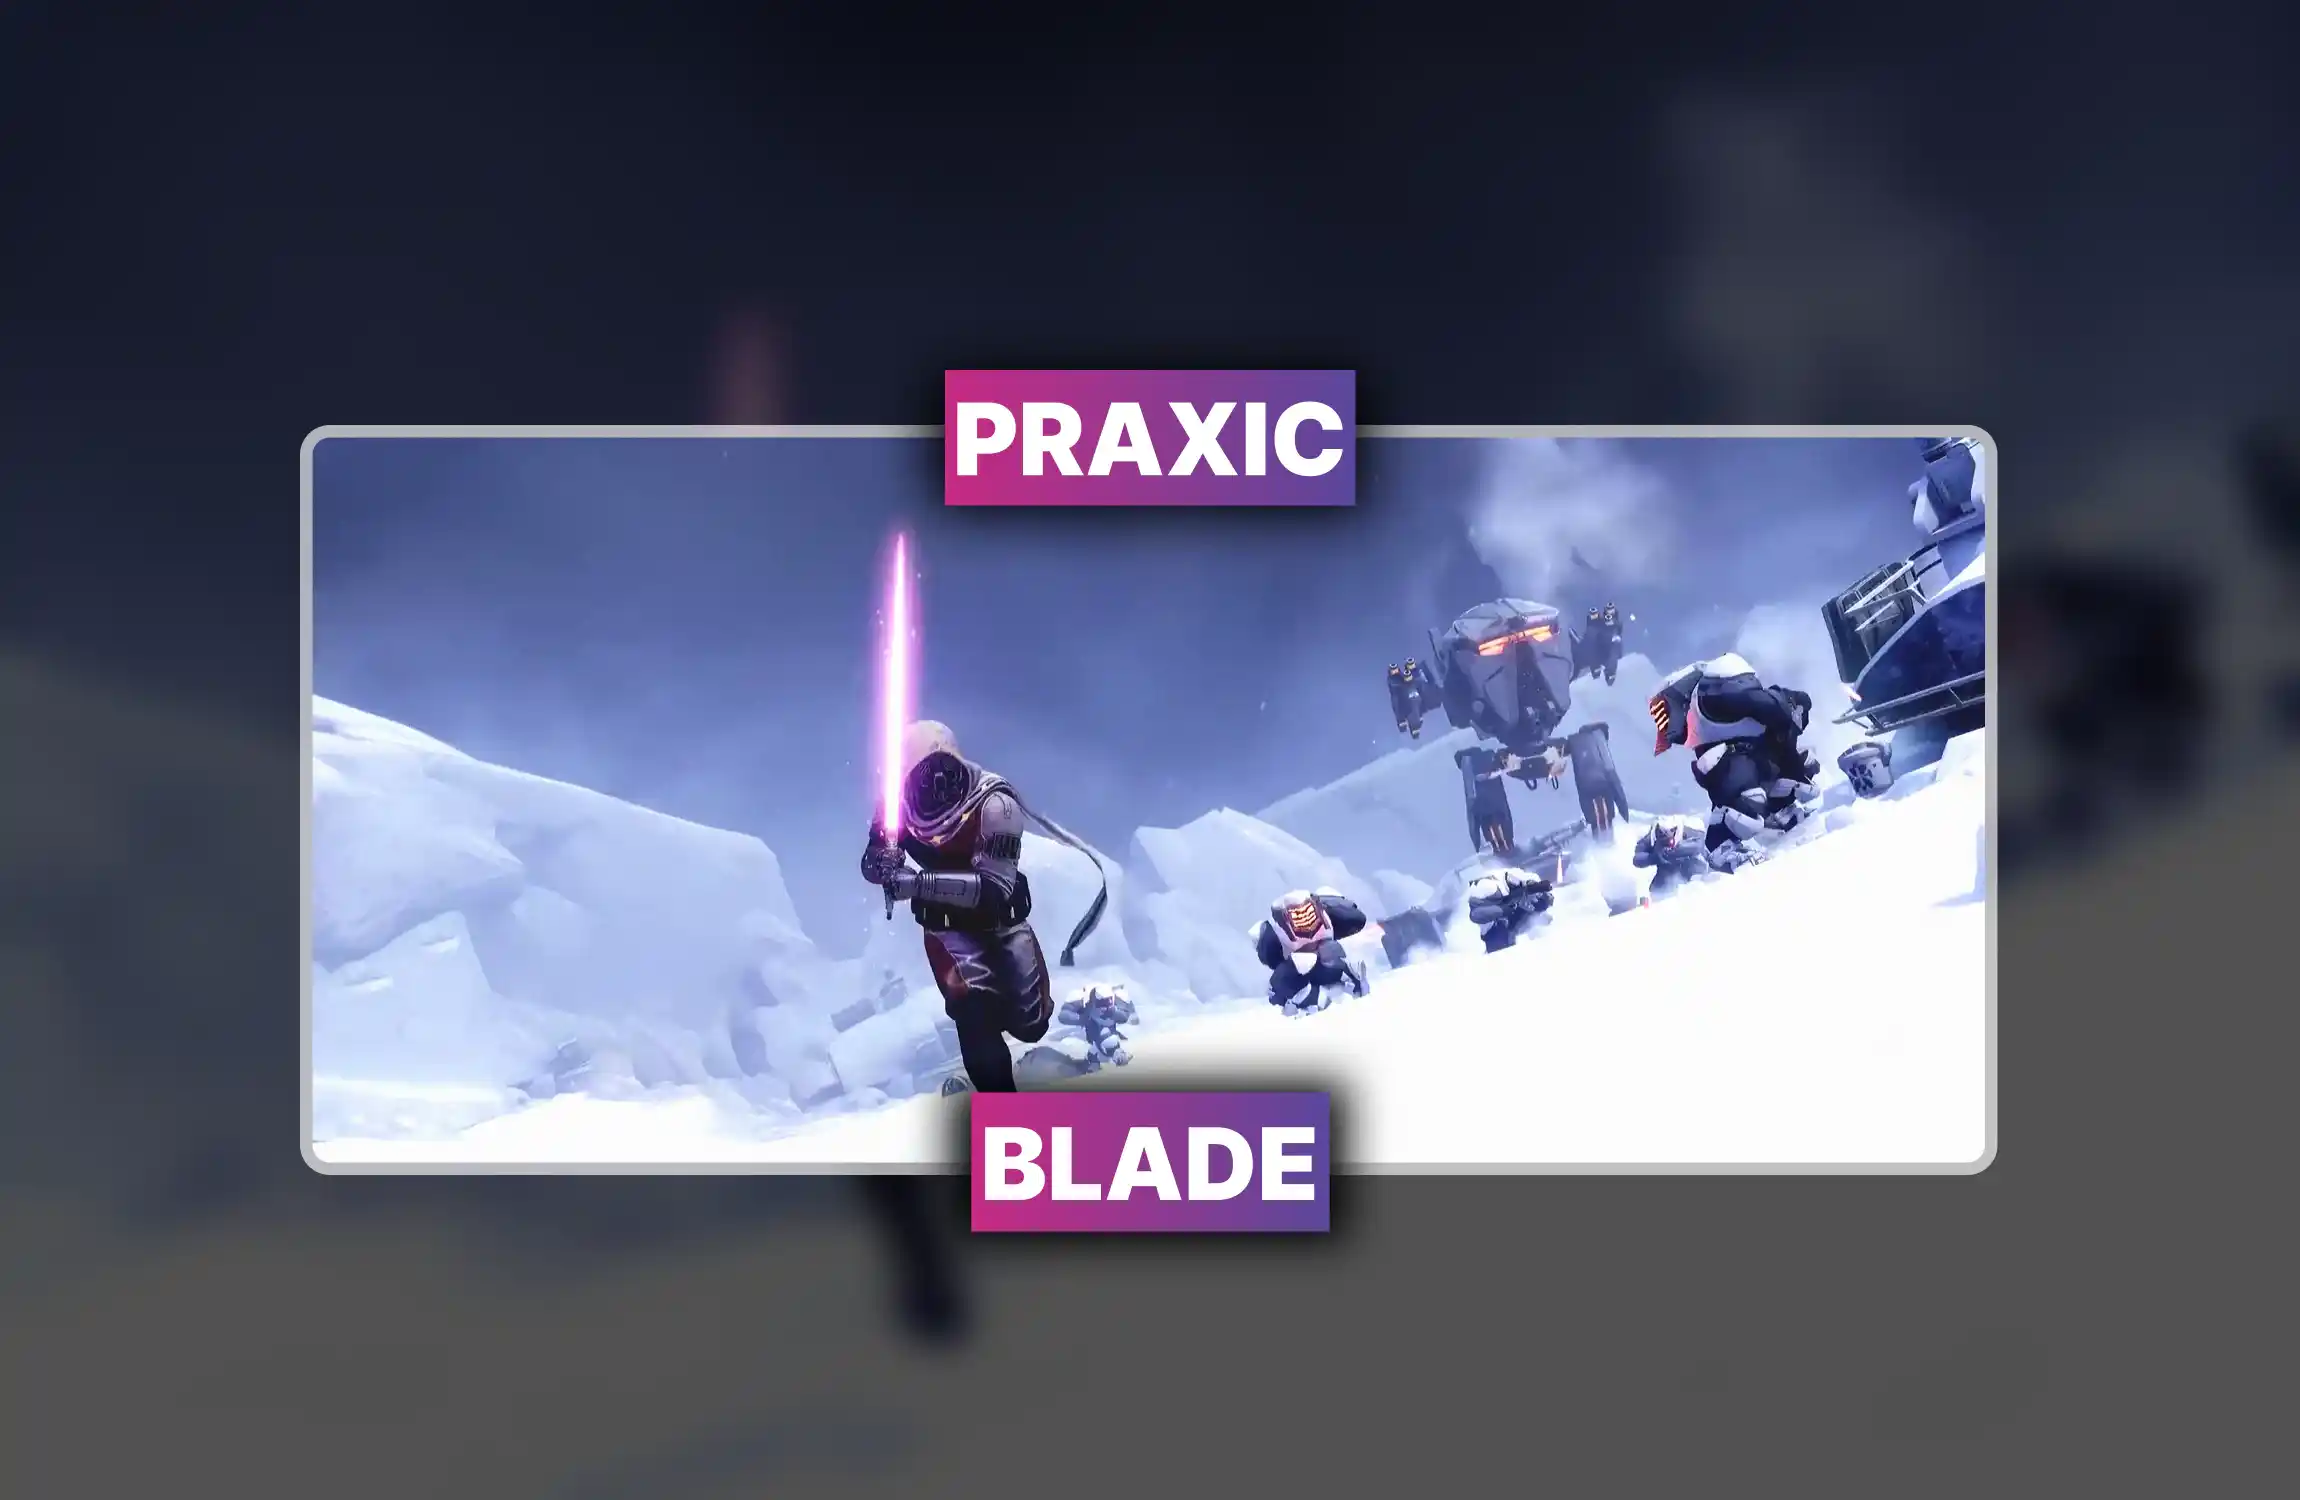
When the shield is down, the Guardian goes hard in melee range, because this fight rewards melee damage, and an exotic weapon like the Wolf Spain sword or the Praxic Blade can do serious work during that burn.
If Harrow stays alive, the Guardian repeats the same loop.build Shadow Apprentice, clear switches, then bait trap floors and generators again.
When Harrow hits the final stand bar, damage stops and Harrow runs, so the Guardian follows through the path with Cabal turrets, then finishes Harrow when the shield falters, with nearby switches as a backup if D2 raid carry needed.
| Mechanic | What it means | What the Guardian does |
|---|---|---|
| Locked start room | Exit depends on doors opening with enemy pushes. | Wait for the door moment, then push out fast. |
| Darkness pools | Progress builds toward Shadow Novice, then Shadow Apprentice. | Kill a lackey for a pool, then farm scions to fill the bar. |
| Harrow’s Decree | Harrow is close and a blast is coming. | Back off, or interrupt with the shadow grenade ability. |
| Room switches | Three hits must land fast for green door lights. | Find the three switches, then tag all three quickly. |
| Central generators | They gain power through central switch progress. | Keep Shadow Apprentice active, then flip the switches. |
| Trap floors | Ceiling fuses open floors and drop Harrow. | Bait Harrow over the spot, then shoot the fuses. |
| Generator smash | Harrow swing can explode a generator for shield damage. | Pull Harrow into a generator hit for the last chunk. |
| Final stand | Harrow runs and the fight becomes a chase. | Follow, clear pressure, then finish after the shield falls. |
Harrow feels clean when the Guardian treats it like a loop.shadow up, switches fast, then bait Harrow for shield chunks, and the whole fireteam stays calm during Harrow’s Decree.

The Guardian leaves Harrow behind, then the carrier turns into a long movement lane where the ship’s underside feels like a trap, and the run starts to depend on Shadow Apprentice, two red lit switches, and a central console that wakes the moving platforms.
The Guardian steps on the shadow pool to get Shadow Apprentice, then keeps that timer in mind because the first gate needs it soon.
The Guardian hits the two red lit switches, then activates the nearby object, and the window opens to the space set piece.
A second Cabal ship pulls up, and the Guardian drops down and lands on the side platforms, then moves platform to platform until the D2 dungeon boost is reached.
The Guardian activates the two airlocks, then the door opens and the path goes inside for another long hallway route.
A behemoth blocks progress, so the Guardian clears it, then uses the central console to activate cranes, because the moving platforms are the bridge forward.
The Guardian waits for a platform to rise, then jumps to the higher ship path, and keeps going through vents and tight halls until the next open area shows.
The Guardian goes under the Cabal tank, then faces a confusing split, and the correct route is the vent that leads into a room with another vent inside.
In the huge open section, the Guardian refreshes Shadow Novice or Shadow Apprentice from nearby pools, then climbs the wall route fast and hits the switch before the timer ends, because that switch opens the next passage.
Another green light door needs the full team present, then the Guardian pushes past the big Cabal, enters the airlock, and reaches the rally flag right before the final fight.
The Guardian walks onto the temple grounds and feels the air crackle with arc energy, and then Dredgen Sere starts roaming like a walking storm, turning red lit platforms into a death zone with one bad step.Behind him sit five attrition orbs that look simple, yet the timer called Lure of the Dark keeps dragging the fireteam into the ascendant realm, so the fight becomes a calm loop of shadow buffs, fast triggers, and clean damage windows.
Dredgen Sere picks one target and fires lightning that reaches through walls, so the team treats his hands like the real weak spot and breaks the channel by shooting his hands fast.One player calls the target, one player snaps to hands, and the rest keeps clearing space so the arena stays playable.
The Guardian builds Shadow Novice, then Shadow Apprentice, then Shadow Master by grabbing shadow pools, and that buff stays on the character while the fight swaps dimensions.The team uses that carry-over to finish a mechanic on return, instead of restarting the buildup after teleport.
In the normal dimension, Nameless Apprentices spawn and charge an explosion, so the Guardian hits them with the shadow ability during the charge, kills them after the shield drops, then shoots one center sphere near the boss.The team repeats the loop until five spheres in the normal dimension are down.
In the shadow dimension, the Guardian fills Shadow Master, then walks up to a shadow boss and uses Compel, which fills a square on the Lure of the Dark UI and unlocks a shot on a central shadow sphere.The safe route uses Compel on all shadow bosses, and the speed route kills some shadow bosses to reduce squares, then compels the rest, while the team watches the boss health behavior tied to killing them.
One shadow boss sits high, so the Guardian with Shadow Apprentice hits arena switches that spawn taken platforms, climbs up, and completes the last Compel or kill choice, then finishes the last shadow sphere which is required for D2 exotics.
Damage always happens in the normal dimension after five spheres in both dimensions are destroyed, and lightning bolts slam the middle area from ceiling rings, so the team DPS from the outside edge and leans on ranged damage for clean uptime.If the boss starts hand-lightning during DPS, the hand shooter still shuts it down so the team holds position.
| Mechanic | What happens | What to do |
|---|---|---|
| Hand lightning | The boss locks one player and lightning passes through walls. | Call the target, then shoot the boss hands fast to stop the channel. |
| Lure of the Dark | The timer ends and the team gets teleported. | Watch the timer, plan swaps, and keep the Shadow buff ready. |
| Shadow Novice to Master | Shadow pools raise the buff tier step by step. | Collect pools, keep the buff active, and spend it on mechanics. |
| Normal dimension spheres | Five orbs appear behind the boss and block damage. | Stun the Apprentice blast with Shadow, kill it, then break one center sphere. |
| Shadow dimension spheres | Five shadow spheres must fall as well. | Reach Shadow Master, Compel a shadow boss, then break a central shadow sphere. |
| Kill vs Compel choice | Shadow boss kills change Lure tiles and boss behavior. | Safe route uses Compel only, speed route kills some then Compels the rest. |
| High shadow boss | One boss sits high and needs platforms. | Use Shadow Apprentice, trigger switches, climb platforms, then finish the target. |
| DPS lightning field | Lightning fills the center during damage time. | Deal damage from the edge, hold ranged pressure, and control the hands. |
The clean clear comes from role focus, because one “big game hunter” watches hands and the rest keeps the arena stable, then the team treats Shadow Master as the key that opens progress on both sides of the fight.The loop stays calm when the fireteam plans the top-platform run early, since that last shadow boss blocks the full set of five.
In Destiny 2 Equilibrium, the Guardian treats titles like the real flex, because they show how the run got cleared inside the Praxic temple lanes, and they sit next to chase loot like Heirloom and the D2 Trials of Osiris.
| Title | How the Guardian gets it |
|---|---|
| Dredgen’s Descent | Earned through Contest Mode completion. |
| Stand Alone | Granted after a solo flawless completion. |
| Superiorly Connected | Unlocked by completing the dungeon on normal mode. |
| Imperium Parade | Granted after a solo completion. |
| Praxic Drape | Unlocked by finding all collectibles. |
| Arid Rambler | Granted after a flawless completion. |
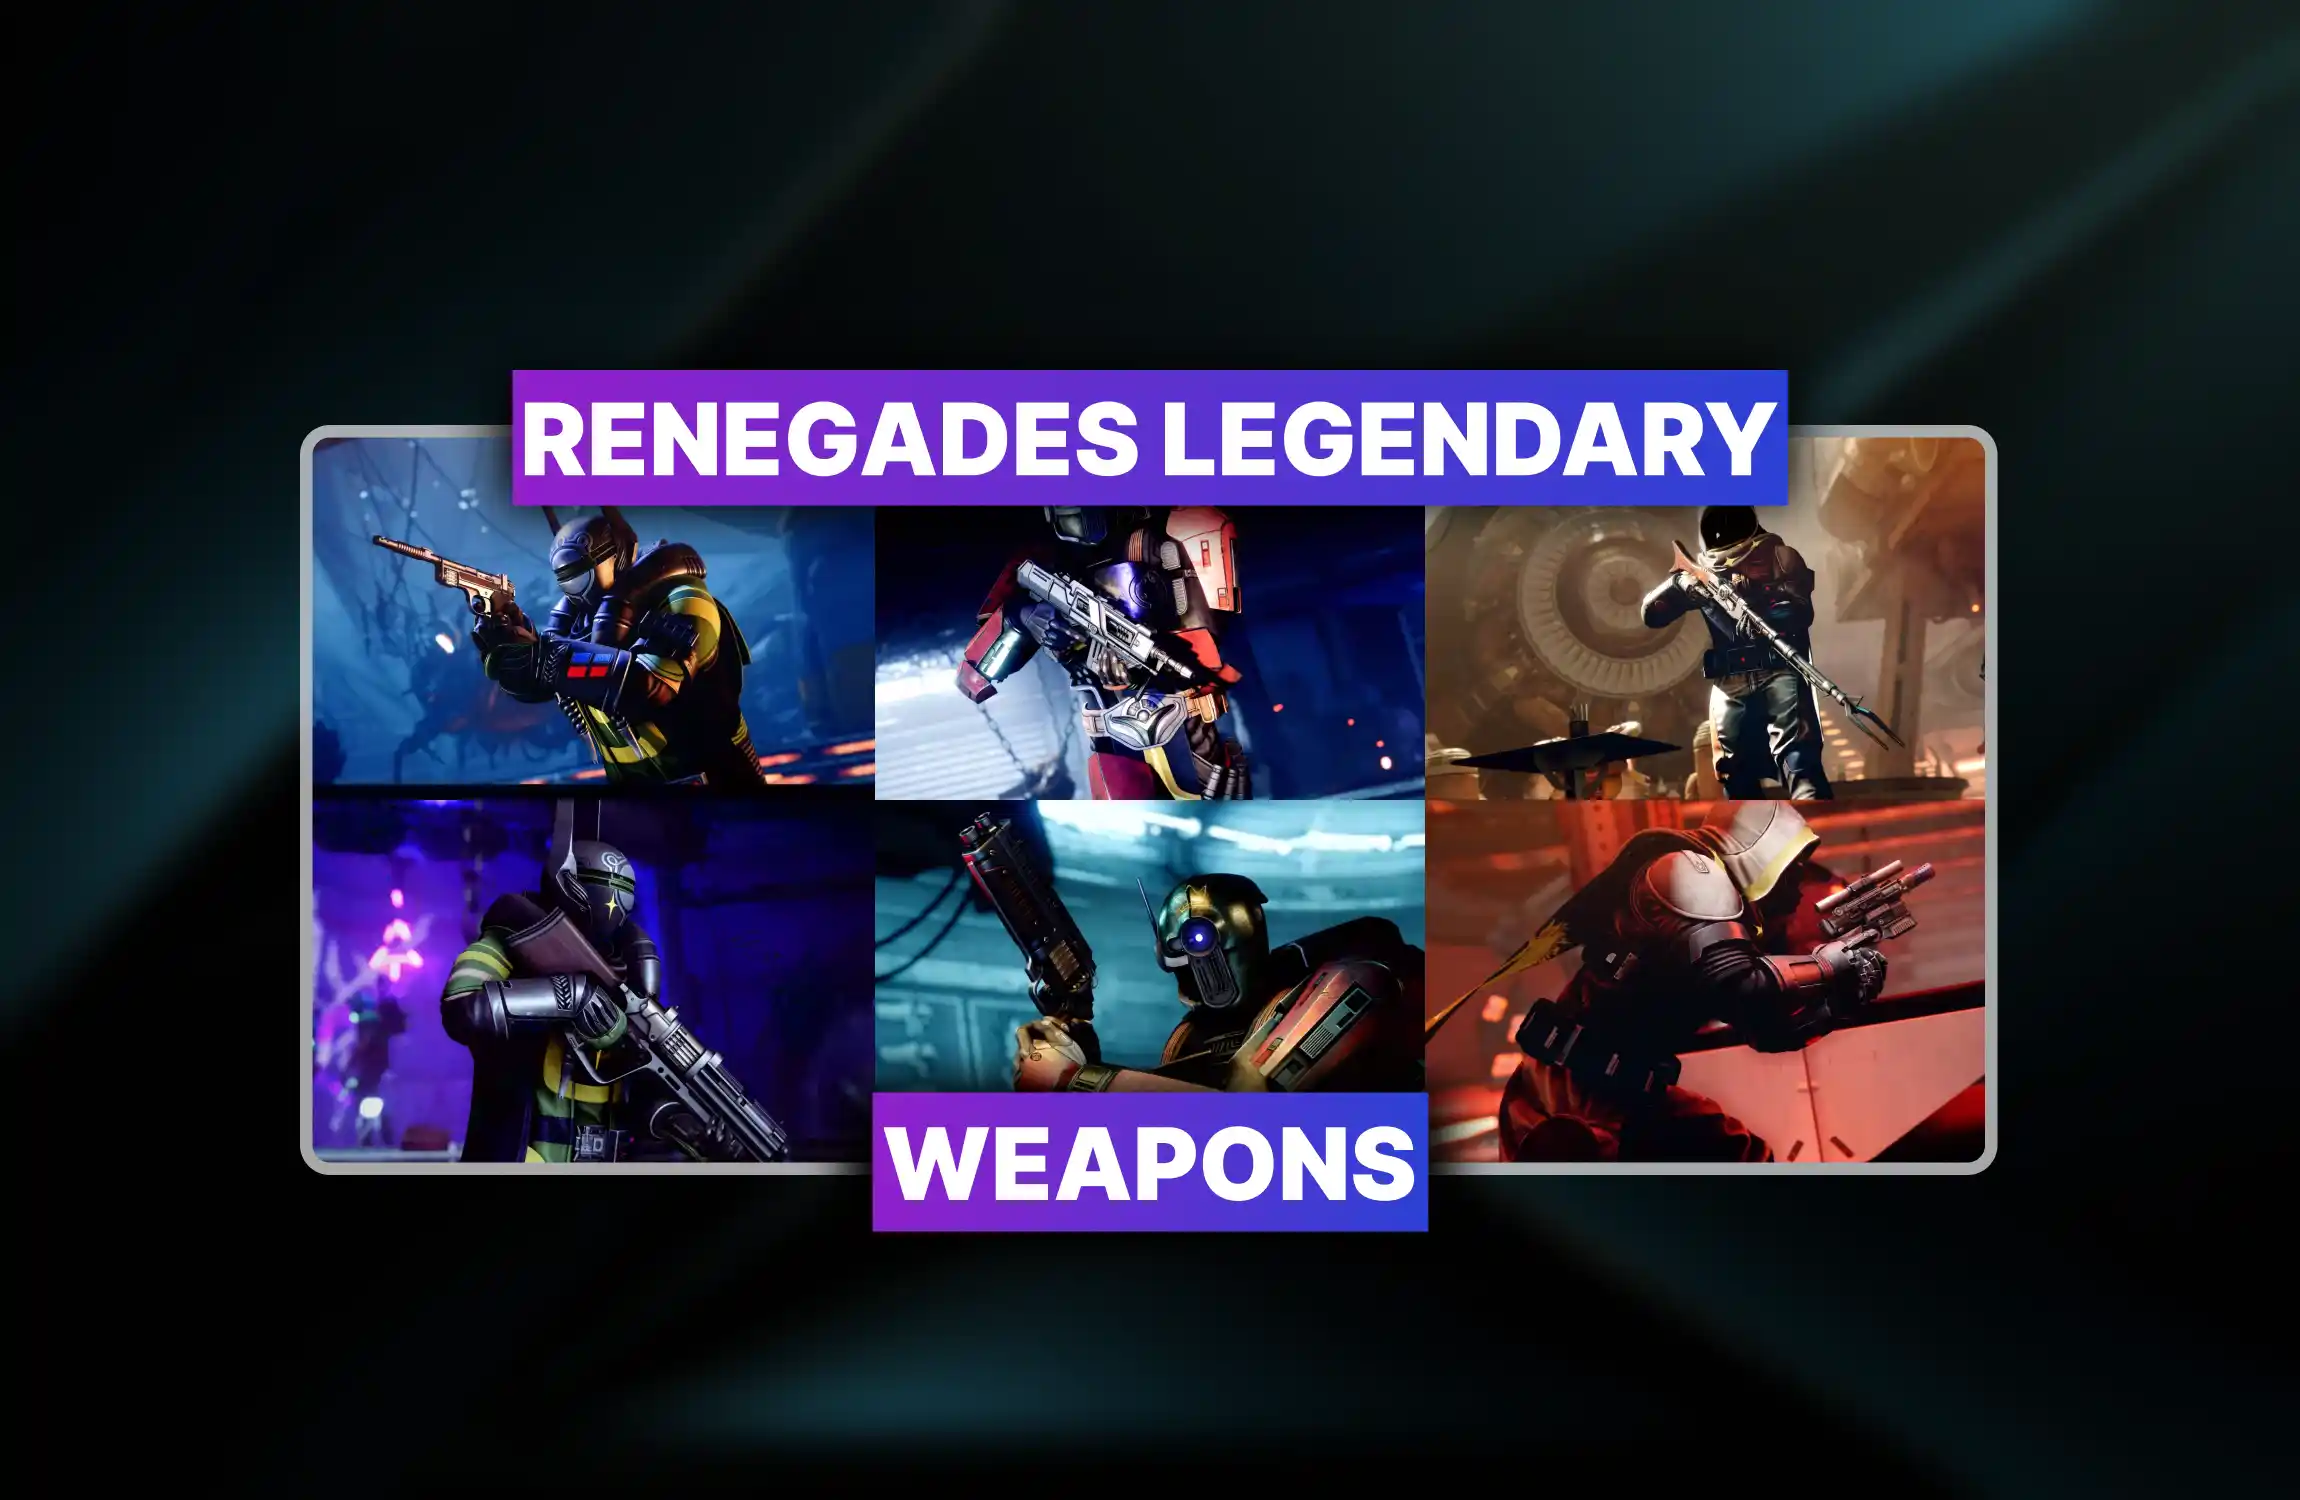
In the praxic temple run, the Guardian clears Equilibrium and reads the loot table as the real chase, because the weapons come from dungeon encounters only, and Heirloom stays a standout drop with the heirloom catalyst as the long grind for repeat clears.
| Weapon name | Weapon type | Element | Notable perks pool summary |
|---|---|---|---|
| Heirloom (Exotic) | Crossbow (Special) | Strand | Big Game Hunter, Bolt Thrower, Catalyst Scorch synergy |
| Zealous Ideal | Auto Rifle | Solar | Heal Clip, Dynamic Sway Reduction, Onslaught, Incandescent |
| Bitter End | Machine Gun | Arc | Attrition Orbs, Eddy Current, Killing Tally, Frenzy |
| High Tyrant | Pulse Rifle | Void | Destabilizing Rounds, Repulsor Brace, Headseeker, Frenzy |
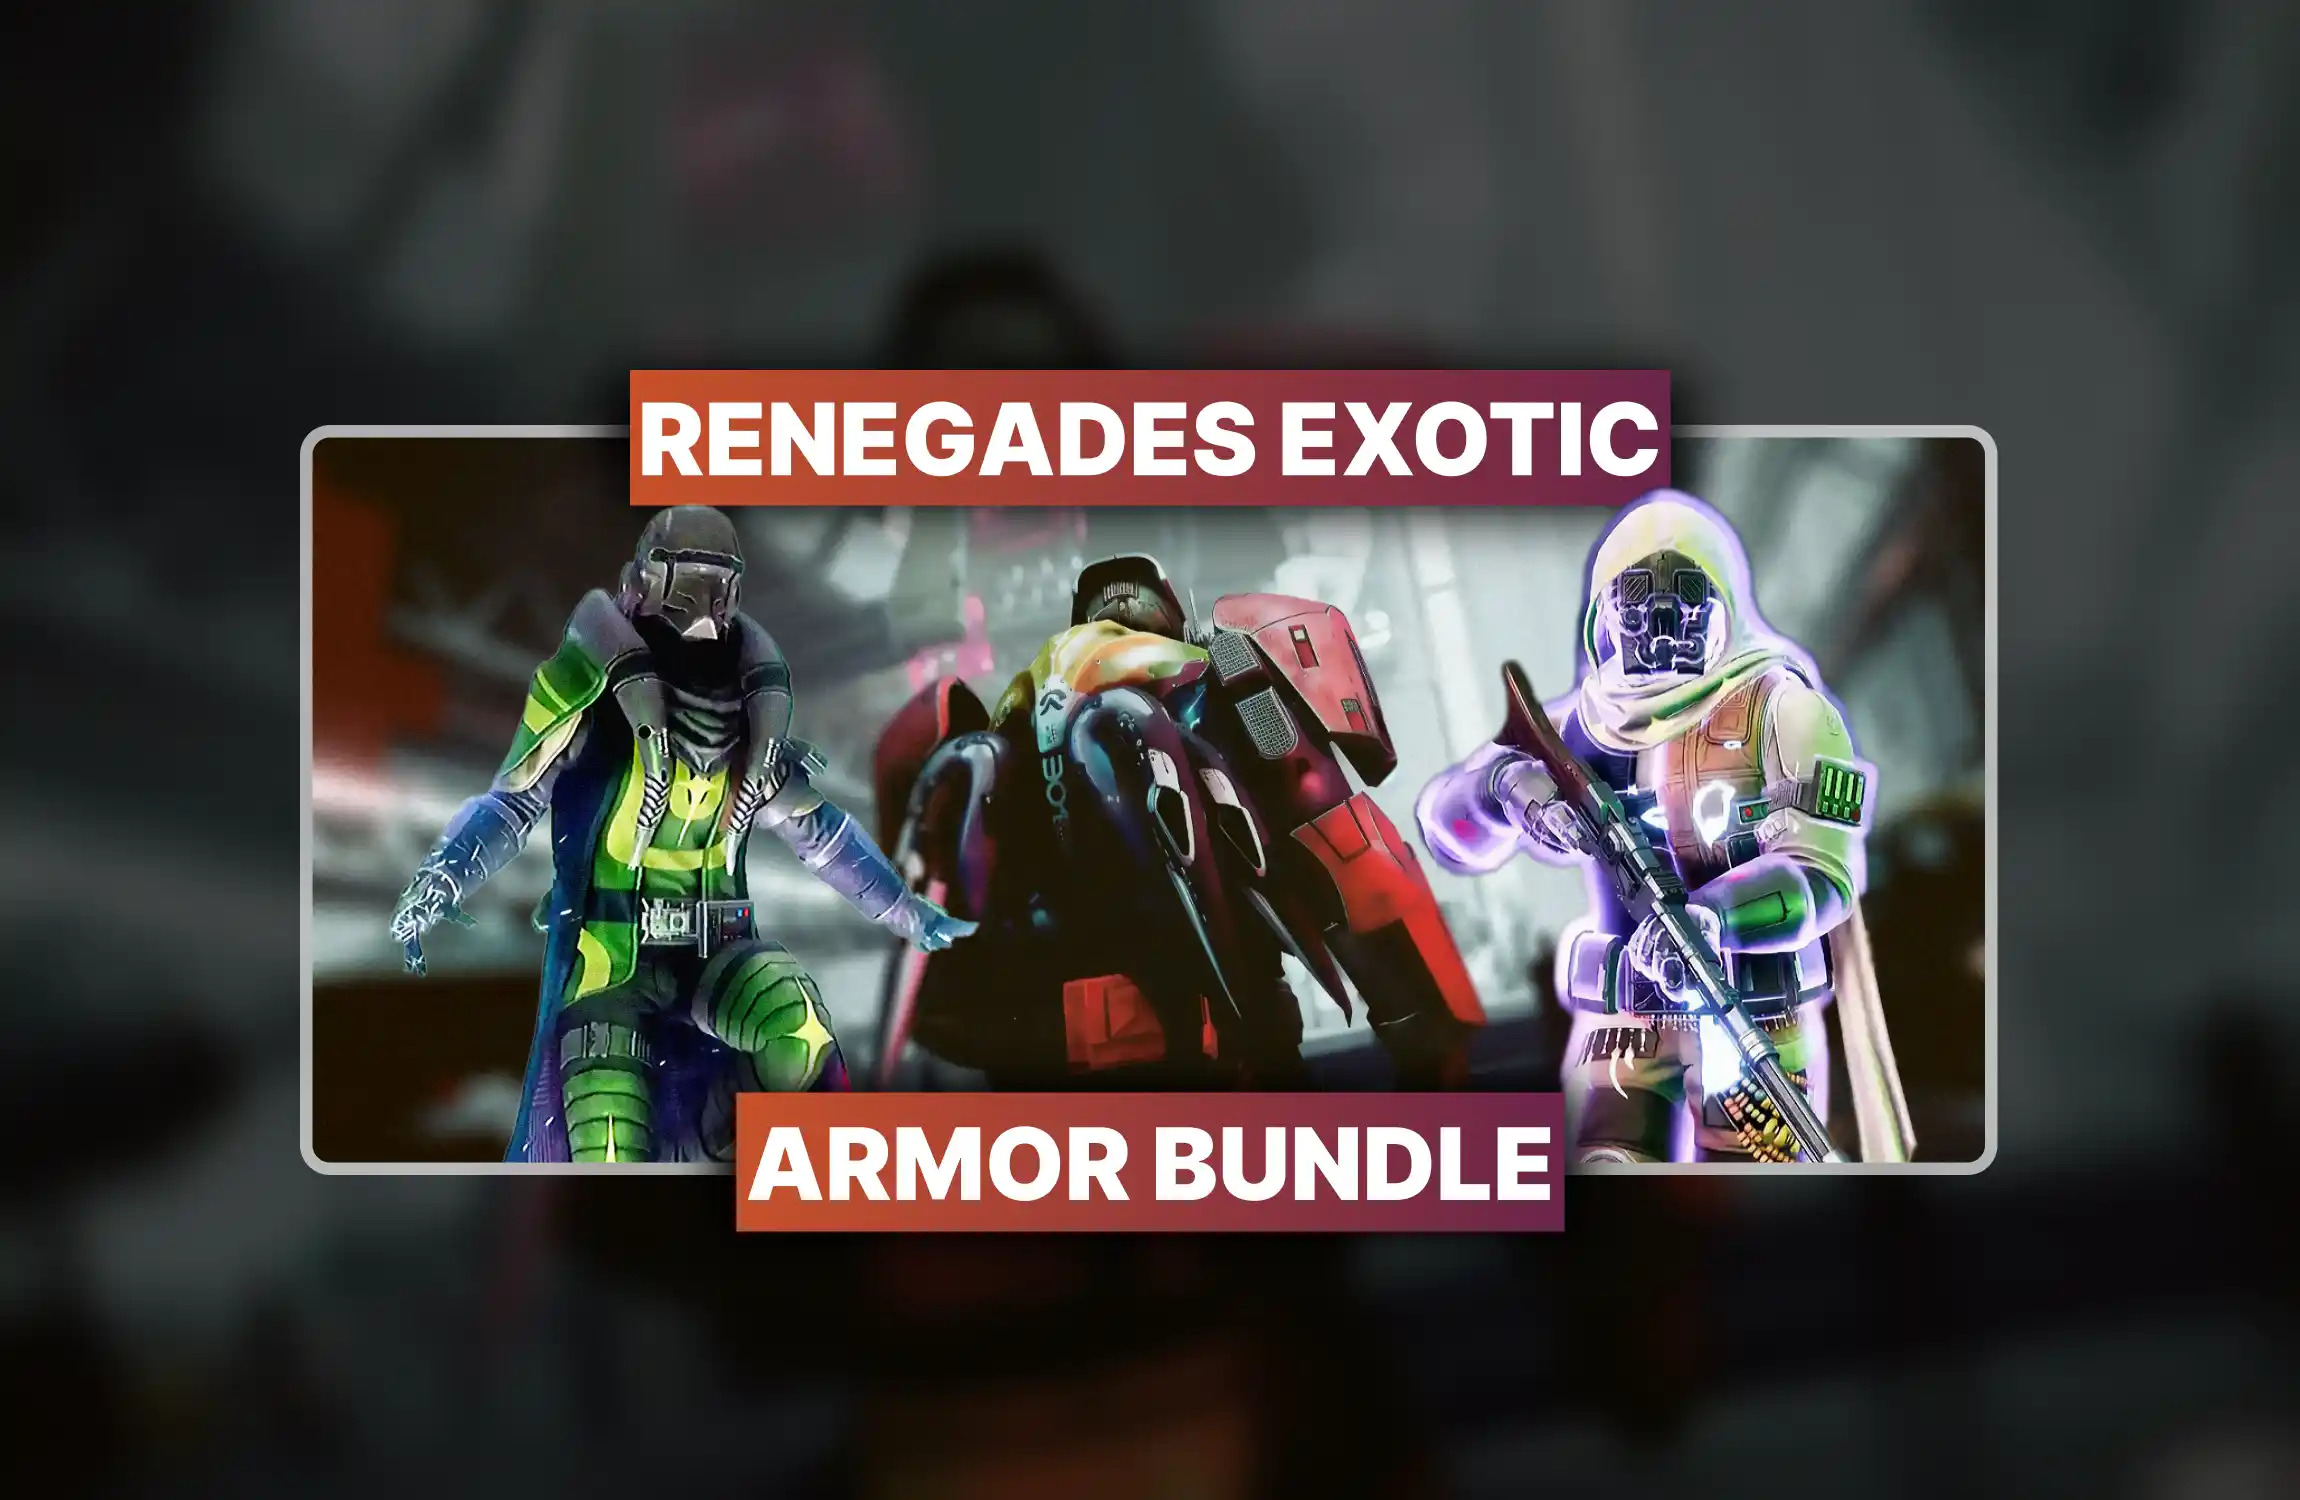
The Guardian chases the Collective Sage set for pure drip, because it is the signature dungeon armor from Destiny 2: Renegades and it drops only inside Equilibrium, so a normal run turns into repeat farming when burning ambition kicks in and the transmog dream starts.
| Collective Sage armor piece | What it looks like |
|---|---|
| Helmet | Praxic style helm with clean lines. |
| Gauntlets | Gloves with a robe inspired look. |
| Chest armor | Chest piece built around a flowing robe theme. |
| Leg armor | Boots shaped for long temple runs. |
| Class item | Class piece carrying a Praxic tone. |
The Equilibrium dungeon stands as a closed circle of pressure, movement, and shadow control, where the Guardian learns to treat Shadow Power as a working tool rather than a reward, reads bosses as repeating patterns instead of chaos, and turns calm role focus into progress, because Harrow teaches timing and bait, Dredgen Sere teaches dimension control and discipline, and the loot at the end feels earned only when the loop gets respected from start to finish, making this Venus run a clear test of execution, patience, and clean teamwork inside Destiny 2: Renegades.

Equilibrium is live on Venus. learn Shadow Power loops, beat Harrow and Dredgen Sere, and target Heirloom with a full loot table.

Equilibrium is live on Venus. learn Shadow Power loops, beat Harrow and Dredgen Sere, and target Heirloom with a full loot table.

Equilibrium is live on Venus. learn Shadow Power loops, beat Harrow and Dredgen Sere, and target Heirloom with a full loot table.

Equilibrium is live on Venus. learn Shadow Power loops, beat Harrow and Dredgen Sere, and target Heirloom with a full loot table.

Equilibrium is live on Venus. learn Shadow Power loops, beat Harrow and Dredgen Sere, and target Heirloom with a full loot table.

Equilibrium is live on Venus. learn Shadow Power loops, beat Harrow and Dredgen Sere, and target Heirloom with a full loot table.

Equilibrium is live on Venus. learn Shadow Power loops, beat Harrow and Dredgen Sere, and target Heirloom with a full loot table.

Equilibrium is live on Venus. learn Shadow Power loops, beat Harrow and Dredgen Sere, and target Heirloom with a full loot table.

Equilibrium is live on Venus. learn Shadow Power loops, beat Harrow and Dredgen Sere, and target Heirloom with a full loot table.

Equilibrium is live on Venus. learn Shadow Power loops, beat Harrow and Dredgen Sere, and target Heirloom with a full loot table.

The Equilibrium dungeon takes place on Venus, launched from the Destinations screen after the required unlock steps are finished.
Access requires the Destiny 2 Renegades expansion, since the dungeon belongs to that content cycle and stays locked without it.
The stated entry requirement is Power 370, which affects survivability and damage pacing inside the dungeon.
Shadow Power replaces the grenade ability and upgrades through Shadow Novice, Shadow Apprentice, and Shadow Master to drive survival and damage mechanics.
The first boss is Harrow, a Cabal Dredgen who uses teleports, blast pressure, and shield gates tied to Shadow mechanics.
The goal is to build Shadow buffs, trigger switches, bait Harrow into traps, break the shield, and finish the final stand clean.
The final boss is Dredgen Sere, fought through a two-dimension loop with lightning pressure and orb destruction mechanics.
The team shifts between normal and shadow dimensions, clears orbs in both spaces, and keeps Shadow buffs through teleports to open damage phases.
Damage begins after five orbs are destroyed in both dimensions, with lightning hazards forcing edge positioning and controlled ranged fire.
Rewards include the Heirloom exotic crossbow, dungeon weapons, the Collective Sage armor set, emblems, shaders, and title progress.

GTA 6, new seasons, major updates — get ready to dominate from day one.