


Call of Duty Boost
BO7 Season 3 Reloaded: Every Free Skin, Camo & Blueprint
Think Totenreich Cursed Tier 3 solo is impossible? It's not. It's just punishing.
You have chosen the Totenreich Cursed Tier 3 solo challenge: the version of this Easter Egg designed to remind you that comfort is a privilege, not a right. Before you touch a single step, understand exactly what the mode strips away.
|
Penalty |
What It Means In Practice |
|
No custom loadout |
You start with whatever the map gives you. Pray it isn't embarrassing. |
|
Salvage drop rate halved |
Upgrading guns takes twice as long. Every rarity tier costs your dignity. |
|
Perk machine costs never decrease |
No mercy discounts. Every perk is full price, every time. |
|
Cannot craft Self-Revive kits |
You get one from Quick Revive. After that, Ted Trials or nothing. |
|
Only 4 perk slots |
Choose wisely. Every slot matters. Every choice haunts you. |
|
Zombies spawn 75% faster |
The horde does not wait for you to finish your puzzle. It never will. |
|
Boss fight is 10× harder solo |
One Viking head in co-op becomes a non-stop parade in solo. Fun. |
|
No max ammo drops from boss |
Yes, really. You will run dry at the worst possible moment. |
The upside: if you can call it that: is that Cursed mode grants Ultra Rarity, Golden Armor, and PAP Level 4 availability. You will struggle to afford them, but they exist, which is almost funny.
Since Cursed Tier 3 strips your loadout, you compensate with Gobblegums. This is not cheap. This is not casual. This is the correct approach for a Black Ops 7 Zombies Cursed Mode run that you actually intend to finish.
Recommended Gobblegums
— Perk-a-holic: grab all perks on spawn. Indispensable.
— Wonderbar!: pull a Ray Gun (Mark 1 or 2) from the Mystery Box immediately.
— Gift Card: inject points into opening the map on Round 1.
— Frenzied Guard: emergency armor regeneration during the boss. Use it, don't hoard it.
The Voy'ak is the answer. 100-round magazine, high damage output, does not punish you for the absence of a max ammo drop. If the Ted Trial gods are merciful, you will receive one mid-run. If you enter the boss with an MP40 PAP 3 instead, it will hold: barely: but expect to purchase ammo mid-fight like a tourist. The Mustang & Sally (PAP'd M1911s) handles the Viking head phases where your primary is immune, so do not dismiss them.
|
Weapon |
Role |
Minimum PAP |
Notes |
|
Voy'ak |
Primary / boss damage |
PAP 3 |
Best-in-slot for crit spots. Aim for PAP 4 Ultra if you can afford it. |
|
MP40 |
Primary / backup |
PAP 3 |
Good, not great. Ammo runs out faster than patience. |
|
Mustang & Sally |
Viking head phase / anti-horde |
PAP 3 |
Replaces frag grenades. Works as splash on heads. Without augments it won't be full-auto. |
|
Ray Gun Mk.1 |
Utility / early rounds |
PAP 1–2 |
A Wonder Bar pull. Useful early. Not the boss fight weapon you hope for. |
The Totenreich Easter Egg walkthrough below is ordered for efficiency. Several steps can be completed on Round 1 with Gobblegums, which is the only reason to run them. If you are doing this barehanded and f2p, adjust your timeline and your expectations accordingly.
Phase Zero: Before The Boss
Go to the spawn zipline area, find the Robot Head, interact with its base to obtain the Transmitter, then enter the War Factory admin room. Grab the Glock Drop Controller, initiate the sync with the robot, and Pack-a-Punch is live. You will be entering the Origins robot's severed head. This is normal. Lore note: it is not one of the three stomping robots from Origins: different robot, same bleak destiny.
Pick up the Admin Key Card from the admin room. While there, press the wall button to lower a barrier, then grab the Wonder Weapon chains immediately: they are right there and there is no excuse not to. Note: a cargo manifest note can spawn at different locations redirecting which crate to open with the crowbar. If your Flak Gun Round is not in crate V7, check every other crate. You are not going crazy. The game is.
Common failure point: Many players open the wrong cargo crate because the manifest note spawned somewhere unexpected. Opening the wrong crate triggers a gas or EMP effect. Check the manifest row with the ammo icon. The ID number tells you which crate. Read it.
The Atomkraft Core puzzle guide begins here. You need three Uranium pieces before you can build the core in the Machine Workshop. Each comes from a different method, and none of them will be convenient.
Take all three Uranium pieces to the Machine Workshop. The circuit puzzle requires placing components so they connect parts of the circuit without creating one complete loop. The logic: connect some segments independently, leave others isolated. Do not overload the circuit. When it clicks: and it will: it is deeply satisfying in a way that makes the previous hour feel almost justified.
Access the Pack-a-Punch, open the map via the Fishery Island route, and acquire the Jotunn Star. It has a melee attack, a charged ranged attack (charged by melee kills), and a Lantern effect that protects you from freezing in later steps. The Lantern is mandatory for the constellation step. Do not lose the weapon.
Return to the second floor of the Lighthouse. Pick up the Crowbar from the metal shelves near the window. Use it to open the correct cargo crate (per the manifest). Insert the Flak Gun Round into the Flak Gun cannon. Fire it. Then retrieve the Wundersignal Transmitter. This unlocks access to the flashing lights puzzle.
Place the Transmitter. Two lights flash sequences on either side. Count the flashes of each set independently: when both blink together, both count. Your two numbers become your amplitude and frequency codes. Input them at the terminal. A rocket strike follows. Do it twice (two sequences). The Wonder Barrage Controller is your reward, which you then use to destroy the staircase and open the Machine Workshop properly. Every run generates different codes. There is no fixed answer. Count correctly or restart.
With the Jotunn Star Lantern active, locate the four constellation symbols on the walls of the map. The shapes are loosely: and we use that word generously: representative of a boat, a fish, an abstract form, and a sitting dog. Interact with them in the correct order shown on the altar. If wrong, reset via the altar and try again. Once correct, Astrid appears above the altar and begins moving across the map. Follow her. Each time she stops, eliminate the purple-eyed frost zombies to make her advance. She eventually creates ice blocks to reach the Lighthouse. Use them.
The Totenreich Lighthouse parkour section exists to test whether your thumbs are functional. Scale the outside of the Lighthouse using the obstacle course: jump, wall-jump, and do not look down. Reach the top. Listen to Astrid. The Jotunn Star is already in hand. This is, genuinely, one of the better-designed set pieces in recent Zombies history, which says more about the rest than it does about the parkour.
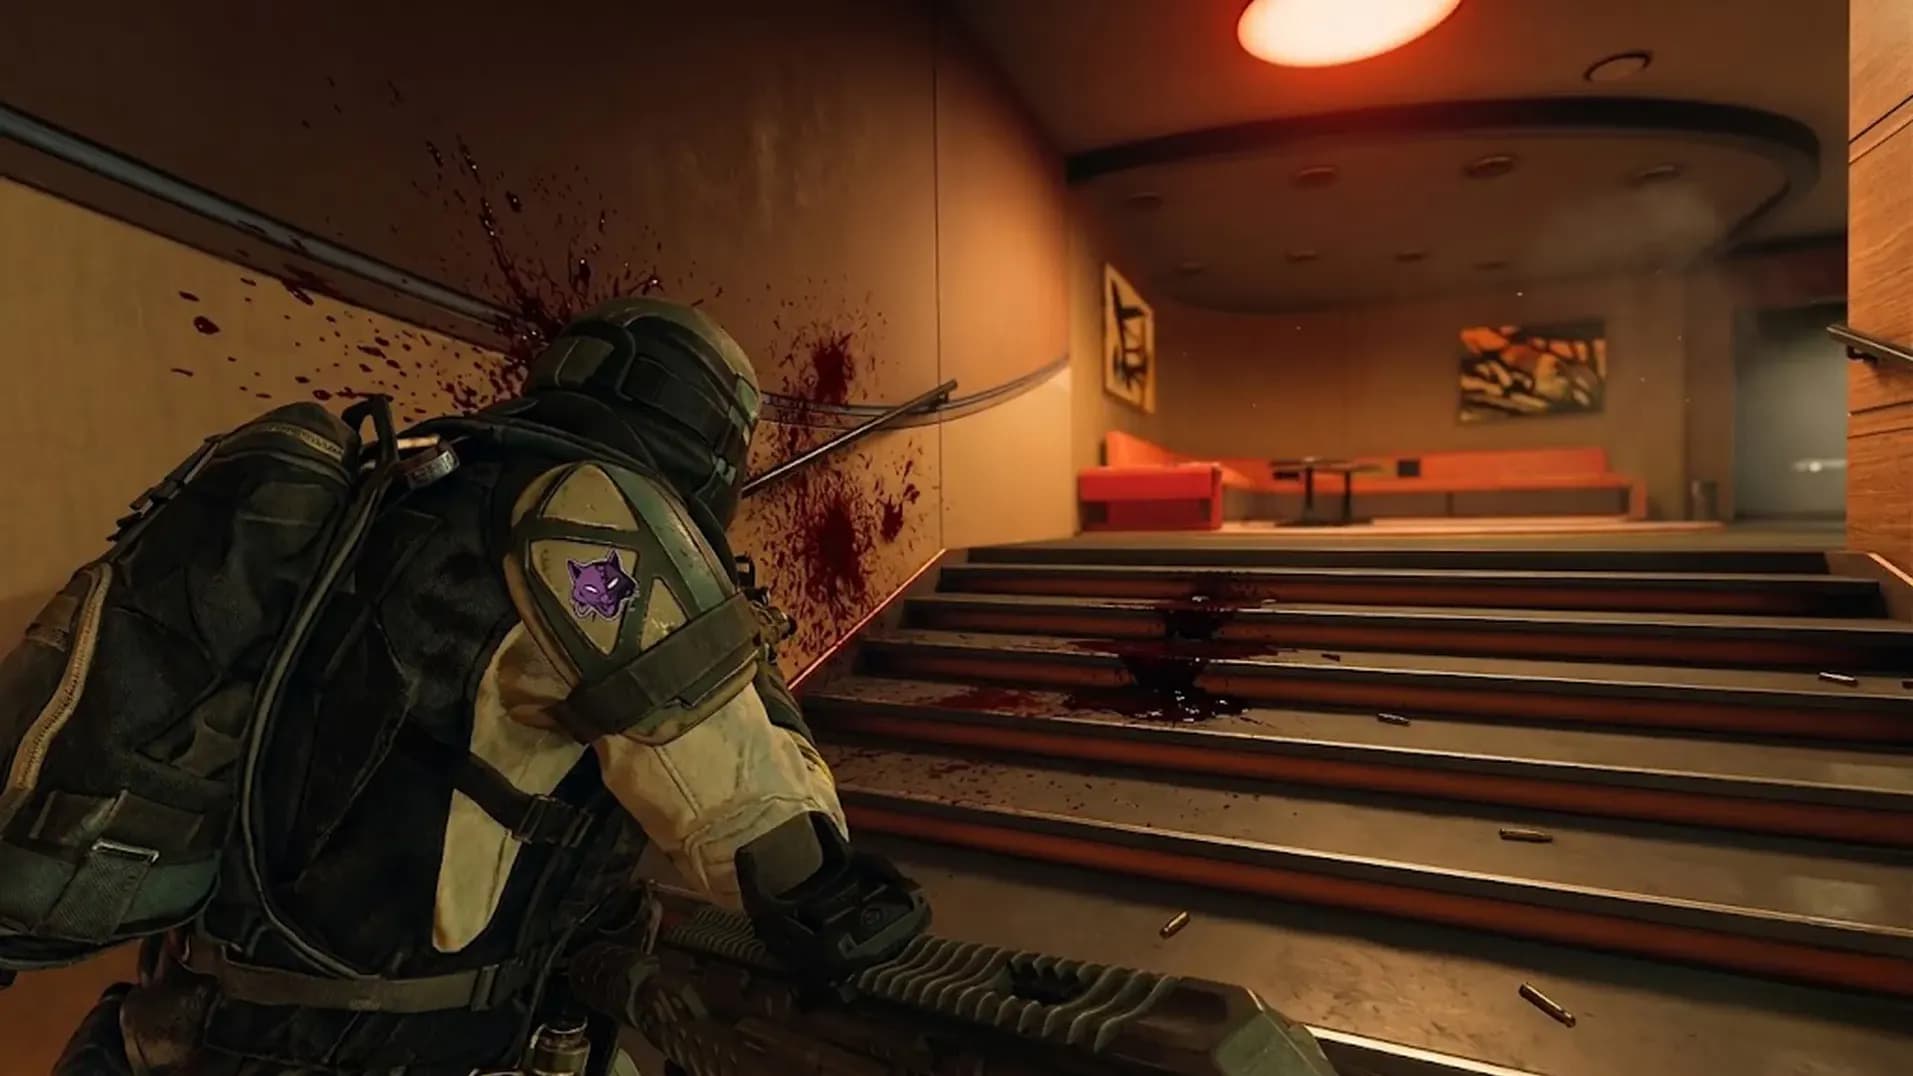
Use the Jotunn Star to light the bonfire with blue fire underneath. A free Disciple Injection is available at the Eidskallen Stave Church: pick it up. With Disciple Injection active, use LT/L2 to grab zombies, then throw them directly into the bonfire. Approximately four to five are required. The game ejects you when done. A beefy Necro Pincer spawns as a lockdown enemy. It has a HP threshold. Melee with the Jotunn Star finishes it efficiently when your primary stalls. The Sunstone drops. Place it in the church.
Around the map: floating mini-mountains each bearing a symbol. The church arrows direct you to three specific symbols (e.g. zigzag, M, F). Use the charged Jotunn Star Lantern to light each targeted symbol. Once all three are active, they begin spinning. That is the confirmation. You are boss fight ready. You are, however, probably not actually ready. Spend more rounds. Buy the Golden Armor. Get the Voy'ak to PAP 3 minimum.
Pre-Boss Checklist
— Voy'ak or MP40 at PAP 3+ (PAP 4 if affordable)
— Mustang & Sally at PAP 3
— Golden Armor equipped
— Self-Revive from Quick Revive active (or Ted Trial reward)
— Kazmirs stocked: the boss uses them heavily
— Frenzied Guard Gobblegum saved
— Ammo purchased before entering
The Totenreich boss fight strategy for Cursed Tier 3 solo differs from the standard version in one critical way: no max ammo drops, zombies spawn continuously throughout every phase, and the frost zombies are relentless. Co-op softens this. Solo does not soften anything. The Stamina-Up augment that allows sprinting while firing is not optional: it is survival.
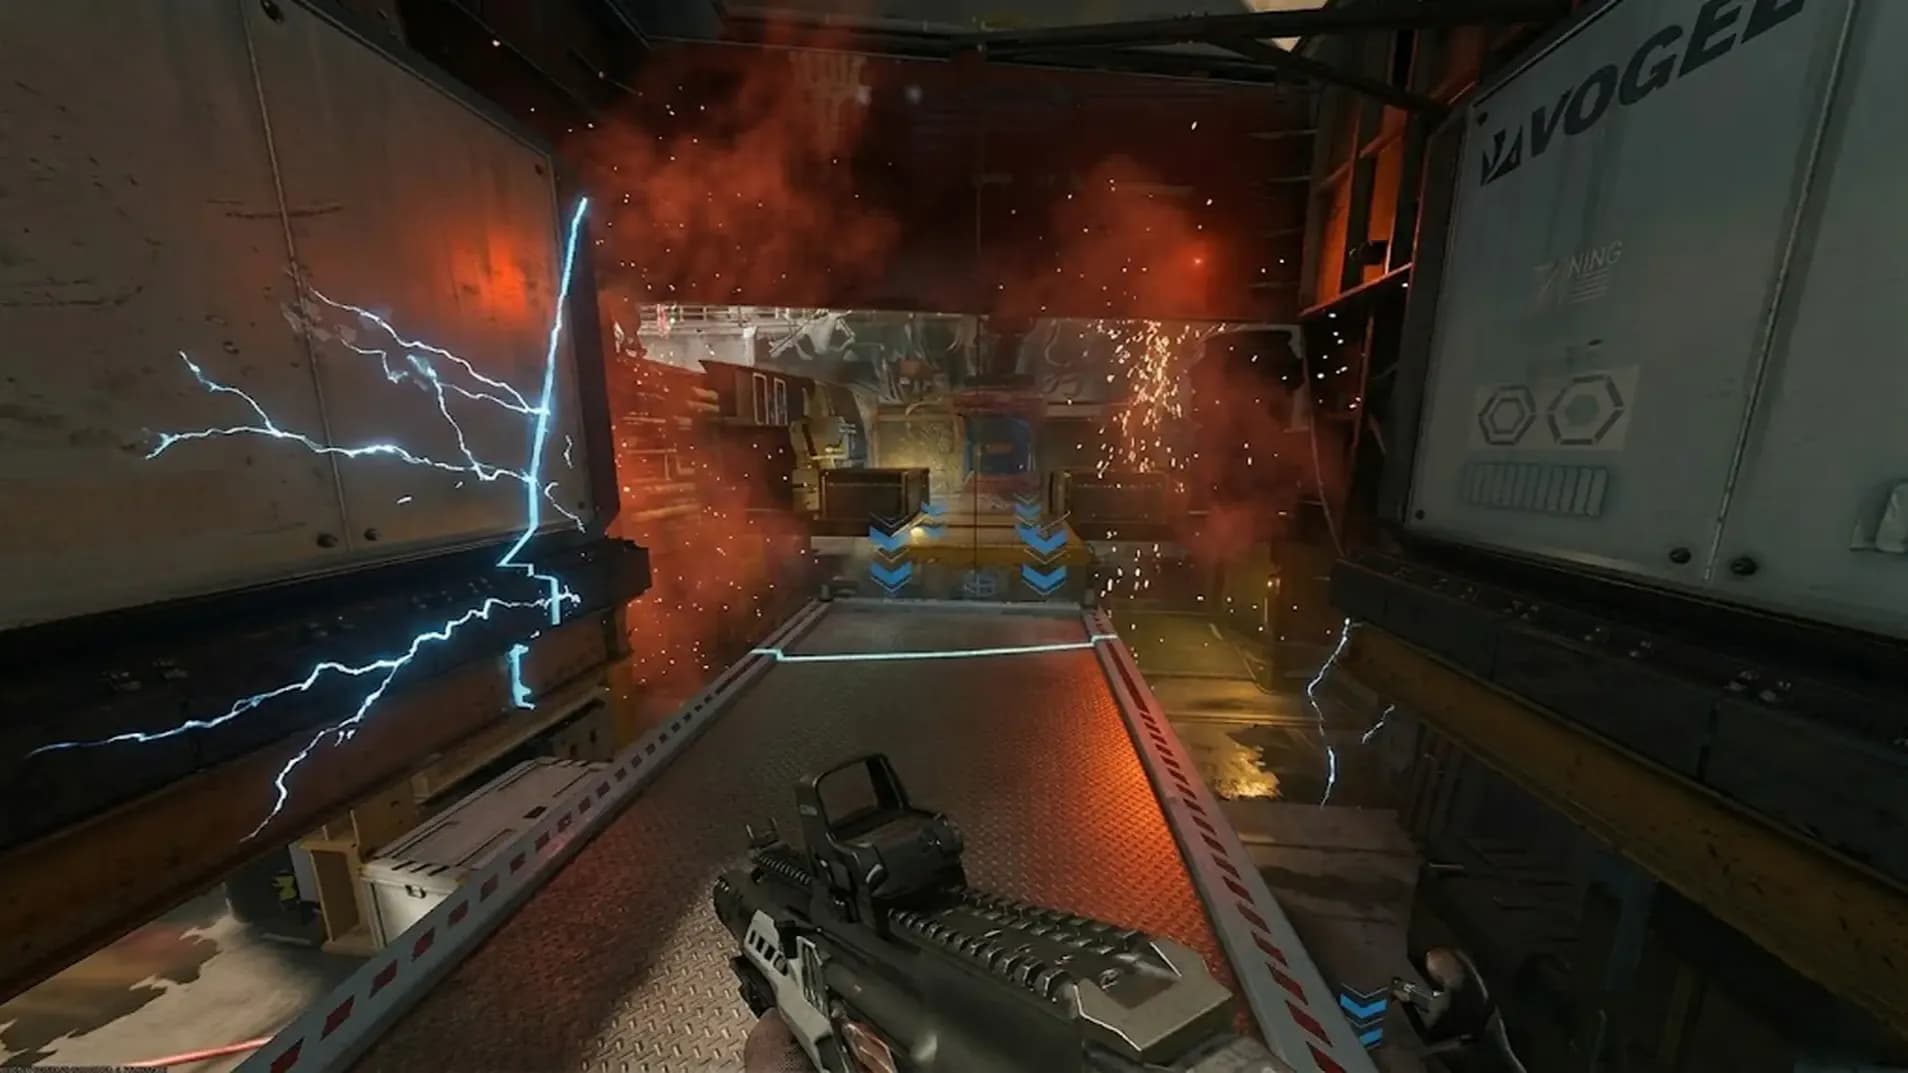
The boss exposes glowing weak spots on its body. Hit them with the Voy'ak. Kazimir field equipment accelerates this significantly: deploy early, not when you are desperate. The boss periodically freezes sections of the arena. When the floor goes blue: run. He will also freeze the zombies in his freeze zone, which is one of the few courtesies the game extends. Use the Jotunn Star Lantern to neutralize frozen tiles temporarily.
Two crit spots appear simultaneously in Cursed Tier 3 solo. Both must be destroyed within the timer. Fail one and the phase resets. The MP40 is not fast enough for this. Use the Voy'ak.
The boss launches a geometric barrage at pillars. You can hide behind them or stand in the open and dodge the shapes: hiding is statistically superior. The arena then freezes in sections sequentially. Move to the unfrozen area. Do not be in the frozen area. This is not complex advice. Shields Up Gobblegum activates here if you have it: it actually contributes. The robot companion fires rockets during this phase to clear zombies. Use that window.
The boss disengages. Floating Viking heads spawn and must be downed. They are immune to Mustang & Sally direct hits: use the War Machine streak dropped by the Glock Drop (which the robot provides mid-fight). Then finish with the Voy'ak or throw grenades into their open mouths. In Cursed Tier 3 solo: two heads per wave on the first pass, then the pattern repeats. The Mustang & Sally splash damage still works: the direct hit does not. Understand the distinction before you waste ammo.
The boss pulls you to the center of the arena. The game does not tell you this is happening. You will find out. In standard mode, a max ammo drops here. In Cursed Tier 3: it does not. Zombies continue spawning. You are in the middle of the arena with no cover, no free ammo, and an ice giant's face to destroy.
Pop your Power Keg equipment. Deploy Kazmirs. If Insta-Kill is active from a zombie drop, use it immediately. Fire Raindrops if you have them. Frenzied Guard goes here if your armor is critical. Keep firing at the face: do not stop unless dodging a mechanic. Prone if needed. The face has a finite health pool. It ends. First attempt clears are possible. This very guide was written off one.
No max ammo in the final phase. Buy ammo before you trigger it. If you enter the center phase with less than half a magazine, you will go down. There are no second chances without Quick Revive, and Quick Revive only works once.
Completing Totenreich Tier 3 Cursed Mode unlocks the following. Whether the investment of time, Gobblegums, and mild psychological damage is proportionate to the reward is a question each player must answer personally.
|
Reward |
Details |
|
Heliotrope Legion |
PAP Camo unlocked. Pack-a-Punch Camo Level 3. Sourced from the Zombies map IX from Black Ops 4. Cosmetic only, but it looks genuinely good. |
|
Relic Rewards Tier 3 |
Full Tier 3 Cursed completion marker. Bragging rights. A checkbox. The satisfaction of a completed screen. |
|
Tier 1 & 2 PAP Camos |
Also BO4 Zombies IX-sourced. Complete the lower tiers first: they are prerequisites in spirit if not in system. |
|
Zombie Skins |
Unlocked alongside the camo. Details vary per run completion. |
The Heliotrope Legion camo unlock is a legitimate visual payoff. The Pack-a-Punch camo animations on this map are among the better executions in the franchise. This one, specifically earned under Cursed Tier 3 conditions, has context. Context is worth something.

• Unlock light-blue mastery camo.
• Complete 3rd WZ tier.
• Fast, secure camo unlock.
Think Totenreich Cursed Tier 3 solo is impossible? It's not. It's just punishing.

Think Totenreich Cursed Tier 3 solo is impossible? It's not. It's just punishing.
Think Totenreich Cursed Tier 3 solo is impossible? It's not. It's just punishing.
Think Totenreich Cursed Tier 3 solo is impossible? It's not. It's just punishing.

Yes. With Perk-a-holic, Wonderbar, Gift Card, and Frenzied Guard Gobblegums, a first-attempt solo clear is achievable. It will not feel comfortable.
The Voy'ak at PAP 3 or higher. Its 100-round magazine survives the no-max-ammo final phase. Bring Mustang & Sally as secondary for Viking head phases.
A note spawns somewhere on the map indicating the shipment was swapped. Check the War Factory admin manifest and every crate until you find the correct one.
Ping it with your tactical immediately before it disappears. The ping marker persists after teleportation and shows you its new location on the map.
It is a PAP camo sourced from Black Ops 4 Zombies map IX. Animated, visually distinct. Given what Cursed Tier 3 demands, "worth it" is a personal threshold.

GTA 6, new seasons, major updates — get ready to dominate from day one.