
Call of Duty Boost
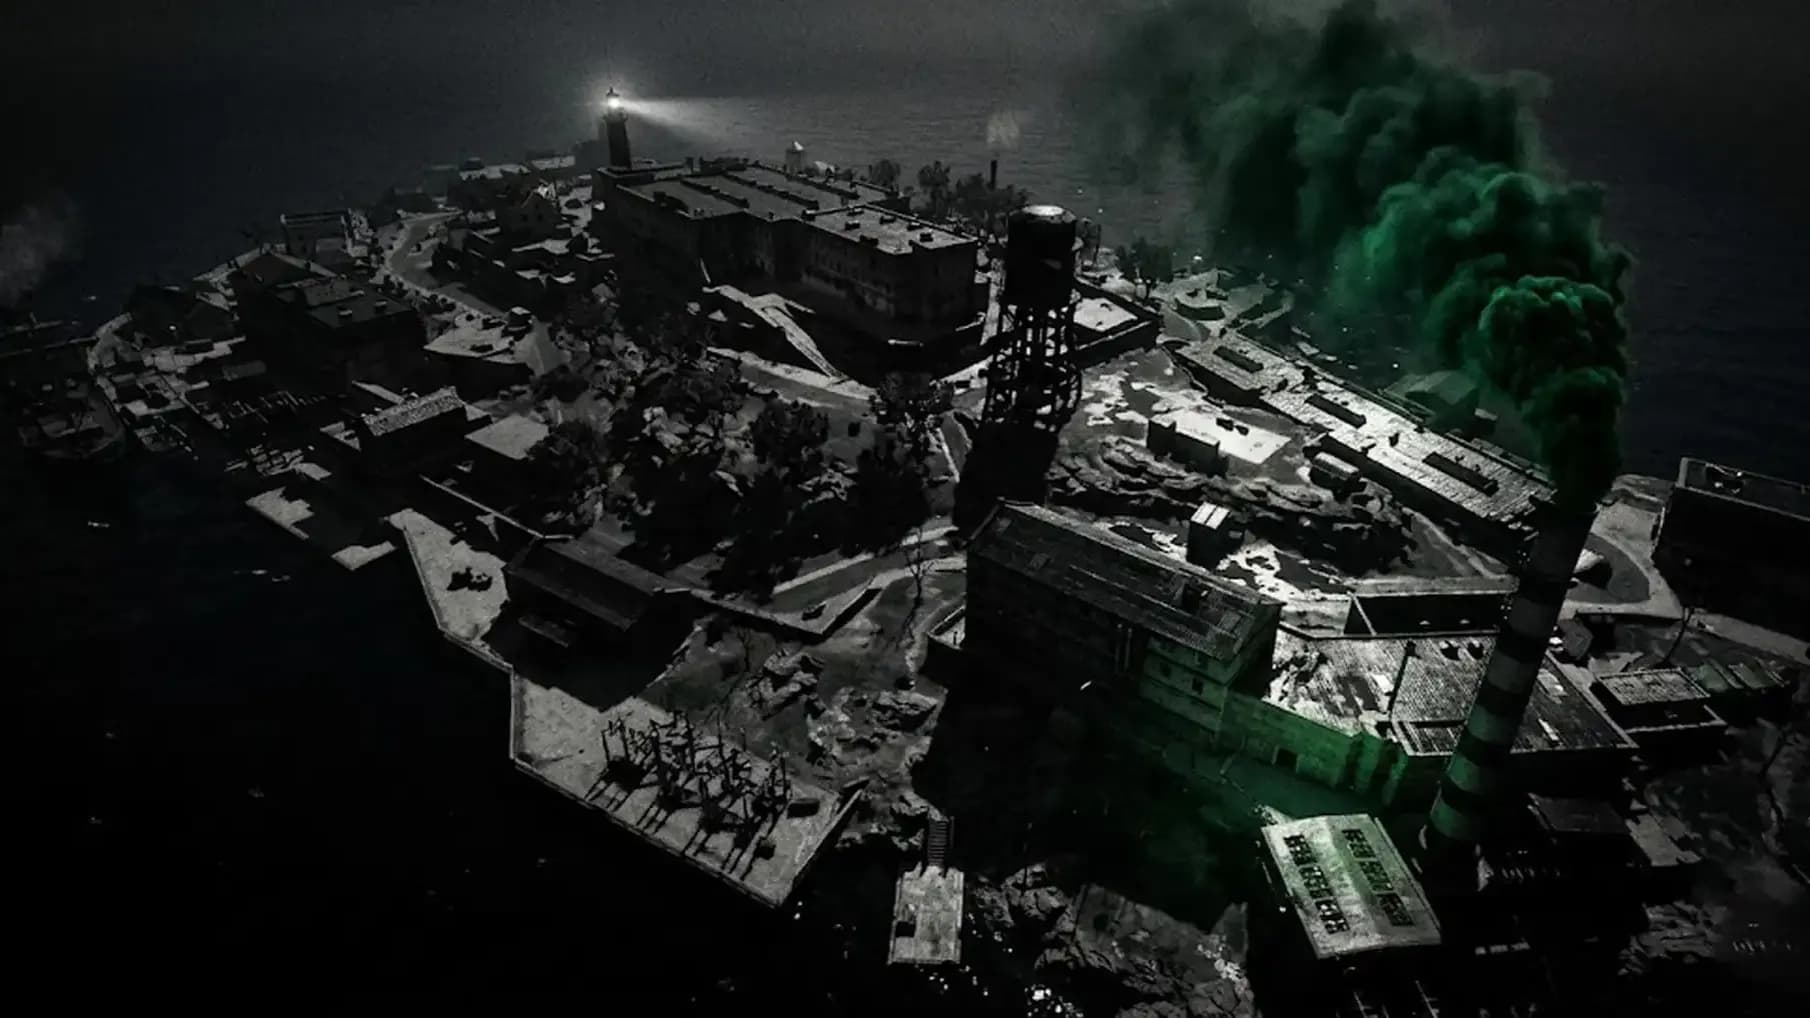
Rebirth Island: Black Ops 7 Map Guide
The Toxic Tyrant Z-Rex is stomping through BO7 Endgame. Here's how to seal the portals, find the weak spots, and put this rotting dinosaur in the grou
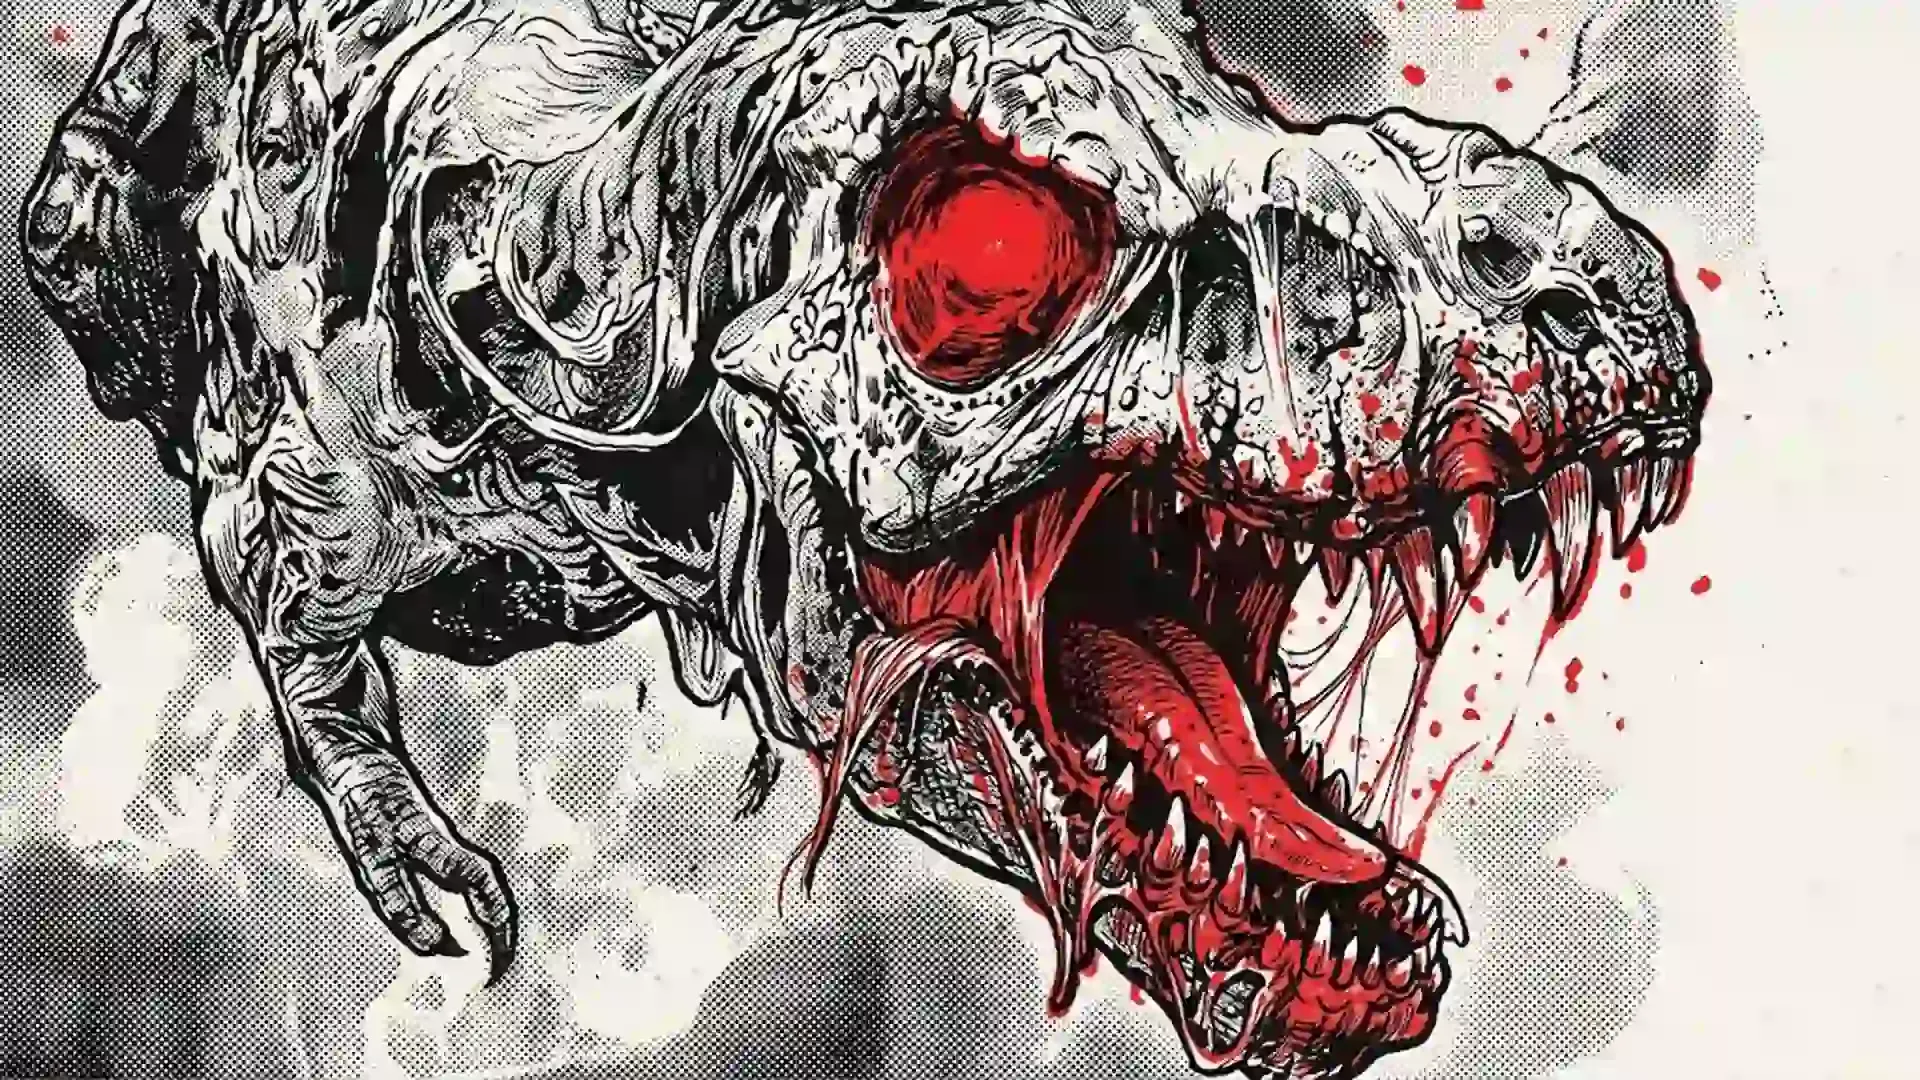
The Z-Rex is not a new beast. It first appeared in Black Ops 7's Shattered Veil Zombies map, where it presumably ate several NPCs nobody cared about. Now it's back, bigger, angrier, and considerably less patient with players who think spraying rounds at its kneecap constitutes a strategy. This is not that kind of boss. There is a structure here: a sequence of steps so clearly telegraphed that the game practically staples a neon sign to each one. And yet here you are, reading a guide.
The Toxic Tyrant world event spawns randomly within 5-10 minutes of match start. It does not ask for your permission, your opinion, or your Combat Rating. Show up ready or enjoy watching better-prepared strangers collect your Exotic drop.
The event structure can be broken into three acts: prep (collecting shards, sealing portals), spawn (summoning the Z-Rex via sealed portals), and attrition (shooting a very large animal in the face until it stops moving). The game rewards players who treat this as a structured encounter. It punishes people who treat it as a casual stroll with explosives. You are about to learn which category you fall into.
When the Toxic Tyrant world event notification appears on your screen: that notification you are conditioned to ignore: open your map. Find the event marker. Go there. That is literally the first step and somehow it filters out a remarkable percentage of players.
Kill the special enemies in the event area. They have a yellow marker next to their health bar, which the game very deliberately placed there so you would notice them. Kill these enemies specifically. They drop Convergence Artifacts. Ignore the regular trash enemies: they drop nothing relevant and exist purely to waste your ammunition and your dignity.
The Black Ops 7 portal sealing mechanic requires you to carry Convergence Artifacts to the sky rifts and deposit them. There are 10 portals in total, each requiring 1-4 artifacts to seal. The portals are above you. In the sky. Looking up is a core gameplay skill that cannot be overstated here. Carry artifacts to ground markers beneath portals and deposit to seal.
Fan out. One player sealing portals while three others stand in a cluster shooting regular zombies is a teamwork failure of almost artistic proportions. Assign sealers. Assign protectors. Communicate with text pings like "Seal portals with shards first, then shoot dino": a sentence that no player should need to type after reading this guide, and yet.
Once all portals are closed, the Z-Rex erupts from the earth with the subtlety of a building collapsing. This is your cue to transition from "running errands" mode to "shooting a dinosaur" mode. Prepare accordingly. Bring your Legendary or Exotic weapons out of storage. Now is their moment.
The Z-Rex Endgame boss fight is an attrition match. The creature has a "very large amount of health": a polite way of saying it is a bullet sponge with pretensions of grandeur. The good news is that it has distinct weak spots. The bad news is that you still need to hit them, which apparently requires explicit instruction.
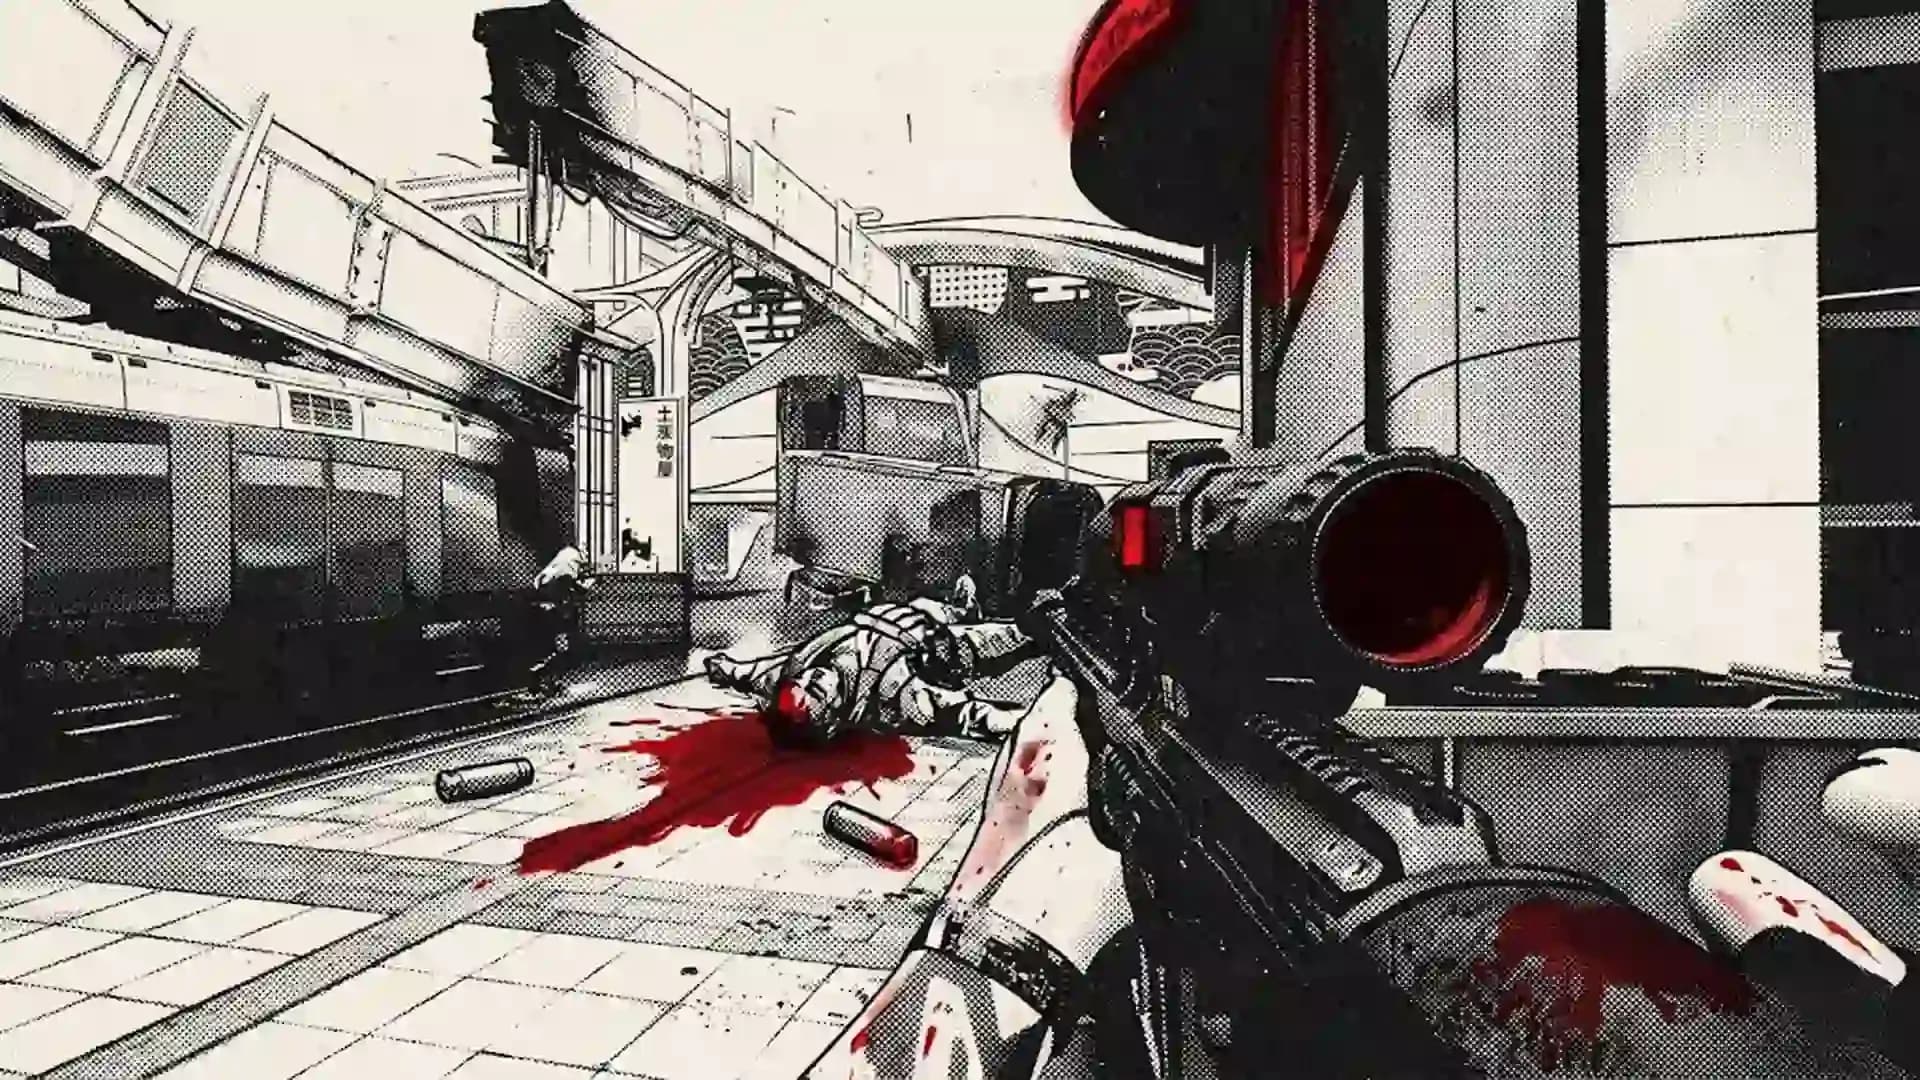
The head and eyes are the Z-Rex's primary weak spots. Shooting them deals significantly greater damage than shooting literally any other part of the beast. If your entire squad is spraying rounds at the tail because it is "the biggest target," congratulations on engineering your own failure.
Position yourself on rooftops when possible. Z-Rex weak spot headshot strategy is dramatically easier from elevated ground: it draws aggro safely while giving you a stable headshot angle. Multiple players holding stable positions on the head simultaneously will melt the health bar. This is cooperation. It is shockingly effective.
The Z-Rex will also open its mouth during its vomiting attack. That glowing interior? Also a weak spot. If you have the nerve to shoot into the mouth of a charging zombie dinosaur mid-vomit, the game will reward you. It is the kind of mechanic that rewards players who are paying attention and punishes players who are looking at their minimap wondering why their team is struggling.
Maintain consistent fire. Continuous damage output is how you win. The legendary weapons BO7 Endgame requirement is real: Legendary and Exotic tier weapons are non-negotiable here, particularly a rocket launcher. The AOE shreds adds and delivers burst damage to the boss. Pack one. Use it.
The Z-Rex has a rotation of attacks, all of which are avoidable if you are moving, and all of which are lethal if you are standing still wondering what the green cloud is. Here is the complete breakdown, presented without sympathy.
|
Attack |
Range |
What It Does |
Counter |
Survivable? |
|
Tail Smash |
Close |
Slams tail on ground behind it; launches players into the air |
Stay in front, never flank the rear |
Sometimes |
|
Radioactive Breath |
Front cone |
Green toxic cloud; sustained damage if you stand in it |
Strafe sideways. That's it. Just strafe. |
With armor |
|
Charge Attack |
Full arena |
Sprints directly at you; insta-kill potential at close range |
Keep distance; sidestep when it telegraphs the run |
Often not |
|
Rot Spit |
Long range |
Lobs globs of rot from a distance when you're far away |
Keep moving laterally; projectiles are slow |
Yes |
|
Vomit Attack |
Front |
Exposes glowing mouth weak spot; AoE toxic splash |
Dodge back; shoot the mouth while it's open |
If mobile |
|
Bite |
Front melee |
Chomps at players directly in front; high damage |
Don't stand directly in front of a dinosaur's face |
Rarely |
|
Jump Slam |
Any |
Leaps into the air; lands near distant players |
Watch the shadow; roll out of the landing zone |
With distance |
The pattern here, in case it is not obvious, is that every single attack has a counter that involves either moving sideways or not being where the attack lands. The Z-Rex is not subtle. It telegraphs. It roars before charging. It winds up before biting. It literally glows before unleashing its weak spot. The game is doing everything short of sending you a text message. Keep moving at all times. This is not negotiable.
The BO7 Endgame loadout guide for the Toxic Tyrant comes down to one principle: bring things that deal large damage, and bring things that keep you alive long enough to deal it. The Z-Rex does not care about your preferred playstyle. It does not negotiate. Your loadout needs to be prepared for sustained engagement under pressure.
|
Slot |
Recommendation |
Tier |
Why |
|
Primary |
Any Legendary / Exotic AR or LMG |
Exotic preferred |
Sustained damage; sustained weak spot pressure |
|
Secondary |
Legendary Rocket Launcher |
Non-negotiable |
AOE shreds adds; burst DPS on boss weak spots |
|
Exotic Skill |
Mobility Exotic |
Highly recommended |
Repositioning under fire; dodging charges |
|
Exotic Skill Alt |
DPS / Butterfly build |
Situational |
Explosion chaining; better raw output for experienced players |
|
Vehicle / Injection |
Save one for the boss fight |
Strategic reserve |
Provides 30–70 seconds of invincibility; use during DPS windows |
|
Armor |
Full Plate |
Mandatory |
The breath attack alone will delete unarmored players |
|
Purple Spore Pods |
Do not shoot these |
Avoid |
Shooting them makes the fight worse. Just don't. |
There is usually an ammo crate in or near the fight zone. Position the Z-Rex near it by kiting. Running out of ammunition during a boss fight with an ammo crate 40 meters away is a failure of spatial awareness.
The Z-Rex riding mechanic Black Ops 7 exists because someone at Treyarch thought it would be funny, and they were correct. When the Z-Rex performs its tail slam attack, rush to the rear of the creature and hold the interact button. You will be catapulted onto its back. You will ride a zombie dinosaur. You will get a damage boost.
It lasts a couple of moments. It does provide a real combat advantage. It also unlocks a Dark Ops calling card: specifically the "cowboy ride" achievement: which is either the most impressive or most embarrassing item in your collection depending on how you explain it to people. This is entirely optional. Do not sacrifice the kill window trying to mount a charging tyrannosaur because you watched a YouTube clip. Win first. Ride for style points in subsequent runs when you have stopped being a threat to your own squad.
There is approximately a 17-minute timer on this event. If the Z-Rex is above 50% health at the halfway point, you are behind. Do not wait for the last 30 seconds to panic-spend all your cooldowns. The mid-fight checkpoint is your "go hard" signal, not the countdown alarm.

The Exotic skill drop BO7 Z-Rex is the primary reward for defeating the Toxic Tyrant. Upon death, the Z-Rex drops a briefcase containing one of eight random Exotic Skills. You pick one. You equip it. Your Combat Rating jumps to 73 if you then fully upgrade it with three levels. This is a significant progression spike and the main reason anyone bothers engaging with this event instead of simply watching it happen from a distance.
|
Item / Reward |
Description |
Gameplay Impact |
|
Exotic Case |
Contains 1 of 8 random Exotic Skills. |
You must choose only one to equip at a time. |
|
Combat Rating +3 |
Reward for fully upgrading one Exotic skill. |
Raises CR from 70 to 73; makes Tier 4 contracts viable. |
|
Dark Ops Card |
Requires riding the Z-Rex before eliminating it. |
Unlocks the Cowboy calling card for bragging rights. |
|
SlayerMart Cash |
Large currency reward plus access to the shop. |
Can be reinvested in survival gear or saved. |
One important note on Exotic management: you cannot hold multiple Exotics on a single operator. After defeating the Z-Rex, the loot case allows you to swap to a different Exotic, but you will still end the run with exactly one equipped. Choose based on your preferred playstyle: mobility, DPS, or survivability: and max it out across runs rather than swapping constantly. The math favors consistency.
The solo Z-Rex fight strategy BO7 question comes up constantly, and the answer is: technically viable at Combat Rating 70+, but considerably slower and significantly more likely to result in you staring at a respawn screen. Squads complete this event approximately twice as fast as solo players. This is a physics problem, not a skill problem. More guns means the health bar drops faster. The math is not complicated.
That said, a single informed player in a random lobby can dramatically improve the odds of a successful clear. Text pings work. Calling out portal locations works. Not standing directly under the Z-Rex's feet while your squadmates try to shoot its eyes works. The gap between "a random lobby with one organized player" and "a random lobby with zero organized players" is measurable and meaningful.
Combat Rating 70 with Legendary weapons is the comfort zone. Below CR45, you are contributing less than you believe. Squads with multiple CR70+ players finish this fight so fast the Z-Rex barely has time to look threatening. Gear up first. Then come fight dinosaurs.

• Unlock light-blue Mastery camo.
• Complete 4th WZ tier.
• Fast, secure camo unlock.
• Unlock light-blue mastery camo.
• Complete 3rd WZ tier.
• Fast, secure camo unlock.

• Complete all Zombies objectives
• Fast safe expert boosting
• Track progress live anytime
• Buy 3, get 1 for free Gold camos
• Fast secure mastery boosting
• Clear status updates provided
• Fast full quest completion
• All intel fully unlocked
• Cursed tiers expertly cleared, guaranteed
• Fast Battle Pass leveling
• Exclusive skins blueprints unlocked
• Zero grind instant rewards
• Full Operator Orders
• Operator skins unlocked
• Animated camos unlocked


The Toxic Tyrant Z-Rex is stomping through BO7 Endgame. Here's how to seal the portals, find the weak spots, and put this rotting dinosaur in the grou
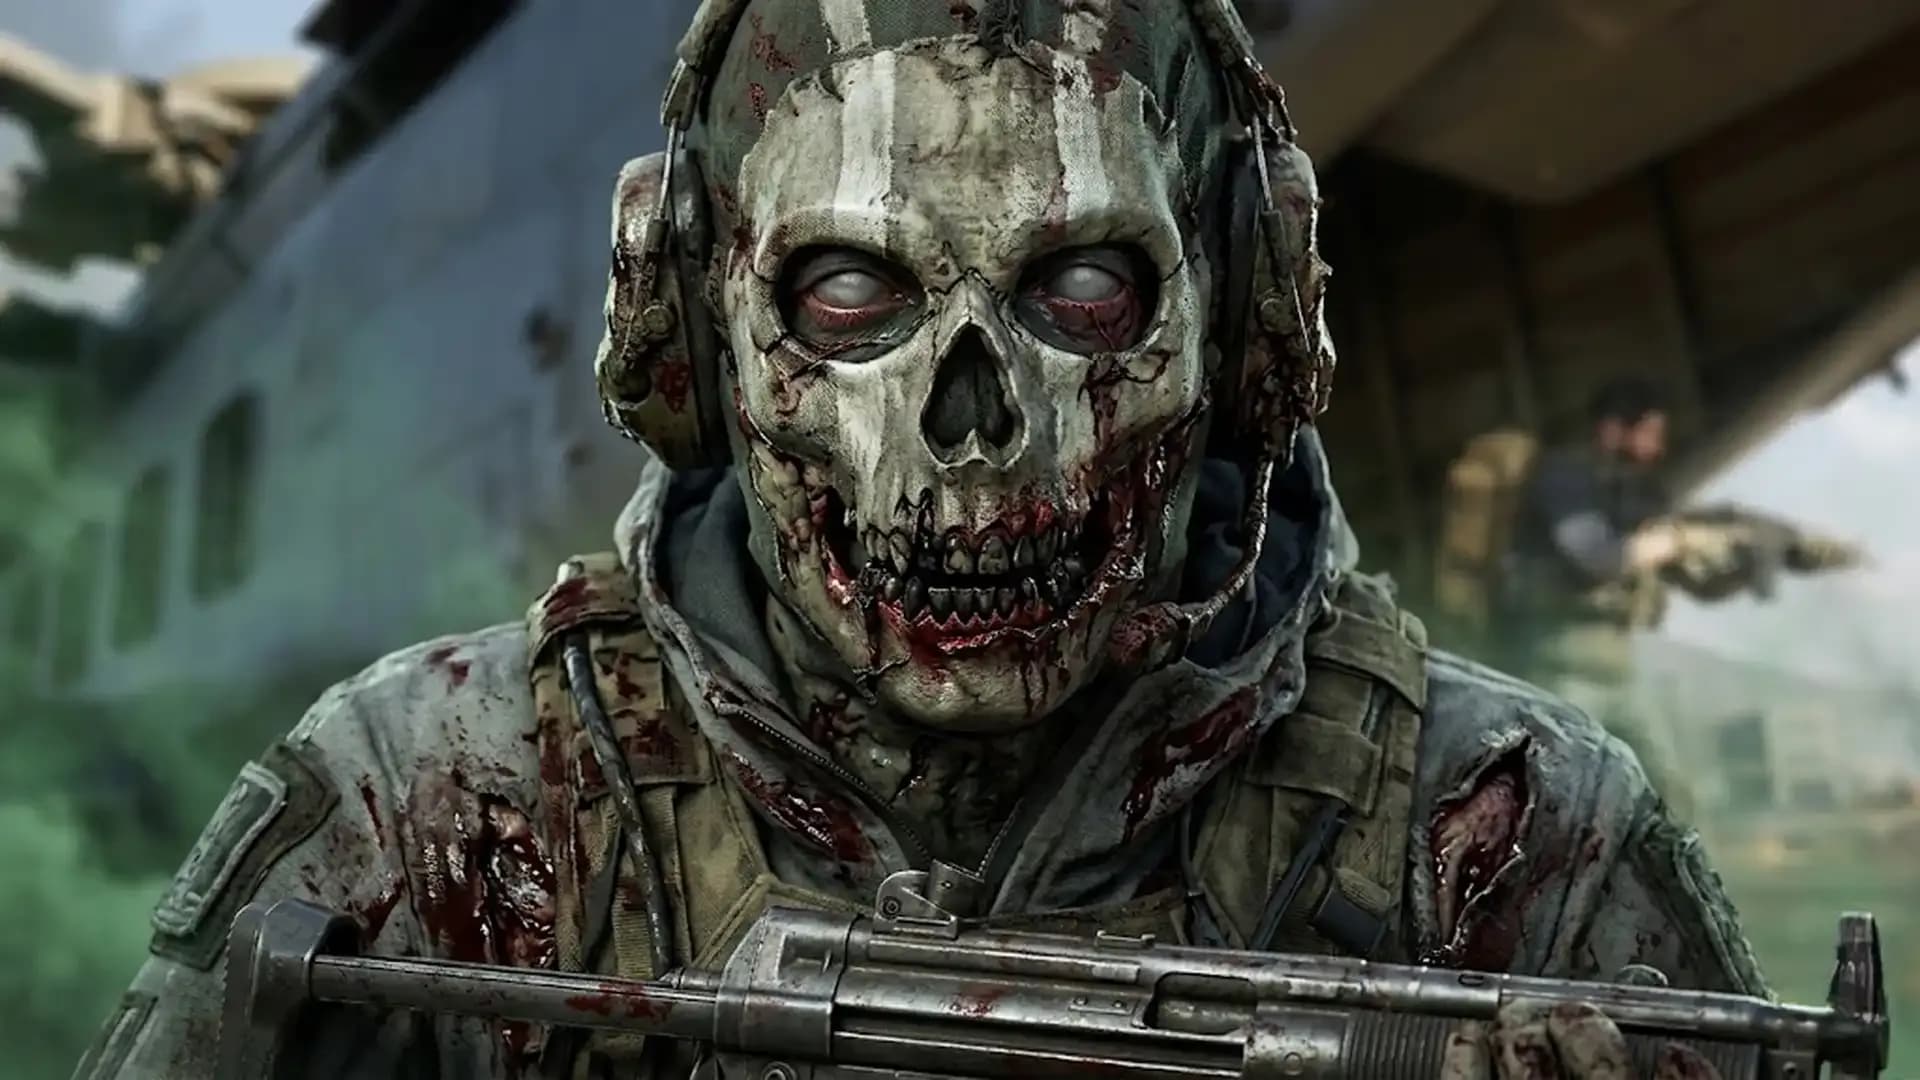
The Toxic Tyrant Z-Rex is stomping through BO7 Endgame. Here's how to seal the portals, find the weak spots, and put this rotting dinosaur in the grou
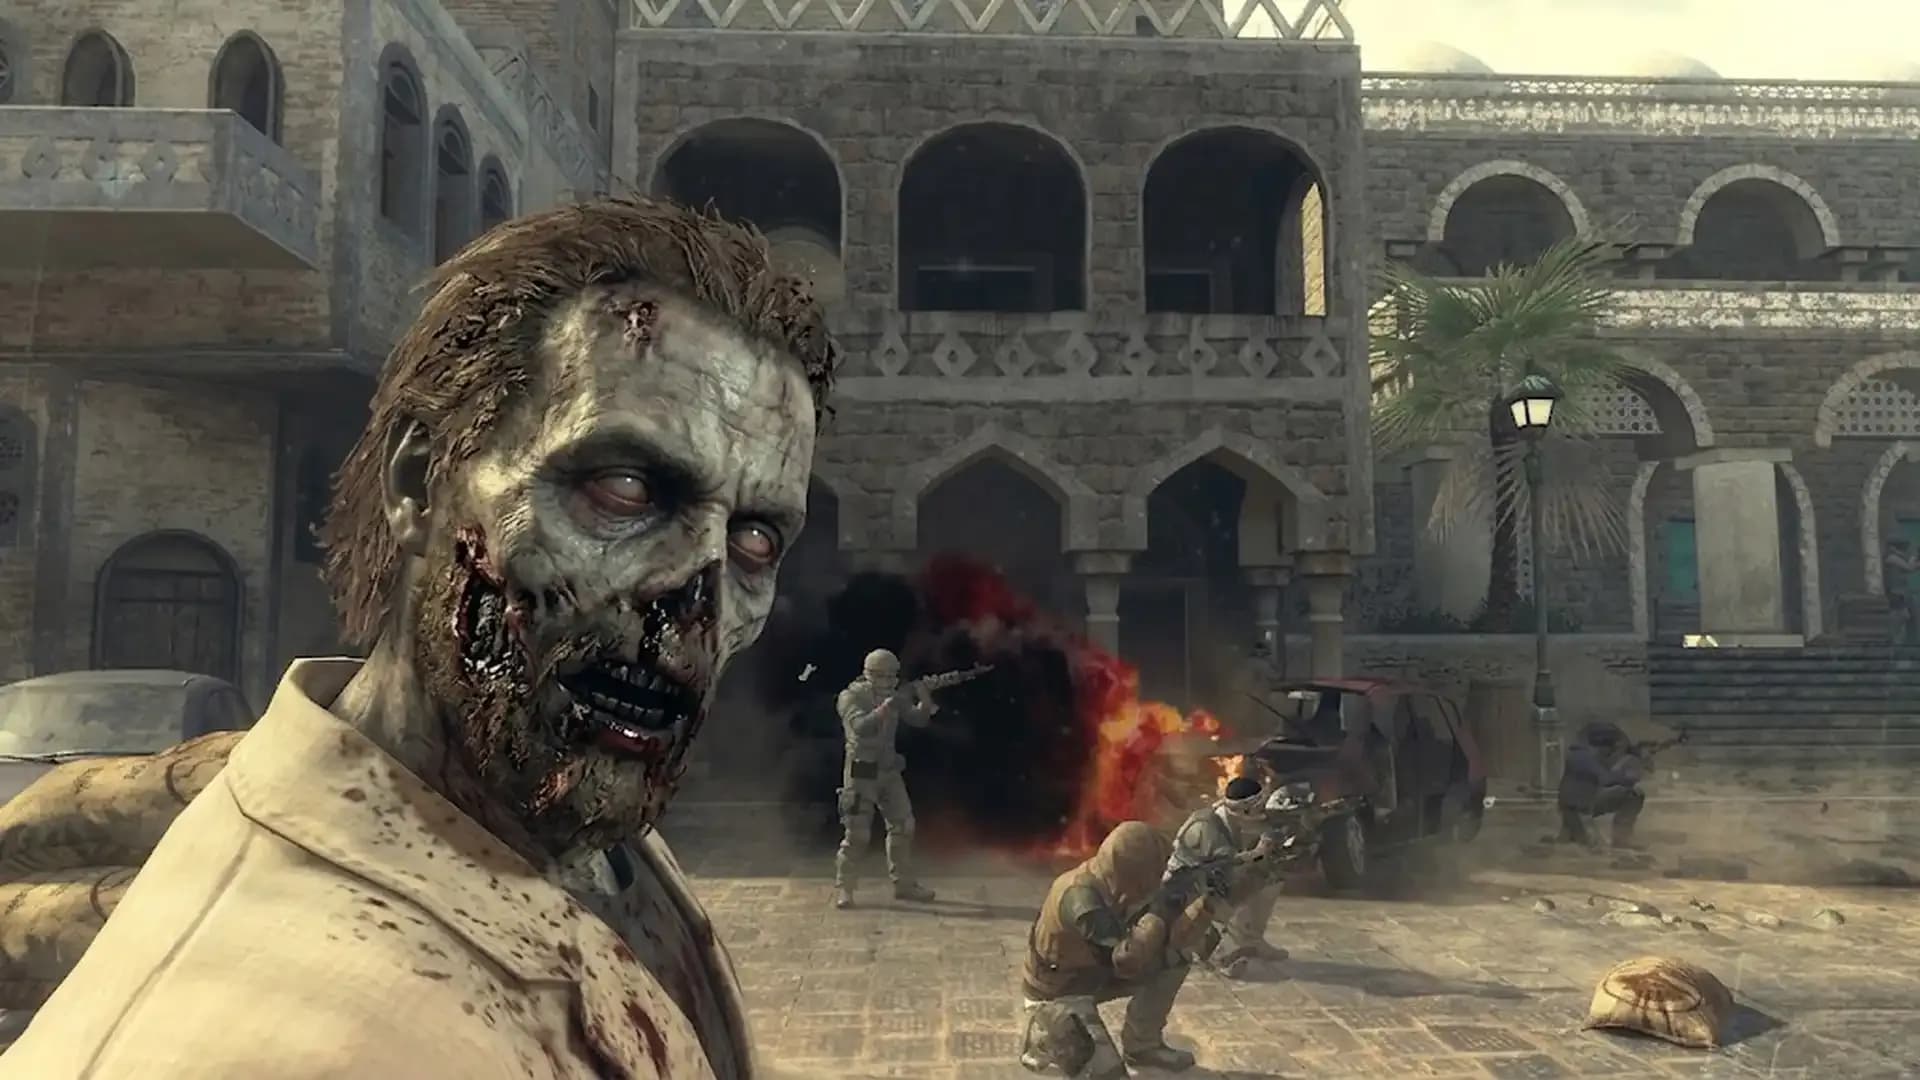
The Toxic Tyrant Z-Rex is stomping through BO7 Endgame. Here's how to seal the portals, find the weak spots, and put this rotting dinosaur in the grou
The Toxic Tyrant Z-Rex is stomping through BO7 Endgame. Here's how to seal the portals, find the weak spots, and put this rotting dinosaur in the grou

The Toxic Tyrant Z-Rex is stomping through BO7 Endgame. Here's how to seal the portals, find the weak spots, and put this rotting dinosaur in the grou
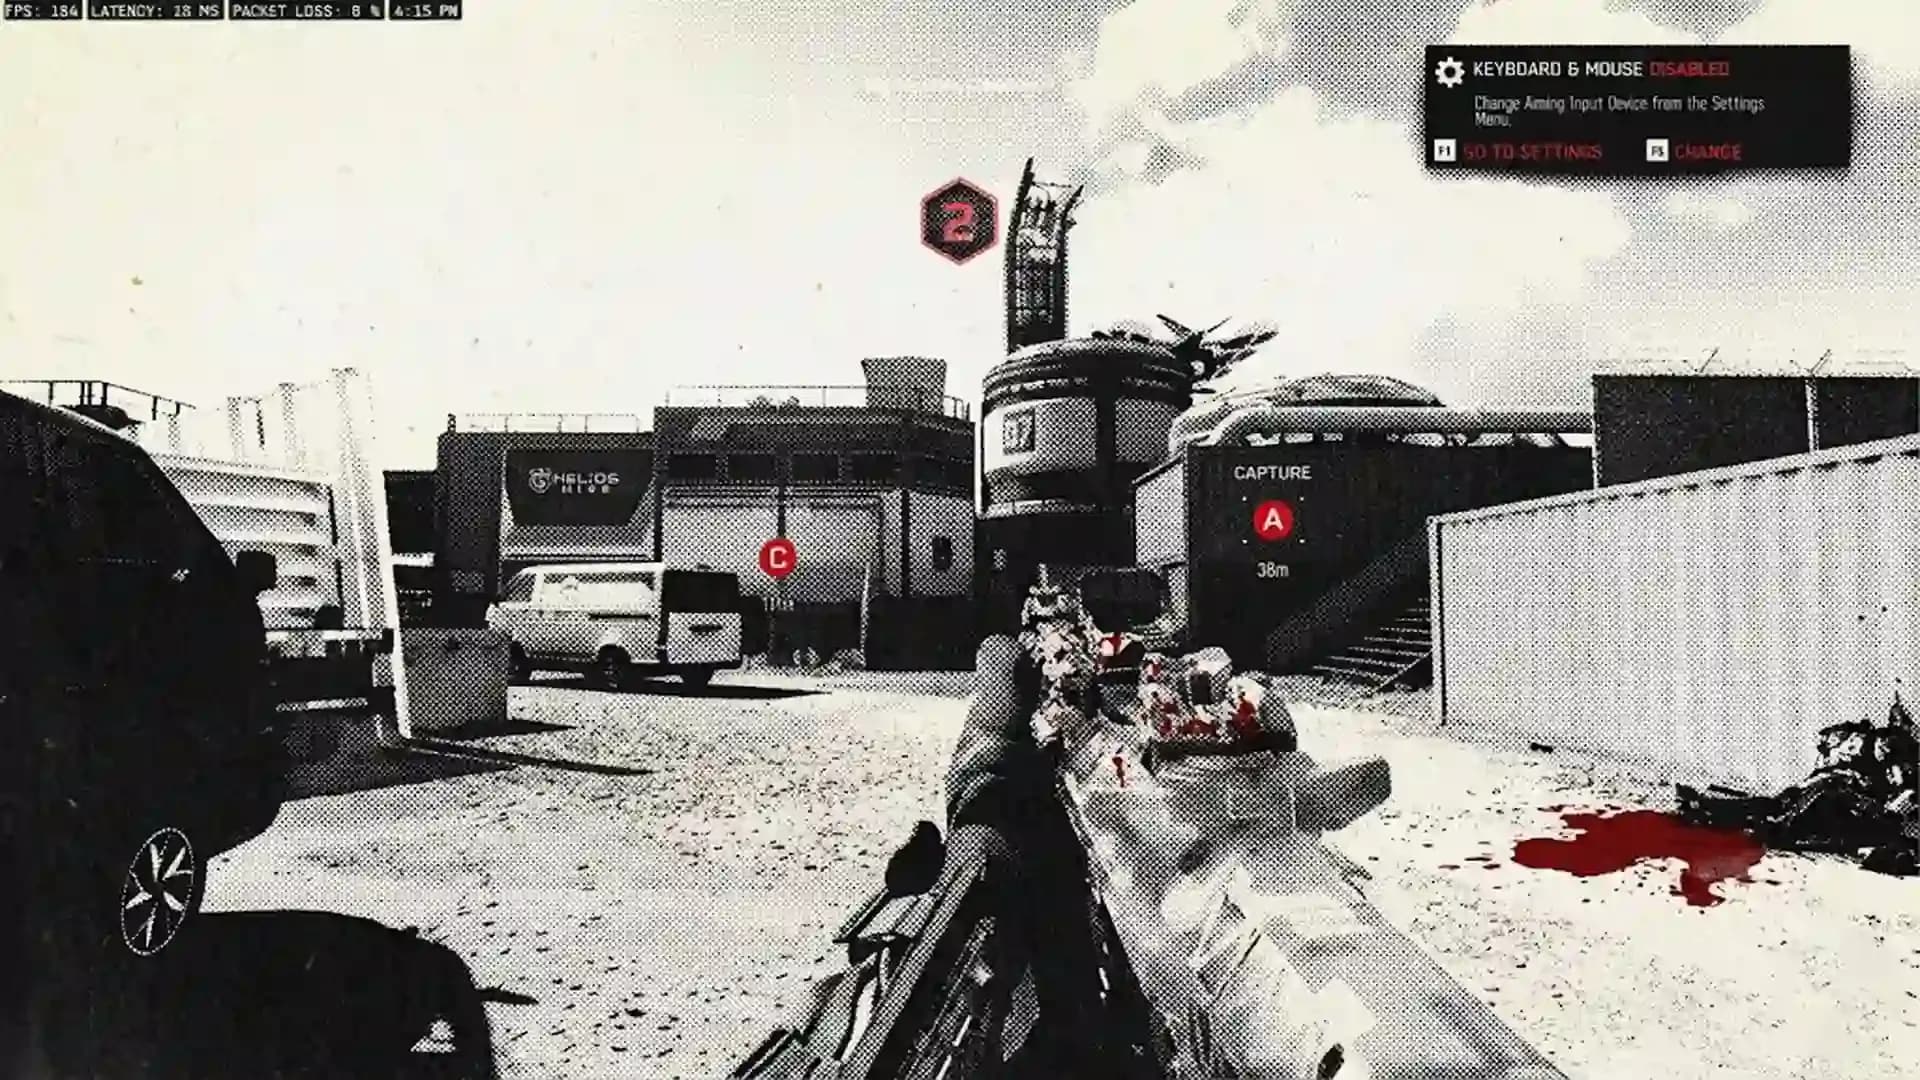
The Toxic Tyrant Z-Rex is stomping through BO7 Endgame. Here's how to seal the portals, find the weak spots, and put this rotting dinosaur in the grou

You are probably shooting the body. Aim at the head and eyes for critical damage: body shots are essentially wasted ammunition at this health pool.
No. The Z-Rex does not spawn until all 10 portals are sealed. Skipping prep means no boss and no loot. Congratulations on wasting your time efficiently.
Use the ammo crate in the fight zone. Kite the boss toward it beforehand. Running dry during a boss fight is a logistics failure, not bad luck.
No. It is optional and provides a brief damage boost. Attempt it only after you have confirmed the squad is winning comfortably. Dark Ops card, not victory condition.
Burn every cooldown you have been hoarding. Vehicles, mutant injections, Exotic skills. If you saved them for "the right moment," this is finally it.

GTA 6, new seasons, major updates — get ready to dominate from day one