



Arc Raiders Boost
ARC Raiders Spaceport: Best Money Farm Guide
New ARC Raiders guide is live: destroy Ticks, Pops and Fireballs for three stars fast: best route, weapons, melee tips, and full reward tiers.
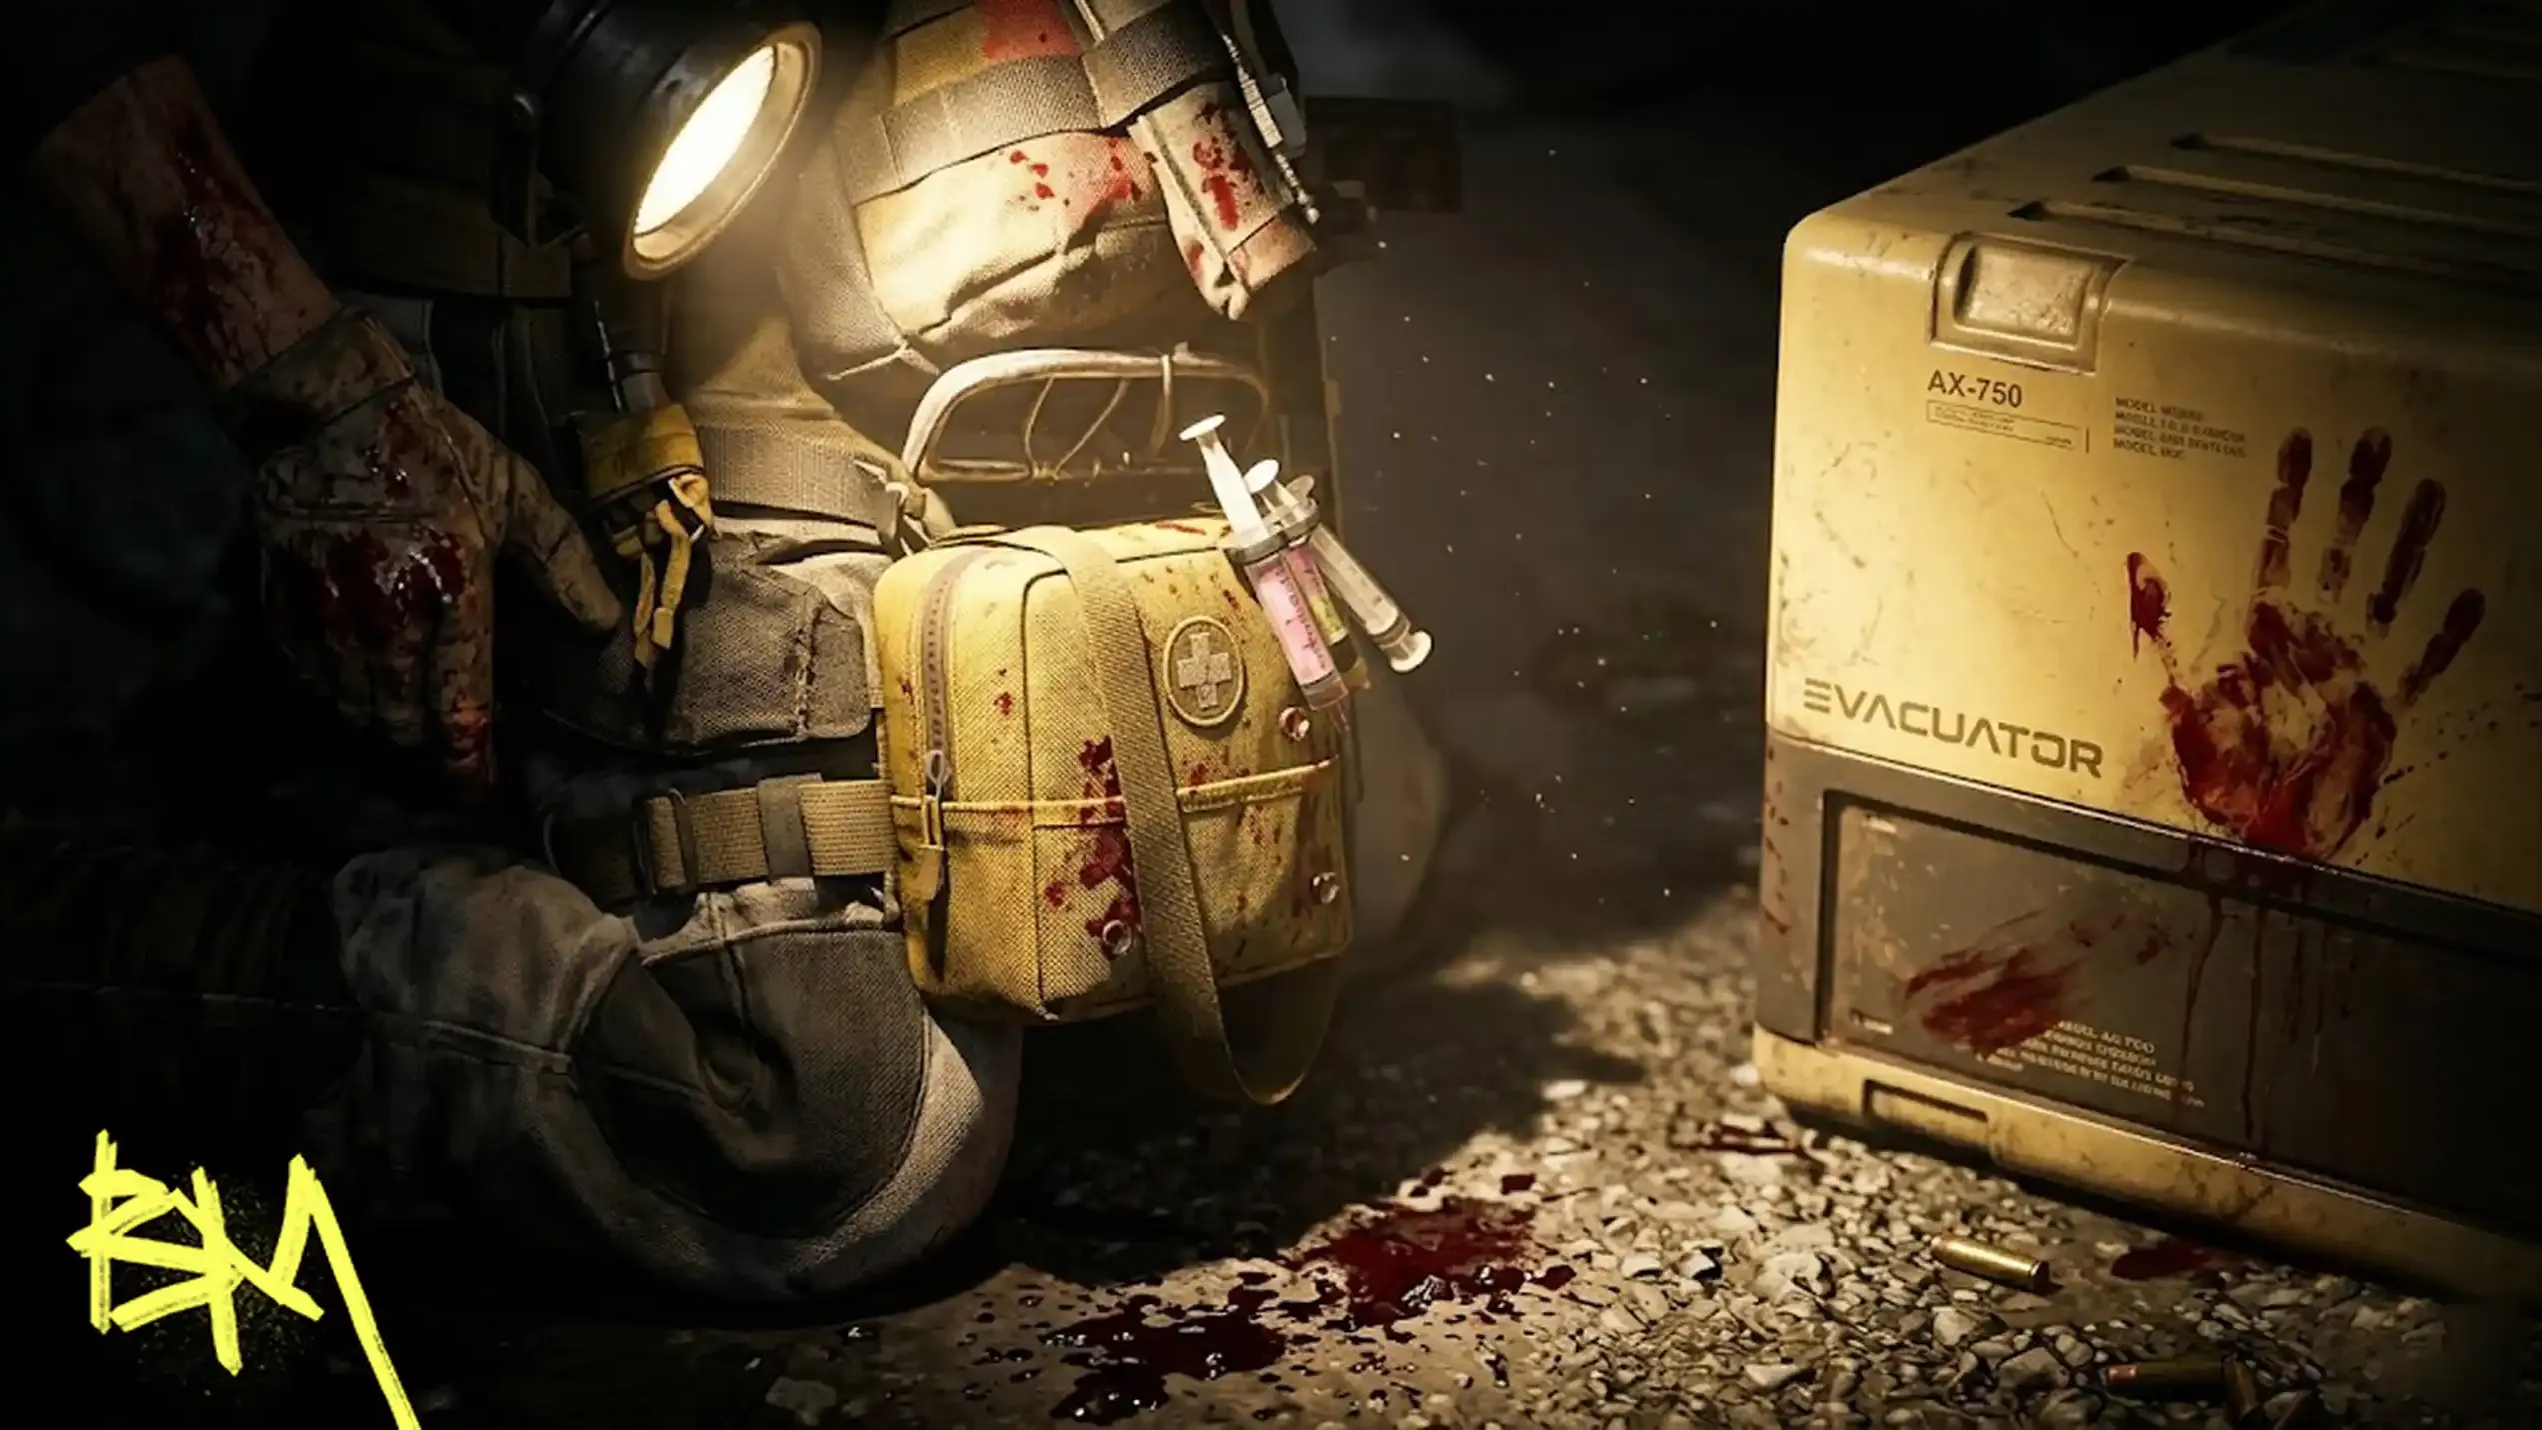
Embark decided your weekly homework is murdering three species of scrap metal that barely fight back. This is the full ARC Raiders Trials guide for the "Destroy Ticks, Fireballs and Pops" challenge: where to go, what to swing, and how to hit 4,000 points before your patience does.
The trial wants damage dealt to ground-based ARC: Ticks, Pops, Fireballs. No boss mechanics, no clever loot goblin behavior, just volume. You need 4,000 score to three-star it, and only your best extraction counts, so dying halfway through and rage-quitting accomplishes nothing except wasting your evening. This has been a recurring weekly trial since at least October 2025, so treat it as a permanent tax on your time, not a novelty.
Every guide, every forum post, every sweaty streamer agrees on the same answer. Stella Montis is the best map for this trial because its confined, interior layout crams these enemies closer together than anywhere else in the game. If you load into an open map hoping for a miracle, that's a you problem.
|
Map |
Why Bother (or Not) |
Verdict |
|
Stella Montis |
Interior density, short rotations, minimal outdoor exposure |
Go here |
|
Buried City |
Decent building clusters (Hospital, Research, Galleria) but more spread out |
Fine backup |
|
Dam Battlegrounds |
Swamp area has real numbers but you'll be hiking through mud like it's a job |
Only if bored |
|
Any open map |
Sparse spawns, more PvP risk, more crying |
Don't |
This is the loop that actually works. Run it, don't improvise, and stop pretending you know a better way.
A clean solo run using this loop can push a minimum of roughly 40,000 score without much PvP interference, which is more than triple what you need, so ease off once you hit the threshold instead of tempting fate.
You don't need meta loadouts for scrap enemies. Save your good gear for things that shoot back.
|
Weapon Type |
Good For |
Notes |
|
Free Loadout |
Ticks, Pops |
Genuinely fine, don't overspend |
|
Any sidearm |
Fireballs |
They don't dodge, congratulations |
|
Raider Tool (melee) |
Everything, if the week demands melee-only |
Riskier, cheaper, more humiliating if you miss |
|
Heavy ammo weapons (Anvil, Bettina, Ferro) |
Overkill |
Fun, unnecessary, expensive |
Some rotations force a Raider Tool melee trial variant where guns are banned entirely. Equip the tool, get close, and dodge the second a Pop starts hissing: it will explode and Fireballs will start breathing fire back at you if you're slow. Bring healing items, not confidence.
If Stella Montis is camped by six other desperate Raiders doing the same trial, pivot. The Dam Battlegrounds Swamp ARC population is real, concentrated mainly around the Hydrophonic Dome Complex, and works especially well during Night Raid or Electromagnetic Storm conditions when patrol density doubles.
Score thresholds unlock loot tiers automatically on extraction, so surviving matters more than your kill count. Reaching 1000, 2000, and 3000 points earns a random Uncommon, Rare, and Epic item or blueprint respectively, claimable once per week per trial. Die before extracting and none of it counts, so stop being greedy at 3,900 score.
This trial rotates as part of the broader ARC Raiders weekly challenges rotation, so don't get attached: next week it'll be mines or Wasps or something equally tedious.

New ARC Raiders guide is live: destroy Ticks, Pops and Fireballs for three stars fast: best route, weapons, melee tips, and full reward tiers.

New ARC Raiders guide is live: destroy Ticks, Pops and Fireballs for three stars fast: best route, weapons, melee tips, and full reward tiers.
New ARC Raiders guide is live: destroy Ticks, Pops and Fireballs for three stars fast: best route, weapons, melee tips, and full reward tiers.


GTA 6, new seasons, major updates — get ready to dominate from day one