Arc Raiders Boost
ARC Raiders Loot Guide: Farm Blueprints & Trinkets Fast
Spaceport isn't the blueprint king, but it prints more coins than almost every other map in ARC Raiders. Here's the full money farm route, POI...
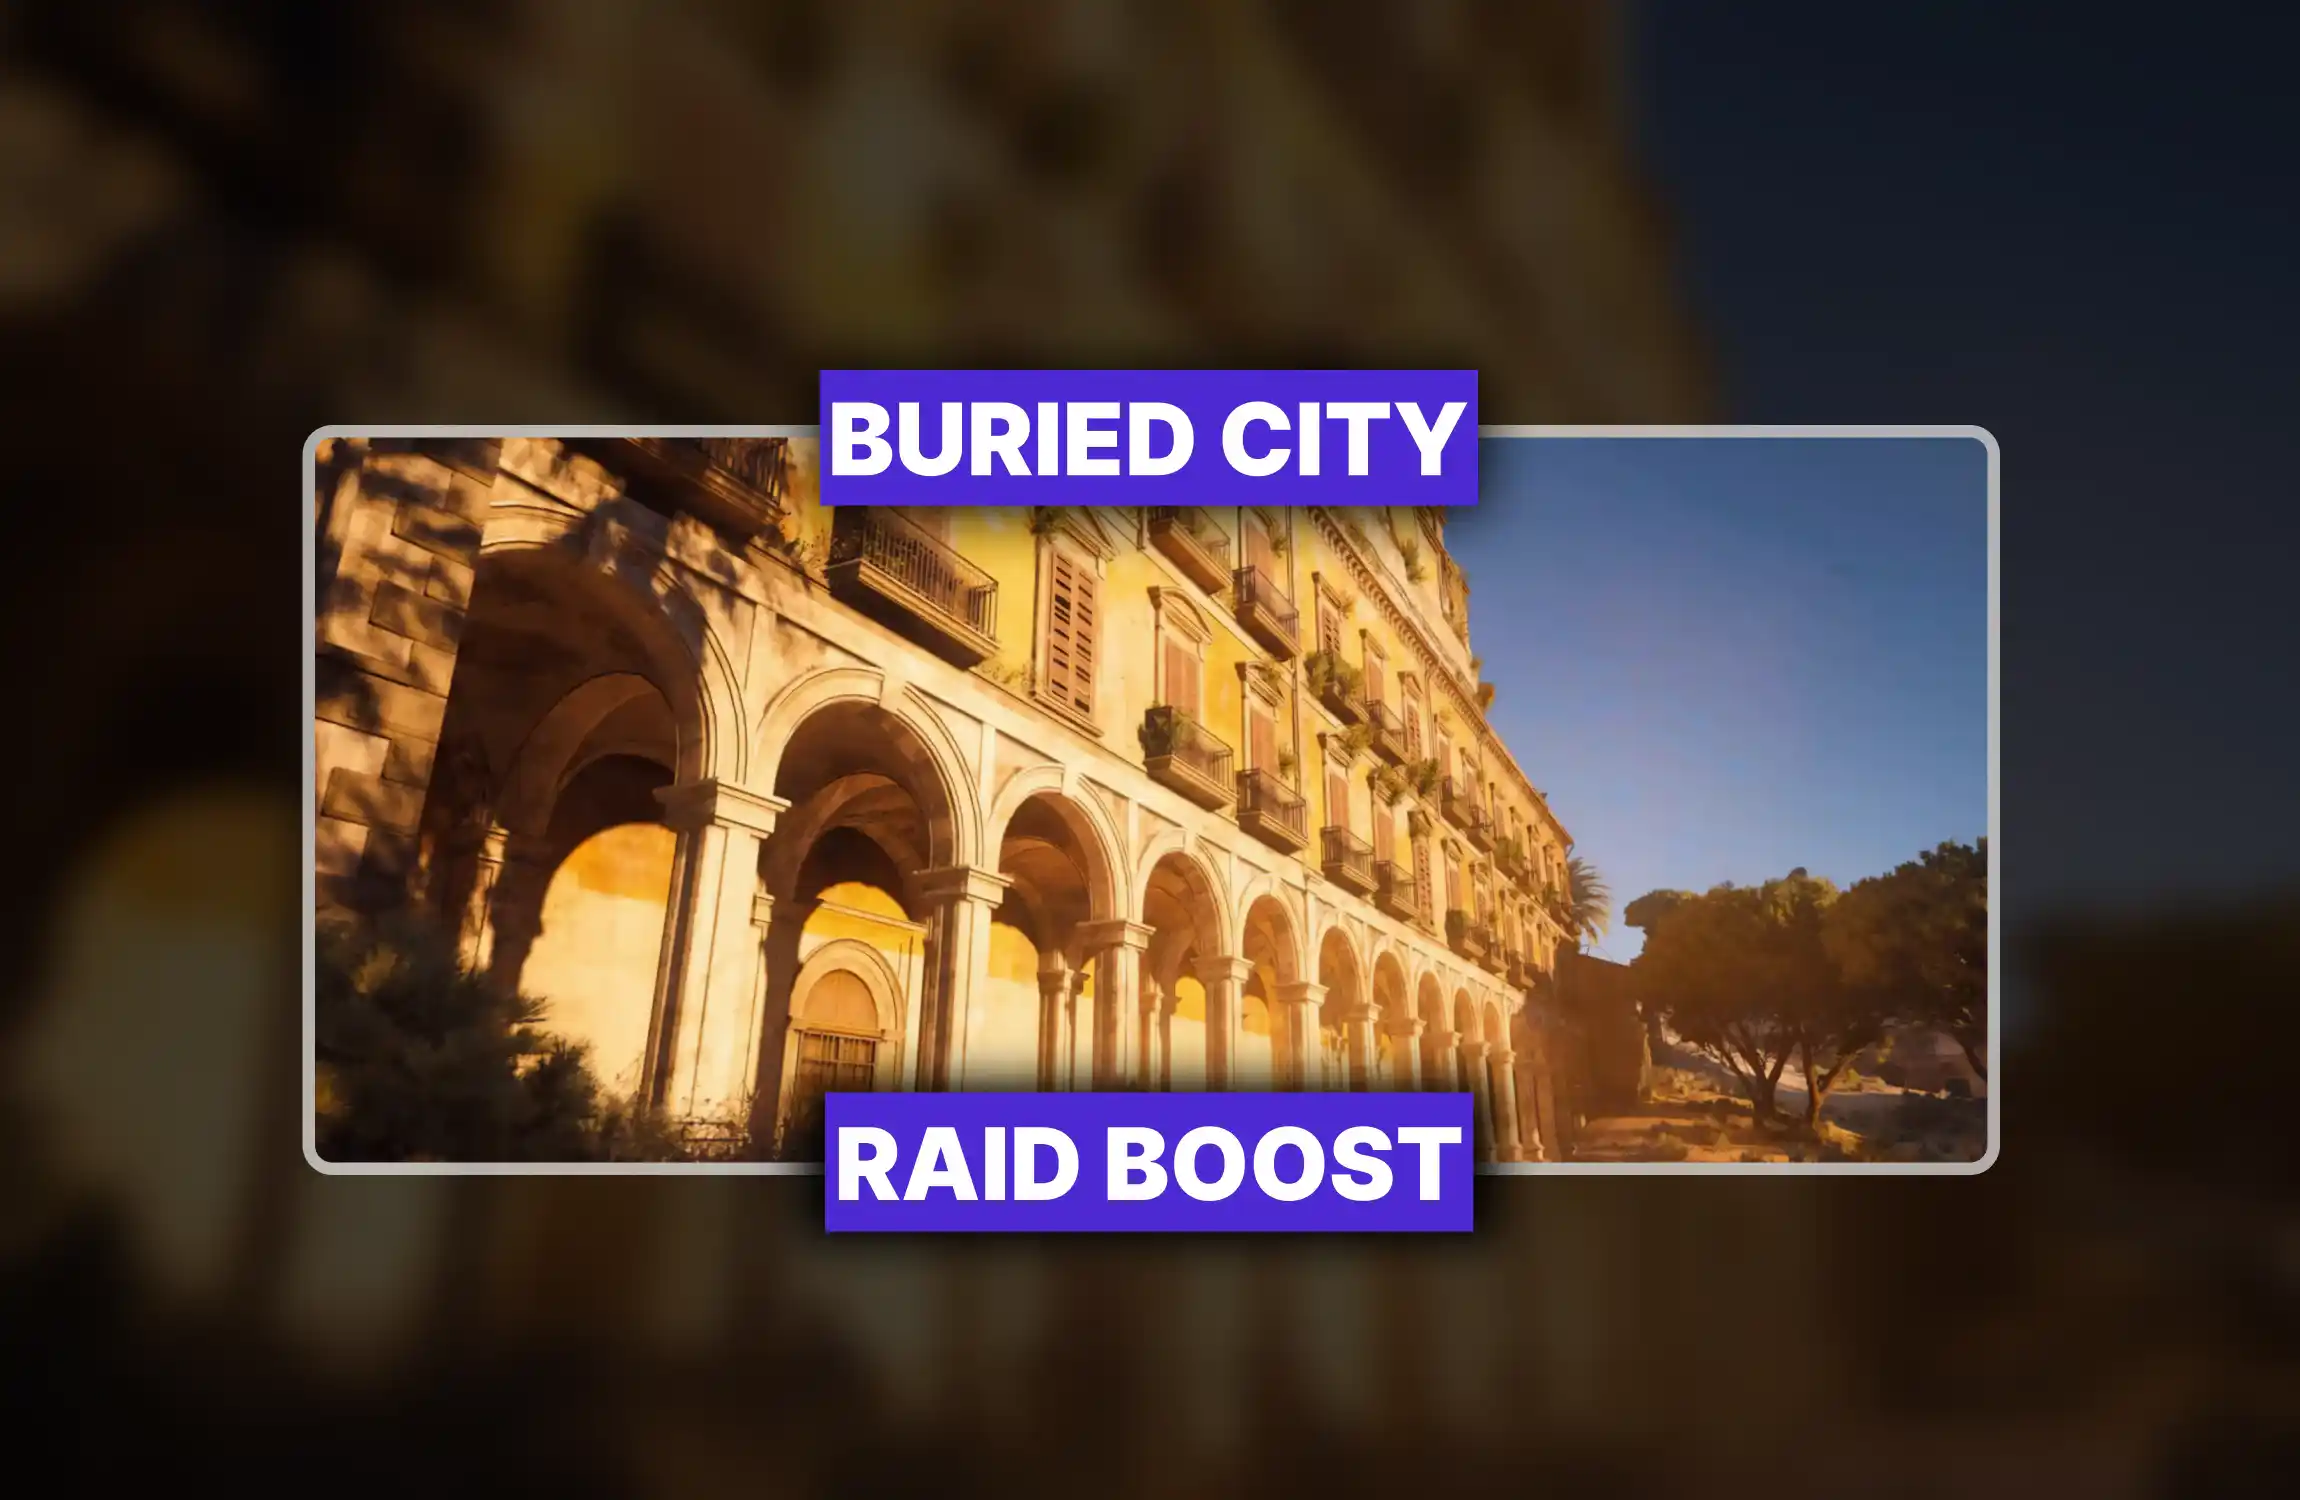
Buried City gets all the attention. Fair. But after running every map back to back, Spaceport came in second for raw coin output and materials: and nobody talks about it. The map is big. That's precisely why the ARC Raiders Spaceport money farm works: enemies scatter, fights don't stack on top of each other, and you can run solo without someone immediately contesting every locker you open.
What it won't do is flood you with blueprints. It's actually the lowest blueprint-density map in the rotation. If that's your goal, go to Buried City and suffer the PvP. If you want coins and crafting materials without getting team-wiped every three minutes, you're already in the right place.
Spaceport is a decommissioned cosmodrome. Big open runways connect dense industrial buildings. Long sightlines punish players who wander into the open. Security Breach rooms are the main money events; hitting multiple per run is how you close the gap with Buried City on coin value.
The map leans Commercial and Technological loot, with Security-tier items locked behind checkpoints, key rooms, and breach events. Wires, mechanical components, and industrial batteries are practically falling out of the walls. Pick them all up. Everything sells or breaks down into something useful for workshop upgrades.
|
Zone |
Loot Type |
Breach? |
PvP Risk |
Worth It |
|
Departure Building |
Commercial, Security |
Yes |
HIGH |
YES |
|
Launch Towers (Central) |
Tech, Security |
Yes |
HIGH |
YES |
|
Arrival Building |
Commercial |
Sometimes |
MED |
YES |
|
Maintenance Hangar |
Industrial, Tech |
No |
MED |
SITUATIONAL |
|
Fuel Storage / Dock Path |
Industrial |
No |
LOW |
FILLER |
|
North / South Trench Towers |
Tech, Weapons |
No (key or zipline) |
LOW |
YES |
This is not a scenic tour. It's a circuit designed around the highest coin-per-minute stops. Do not deviate unless the breach room on your usual path is already cleared and you have time to improvise.
Breach rooms are the foundation of the Spaceport loot route. Each one can drop weapons, high-value trinkets, and blueprints. Spaceport has more reliable breach spawns than any other map when the Security Breach perk is active.
Check each possible spawn window before committing to a different route. The breach on the tower side spawns in a spot most players walk past without looking. Peer through the window before wasting a key or a route diversion. If it's not there, move on without grief.
Security Breach Perk: Unlocking this perk transforms Spaceport into the single best map for farming weapons in ARC Raiders. Without it, you're leaving the highest-value containers locked. Prioritize this before running the full route.
Bag management determines whether this run makes 80k or 150k. Spaceport is extremely generous with industrial materials. The problem is they're heavy and low-value individually. The coin farming math only works if you prioritize correctly.
|
Item |
Action |
Why |
|
Blueprints |
ALWAYS TAKE |
No weight; always worth it |
|
Fine Wristwatch, Mixtape, Snowball |
PRIORITY TAKE |
High sell value per slot |
|
Wires |
TAKE |
Dense spawns; stacks well |
|
Mechanical Components |
TAKE |
Workshop staple; craft or sell |
|
Magnets |
TAKE |
Sells well; found in red lockers |
|
Electrical Components |
TAKE IF SPACE |
Useful but bulky |
|
Raw Scrap / Low Rarity Gear |
DISMANTLE |
Coin value too low to carry |
|
Seeds, excess stems, basic ammo |
DROP WHEN FULL |
Not worth bag space vs trinkets |
Spaceport runs on a real-time UTC event rotation. Before you drop in, check which condition is active from the Speranza map screen. The difference between a standard run and a Hidden Bunker or Harvester run can be 50k–100k coins.
Spaceport has a handful of locked rooms that look mandatory. They're not. A Zipline or Snap Hook bypasses most of them. The Trench Tower keys are the most common gate: set a zipline on the outer wall, land on the roof, drop inside through the top. The A6 Control Tower requires no key at all with this method. Stop hoarding keycard slots for rooms you can already enter sideways.
The Departure Building Security area has a breachable door that can be skipped entirely if you sprint, jump the exterior ledge, and enter from the upper floor side. The best loot spots in this building are the first-floor locker room and the security breach container: accessible both ways.
Spaceport's size is your actual teammate. Squads clump at Departure Building and the central Launch Towers. If both are hot on drop, start with the trench towers and work your way in after the initial engagement dies down. The Departure Building does not have to be your first stop.
Sound is unreliable here. Unlike Buried City where audio carries well through corridors, Spaceport solo farming requires visual confirmation at every floor change. Long sightlines mean a player camping a rooftop can watch you cross the runway from 200 meters. Move between buildings using cover paths, not open ground. Mistakes are not forgiven here, as one guide puts it: and that's accurate.
|
Metric |
Spaceport |
Buried City |
|
Coins per Run (avg) |
80k–150k |
100k–200k |
|
Blueprint Density |
LOWEST |
HIGHEST |
|
PvP Intensity |
MEDIUM |
HIGH |
|
Solo Viability |
STRONG |
VIABLE |
|
Materials per Run |
EXCELLENT |
GOOD |
|
ARC Boss Density |
HIGHEST |
MEDIUM |
|
Event Variety |
HIGH |
MEDIUM |
Buried City wins on blueprints and peak coin ceiling. Spaceport wins on not turning every run into a team fight you didn't ask for.

Spaceport isn't the blueprint king, but it prints more coins than almost every other map in ARC Raiders. Here's the full money farm route, POI...

Spaceport isn't the blueprint king, but it prints more coins than almost every other map in ARC Raiders. Here's the full money farm route, POI...

Second best. Buried City edges it out on peak coin value. Spaceport wins on consistency and survivability for solos.
Not required, but it unlocks the highest-value containers on the map. Strongly recommended before running this seriously.
No. It's statistically the lowest blueprint density map. Run it for coins and materials, not blueprints.
Yes, for most Trench Tower and Control Tower locks. Zipline or Snap Hook bypasses the key requirement completely.
Hidden Bunker first, Harvester second. Both add substantial loot value on top of your standard route earnings.

GTA 6, new seasons, major updates — get ready to dominate from day one.