
Arc Raiders Boost
ARC Raiders: Destroy ARC in the Swamp Trial Guide
The ARC Raiders melee damage Trial is live: and it's not going to hit itself. Here's the definitive guide to farming Shredders on Stella Montis for ma
Trials unlock at Level 15. Each week, five challenges drop. You're placed in a division of 100 players at the same rank, and on Monday the standings are settled. Only your personal best score per challenge counts toward your rank total: so a single excellent run beats twenty mediocre ones. ARC Raiders Trials rank progression has 14 total tiers, from Rookie I up through Hotshot and the exclusive Cantina Legend, which is reserved for the top 1,000 Hotshot players globally. Getting promoted means finishing ahead of your division. Getting demoted means the inverse. The math is bleak.
|
Tier |
Raider Rank |
|
Tier 1 |
Rookie |
|
Tier 2 |
Greenhorn |
|
Tier 3 |
Wildcard |
|
Tier 4 |
Daredevil |
|
Tier 5 |
Thrill-Seeker |
|
Tier 6 |
Ace |
|
Tier 7 |
Hotshot |
|
Tier 8 |
Cantina Legend |
New seasons start you two ranks below your last placement. You spent eight weeks grinding to Ace? Congratulations, you're Daredevil III again.
• Fast Trials rank progression
• Guaranteed three-star completions
• Premium rewards unlocked instantly
This is not a combat mission. This is a stamina management exercise dressed up as combat. Your inventory priorities, in strict order: Adrenaline Shots, Adrenaline Shots, a shield, and then whatever weapon makes you feel better about yourself. A free loadout can get you 3-star. To push for serious score, you need an actual loadout with as many Adrenaline Shots as your slots allow.
|
Equipment |
Tactical Utility |
Quantity / Priority |
|
Adrenaline Shot |
Core Strategy: Instantly refills stamina and grants a brief free-sprint window. |
x5–10 Stacks |
|
Medium Shield |
Defense: Absorbs initial high-damage "declarations of love" from Shredder units. |
Mandatory |
|
Shield Recharger |
Sustainability: Keeps the shield operational throughout the encounter. |
x5 |
|
Bandages |
Emergency: Fallback healing for when the shield fails and optimism takes over. |
x5–10 |
|
Survivor MK.3 Augment |
Passive: Critical survivability boost; keeps the run alive under heavy fire. |
Core Augment |
|
Any Gun + Ammo |
Backup: Defensive contingency for when melee or movement isn't enough. |
As Needed |
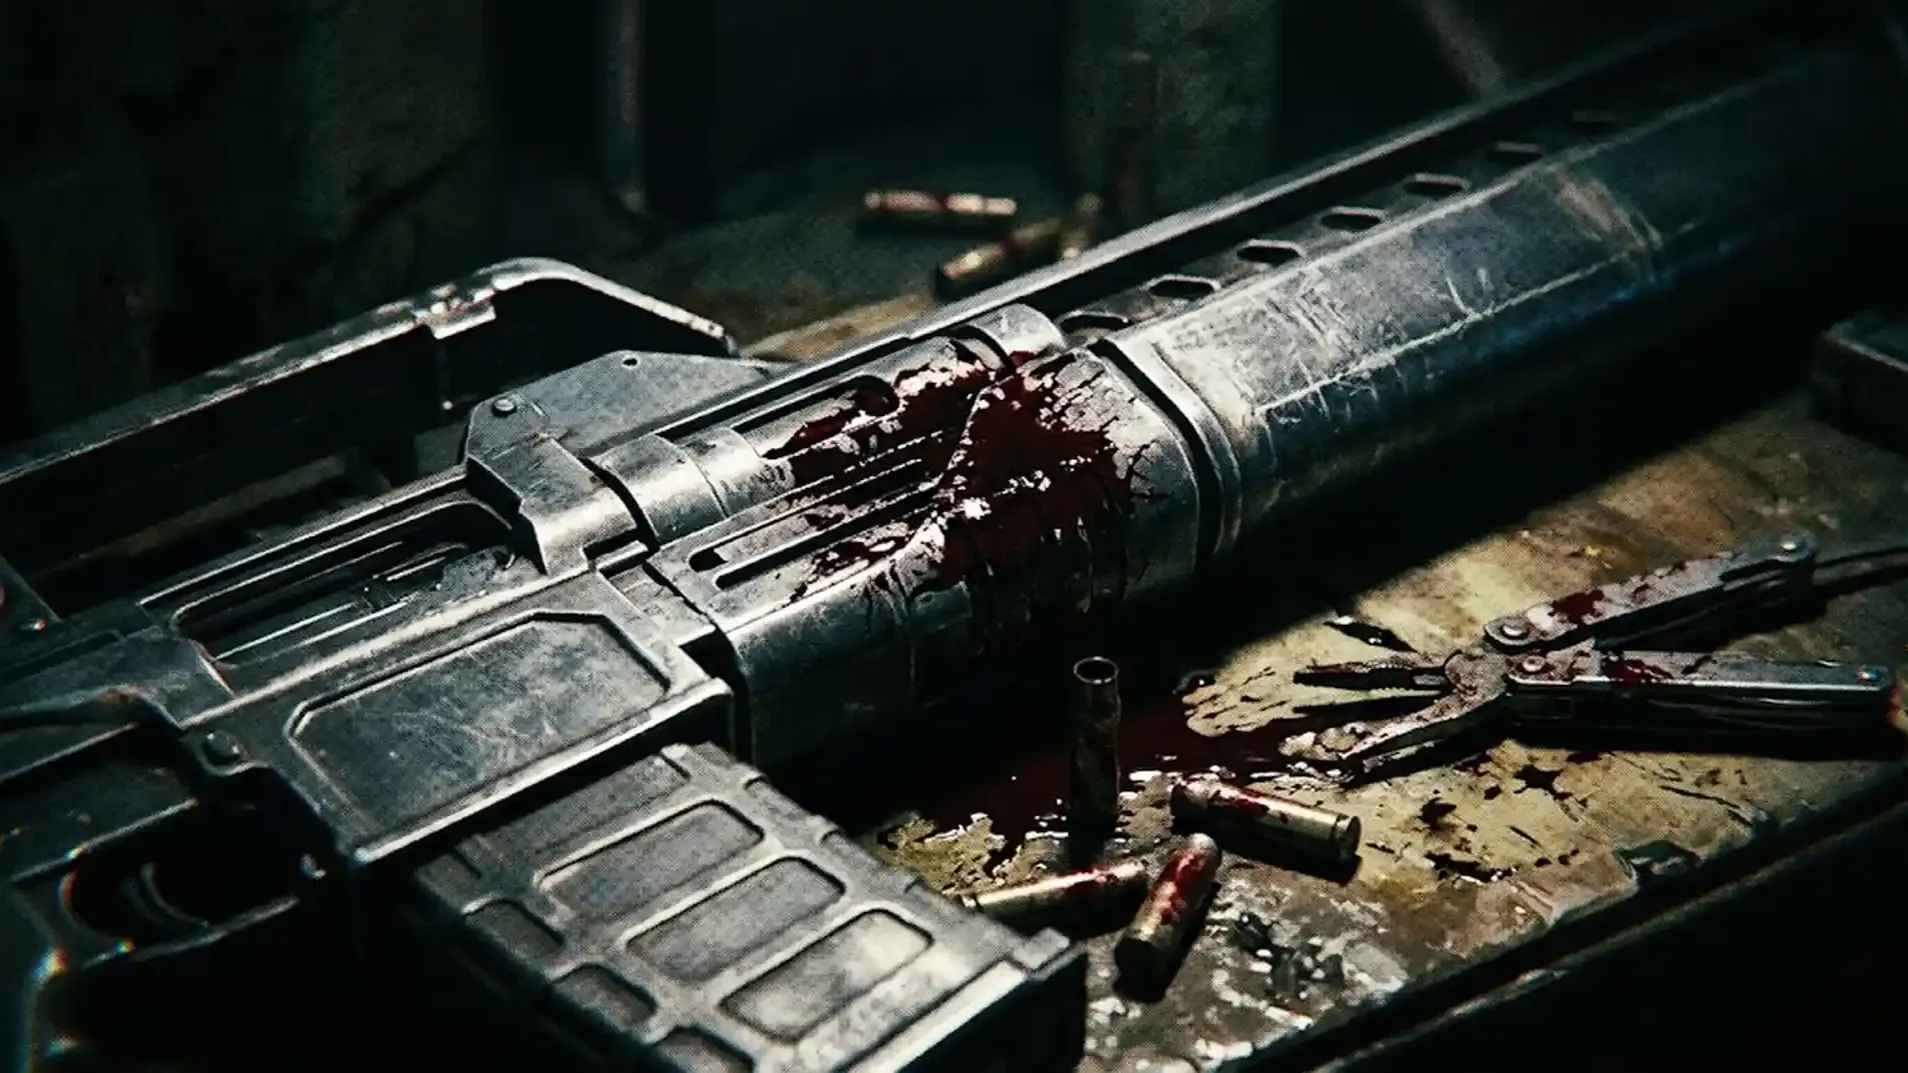
The best map for this trial is Stella Montis. The Shredder: a medium-sized, heavily armored, hovering ARC unit introduced with this map: is the optimal target. It has high HP, a consistent spawn pattern, and enough surface area to keep your melee combo going long enough to matter. Shredder spawn locations Stella Montis include the Business Center, hallways above the Sandbox, Assembly and Assembly Workshop, Cargo Docks A and B, the Lobby Metro platform, and Culture Archives. Pick whichever cluster sits nearest a wall or column you can abuse.
Use aggression-based matchmaking to land in lower-hostility lobbies. Other Raiders shooting your Shredder is not a sharing economy you want to participate in.
Solo players going uncontested can reach 70,000+ score per run. The ceiling is your stamina supply and your patience, in that order.
• Fast Trials rank progression
• Guaranteed three-star completions
• Premium rewards unlocked instantly
|
Action |
Score |
Notes |
|
Head hit (right-click) |
~150 pts |
Maximum per swing. Aim here, always. |
|
Body hit |
~70 pts |
Half the value. Still counts. |
|
Minimum hit (small ARC) |
~10 pts |
Don't bother unless nothing else is available. |
|
Full Shredder kill |
~2,800–2,900 pts |
One Shredder nearly covers 3-star solo. |
|
3-star threshold |
3,000 pts |
One Shredder + a few extra hits. Minimum acceptable. |
|
Solo uncontested max |
70,000+ |
Full Adrenaline Shot loadout, no hostile Raiders. |

• Fast Trials rank progression
• Guaranteed three-star completions
• Premium rewards unlocked instantly
If Stella Montis is contested or you're running this from Spaceport, the Bastion melee weak spot approach is a valid alternative. Shoot the Bastion's leg joint to stun it, then circle behind and strike the yellow canister on its back with your Raider Tool repeatedly. When it recovers, use a Photoelectric Cloak and step back to cover. Rinse and repeat. Spaceport's Hidden Bunker event runs multiple Bastion spawns in close proximity, which makes it time-efficient even if slightly less score-dense per target than a Shredder chain.
Before you load in, open your Raider Skill Tree. Two perks apply to melee stamina management ARC Raiders:
Reduces stamina cost per melee swing. More swings per Adrenaline Shot. This is the only perk that matters for this trial. Take it.
Marginal gain at best. Occasionally useful for generating extra score while rotating between Shredder spawns. Skip it on a tight build.
In a squad, everyone targets separate Shredders simultaneously. Scores are individual: your teammate punching a different robot doesn't cost you anything. The ARC Raiders squad trial strategy for this week is exactly the same as solo, just with more robots taking a coordinated beating at the same time. Do not fight over the same Shredder. That's not cooperation, that's just inefficiency.
Yes, you can reach 3-star with a free loadout. No, you won't threaten the upper divisions. The Adrenaline Shot ceiling is the hard constraint: free loadout ARC Raiders Trials won't let you carry enough to sustain extended melee chains. Good enough for the weekly reward, irrelevant for promotion.

• Fast Trials rank progression
• Guaranteed three-star completions
• Premium rewards unlocked instantly
The ARC Raiders melee damage Trial is live: and it's not going to hit itself. Here's the definitive guide to farming Shredders on Stella Montis for ma

The ARC Raiders melee damage Trial is live: and it's not going to hit itself. Here's the definitive guide to farming Shredders on Stella Montis for ma

The ARC Raiders melee damage Trial is live: and it's not going to hit itself. Here's the definitive guide to farming Shredders on Stella Montis for ma

The ARC Raiders melee damage Trial is live: and it's not going to hit itself. Here's the definitive guide to farming Shredders on Stella Montis for ma

The Shredder on Stella Montis. High HP, consistent spawns, ~2,900 score per kill.
As many as your loadout allows. Five is the floor; ten-plus is how you reach 70,000.
Yes. Head hits score ~150 points; body hits score ~70. Always right-click or L2.
Yes. Scores are personal. Target different Shredders and farm simultaneously without conflict.
No. It has far more HP, yielding the highest sustained melee score of any single target.

GTA 6, new seasons, major updates — get ready to dominate from day one.