
Arc Raiders Boost
ARC Raiders White Flag Blueprint Guide
Season 4 Trial is live. Here's how to stop wasting ammo on Ticks and actually hit 3-star score in the Damage Any ARC Enemies challenge: fast, no fluff
The Damage Any ARC Enemies Trial is ARC Raiders' way of pointing at every machine on the map and saying "yes, all of them." It sounds generous. It isn't, because you will absolutely waste half your raid chasing Ticks for 7 points apiece if nobody tells you not to. This guide tells you not to.
The 3-star reward threshold is 3,000 score. Three large ARC: Leaper, Rocketeer, or Bastion: get you 2,700 of that on their own. The math is not subtle. Prioritize the ARC Raiders best loadout for Trials and go large or go home.
Points only count if you extract alive. Die with 80,000 score and you collect exactly nothing. The ARC do not issue posthumous receipts.
Score is awarded per ARC destroyed. The gap between small and large ARC is the entire point of this guide: memorize this table, then never look at a Tick again unless it is literally in your path.
|
ARC Enemy |
Score (approx.) |
Type |
Verdict |
|
Leaper |
~900 |
Large / Ground |
PRIORITY |
|
Bastion |
900+ |
Large / Ground |
PRIORITY |
|
Bombardier |
900+ |
Large / Ground |
PRIORITY |
|
Rocketeer |
600–900 |
Large / Flying |
PRIORITY |
|
Snitch |
~111 |
Small / Flying |
ROTATE FILLER |
|
Hornet |
~110 |
Small / Flying |
ROTATE FILLER |
|
Pop |
20–30 |
Small |
IGNORE |
|
Tick |
~7 |
Small |
IGNORE |
The Turbine spawns on most maps but not Stella Montis. It eats ammunition like a sponge and fires lightning. The score it awards does not compensate for the time and bullets it consumes. Skip it unless you enjoy suffering for middling returns.

• Fast Trials rank progression
• Guaranteed three-star completions
• Premium rewards unlocked instantly


This is not the place for a free loadout. The ARC Raiders Trials scoring system rewards aggression against large ARC, and large ARC will end you if you show up underprepared. Spend the resources or spend the respawn screen.
|
Weapon Category |
Equipment |
Combat Role & Tactical Notes |
|
Primary Weapon |
Bettina |
Top-tier PvE DPS: Specifically engineered to shred ARC armor panels and expose cores. Requires a massive Heavy Ammo reserve. |
|
Secondary Weapon |
Hullcracker |
Precision Explosive: Specialized grenade launcher for weak spots. 8 shots for a Bastion; 11 for a Queen's leg. |
|
Alternative Primary |
Anvil IV |
Budget Reliable: Accessible and accurate fallback. Suitable for 3-star runs, though lacks the DPS ceiling for leaderboard pushes. |
|
Explosives |
Wolfpacks / Seekers |
Armor Stripping: Essential for rapid removal of Bastion and Bombardier plating. Carry Deadline grenades as a secondary explosive for maximum score. |
Do not. Even chasing the minimum 3,000 score on a free loadout is a coin flip. Invest in a proper kit or accept that you are donating your time to the leaderboard of someone who did not.
• Fast Trials rank progression
• Guaranteed three-star completions
• Premium rewards unlocked instantly
The Dam Battleground map is the standard recommendation: straightforward layout, consistent large ARC spawns, and no unusual modifiers required. If the Hidden Bunker event on Spaceport or Locked Gate on Blue Gate is active, those are strictly better due to extended raid duration and higher ARC density, including clustered Bastion and Bombardier spawns.
On Dam Battleground, three zones anchor your rotation. Start at Hydroponic Dome Complex: open sightlines make it easy to spot Rocketeers and Bastions before they spot you. Then sweep toward the second and third large-ARC spawns of your choice, killing small ARC only while moving between them.
Three large ARC alone yields roughly 2,700 score. Three small flying ARC (Hornet or Snitch at ~110 each) covers the remaining 300. That is your 3-star done with time to spare.
Split the party across all three major ARC spawn zones simultaneously. Each player handles one zone's large ARC independently, then converges for cleanup. On a clean squad run, 10,000+ score is a conservative lower estimate. Use aggression-based matchmaking for friendlier lobbies if you prefer not to manage a PvP situation mid-Bastion fight.
Leaper Tactic
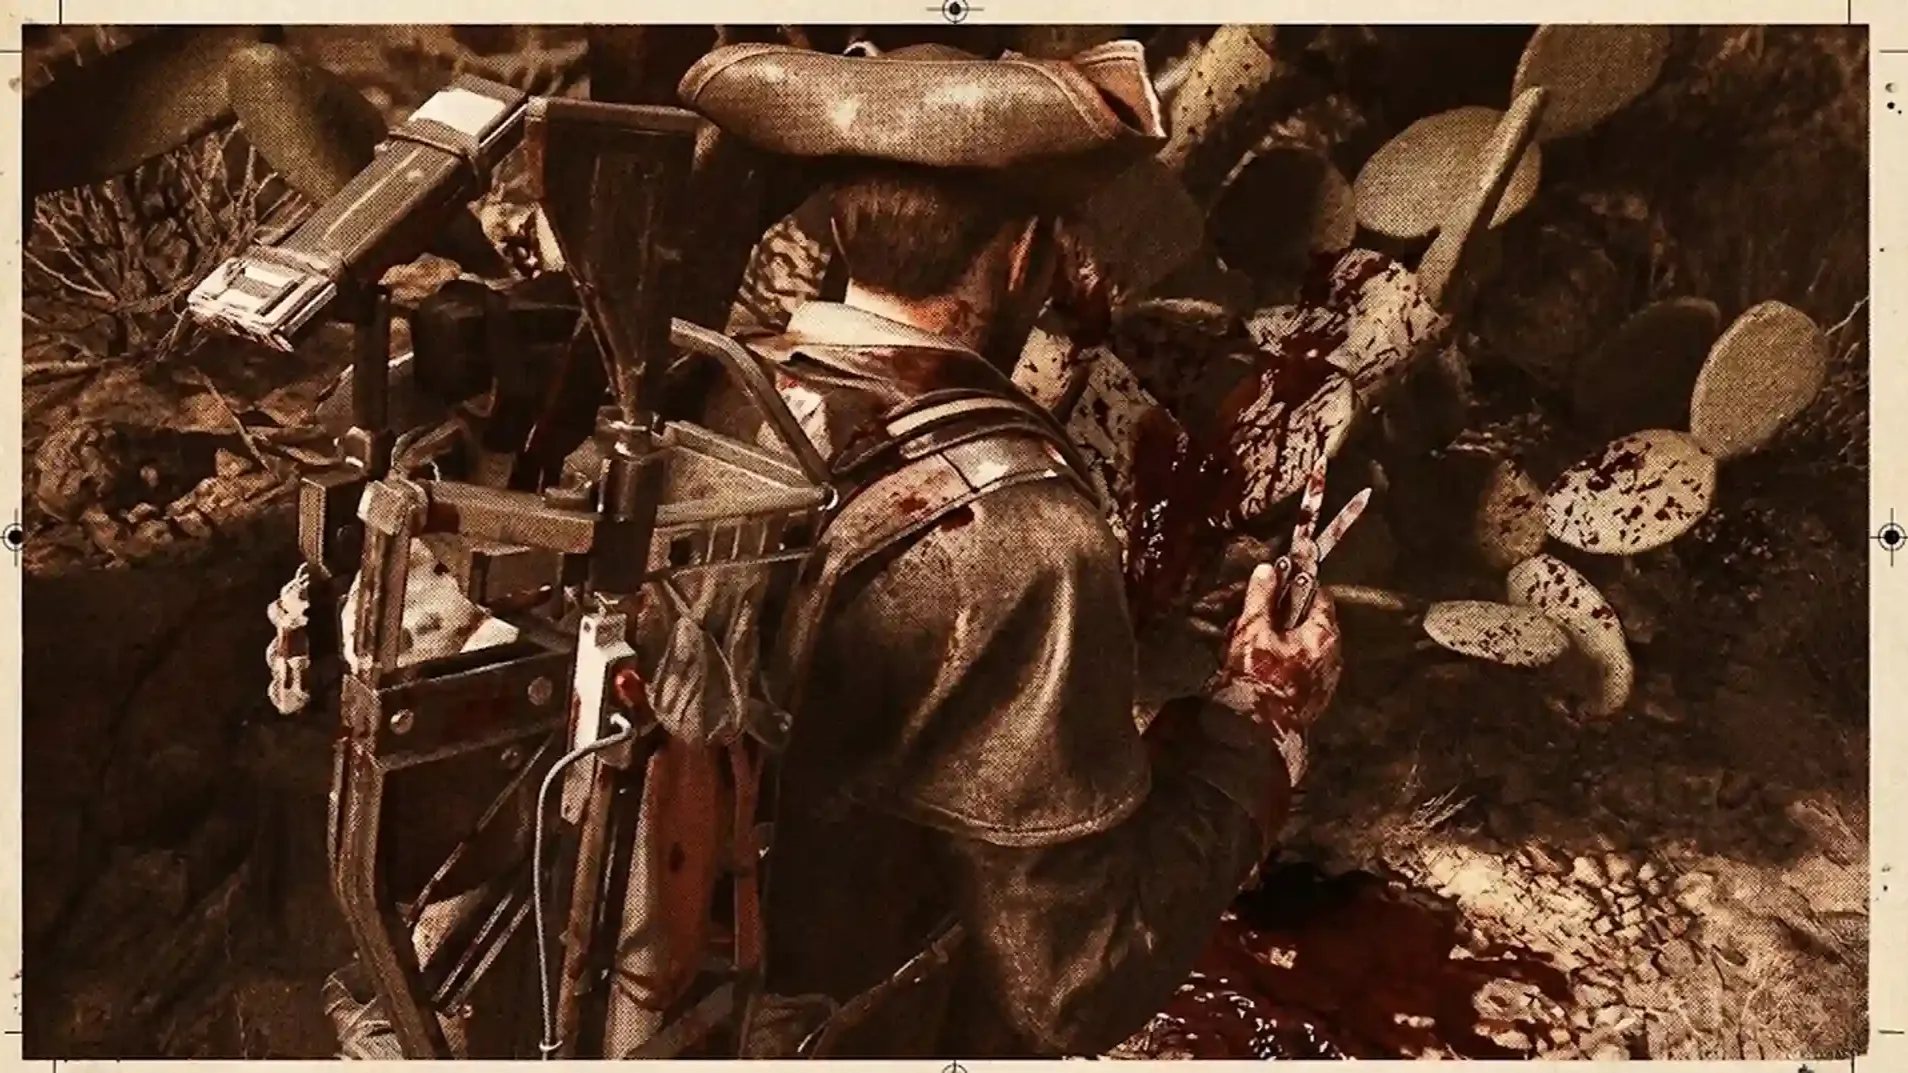
Aggro the Leaper, find a building entrance, and peek out to fire. The doorway limits its movement, gives you a clean body shot, and costs it the fight. An easy 900 score with minimal risk: this is the one large ARC that does not require elaborate strategy.
The ARC Raiders enemy types that matter for this Trial all have weak points. Ignoring them costs bullets and time, both of which are finite.
Target the knee joints with the Anvil to expose the core, or aim Hullcracker rounds at the top to reach it directly. Eight well-placed Hullcracker shots is the benchmark for a kill. Found reliably in Buried City near the Hospital and Santa Maria Houses: both locations have ample cover for a safe engagement.
Requires good positioning and cover. Its rockets can angle through grates and windows, so reposition after every few shots. Centre-mass is the most consistent Hullcracker target: thruster shots are theoretically efficient but the Rocketeer's movement makes them unreliable under pressure. Expect 8–10 shots if you're not landing clean weak-point hits.
The most dangerous large ARC in this rotation. Every time you fire, move. Its mortar shells splash through cover and the Spotters it deploys increase its accuracy if they latch onto you: shoot them off immediately. Underground cover counters its mortar arc entirely.
Dangerous in open ground, manageable in any building. Lure it, find a doorframe, and don't stand in its jump path: it follows up with a pulse attack after landing. The Hullcracker is less efficient here in open space; heavy ammo weapons perform better if you're exclusively farming Leapers.
The ARC Raiders weekly Trial tips that actually matter are mostly about restraint. The game gives you plenty of small ARC to shoot. None of them are worth going out of your way for.
The formula for a high score ARC Raiders raid is simple: find large ARC, kill them efficiently, kill small ARC only while moving, extract alive. Everything else is optional.

• Fast Trials rank progression
• Guaranteed three-star completions
• Premium rewards unlocked instantly
Season 4 Trial is live. Here's how to stop wasting ammo on Ticks and actually hit 3-star score in the Damage Any ARC Enemies challenge: fast, no fluff

Season 4 Trial is live. Here's how to stop wasting ammo on Ticks and actually hit 3-star score in the Damage Any ARC Enemies challenge: fast, no fluff

Season 4 Trial is live. Here's how to stop wasting ammo on Ticks and actually hit 3-star score in the Damage Any ARC Enemies challenge: fast, no fluff

Season 4 Trial is live. Here's how to stop wasting ammo on Ticks and actually hit 3-star score in the Damage Any ARC Enemies challenge: fast, no fluff

3,000 points. Three large ARC like Leapers or Bastions gets you there with minimal filler needed.
Dam Battleground by default. Spaceport with the Hidden Bunker event is strictly better when available.
Technically possible, not recommended. Large ARC will punish a weak kit badly enough to ruin the run.
Yes. Weak-point accuracy now matters, but eight shots still drops a Bastion. It remains the premier ARC hunting tool.
Only if they're directly in your rotation path. Going out of your way for 7 points is a waste of everyone's time.

GTA 6, new seasons, major updates — get ready to dominate from day one.