
WoW Pandaria
Wow Mop Classic Platinum Coins Farm Guide | Wow Challenge Mode Guide
WoW MoP Classic Phase 5 is here: Siege of Orgrimmar opens its gates. drops the final 14-boss raid, Timeless Isle & Legendary Cloaks.

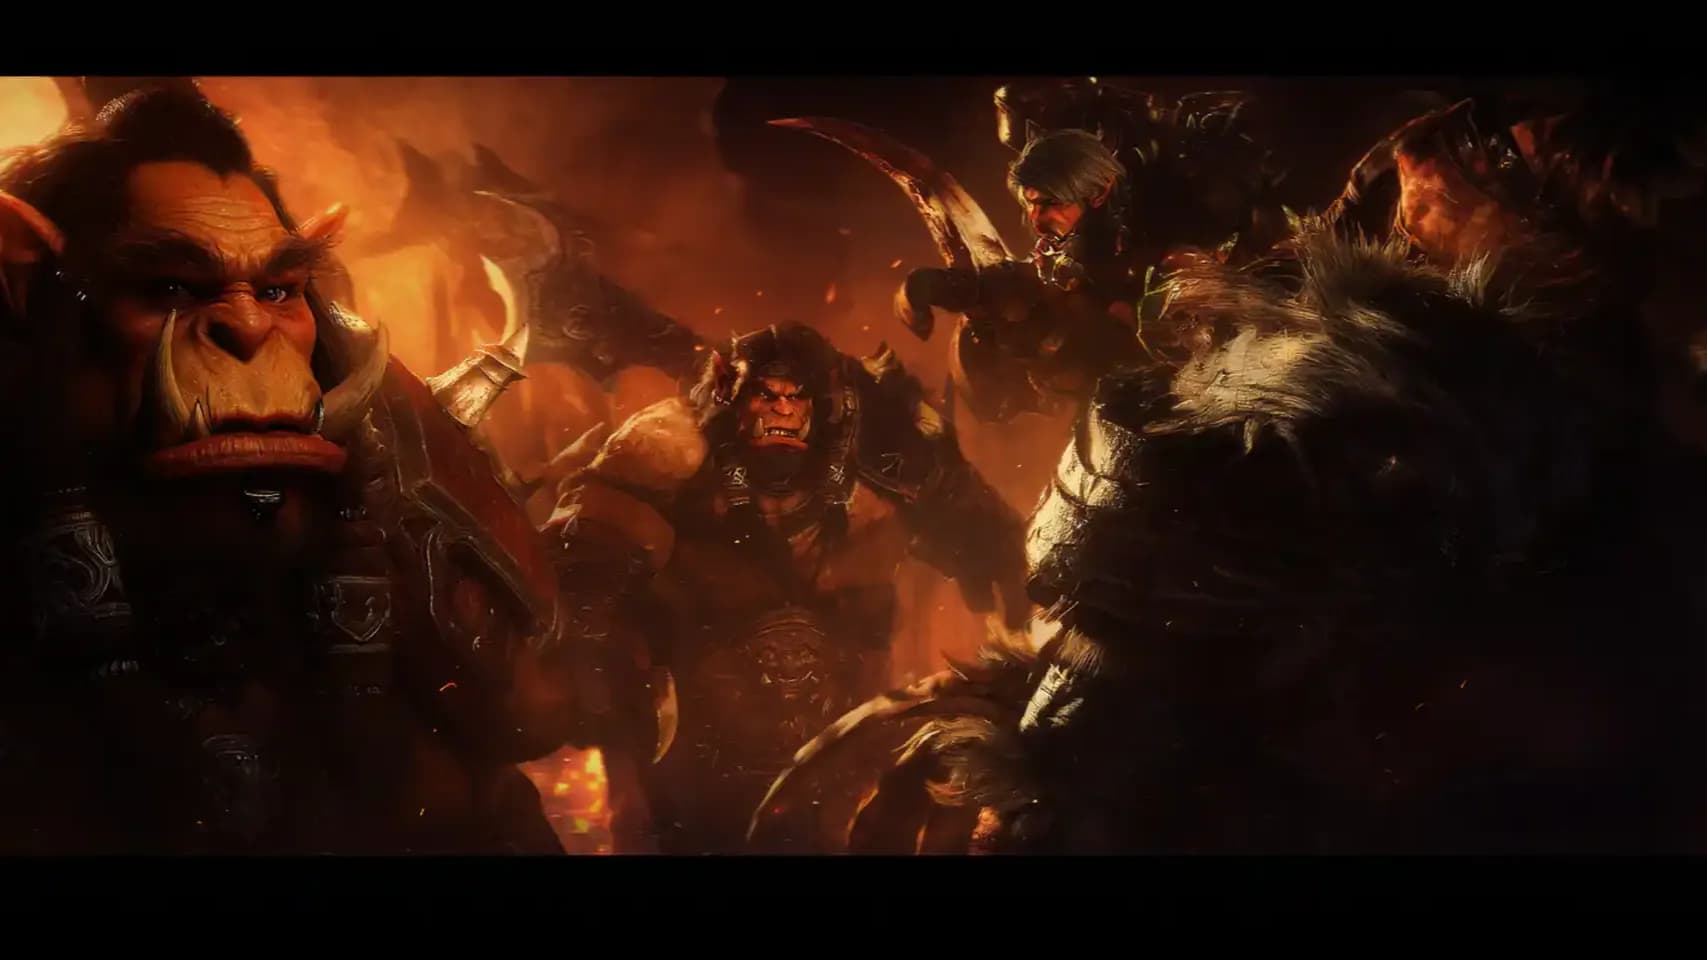
Siege of Orgrimmar is the final raid of Mists of Pandaria Classic. 14 bosses across four wings, starting in the desecrated Vale of Eternal Blossoms and ending beneath Orgrimmar in the literal heart of Y'Shaarj, where Garrosh Hellscream: a man who received the power of an Ancient God and interpreted it as a license to redecorate: is waiting for your raid to come explain the concept of consequences to him.
This is Tier 16. The gear ceiling of MoP Classic. There is no Phase 6. There is no higher tier. Every lockout counts from the moment Phase 5 goes live in Summer 2026, and the Kor'kron Juggernaut has a 100% drop rate on Heroic Garrosh that goes away forever when the tier ends.
|
Detail |
Value |
|
Patch |
Siege of Orgrimmar (MoP Classic Phase 5) |
|
Bosses |
14 encounters across 4 wings |
|
Difficulties |
Flexible (10–25 scaling), Normal 10/25, Heroic 10/25 |
|
Gear Tier |
Tier 16: ilvl 528 Flex / 553 Normal / 566 Heroic |
|
Entrance |
Eastern Vale of Eternal Blossoms, below Mogu'shan Palace stairs (~55, 74) |
|
Alliance route |
Fly southeast from Shrine of Seven Stars |
|
Horde route |
Fly southeast from Shrine of Two Moons |
|
Lockouts |
Flexible and Normal have separate weekly lockouts: run both every reset |
|
Post-Garrosh skip |
After first Garrosh kill, use the scroll near Loremaster Cho to skip directly to the Inner Sanctum |
If you’re reading this, you might be interested in a discount just for you—my blog reader! Use code CRINGEBLOG to get an amazing discount on any offer in our shop.

A Sha-corrupted water elemental born from Garrosh's desecration of the Vale's aqueducts. His power bar starts at 100 Corruption. You win when it hits zero. The fight is a cleanse loop: every cycle, how well your raid handles adds determines how much easier the next cycle becomes. Immerseus is the tutorial boss of this raid, which means the mechanic is simple, and the number of people who still stand in Swirl is deeply alarming.
Tanks swap on every Corrosive Blast: it is a frontal Shadow cone that stacks 300% increased damage taken for 45 seconds. Keep the boss facing away from the raid. Simultaneously, Sha Bolt fires at every player and creates a Sha Pool at their location: spread around the edge of the room and move off your pool immediately. Swirl is a rotating water jet that moves clockwise. Walk away from it. Use Bloodlust at the pull since Phase 1 is the longest Immerseus Phase of the entire fight.
Immerseus splits into Sha Puddles (hostile) and Contaminated Puddles (friendly). DPS kill the dark Sha Puddles before they reach the center. Healers top the Contaminated Puddles to full to purify them. Each purified Contaminated Puddle reduces Immerseus's Corruption by one. Each Sha Puddle that makes it back increases it. Spread your raid evenly around the room so no section of puddles is unattended. When a Contaminated Puddle reaches full health it releases Purified Residue: a mana restore and 75% healing buff for nearby allies.
Heroic:Swelling Corruption spawns Congealed Sha adds every time Immerseus takes a single-target hit during Phase 1. AoE cleave is strongly preferred. A Sha Pool also grows on the floor throughout the encounter: designated players must voluntarily step into it on a rotation to shrink it or it becomes a room-wide execute.
Three former Shado-Pan warriors: Rook Stonetoe, He Softfoot, and Sun Tenderheart: fighting simultaneously. They share a Bond of the Golden Lotus: if any one of them hits 1 HP while the others are still alive, the living ones chain-cast a heal that restores 30% of their maximum health. The entire fight is a kill-timing exercise. Fail it and you reset the encounter. Bring all three to near-death simultaneously or go again.
Tank him facing away from the raid at all times: Vengeful Strikes is a frontal cone that stuns and deals 450,000 physical damage twice per second for 3 seconds, which is exactly as bad as it sounds for anyone standing in front of him. He also throws Corrupted Brew at distant targets: a keg that hits for ~420k Shadow damage in a 5-yard splash and applies a 65% slow. At Desperate Measures (66% and 33%), Rook vanishes and spawns Embodied Misery, Sorrow, and Gloom: they share health, so cleave kills them together.
He must be interrupted constantly. Garrote is a 108,000 Physical damage bleed applied every 2 seconds: it's not a suggestion to interrupt, it's a wipe if you don't. Gouge incapacitates the current target and fixates him on a random player until taunted. Assign 2 interrupters to He and keep them on him the entire fight. At Desperate Measures, He spawns Embodied Anguish with a Mark of Anguish: a fixating add that must be kited using immunities (Ice Block, Divine Shield, Deterrence) or passed between tanks.
She does not move. Assign 2 DPS to permanently interrupt Sha Sear: a channeled Shadow explosion on a targeted player. She applies Shadow Word: Bane to multiple players: a jumping Shadow DoT that must be dispelled by healers before it spreads. Calamity hits the entire raid for 30% of maximum health as Shadow damage: it resets when Sun enters Desperate Measures, so watch the timing and don't let Calamity stacks compound while ignoring her phase trigger.
Heroic:Desperate Measures phases act as tighter soft enrages. He's Garrote becomes undispellable later in the fight. Rook's Corrupted Brew cast time shortens every two uses until his Desperate Measures resets it. Master Poisoner abilities on He trigger during his Desperate Measures phase as well, not just outside of it.
You're not fighting Norushen: he's a Titan Keeper who despises corruption and won't let your filthy raid into his vault until you prove yourselves. So he tests you. The actual target is the Amalgam of Corruption. The mechanic: every player starts at 100 Corruption and deals reduced damage to the Amalgam proportional to how corrupted they are. Enter the Test Realm, complete the challenge inside, exit clean, and deal full damage. Players who refuse to go through the test are doing negative work for the raid: corrupted players hitting the boss are actively worse than not hitting it.
Norushen sends players into the Test of Serenity (for DPS), Test of Reliance (healers), or Test of Confidence (tanks): each one is a self-contained challenge inside the realm. Completing it drops your personal Corruption to 0, which also reduces the Amalgam's energy in the real world. The Amalgam must not reach 100 energy or it unleashes Blind Hatred: a full-room channel that kills the raid. Keep energy low by cycling DPS through the realm fast. Healers and tanks should go after your top DPS are clean and dealing full damage.
The Amalgam uses Unleashed Anger on the active tank: heavy Physical damage that increases as its energy climbs. Tank cooldown rotation should map to the energy intervals, not the damage spikes you're already reacting to. Keep energy low enough that the Amalgam never reaches its empowered state.
Heroic: Adds inside the Test Realm have significantly more health and new abilities. Players who fail the test return to the main realm with increased Corruption: a punishing feedback loop that cascades. On 25-man Heroic the add count inside the realm is 2–3× that of 10-man and demands AoE-capable specs inside.
The seventh Prime Sha and the final boss before Orgrimmar's gates. This fight has a Pride resource that every player accumulates throughout the encounter, and the Sha of Pride's abilities trigger escalating secondary effects based on how much Pride you currently have. It is the only raid encounter in WoW history that explicitly punishes people for standing in melee at the wrong time, and the entire raid's Pride level is everyone's problem, not just the person who hit 100.
Everyone starts at 0. When the Sha hits 100 energy it casts Swelling Pride: heavy Shadow damage to the entire raid and 5 Pride to everyone. At 25–49 Pride, Bursting Pride creates a void zone under you that detonates after 3 seconds: move immediately away from the raid when you hit 25 Pride. At 50–74 Pride, Projection spawns a copy 15 yards from you that explodes in 6 seconds dealing massive raid-wide damage unless you stand inside it: sprint to your projection the moment it appears. At 100 Pride, you are Overcome and mind-controlled on the next Swelling Pride.
Mark of Arrogance is placed on 2 players (5 in 25-man): a stacking Shadow DoT that persists for the rest of the fight and is only removable by single-target dispels, which cost the dispeller 5 Pride. Never dispel without Gift of the Titans active: that buff grants temporary Pride immunity and is given to random players by Norushen throughout the fight. Wounded Pride goes on the active tank and causes every melee hit from the Sha to grant 5 Pride: tank swap the moment it lands. Corrupted Prison traps players in Titan prisons dealing 5 Pride per second: free them by standing on the surrounding locks, fast.
Heroic: Players who reach 100 Pride and are hit by Swelling Pride are permanently mind-controlled and attack the raid with their full ability rotations. Pre-assign stuns, knockbacks, and CC specs to handle controlled players. One missed CC during a Swelling Pride window is a cascade wipe.

One of the last proto-dragons under Garrosh's control, held aloft by two flame towers. You cannot touch Galakras while the towers stand. Split your raid: tower teams disable the towers while the ground team holds back a relentless wave of Kor'kron adds. Then the dragon lands and you burn her down.
Send 1 tank + 2–3 DPS + 1 healer to each tower simultaneously. Each tower is guarded by a Tower Captain: kill them to disable the tower. While both towers are active, Galakras strafe-bombs the ground with Flames of Galakrond: ground fire targeted at random players. Position ground players so the fire doesn't stack in central areas you'll need later. The ground team handles Kor'kron add waves while tower teams work: kill priority is Kor'kron Reavers and Demolishers first.
Once both towers are down Galakras lands. Standard dragon positioning: tank her facing a wall, entire raid stacks behind her, melee stay out of the tail arc. The dragon continues summoning Kor'kron adds during this phase: ground team stays on add duty while DPS burns Galakras. Use Bloodlust on landing.
Heroic: Tower Captains gain new abilities that demand interrupts. Healing tower teams remotely from the ground becomes unreliable: assign high-mobility healers (Resto Druid, Mistweaver Monk) to tower duty. Ground add waves deal significantly higher damage in Heroic.
Garrosh's personal siege engine: a mechanized scorpion built in the image of the Kor'kron war scorpion that guards Orgrimmar's gate. Iron Juggernaut alternates between two phases with completely different damage profiles. Your cooldown assignments must match the transition timing or your healers will be playing catch-up on a fight that does not give second chances.
Tanks swap based on Flame Vents stacks: a stacking fire DoT that compounds fast. Ranged watch for Borer Drill, which erupts spikes under targeted players: the ground marker gives you time to step out. Crawler Mines fixate on random players and chase them: if a mine catches you, it detonates badly. Kite mines toward the boss: if they reach the Juggernaut they deal boss damage instead. Letting a mine detonate on your face is losing free DPS and taking avoidable damage simultaneously.
Boss stops moving. Shock Pulse knocks the entire raid back: pre-position against the boss's flank or a wall before the transition. Cutter Laser tracks a random player and leaves tar patches: kite it around the room edges in a slow circle without walking through old patches. The entire raid takes constant heavy AoE damage during Siege Phase: major healing cooldowns (Tranquility, Revival, Spirit Link Totem) go here, not during Assault Phase.
Heroic: Ricochet adds bouncing sawblades during Siege Phase that chain between players. Stack away from walls to reduce chain hits: the opposite of what Shock Pulse wants. Mortar Barrage adds pressure on outer-ring players. Navigate the positioning tension between these two competing needs before the pull.
Haromm and Kardris: two shamans who stopped asking the elements politely and started taking by force. They share a health pool and must be tanked at opposite ends of the room from each other for the entire fight. Every ability they cast degrades the available floor space. The room at 30% health looks like a war zone. Plan your movement lanes for the end of the fight, not the beginning.
The core rule: Haromm and Kardris must never be within range of each other because Foul Stream: a persistent torrent of corruption: fires between them if they're close enough. Anyone standing between them takes the stream. Two tanks. Two opposite ends of the room. Never deviate.
Iron Prison chains a random player to the floor with increasing damage until a nearby ally stands within range to break it: react immediately. Ash Wall creates movement-blocking barriers that carve up the room over time. Froststorm Strike drops frozen zones on targeted players: move out and don't let them stack in high-traffic areas. These mechanics accumulate across the entire fight and do not disappear.
Heroic:Iron Prison is permanent until broken by an ally: it no longer expires on its own. Toxic Tornado is added: an environmental spinning hazard requiring constant movement awareness. Room degradation accelerates significantly: by 60% health the usable floor is substantially smaller than on Normal.
If you've followed Horde storylines since Wrath of the Lich King you know who General Nazgrim is. Grunt to Champion to Admiral to General. He knows Garrosh is wrong. He's dying for him anyway. The fight reflects this moral weight mechanically: it punishes DPS greed more than any other encounter in the raid. One ability during his defensive window and you've handed him the fight.
Nazgrim cycles through three stances. Defensive Stance: he is completely immune to all damage and parries everything. Any damaging ability you land on him during this window generates Rage: which he uses to empower abilities. Set up a raid warning macro. This is the most common wipe cause on Nazgrim and it is entirely self-inflicted. Battle Stance: standard mode, DPS freely. Keep melee behind him: Heroic Strike is a frontal cleave. Berserker Stance: Nazgrim's melee damage to the active tank spikes dramatically: major tank defensives go here.
Kor'kron adds spawn throughout the fight. Siege Engineers must die immediately: before anything else. If a Siege Engineer plants a Kor'kron Battle Standard, every other add in the room gets significantly buffed for the rest of that wave. Kill engineers, then Arcweavers (interrupt their Arcane Volley permanently), then remaining adds.
Heroic: Kor'kron Warshamans join add waves and cast Bloodlust on the adds if not interrupted: a Warsong-buffed wave during Berserker Stance is a wipe condition. Rage generation from DPS during Defensive Stance is more sensitive: a single mistimed global cascades faster into ability empowerment.
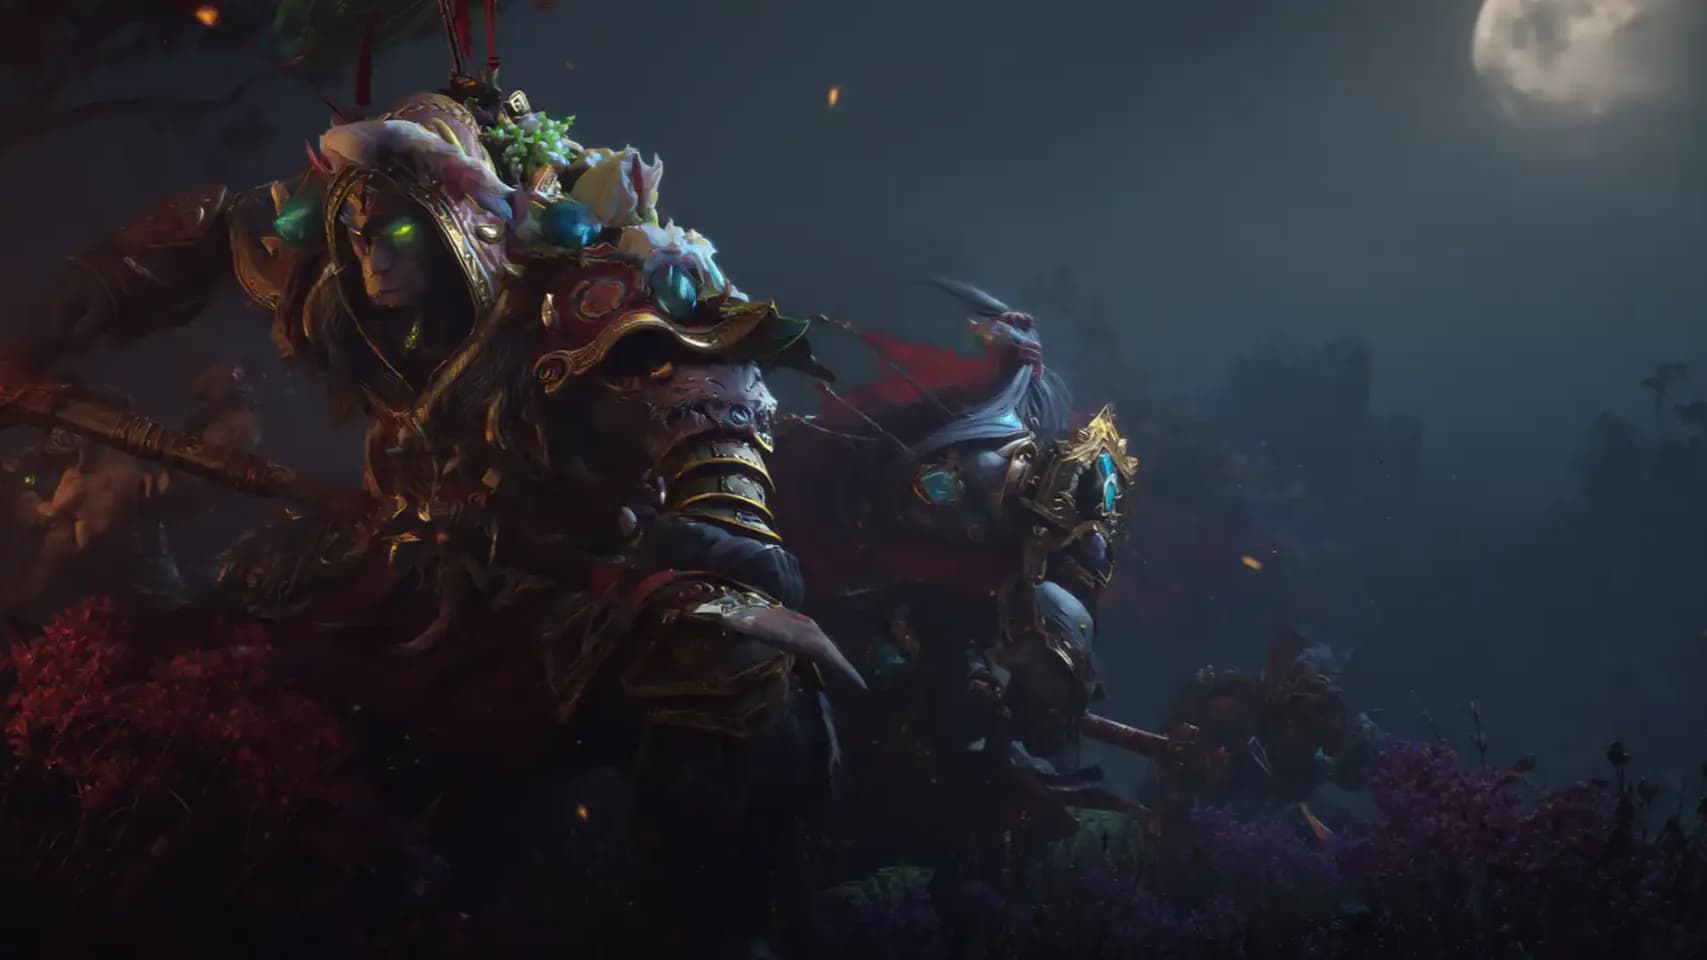
The Underhold: Bosses 9, 10, and 11 can be completed in any order after Nazgrim. Standard progression order is Malkorok → Spoils → Thok.
Garrosh's most fanatical enforcer, infused with Y'Shaarj's energy. Malkorok redefines the healer role for the duration of the encounter: Ancient Miasma fills the room and converts all healing done to players into Ancient Barrier absorb shields instead of direct health restoration. Healers are not restoring health. They are generating absorb budget. If a player hits 0 HP while their shield is also depleted, they die instantly regardless of any other factor. The first time your healers play this fight they will have a bad time. After that, they'll know what proactive healing actually means.
Malkorok deals damage through Arcing Smash: three sequential cone smashes that mark the floor. After all three land, those same areas erupt with Breath of Y'Shaarj. Do not stand in old Arcing Smash locations. Imploding Energy opens 3–7 corruption tears on the floor: if no player stands within 5 yards when they collapse, it deals raid-wide damage to everyone. Assign players with strong shields to soak them. Essence of Y'Shaarj spawns corruption orbs throughout the fight that consume your Ancient Barrier on contact: do not walk through them.
Malkorok absorbs the Miasma at 100 Rage and enters Blood Rage. Healing works normally again. His melee now deals shared split damage to all nearby players: stack up tightly. Spam every healing cooldown. This is your window to top everyone's actual HP before the Miasma returns and converts everything back to shields.
Heroic:Ancient Barrier shields decay faster: requires constant regeneration rather than a buffer built once. Displaced Energy during Blood Rage roots afflicted players: dispel immediately or they absorb the split melee damage alone. 6-minute hard enrage timer is strict.
There is no traditional boss. You enter a chamber packed with Garrosh's plundered relics from across Pandaria and you open crates. The crates spawn adds. Killing adds generates Power. You need to hit the Power threshold on both sides of the room before the timer expires. It is a logistics and DPS race disguised as a novelty encounter: and every guild has wiped to it while thinking it was going to be easy.
Split into two teams: Mantid side and Mogu side: and work simultaneously in mirrored halves. A lever in the center can open the partition between rooms. Open small crates first: small adds generate the most Power per time invested. Large adds: the Mogu Colossus and the Mantid Queen: take far too long to kill for the Power they yield. CC them, kite them, never tank them head-on. One tank per large add if you must engage, with major defensive cooldowns.
Both teams must call out their Power levels to the raid leader throughout the fight. If one side falls behind, the lever can merge teams: but activating it wastes time and disrupts positioning. It should be a last resort, not a default option.
Heroic: Add abilities are substantially more dangerous. Colossus stuns and Mantid Queen mechanics require specific interrupts with no margin for error. Power requirements are tuned tighter: opening crates in the wrong order on Heroic can result in an unrecoverable deficit.
A titanic devilsaur from the Isle of Giants that Garrosh tried to tame and failed spectacularly. Thok is furious. The fight alternates between a screech escalation phase where healing becomes progressively impossible, and a Blood Frenzy phase triggered by freeing one of three prisoners. The longer you stay in the screech phase, the more impossible it becomes. The entire fight is about deciding when to transition.
Thok has an energy bar. When it fills he unleashes Deafening Screech: raid-wide Physical damage and a 2-second interrupt that locks out spell schools. After each Screech his energy regenerates faster. Cover every Screech with a healing raid cooldown once the interval drops below 7 seconds: use Aura Mastery from a Holy Paladin to block the interrupt effect for the raid. Meanwhile, Fearsome Roar is Thok's tank breath: stacking Panic increases damage taken from subsequent roars by 25% per stack. Tank swap regularly. Tail Lash stuns players behind him for 2 seconds: nobody stands behind Thok.
When enough players drop below 50% HP and stack within 10 yards, Bloodied triggers Thok's Blood Frenzy. He fixates random players and instantly devours anyone he catches. Kill the Kor'kron Jailer that spawns during this phase to obtain a prison key: free a prisoner to end Blood Frenzy and change Thok's abilities for the next screech cycle. Recommended prisoner order: Akolik first (his saurok suppress nearby dinosaurs), then Waterspeaker Gorai (jinyu: heals players during the cycle).
Heroic: Thok gains elemental breath phases: Freezing Breath after the jinyu is freed stacks Icy Blood, encasing players in ice that allies must shatter. Screech intervals escalate faster. The Blood Frenzy devour range is wider. Your Phase 1 screech window is considerably shorter than on Normal.

Helix Blackfuse: the goblin engineer responsible for the Iron Juggernaut and most of the Kor'kron's heavy armaments. Blackfuse fights inside an active weapons factory. A conveyor belt runs weapons toward him. If a weapon makes it to him, he equips it. You are fighting the engineer and sabotaging his production line simultaneously. These are two different jobs requiring two different teams.
Your top single-target DPS ride the belt and destroy weapons before they reach Blackfuse. Rogues are the gold standard here: Shroud of Concealment resets threat on the belt, and their sustained output and defensive tools make them near-ideal. Belt players must be fully self-sufficient: no healer goes on the belt. Kill priority: Automated Shredder first (if it reaches the floor it fixates players and deals massive damage), then Laser Turrets, then Crawler Mines. Watch for Electromagnet which pulls belt players toward a wall at the end: move opposite the pull direction immediately when it activates.
Tanks and remaining DPS deal with Blackfuse directly while managing whatever gets through from the belt. Superheated is periodic unavoidable AoE on the floor team: stagger healing cooldowns to cover each cast. An Automated Shredder that reaches the floor is your highest-priority emergency kill target: everything else stops until it's dead.
Heroic: Belt weapons have more HP and new abilities. Shredders that reach the floor gain a hard enrage timer. A single wasted GCD on the belt: wrong target, mistimed ability: can let a weapon through. Discuss belt DPS rotation and cooldown usage explicitly before the pull.
Eight Klaxxi Paragons: the same ones you aided in Dread Wastes: have revealed their true loyalty: to Y'Shaarj, to whom the Klaxxi owe their existence. Two are active at any time. Every Paragon you kill empowers the survivors with a stacking buff. Kill order determines how miserable your progression gets.
Kill Xaril first: his Toxic Injection drops persistent poison pools that linger for the entire fight. Getting these out of the room early prevents permanent floor degradation. Kill Rik'kal second: his Inject transforms a random player into a hostile Rik'kal add that attacks allies and must be CC'd and burned immediately. Kill Iyyokuk third: his Insane Calculation is an AoE bomb requiring pre-spread on cast. Kill Kaz'tik fourth: his Mesmerize mind-controls groups of players who stand near him. Kill Ka'roz fifth: his Hurl Amber lifts players into the air with fall damage on landing. Kill Korven sixth: his Amber Prison encases a player until allies destroy it. Kill Skeer seventh: heavy tank damage, major cooldowns here. Kill Hisek last: his Aim charges a lethal beam at a player that must be interrupted or dodged by strafing. Save all remaining raid cooldowns for Hisek at maximum empowerment stacks.
Heroic: Korven's Amber Prison requires specific interrupts to slow the encasement rate. Rik'kal's injected adds gain additional abilities. Empowerment stacks scale higher: your final two Paragons are substantially more dangerous than on Normal. Save at least two major raid cooldowns for the last pair.
Garrosh Hellscream. Warchief of the Horde. Son of Grom. Man who looked at the Heart of Y'Shaarj: the preserved organ of an Ancient God: and thought "yes, I want that in my throne room." This is a three-phase encounter with two intermissions inside the Realm of Y'Shaarj. It is the most mechanically dense fight in Siege of Orgrimmar, the most narratively significant kill in MoP Classic, and the only lockout that ends with the entire expansion's storyline. Treat every pull accordingly.
Garrosh fights with his Kor'kron forces. Hellscream's Warsong buffs all Kor'kron adds with massively increased damage. Kill adds fast. Siege Engineers attempt to activate Iron Stars: giant rolling balls that deal catastrophic raid-wide damage if activated. Kill every Siege Engineer immediately before anything else. Active Iron Stars also crush Kor'kron adds in their path: use this. Desecrate creates a Desecrated Weapon at a random location with an expanding Sha damage zone: move out and assign dedicated players to destroy it. Touch of Y'Shaarj mind-controls targeted players who then attack allies and attempt to spread the Touch: burn them to ~20% HP to break the effect. No DoTs. No delayed damage. You will kill your own people after they're freed.
(triggers at 10% Phase 1): Garrosh pulls the entire raid into his mindscape. Fight Sha manifestations of his abilities. Every 25 energy Garrosh gains inside the realm empowers one of his future abilities: defeat manifestations fast to keep his energy low. Break his shield to return to the physical world for Phase 2.
Garrosh fully absorbs the Heart and heals to full. Whirling Corruption is now his central ability: he spins dealing heavy Shadow damage that decreases with distance. Pre-spread radially at maximum range before he casts. When he reaches 25 energy, it upgrades to Empowered Whirling Corruption which fires missiles at players, each creating a Minion of Y'Shaarj. Do not kill Minions near each other: Empowering Corruption triggers when any Minion dies, healing nearby Minions to full and increasing their damage by 500%. Spread kills out. Touch of Y'Shaarj continues from Phase 1. At 50 energy it upgrades to Empowered Touch, transforming players into full Sha creatures immune to CC. Desecrate continues: keep your weapon-destruction team active.
(triggers at 10% Phase 2): Same premise, harder execution: more manifestations, shorter window. Check what cooldowns you used in Intermission 1 and plan around what's available. Return to the physical world for Phase 3.
Garrosh absorbs all remaining power. Empowered Whirling Corruption now leaves persistent Sha pools at every missile impact location: the room fills with hazards progressively. Desecrate continues. Malice is added: a stacking Shadow DoT on random players that must be dispelled aggressively. Use Bloodlust here if you haven't already. Use every remaining cooldown. Burn Garrosh to zero.
Heroic Phase 3:Touch of Y'Shaarj during Empowered Whirling Corruption mind-controls players who then attack the raid with full rotations. Pre-assign stuns (Bash, Hammer of Justice, Quaking Palm) per player before pull. One missed CC during a Whirling Corruption window means a fully-geared player attacking your healers for 5+ uncontrolled seconds. Improvising the CC assignments in combat does not work.

Tier 16 tokens are exchanged at the quartermaster near the raid entrance for class-specific set pieces. Getting your 2pc and 4pc bonuses is the primary gear goal of Phase 5: they are meaningful power increases for virtually every spec in the game.
|
Token Slot |
Primary Sources |
|
Head |
Immerseus, Galakras, Siegecrafter Blackfuse, Garrosh Hellscream |
|
Shoulders |
The Fallen Protectors, Thok the Bloodthirsty |
|
Chest |
Iron Juggernaut, Garrosh Hellscream |
|
Gloves |
Norushen, General Nazgrim |
|
Legs |
Kor'kron Dark Shaman, Spoils of Pandaria, Paragons of the Klaxxi |
|
Any Slot |
Celestial World Bosses on Timeless Isle: weekly reset, no raid lockout required |
|
Item |
Source |
|
On-use trinket. BIS for multiple specs |
|
|
BIS caster trinket |
|
|
BIS physical DPS trinket |
|
|
Frequently BIS ring for agility DPS |
|
|
Top-tier DPS trinket: most contested item in the phase |
|
|
100% drop during current tier, ~1% after. Clear Heroic Garrosh before Phase 5 ends. |

WoW MoP Classic Phase 5 is here: Siege of Orgrimmar opens its gates. drops the final 14-boss raid, Timeless Isle & Legendary Cloaks.
WoW MoP Classic Phase 5 is here: Siege of Orgrimmar opens its gates. drops the final 14-boss raid, Timeless Isle & Legendary Cloaks.
WoW MoP Classic Phase 5 is here: Siege of Orgrimmar opens its gates. drops the final 14-boss raid, Timeless Isle & Legendary Cloaks.

WoW MoP Classic Phase 5 is here: Siege of Orgrimmar opens its gates. drops the final 14-boss raid, Timeless Isle & Legendary Cloaks.
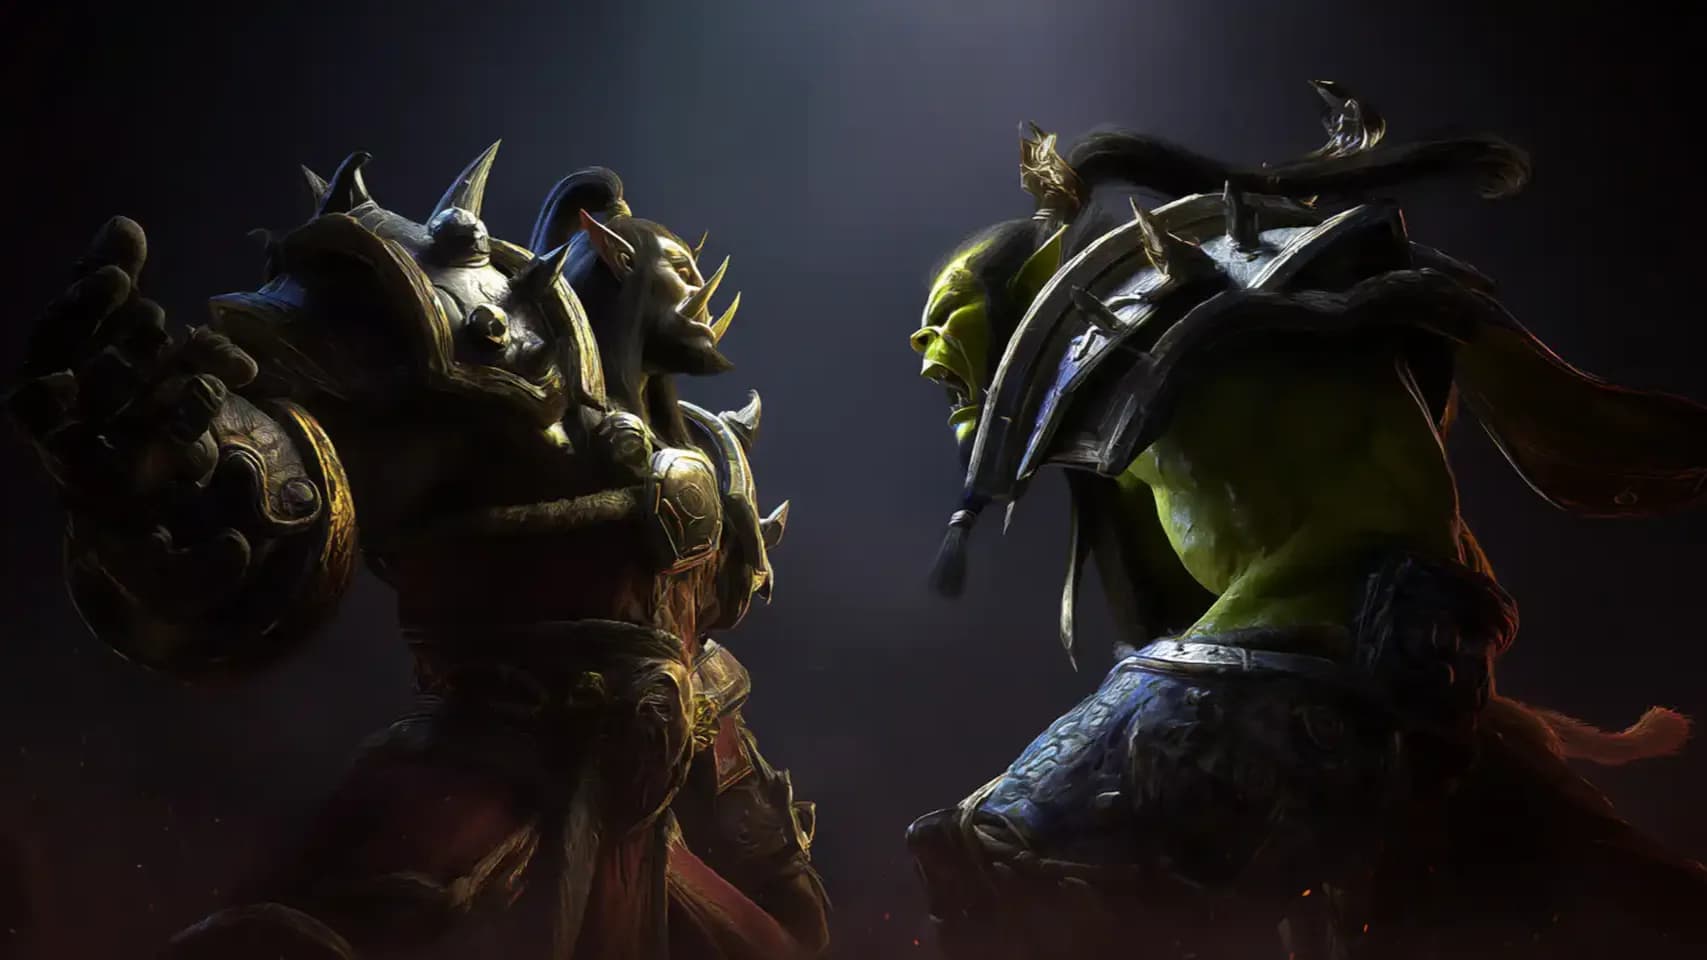
WoW MoP Classic Phase 5 is here: Siege of Orgrimmar opens its gates. drops the final 14-boss raid, Timeless Isle & Legendary Cloaks.

WoW MoP Classic Phase 5 is here: Siege of Orgrimmar opens its gates. drops the final 14-boss raid, Timeless Isle & Legendary Cloaks.

Eastern Vale of Eternal Blossoms, below the Mogu'shan Palace stairs at roughly coordinates 55, 74. Alliance fly southeast from the Shrine of Seven Stars; Horde fly southeast from the Shrine of Two Moons. It looks like the outer wall of Orgrimmar because that's exactly what it is.
Yes. Flexible and Normal have completely separate weekly lockouts in MoP Classic. You can clear both in a single reset for double the Tier 16 token chances.
100% drop rate while Siege of Orgrimmar is the current content tier during Phase 5. After the phase ends and MoP Classic's progression cycle concludes, it drops to approximately 1%. Clear Heroic Garrosh before the window closes — this is the defining reason serious guilds push Heroic immediately on Phase 5 launch.
Touch of Y'Shaarj during Empowered Whirling Corruption in Phase 3 — mind-controlled players attack the raid with full rotations and must be CC'd by pre-assigned players. One missed control cascades into multiple deaths. Assign your CC specs before pull and never improvise this in combat.

GTA 6, new seasons, major updates — get ready to dominate from day one