
Path of Exile 2 Boosting
PoE 2 Druid guide | 0.4 Path of Exile Druid Guide
Atziri Temple in path of exile 2 – rooms, upgrades, medallions, build tech for runs and 200d/h loop, Russian tech, Roman road plan inside.

Hello Exile, the Temple wants to look like a puzzle, then it quietly turns into a delete lottery. In Path of Exile 2 Atziri guide, this one is split into two big equal parts, so the reader can keep the plan clear instead of guessing. Part one describes the system and the tools, so the Temple makes sense before any “perfect run” talk starts. Part two focuses on real building moves and the 200d/hour:
And in Part 2, dude, the guide focuses on building tech and the full route to 200d/hour.
If you’re reading this, you might be interested in a discount just for you—my blog reader! Use code CRINGEBLOG to get an amazing discount on Path of Exile 2 other currency offer in our shop.

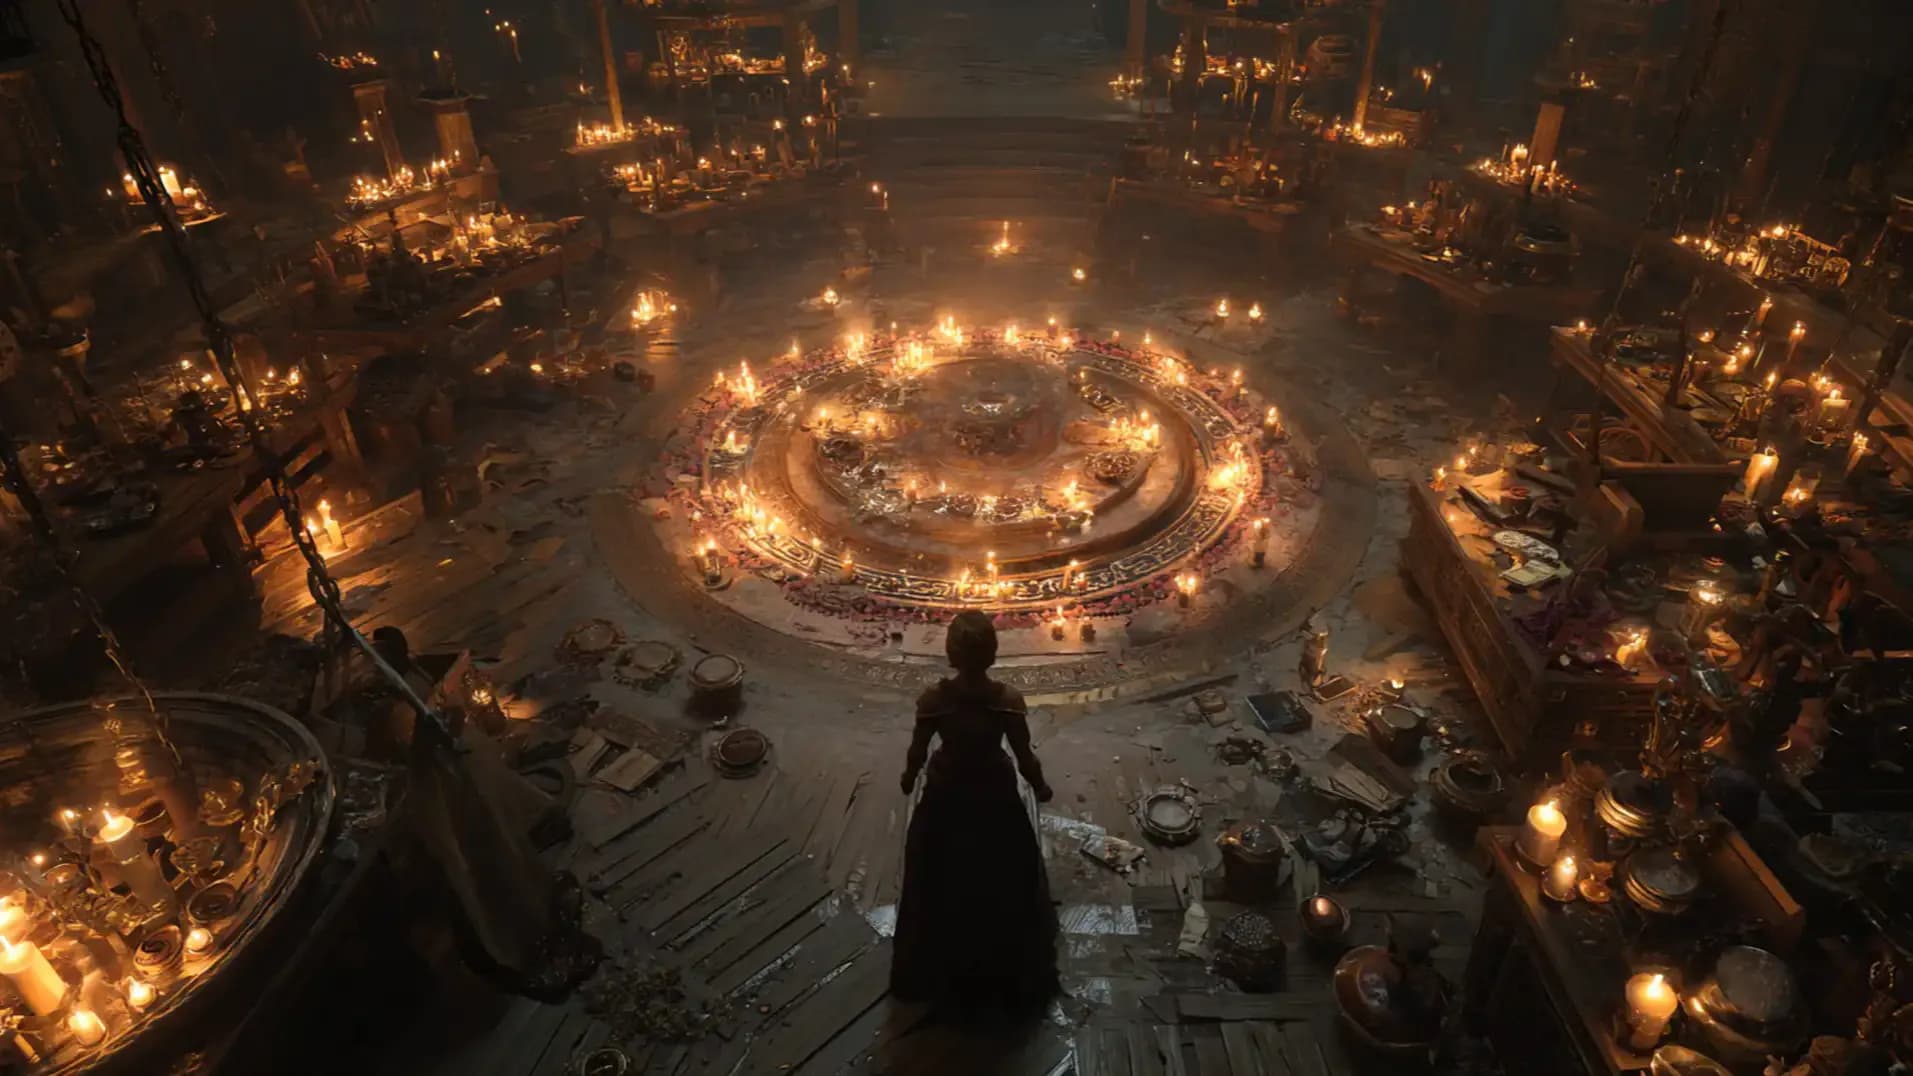
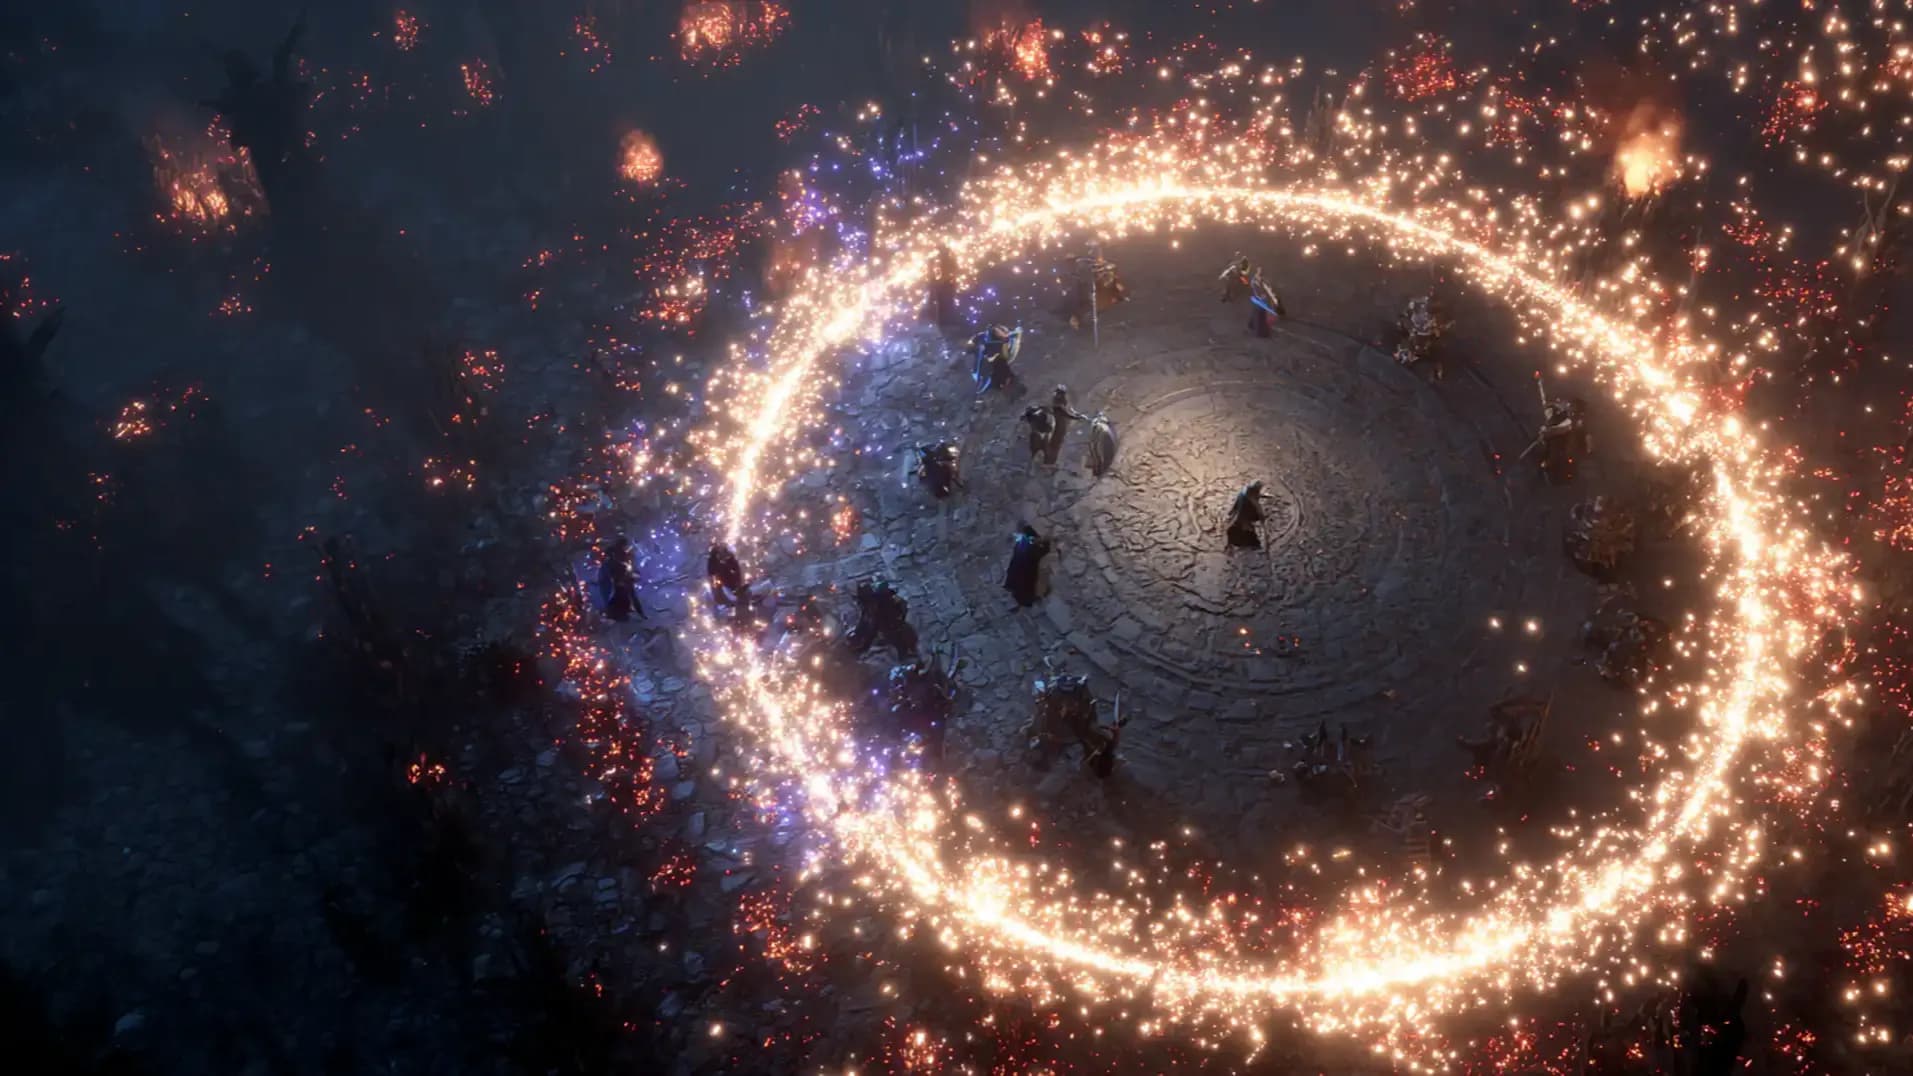
In Path of Exile 2 Atziri, the Temple is a buildable dungeon where rooms change loot, monsters, and crafting devices, and the build stays stable when the player controls destabilise with locks, uses upgrades to push room tiers, and keeps access to key targets like vault rooms and Atziri’s Chamber.
| Key feature | What it does in the Temple |
|---|---|
| Room grid build | The player places room cards to shape the Temple layout |
| Room tiers | Rooms have tiers up to 3 with stronger effects at higher tier |
| Diminishing returns rule | Four or more of the same room type starts diminishing returns, starting from lower tier rooms first |
| Destabilise step | Rooms get deleted after progress, based on the current layout |
| Locks | Locks protect chosen rooms, steering deletes into other rooms |
| Feeder rooms | Cheap rooms get placed to take deletes first |
| Upgrade links | Room families upgrade into higher lines via support rooms or counts |
| Generators | Generator rooms power nearby rooms and expand range by tier |
| Crafting devices in rooms | Some rooms include devices for item corruption, gem changes, or limb modification |
| Room destabilise after device use | Some device rooms destabilise after the device gets used |
| Vault rooms | Vault rooms give focused rewards like currency, runes, uniques, lineage supports, or tablet corruption |
| Restricted rooms | Some room cards are restricted and have special control tools |
| Medallions | Medallions change rooms, protect rooms, reroll cards, or raise capacity limits |
| Medallion capacity | Capacity can increase up to 6 |
| Crystal capacity | Crystal capacity can increase up to 60 |
| Waystone modifiers | A medallion can add a random Waystone modifier, with a Temple-based reduction rule, and a cap of 8 modifiers |
| Atziri access | Royal Access Chamber opens the way to Atziri’s Chamber |
| Temple level scaling | Temple level follows player level until 65, then grows in steps, then caps at 80 from player level 85 onward |
| Fast run pattern | The transcript uses a short loop that targets six medallions, then exit |
| Tech patterns | Russian tech, Cali lock skip, Roman road, American sandwich, Spy Master feeder |
Temple rooms in Path of Exile 2 act like small rule cards that change loot, monsters, or special devices, and a key rule now exists for stacking the same room type. once the Temple has four or more of one room type, the room modifier values start getting diminishing returns, it starts with lower tier versions first, and it mainly matters for extreme Temple setups that can hurt server Path of Exile 2 consumables.
| Room name | Type and tier | Room effects |
|---|---|---|
| Path | Path Tier 1 | Hidden chests in maps +40% |
| Foyer | Entrance Tier 1 | Entrance room |
| Guardhouse | Garrison Tier 1 | Monster packs +10%. May contain an equipment bench |
| Barracks | Garrison Tier 2 | Monster packs +15%. Normal monster effectiveness +15%. May contain an equipment bench |
| Hall of War | Garrison Tier 3 | Monster packs +20%. Normal monster effectiveness +30%. May contain an equipment bench |
| Commander’s Chamber | Commander Tier 1 | Rare monster effectiveness +15%. May contain an equipment bench. Low chance for Quipolatl’s Medallion |
| Commander’s Hall | Commander Tier 2 | Rare monster effectiveness +30%. May contain an equipment bench. Low chance for Quipolatl’s Medallion |
| Commander’s Headquarters | Commander Tier 3 | Rare monster effectiveness +60%. May contain an equipment bench. Low chance for advanced Medallions |
| Depot | Armoury Tier 1 | Humanoid effectiveness +15%. Contains equipment |
| Arsenal | Armoury Tier 2 | Humanoid effectiveness +30%. Contains equipment drops |
| Gallery | Armoury Tier 3 | Humanoid effectiveness +60%. Contains rare equipment |
| Bronzeworks | Smithy Tier 1 | Needs 1 Generator. Chest rarity +15%. Bench for equipment quality. Low chance for Quipolatl’s Medallion |
| Chamber of Iron | Smithy Tier 2 | Needs 1 Generator. Chest rarity +30%. Bench adds an augment socket. Low chance for Quipolatl’s Medallion |
| Golden Forge | Smithy Tier 3 | Needs 1 Generator. Chest rarity +60%. Bench can push quality above 20%. High chance for advanced Medallions |
| Dynamo | Generator Tier 1 | Construct effectiveness +15%. Powers nearby rooms with tier range. May contain an equipment bench |
| Shrine of Empowerment | Generator Tier 2 | Construct effectiveness +30%. Powers nearby rooms with tier range. May contain an equipment bench |
| Solar Nexus | Generator Tier 3 | Construct effectiveness +60%. Extra Corrupted Abomination. Powers nearby rooms with tier range. May contain an equipment bench |
| Spymaster’s Study | Spymaster Tier 1 | Temple mod effect bonus +8%. Can assassinate Spymasters to level. Low chance for Juatalotli’s Medallion |
| Hall of Shadows | Spymaster Tier 2 | Temple mod effect bonus +15%. Can assassinate Spymasters to level. Low chance for Juatalotli’s Medallion |
| Omnipresent Panopticon | Spymaster Tier 3 | Extra Royal Colossus. Temple mod effect bonus +30%. Can assassinate Spymasters. High chance for Juatalotli’s Medallion |
| Viper’s Loyals | Legion Barracks Tier 2 | Rare monsters +30%. Low chance for Quipolatl’s Medallion |
| Elite Legion | Legion Barracks Tier 3 | Rare monsters +60%. High chance for advanced Medallions |
| Prosthetic Research | Synthflesh Lab Tier 1 | Needs 1 Generator. Monster experience +10% |
| Synthflesh Sanctum | Synthflesh Lab Tier 2 | Needs 1 Generator. Monster experience +20% |
| Crucible of Transcendence | Synthflesh Lab Tier 3 | Needs 1 Generator. Monster experience +40% |
| Surgeon’s Ward | Flesh Surgeon Tier 1 | Unique effectiveness +10%. Tier 3 enables Limb Modification. Low chance for Quipolatl’s Medallion |
| Surgeon’s Theatre | Flesh Surgeon Tier 2 | Unique effectiveness +20%. Tier 3 enables Limb Modification. Low chance for Quipolatl’s Medallion |
| Surgeon’s Symphony | Flesh Surgeon Tier 3 | Unique effectiveness +40%. Device for Limb Modification. High chance for advanced Medallions |
| Steelflesh Quarters | Transcendent Barracks Tier 2 | Needs 1 Generator. Magic monsters +30% |
| Collective Legion | Transcendent Barracks Tier 3 | Needs 1 Generator. Magic monsters +60% |
| Chamber of Souls | Alchemy Lab Tier 1 | Monster drop rarity +15%. Tier 3 enables Soul Core Corruption. Low chance for Quipolatl’s Medallion |
| Core Machinarium | Alchemy Lab Tier 2 | Monster drop rarity +30%. Tier 3 enables Soul Core Corruption. Low chance for Quipolatl’s Medallion |
| Grand Phylactory | Alchemy Lab Tier 3 | Gold found +50%. Monster drop rarity +60%. Device corrupts Soul Cores. Room destabilises after device use. High chance for advanced Medallions |
| Thaumaturge’s Laboratory | Thaumaturge Tier 1 | Temple mod effect bonus +8%. Device sets a gem to 3 support sockets. Tier 3 enables further gem corruption. Low chance for Quipolatl’s Medallion |
| Thaumaturge’s Cuttery | Thaumaturge Tier 2 | Temple mod effect bonus +15%. Device improves skill gem quality. Tier 3 enables further gem corruption. Low chance for Quipolatl’s Medallion |
| Thaumaturge’s Cathedral | Thaumaturge Tier 3 | Extra Quadrilla Sergeant. Temple mod effect bonus +30%. Device further corrupts gems. Room destabilises after device use. High chance for advanced Medallions |
| Workshop | Golem Works Tier 1 | Needs 2 Generators. Temple mod effect bonus +8%. May contain an equipment bench. Low chance for Quipolatl’s Medallion |
| Automaton Lab | Golem Works Tier 2 | Needs 2 Generators. Temple mod effect bonus +15%. May contain an equipment bench. Low chance for Quipolatl’s Medallion |
| Stone Legion | Golem Works Tier 3 | Needs 2 Generators. Temple mod effect bonus +30%. Extra High Priest. May contain an equipment bench. High chance for Quipolatl’s Medallion |
| Crimson Hall | Corruption Chamber Tier 1 | Rare monsters gain extra modifier 15% chance. Device corrupts items. Tier 3 enables further equipment corruption |
| Catalyst of Corruption | Corruption Chamber Tier 2 | Rare monsters gain extra modifier 30% chance. Device corrupts items. Tier 3 enables further equipment corruption |
| Locus of Corruption | Corruption Chamber Tier 3 | Extra Royal Sentinel. Rare monsters gain extra modifier 60% chance. Device further corrupts equipment. Room destabilises after device use |
| Sealed Vault | Treasure Vault Tier 1 | Monster drop rarity +25%. Contains chests. Room destabilises after central vault opens |
| Altar of Sacrifice | Sacrificial Chamber Tier 1 | Rare chests +15%. Contains a unique item. Tier 3 enables Vaal unique modification. Low chance for Quipolatl’s Medallion |
| Hall of Offerings | Sacrificial Chamber Tier 2 | Rare chests +30%. Contains a unique item. Tier 3 enables Vaal unique modification. Low chance for Quipolatl’s Medallion |
| Apex of Oblation | Sacrificial Chamber Tier 3 | Rare chests +60%. Extra Unchained Beast. Contains a unique item. Device modifies Vaal uniques. Room destabilises after device use. High chance for advanced Medallions |
| Sacrifice Room | Special | Sacrifices a room to upgrade Sacrificial Chamber Tier 1 |
| Architect’s Chamber | Architect’s Chamber Tier 1 | Defeat the Architect for a choice of rewarding vaults. Unlocks Medallions. High chance for Xopec’s and Azcapa’s Medallions |
| Kishara’s Vault | Currency Vault Tier 1 | Large currency stash. Room destabilises after completion |
| Vault of Reverence | Lineage Gems Vault Tier 1 | Random Lineage Support. Room destabilises after completion |
| Jiquani’s Vault | Augments Vault Tier 1 | Random high level rune. Room destabilises after completion |
| Tablet Research Vault | Tablets Vault Tier 1 | Device corrupts tablets. Room destabilises after completion |
| Ancient Reliquary Vault | Uniques Vault Tier 1 | Unique item reward. Room destabilises after completion |
| Extraction Chamber | Extraction Chamber Tier 1 | Device salvages socketed augments. Room destabilises after completion |
| Royal Access Chamber | Royal Access Chamber Tier 1 | Opens access to Atziri’s Chamber. Room destabilises after completion |
| Atziri’s Chamber | Atziri’s Chamber Tier 1 | Atziri boss chamber |
Atziri Temple upgrades are simple links between room families, and the goal is to push a room into a higher line by building the right support around it. the same upgrade rule can show as a base upgrade, a combo upgrade using another room type, or a count upgrade that needs three rooms of a Path of Exile 2 character progression.
| Upgrade target | What upgrades it | Extra upgrade rule |
|---|---|---|
| Commander | Garrison | Needs Garrison x3 and Transcendent Barracks x3 |
| Legion Barracks | Garrison | Works when Spymaster is present |
| Legion Barracks | Commander | Works when Spymaster is present |
| Smithy | Armoury | Direct upgrade path |
| Alchemy Lab | Armoury | Direct upgrade path |
| Transcendent Barracks | Legion Barracks | Needs Synthflesh Lab present |
| Transcendent Barracks | Garrison | Needs Synthflesh Lab present |
| Golem Works | Smithy | Direct upgrade path |
| Thaumaturge | Generator | Direct upgrade path |
| Sacrificial Chamber | Generator | Direct upgrade path |
| Legion Barracks | Spymaster | Direct upgrade path |
| Flesh Surgeon | Synthflesh Lab | Direct upgrade path |
| Synthflesh Lab | Flesh Surgeon | Reverse upgrade link shown in the text |
| Transcendent Barracks | Synthflesh Lab | Direct upgrade path |
| Thaumaturge | Alchemy Lab | Needs Thaumaturge x2 to reach Alchemy Lab tier upgrades |

In the Atziri Temple crafting loop, medallions act like small control tools for rooms and cards, so a player can stop a destabilisation, push a room tier, or reroll a room card without changing the full Temple plan.
| Medallion | Use in the Temple | Limits and notes |
|---|---|---|
| Juatalotli’s Medallion | Prevent the next destabilisation of a room | Works on the next destabilisation event |
| Hayoxi’s Medallion | Reroll a Restricted Room in the Temple | Targets a Restricted Room |
| Quipolatl’s Medallion | Increase the tier of a room | Max tier. 3 |
| Uromoti’s Medallion | Add Room. {0} | Adds a specific room entry |
| Xopec’s Medallion | Increase maximum Crystal capacity by 6 | Max crystal cap. 60 |
| Azcapa’s Medallion | Increase maximum Medallion capacity by 1 | Max medallion cap. 6 |
| Estazunti’s Medallion | Place an extra Restricted Room Card after defeating the Architect | Trigger. after the Architect fight |
| Puhuarte’s Medallion | Reroll the Room Cards available for placement | Restricted Room Cards stay locked from this reroll |
| Zantipi’s Medallion | Add +1 random Waystone Modifier to the Temple | Drops by 1 per 10 Temples opened. up to 8 modifiers total |

Temple level follows the player level in a very direct way at first, then it starts to slow down, and then it stops at a hard cap. this means early characters push Temple level one for one, mid levels give smaller gains, and late levels stop changing the Temple level at Path of Exile 2 mirror service.
From player level 1 to 65, Temple level matches the player level, so level 40 gives Temple level 40, and level 65 gives Temple level 65. After that point, the scaling becomes slower, so a level increase does not always raise Temple level, and the Temple level lags behind by about one or two levels in places, then the gap grows. A clear example is level 66 still giving Temple level 65, and level 70 still giving Temple level 68, so the Temple climbs in steps instead of rising on every level. At player level 85, Temple level reaches 80, then it stays locked at Temple level 80 from level 85 all the way to level 100, so higher player level past 85 increases character power, yet the Temple level stays at the cap.

Temple building gets optimized when the player protects the “value chain” with locks, then feeds destabilise into cheap rooms, and the transcript uses simple named techs to keep Spy Masters leveling fast while avoiding loops during Smithy–Golem and Corruption steps.
| Tech name | Core idea | What gets locked | What gets deleted |
|---|---|---|---|
| Russian tech (KGB temple) | Armoury → Garrison → Garrison → Spy Master | Lock the Spy Master | Garrisons get removed later |
| Roman road | Make a one turn loop, then break it | Lock the main chain near Smithy | The road later |
| Cali lock skip | Use feeder rooms in the middle | Lock the key chain | Feeder rooms first |
| American sandwich | Armoury → Alchemy → Armoury → Smithy → Golem Works | Lock Smithy plus Golem Works | Early links can drop |
| Spy Master feeder | Spare Spy Master with zero links | Lock it during the run | Nothing important |

Russian tech in the Atziri Temple is a simple Spy Master leveling trick that uses Garrisons as temporary links, so destabilise deletes the cheap parts while the Spy Master survives, and repeating this along an edge builds a long “snake” with fast lock sustain from higher tier Spy Masters.
| Part | What the player does | Why it works | Lock action |
|---|---|---|---|
| Core chain | Place Armoury → Garrison → Garrison → Spy Master | Garrisons act like disposable connectors, and the Spy Master becomes the real kept room | Lock the Spy Master |
| Destabilise step | Let destabilise happen and accept Garrison deletion | The chain gets trimmed, yet the Spy Master stays and the build stays safe | Keep Spy Master locked |
| Repeat pattern | Repeat the same chain again on the next safe tile | Spy Master count rises fast, and lock sustain grows | Lock the new Spy Master |
| Corner moment | Armoury → Garrison → Spy Master can form a square for one turn | Squares can cause wrong deletes, so the corner needs tighter control | Lock Spy Master plus the linked Garrison |
| Risky corner option | Add a third lock when the middle gives a big delete choice | Extra lock forces the game to delete the safer block | Third lock on the other risky neighbor |
| Fodder option | Use Sacrificial Chamber as a temporary safety tool | Sacrifice can remove the risky link before the delete step | Sacrifice first, then lock Spy Master |

Roman road is a quick path trick that creates a loop for one turn, then breaks that loop in the same turn with a sacrifice, so the player gets the connection needed for Smithy or the main snake, and destabilise later deletes the cheap road pieces instead of touching the valuable Path of Exile 2 unique items.
| Part | What the player does | Why it works | Timing rule |
|---|---|---|---|
| Build the road loop | Place a short road piece that makes a temporary loop | The loop exists only to give one turn of connection | Do it only as a planned tech move |
| Place Smithy | Place Smithy while the loop exists | Smithy gets the link it needs for the chain | Same turn as the loop |
| Break the loop | Use the Sacrificial Chamber action to disconnect the loop | The temple returns to a safe non loop shape | Same turn as Smithy placement |
| Let road die later | Accept that road can destabilise later | Deletions hit the cheap road first | After the tech turn |
| Keep the snake safe | Keep locks on the valuable chain near the tech spot | Destabilise deletes the wrong rooms less often | Lock before the tech turn |
Cali lock skip in Path of Exile 2 Atziri is an early survival plan where the player fills the middle with feeder rooms and leans the main snake toward the right side, so destabilise deletes cheap rooms first while the valuable chain keeps growing and locks stay available for later tech like Spy Masters or Smithy–Golem.
| Part | What the player does | Why it helps |
|---|---|---|
| Middle feeder block | Place feeder rooms in the middle area | Destabilise hits feeders before key rooms |
| Right side lean | Build the main snake aimed toward the right | The valuable chain stays away from common delete targets |
| Keep feeders disconnected | Keep feeder rooms away from the main chain | The delete step finds easy targets outside the core |
| Lock priority | Lock only the key chain rooms | Locks protect value while feeders stay disposable |
| Transition point | Switch to Spy Master or other tech after lock sustain grows | The build gains safety and keeps momentum |

American sandwich in Path of Exile 2 Atziri is a planned way to build the Smithy–Golem Works spine using a short chain that can survive destabilise, because the player locks the expensive end rooms and lets the early links get deleted, so the final shape stays ready for upgrades and later Path of Exile 2 items.
| Step | Placement order | What it connects | Main purpose | Lock plan | What destabilise deletes |
|---|---|---|---|---|---|
| 1 | Armoury | Starts the sandwich line | Gives a clean start point that can upgrade into Smithy | No lock yet, locks stay saved | Nothing important yet |
| 2 | Alchemy Lab | Armoury → Alchemy | Acts as a bridge room in the pattern | No lock, keep it disposable | Alchemy can be deleted later |
| 3 | Armoury | Alchemy → Armoury | Extends the bridge and keeps upgrade options open | No lock, keep it disposable | This Armoury can be deleted later |
| 4 | Smithy | Armoury → Smithy | Creates the real value point for the spine | Lock Smithy as soon as it is placed | Early bridge rooms take the hit |
| 5 | Golem Works | Smithy → Golem Works | Finishes the spine target used for long chains | Lock Golem Works with Smithy | Early bridge rooms get removed first |
| Safety check | Before Step 4 | Snake chain position | Prevents a loop or an accidental square during the build | Locks ready before Smithy placement | Extra side links become the delete target |
| After the delete | After a destabilise tick | Smithy–Golem remains | Confirms the tech worked and the spine survived | Keep Smithy locked until stable | The bridge rooms are gone, which is intended |
| Common failure | During Step 5 | Side connections open | The game can delete the wrong block if the target is too connected | Add one extra lock on the risky neighbor | A larger connected block becomes the delete choice |
Spy Master feeder in Path of Exile 2 Atziri is a small setup where the player places one spare Spy Master with zero connections, then uses locks and short temple entries to keep it alive, so other Spy Masters can use assassinate level ups while the feeder stays available for later cycles.
| Step | What the player does | Lock state | What it gives | Main risk |
|---|---|---|---|---|
| 1 | Place a Spy Master on an empty tile with zero links | Locked right after placement | The feeder stays safe from destabilise | A nearby new link can pull it into a delete group |
| 2 | Enter the temple, then exit fast | Keep it locked during the run | Assassinate level ups can trigger | Staying too long can force extra destabilise events |
| 3 | After exit, remove the lock on the feeder | Unlocked after the run | The feeder remains usable for later turns | Unlocking too early can lose it to the next delete |
| 4 | Repeat the same short entry pattern later | Lock before entry, unlock after exit | Stable Spy Master leveling over time | A corner layout can create a risky square moment |
| 5 | Use locks on the main chain first | Locks stay on value rooms | The snake stays alive while feeder works | Lock shortage can delay the next feeder cycle |

In the end, the Temple gives rewards to discipline, and it eats weak planning like a hobby. In Path of Exile 2 Atziri, locks and feeder rooms turn chaos into a script, and one lazy timing choice gets paid in deleted value. Russian tech and Roman road work when the player follows the turn order, and keeps sacrifices saved for the forced moments. The 200d/hour fantasy lives on clean exits after the target medallions, and the rest of the run exists to remind the player who owns the Path of Exile 2 bosses.


Atziri Temple in path of exile 2 – rooms, upgrades, medallions, build tech for runs and 200d/h loop, Russian tech, Roman road plan inside.

Atziri Temple in path of exile 2 – rooms, upgrades, medallions, build tech for runs and 200d/h loop, Russian tech, Roman road plan inside.

Atziri Temple in path of exile 2 – rooms, upgrades, medallions, build tech for runs and 200d/h loop, Russian tech, Roman road plan inside.

Atziri Temple in path of exile 2 – rooms, upgrades, medallions, build tech for runs and 200d/h loop, Russian tech, Roman road plan inside.

Atziri Temple in path of exile 2 – rooms, upgrades, medallions, build tech for runs and 200d/h loop, Russian tech, Roman road plan inside.

Atziri Temple in path of exile 2 – rooms, upgrades, medallions, build tech for runs and 200d/h loop, Russian tech, Roman road plan inside.

Atziri Temple in path of exile 2 – rooms, upgrades, medallions, build tech for runs and 200d/h loop, Russian tech, Roman road plan inside.

The player builds a long snake chain, protects key rooms with locks, uses upgrades and medallions for control, then runs for vault rewards or Atziri access with a stable layout.
Diminishing returns start after four rooms of the same type exist, and the reduction starts on tier 1 rooms first, so extreme stacking gives reduced value for the same effort.
Destabilise deletes rooms after progress, based on the current layout. Locks protect chosen rooms, and feeder rooms take the delete hit so the value chain stays alive.
Russian tech chains Spy Masters through Garrisons, then locks the Spy Master so destabilise removes the Garrisons, which helps Spy Master leveling and supports lock sustain over time.
Roman road creates a loop for one turn to place a needed connection, then a same turn sacrifice breaks the loop, so the main chain stays safe for the next destabilise step.
Cali lock skip fills the middle with feeder rooms and leans the main chain to the right side, so deletions hit feeders while locks stay saved for later Smithy–Golem steps.
American sandwich places Armoury into Alchemy into Armoury, then links into Smithy and Golem Works, and the player locks Smithy plus Golem Works so the spine survives.
Spy Master feeder uses a spare Spy Master with zero links, locked during a short entry and unlocked after exit, so assassinate level ups can happen while the feeder remains usable.
The transcript treats six medallions as a clean checkpoint, since rewards appear late in the run, so short loops keep the route tight and keep time focused on payout.

GTA 6, new seasons, major updates — get ready to dominate from day one