


Marathon Boost
Marathon Beginner’s Guide
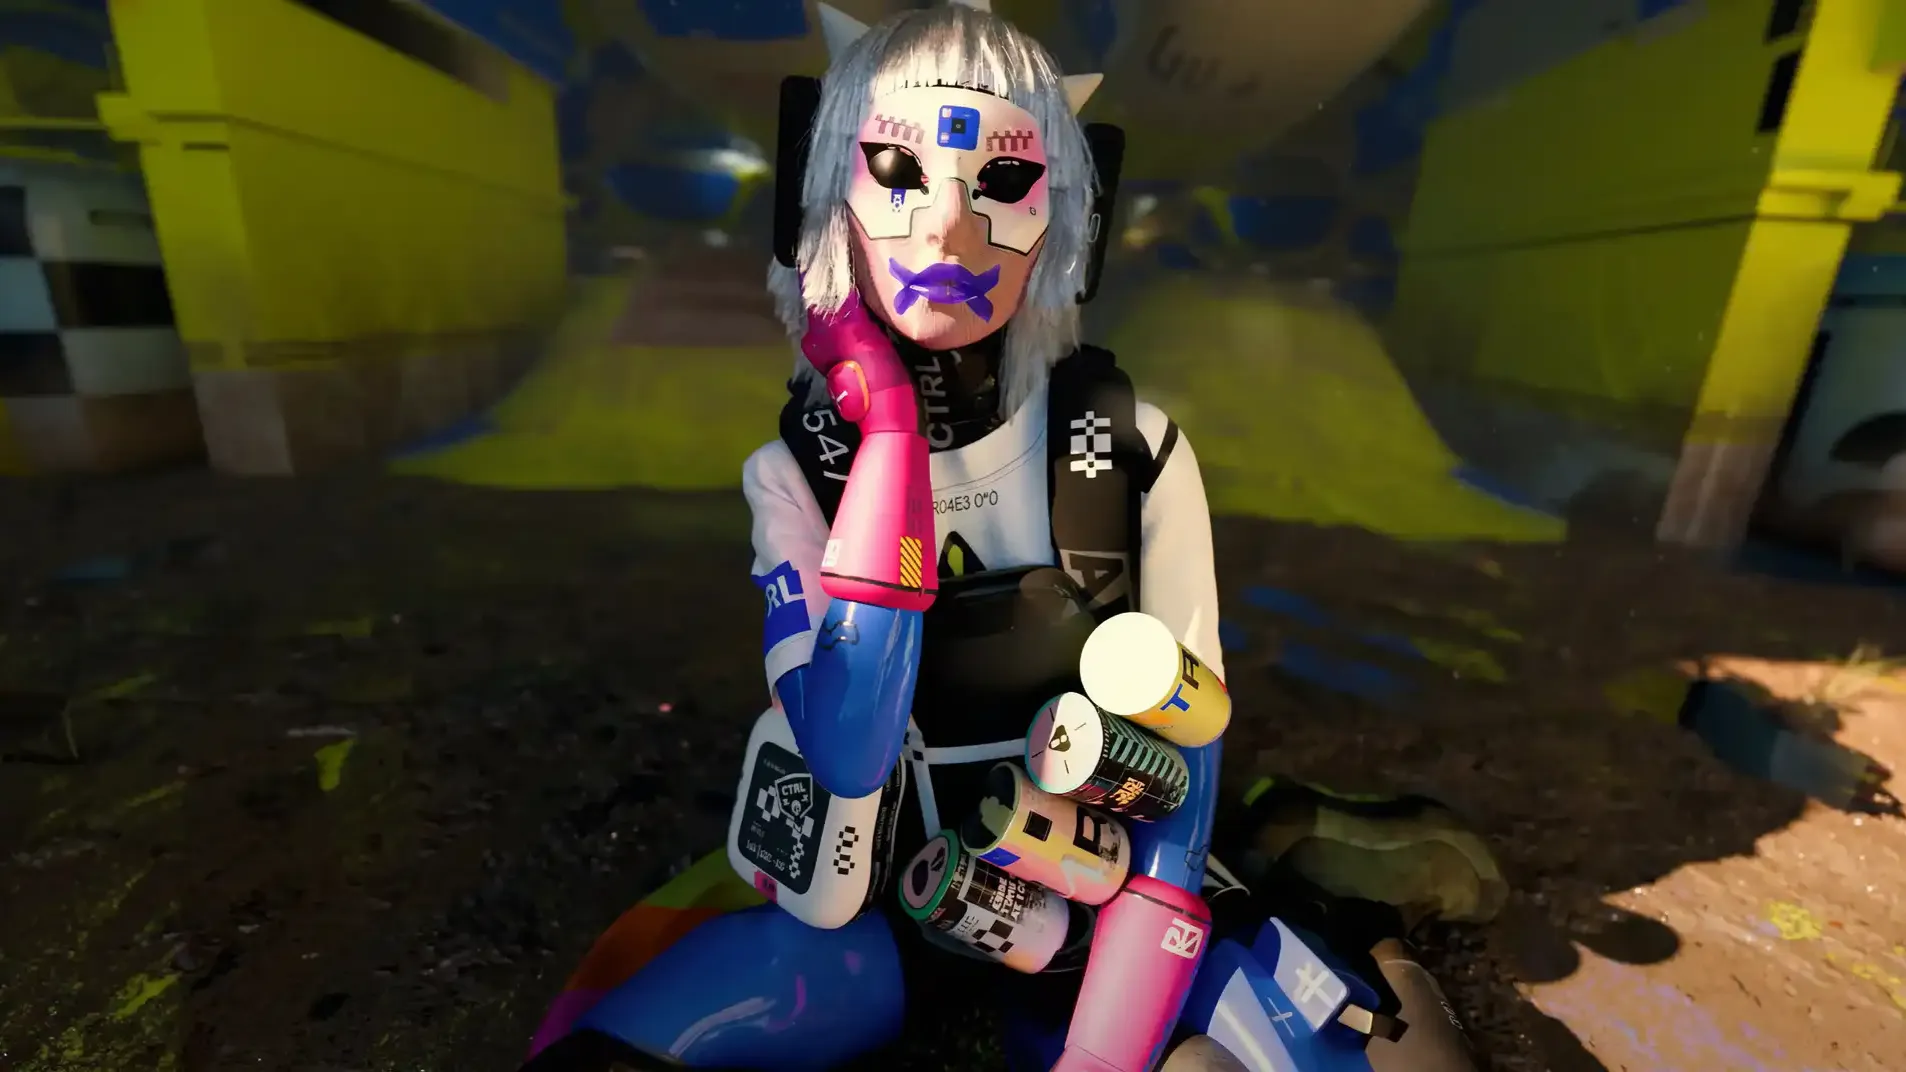
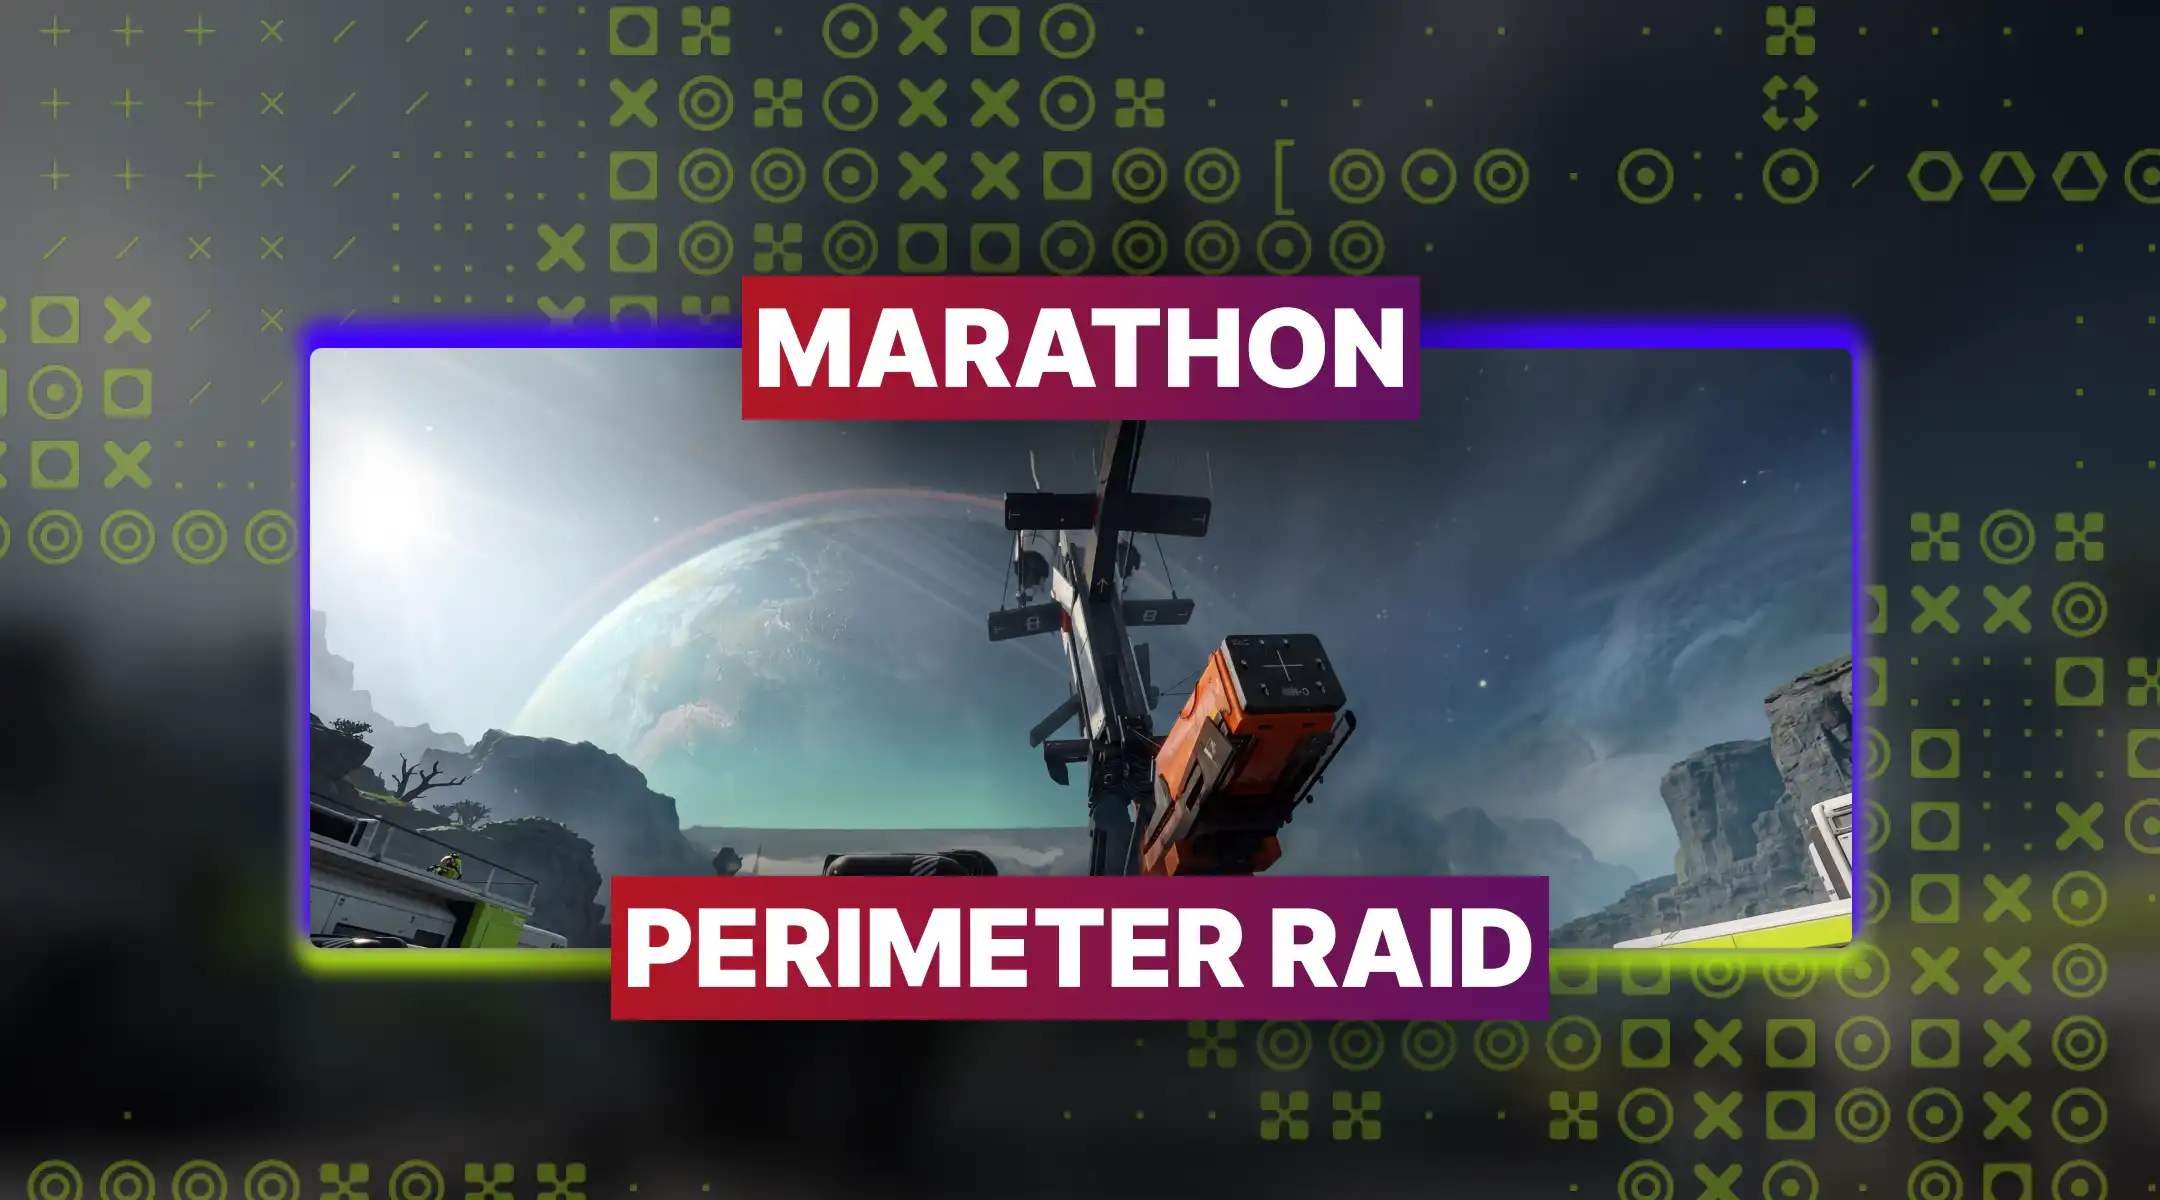
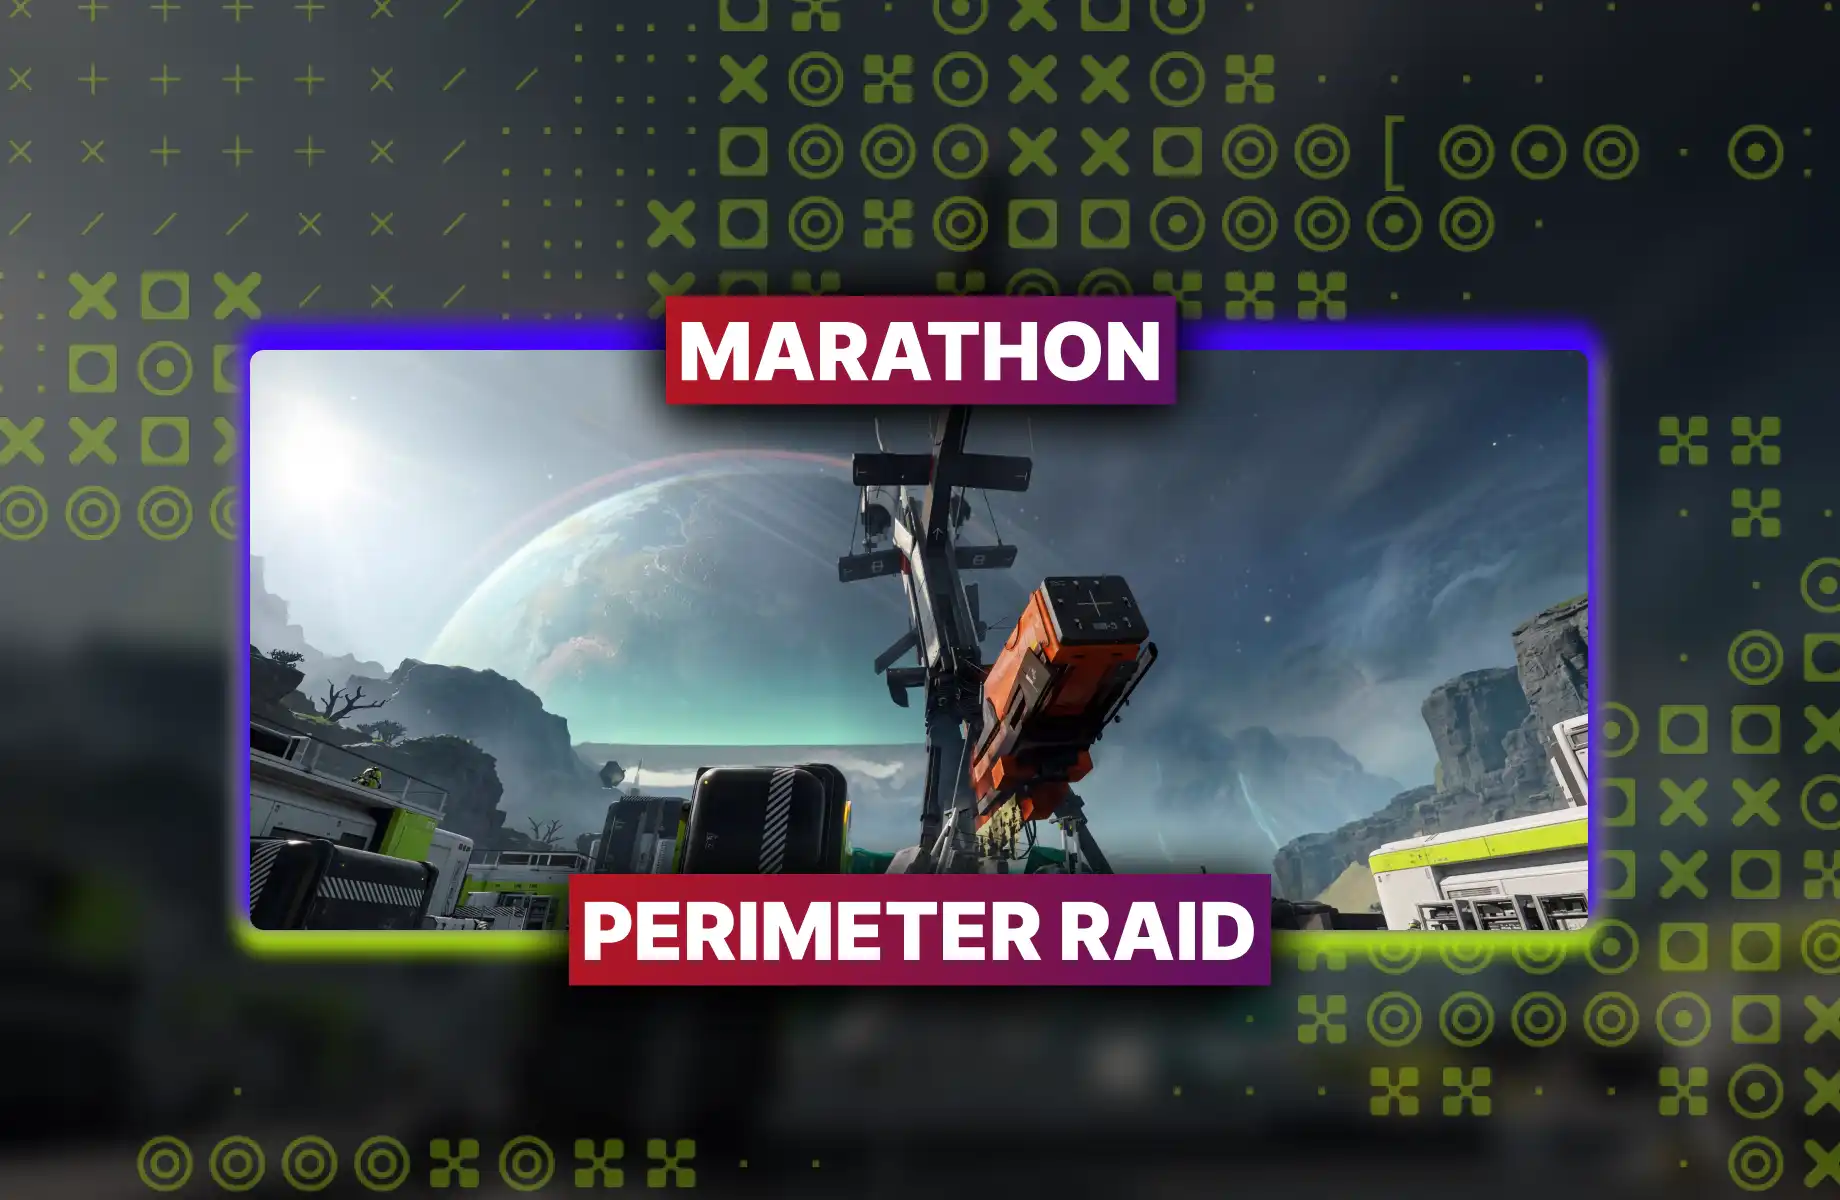
Disappear, close the gap, leave bodies: Shrouded Assassin is the best Marathon Assassin build for players who believe being seen is already losing.
Shrouded Assassin Marathon guide is built around a core truth: the Assassin class is the stealth king of Tau Ceti IV, and this particular build weaponises that fact with ruthless efficiency. Smoke grenades activate your Shroud ability. Shroud drops your visibility to effectively zero. You walk through the smoke, you arrive in someone's personal space uninvited, and you introduce their shields to the concept of melee damage via Knife Fight V1, Strike Kit V2, and a WSTR Combat Shotgun that operates at ranges which constitute a social violation in most jurisdictions.
This guide covers both the low tier gear variant for early runs on standard maps and the high tier gear variant for when you've progressed past grey and green loot and into equipment that makes the genuinely frightening. Both versions play identically. One just does it more aggressively and with better numbers. Two variants, one philosophy: don't be seen. Don't be found. Don't miss.
If you’re reading this, you might be interested in a discount just for you—my blog reader! Use code CRINGEBLOG to get an amazing discount on any offer in our shop.
Let's discuss what the Marathon Assassin class does with the kind of lethal precision this class deserves, and what it absolutely cannot do, which it will remind you of repeatedly if you try to make it do those things anyway.
Strengths
Weaknesses
On being countered by Recon: A Recon player with Echo Pulse active sees you. A player with Thermal sights sees you. These are not theoretical problems: they are the actual, practical, humiliating situations where the Assassin's entire identity evaporates in a single ability activation. Know which enemies on the server are likely running Recon. Consider, for a brief moment, what it means to be the counter-counter-pick. Then go find the ones who aren't Recon and delete them instead.

The best Assassin loadout Marathon runs by use a deceptively simple equipment philosophy: maximise close-range damage, extend smoke duration, reload faster inside it, and carry enough ammo that the sustains without constant interruption. Here is what that looks like in practice.
WSTR Combat Shotgun
The weapon of choice for anyone who has decided that the appropriate answer to "how close are you to the enemy" is "yes." Two shots at close range, and most opponents go down before they've had time to fully process that you were invisible three seconds ago. If you have a weapon chip that boosts melee damage after dealing damage, slot it in: it turns shotgun damage into a setup for the melee follow-up, which is a combination so unpleasant it might actually be illegal in some regions.
V75 Scar / V22 Volt Thrower
Your engagement tool for everything that is not inside a smoke cloud. The V75 Scar handles mid-range and UESC AI that would otherwise require standing in the open, which you try to avoid on principle. The V22 Volt Thrower is an alternative if you prefer the Volt ammo: Volt is the most commonly dropped ammo type, which means you run dry less often. A small but meaningful quality-of-life consideration for a class that is already managing smoke cooldowns, stealth timing, and the existential weight of being a menace.
This is not a utility item. This is the trigger mechanism for the entire build. Smoke Grenades activate your Shroud ability in Marathon, which drops your visibility and lets you close distance on enemies who have no reasonable expectation of your presence. Without the Smoke Grenade, Shroud has no deployment vector. Without Shroud, this is a melee build with a shotgun, which is fine but significantly less theatrical. The Smoke Grenade is mandatory. Carry it always. Throw it first. Walk through it confidently.
Best Available (Protector V1 Baseline)
Use the highest rarity shield you can find at the time. This is not a build that gives you the luxury of prioritising offence over survivability: Assassin gets into melee range, which means taking counter-fire is baked into the job description. Every additional bar of shield is a slightly longer window in which you can do your job before consequences catch up with you. Upgrade without hesitation whenever better options appear.
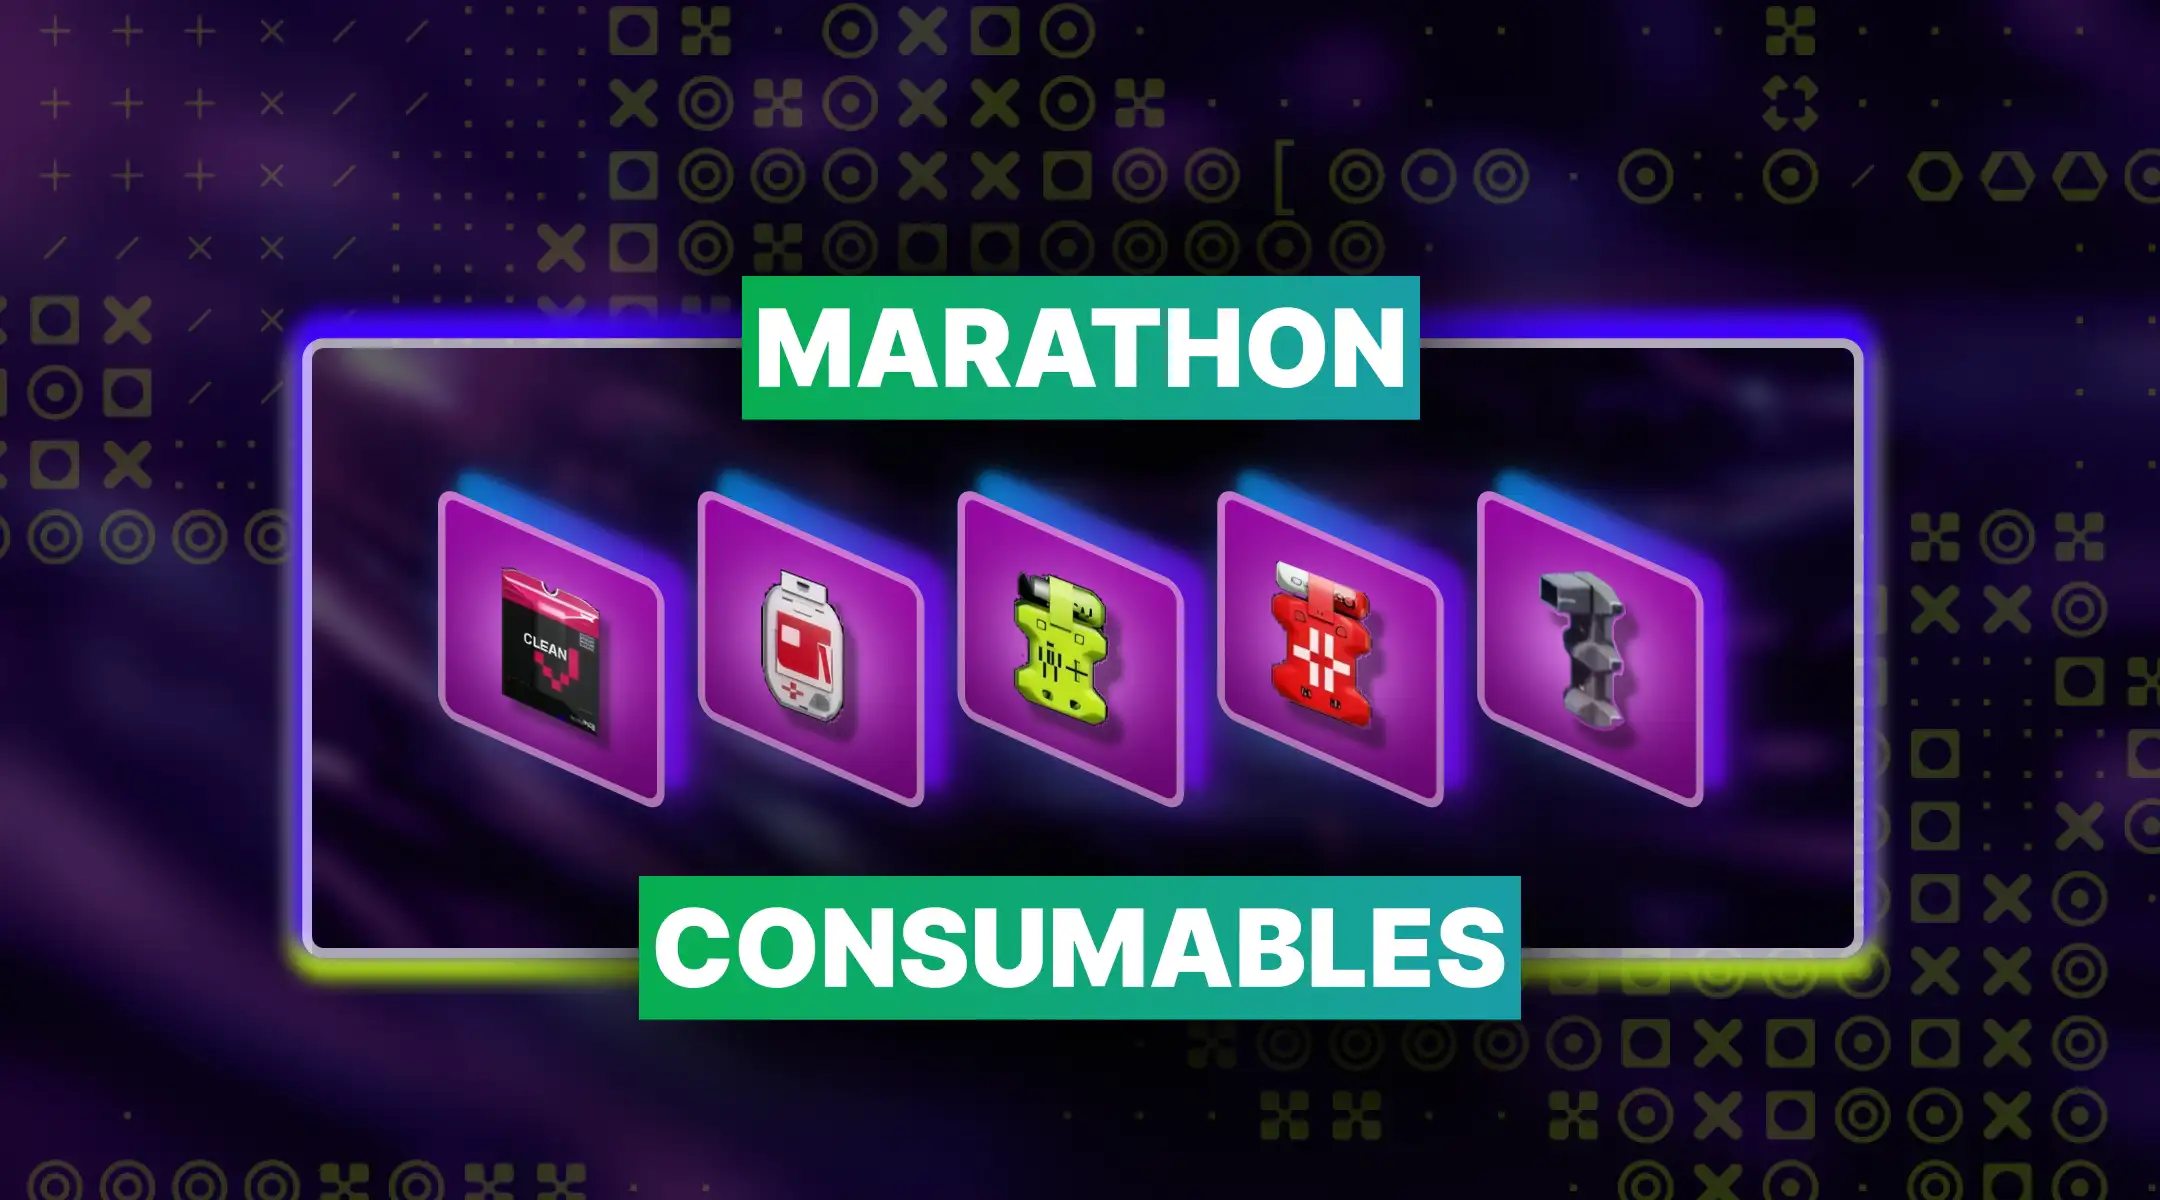
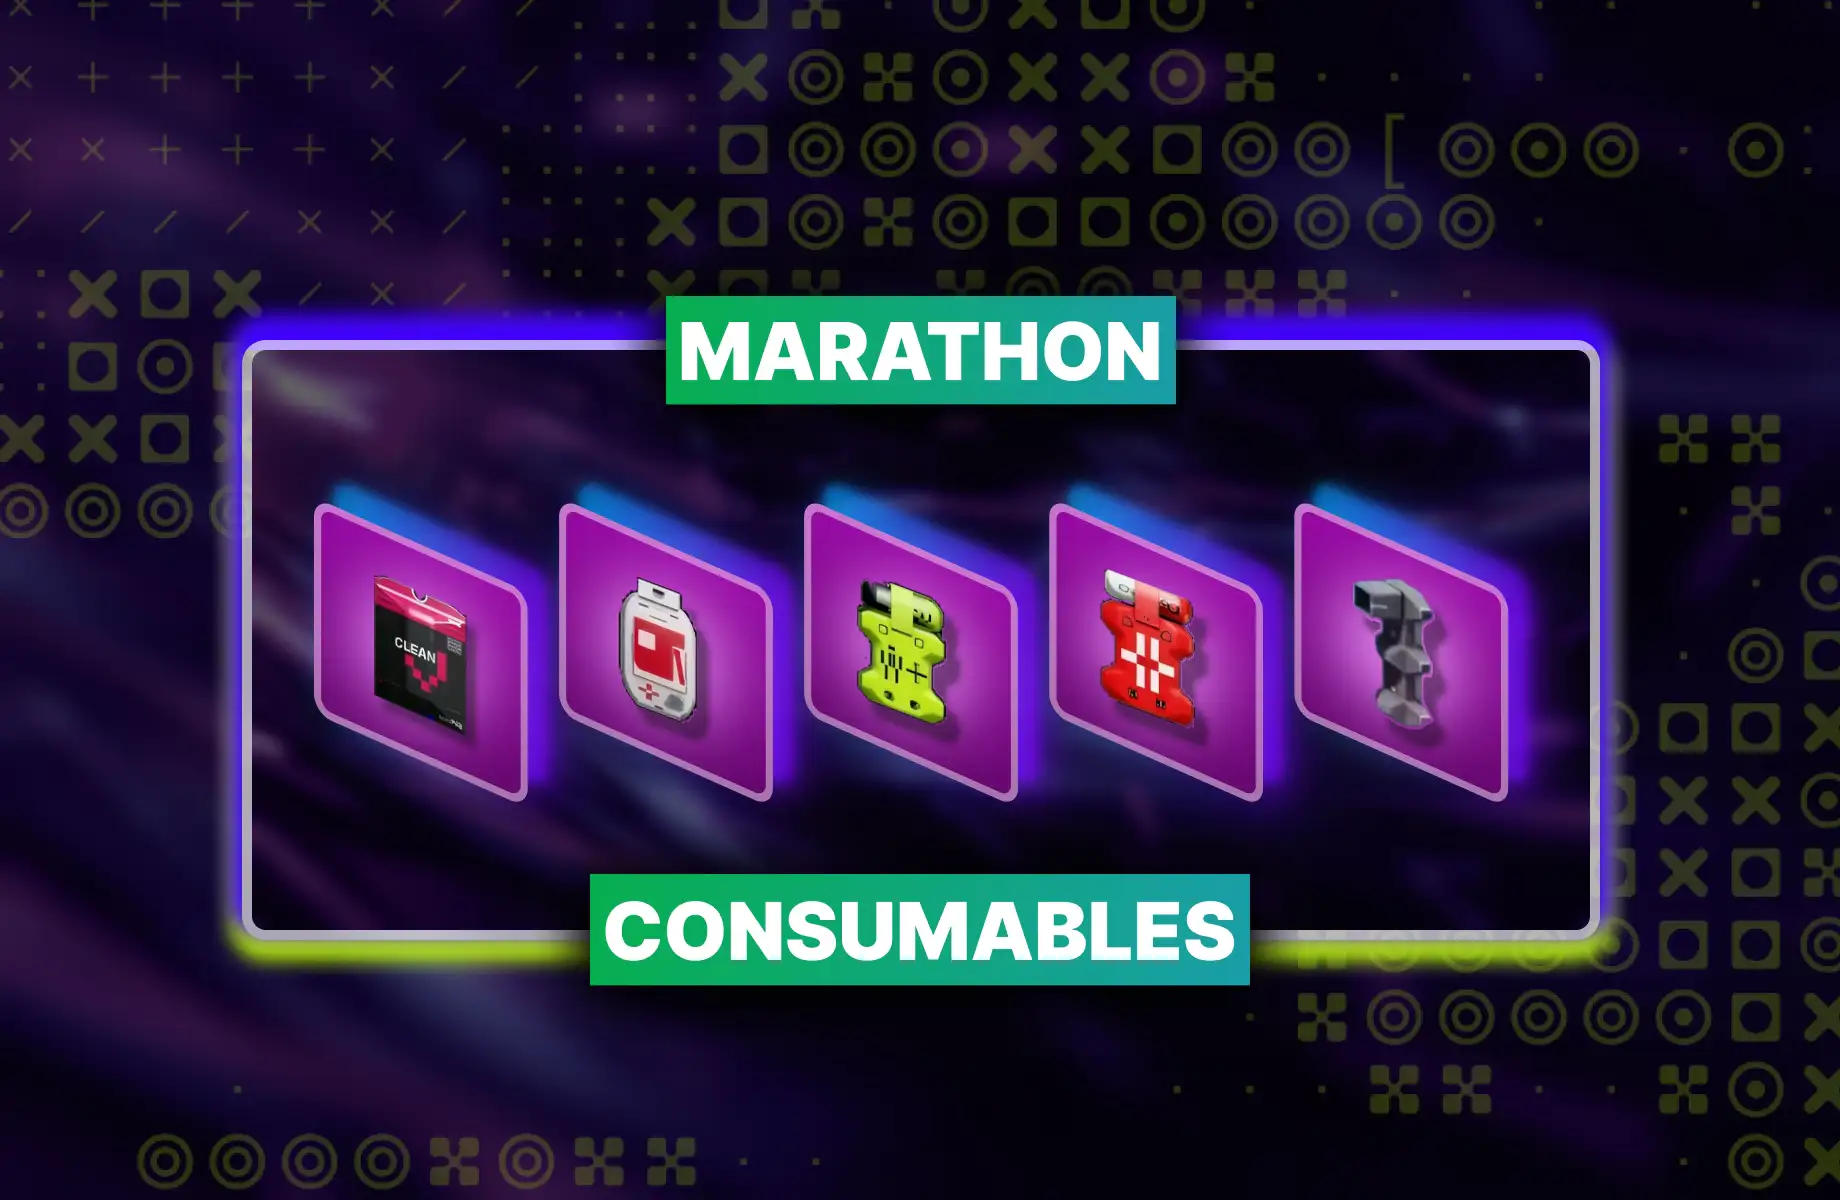
8XS Ammo Pack
Ammo sustainability for a class that gets into a lot of close-range combat. The 8XS Ammo Pack ensures you're not dry on WSTR Combat Shotgun shells at the exact moment you've successfully flanked a squad through a smoke cloud and need to actually shoot them. Running out of ammo after an invisibility flank is one of the most demoralising experiences in Marathon. This backpack is specifically the thing that prevents that experience from happening to you.
Ghost Protocol
Extends smoke duration. Full stop. Ghost Protocol is the Core that turns a brief window of invisibility into an extended tactical advantage: more time inside the smoke means more time closing distance, more time landing melee strikes, and more time in the environment where you are completely untouchable by enemies who are staring into grey nothing trying to figure out where you went. The smoke ends eventually. Ghost Protocol makes "eventually" significantly later than enemies would prefer.
Breathing Space
Faster reload speed inside the smoke. The Ghost Protocol and Breathing Space Core combination is described by as "the best combo for fast shotgun action" inside smoke, and this assessment is correct. You throw the smoke, you enter Shroud, and then you can fire, reload, and fire again at a pace that would be reckless in the open and is completely fine inside a cloud that renders you effectively invisible. Two shots from the WSTR Combat Shotgun plus a reload you could never afford in a visible fight is the damage window this Core creates.
Augmented Capacitors V2
+20 to Prime Recovery, which translates directly to Smoke Screen being available more often. The Assassin's entire identity is contingent on Smoke Screen. Augmented Capacitors V2 is the implant that ensures the identity stays intact across multiple engagements rather than leaving you as a melee enthusiast with no smoke and a deeply exposed position. You know this. The guide knows this. The implant slot knows this. Everyone agrees.
Knife Fight V1
Direct melee damage boost, specifically for those smoke cloud engagements where you've closed the gap and the shotgun has been fired and now you're finishing with your hands, which is a sentence that sounds absurd until you understand the Assassin's melee damage potential with proper stacking. Knife Fight V1 is the baseline. More melee damage is always better. The build's author is explicit: the more melee damage you have, the better. This is not ambiguous advice.
Strike Kit V2
Ability recovery boosts, additional melee damage, and a movement speed buff triggered by breaking a hostile's shield. The movement speed component is particularly elegant: the moment you break a shield, you get faster. This means targets trying to retreat from a smoke engagement after taking shield damage find that the person pursuing them just accelerated. There is no comfortable distance from an Assassin with Strike Kit V2 active. The gap closes regardless of which direction the enemy runs.
The Assassin build operates on a so clean it barely deserves to be called a strategy. It's more of a sequence. A very short, very final sequence for whoever is standing in the wrong place when you arrive. Here is how every ability in the kit contributes to that sequence.
Smoke Screen is Assassin's prime ability and it is the foundation that every other item, Core, and Implant in this build is designed to support. Activate Smoke Screen to deploy a cloud that enables Shroud: the invisibility state that lets you reposition, flank, and close distance on enemies with a freedom of movement that would get you killed immediately in a visible engagement. Augmented Capacitors V2 gets it back faster. Ghost Protocol makes the smoke last longer once it's deployed. The entire loadout is a support structure for this one ability's uptime.
Shroud is the Assassin invisibility Marathon ability that activates when you're inside your Smoke Screen. While Shroud is active, you are functionally invisible to enemies who lack Thermal sights or Recon intel: which is most enemies, most of the time, in most situations. Use Shroud to close the gap to melee range without announcing your approach. Use it to reposition mid-fight when the engagement is going badly. Use it to escape after a kill when the remaining enemies are confused about where you went. Shroud is not a panic button. It is a movement tool that happens to also be an invisibility cloak, and treating it as the former wastes most of its value.
Inside the smoke, under Shroud, you have a Ghost Protocol-extended window and a Breathing Space-boosted reload speed. Two shots from the WSTR Combat Shotgun is typically sufficient. If it isn't, the melee follow-up: boosted by Knife Fight V1 and Strike Kit V2: finishes what the shotgun started. The moment you break a shield, Strike Kit V2's speed buff activates, meaning any target attempting to retreat from a damaged shield encounter finds you moving faster than expected into their continued personal space. Melee against UESC AI, specifically the weaker variants, eliminates grey and green shield targets in two to three hits before they have a chance to alert anything or return fire meaningfully.
When Smoke Screen is recharging and Shroud is unavailable, you play aggressively but conventionally: use the V75 Scar or V22 Volt Thrower for mid-range engagement, hold angles rather than pushing them, and let the Augmented Capacitors V2 do its work recovering the prime ability. You are still a competent fighter without the smoke. You are significantly less terrifying without it, and enemies who've been paying attention will notice the absence and take advantage of it if you give them the opportunity. Don't. The Smoke Screen recharges. Everything returns to normal. Your version of normal.
The Marathon game Assassin class rewards patience and map knowledge above raw mechanical skill: which is either tremendously encouraging or a deeply indirect way of saying this build requires practice. Both are true. Here is the practical sequence that makes the Shrouded Assassin build Marathon players use actually function:

The Marathon Faction priority for Assassin covers three factions in descending urgency: Arachne for direct damage, Sekiguchi for Core access and recovery, and CyberAcme for heat management. Miss any of these and the build degrades in predictable, preventable ways that you will find deeply annoying in practice.
Arachne is the combat faction and it contains the WSTR Combat Shotgun stat bonuses and melee damage nodes that stack directly onto Knife Fight V1 and Strike Kit V2. Every melee damage point in the Arachne tree is an additional margin in the smoke engagement window. Every shotgun bonus is a higher chance that two shots are definitively two shots rather than two shots and an awkward pause.
Sekiguchi at Rank 3 unlocks purchasing access to Ghost Protocol and Breathing Space: the two Cores that make the smoke window function as a damage platform rather than just a concealment tool. Without Sekiguchi rank, you can still use the Cores if you find them in the world, but the ability to purchase them removes the dependency on loot RNG for the most critical pieces of the build. Sekiguchi also provides Prime and Tactical Recovery stat nodes that reduce cooldown times independently of Augmented Capacitors V2.
Here is what the Shrouded Assassin build operates with statistically across both variants. The melee damage and prime recovery gains are the headline numbers. The Self Repair Speed penalty is the honest cost of building this aggressively around close-range combat at the expense of general survivability outside the smoke window.
Agility−15 → 5
Heat Capacity 10
Loot Speed 15
Fall Resistance 10
Melee Damage +20 → 30
Finisher Siphon 10
Prime Recovery+30 → 40
Tactical Recovery+10 → 15
Self Repair Speed−100
Revive Speed 15
Hardware−110 → −100
Firewall 20
Ping Duration+20 → 30
The Self Repair Speed penalty of −100 is significant and is the build's most meaningful concession: outside of the smoke, Assassin heals slowly, which means taking damage in the open is a problem you want to avoid rather than manage. Inside the smoke, this barely matters because engagements are over before sustained fire becomes relevant. Outside it, play smart and rely on your backpack for recovery between engagements. The Ping Duration bonus of +20 to +30 is a quiet upside that makes any scouting or marking abilities you do use last meaningfully longer than baseline.


Disappear, close the gap, leave bodies: Shrouded Assassin is the best Marathon Assassin build for players who believe being seen is already losing.

Disappear, close the gap, leave bodies: Shrouded Assassin is the best Marathon Assassin build for players who believe being seen is already losing.

Disappear, close the gap, leave bodies: Shrouded Assassin is the best Marathon Assassin build for players who believe being seen is already losing.

Disappear, close the gap, leave bodies: Shrouded Assassin is the best Marathon Assassin build for players who believe being seen is already losing.

Disappear, close the gap, leave bodies: Shrouded Assassin is the best Marathon Assassin build for players who believe being seen is already losing.

Disappear, close the gap, leave bodies: Shrouded Assassin is the best Marathon Assassin build for players who believe being seen is already losing.

Disappear, close the gap, leave bodies: Shrouded Assassin is the best Marathon Assassin build for players who believe being seen is already losing.

Thermal and Recon are intended hard counters. Identify Recon players early, eliminate them first, then execute your invisibility flank.
Yes, it's highly viable solo. You control the pace and engagements entirely, though it requires more patience without teammates.
Playstyle remains identical. High-tier gear simply scales up your stats, offering better damage, faster recovery, and longer smoke duration.
Ammo economy. Volt ammo drops abundantly, keeping you supplied consistently across a run without heavy cognitive load.
Use teammates as distractions. While enemies focus on their visible aggression, you flank from an unexpected angle using Shroud.
Play defensively from cover using your secondary weapon. Wait for your cooldowns to recover before attempting aggressive stealth pushes.

GTA 6, new seasons, major updates — get ready to dominate from day one.