


Marathon Boost
Marathon PC optimization Guide | Best PC Settings + Potato mode
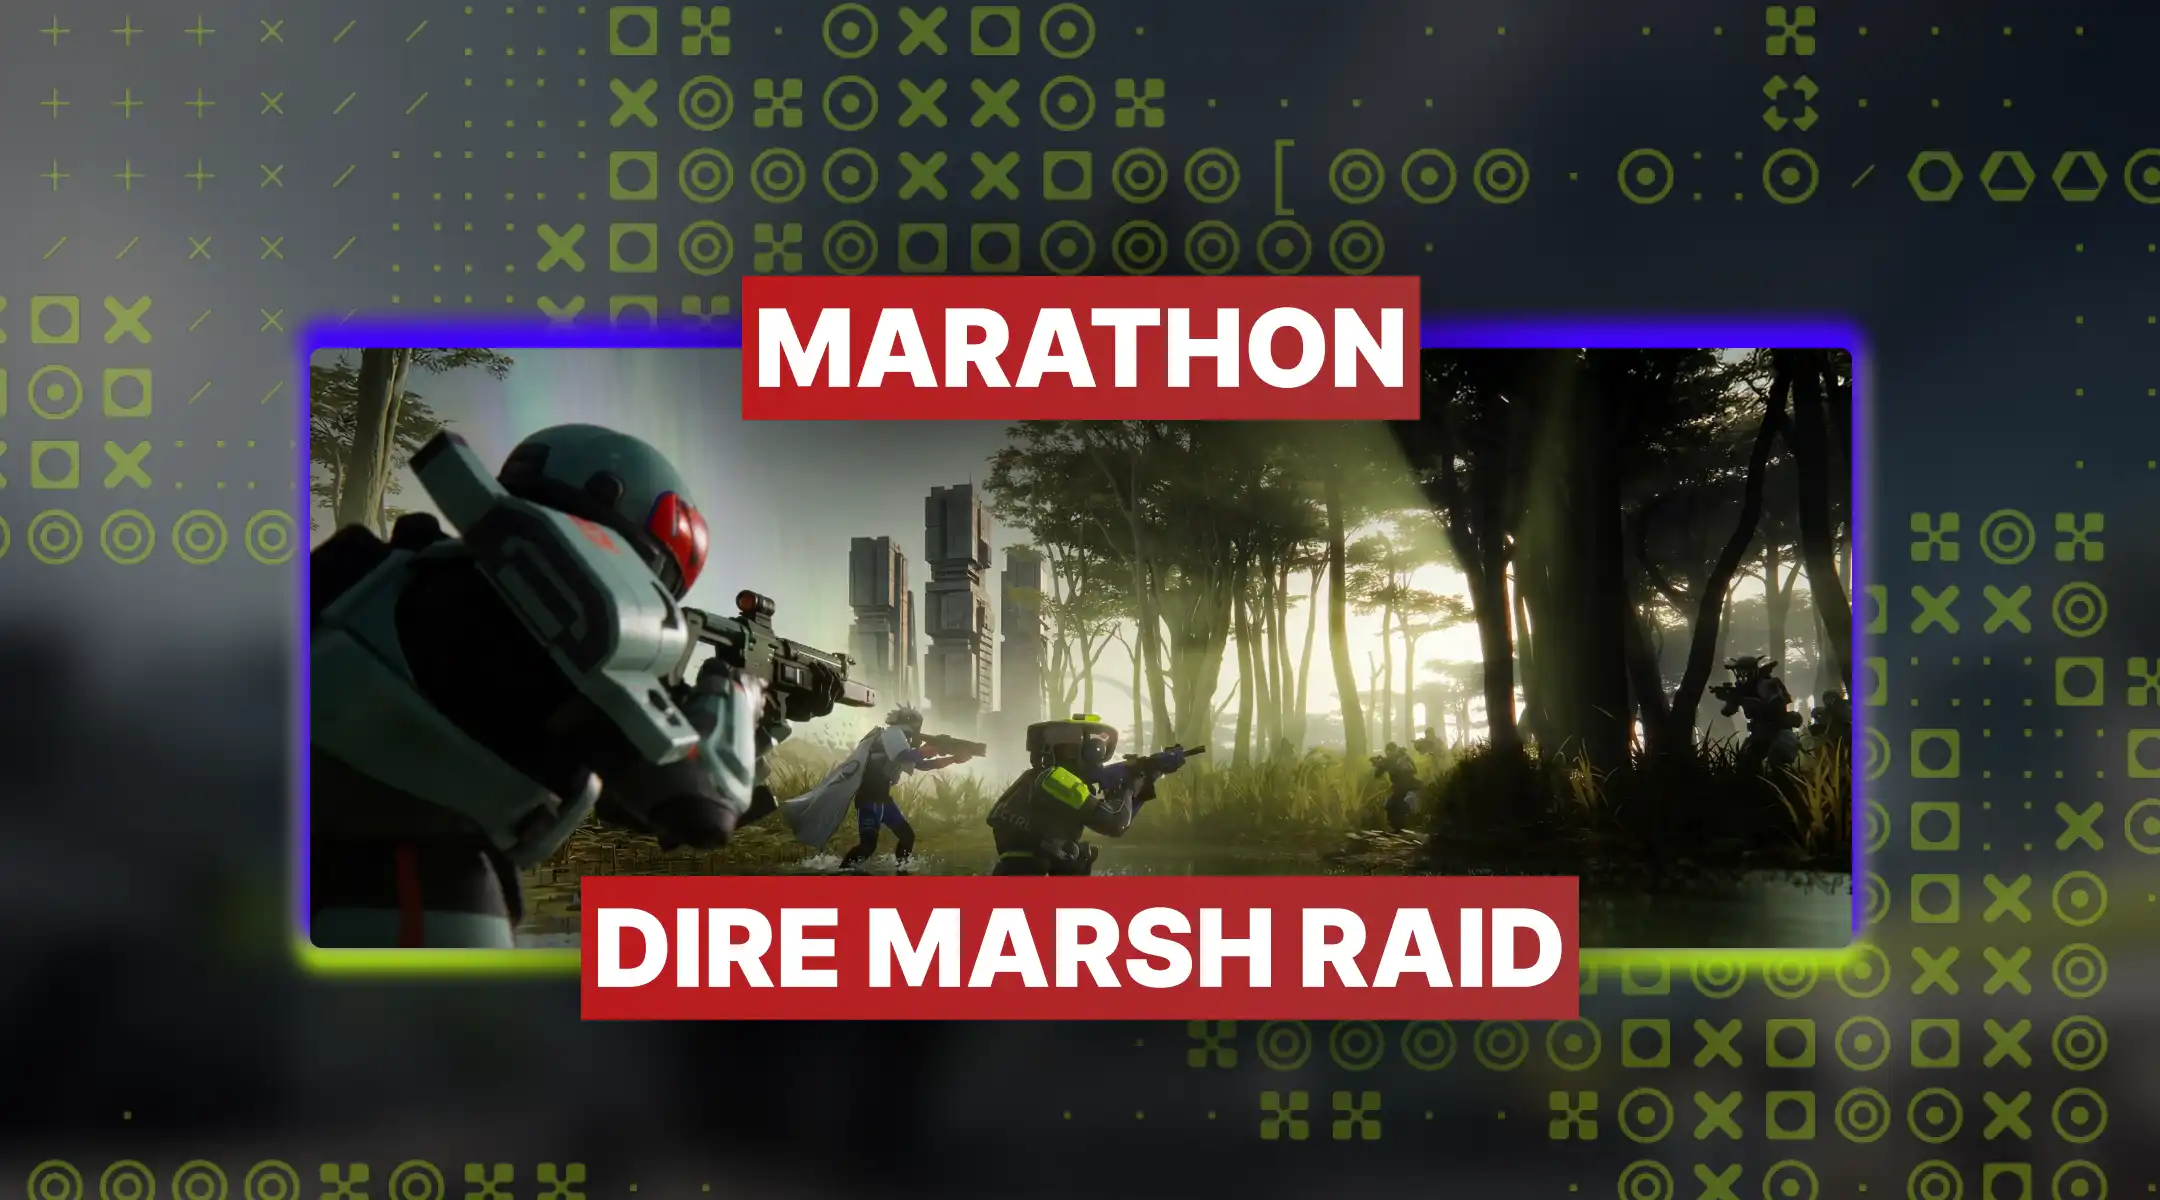
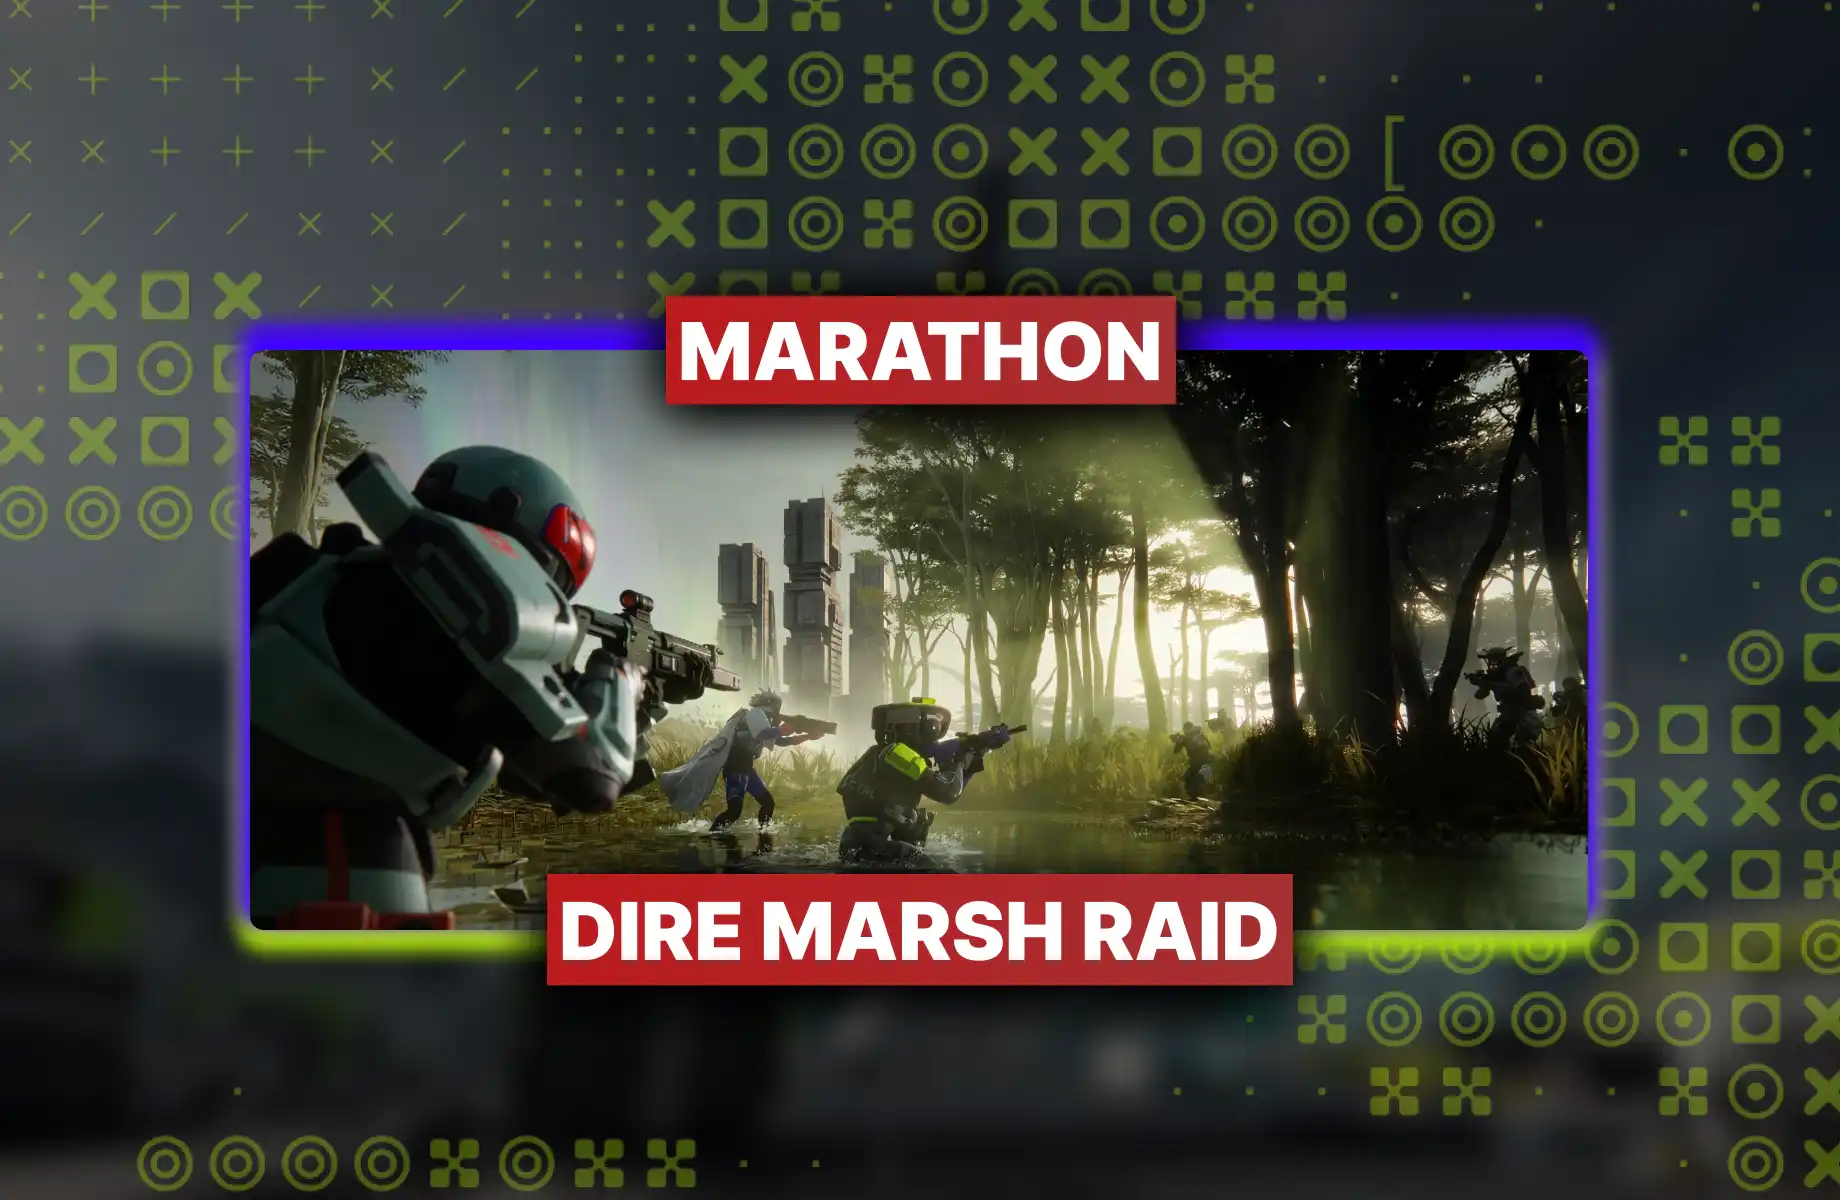
Destroy everything in reach in Marathon with Melee Destroyer build: the best Destroyer loadout for getting dangerously, irresponsibly close to enemies
Melee Destroyer is not a guide about caution, range, or tactical restraint. It is a guide about closing the gap between you and the person about to ruin your day, then making sure they regret existing. Congratulations on your excellent taste in violence.
The best Destroyer loadout Marathon has to offer is not sitting behind cover with a sniper rifle. It is sprinting at full speed using your thrusters, activating the Myrmidon Core for a melee damage boost, and introducing someone's face to the concept of consequences. This Marathon beginner Destroyer guide will walk you through the weapons, Cores, Implants, and the Faction priority for Destroyer progression that makes this build not just functional, but genuinely terrifying to play against.
Fair warning: this build requires Faction progression before it fully comes together. If you were hoping to sprint in day one and be immediately broken, I have bad news and also condolences. The good news is the progression path is completely worth it, and we'll cover exactly where to spend your resources so you're not fumbling around investing in the wrong things like a tragic little amateur.
Before you sprint headfirst into your first squad and wonder why everything went wrong so quickly, let's establish what this Marathon Melee Destroyer build is and: more importantly: what it absolutely, definitively is not.
Weaknesses
Note: If you looked at "Heat Buildup management" and thought "I'll figure that out when it's a problem": that's exactly the attitude that makes this build both extremely fun and extremely fatal. The Faction unlocks in this guide exist specifically to save you from yourself.
The Melee Destroyer loadout Marathon players run with build is refreshingly simple in philosophy: get close, hit hard, and use guns only when fists and thrusters aren't dramatic enough. Here's the full kit, explained with the gravity it deserves.
WSTR Combat Shotgun
Point-blank devastation. The WSTR Combat Shotgun exists for moments when you've closed the gap and you need to make the engagement definitive rather than negotiable. At the range this build operates, it turns enemies into a series of very quick decisions they deeply regret.
Bully SMG
Your mid-range backup for when enemies have the audacity to not stand still while you sprint at them. The Bully SMG covers the close-to-mid zone comfortably and keeps you deadly during the rare moment when you can't get your melee attacks to land on someone who is actively running away from you.
Protector V3
Higher rarity shield because going into melee range with a tissue-paper shield is a learning experience you only need once. V3 keeps you alive long enough to actually reach your targets and apply the Myrmidon thruster bonus before you die embarrassingly.
24XS Med Pack+
Fast heals. Lots of them. Because a close-range brawler who can't recover quickly between encounters is just a very aggressive corpse. The 24XS Med Pack+ is your insurance policy against the fact that this playstyle is inherently, enthusiastically dangerous.
If you’re reading this, you might be interested in a discount just for you—my blog reader! Use code CRINGEBLOG to get an amazing discount on any offer in our shop.
This is where the Melee Destroyer build separates itself from lesser builds that merely suggest melee attacks are a good idea without actually building around them properly.
Myrmidon
The centrepiece of this entire build. Myrmidon grants a temporary melee damage increase after using your thruster: which means every gap-closing lunge into an enemy's personal space is immediately followed by a melee hit that carries dramatically enhanced consequences. Thruster in, punch hard. It's beautiful in its simplicity.
Ankle Breaker
The heat management Core you desperately need. Ankle Breaker reduces heat generation while a hostile is nearby: which is essentially always, given that this build actively seeks hostile proximity as a core game plan. Less heat means more thrusting, more melee, more Myrmidon procs. The loop sustains itself.
Energy Harvesting V4
Ability energy recovery, because your tactical ability has a timer that will absolutely expire at the worst possible moment unless you invest in getting it back faster. V4 is the premium option for a reason.
Knife Fight V3
Direct melee and knife damage enhancement. This pairs with the Myrmidon Core and the Arachne HARD_STRIKE.EXE faction skill to create a melee damage stack that makes close-range engagements deeply unpleasant for whoever isn't you.
Bionic Leg Upgrades V3
Movement and agility improvements. This build lives and dies on its ability to close distance quickly. Bionic Leg Upgrades V3 keeps you faster, more mobile, and capable of the kind of gap-closing that makes enemy players immediately reconsider their choice of engagement range.
The SiegeOC Melee Destroyer guide boils down to a loop so elegant it almost feels unfair. Almost. Here's the sequence that turns the Marathon Destroyer class into a close-range nightmare:
Your thrusters are not just a movement tool: they are the trigger mechanism for your entire damage loop. Every time you thrust toward an enemy, you're priming the Myrmidon Core for a temporary melee damage boost. This means that gap-closing is not just repositioning; it's the wind-up on your most powerful attack. Use your thrusters aggressively and deliberately. Don't coast into melee range. Launch into it.
Myrmidon Core timing: The melee damage buff from Myrmidon activates immediately after thruster use. Land your melee attack the moment you close distance: don't faff around with positioning once you've arrived. Time is damage.
Once you're in range, your damage toolkit includes the WSTR Combat Shotgun at point-blank, melee attacks buffed by Myrmidon and Knife Fight V3, and the Bully SMG for anything that retreats slightly. The Arachne HARD_STRIKE.EXE faction upgrade stacks additional melee damage on top of all of this, making your melee strikes hit for amounts that will genuinely surprise you the first time you see the numbers. Your job at this stage is to be overwhelming enough that your target never gets comfortable enough to shoot back properly.
Here's the part that separates Destroyer players who survive from Destroyer players who become a very exciting highlight reel for someone else. Heat Buildup is the tax you pay for being this aggressive. The Ankle Breaker Core reduces heat generation when you're near hostiles: which is wonderful because you're always near hostiles: and the CyberAcme Faction skills (Heat Sink.exe, Quick Vent.exe, Active Cool.exe) collectively ensure that your heat recovers fast enough to keep the loop going. HEAT_DEATH.EXE from Arachne reduces heat buildup on kills, which rewards you for finishing engagements quickly: exactly what this build should be doing anyway.
The rhythm to learn is: thrust in, melee burst, manage heat during any momentary gap, repeat. If you're overheating before the fight ends, you're either taking too long per target or skipping your Faction upgrades. Both are correctable problems. One of them requires you to actually progress your factions, which, yes, takes effort. You'll survive.
The Marathon Destroyer beginner guide version of this playstyle is deceptively simple: be first, be fast, be close. The nuanced version of that same advice is identical, just with more conviction behind it. Here's the practical execution:
Solo vs Squad: Unlike the UAV Recon build (which is essentially useless without a team to receive its intel), this Melee Destroyer build is one of the rare Marathon builds that genuinely works in both solo and squad contexts. Solo, you're a self-contained close-range threat who gets in and gets out. In squads, you're the terrifying vanguard who clears rooms before your teammates even know the room needed clearing.
The Marathon Faction priority for Destroyer splits across two factions: CyberAcme for heat management and Arachne for raw melee damage amplification. If you're spending resources elsewhere before completing these, you're making the build significantly worse and you deserve the consequences. Here's exactly what to grab and why:
CyberAcme handles the heat problem that this build's aggressive thruster usage creates. Without these upgrades, you'll overheat mid-fight at exactly the wrong moment and watch helplessly as your attack cadence collapses. With them, the heat loop becomes manageable enough that you can sustain the aggression this build demands.
Arachne is the damage faction for this build and where the Destroyer class gets its melee identity fully locked in. These three upgrades stack with your Core and Implant selections to create a close-range damage output that is not polite.
Here's what the fully-assembled Melee Destroyer build is working with statistically, so you know exactly what you've committed to and can't pretend to be surprised when it plays out exactly this way:
Agility+25 → 35
Heat Capacity−10 → 5
Loot Speed−35 → −30
Fall Resistance+15 → 20
Melee Damage+40 → 55
Finisher Siphon+15 → 25
Prime Recovery5
Tactical Recovery+40 → 50
Self Repair Speed−10 → 5
Revive Speed 10
Hardware−50 → −25
Firewall−5 → 15
Ping Duration 5
The agility and melee damage gains are the headline numbers here. Loot Speed taking a hit is the quiet trade-off you accept for being a murder machine rather than a looting machine: prioritise what this build is actually good at and loot quickly between engagements rather than during them.

• Lab Xerogel & Nanocomposite farming
• Resource route optimized
• Self-play or Piloted mode
Destroy everything in reach in Marathon with Melee Destroyer build: the best Destroyer loadout for getting dangerously, irresponsibly close to enemies

Destroy everything in reach in Marathon with Melee Destroyer build: the best Destroyer loadout for getting dangerously, irresponsibly close to enemies

Destroy everything in reach in Marathon with Melee Destroyer build: the best Destroyer loadout for getting dangerously, irresponsibly close to enemies

Destroy everything in reach in Marathon with Melee Destroyer build: the best Destroyer loadout for getting dangerously, irresponsibly close to enemies

Technically yes, practically speaking you'll need some Faction progression first. The Marathon Destroyer beginner build variant works on lower-threat maps while you accumulate the CyberAcme and Arachne unlocks, but running the full kit without those Faction skills means heat management will punish you and the melee damage won't have its full stack. Think of early runs as the tutorial for how the build wants to play, and grind Faction rep before committing to high-threat areas.
No. Absolutely not. The Myrmidon Core is the entire reason this is a Melee Destroyer build rather than just a vaguely aggressive player who sometimes punches. The thruster-to-melee damage buff is the core loop that everything else is designed to amplify. Swapping Myrmidon out turns this into a generic close-range build without a mechanical identity. Keep Myrmidon. It's not optional.
You close the distance, preferably using cover and movement to avoid getting deleted on the approach. The honest answer is that long-range engagements are a weakness of this Marathon Melee Destroyer build, and playing it well means positioning to avoid extended range fights rather than trying to win them with the WSTR Combat Shotgun from 80 metres. Use terrain, use flanks, and arrive in their face as quickly as geography allows.
The Ankle Breaker Core reduces heat generation passively when near hostiles, and the CyberAcme Faction skills extend your heat capacity and speed up recovery. During fights, be mindful of how many thrusters you chain together: the Myrmidon proc only requires one, so you don't need to boost five times to get the buff. Kill efficiently, trigger HEAT_DEATH.EXE on each kill to reduce buildup, and use brief gaps between targets to vent heat before your next approach.
Genuinely both, which makes it unusual compared to class-specific builds like the UAV Recon build that basically requires a team to function. Solo, you're a self-contained threat that controls the pace of every engagement by always being the aggressor. In squads, you're the vanguard: go in first, clear fast, and let your team handle whatever you couldn't reach in time. The build scales well to both contexts, which is part of why the Melee Destroyer build Marathon players gravitate toward is this one specifically.
Start with CyberAcme's heat management trio: Heat Sink.exe, Quick Vent.exe, and Active Cool.exe: because without heat control this build is an unstable mess. Then move to Arachne for HARD_STRIKE.EXE and HEAT_DEATH.EXE to complete the damage and heat loop. CUTTHROAT.EXE is valuable but tertiary: get the damage and heat unlocks first, then add the shield siphon from finishers as your third priority.

GTA 6, new seasons, major updates — get ready to dominate from day one.