


Destiny 2 Boost
Best Hunter Builds for Destiny 2 Monument of Triumph
Bungie hid an exotic mission in Monument of Triumph with no announcement. Here's how to find it, complete all three parts, and get every…

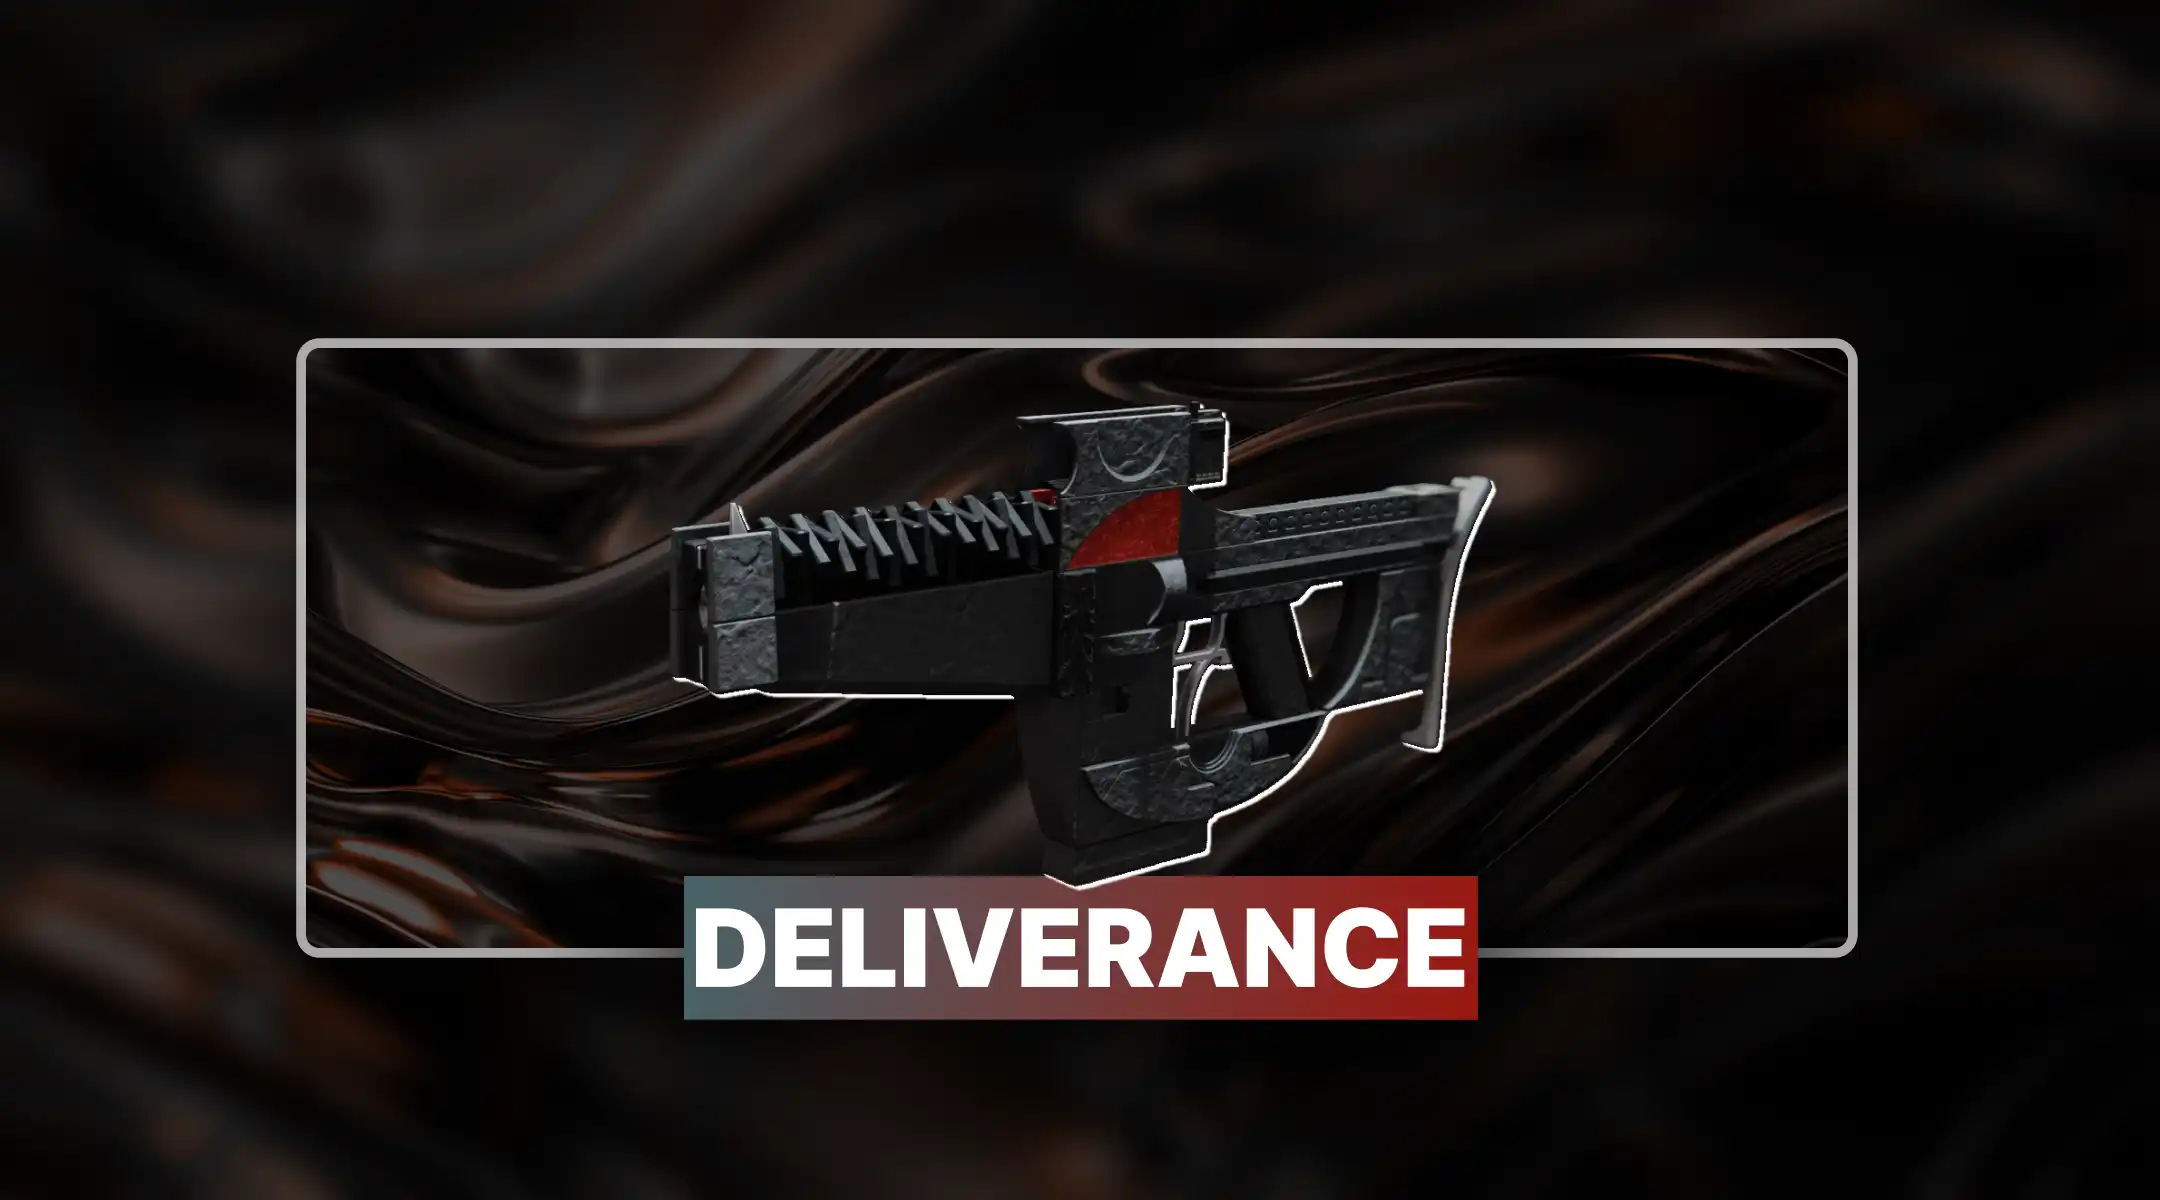
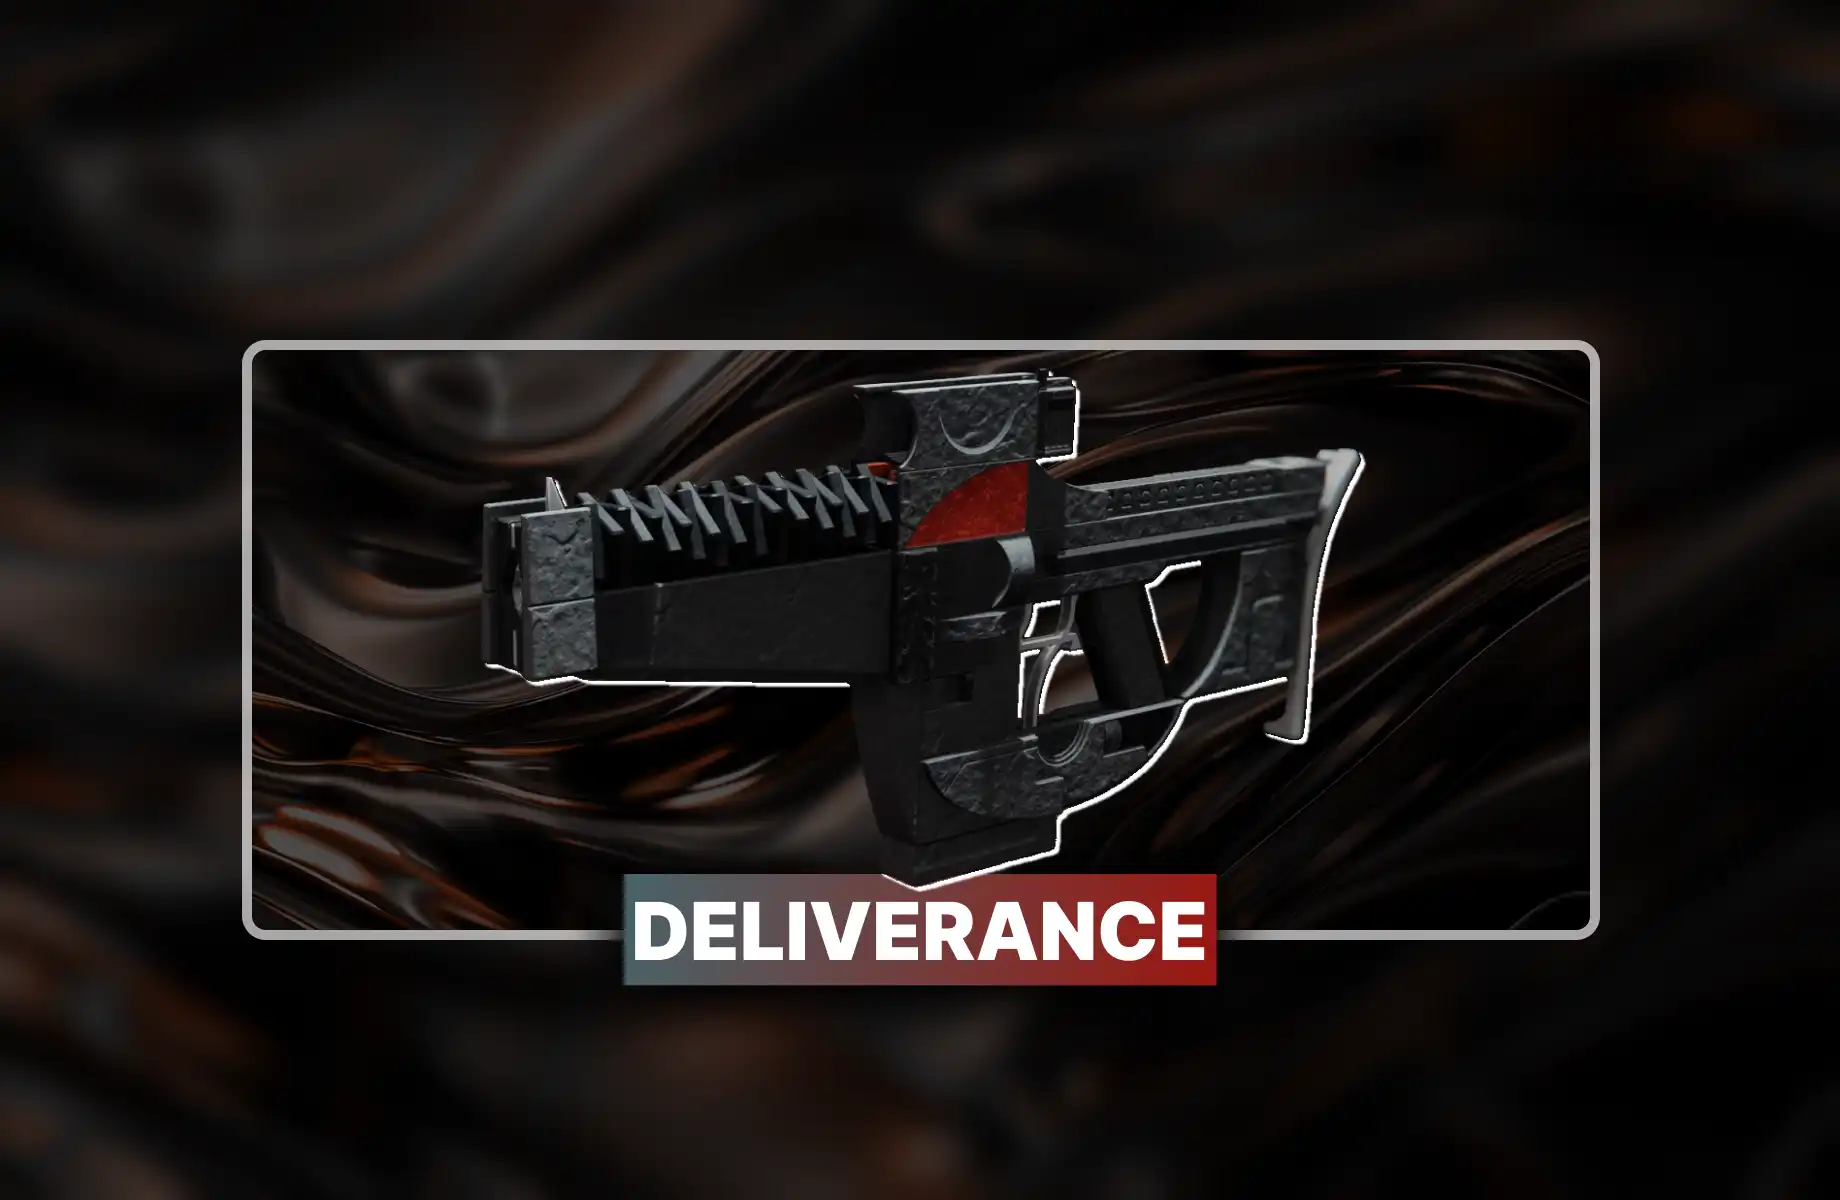
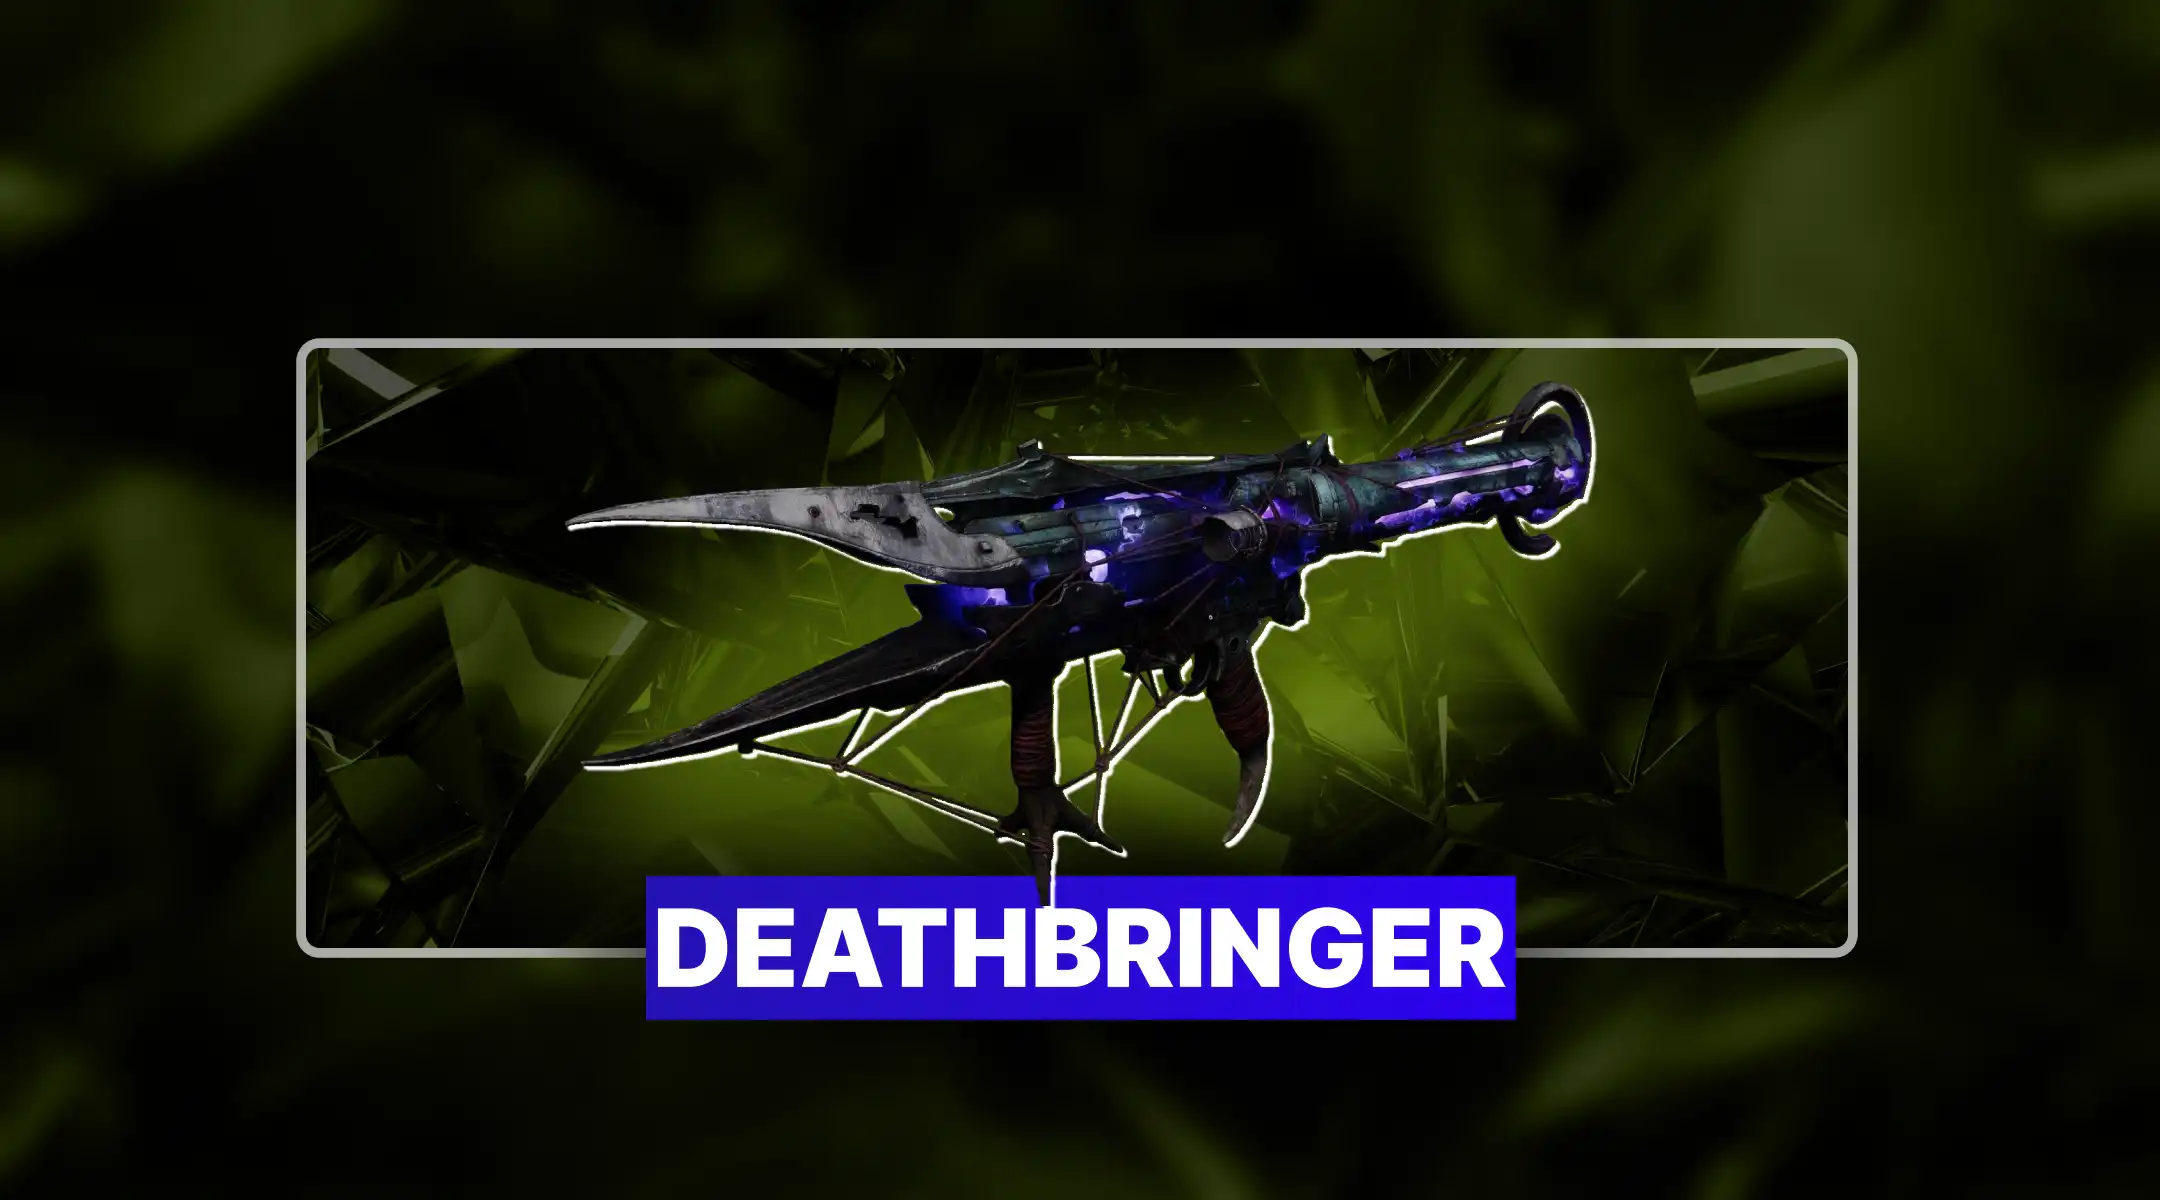
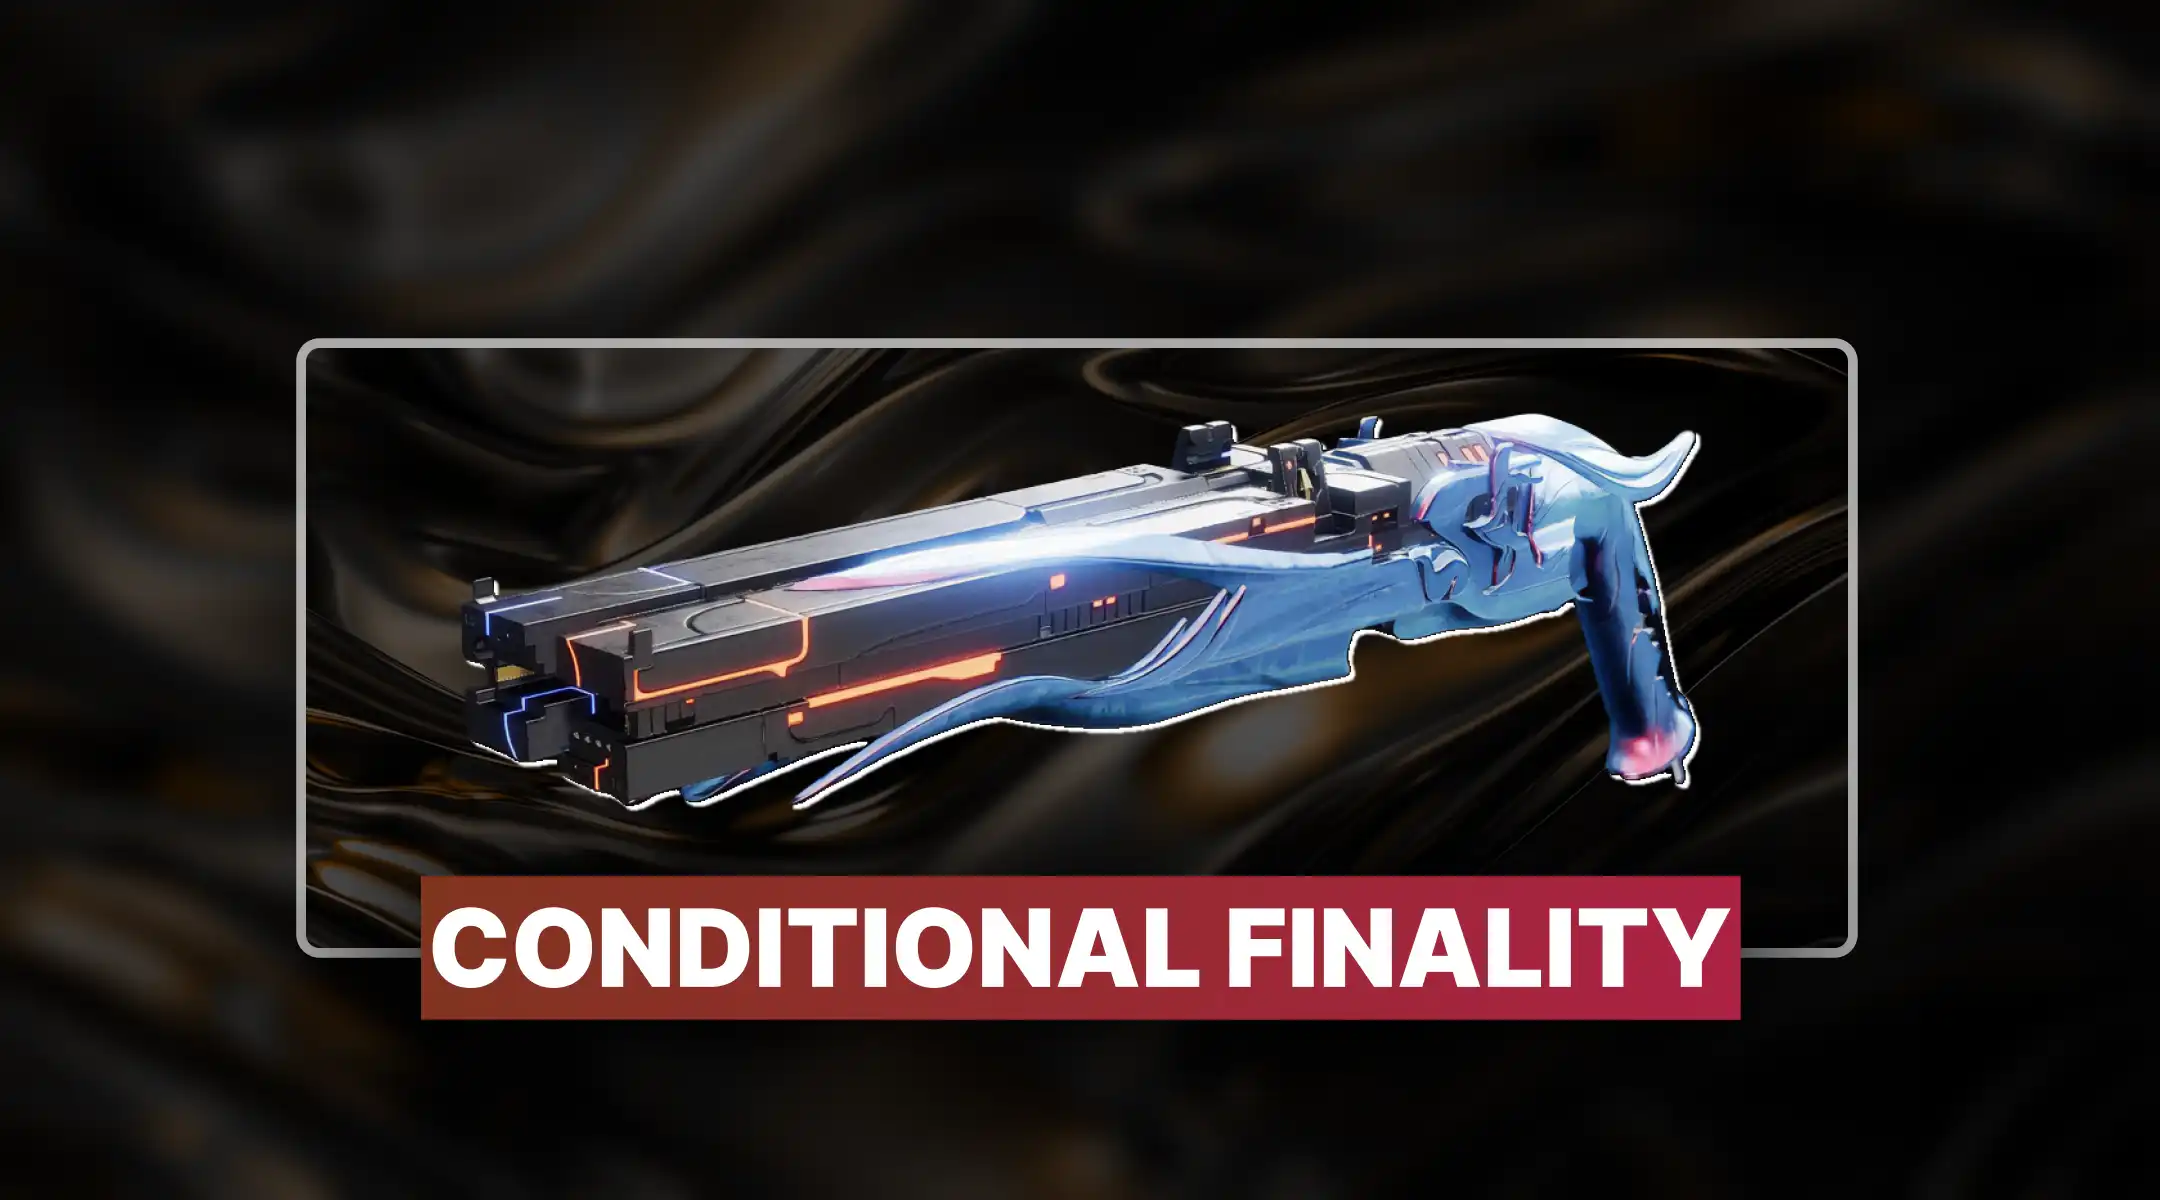
The Oblation: Bloodline exotic mission is not on the map. It has no quest marker. Bungie dropped it inside Monument of Triumph the same way they dropped the Whisper mission years ago: completely unannounced, for whoever bothers to look. The reward is Cull's Shadow, a kinetic fusion rifle that doubles as a glaive. It is, against all probability, good.
Hey, Guardian. We do not have specific offers for Momentum… and as our sorry, we provide you a CRINGEBLOG promocode, it works for every offer. And you can create your custom offer for Momentum almost free.
There are three missions chained together. You unlock the second by not leaving after the first boss. You unlock the third by not leaving after the second boss. Apparently trusting players to read the room is a design philosophy now.
Hard Requirement You need a Weapon of Sorrow to progress. This is non-negotiable. The runes will not appear without one equipped.
The Destiny 2 secret exotic weapon pipeline that Bungie has been running since Whisper of the Worm continues here. Hidden, lore-heavy, mechanically unique. Cull's Shadow belonged to a Hunter named Dredgen Cull. Bael wants it. You're going to get it first.
This is the scavenger hunt. Four crystals across the Moon, found by following a trail of dead Cabal that smell faintly of bad decisions.
Shortcut You only need the Weapon of Sorrow for the runes. Swap to whatever you want for the actual strike.
Back on the Moon patrol, four areas are marked as Suspicious Syndicate Activity. Each has a dead, glowing Cabal corpse that provides a cryptic hint about where to find a Soulfire crystal. There's also a frequency bar on screen that gets stronger as you approach. Ignore the bar. Use the table below.
|
Location |
Hint Phrase |
Crystal Found In |
Mechanic |
|
Anchor of Light |
"Soulfire thrums within a princely temple" |
Temple of Crota: east side of Anchor of Light, follow the Cabal bodies into the Hive structure |
Shoot matching runes on a locked door using Weapon of Sorrow |
|
Archer's Line |
"Soulfire sees within a monarch shrine" |
Shrine of Oryx: northeast canyon, Hive structure entrance, clear the Totality Sapper miniboss |
Shoot runes top-to-bottom to open the door |
|
Hellmouth |
"Soulfire Royals within the Nocturnal Chamber" |
Chamber of Night: travel into the Hellmouth depths, find the rune door on the left wall |
Same rune-matching mechanic |
|
Sorrow's Harbor |
"Soulfire surges toward a sorrowful revelation" |
Revelation Lost Sector: near the Altars of Sorrow, use the map icon to locate it |
Push through the lost sector, find the rune door right of the boss room |
The hive rune puzzle locations follow a consistent pattern: Cabal corpses trail the entrance, a locked door waits inside, your Weapon of Sorrow makes the matching runes visible. Read the door. Shoot the ones that match it, top to bottom. Repeat four times. You've done harder.
Fireteam Note If one player has completed all crystal steps, others in the fireteam can likely access the mission without finishing the prerequisites themselves. Unconfirmed for all scenarios: get a friend to test it for you.
Head to Sorrow's Harbor, near the Scarlet Keep entrance. Don't go through the main door. Drop to the path on the right side and go under the structure. Find the hidden tunnel. Interact with the door. The Oblation Bloodline exotic mission starts here.
The mission opens on a massive laser drill operation that looks exactly like the Pit of Heresy starting area: because it is. Don't panic. It diverges fast.
The path leads upward through a cavern. You want to go up, not down. Look for the lantern light. The hanging sarcophagus section requires some patience: jump across them to reach the hallway on the far side, then enter from the backside by dropping down.
The Soulfire barrier mechanic is introduced here. This is the main mechanic for the rest of the three-mission chain: find the appropriate enemy to melee for a buff, deposit it into a bowl, repeat the rune puzzle to proceed.
Traversal Tip Look for trails of dead Cabal as directional cues throughout. When you see the greenish glow, you're on the right path. When you see nothing, you've taken a wrong turn at the Hellmouth.
The boss mechanics for the Oblation Bloodline final boss work as follows:
Do Not Leave Do not end the mission after the boss dies. Walk away from the "End Mission" prompt like it personally offended you.
After the boss: backtrack into the arena. New enemies spawn. Climb to the high platforms to find a floating book: interact with it. Then head to the back-right of the boss room. Find the large rune-covered door. Equip Weapon of Sorrow, shoot the runes in the correct order, unlock the door. This grants Catalyst 1: Soulfire Sukor and access to Mission 2.
The second mission introduces worm-throwing. That sentence is accurate.
This is the new wrinkle introduced by the Oblation Soul Fett secret mission:
Navigation Tip Follow where ads are spawning. Dead ends don't have enemies in them. This is the closest this game gets to a tutorial.
Three bosses. One ogre, one wizard, one knight. Each requires the same worm-crystal sequence to drop shields before you can deal damage. Hit the bowl, grab the worm, throw at the crystal above the platform, open fire. Two bosses fight at once in the second phase: drop both crystals or they stay immune.
After all three die: a book spawns at the top of the stairs. Grab it. Interact with the floating podium behind the hive statues over the water pit to unlock the deep passage. This leads to a chest containing Catalyst 2: Soulfire Rancor and a ghost shell.
Equip the exotic. The outside of the arena now has hive runes spawning on the walls. Look at your weapon: the rune order you need to shoot is listed on the side of the gun itself. Read the weapon. Shoot those runes in that order. This unlocks Catalyst 3: Soulfire Zeal. A glowing podium teleports you to Mission 3.
Moving platforms. Fire blasts. A boss knight named Soulfed Bellow Stroker who teleports rather than dying on schedule. Standard.
Ride moving platforms across the gap. Jump to enemies. Clear them. Find the crack in the wall, progress forward. Shoot the debris above to reveal a green-shielded door. Kill the Forgebound Sentry ogre in the side room: the passage opens.
Three-phase fight. The plate mechanic here resembles old Menagerie encounters:
More traversal follows: swinging traps, fire, a large Soulfed Outgard Shrieker in the air that must die before you proceed.
The Igo Forger of Sorrow boss fight opens on something genuinely unsettling: a dredging Lightbearer being repeatedly killed and revived in the center of the arena. Whether or not that bothers you, it does change the tone.
Upon death, examine the Lightbearer in the center. She disappears. A chest spawns. Inside: Catalyst 4: Soulfire Skewer and the exotic sparrow.
The full Cull's Shadow catalyst guide in one place. Don't leave any mission early.
|
# |
Catalyst |
Location |
Required Steps |
Extra Reward |
|
01 |
Soulfire Sukor |
Mission 1: Boss Room |
1. Defeat boss2. Climb platforms3. Find floating book4. Shoot the rune door in the boss room |
— |
|
02 |
Soulfire Rancor |
Mission 2: After Final Bosses |
1. Grab the book near the stairs2. Interact with the statue podium3. Open the chest |
— |
|
03 |
Soulfire Zeal |
Mission 2: Outside the Arena |
1. Equip Cull's Shadow2. Read the rune sequence shown on the weapon3. Shoot the matching runes on the walls in order |
— |
|
04 |
Soulfire Skewer |
Mission 3: After Final Boss |
1. Examine the Lightbearer2. Open the chest |
Exotic Sparrow |
|
Situation |
What To Do |
|
Left a mission early |
Relaunch from the Exotic Mission tab on the Moon under Customize. Select the specific mission version. |
|
Worm expired mid-carry |
Go back to the Soulfire Vessel knight spawn, repeat the melee-bowl-worm sequence. |
|
Rune door won't open |
Confirm your Weapon of Sorrow is equipped. Confirm you're shooting the runes that match the door, top to bottom, not just any runes. |
|
Boss immune and no clue why |
Look for the mechanic reset: wizard spawn, new plate, new bowl. Every immunity phase has the same answer, slightly rearranged. |
|
Hidden worm collectibles |
Scattered throughout all three missions. Tied to a triumph for legendary marks only, unrelated to the weapon. |
|
Fireteam access |
Players on a fireteam with someone who completed the crystal chain may access the mission without completing prerequisites themselves. |

Bungie hid an exotic mission in Monument of Triumph with no announcement. Here's how to find it, complete all three parts, and get every…

Joining a fireteam with a qualified player likely grants access. Your prerequisites may not matter at all.
Thorn or Osteo Striga. Familiar, accessible, does not require a dungeon you may have skipped.
Relaunch from the Moon's Exotic Mission tab. Select that specific mission version and replay the end.
The melee-heal loop and Soulfire charges make it viable in aggressive builds. Catalysts improve it substantially.
No. The worm collectibles are triumph-only. All four catalysts are tied exclusively to mission progression steps.

GTA 6, new seasons, major updates — get ready to dominate from day one