


Call of Duty Boost
Black ops 7 Camo guide – How To Get All Camos in BO7
New Cod bo7 astra malorum guide – main quest, LGM-1 build, Oscar methods, planet books, Mars coils, perks, traps, Seed Relic, boss prep for runs.
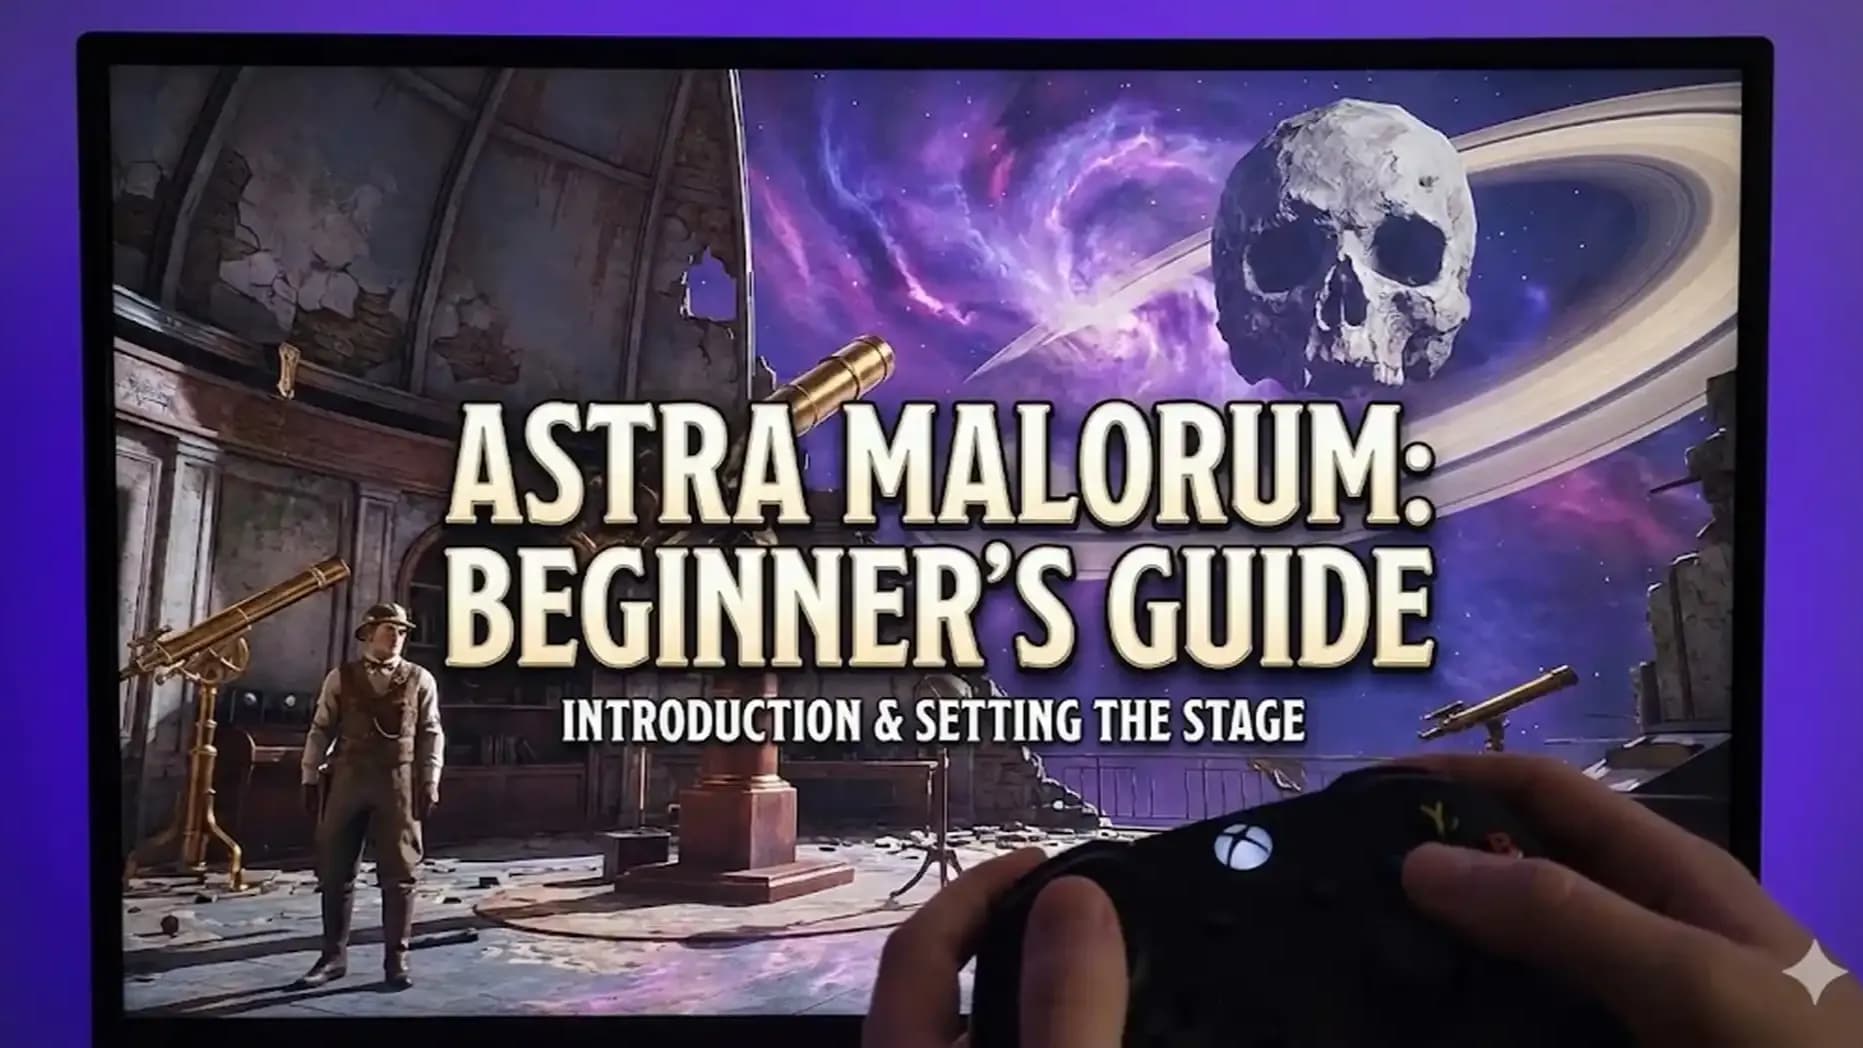
Astra Malorum is a BO7 Zombies map with a strong space-horror tone and a clear quest spine that rewards clean planning. This CoD BO7 astra malorum guide brings the full map flow into one simple path that supports survival and story progress. The goal is to help a run feel controlled from first doors to the boss setup.
If you’re reading this, you might be interested in a discount just for you—my blog reader! Use code CRINGEBLOG to get an amazing discount on any offer in our shop.
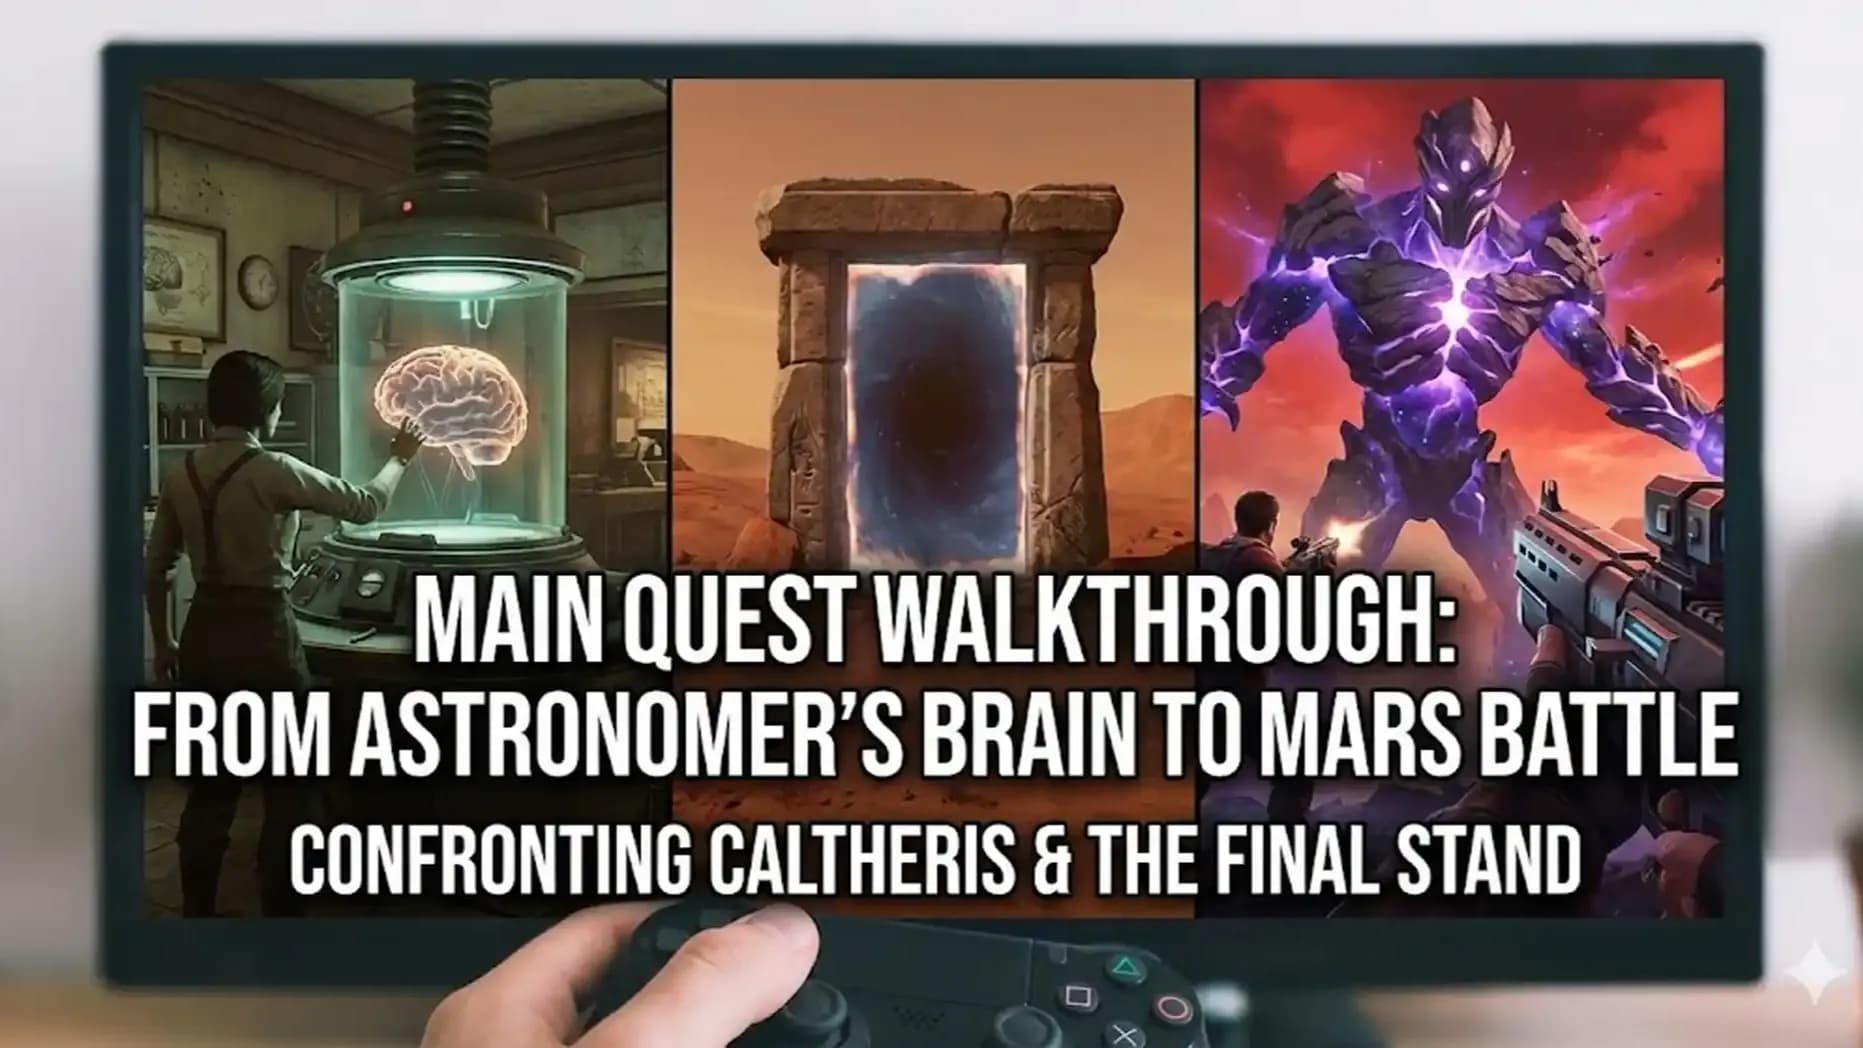
Astra Malorum is built around a tight Zombies loop with strong story tools and fun side content. The map mixes a space-horror setting with clear gameplay systems, so your runs can focus on survival and also on puzzle progress.
| Key feature | What it is | Where it connects on the map | Why it matters for a run |
|---|---|---|---|
| Space-horror setting | Planetarium pulled into the Dark Aether inside a skull-shaped asteroid near Saturn’s rings | Thurston Planetarium area plus linked space zones | Gives the map identity and supports the story tone for the quest flow |
| Core objective | Survive waves with an optional exfil path | Whole map | Defines the standard loop and supports long runs or clean exits |
| Main quest structure | Long chain that links Pack-a-Punch, wonder weapon build, Oscar steps, planet puzzles, Mars phase, then boss trigger | Observatory, planet room, Mars area | This is the main story spine for your CoD BO7 Astra Malorum Guide |
| Pack-a-Punch – Harmonic Oculus | Map-specific unlock and defense step that opens weapon upgrading | Observatory Dome | Starts real damage scaling and unlocks key quest pace |
| LGM-1 wonder weapon | Infinite-style UFO launcher that upgrades into Martian Man of War | Built via parts and Oscar trial loop | Main power tool for high rounds and a core quest requirement |
| O.S.C.A.R. mechanical guard | Major enemy and quest driver with method trials | Appears through the quest route and trap areas | Gates the LGM-1 progress and pushes the map’s signature challenge |
| Mars phase | A portal-driven quest zone with coil and symbol steps | Mars area | Locks the late quest steps and leads into the final CoDe sequence |
| Enemy roster | Standard zombies plus armored, heavy, Ravagers, Shock Mimics, and boss-linked variants | Wave pool across the map with special spawns tied to boss and Cursed | Sets difficulty spikes and shapes perk and weapon priorities |
| Mystery Box pool | Full weapon lottery including Ray Gun family and Little Green Menace-1 | Standard box locations | Fast early power jump and late-run refresh option |
| Wall weapons support | Stable fallback for planned builds | Spread across main lanes | Helps runs that avoid Box reliance useful with some Cursed rules |
| Perk core machines | Juggernog Quick Revive Speed Cola Stamin-Up Wisp Tea | Luminarium spawn Museum outer routes | Forms the survival base for solo and squad play |
| Der Wunderfizz pool | Extra BO7 perks accessed by the map system | Appears by match rule timing | Adds late-run flexibility for damage or utility builds |
| Mule Kick addition | Third weapon slot perk tied to the map launch window | Astra Malorum perk set entries | Supports triple-gun setups for boss prep and long waves |
| Traps | Paid kill tools like Stellar Dissector and Apogee Annihilator | Key choke points | Emergency space control and ammo relief in dense rounds |
| Arsenal Machine | Ammo Mod and rarity upgrades using Salvage | Standard support station | Reliable damage growth without heavy Box spending |
| Crafting Table | Tactical lethal support crafting | Standard support station | Covers self revive armor tools and clutch saves |
| Ammo Cache | Direct ammo refill with scaling cost | Standard cache spots | Keeps primary guns active during long waves |
| Rampage Inducer | Free pacing toggle | Crash Site pillar steps | Speeds rounds for farming plans in solo |
| GobbleGum Machine | Short burst bonuses | Standard machine access | Smooths early setup or risky fight windows |
| Exfil system | Match end objective with an HVT clear | Telephone booths Round 11+ | Clean end path for challenge runs and testing |
| Weaponry easter egg | Little Green Menace-1 free reward path | Map interactions | Side reward tied to quest logic |
| Musical easter eggs | Headphones records space drift triggers | Luminarium Machina Astralis Museum Mars Wisp Tea rock route | Fun content that adds replay value |
| Cursed Relics | Rule-change challenges like the Seed Relic | Cursed mode with portal trials | Gives alternate run styles and long-term goals |

The main quest in Astra Malorum is a long chain that starts with Pack-a-Punch, moves into the wonder weapon build, then uses Oscar, books, planets, and a Mars portal sequence to open the final CoDe and trigger the boss. This part can feel strict on timing, so your run stays smoother if you keep rounds low while you complete the early Oscar steps, and you collect key items as soon as you pass near them during your route for the BO7 astra malorum easter egg guide.
| Block | Goal | What you do | Result |
|---|---|---|---|
| Pack-a-Punch | Open the core system | Reach the Observatory, interact with the organ, find two harmonic components across their spawn spots, repair the organ, then defend it for one minute | Pack-a-Punch opens after the lockdown ends |
| Wonder weapon build | Collect four parts | Get a battery from Tessy after shooting the gear stick, shoot the single flashing lamp for wires, use Cryofreeze to shoot purple crystals for three zero fragments, break Oscar’s drone bubble to pick the drone | All four parts are ready for the Oscar method steps |
| Oscar triple method | Earn the weapon drop | Use the rocket near Speed Cola, the trap near Jug after placing the UFO piece, then the Pack-a-Punch sun burn after the valve speed-shoot step | Wonder weapon drops after the third success |
| Key + brain chain | Unlock story progression | Tail Oscar in patrol mode to get the three-planet callout, convert to numbers by planet order from the sun, enter at the Pack-a-Punch machine, grab the key, open the pod, take the brain | Brain jar sequence becomes available |
| Reading list + statues | Get Neptune | Defend the jar near Jug, carry it to the planet room monitor, note the book titles shown, count which titles belong to which statue shelf set, rotate statues by that count within the time window | Attic opens, Neptune is obtained |
| Mars CoDe + planet align | Enter the Mars phase | Use telescope to find Mars and record the four DEC numbers, collect the three direction papers, input numbers in the planet room machine, place Neptune on the rod, align Mars, Saturn, Neptune to the given directions, start the lockdown | You get pulled into Mars after success |
| Mars coils + flying eye | Prepare final CoDe | Place the brain, shoot four coils in the correct order, keep the fifth coil active, wait for the flying eye to move into a reachable spot, grab it, place it into the Mars machine | Final symbol CoDe step unlocks |
| Pillars + symbols | Open boss trigger | Read the five-symbol organ CoDe with one static slot, identify the missing symbol, shoot the five Mars pillars with the wonder weapon, then interact with symbols in order | Boss fight becomes ready to start |
Move through the map toward the Observatory and interact with the organ in that room. You then search for two harmonic components, with one set of spawns near Juggernog in the Luminarium and the other set of spawns in the planet area near Stamin-Up. After you bring both parts back, you repair the organ and complete a one-minute defense, which opens Pack-a-Punch.
You need four parts tied to map interactions and Oscar.
This part is a long loop with round flips, so you get smoother control if you stay on a low round while you cycle Oscar spawns.
After the third method, the wonder weapon appears near Oscar’s position.
Flip rounds to bring Oscar back, then follow him silently while he is in patrol mode so you hear the key dialogue. The important line comes when “Dr. Thirstston” lists three planets in a specific order. You convert them into numbers based on distance from the sun and enter that CoDe at the Pack-a-Punch machine. This lowers the lift and lets you grab a key.
A quick planet order helper:
Use the key on the pod in the room between Speed Cola and the planet area, then take the brain from the body. You then bring it to the jar near Juggernog, swap it, and start a short defense segment. After the flash, you can pick up the jar.
Carry the jar to the planet room machine and activate the monitor. The screen shows a randomized reading list of book titles. You write down the titles until the list loops. These titles are your CoDe for the statue-bookshelf step.
In the Stamin-Up book area, three statue heads control three bookshelf groups. You identify how many of your listed titles appear in each statue’s shelf set, then rotate the statues that exact number of times. Once you start turning statues, you have a short time window to finish the full input. Success opens the attic door where you collect Neptune.
Return to the Pack-a-Punch telescope and locate Mars. You then write down the four DEC numbers shown on your HUD. These four digits are the needed data for the planet room machine.
Three notes spawn in fixed spots, giving three planets and their directions. You copy the planet-direction pairs for the align step that follows.
Input the Mars DEC numbers into the machine on the middle floor of the planet room. Then place Neptune on the top-floor rod to begin the planet alignment step. You adjust Mars, Saturn, and Neptune to match the paper directions as closely as possible, then interact with the brain machine to start the lockdown.
A successful defense pulls you into Mars.
Pick up the brain in the Mars center, place it into the machine, and listen for the activation cue. You then shoot four external coils in the exact order described by your source, which transfers a blue orb. The fifth coil appears above the brain, and a flying eye spawns. You keep the fifth coil active so the eye stays present, then grab the eye when it drifts into a reachable path and place it into the Mars machine.
Back at the organ, you interact with the right side to receive a five-symbol CoDe with one static slot. You identify the missing symbol using the in-run symbol reference, then return to Mars.
In Mars, five pillars must be shot at the top with your wonder weapon. After this, their symbols glow and you interact with them in the exact order from the organ CoDe, using the missing symbol at the static slot point. A wrong input can be corrected within the allowed failures for that round. Success triggers the final flash and unlocks the boss start.
Before you interact with the brain that starts the fight, you focus on full perks, strong armor tier, packed weapons, stim shots, self-revive, and a panic scorestreak like the Disciple Injection or ARCXD. This setup is part of the BO7 astra malorum walkthrough flow because it reduces wipe risk once the arena phase begins.

This LGM-1 wonder weapon quest in Astra Malorum feels like you are building a UFO toy with angry zombies as your workshop manager, and Oscar as the guy who keeps turning the lights off while you work.
The LGM-1 is an infinite ammo wonder weapon that fires small UFOs that return to you, and you can Pack-a-Punch it into the Martian Man of War.
| Part | How to get it | Where to look | Key tip |
|---|---|---|---|
| Absolute Zero Fragments | Shoot three Ether Crystals while Cryofreeze is on your weapon | Crystals can spawn around the map | Wait to shoot crystals until Cryofreeze is equipped since they respawn slowly after destruction. |
| Wires | Shoot the single blinking lamppost | Outdoor areas | The lamppost location changes per match and starts flashing after Pack-a-Punch is open. |
| Car Battery | Shoot the hood of Old Tessy | Spawn area near Oscar | You may need Pack-a-Punch open and a Pack-a-Punched gun to make the battery drop. |
| Flying Saucer | Shoot one of Oscar’s deployed saucers | Wherever Oscar uses his shield | Break the saucer and pick it up from the ground as soon as the shield bubble fades. |
1) Open Pack-a-Punch
Follow the guided path, grab the two harmonic components, repair the telescope, and clear the lockdown.
2) Get Absolute Zero Fragments
Equip Cryofreeze, then hunt three Ether Crystals around the map and shoot them to collect three shards.
3) Get the Wires
Search outdoor spaces for the single flashing lamppost, then shoot it with a standard gun to drop the wires.
4) Get the Car Battery
Return to spawn near Oscar, shoot the hood of Old Tessy, and grab the battery that drops.
5) Get the Flying Saucer
Wait for Oscar to deploy his shield, shoot one flying saucer, and pick it up.
6) Start the trap trials
After you have all four parts, you must complete three Oscar trap trials in any order. The third completed trial always makes Oscar drop the LGM-1 for pickup.
Lure Oscar into the Luminarium and activate the trap to overcharge his battery. The bar must finish while his force field is down, then the battery explosion kills him and teleports him away.
Have three crystal shards in your inventory, then lure Oscar close to the rocket engine and press the button on the left side. The trap window is very short, so position him tightly for the kill. A failed attempt means collecting three new Cryofreeze crystal shards.
Find five steaming valves in the Pack-a-Punch area and shoot them in quick succession. Only one valve smokes at a time, and the hiss helps you find it, so doing this near the end of a round can keep the area calmer. After the entity speaks, lure Oscar close, use the telescope, line it up with the sun, and lead Oscar through the laser for the kill.
Pick it up after the third Oscar trap kill, then Pack-a-Punch it to turn it into the Martian Man of War for extra power


• Unlock stunning Bloodstone Camo
• Fast, easy boosting process
• Track progress live anytime
• Fast full quest completion
• All intel fully unlocked
• Cursed tiers expertly cleared, guaranteed


• Weekly challenges completed fast
• Seasonal camos unlocked fully
• Full XP progression gained
This new relic on Astra Malorum feels like the map trolling you in a smart way. You earn a strong rule change by doing a small Cursed challenge that uses a weak gray pistol, so the whole thing feels funny and tense at the same time. The video calls it the Seed Relic, and it looks unlockable in base Cursed with zero relics equipped.
| What you get | Main trigger | Key item | Core rule |
|---|---|---|---|
| Seed Relic unlock | Round 20 setup | Gray KOD pistol | Get 20 kills with the KOD before upgrades |
| Seed Relic effect | After unlock | Loadout choice | Turns off the Mystery Box |
The Seed Relic disables the Mystery Box in Cursed. That sounds harsh, yet the clip points out that solid wall weapons on Astra Malorum can keep your run stable, so this relic can still fit a planned, score-focused setup.

This section lists the main Astra Malorum easter eggs that players can do fast during a run, with one weapon reward that also links to the main quest, plus music triggers that reference classic Treyarch moments in a fun, map-themed way.
| Easter egg | How to activate | Where to do it | What you get |
|---|---|---|---|
| Weaponry easter egg. Little Green Menace-1 | Complete the free weapon steps tied to this map flow | Uses map interaction steps that lead to the weapon | Little Green Menace-1 for free, and it is required for the Main Quest |
| Musical easter egg. “Magic” by Avenged Sevenfold | Interact with three Mister Peeks headphones | Luminarium bottom shelf left of the exit door. Machina Astralis inside a display case. Mars on the ground on the left side near a wall | The song “Magic” plays |
| Musical easter egg. BO4 Alpha Omega Game Over music | Find three records and bring them to the Gramophone | Machina Astralis inside a wooden box on the middle floor. Luminarium top of a bookshelf. Museum on a wooden sill above a zombie spawner | Alpha Omega Game Over music plays |
| Musical easter egg. “Pareidolia” remix | Wall jump off the left side of the floating rock next to Wisp Tea to start the space drift | Near Wisp Tea area using the floating rock jump path | A remixed “Pareidolia” track plays during the drift and after landing and the first drift can also give the DG-2 Turret |

These Astra Malorum Mystery Box weapons feel like a weird school reunion where all the loud kids show up at once. You spin the box and hope for a hero moment, then you get something that makes you laugh and still try to act confident. One round you hold a clean rifle, next round you hug a shotgun like it is your only friend in the room. Then the Ray Gun family appears and the mood shifts fast, because this is the part where chaos starts to look like a plan.
| Weapon | Source | Suggested class tag for your draft |
|---|---|---|
| M15 Mod 0 | Mystery Box / Trials | AR |
| AK-27 | Mystery Box / Trials | AR |
| MXR-17 | Mystery Box / Trials | AR |
| X9 Maverick | Mystery Box / Trials | SMG |
| DS20 Mirage | Mystery Box / Trials | SMG |
| Ryden 45K | Mystery Box / Trials | LMG |
| RK-9 | Mystery Box / Trials | SMG |
| Razor 9mm | Mystery Box / Trials | SMG |
| Dravec 45 | Mystery Box / Trials | SMG |
| Carbon 57 | Mystery Box / Trials | AR |
| MPC-25 | Mystery Box / Trials | SMG |
| M10 Breacher | Mystery Box / Trials | Shotgun |
| Echo 12 | Mystery Box / Trials | Shotgun |
| Akita | Mystery Box / Trials | AR |
| M8A1 | Mystery Box / Trials | AR |
| Warden 308 | Mystery Box / Trials | Marksman |
| M34 Novaline | Mystery Box / Trials | Sniper |
| VS Recon | Mystery Box / Trials | Marksman |
| Shadow SK | Mystery Box / Trials | AR |
| XR-3 Ion | Mystery Box / Trials | AR |
| Jäger 45 | Mystery Box / Trials | Pistol |
| Velox 5.7 | Mystery Box / Trials | Pistol |
| CODA 9 | Mystery Box / Trials | Pistol |
| AAROW 109 | Mystery Box / Trials | AR |
| A.R.C. M1 | Mystery Box / Trials | AR |
| Ray Gun | Mystery Box / Trials | Wonder Weapon |
| Ray Gun Mark II | Mystery Box / Trials | Wonder Weapon |
| Little Green Menace-1 | Mystery Box / Trials | Wonder Weapon |

Perks are special drinks in Zombies that give you strong buffs for survival and damage. In this part of the BO7 astra malorum walkthrough, you focus on what is available on this map and how you can grab it during your run.
| Perk | What it does | How to get in Astra Malorum | Cost |
|---|---|---|---|
| Juggernog | Gives you more health for safer rounds | Machine in the Luminarium at the west wall | 2500 points |
| Quick Revive | Helps you recover health quicker and revive teammates quicker | Machine in the starting area | 2500 to 8000 points |
| Speed Cola | Reduces reload time so gun handling feels smooth | Machine in the Museum Infinitium area at the east wall | 3000 points |
| Stamin-Up | Extends sprint time and improves move speed | Machine shown on your map list | 2000 points |
| Wisp Tea | Improves movement feel and gives a map perk flavor | Machine at the Abyssal Rim | 2500 to 8000 points |
| Mule Kick | Adds a third weapon slot | Machine shown on your map list | Introduced with the map |
| Deadshot Daiquiri | Helps precision play feel more steady | From Der Wunderfizz on this map | In the BO7 pool |
| Elemental Pop | Gives random ammo mod effects for extra damage | From Der Wunderfizz on this map | 2500 to 8000 points |
| PhD Flopper | Stops self-explosive damage and can make dive blasts | From Der Wunderfizz on this map | 2500 to 8000 points |
| Melee Macchiato | Boosts melee play in the BO7 pool | From Der Wunderfizz on this map | In the BO7 pool |
| Vulture Aid | Gives ammo drops and simple awareness help | From Der Wunderfizz on this map | 2500 to 8000 points |
| Death Perception | Improves awareness so you can spot threats and items sooner | From Der Wunderfizz on this map | 2500 to 8000 points |
| Double Tap Root Beer | Gives stronger fire output in the BO7 lineup | From Der Wunderfizz on this map | 2500 to 8000 points |
Der Wunderfizz note. In BO7, this machine appears after the team buys a combined set of perks or when you hit Round 25.
Juggernog is your core safety drink for Astra Malorum, since it raises your health and gives you more room for mistakes. The machine sits inside the Luminarium at the west wall, so opening that path early keeps your runs stable.
Quick Revive supports clutch moments by improving your recovery and revive tempo, which matters a lot in tight Astra Malorum spaces. The machine is in the starting area, so you can secure it before the map pressure ramps up.
Speed Cola reduces reload time and keeps your damage flow smooth during long holdouts. In Astra Malorum you can buy it in the Museum Infinitium area at the east wall, so it fits well after your first zone push.
Stamin-Up extends sprint time and improves movement pace, which helps you rotate between the Luminarium and the outer lanes. Your perk list confirms it is present on the map, so it should be part of your early mobility plan.
Wisp Tea is a BO7 perk tied to Astra Malorum’s launch window, adding another survivability and flow option for this map. You can find the machine at the Abyssal Rim, so it rewards players who open that route with purpose.
Mule Kick expands your loadout by giving you space for a third weapon, which is valuable once elite waves start stacking. The BO7 perk list marks it as added alongside Astra Malorum, so the map is clearly built to support this playstyle.
Deadshot Daiquiri supports crit-focused builds and keeps precision weapons feeling consistent in long rounds. Your map screen shows it as a Der Wunderfizz option, so you plan for it once that machine becomes available.
Elemental Pop can trigger ammo mod effects for extra elemental damage, which adds a flexible damage layer during mixed enemy waves. On Astra Malorum your screen lists it through Der Wunderfizz, so it is a mid-run pickup after the machine spawns.
PhD Flopper helps explosive setups by protecting you from self-inflicted blast damage and enabling classic dive interactions. On this map it sits in the BO7 pool and appears for you via Der Wunderfizz, so it pairs well with late-round explosive control.
Melee Macchiato is part of the BO7 lineup and supports melee-forward builds when your ammo economy feels tight. Your Astra Malorum list shows it through Der Wunderfizz access, so it becomes a choice once you commit to close-range routes.
Vulture Aid brings utility value tied to drops and awareness-style support, which can ease long hold sections. The map screen places it behind Der Wunderfizz on Astra Malorum, so it fits a later support slot in your build path.
Death Perception improves awareness and helps you detect threats and useful objects with less guesswork. Since Astra Malorum lists it as a Der Wunderfizz perk, you can treat it as a smart late pickup for safer rotations.
Double Tap Root Beer returns in BO7 with the modern cost scale and is part of the Astra Malorum perk pool. Your screen shows it through Der Wunderfizz, so you can add it once your core survival set is already stable.

Traps in Astra Malorum are paid kill tools you can trigger to clear space when the round speed starts to crush your path. In this part of the CoD BO7 astra malorum guide, they matter for safety, ammo control, and clean rotation when your gun setup still feels light.
| Trap | Cost | What it does | Best time to use | Simple usage tips |
|---|---|---|---|---|
| Stellar Dissector | 1000 Essence | A map trap in Astra Malorum that clears zombies fast inside its active zone | Early and mid rounds for cheap wave control | Trigger during a tight train and keep one charge for sudden danger |
| Apogee Annihilator | 1500 Essence | Fires rows of missile strikes that wipe groups of zombies | Mid and high rounds when the map fills quickly | Pull a full horde into the strike lane and treat it as a reset tool during BO7 Astra Malorum trap steps |
Utilities in Astra Malorum are the map systems that control your power curve and your survival rhythm, so you can set your weapons, your ammo flow, and your exit plan with less chaos. This part of the CoD BO7 astra malorum guide keeps focus on the tools you will touch through the run, because they shape your tempo during setup and late rounds.
| Utility | What it does | Cost | How to access in Astra Malorum | Simple use case |
|---|---|---|---|---|
| Mystery Box | Gives random weapons with high tier pulls | About 950 Essence | Origins-style box on the map with no power need | Early weapon path when wall guns feel low |
| Pack-a-Punch Machine | Upgrades weapon tiers | 5000 / 15000 / 30000 Essence | In the Observatory Dome after rebuilding the Harmonic Oculus and defending it | Damage scaling for mid and late rounds |
| Arsenal Machine | Buys Ammo Mods and upgrades rarity with Salvage | Ammo Mods 500 Salvage. Rarity prices scale | Placed on the map | Adds elemental control and steady rarity growth |
| Crafting Table | Covers tactical, lethal, and support crafting | Varies by item | Placed on the map | Gives safety tools for clutch saves |
| Ammo Cache | Refills ammo by tier | 250 Essence base up to 10000 for Wonder Weapons | Placed on the map | Keeps your main gun active without drops |
| Rampage Inducer | Boosts spawns and enemy speed | Free | Pillar steps at the Crash Site | Fast farming for solo pacing |
| Exfil | Ends the match with an extraction | Free | Round 11 onward through telephone booths | Cleans up a long run when goals are done |
| GobbleGum Machine | Gives temporary bonuses | Round-based cost rules | Placed on the map | Short burst power for setup or danger |
The Mystery Box on Astra Malorum follows the Origins-style look and feel, and power activation is not required to start using it. You can lean on it early for a quick damage jump, or later when you want a fresh option without spending time on build paths.
Pack-a-Punch is the heart of your weapon scaling on this map. In Astra Malorum you must collect two Harmonic Components, rebuild the Harmonic Oculus in the Observatory Dome, and then hold the defense phase for about 45 seconds. After that, you can start upgrading and set your main gun for high rounds.
The Arsenal lets you spend Salvage to add Ammo Mods and raise weapon rarity. This is a stable path when the Box keeps giving you awkward pulls, and it supports your BO7 astra malorum best strategy for controlled damage growth across the match.
The Crafting Table is your emergency kit and your utility bench. You can craft tools like armor plates or a self revive, and this can save a run when you are caught during a tight rotation or a sudden elite push.
Ammo Cache pricing scales with your weapon upgrade level, so refill planning matters in later rounds. Use it to keep your primary gun topped up, and save your Wonder Weapon refills for moments that truly need burst damage.
Rampage Inducer is a free pacing switch for players who want faster round flow. On Astra Malorum it sits in the Crash Site area on pillar steps, and it is a strong pick for solo farming when you already trust your setup.
Exfil in Astra Malorum opens at Round 11. You can use the telephone booths to call in the Exfil portal, then stay inside the zone and eliminate the HVT to secure the extraction. This gives you a clean finish for challenge runs and test builds.
GobbleGums add short, high-impact boosts that can smooth out risky phases. Use them to stabilize early setup or to push through a rough round when your ammo and armor timing get tight.

Astra Malorum gives you a clear Zombies loop with a strong space-horror mood and a quest path that feels rewarding when you plan your route. If you open Pack-a-Punch early and build the LGM-1 with care, the Oscar methods and the Mars phase become easier to control during real runs. Traps and the Arsenal help you manage pressure and keep damage scaling steady when rounds climb. The Cursed relic goals and the quick easter eggs add extra reasons to return, so this map stays fun after you finish the main quest once.


New Cod bo7 astra malorum guide – main quest, LGM-1 build, Oscar methods, planet books, Mars coils, perks, traps, Seed Relic, boss prep for runs.

New Cod bo7 astra malorum guide – main quest, LGM-1 build, Oscar methods, planet books, Mars coils, perks, traps, Seed Relic, boss prep for runs.

New Cod bo7 astra malorum guide – main quest, LGM-1 build, Oscar methods, planet books, Mars coils, perks, traps, Seed Relic, boss prep for runs.

New Cod bo7 astra malorum guide – main quest, LGM-1 build, Oscar methods, planet books, Mars coils, perks, traps, Seed Relic, boss prep for runs.

Runs center on survival plus a clear quest path. Early movement toward the Observatory and a quick Pack-a-Punch unlock set the pace. Steady perk buys keep chaos low. Music triggers and the wonder weapon side path add replay value.
Reach the Observatory and interact with the organ. Find two Harmonic Components in their zones, return to the dome, repair the device, then clear the short defense. Pack-a-Punch opens right after the lockdown ends.
Gather four parts tied to the map. Collect the battery from Old Tessy and the wires from the single flashing lamp. Secure three Absolute Zero Fragments with Cryofreeze and a flying saucer dropped from Oscar’s shield.
After pickup, Pack-a-Punch turns the LGM-1 into the Martian Man of War for strong crowd control. Use it for elite waves and the Mars pillar step. Ammo economy stays simple due to the weapon’s return mechanic.
Keep rounds low during the three Oscar methods. Use the rocket near Speed Cola and the Jug trap with the UFO piece. Finish with the sun-burn valve challenge in the Pack-a-Punch area to trigger the drop.
Follow Oscar in patrol mode to hear the three-planet order. Convert planets to numbers by distance from the sun, then enter the CoDe at Pack-a-Punch. This unlocks the key for the pod and starts the brain chain.
Use the key on the pod between Speed Cola and the planet lanes, then take the brain. Place it into the jar near Juggernog and clear the defense. Carry the jar to the planet room monitor for the book-title list.
Write down the book titles on the monitor until the list repeats. In the Stamin-Up book area, count which titles belong to a statue shelf group. Rotate statue heads that number of times within the timer to open the attic.
Use the telescope to locate Mars and record four DEC numbers. Collect the direction papers. Enter the numbers in the machine, place Neptune on the rod, align Mars and Saturn to the notes, adjust Neptune, then clear the lockdown.
In the Mars arena, place the brain and shoot four coils in the correct order. Keep the fifth coil active so the flying eye remains. Grab the eye when it drifts close, then insert it into the Mars machine.
Read the five-symbol organ CoDe with one static slot. Identify the missing symbol using the run reference. Shoot five Mars pillars with the wonder weapon, then interact with the glowing symbols in the correct order to prepare the boss start.
Prioritize Juggernog and Quick Revive for early safety. Speed Cola and Stamin-Up support smooth damage flow and rotation once points allow. Use Der Wunderfizz after it appears, then add a damage or utility perk for the boss setup.
Use the Mystery Box early for a quick power spike or a Ray Gun chance. Wall weapons offer a stable option for planned builds, which matters in Cursed rules. The Arsenal Machine upgrades rarity and adds Ammo Mods using Salvage.
Craft armor plates and a self revive at the Crafting Table for tight rounds. Use Ammo Caches to reduce downtime. The Rampage Inducer speeds rounds for farming, and Exfil from round 11 ends a clean test run.
Complete the Little Green Menace-1 weapon path during normal setup to gain a free tool that also links into the main quest. Trigger music eggs for short fun breaks. Cursed Relics add long-term challenge styles and new rule goals.
At round 20 in Cursed, find the KOD and score exactly 20 kills before upgrades. A green portal should appear. Finish the trial to unlock the Seed Relic, which disables the Mystery Box and shifts focus to wall weapons.

GTA 6, new seasons, major updates — get ready to dominate from day one.