

Call of Duty Boost
Warzone Champions Quest S4R: All Nuke Rewards Guide
Kowakujo dropped June 25, 2026. Here's the full Easter Egg walkthrough: Nekomancer, lanterns, Abomination, mask puzzle, and rewards.
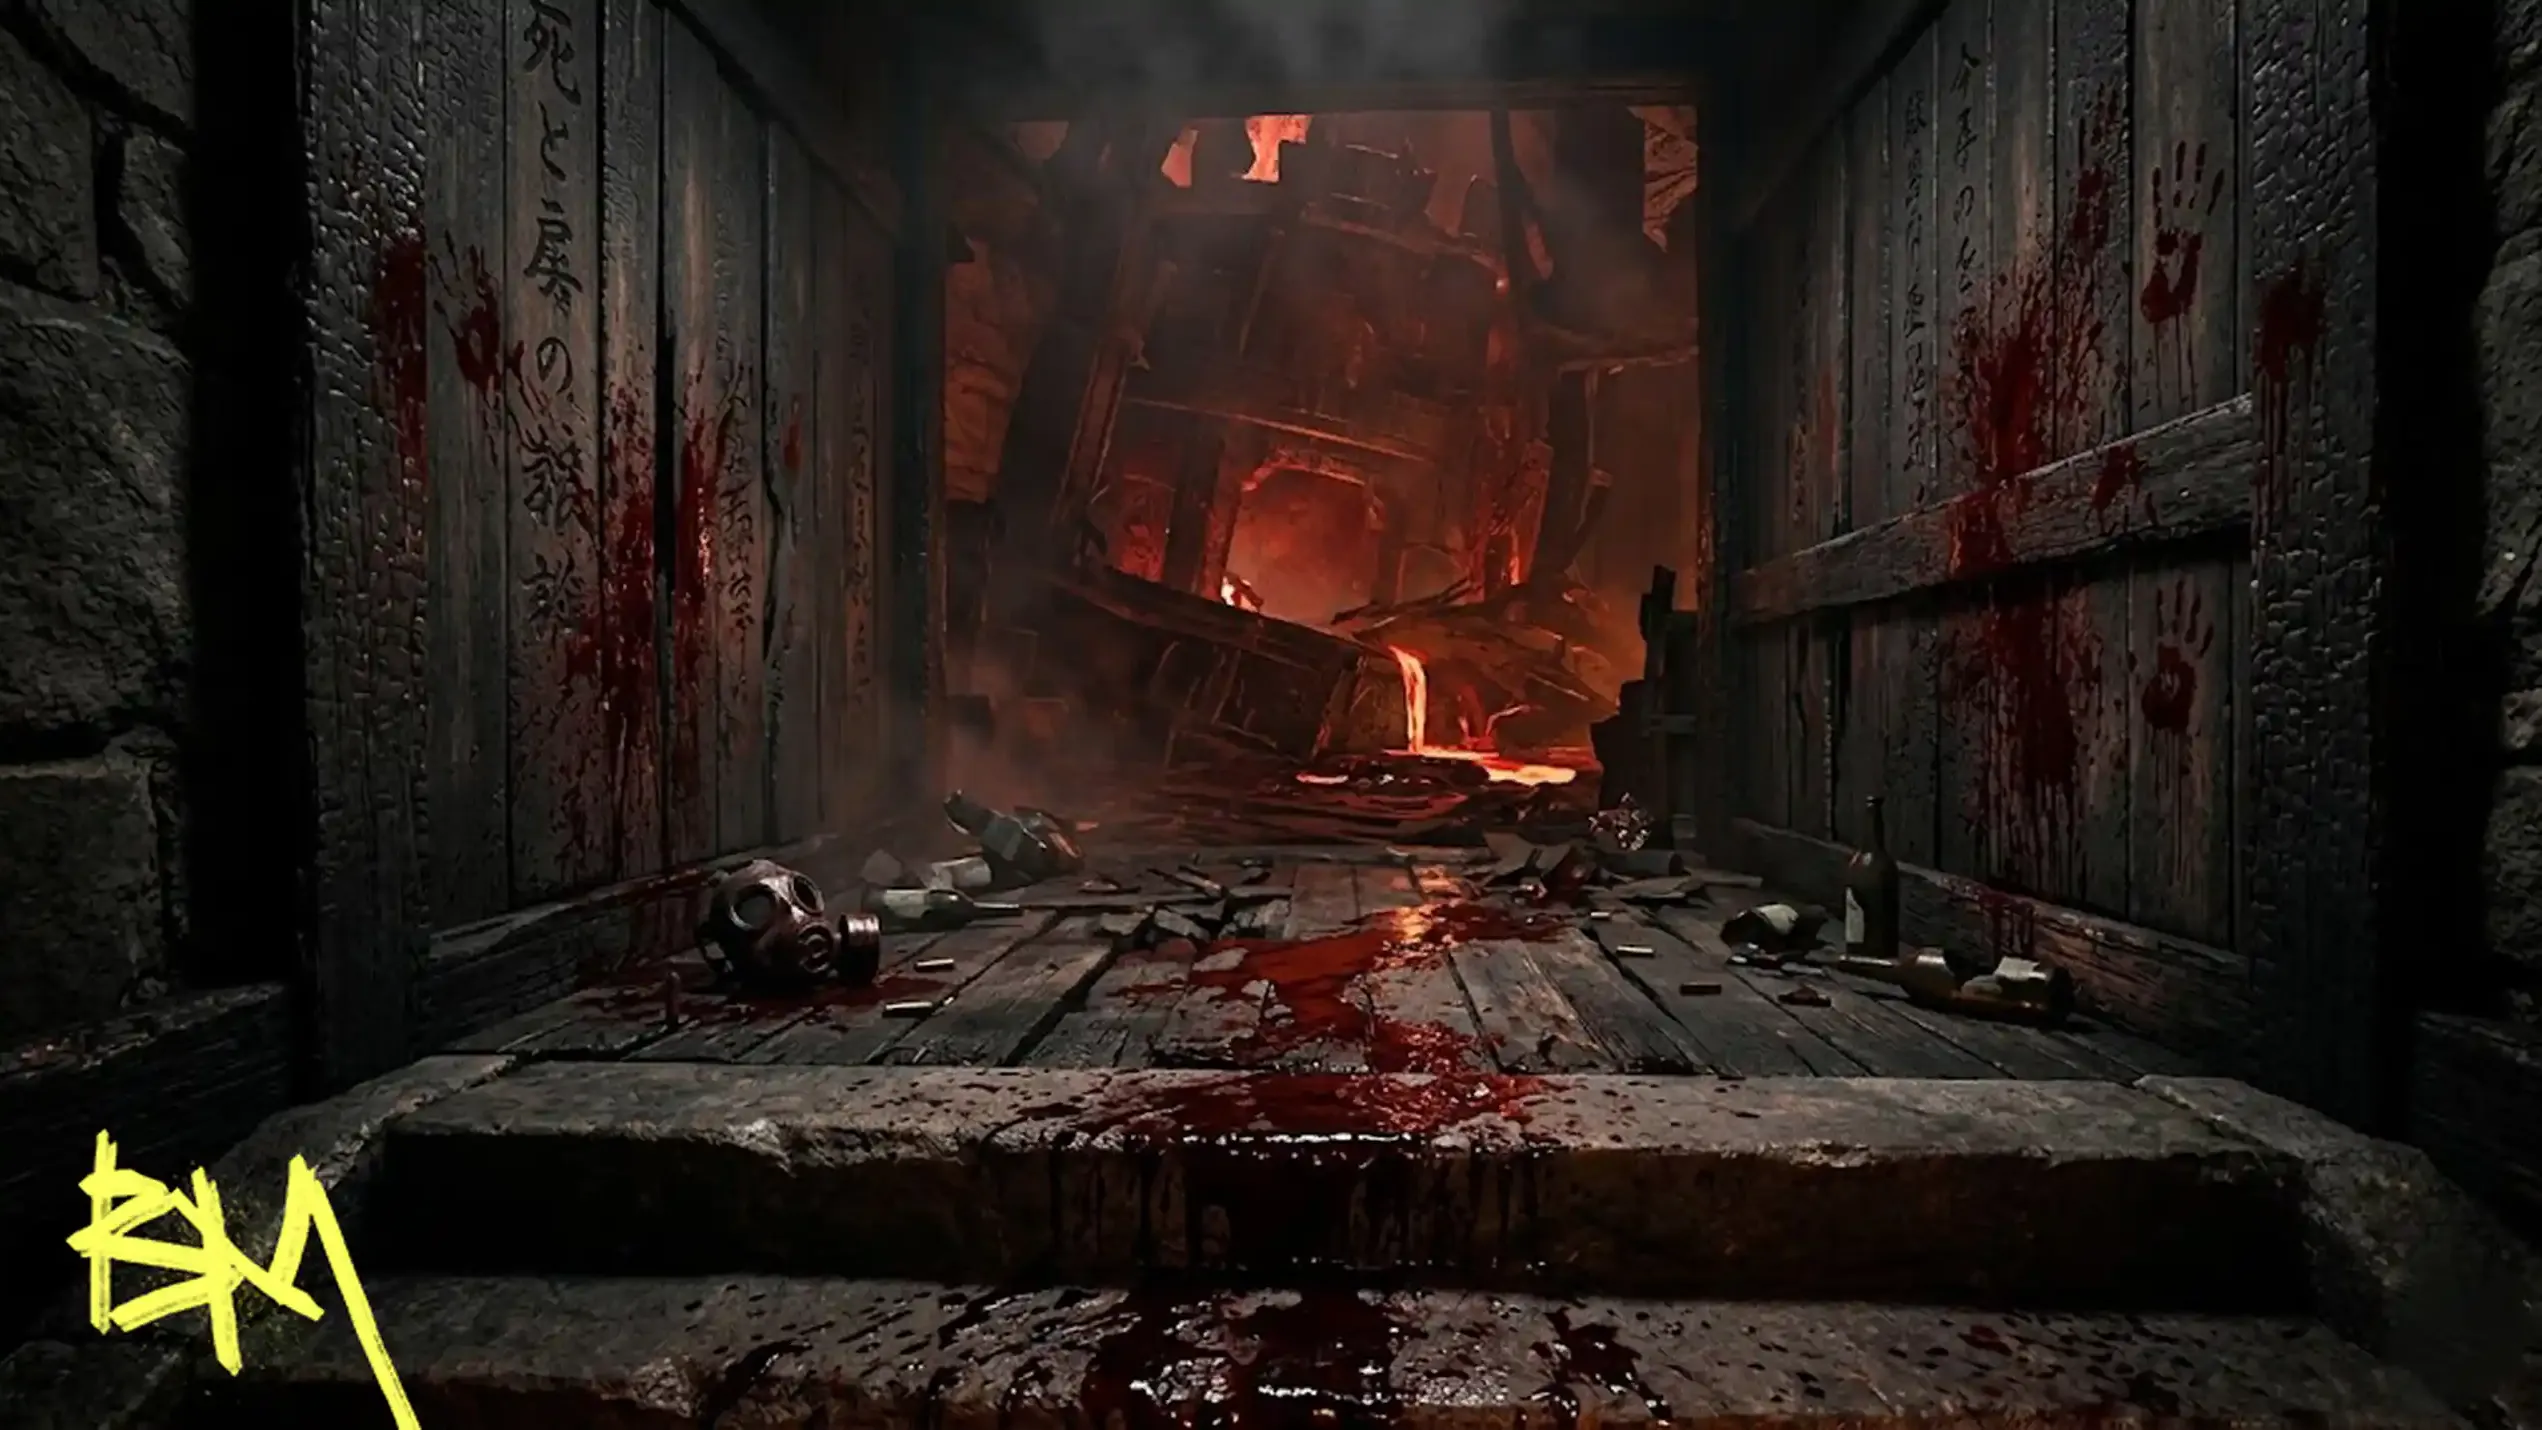
Black Ops 7 Zombies Kowakujo is the fifth Zombies map, dropped with Season 4 Reloaded on June 25, 2026. It's a feudal Japanese castle: Takeo Masaki's ancestral home, specifically: dragged into the Dark Aether and set on a volcano. The lava is decorative in the sense that it slows you to a crawl and turns zombies into Scorched horrors. Lovely place. The crew's goal: free the last Shadowsmith, recover the World Seed, and survive Nyxara's army of the undead. You also get a cat as a weapon.
The main quest rewards include a Purified Takeo Operator Skin, a Calling Card, and 10,000 XP. There's also a unique Calling Card variant for players who complete it before Directed Mode launches. If cosmetics motivate you more than lore, that's fine. We're all here for the same reason.
Nothing works until you do this. The Kowakujo Pack-a-Punch is gated behind a short quest that teaches you the map's layout whether you want it to or not.
|
# |
What You Do |
Where |
|
1 |
Recapture the Kitchens Ward: stand at the banner, kill zombies, fill the bar |
Northeast of Outer Ward |
|
2 |
Recapture the Training Area Ward: same deal, different building |
West side of map |
|
3 |
Remove the Gate Glyphs: hold interact on the two Oni symbols on the castle doors |
Central Courtyard |
|
4 |
Kill the Oni in the War Room: it drops the Shogun's Hanko |
War Room |
|
5 |
Use Shogun's Hanko on the Dragon Head door to enter Shogun's Sanctum |
War Room exit |
|
6 |
Kill marked (purple-glowing) zombies near the World Seed until it fires a beam |
Shogun's Sanctum |
Tip: A Decoy Grenade is genuinely useful for herding marked zombies near the seed. Lava slows you down massively: avoid it while doing this step or you will die annoyed.
Yes, the Nekomancer Wonder Weapon is a cat. Three abilities: Spirit Bolt, Hairball, and Neko Punch. It is also reportedly one of the most powerful Wonder Weapons the series has produced. You have to earn it through an elaborate ritual involving crafting a cat statue, PhD Flopper, and throwing that statue into lava. This is the game you purchased.
Collect three parts. Each has three random spawn locations. Check them all if one is missing: safe-quitting in solo can despawn them, forcing a respawn check.
|
Part |
Spawn 1 |
Spawn 2 |
Spawn 3 |
|
Furin Bell |
Staging Area: SW of Stamin-Up, hanging in collapsed doorway |
Stables area |
Near central building, check doorframes |
|
Karakuri (Puppet) |
Storage Rooms: shelf by white lantern, east wall |
Storage Rooms: opposite MK.78 Wall-Buy, north of PhD Flopper |
Workshop: west wall by a basket |
|
Maneki Neko Statue |
Gatehouse: right of Speed Cola, SW wall on wooden crate |
Kitchens: on barrel opposite Double Tap Root Beer |
Kitchens: SW corner inside ground-floor building near Ammo Crate |
Take all three to the Workshop. Find the crafting table near Vulture Aid and build the Maneki Neko tactical equipment. This is not the weapon yet: it's a short-range Monkey Bomb substitute used to summon the Abomination.
Note: If the Maneki Neko breaks (no lava nearby when you threw it), go back to the Workshop crafting table and build another one.
With the Nekomancer in hand, your next task is the lantern puzzle. Eleven lanterns are scattered across the map. Shoot each one with the Nekomancer to light it. Missing a shot or taking too long between lanterns resets the entire chain: you'll have to wait until the next round to try again.
Start from the Training Area: it requires the longest shot in the sequence. Work a logical loop back through the Stables, Staging Area, Kitchens, and Storage Rooms. When the final lantern lights and all 11 stay lit, a ghost spawns in the War Room. Approach it to advance the quest.
Recommended: Solo this step or coordinate with teammates: one missed shot by anyone fails the whole chain. Clearing a round first helps reduce distractions.
After the ghost encounter, you enter the investigation phase. The Fox Mask evidence system works like a Zombies detective mini-game: collect items, bring them somewhere, and the map tells you you're good at hunting.
Follow the ghost's instructions after the lantern step: the Ninja Kite will be indicated by an objective marker. Interact with it to begin the Fox Mask Minigame. Completing it yields the Fox Mask.
Two types of evidence need collecting: Poison Evidence (Plum Pit) and Motive Evidence. Both have randomized spawn locations across the map. Check tables, shelves, and alcoves throughout the Kitchens, Tea Garden, and Flower Gardens. The objective marker will guide you once the Fox Mask step triggers.
Bring all collected evidence to the Meditation Room. Interact with the wall display to place the evidence and unlock the mask puzzle. The mask wall puzzle requires arranging masks based on clues pulled from your evidence items: each run is randomized. Read the evidence descriptions carefully. Brute-forcing it wastes time you don't have.
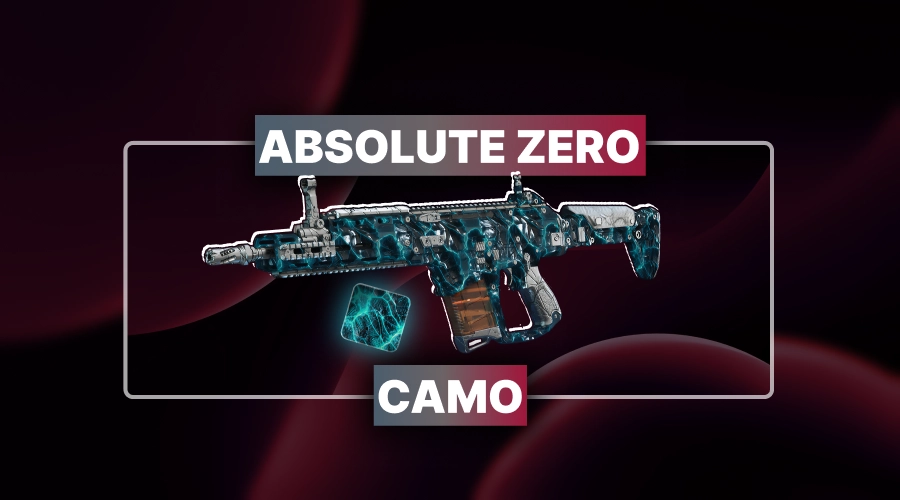
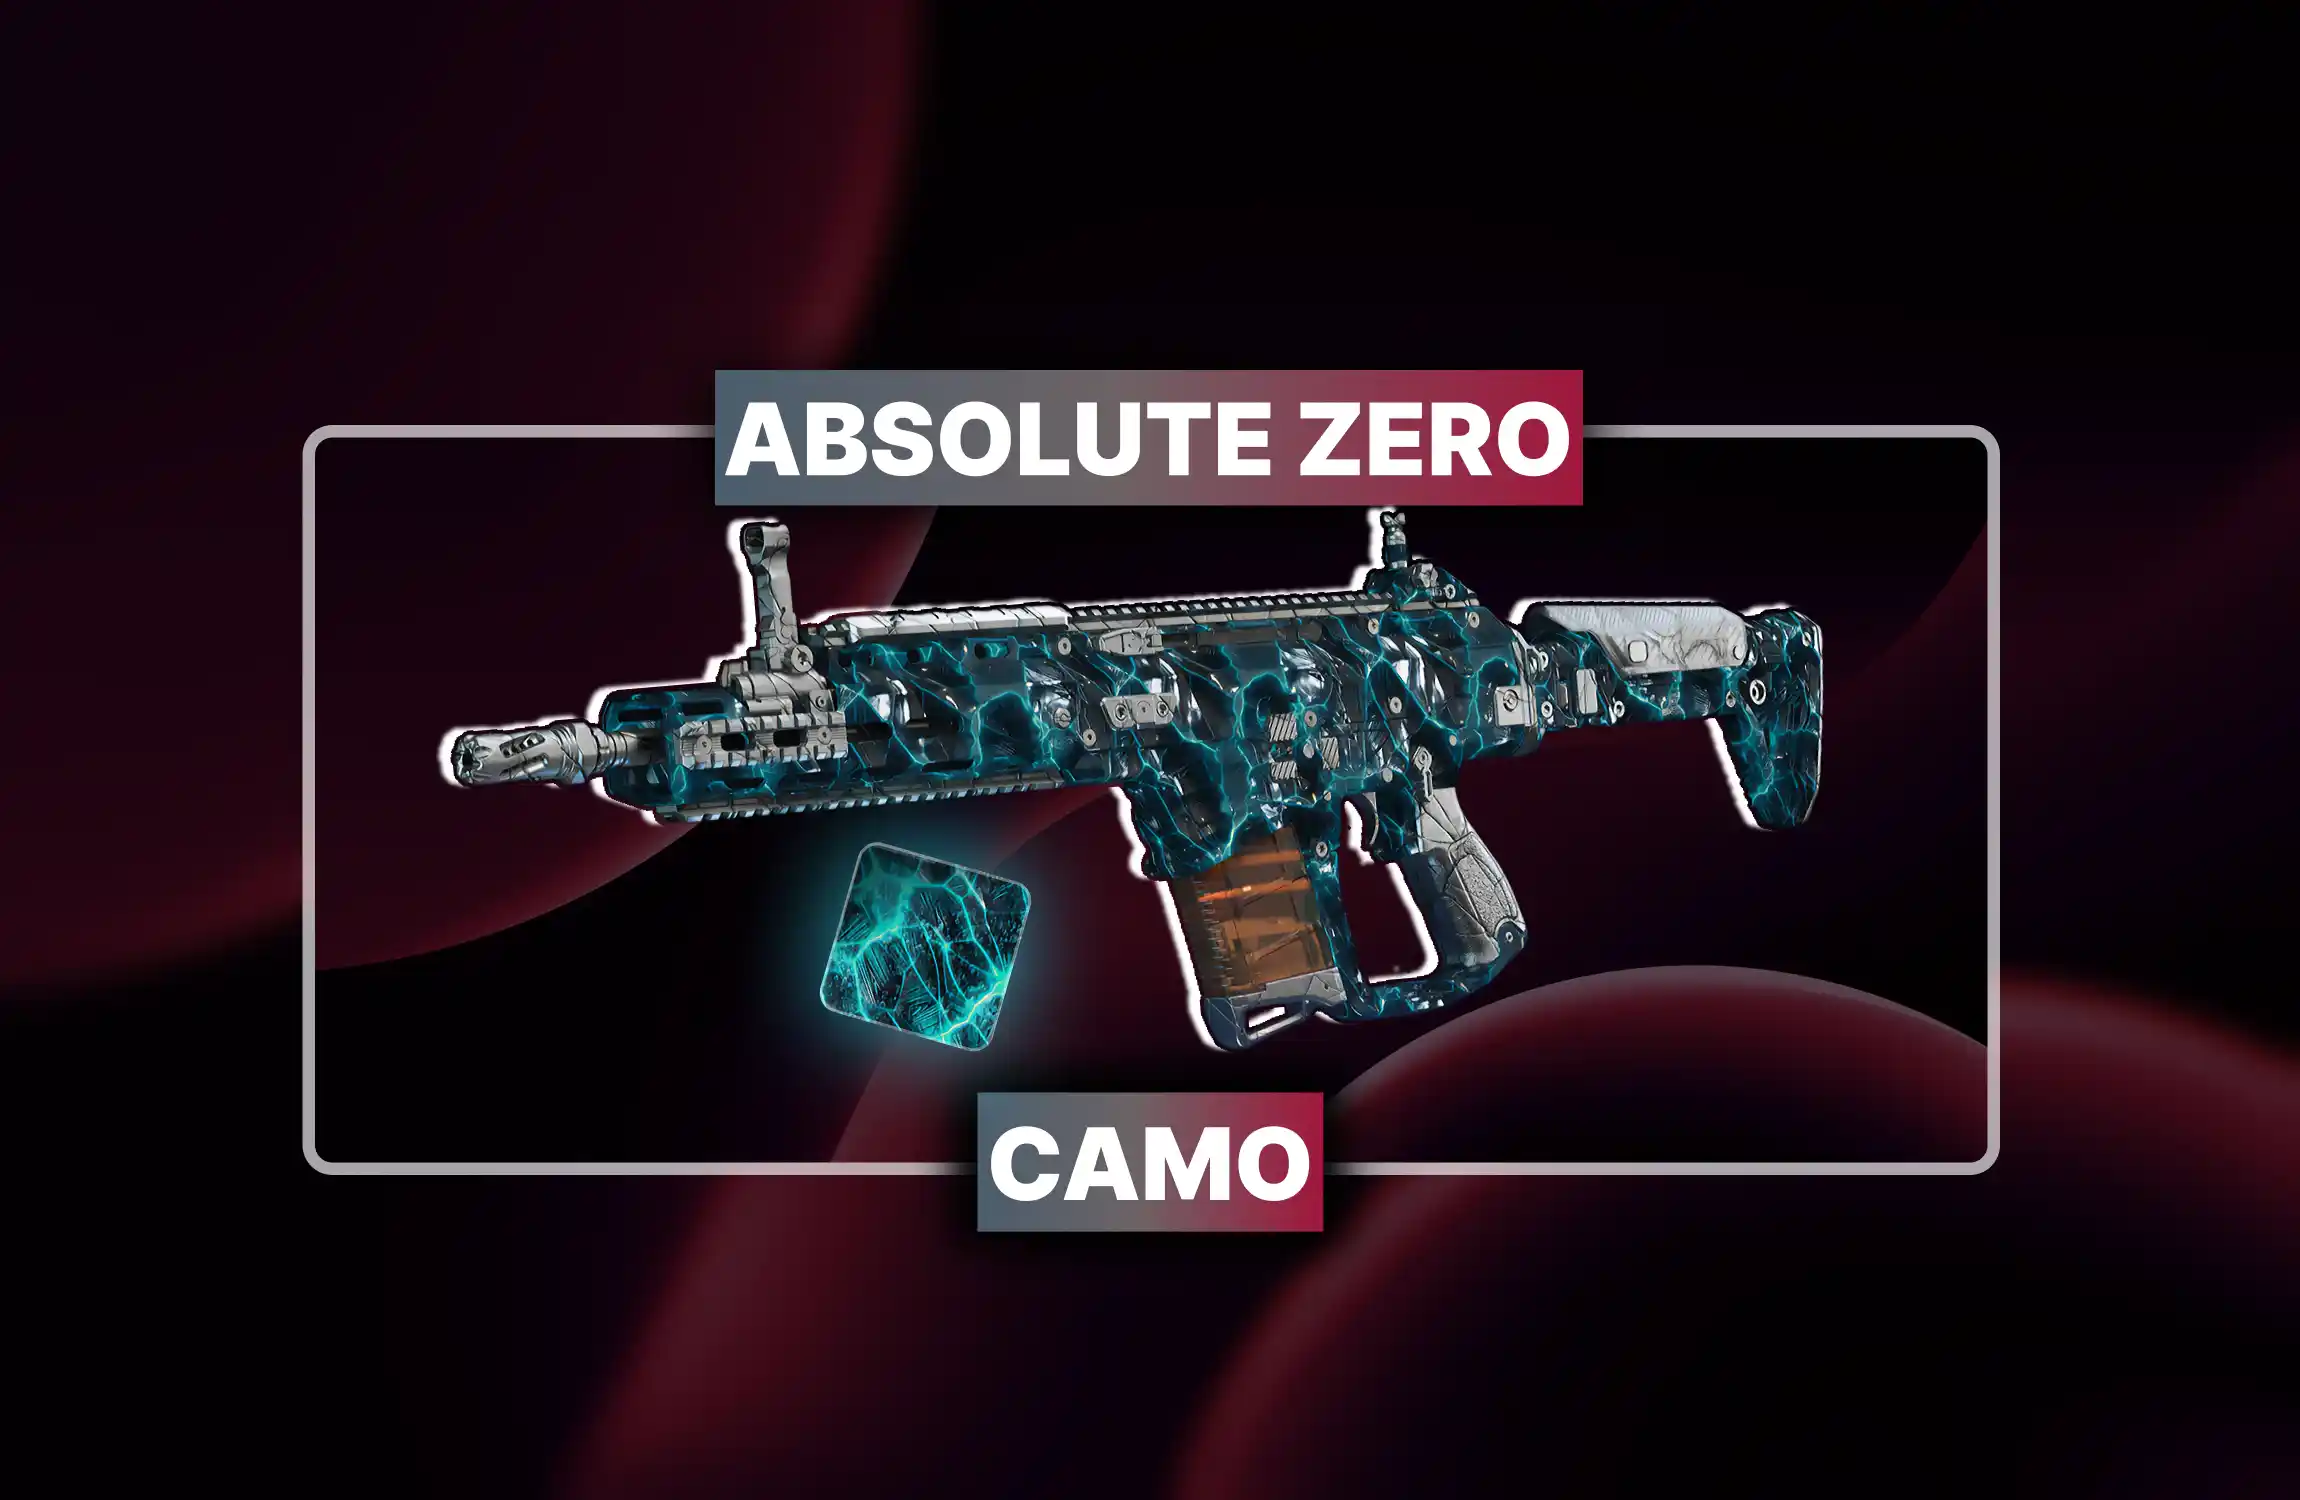
• Unlock light-blue Mastery camo.
• Complete 4th WZ tier.
• Fast, secure camo unlock.
Three collectible key items must be acquired during or after the mask puzzle step. Each has a handful of spawn locations.
|
# |
Item |
Notes |
|
A |
Empty Pouch |
Found in the Kitchens or Stables area. Check counters and floor items. The Empty Pouch fills during a subsequent quest step: don't use it early. |
|
B |
Ceramic Shards |
Broken pottery scattered across Storage Rooms and Workshop. Ceramic Shards are small: check corners and low surfaces. |
|
C |
Netsuke of Brothers |
A carved figurine tied to the Takeo storyline. Found in the upper castle areas after the Shogun's Sanctum is accessible. |
Kowakujo Cursed Mode removes all main quest guidance, limits the HUD to nearly nothing, and starts you with a pistol. In exchange you can unlock three Pack-a-Punch camos and 60,000 XP worth of cosmetic rewards. The mode also features Cursed Relics: six collectable modifiers that make the game harder in exchange for bragging rights that exist nowhere outside your own head.
Complete the normal Easter Egg first. Going into Cursed blind is a personality disorder, not a strategy.

Kowakujo dropped June 25, 2026. Here's the full Easter Egg walkthrough: Nekomancer, lanterns, Abomination, mask puzzle, and rewards.

Kowakujo dropped June 25, 2026. Here's the full Easter Egg walkthrough: Nekomancer, lanterns, Abomination, mask puzzle, and rewards.

Kowakujo dropped June 25, 2026. Here's the full Easter Egg walkthrough: Nekomancer, lanterns, Abomination, mask puzzle, and rewards.

Three possible spawns: Gatehouse near Speed Cola, Kitchens near Double Tap, or Kitchens SW corner by Ammo Crate.
Build Maneki Neko, follow paw prints, throw it into lava in the circle, kill the Abomination, sneak to the cat, carry it to the World Seed.
Eleven total. Start in the Training Area: it requires the longest shot. Work the loop clockwise through the map.
No active lava was flowing under the circle at that moment. Wait for the lava wave to arrive, then throw. Rebuild at the Workshop crafting table.
Takeo Operator Skin, two Calling Cards, and 10,000 XP minimum. Worth it if you like Takeo. Otherwise, debatable.

GTA 6, new seasons, major updates — get ready to dominate from day one.