
Call of Duty Boost
BO7 Season 4 Weapon Tier List & Best Loadouts
BO7 Endgame Season 4 is live. Operation Wall Breaker has 9 steps, a new Possessed Convoy activity, and ends with the Command Killer Glitch Fracture.
Karma's virus has a problem: a Command Node is blocking it from gutting the Guild's network. Congratulations, you're the solution. Operation Wall Breaker is the third and final act of BO7 Endgame's story arc, and it sends you across every zone of Avalon to breach network hubs, collect mapping data, and eventually smash the node in the Command Killer Glitch Fracture. Do it right and you walk away with a weapon blueprint, animated calling card, operator skins, and the satisfaction of having read a guide instead of wandering around for three Call of Duty boosting services.
Unlike its predecessor Operation Broken Mirror, this one starts at Zone I, meaning even operators who just rolled out of the tutorial can participate. Enjoy the grace period: by Zone III the contracts are contested and the enemies stop being polite. The Black Ops 7 Endgame Season 4 meta is also in flux since Treyarch nerfed the XR3 Ion into irrelevance at season launch, so bring something that actually works.
Endgame is free to play through end of Season 5. You do not need to own Black Ops 7. You're welcome.
All Steps at a Glance
|
# |
Name |
Zone |
Area |
Reward |
|
1 |
Identify an Edge Node |
Zone I |
Old Arsenal |
Brain Freeze Weapon Charm + 1,000 XP |
|
2 |
Trace the Network |
Zone I |
Clifftown |
Restore Token + 1,000 XP |
|
3 |
Tier 2 Protocol |
Zone II |
Excavation / Coliseum |
1hr Double XP Token + 1,000 XP |
|
4 |
Uplink |
Zone II |
Heliport |
Splitter Emblem + 2,500 XP |
|
5 |
Satellite Station |
Zone II |
Listening Post |
1hr Double BP XP Token + 2,500 XP |
|
6 |
Executive Retreat |
Zone III |
Resort |
Frost Beast Large Decal + 2,500 XP |
|
7 |
Advanced Access |
Zone III |
Trinity Stadium / Hightown |
1hr Double Weapon XP Token + 5,000 XP |
|
8 |
At the Gates |
Zone III |
Coastal Security |
Fractal Cry Loading Screen + 5,000 XP |
|
9 |
Command Node |
Zone IV |
Lowtown + Firing Range |
Forehead Slap Emote + 5,000 XP |
|
10 |
Command Killer (Glitch) |
Nightmare |
Hightown + Glitch Fracture |
Cold Shoulder Blueprint + 7,500 XP |
Every step ends the same way: find and breach a Guild Network Hub. Follow the signal until it turns green and says "Strong," interact with the console, and move on. This is not complicated. What follows covers the rest of each step.
Brain Freeze Weapon Charm1,000 XP
Restore Token 1,000 XP
1hr Double XP Token 1,000 XP
This is where players who refuse to read guides lose an hour to the vehicle objective.
Splitter Emblem 2,500 XP
Do not use explosives on the VTOL. The game will make you watch it fly away. You will feel feelings.
1hr Double Battle Pass XP Token 2,500 XP
Frost Beast Large Decal 2,500 XP
This step splits you between two areas. Plan your route. Or don't, and spend twice as long.
1hr Double Weapon XP Token5,000 XP
Fractal Cry Loading Screen 5,000 XP
09Command Node: Lowtown + Firing RangeZone IV
Zone IV has two sections. This step uses both. Yes, the BO7 Endgame Zone IV layout is annoying. This is the part where the game stops holding your hand.
Forehead Slap Emote 5,000 XP
This is the finale. The Command Killer Glitch Fracture is in Hightown and requires you to actually earn your way in. Two objectives stand between you and the end of Act III.
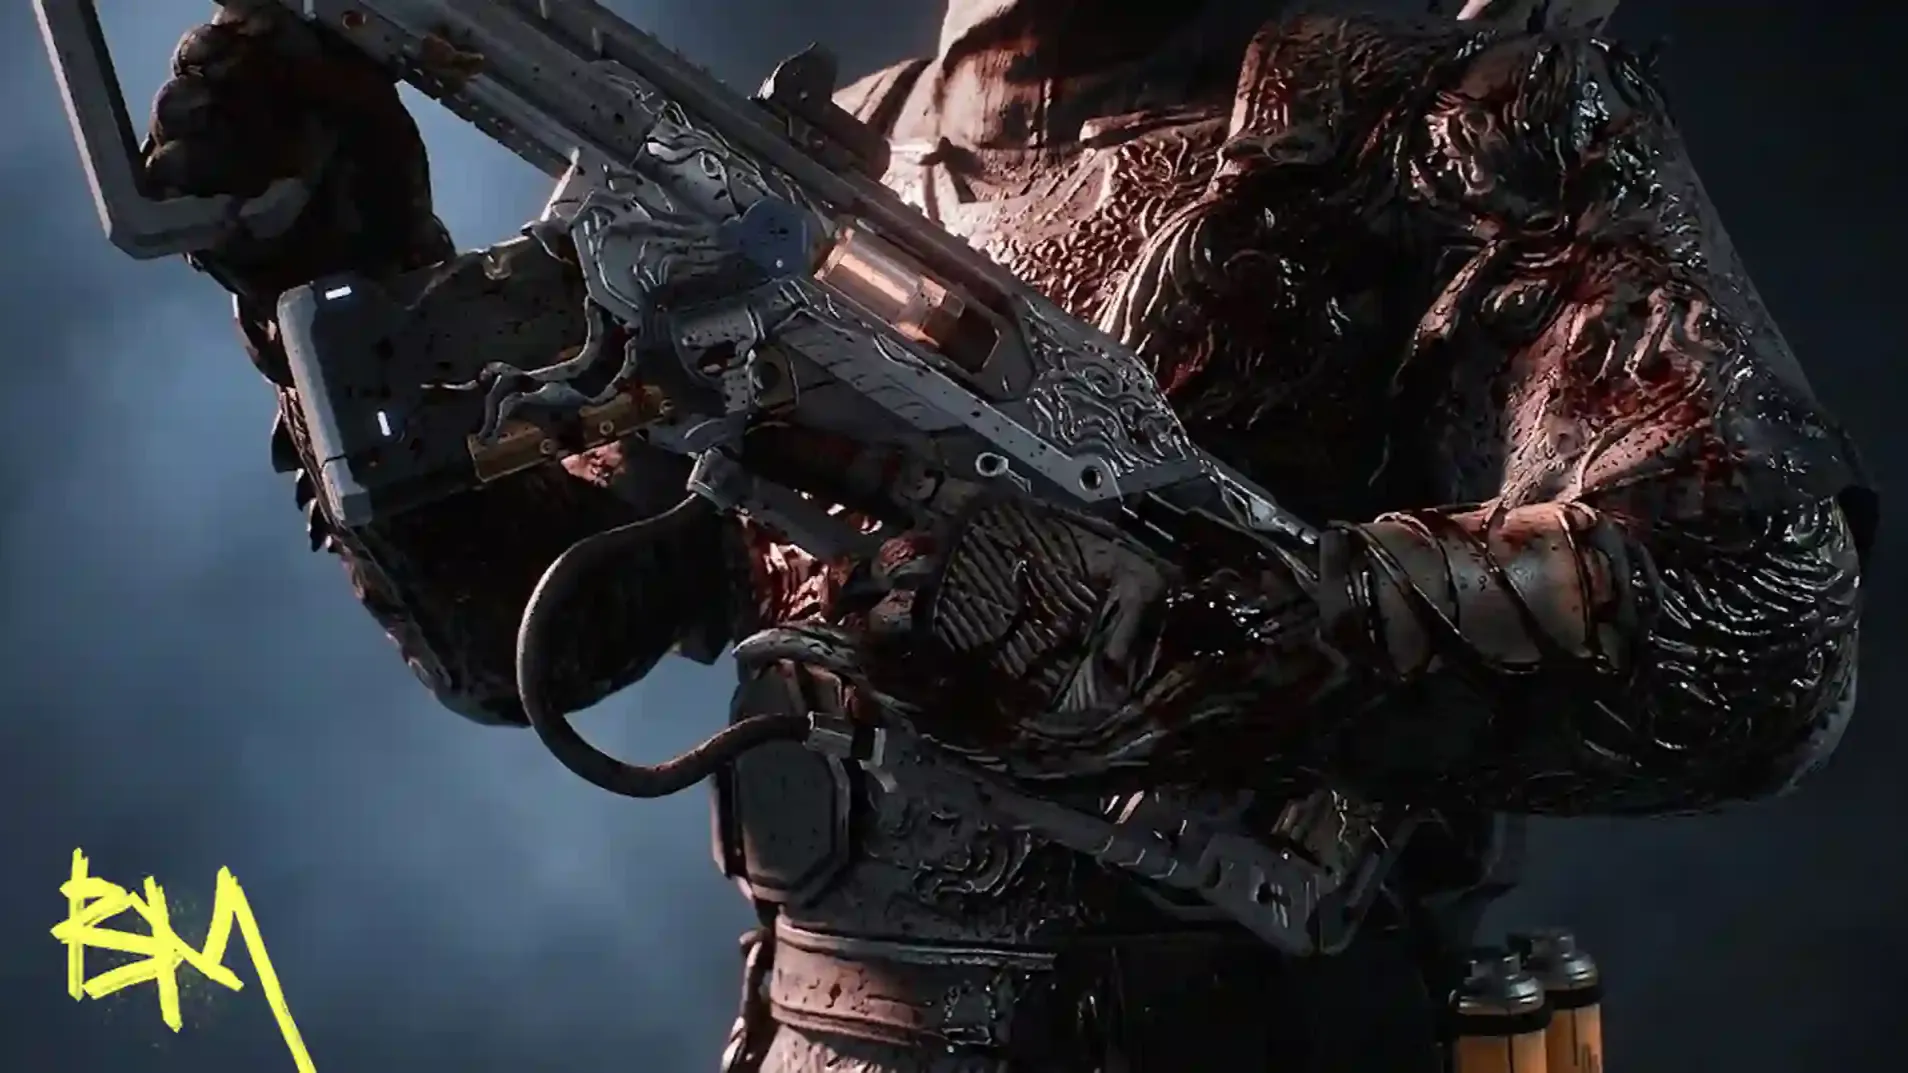
Track down the Possessed Convoy rolling around the map: it looks like a standard convoy icon but dark orange. Destroy the convoy. This triggers the large bear boss Zursa to spawn, which is tanky enough to remind you that you should have brought a squad. A full lobby tears it down fast. Zursa drops an exotic weapon case on death.
Once the Guild Strike Boss is defeated, the Command Killer Glitch Fracture spawns. Enter it. Face relentless waves of Nightmare difficulty enemies. Defeat the Command Killer Glitch Boss. Survive. Collect your reward and go touch grass.
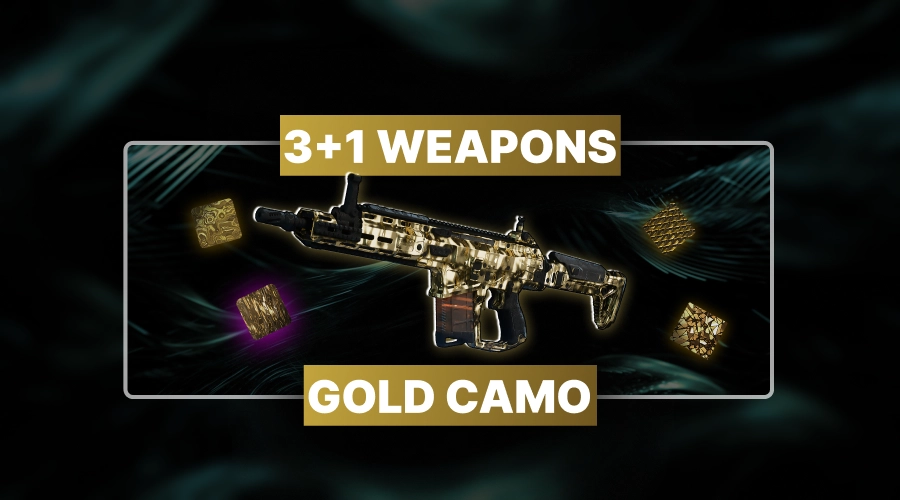
To unlock the Shatter Shock operator skin for Razor, 50/50, or Faulkner: complete the Glitch with that specific operator equipped. Complete all three for the Visitors Animated Weapon Camo. The Decay Weapon Camo unlocks after your first Shatter Shock skin.
|
Reward |
How |
|
Brain Freeze Weapon Charm |
Complete Step 1 |
|
Restore Token |
Complete Step 2 |
|
1hr Double XP Token |
Complete Step 3 |
|
Splitter Emblem |
Complete Step 4 |
|
1hr Double Battle Pass XP Token |
Complete Step 5 |
|
Frost Beast Large Decal |
Complete Step 6 |
|
1hr Double Weapon XP Token |
Complete Step 7 |
|
Fractal Cry Loading Screen |
Complete Step 8 |
|
Forehead Slap Emote |
Complete Step 9 |
|
Cold Shoulder Weapon Blueprint |
Complete Glitch Step |
|
Terms of Disservice Animated Calling Card |
Complete Glitch Step |
|
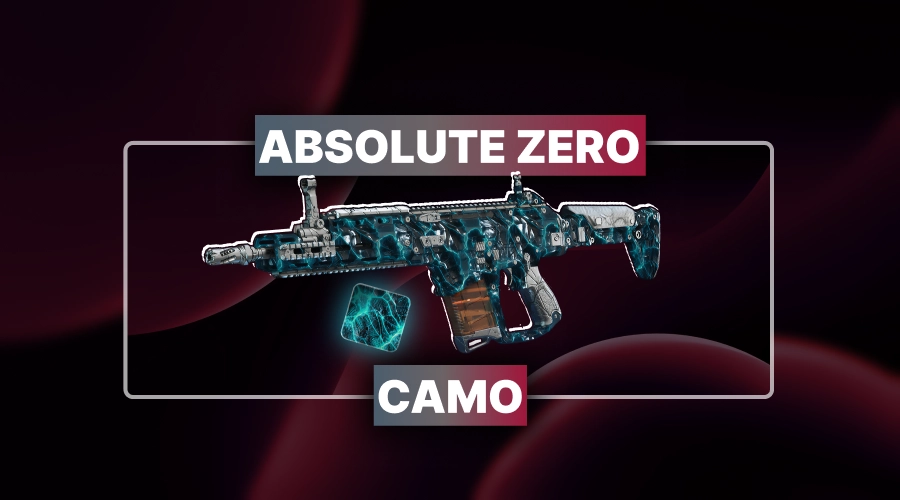
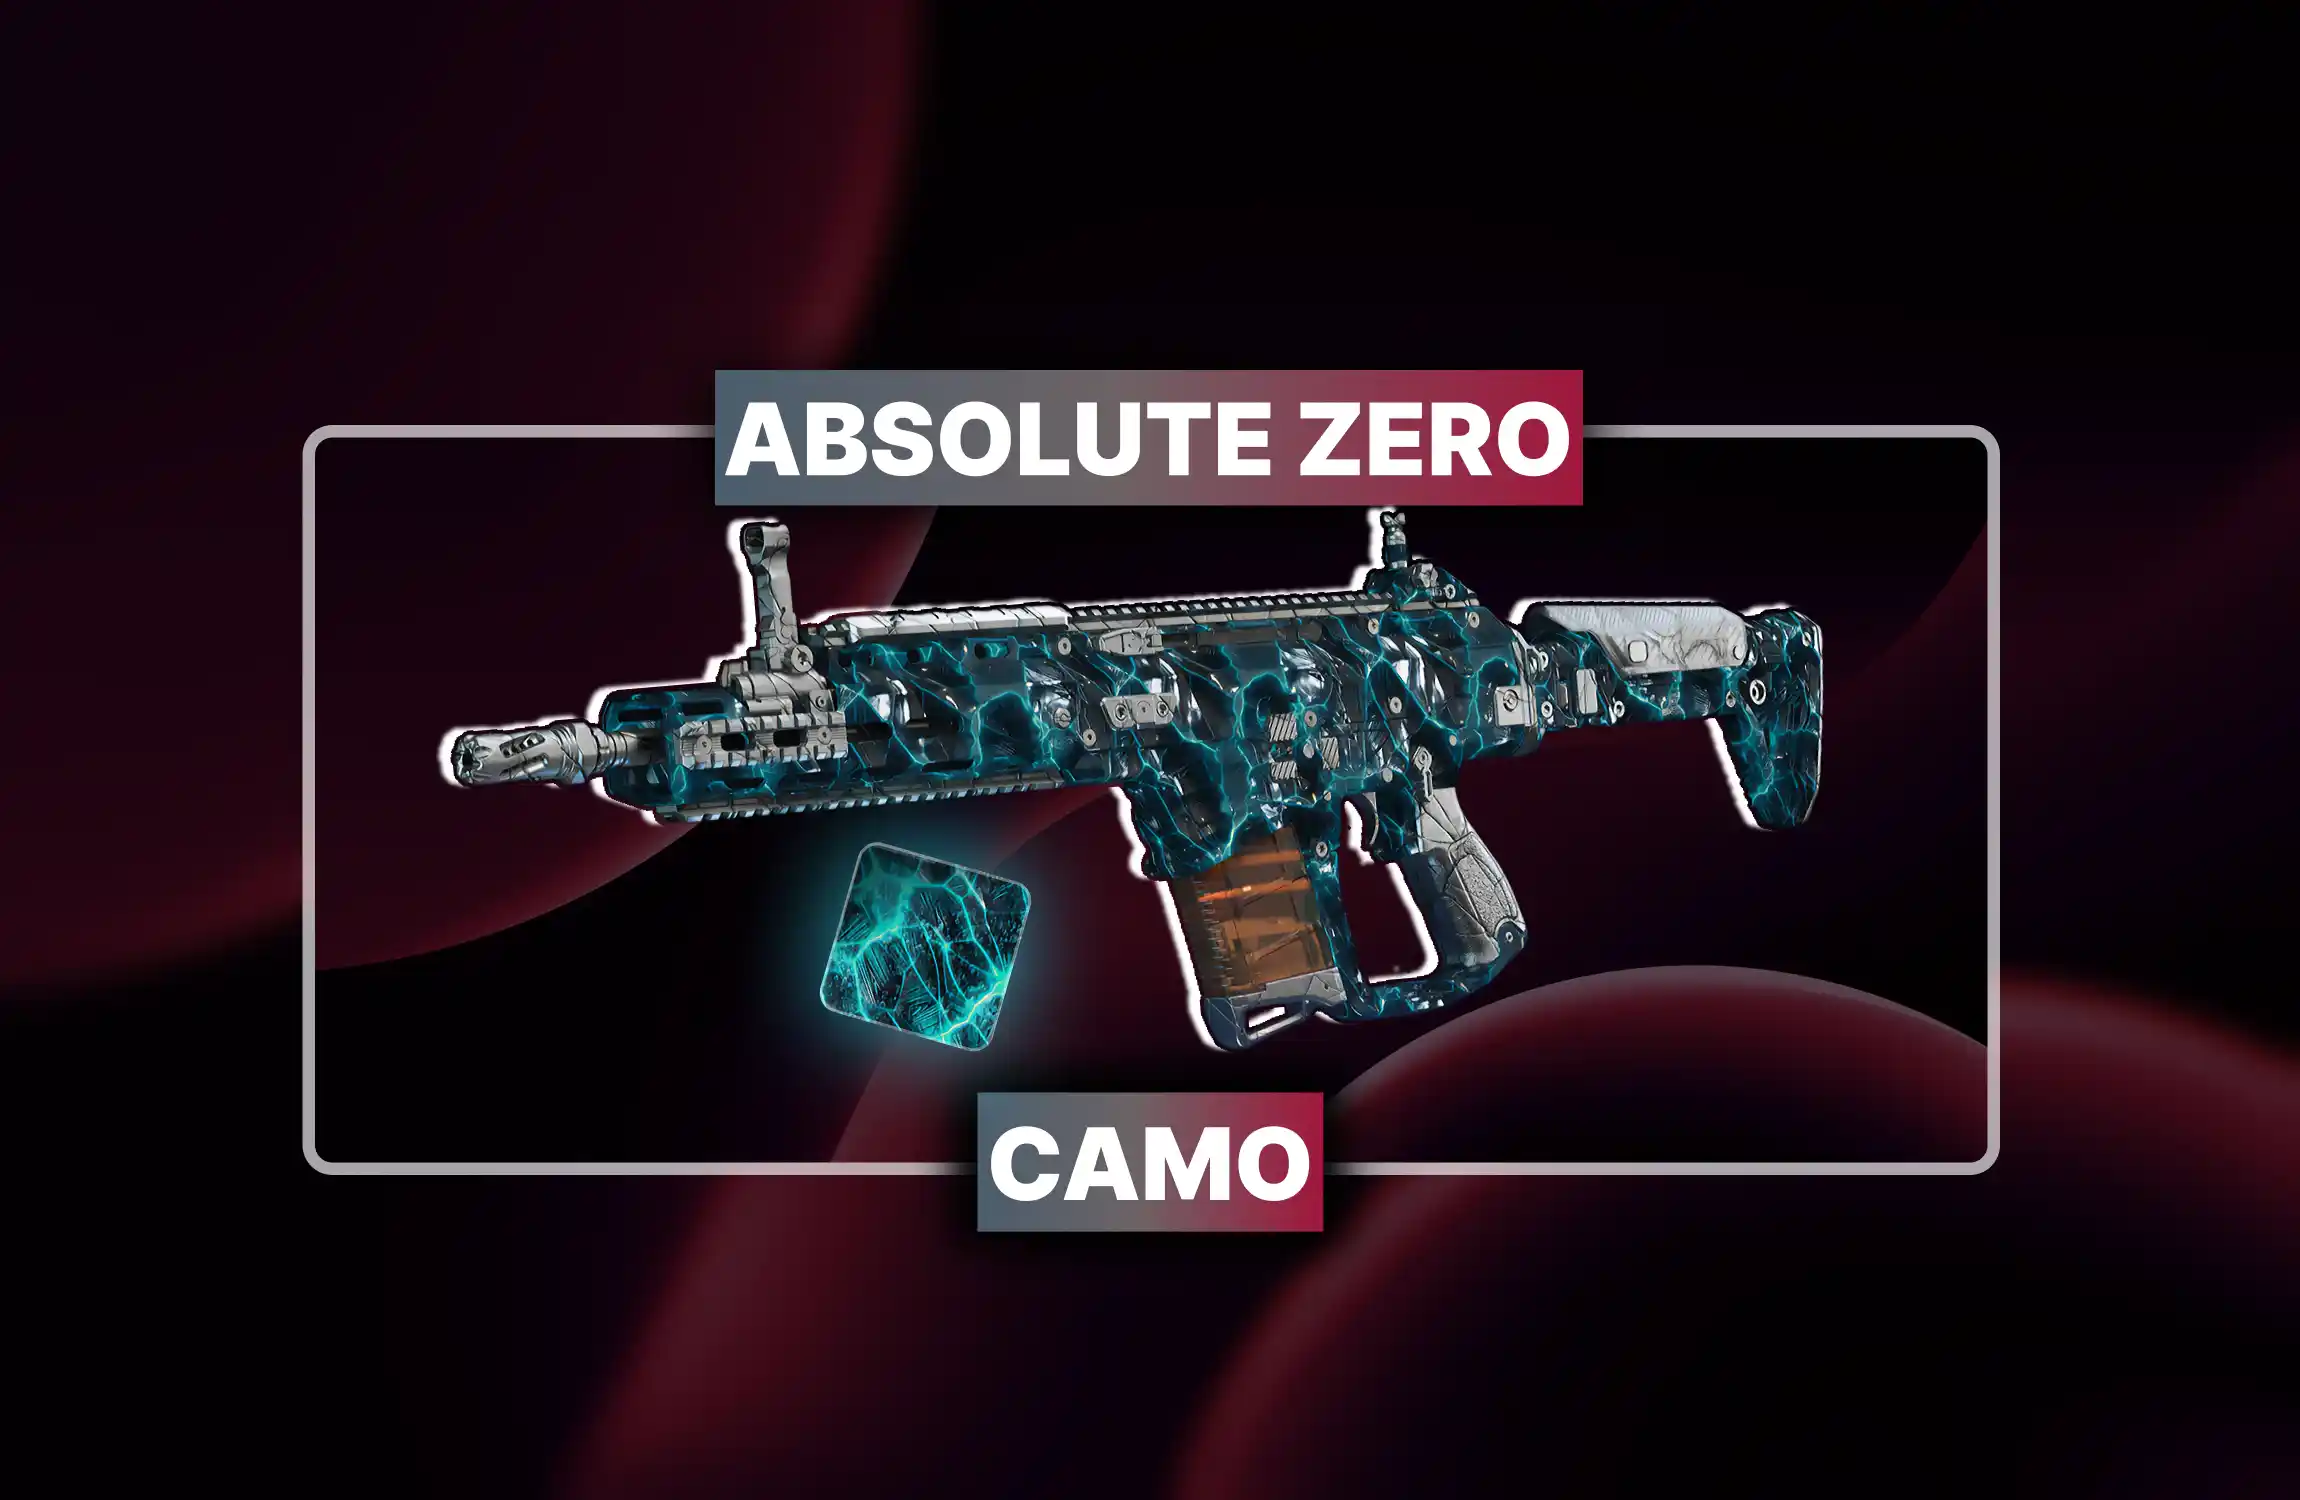
Decay Weapon Camo |
Earn 1 Shatter Shock operator skin |
|
Visitors Animated Weapon Camo |
Earn all 3 Shatter Shock skins |
|
Shatter Shock Skins (x3) |
Complete Glitch as Razor / 50/50 / Faulkner |

BO7 Endgame Season 4 is live. Operation Wall Breaker has 9 steps, a new Possessed Convoy activity, and ends with the Command Killer Glitch Fracture.

BO7 Endgame Season 4 is live. Operation Wall Breaker has 9 steps, a new Possessed Convoy activity, and ends with the Command Killer Glitch Fracture.

BO7 Endgame Season 4 is live. Operation Wall Breaker has 9 steps, a new Possessed Convoy activity, and ends with the Command Killer Glitch Fracture.

No. Endgame is free to access from the main Call of Duty menu through end of Season 5.
It kills everyone inside and the VTOL flies away. You restart the attempt. Do not use explosives.
Razor, 50/50, and Faulkner. Complete the Glitch Boss with each one equipped to earn all three.
Playable solo, but the Zursa bear boss and Nightmare Glitch are significantly easier with a full squad.

GTA 6, new seasons, major updates — get ready to dominate from day one