

Call of Duty Boost
JAVELIN M27 Complete Guide: Black Ops 7 Season 3
Season 3 brought Ashwood Survival to BO7 Zombies and you're already losing. Here's the guide covering everything from Fog Zombies to Cursed Mode. Read
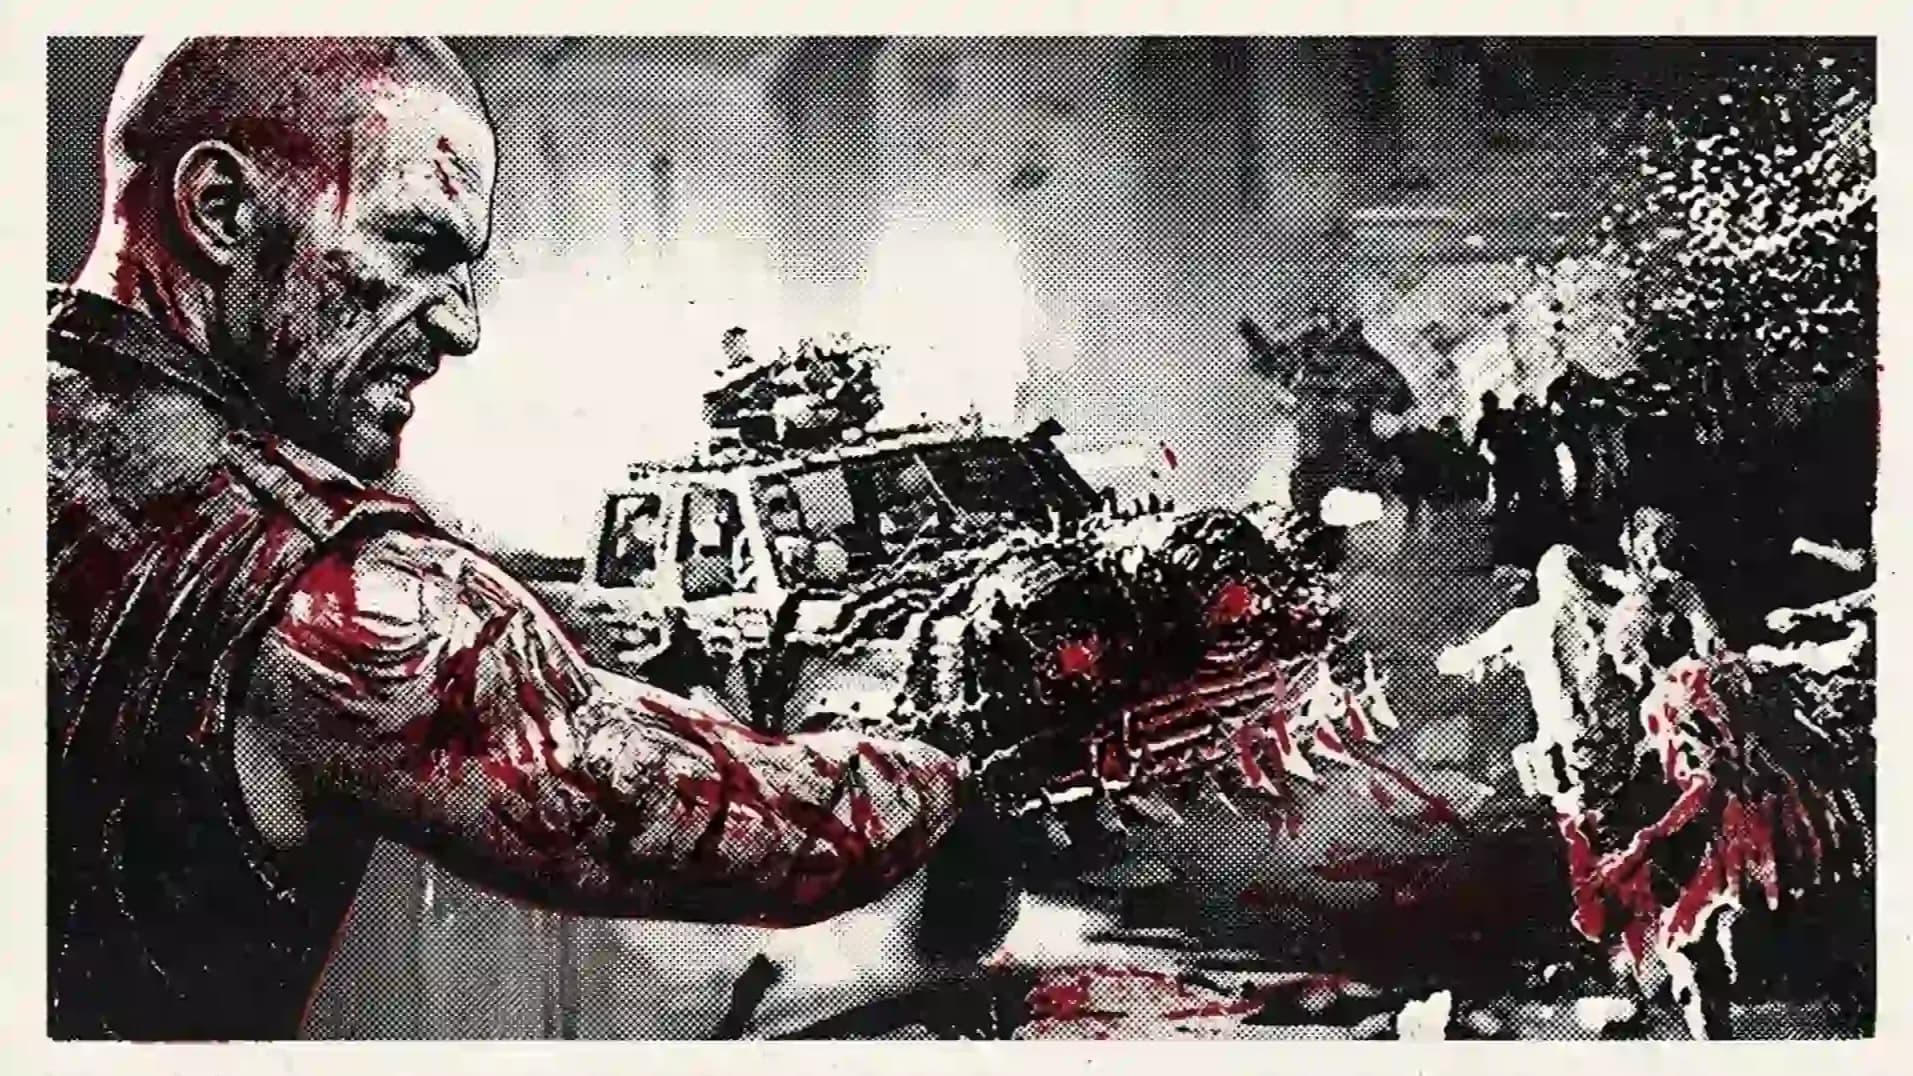
This is Black Ops 7 Ashwood Survival in its purest form: no Easter egg to distract you, no Ol' Tessie to ferry you to safety, and no illusion that the game is being remotely gentle with you. Just waves of undead, a shrinking sense of personal dignity, and the constant reminder that you forgot to buy Speed Cola again.
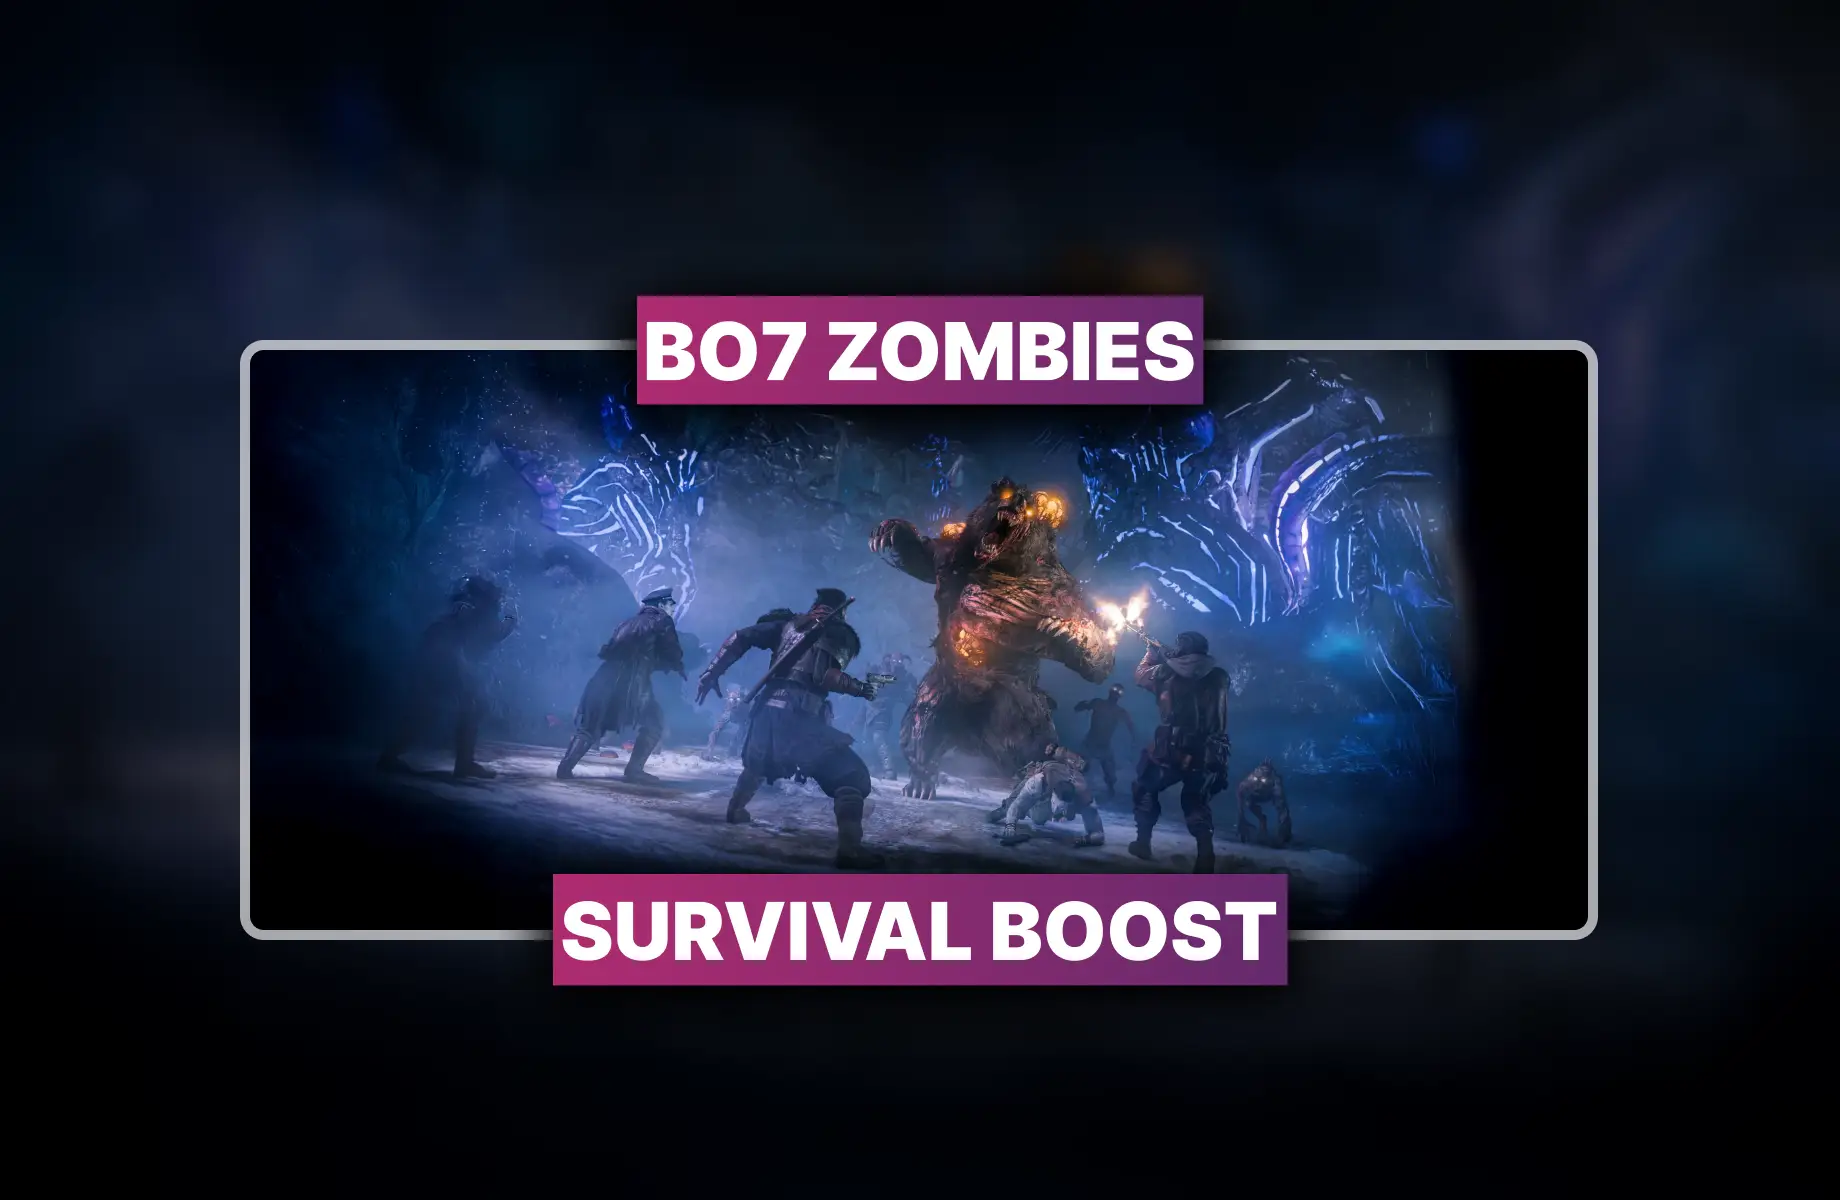
Survival mode returns to Zombies for the first time since Black Ops 2. If you were not alive for that era, understand this: it was not a relaxing experience then, and the passage of thirteen years has not made the undead more forgiving.
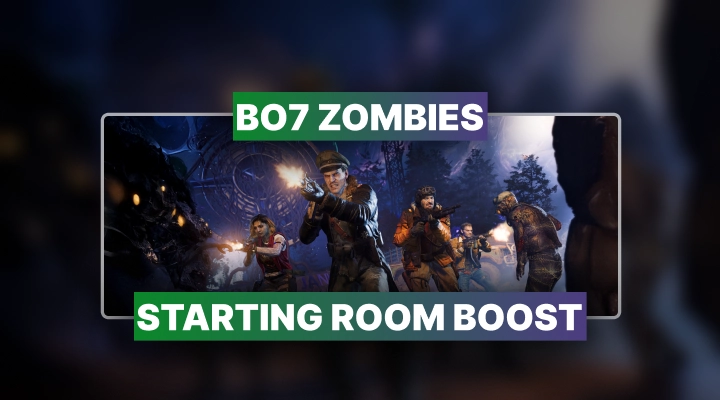
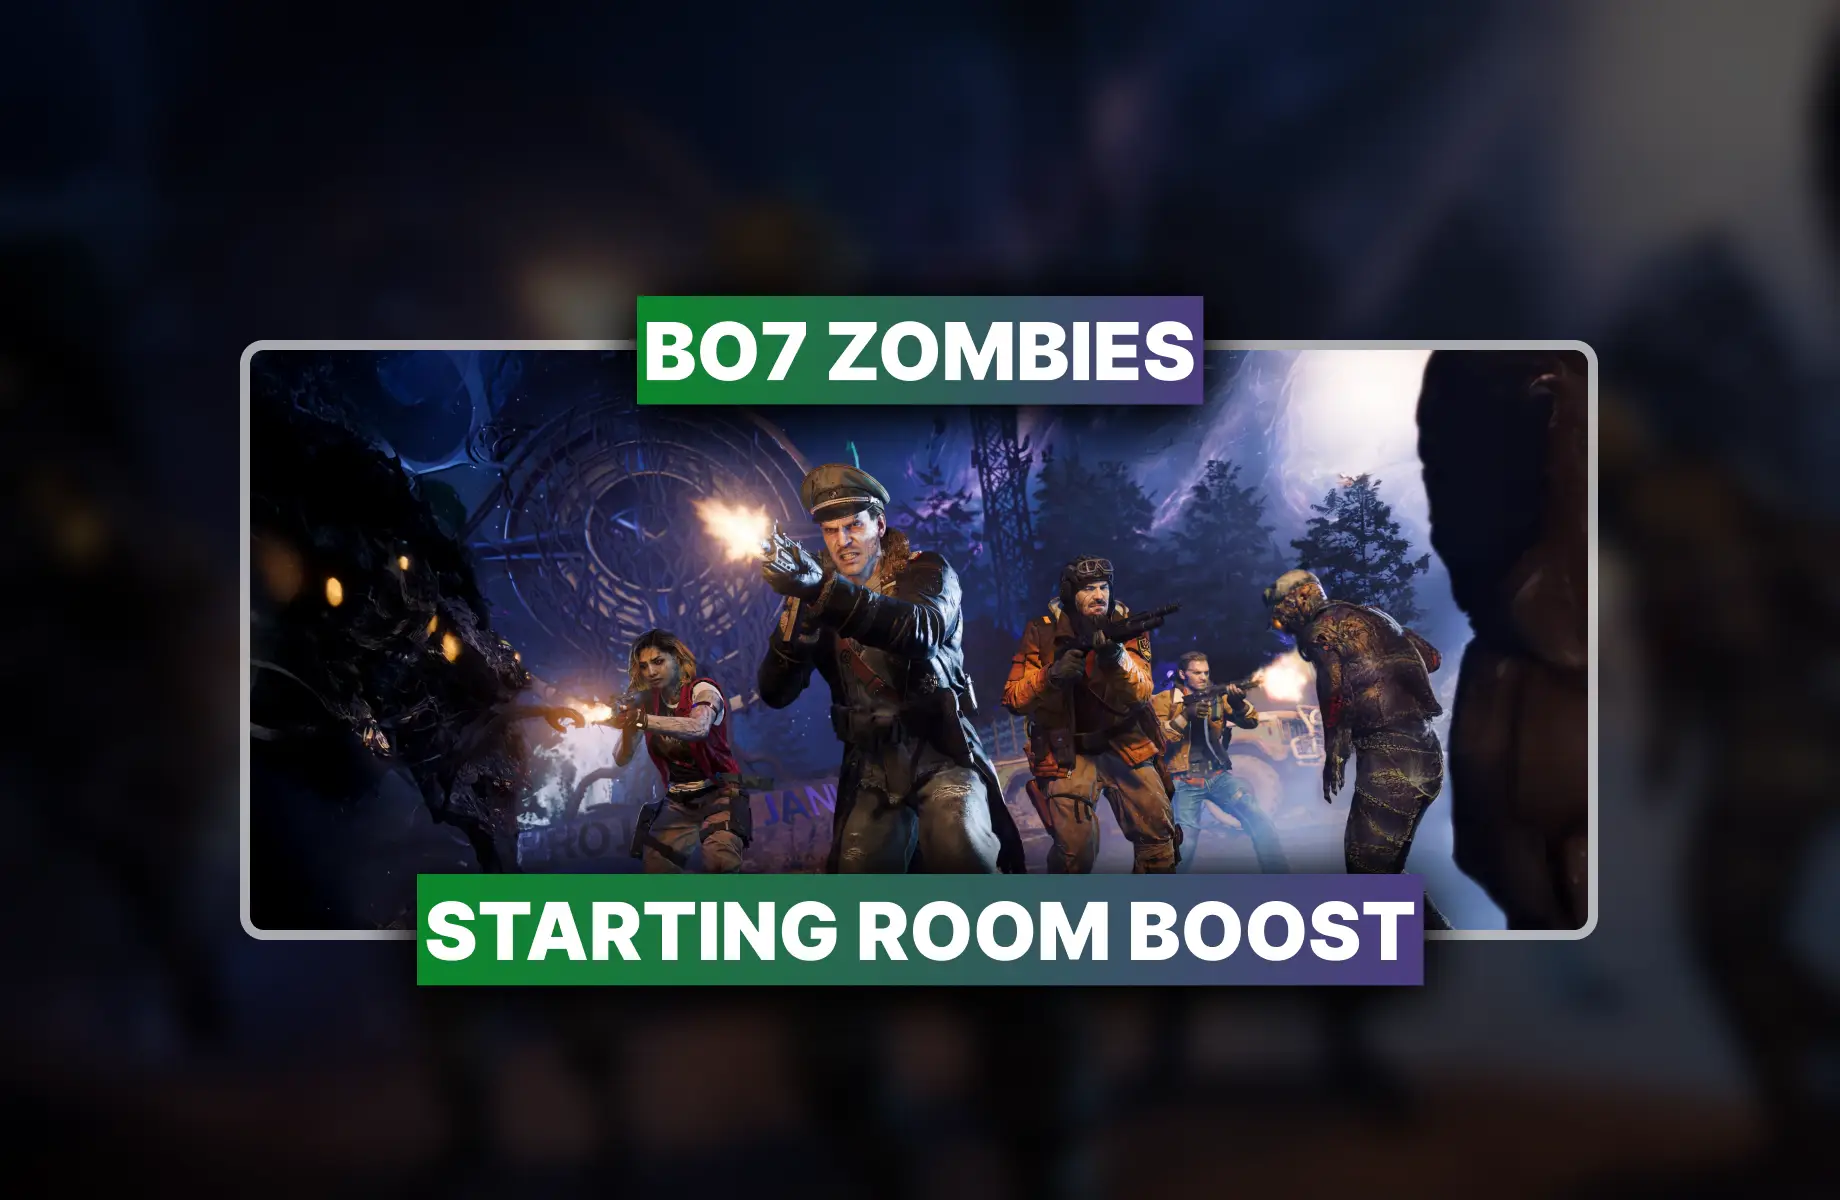
Ashwood Survival comes in three flavors: standard Survival, Starting Room Mode, and Cursed Mode. Each one escalates the misery at a different rate. Start with standard. Acknowledge reality. Then proceed to Cursed when your self-esteem can survive the blow.
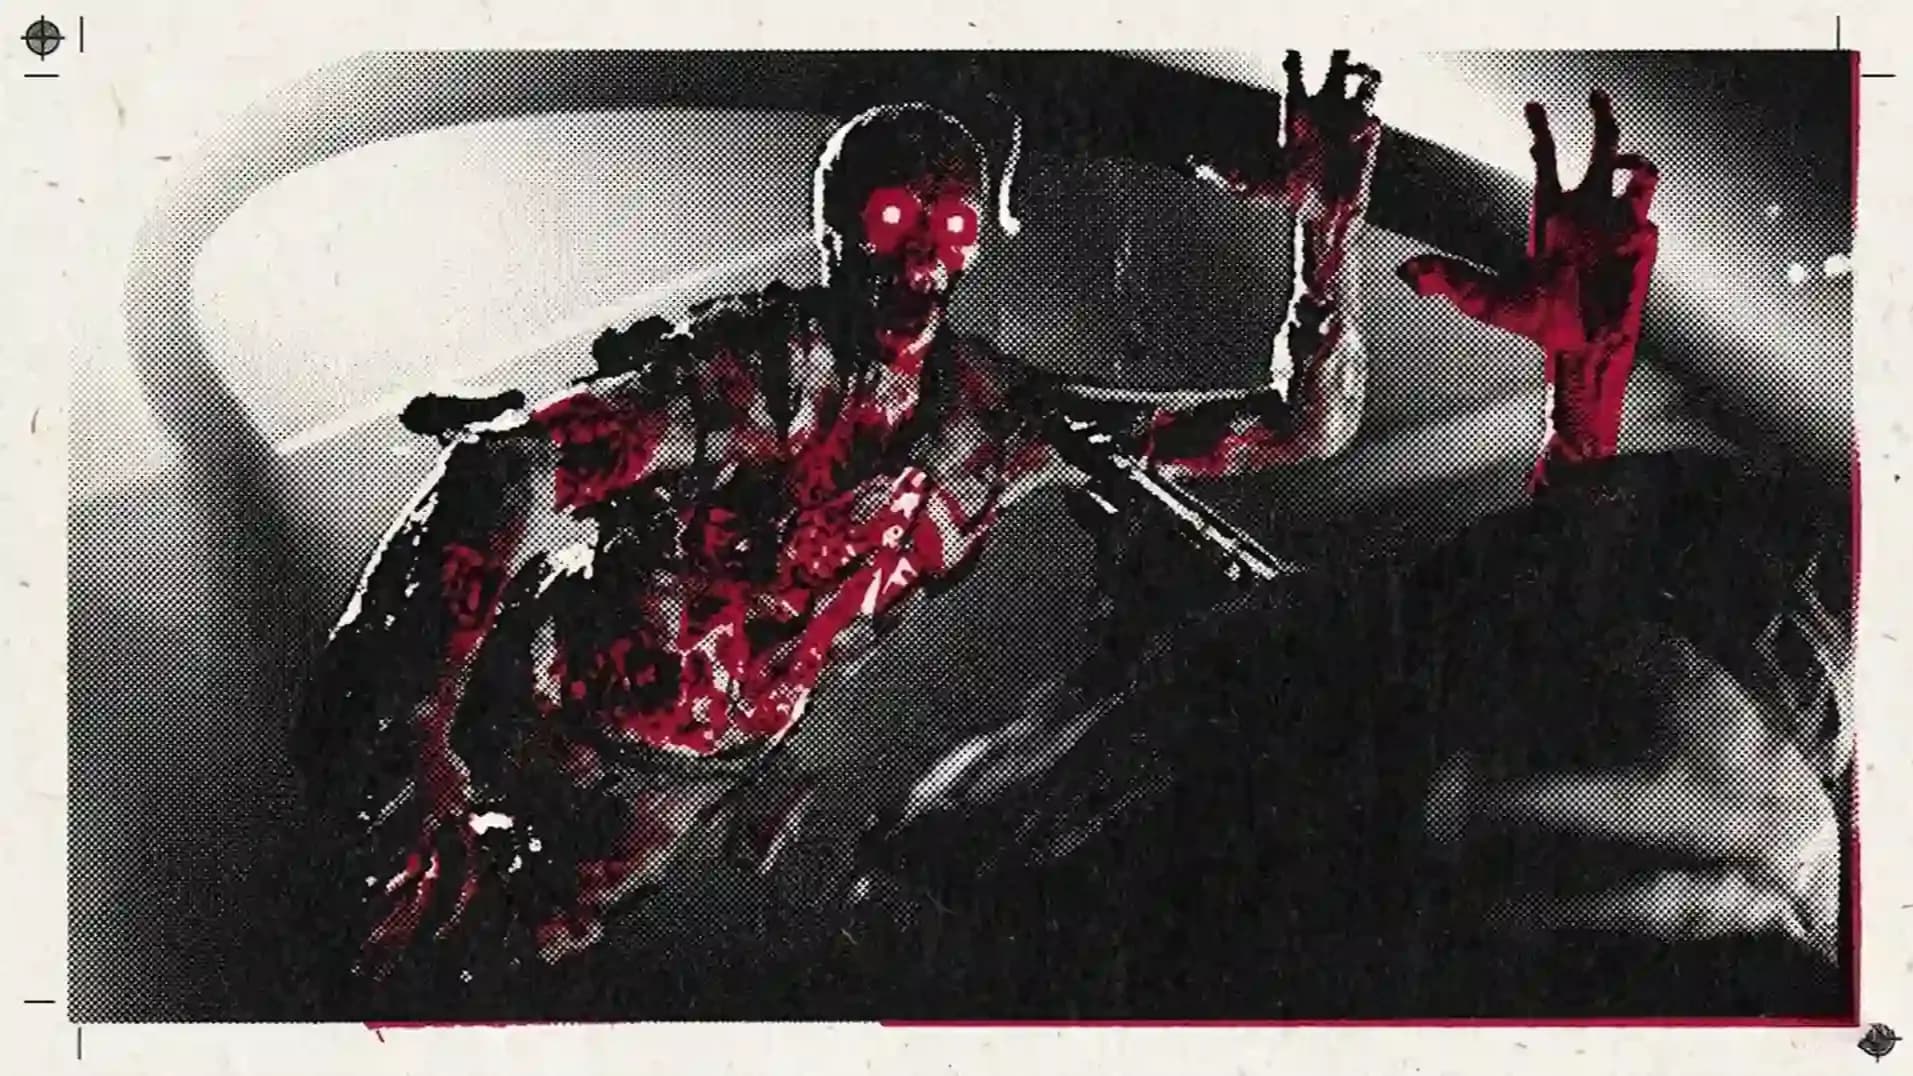
Ashwood is a destroyed Civil War-era village. Houses connected by a bridge, a sheriff's office where Klaus formerly resided, and a lower level underground area that looks inviting right up until you realize it is absolutely swarming with Fog Zombies: a special enemy type that does not count toward round completion and exists purely to punish curiosity. Your Ashwood Survival Pack-a-Punch location is down there. Below. In the fog. Of course it is.
The upper town is your playground. Rabbit Alley serves as the starting point, the Wonderfizz machine is tucked inside one of the houses, and the Mystery Box roams the area with its typical disrespect for your schedule. The Klaus room: near the old sheriff's office: becomes one of the better defensive positions in the mid and late game if you know how to use it. More on that below.
The Ground Floor Is a Trap. The underground area is structurally accessible, but Fog Zombies patrol it relentlessly. They do not count toward round totals, meaning you cannot clear the round by training down there. You can visit. You can get the Pack-a-Punch. You cannot live there. Treat it like a very hostile drive-through.
Players familiar with Ashes of the Damned will recognize the general geography, but the survival variant remixes availability and pacing. Some doors that were previously open may be locked behind resource costs. The map does not hold your hand. The map watches you trip over your own shoelaces with quiet satisfaction.
• Unlock all BO7 Zombies Augments
• Fast XP, camo, and rewards
• Secure, professional boosting service

You spawn in Rabbit Alley. The objective is immediate and non-negotiable: clear the infestation off the Power Pump. This is not optional flavor. This is the gate behind which everything useful hides. Complete it, and the map opens up. Pack-a-Punch becomes accessible. Der Wunderfizz unlocks. The Mystery Box starts cycling. Ignore it, and you are fighting for your life with a pistol and the wrong attitude.
The BO7 Season 3 zombies tips community has consistently flagged this as the opening bottleneck. Kill fast, spend carefully, and activate the pump before the round count forces you into an ammo crisis. This is not the time to admire the Civil War architecture.
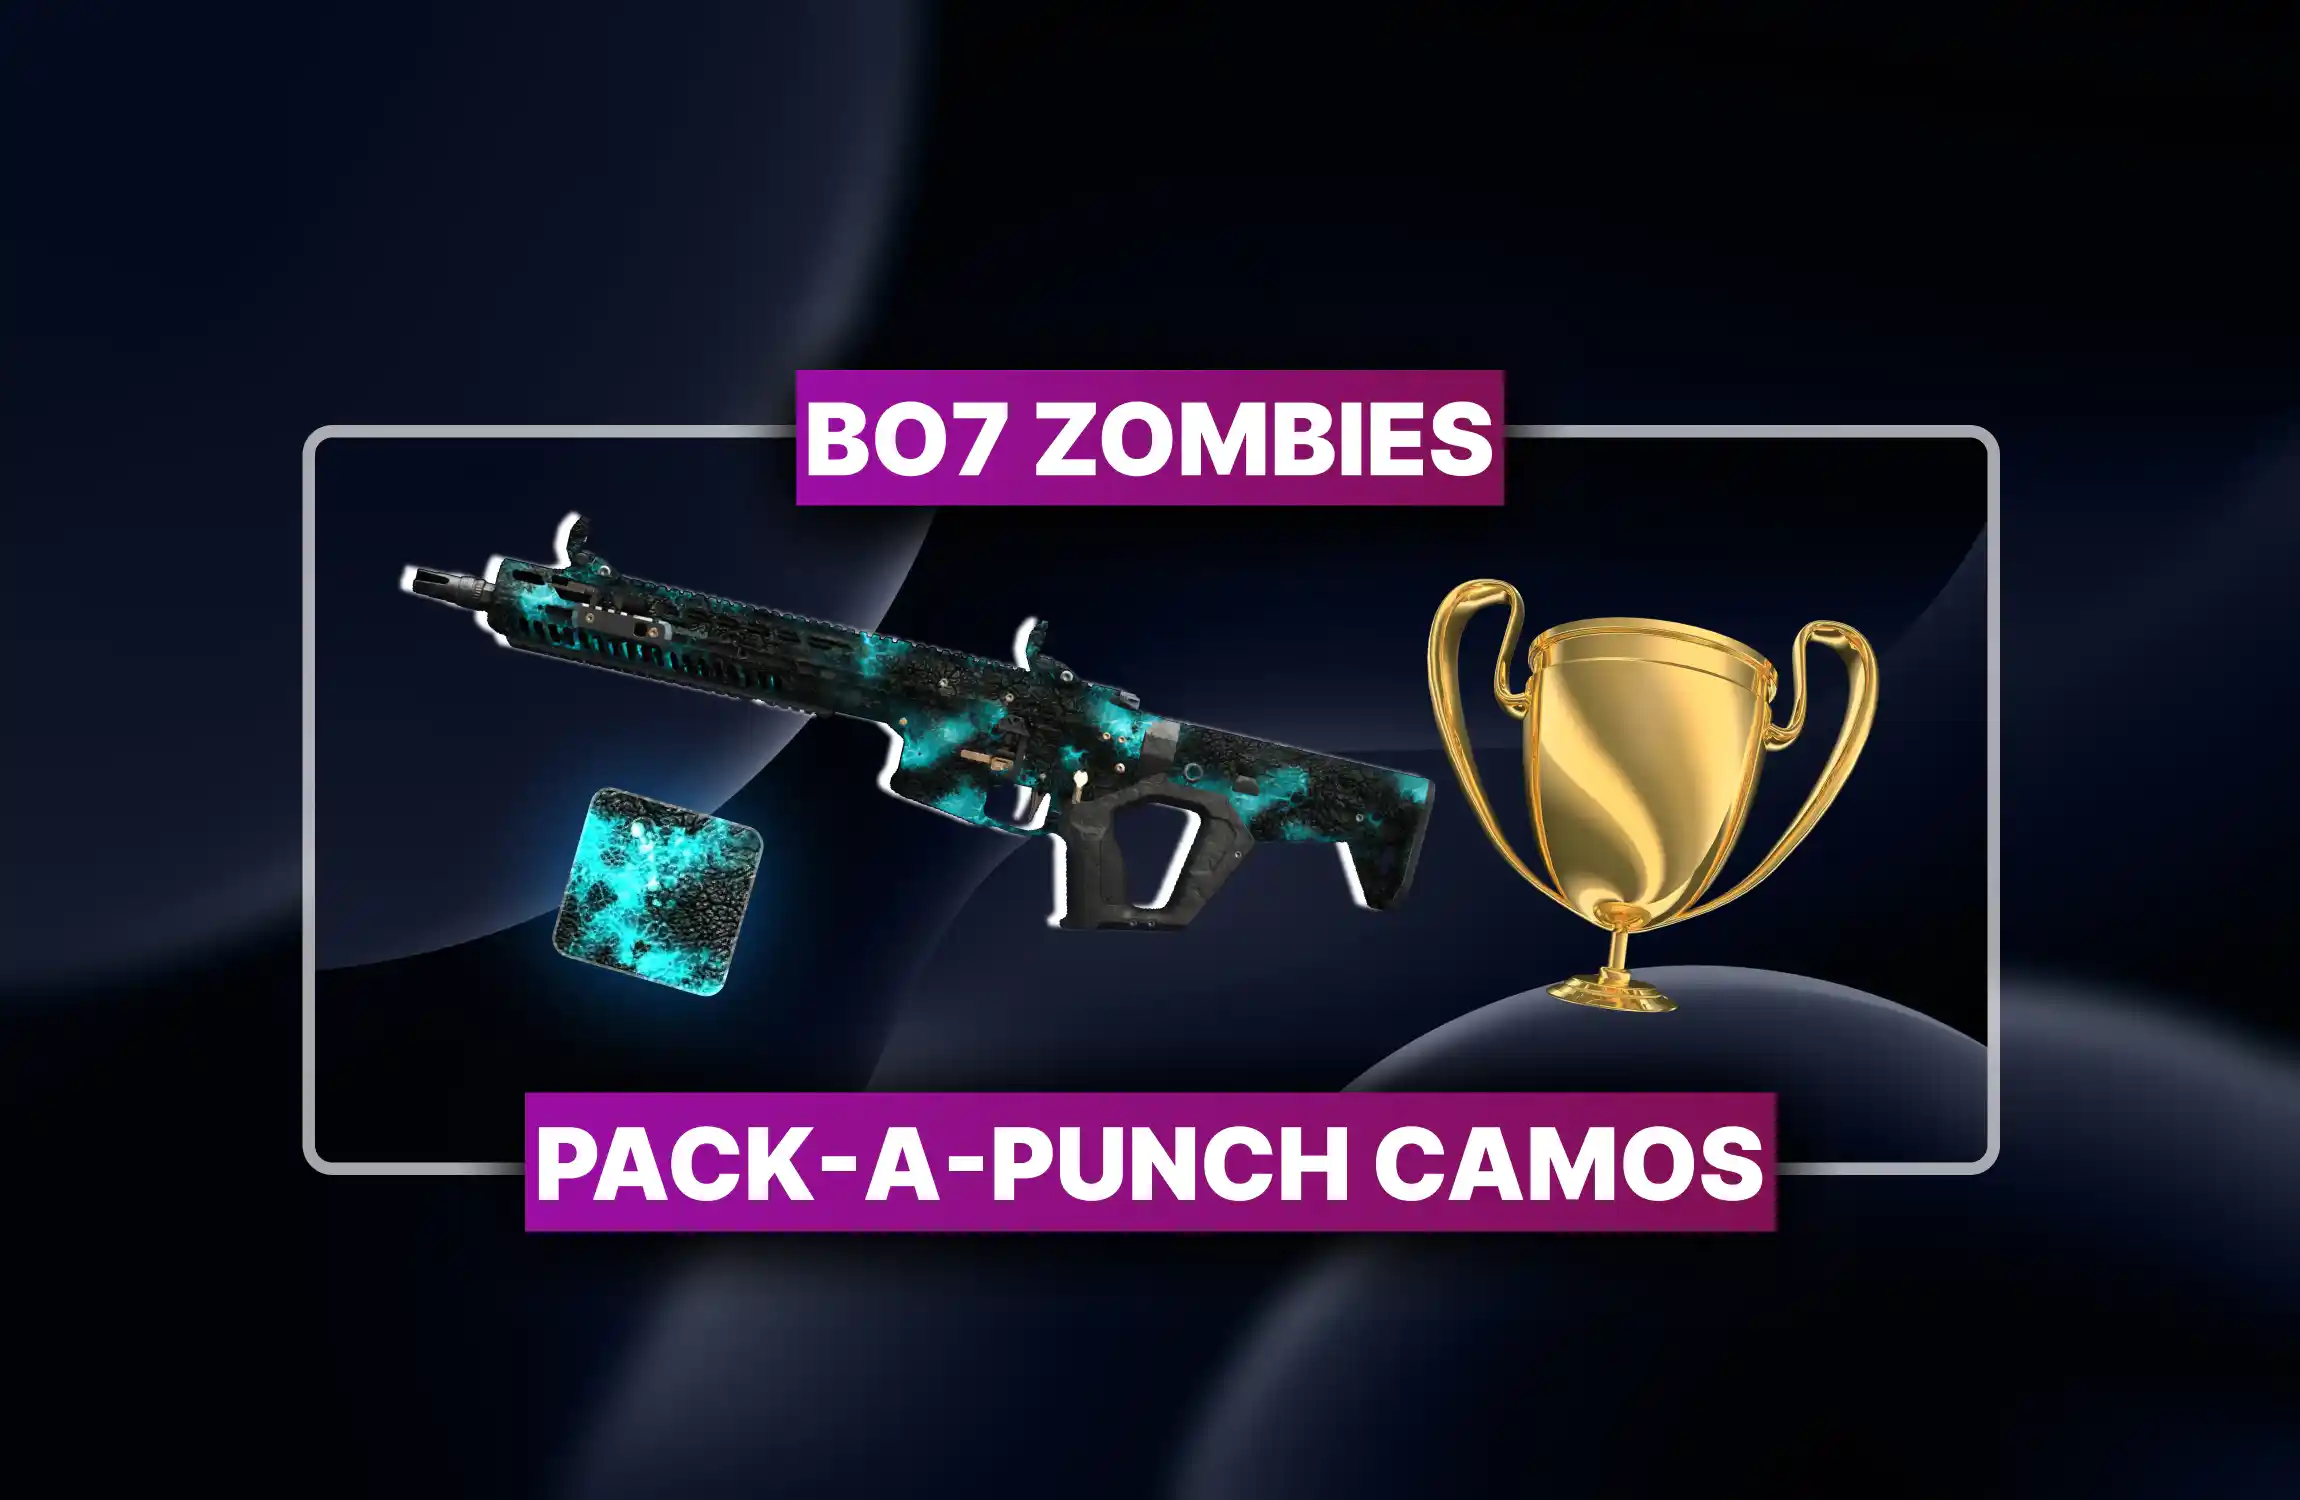
Here is where Ashwood Survival distinguishes itself from more civilized experiences. The Pack-a-Punch machine is located on the ground floor beneath the town: the same area perpetually colonized by Fog Zombies. You cannot simply walk down there, use the machine, and walk back up. That is not the relationship this map wants to have with you.
Fog Zombies are not round zombies. Killing them does not advance the round counter. They exist in a state of bureaucratic irrelevance to your progression while still being completely capable of ending your run. Descend, use the machine as fast as possible, and ascend. Lingering is for people who have already lost.
For Ashwood Survival Pack-a-Punch location seekers coming from the main Ashes map: the geography is consistent, but the Fog density in Survival is significantly heavier, particularly in higher rounds. Budget your trips accordingly.
Do not try to train in the underground area. You will be surrounded by Fog Zombies who do not care about your round completion, surrounded on all sides, and inevitably downed with Pack-a-Punch still three feet away. It will happen once. Hopefully only once.
Der Wunderfizz is inside one of the houses on the upper level. The standard perk pool applies. What you choose reflects your character. What you forget to choose reflects your fate.
The Ashwood Survival Juggernog perks priority is not debatable. You buy Juggernog. You buy it early. You do not wait until Round 15 to discover that the difference between two hits to down and four hits to down is the difference between making Round 25 and watching a death screen load.
|
Perk |
Primary Function |
The "Real Talk" Reality |
|
Juggernog |
Increases health from 2 hits to 5. |
The only reason you’re still breathing. Skipping this is effectively a choice to spectate. |
|
Speed Cola |
Cuts reload time in half. |
Because the 5 seconds it takes to reload an LMG is 4 seconds longer than it takes to get cornered. |
|
Double Tap |
Increases fire rate (and damage in 2.0). |
Turns your pea-shooter into a lawnmower. If you aren't firing faster, you aren't living longer. |
|
Deadshot Daiquiri |
Auto-aim snaps to heads. |
For when your thumbs give up but your desire to see craniums pop remains strong. |
|
Quick Revive |
Self-revive (Solo) / Faster Revive (Co-op). |
In Solo, it is your only "Get Out of Jail Free" card. Buy it first or prepare for a short game. |
The Mystery Box offers access to Wonder Weapons. Wonder Weapons are the difference between competence and grace. Hit the box when you have the points. Do not expect it to cooperate. The box has never cooperated. The box has opinions about you and none of them are flattering.
The upper town is where you live. The Klaus room: near the former sheriff's office: is the single most defensible position on the map for players who have activated and understand how to work with it. Zombies funnel predictably, sightlines are manageable, and the position allows for rotations without complete exposure. The BO7 Klaus strategy is not accidental. Klaus spent a lot of time in that building. He had the right idea.
The Klouse Corner Method
Position yourself near the Klaus room doorway. Zombies enter from one primary angle. You maintain a clear retreat path. You are not invincible. You are simply less dead than you would be standing in an open field screaming at the sky, which is most players' default approach.
Cursed Mode is the BO7 Cursed Mode tips-seekers' nightmare and the masochists' paradise. You start with a pistol. The HUD is stripped. There are no loadouts. You earn points for kills in the old-fashioned way, which is to say, the humiliating way. Hidden Relics are scattered across the map; finding and activating them makes the experience progressively more brutal in exchange for progressively more impressive rewards.
Tier 1 Relics: reach Round 25 to earn the Time Out GobbleGum and 10,000 XP.
Tier 2 Relics: reach Round 50 for the Perkaholic GobbleGum and 20,000 XP.
Tier 3 Relics: reach Round 75 for the Mannequin Turret Weapon Charm and 30,000 XP.
The Relic system was described by the community as the "classic" survival experience: no hand-holding, no loadout safety net, just you, a starting pistol, and the quiet knowledge that you elected to do this to yourself. The game respects that. Barely.
Ashwood Survival offers structured Ashwood Survival round rewards for those who manage to keep breathing long enough. The reward tiers are honest about what the game considers an accomplishment: surviving to Round 10 earns you an emblem, Round 25 a weapon charm, and Round 50 a GobbleGum that suggests you may actually know what you are doing. The game is generous with that assumption.
|
Round |
Reward |
XP |
Mode |
|
Round 10 |
"Klaus Der Toten" Animated Emblem |
1,000 XP |
Standard Survival |
|
Round 25 |
"Abomination Carcass" Weapon Charm |
2,500 XP |
Standard Survival |
|
Round 50 |
"Hidden Power" GobbleGum |
5,000 XP |
Standard Survival |
|
Round 25 + Tier 1 Relics |
"Time Out" GobbleGum |
10,000 XP |
Cursed Mode |
|
Round 50 + Tier 2 Relics |
"Perkaholic" GobbleGum |
20,000 XP |
Cursed Mode |
|
Round 75 + Tier 3 Relics |
"Mannequin Turret" Weapon Charm |
30,000 XP |
Cursed Mode |
The Survivors of Ash challenge event runs concurrently with the map's launch. Completing its objectives unlocks weapon camos, an emblem, a weapon charm, and the Legendary "Deadender" Echo 12 Shotgun Blueprint. The event art is reportedly striking enough that people initially mistook it for the upcoming Totenreich map reveal. It is not. Ashwood simply has nice art. This is fine. Everyone is fine.
BO7 Zombie Battle mode guide seekers, gather. Season 3 also introduced Zombie Battle: a competitive free-for-all that drops two to four players into a shared space where everyone fights their own zombie horde simultaneously. You cannot damage other players directly. Equipment and Field Upgrades have no cross-player effect. Door buys, Exfil, and GobbleGums are disabled. The last player standing wins. It is Grief 2.0 in spirit, but with the lesson seemingly learned that you need to actually be able to play with your friends: squad fill can be disabled for private lobbies.
Rewards scale by round: a Whimsical GobbleGum after Round 5, a chance at two from Round 10 onward, and two guaranteed Whimsicals from Round 15 forward. The mode is available on Paradox Junction, Astra Malorum, and Ashes of the Damned. Whether it avoids the fate of Black Ops 6's Grief: universally demanded, immediately abandoned: remains to be seen. The game is optimistic. History is not.
A Historical Note on Grief. Black Ops 6's Grief mode was wanted by approximately everyone, launched to approximately no one playing it, and was dead within weeks. The community wanted nostalgia. What they got was a reminder that nostalgia is a liar. Zombie Battle has a slightly different structure. Hope accordingly.

• Unlock corrupted mastery camo.
• Complete all RBZ challenges.
• Fast, secure pro farming.
• Unlock light-blue mastery camo.
• Complete 3rd WZ tier.
• Fast, secure camo unlock.
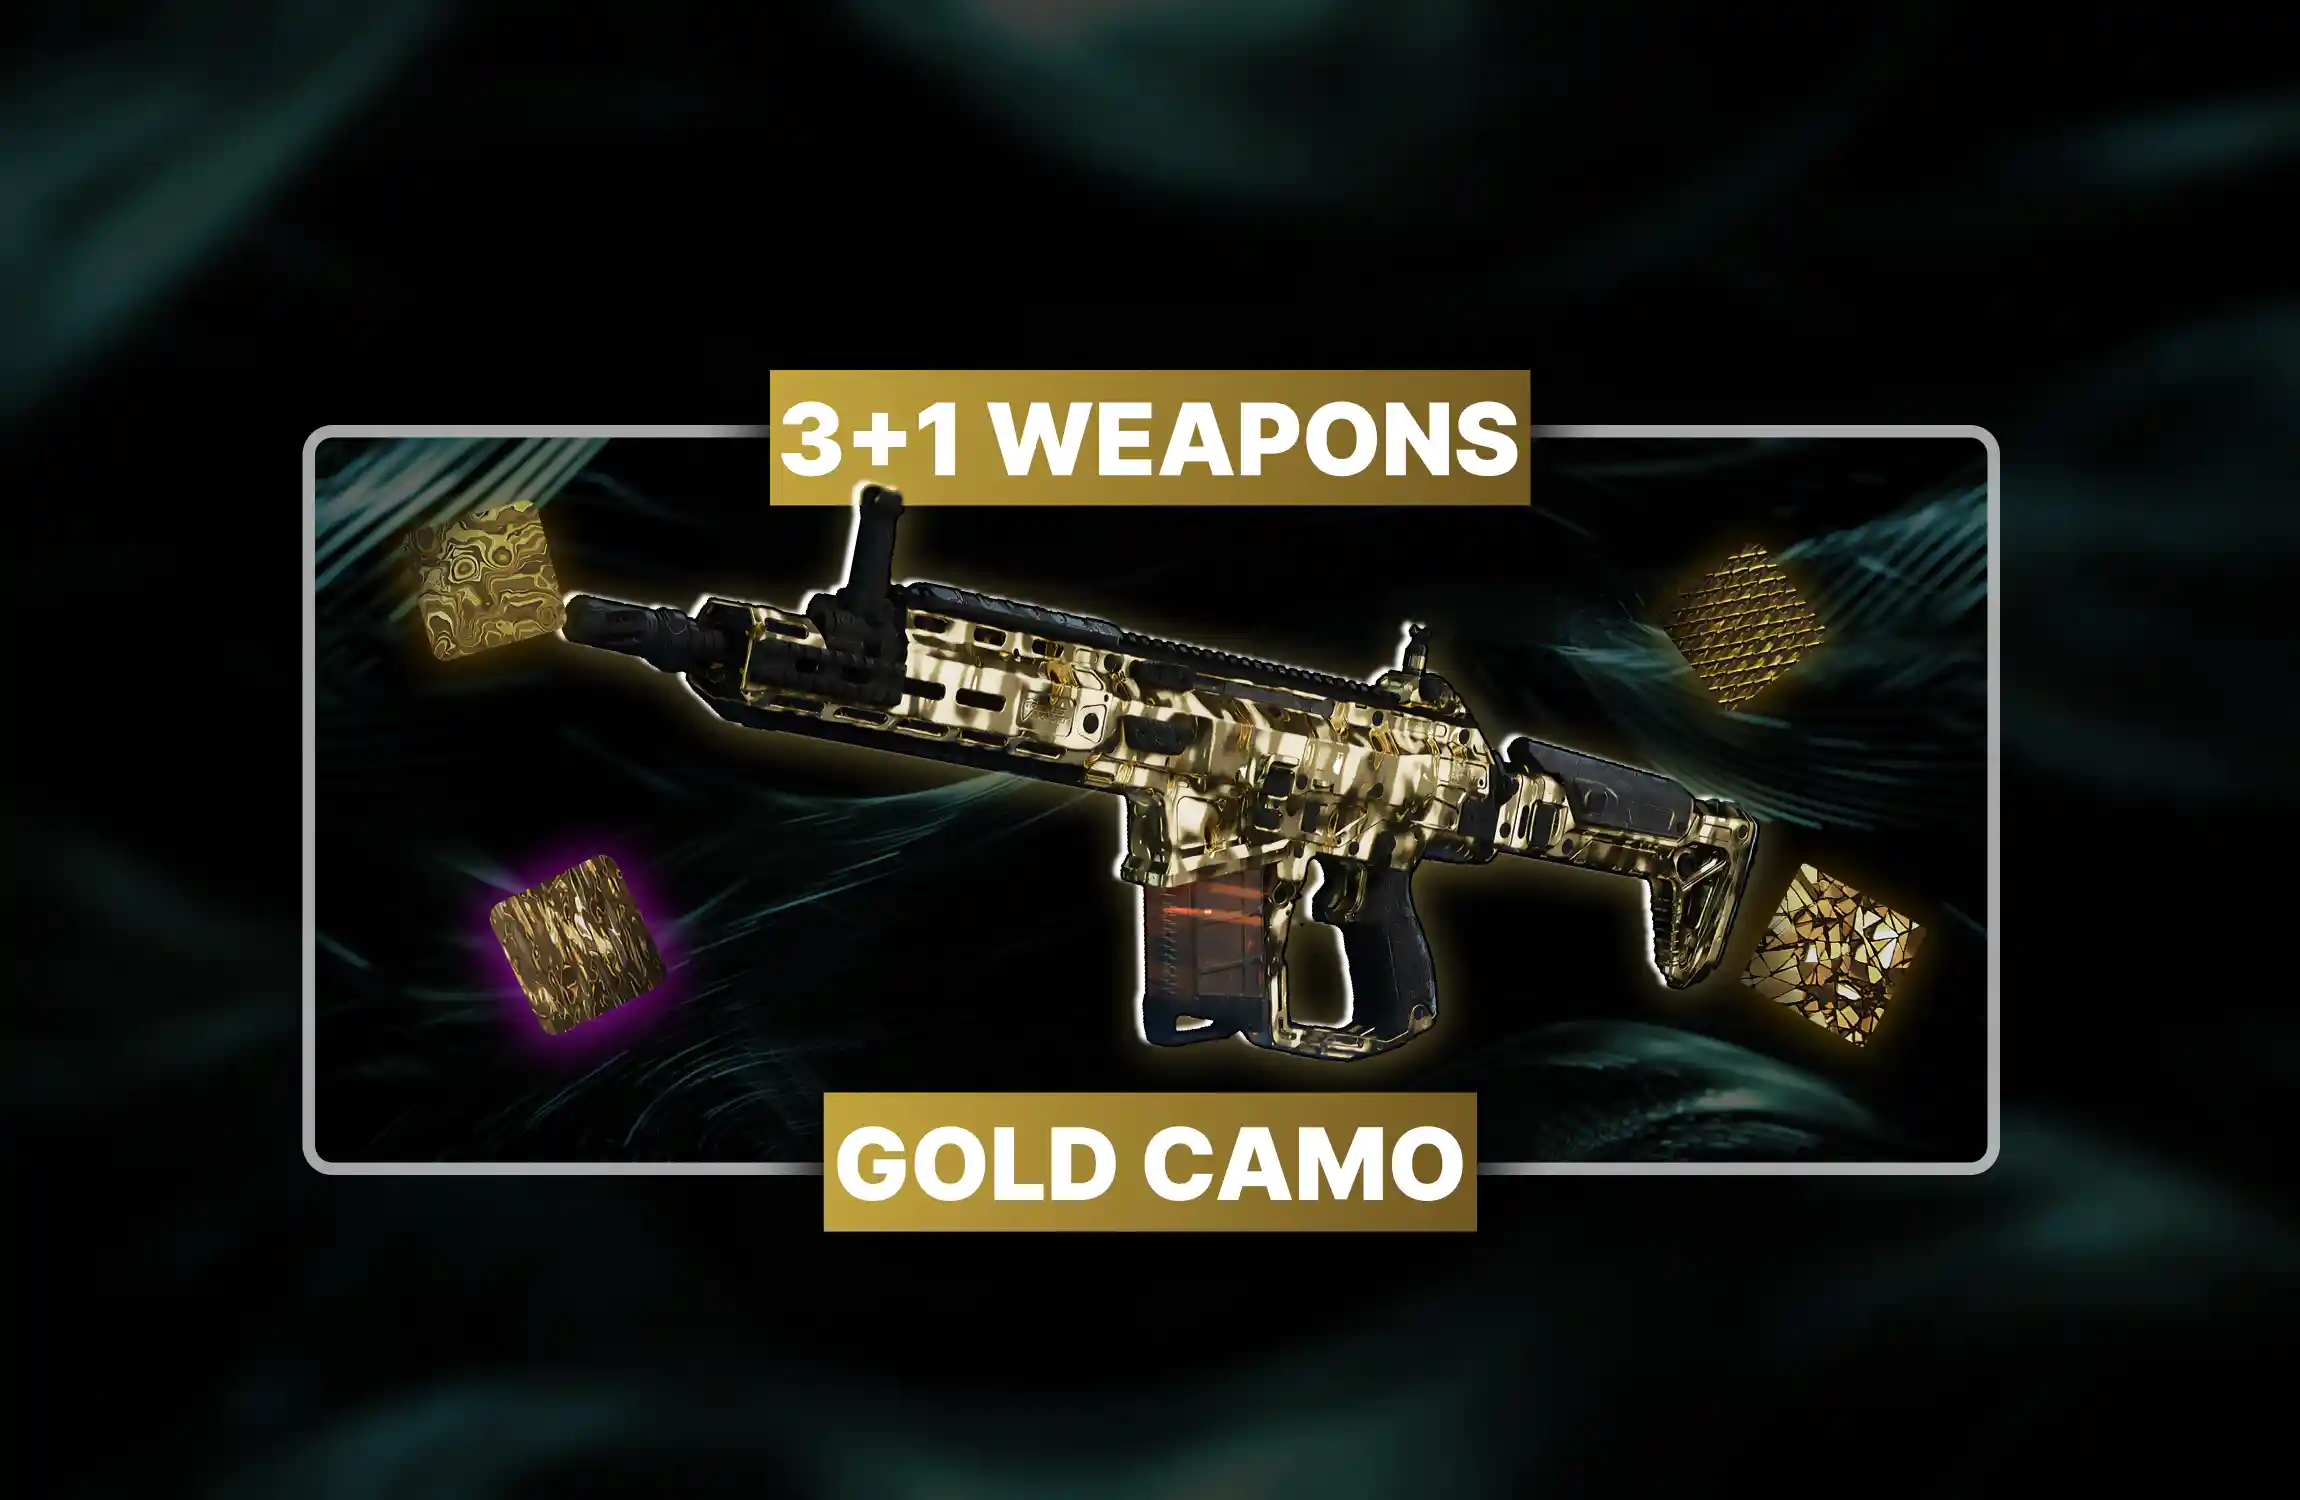
• Buy 3, get 1 for free Gold camos
• Fast secure mastery boosting
• Clear status updates provided
• Unlock all BO7 Zombies Augments
• Fast XP, camo, and rewards
• Secure, professional boosting service
• Guaranteed Warzone winrate
• Steady rank XP gain
• Weapon camo progress, boosted
• Selected Pack-a-Punch camo
• Weapon XP and Account XP
• Relics and quest rewards
Season 3 brought Ashwood Survival to BO7 Zombies and you're already losing. Here's the guide covering everything from Fog Zombies to Cursed Mode. Read

Season 3 brought Ashwood Survival to BO7 Zombies and you're already losing. Here's the guide covering everything from Fog Zombies to Cursed Mode. Read

Season 3 brought Ashwood Survival to BO7 Zombies and you're already losing. Here's the guide covering everything from Fog Zombies to Cursed Mode. Read

Season 3 brought Ashwood Survival to BO7 Zombies and you're already losing. Here's the guide covering everything from Fog Zombies to Cursed Mode. Read

Season 3 brought Ashwood Survival to BO7 Zombies and you're already losing. Here's the guide covering everything from Fog Zombies to Cursed Mode. Read

Season 3 brought Ashwood Survival to BO7 Zombies and you're already losing. Here's the guide covering everything from Fog Zombies to Cursed Mode. Read

Season 3 brought Ashwood Survival to BO7 Zombies and you're already losing. Here's the guide covering everything from Fog Zombies to Cursed Mode. Read

Underground, guarded by Fog Zombies. Go down, upgrade fast, come back up immediately. Do not linger.
Round 10 earns an emblem, Round 25 a weapon charm, Round 50 gives the Hidden Power GobbleGum.
Pistol start, no HUD, no loadouts. Play it only after mastering standard. Rewards are significantly better.
No. Fog Zombies down there do not count toward rounds. Training underground accomplishes nothing except your death.
The Klaus room near the sheriff's office. Tight funnel, predictable spawns, clear retreat path. Camp responsibly.

GTA 6, new seasons, major updates — get ready to dominate from day one.