
Arc Raiders Boost
ARC Raiders Best PVE Weapons Tier List
New guide live: Damage Ground-Based ARC Enemies Trial in ARC Raiders. Loadout, map routes, enemy weak spots, and the fastest way to 3-star.

The ARC Raiders Damage Ground-Based ARC Enemies Trial scores you at 0.8 points per 1 damage dealt to any ground-based ARC. That rate sounds generous until you realize you're burning through 80+ rounds of heavy ammo on a Bastion that's trying to turn you into paste. The math is brutally simple: only large ARC are worth your time.
3-STAR THRESHOLD: 4,000 score. Two or three large ARC fully destroyed gets you most of the way there. Anything smaller is a waste of ammo and your remaining braincells.
Points only count on extraction. Die mid-raid with a spectacular 40,000 score and collect exactly nothing. The ARC Raiders Trials leaderboard does not issue posthumous receipts. Keep that in mind before you sprint into a Bastion with a pistol.
The game rewards damage, not just kills. Every point of damage to ground-based ARC translates to score: but enemy type determines efficiency. Large ARC destroy your loadout; they should at least pay for it.
|
Enemy |
Type |
Score/Dmg |
Full Kill Value |
Worth It? |
|
Bastion |
Large |
0.8 |
~900+ |
Yes |
|
Bombardier |
Large |
1.1 |
~900+ |
Priority |
|
Leaper |
Large |
0.8 |
~880 |
Yes |
|
Pop / Fireball |
Medium |
0.8 |
20–30 |
Only if blocking your path |
|
Tick |
Small |
0.8 |
7 |
No. Walk past them. |
The 2x Map Modifier doubles all score output. A standard Leaper kill worth ~880 becomes ~1,760 under a Night Raid or Cold Snap modifier. Two kills, extract, done: that's your 3-star. Scale accordingly if you're pushing for Speranza Hotshots rank.
This is not a flex build. Every slot has a function. Deviate freely, but don't come back crying when you run out of ammo before the Bastion's second knee gives out.
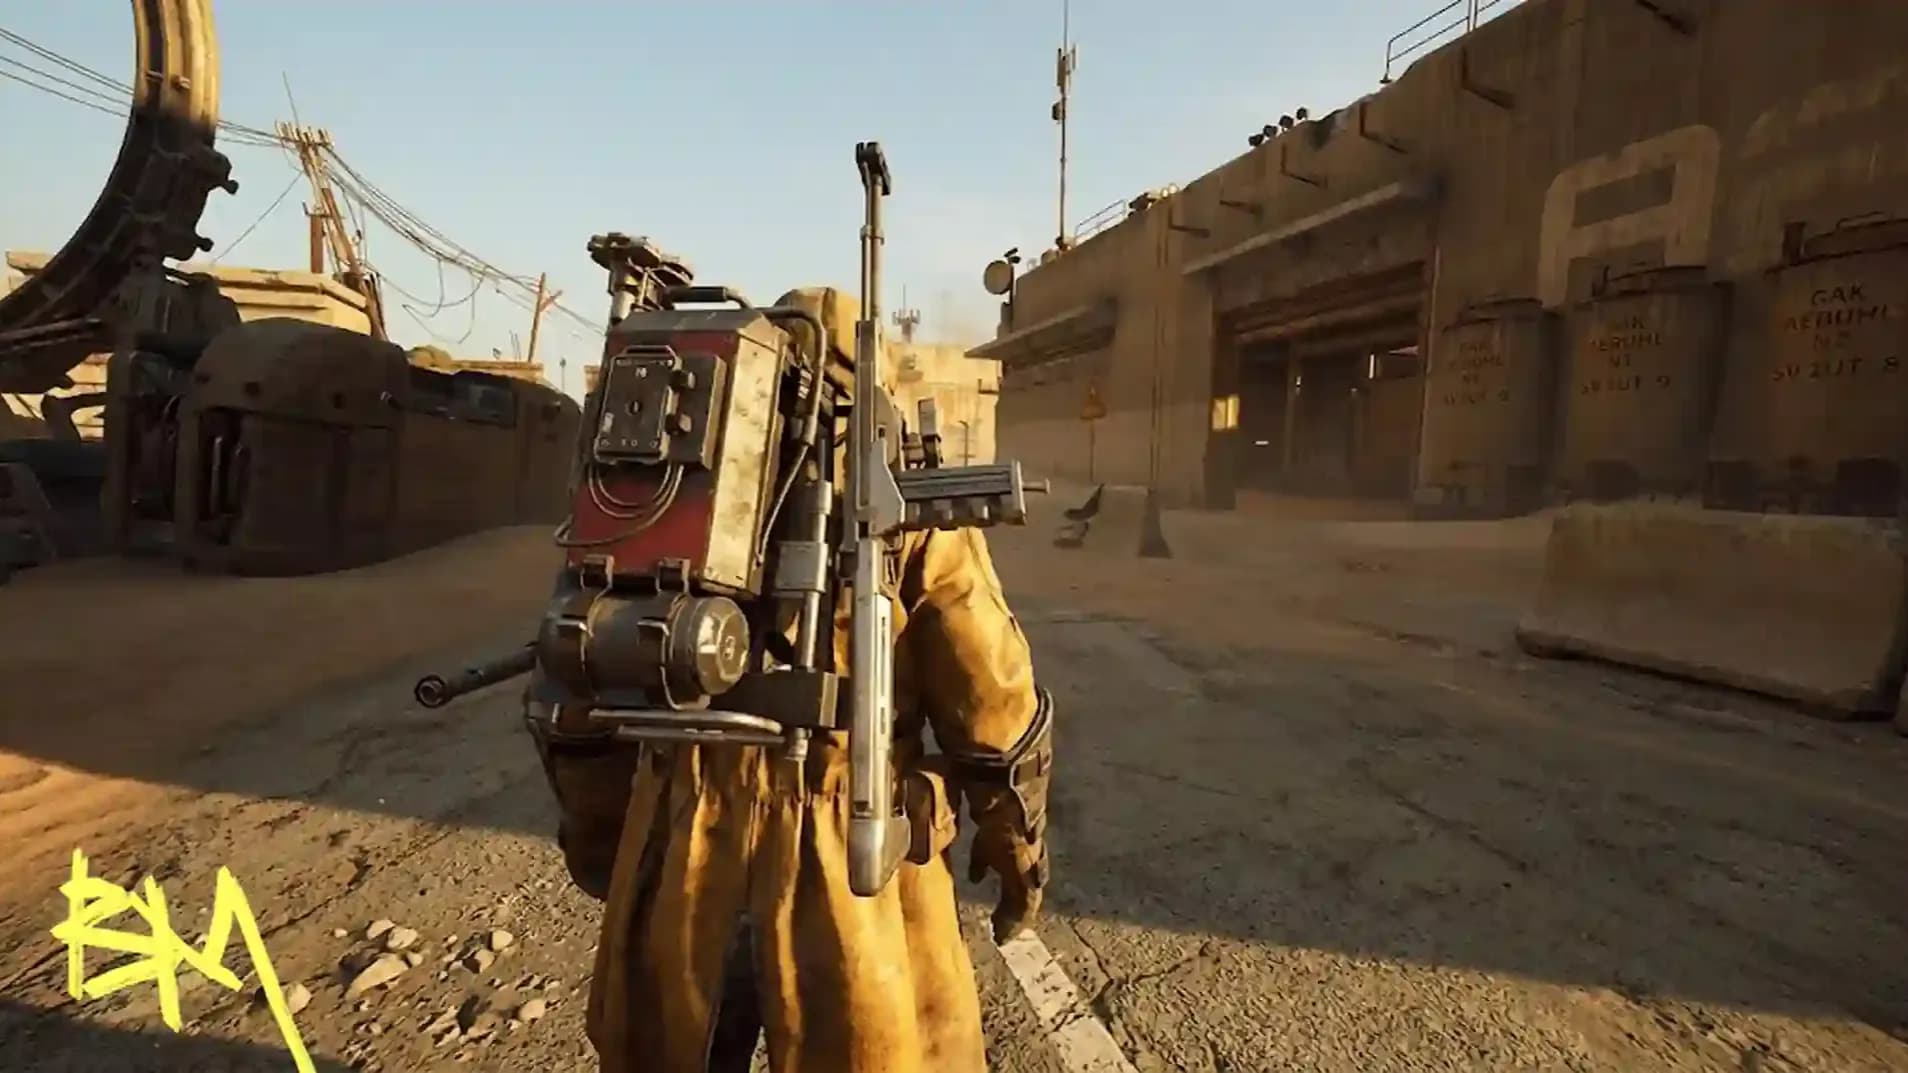
The Snap Hook lets you get on top of a Bastion to plant a mine. If that sounds stupid, it is. It also works perfectly.
Shooting the front of a Bastion is something you do once, then regret. Understanding ARC enemy weak spots isn't a bonus: it's the difference between efficient farming and wasting every explosive you brought. The best ARC Raiders loadout for Trials means nothing if you're targeting the wrong parts.
Heavily armored walking minigun. Designed to punish frontal pressure: so don't apply frontal pressure. Target the four yellow knee joints to stagger and slow it. Once staggered, reposition to the rear and hit the yellow canister on the back. Destroying the canister exposes a sixth inner mechanism that takes the most damage in the game. Sticky mine on top via Snap Hook or Photoelectric Cloak approach skips most of this entirely.
Same six weak spots as the Bastion: four knee joints, rear canister, inner mechanism. Uses indirect cannon fire: fight near a building edge or roof to break line-of-sight on its arc shots. Kill its two Spotter drones first or they'll broadcast your position to everything on the map. Between cannon shots there are a few seconds of downtime; that's your burst window.




• Fast blueprint farming service
• Secure targeted item delivery
• Guaranteed high-tier recipes
Jumps at you, lands on you, fires a radial shockwave at close range. Never fight a Leaper in the open. Find a doorframe: it cannot physically enter the building. Break leg joints one at a time to reduce its mobility. Once crippled, target the eye armor to expose the core. Blaze Grenades applied to a burning Leaper dramatically accelerate its death. Wolfpack Grenades are immediate. Two Trailblazers will wreck it.
|
Enemy |
Primary Weak Point |
Secondary |
Instant Kill Option |
|
Bastion |
Rear canister + inner mechanism |
Yellow knee joints (stagger) |
Deadline Mine on back |
|
Bombardier |
Same as Bastion |
Kill Spotters first |
Explosives after joint break |
|
Leaper |
Core (exposed after eye armor breaks) |
Leg joints (mobility) |
Wolfpack Grenades / Blaze DoT |
Map selection is where most players leave 30% of their potential score on the table. The Hidden Bunker event on Spaceport with a 2x modifier is the single best environment for this Trial. A Bastion and a Bombardier both spawn directly next to the Bunker entrance: practically gift-wrapped. You also get a full 40-minute raid timer to work with.
Viable for high score and perfectly functional for fast 3-star runs. Use the Research & Administration building as a stationary platform. Aggro Leapers with Jupiter or Hullcracker from range: they can't reach you on the rooftop. The Bombardier is a free target; it cannot physically climb to your position. Wolfpack Grenades handle Leapers efficiently from elevation.
For trios, split one player north between Hydroponic Dome Complex and the Pipeline Tower, rotating via Ziplines. The remaining two hold Research & Administration. North player cycles: Pipeline Bastion → Hydroponic → Pipeline Tower → Leaper at Red Lake. Repeat until the timer dies.
RESPAWN TIMER: Destroyed Bastion or Bombardier respawns in 5–7 minutes. Use that window to place Ziplines, restock from loot, or question your life choices.
The only thing worse than running out of Trailblazers mid-fight is having a hostile Raider steal your Bastion kill. If PvP is not your purpose here, the ARC Raiders friendly lobby strategy is worth the setup cost.
This is not a guarantee. It is a probability filter. Treat other Raiders accordingly.
In a full party, coordinate roles rather than clustering. Three players on the same Bastion is redundant; three players on three different large ARC is how you break the leaderboard.
Repeat the north rotation loop until raid timer ends. Extract together. That's it.
You don't care about the leaderboard. You want the weekly rewards and approximately 12 minutes of your life back. Fair enough. Any 2x modifier map works. Find the nearest Bastion or Bombardier cluster, apply everything in your loadout to its face, and extract. Two large ARC destroyed covers the 4,000 threshold. Leave immediately. There is no medal for staying.

• Fast blueprint farming service
• Secure targeted item delivery
• Guaranteed high-tier recipes
New guide live: Damage Ground-Based ARC Enemies Trial in ARC Raiders. Loadout, map routes, enemy weak spots, and the fastest way to 3-star.
New guide live: Damage Ground-Based ARC Enemies Trial in ARC Raiders. Loadout, map routes, enemy weak spots, and the fastest way to 3-star.
New guide live: Damage Ground-Based ARC Enemies Trial in ARC Raiders. Loadout, map routes, enemy weak spots, and the fastest way to 3-star.

4,000 score. Two or three large ARC fully destroyed with a 2x modifier covers it.
Yes, at 0.8 pts/dmg: yielding roughly 7 total. Ignore them entirely.
You collect nothing. All score is locked on extraction only. Extract alive.
Yes, but the fire rate difference is noticeable. It works; it's just slower.
Yes. Spaceport Hidden Bunker solo is the recommended method: straightforward, contained, effective.

GTA 6, new seasons, major updates — get ready to dominate from day one