

Arc Raiders Boost
ARC Raiders Patch 1.29 Guide: Nomadic Envoy Ermal, Rascal Grenade Launcher & More
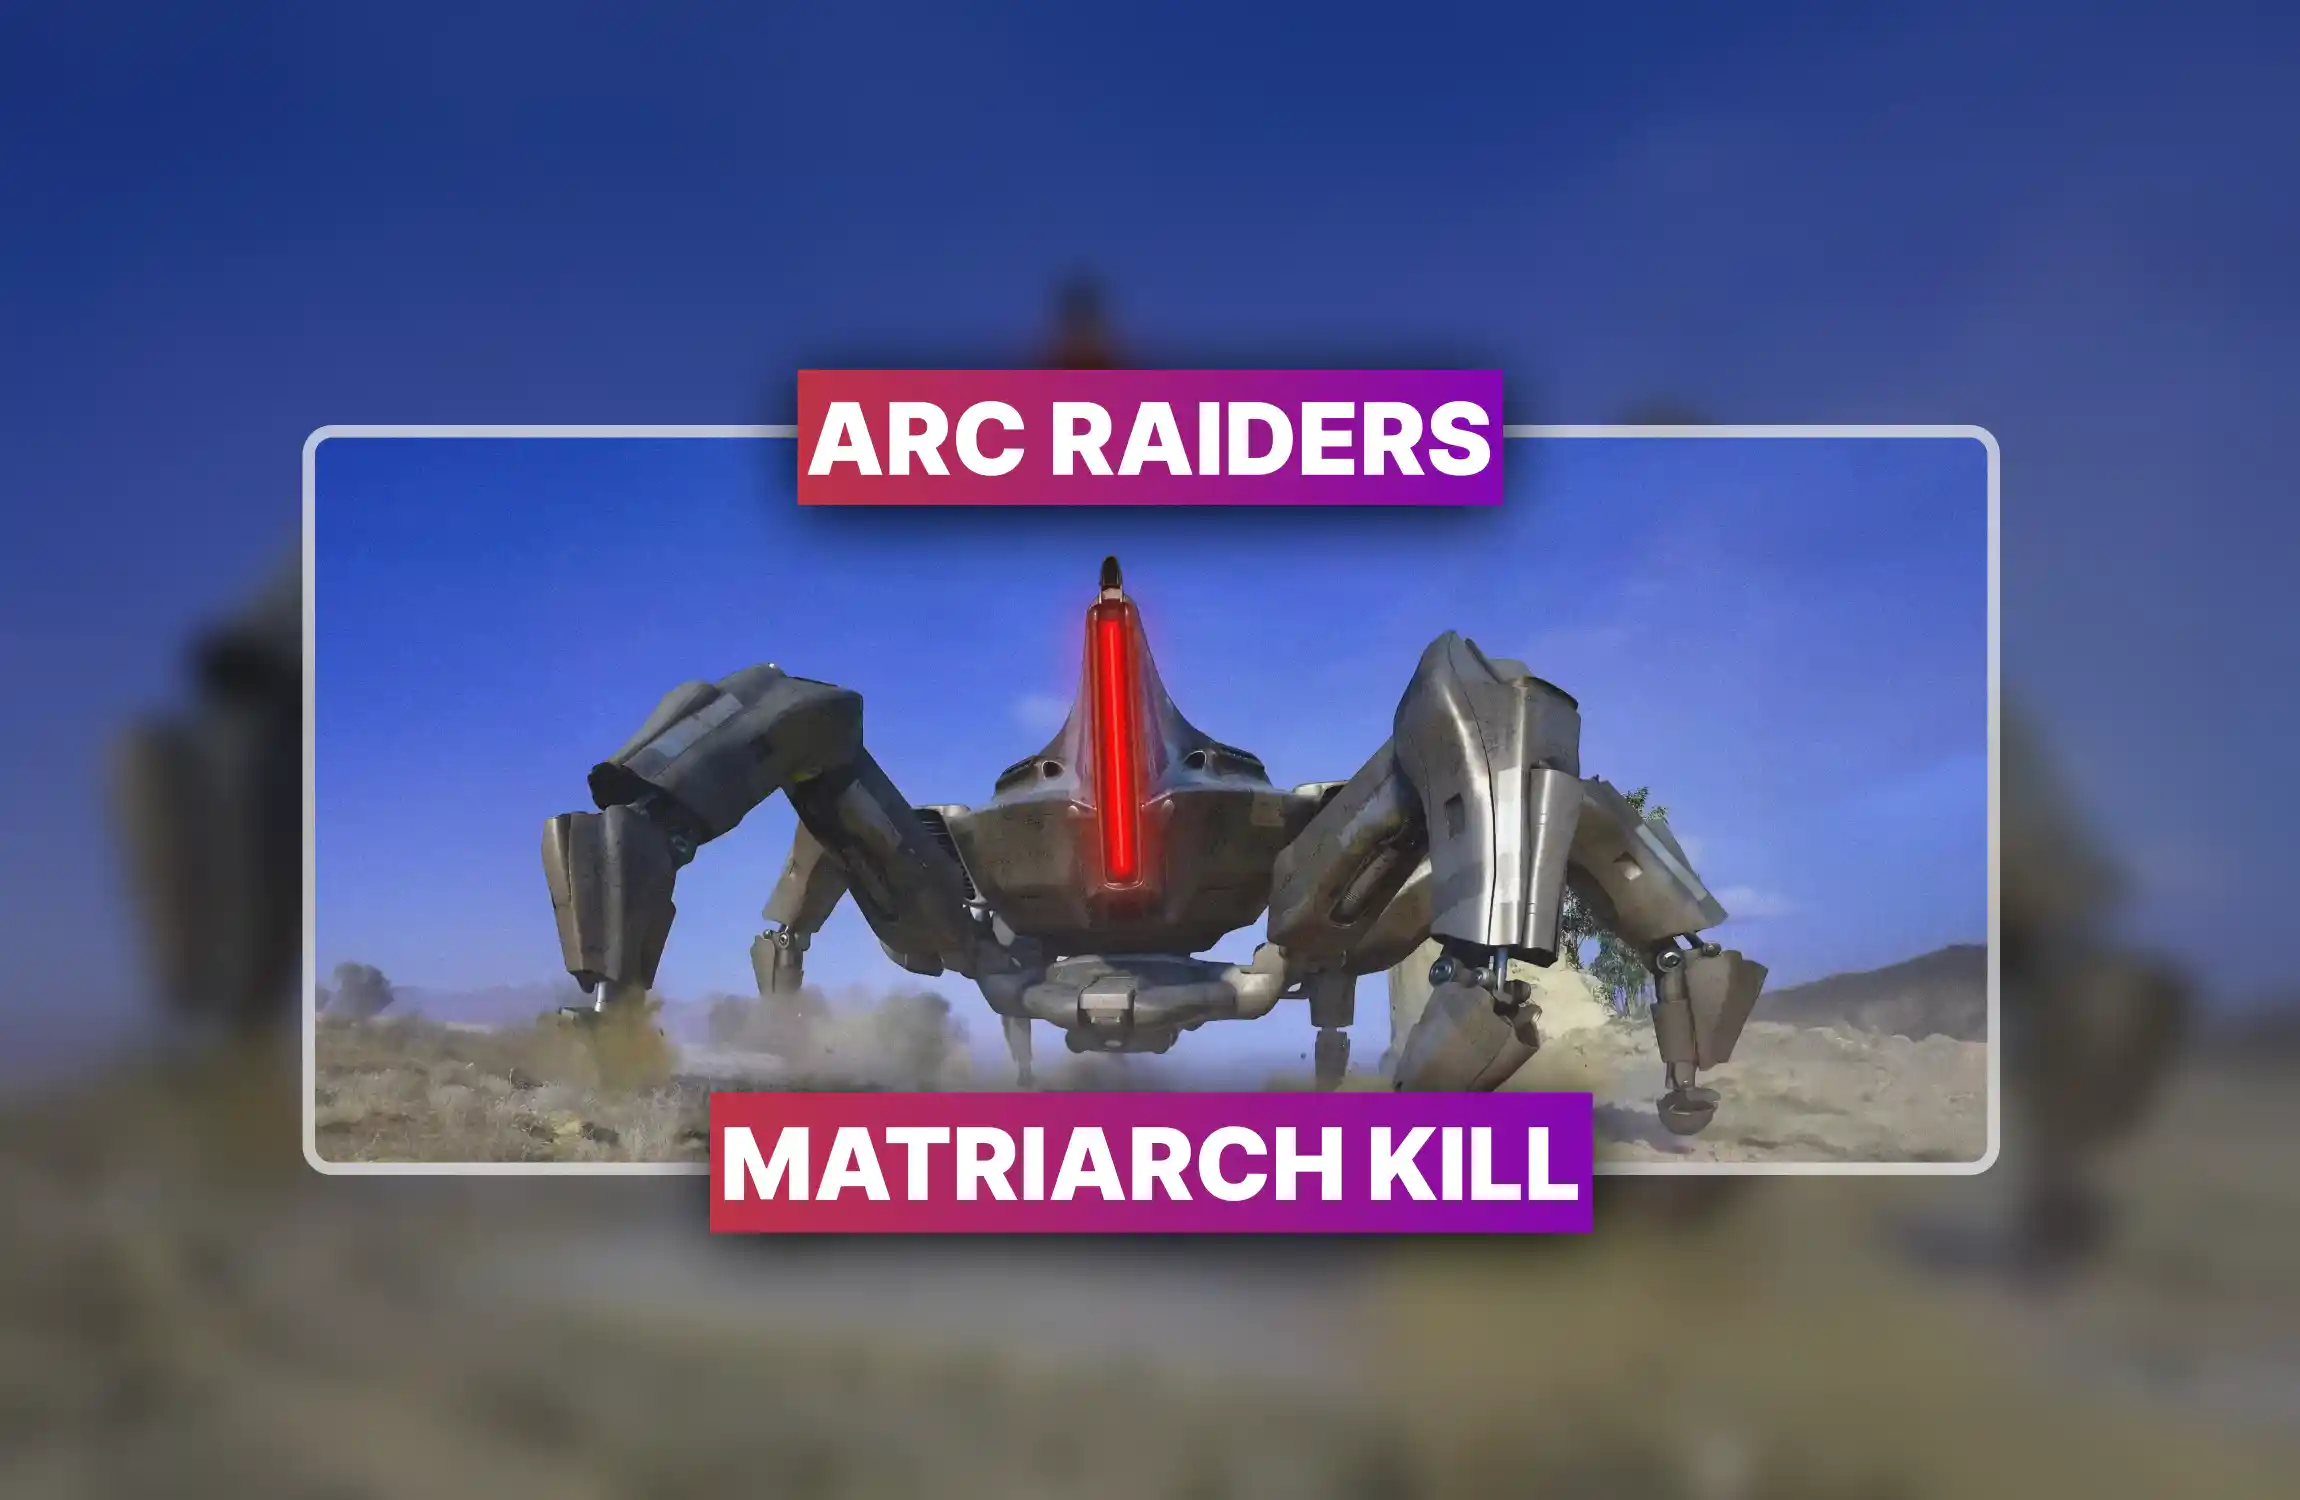
The Damage Bombardiers trial is back. Hullcracker, Wolfpacks, cover. This guide tells you where to go, what to bring, and how to not die stupidly.
The Damage Bombardiers trial awards points per damage dealt to a Bombardier: not to its Spotters, not to the scenery, not to your sanity. Each Bombardier you solo-kill nets roughly 5,874 score at a 2x event modifier. Kill enough of them, don't die, extract. That's the whole game.
The 3-star threshold is 4,000 points. You'll hit that by walking up to one Bombardier and throwing explosives at it for thirty seconds. The ceiling, however, is around 30,000–40,000 solo and 60,000–70,000 in a trio: if you move like you mean it.
|
Metric |
Value |
|
3-Star Threshold |
4,000 |
|
Per Full Kill (2x mod) |
5,874 |
|
Solo Ceiling |
~40,000 |
|
Trio Ceiling |
~70,000 |
Stella Montis: Zero Bombardier spawns. Completely worthless for this trial. Don't load in there and wonder why you see nothing.
Points scale at 1.1 per 1 damage to Bombardiers. The 2x event modifier: active during Electromagnetic Storm: effectively doubles your take. You keep only your best single-run score per trial. Die mid-raid, collect nothing. The ARC Raiders weekly trials leaderboard doesn't care about your near-miss.
Spotters give zero trial score. Killing them is tactically necessary: a tagged Bombardier shoots through cover: but don't confuse clearing Spotters with farming points. They're overhead, not income.
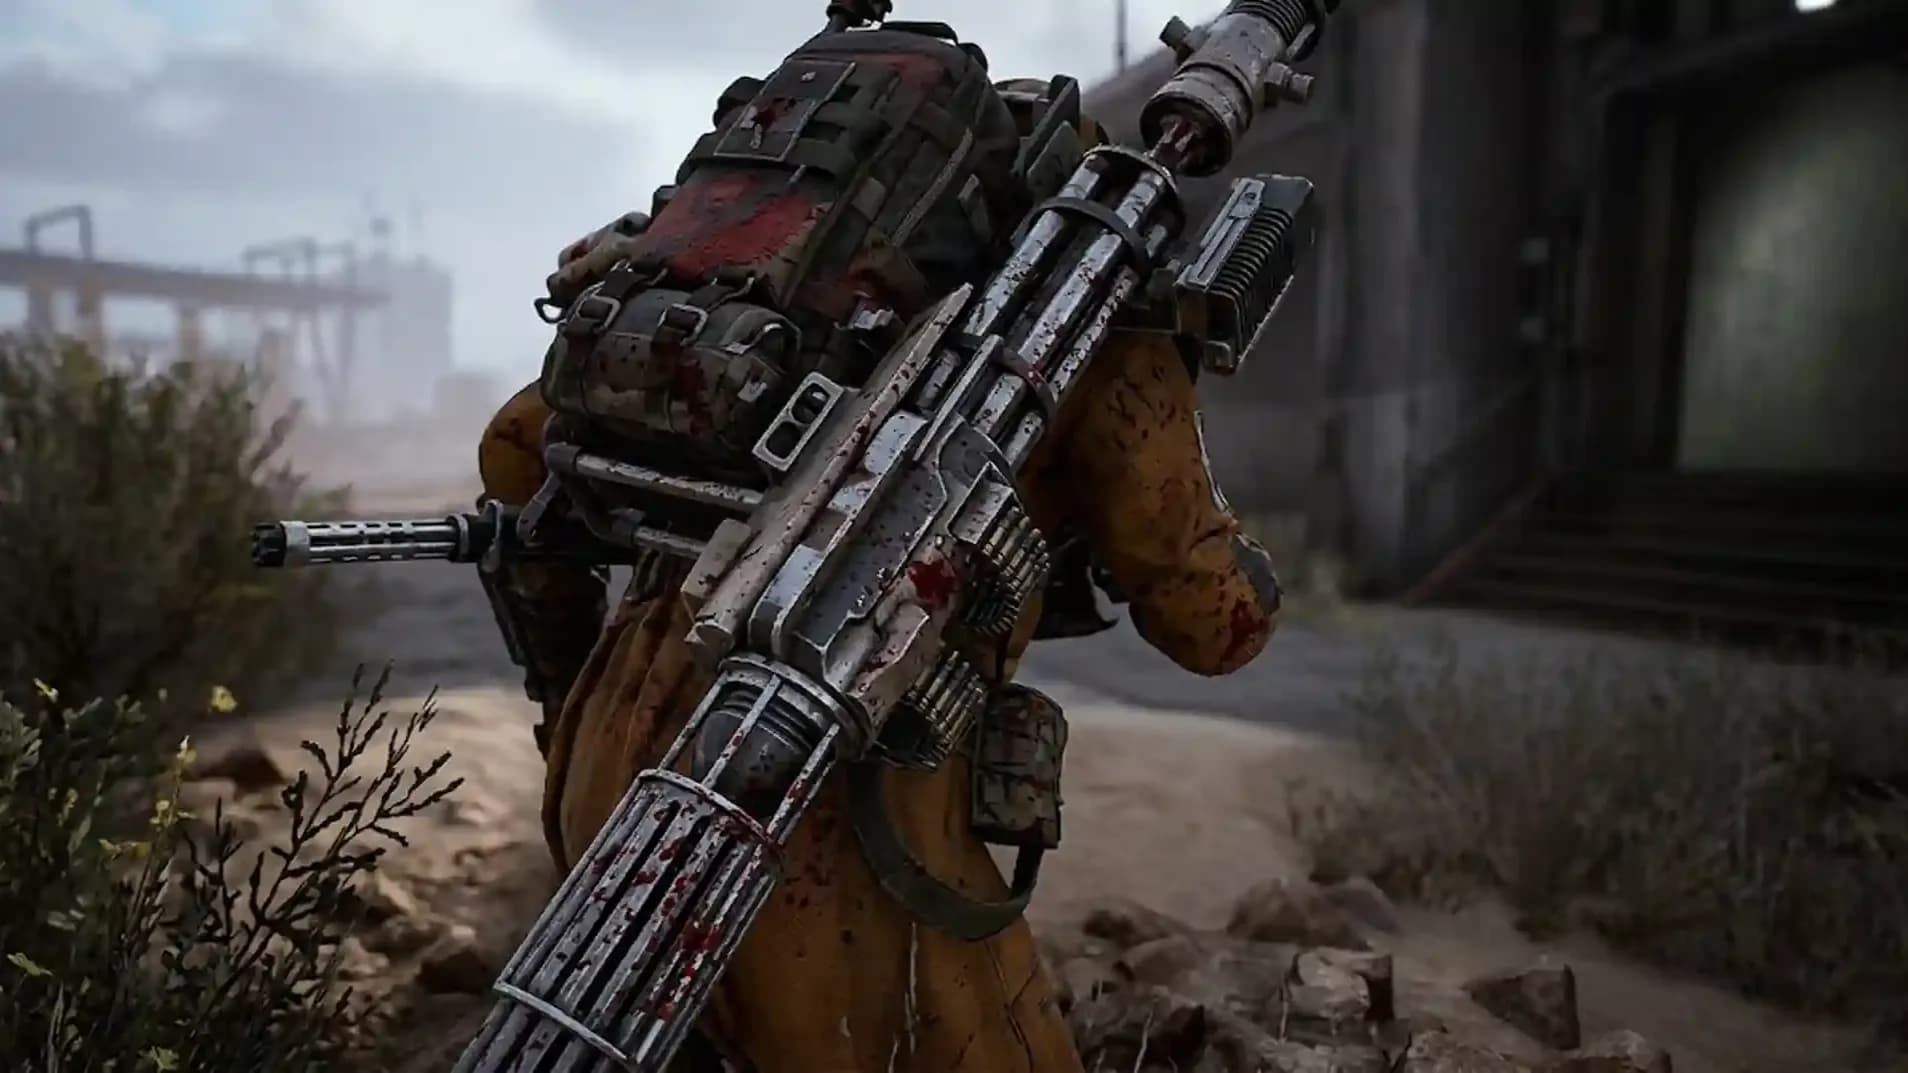
The best loadout for Damage Bombardiers is not subtle. You need something that deletes heavy armor fast and lets you move between spawns without a funeral.
|
Slot |
Item |
Notes |
|
Primary |
Hullcracker IV |
Mandatory. Launcher Ammo only. |
|
Secondary |
Anvil IV |
Optional. Handles Spotters and leg joints. |
|
Explosive 1 |
Wolfpacks (×2–3) |
Two Wolfpacks = one dead Bombardier. Fastest kill available. |
|
Explosive 2 |
Trailblazer Grenades (×3–4) |
Budget alternative. 3–4 well-placed = kill. |
|
Shield |
Light or Medium Shield |
5–10 Shield Rechargers minimum. |
|
Healing |
10 Bandages / Herbal Bandages |
Mortars hit. Plan accordingly. |
|
Mobility |
Snap Hook + Ziplines |
Essential. Without these, your rotation is on foot and slow. |
Free Loadout? Technically possible. Practically a waste of time. You'll run dry on ammo before you've earned enough to care
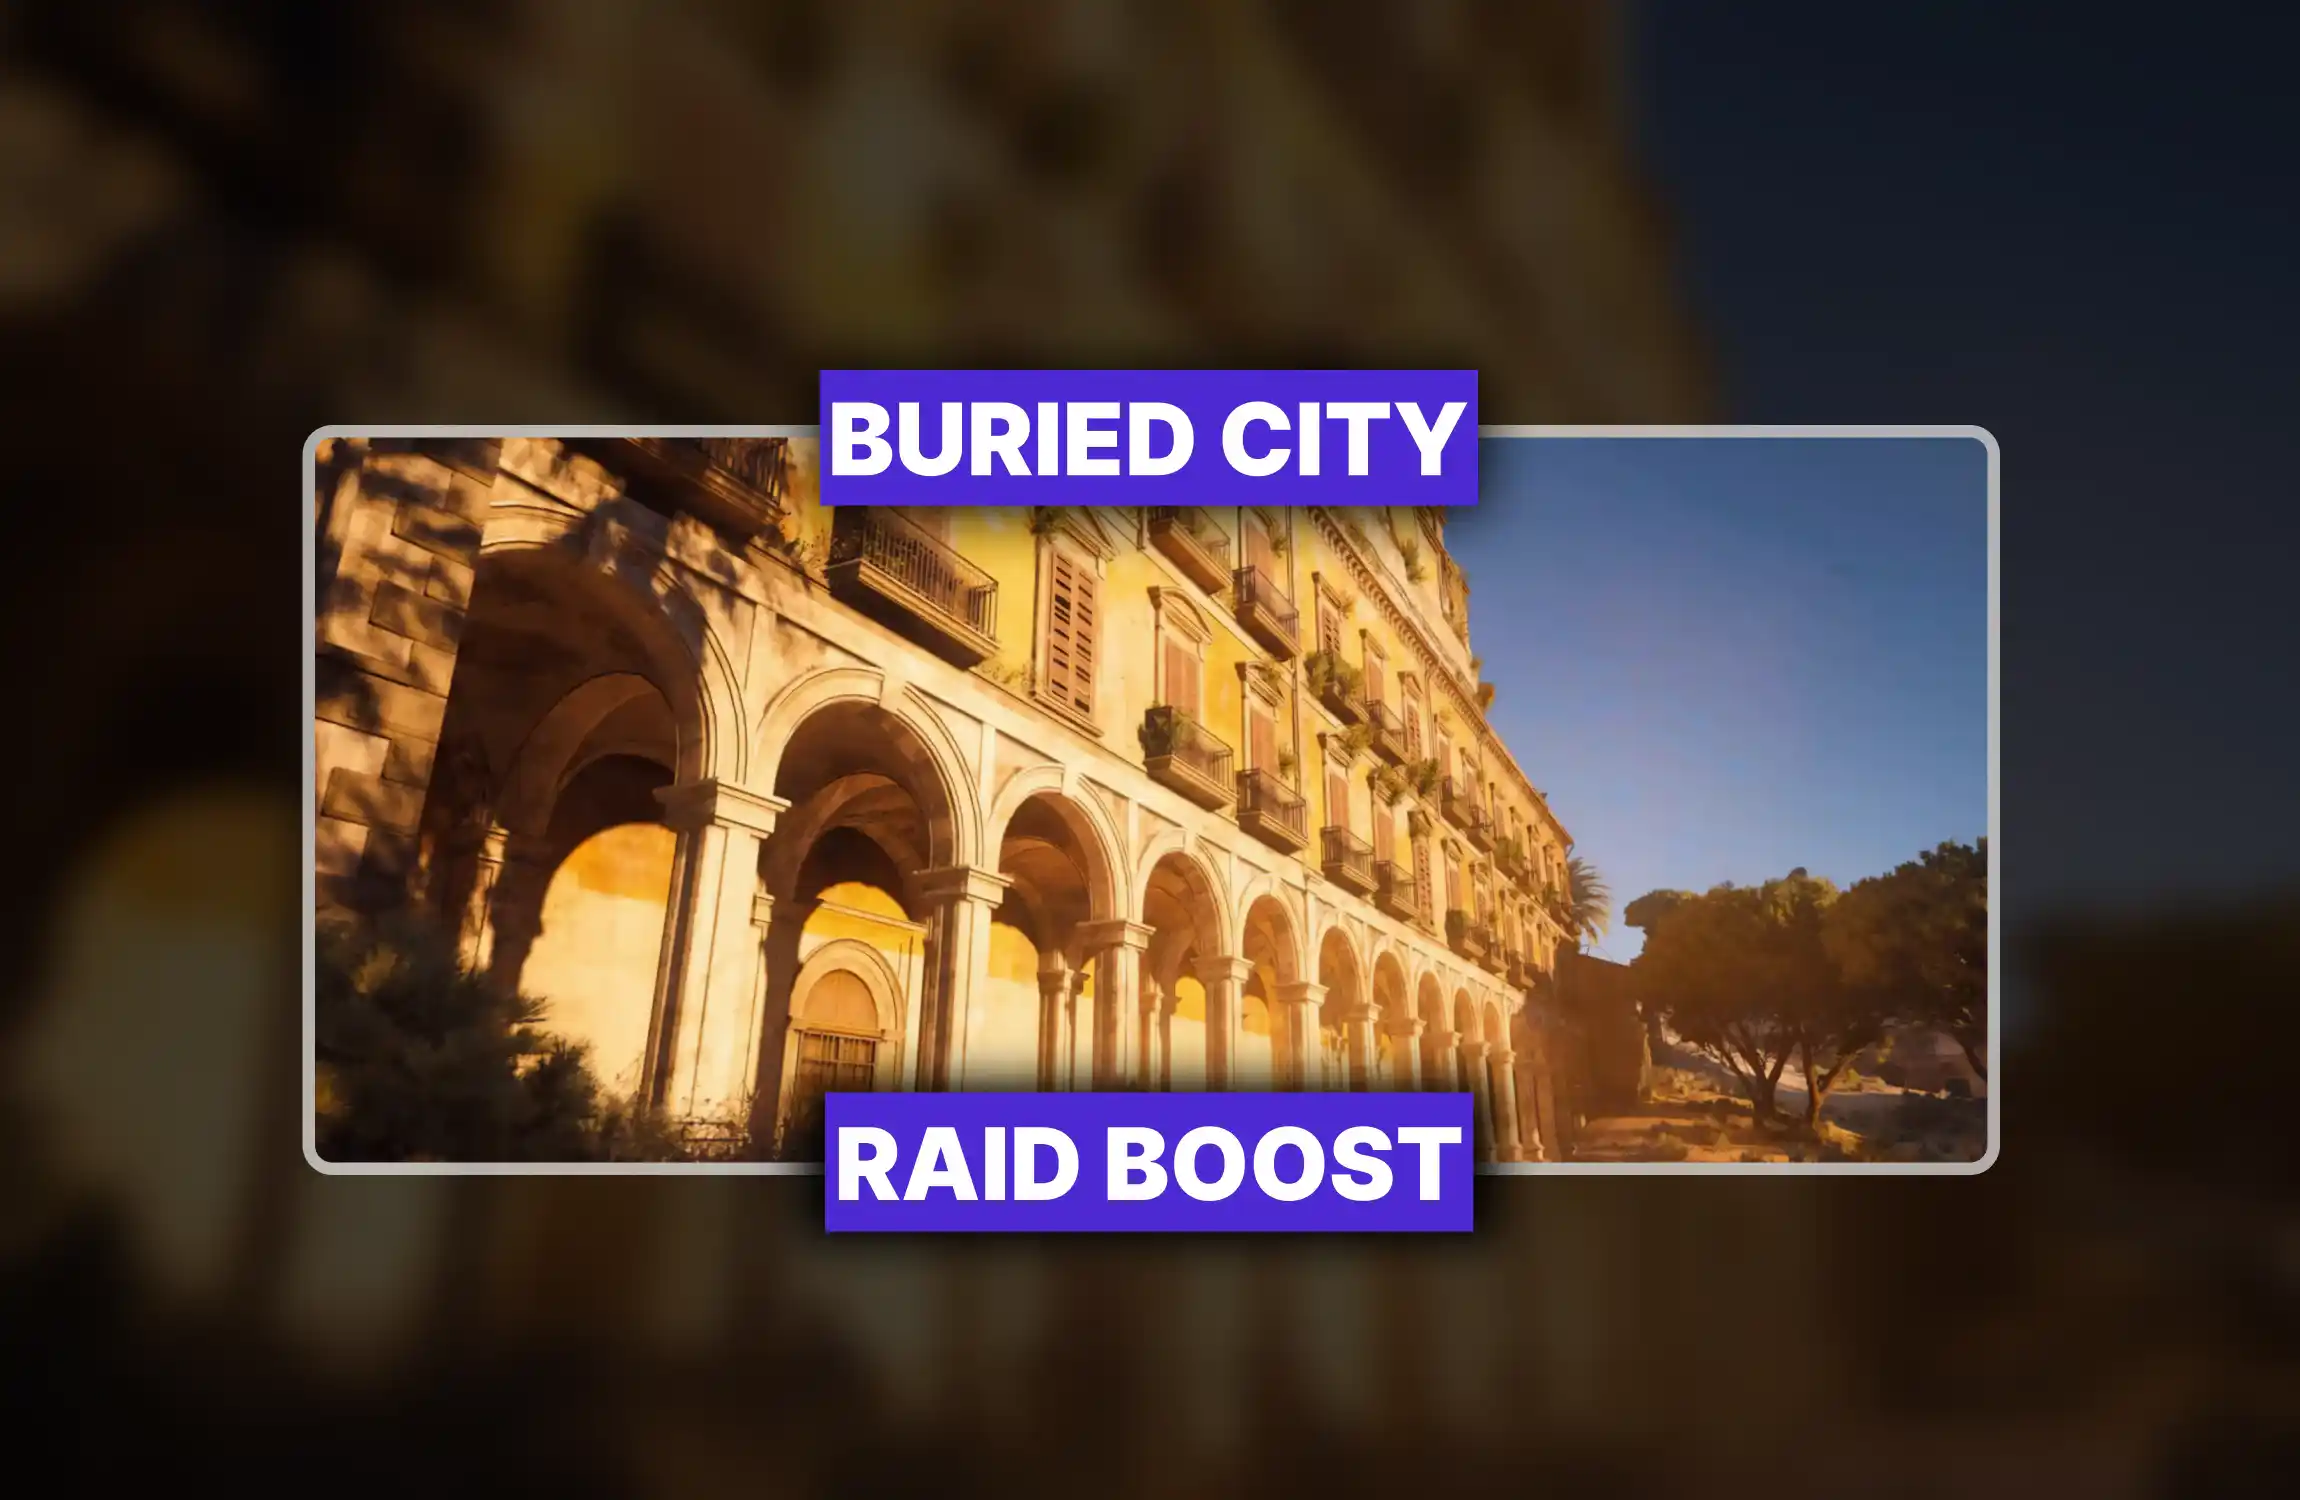
The best maps for Bombardier farming are Spaceport and Buried City. Both offer multiple spawns within reasonable rotation distance, plus enough interior cover to fight without getting one-tapped by a mortar. Run with the Electromagnetic Storm 2x modifier active whenever possible.
|
Map |
Spawn Density |
Cover Quality |
Verdict |
|
Buried City |
High |
Excellent (buildings) |
Best overall. Solo preference. |
|
Spaceport |
High (5 spawns) |
Good, except Shipping Yard |
Best for trios. Launch Tower base recommended. |
|
Blue Gate |
Medium |
Situational |
Checkpoint and Warehouse only. |
|
Dam Battlegrounds |
Medium |
Decent |
Slower rotation. Fallback option. |
|
Stella Montis |
Zero |
— |
Don't. |
Buried City Bombardier locations are the most reliable in the game. Marano Park spawns one almost every run: open ground, so plan your escape before engaging. Plaza Rosa and Santa Maria Houses offer apartment buildings as cover. The Parking Garage roof is a sleeper pick: elevated position, tight angles, fast kill. Hospital exterior spawns less frequently but the building geometry makes fights manageable.
Five spawns total. For Spaceport Bombardier spawn locations: the clearing near Control Tower A6 (Container Storage / Vehicle Maintenance) is the safest fight on the map. Trenches and Arrival/Departure Buildings also produce spawns. The field above the Hidden Bunker is the one place with almost no cover: avoid unless you're feeling theatrical. Departure and Rocket Assembly spawns don't appear until roughly the 12-minute mark, so don't waste time checking them early.
Respawn timer: 5–7 minutes per Bombardier. Kill them early, put them on timers, then rotate. Wasting the first 15 minutes sightseeing is how you end a run at 8,000 score.
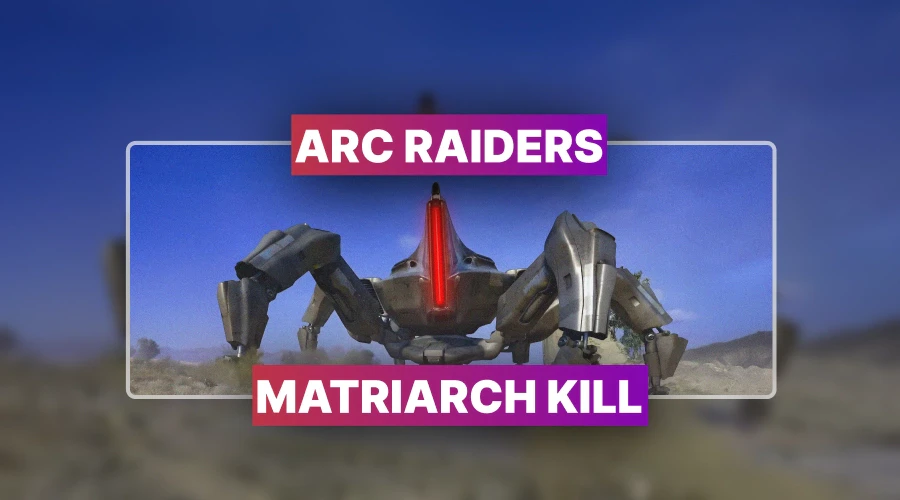
The Bombardier has no external armor plates, but it has three weak points worth knowing. Bombardier weak points: yellow kneecaps on all leg joints (breaking them slows movement and exposes internals), and a yellow rear cylinder (destroying it can end the fight immediately). Hit these with the Hullcracker between explosive volleys.
Practical kill sequence: get inside a building or behind hard cover, throw two Wolfpacks, follow up with Hullcracker shots on the rear cylinder or exposed legs. One Wolfpack alone often won't finish the job: some missiles split off chasing Spotters. Two Wolfpacks, or one Wolfpack plus a Trailblazer, cleans it up. Kill time target: under 30 seconds. Every second you spend standing outside is an invitation for mortar fire or a third party.
Kill the Spotters first if they've tagged your position. After a Bombardier fires its mortar volley, there's a brief downtime window: that's when you push damage. Move at least one room over between shots. Static = dead.
Use Aggression-based matchmaking ARC Raiders for friendly lobbies. It produces consistently safe conditions for farming without a PvP raid turning your trial run into a eulogy.
Base yourself at the ground floor of the Launch Tower. Set Ziplines toward Trenches, Control Tower, Arrival Building, Departure Building, and Rocket Assembly. Spot a Bombardier, zip to it, kill it, move to the next. After the 12-minute mark, add Departure and Rocket Assembly to your rotation. Expect 30,000–40,000 score if you play tight.
The Damage Bombardiers trio strategy is straightforward: split up and don't bunch together like tourists.
|
Player |
Starting Zone |
Rotation Target |
Timing / Notes |
|
Player 1 |
Arrival Building + Trench |
Departure |
Rotate via Zipline at ~12 minutes remaining. |
|
Player 2 |
Container Storage / Control Tower |
Rocket Assembly |
Rotate at 12–13 minute mark to claim spawn. |
|
Player 3 |
Container Storage / Control Tower |
Departure (Optional) |
Rotates only if Player 1 is committed elsewhere. |
Clean trio execution yields 50,000+ minimum. 60,000–70,000 is achievable with precise timing. 70,000+ is rare enough that you probably won't hit it, but you're welcome to try.
If you just want the ARC Raiders Trials 3-star rewards and nothing more: load in, find the nearest Bombardier to your spawn, take cover, throw two Wolfpacks or a stack of Trailblazers at it, extract. Done in under ten minutes. Congratulations, you did the minimum. The rewards don't scale with effort.

The Damage Bombardiers trial is back. Hullcracker, Wolfpacks, cover. This guide tells you where to go, what to bring, and how to not die stupidly.
The Damage Bombardiers trial is back. Hullcracker, Wolfpacks, cover. This guide tells you where to go, what to bring, and how to not die stupidly.
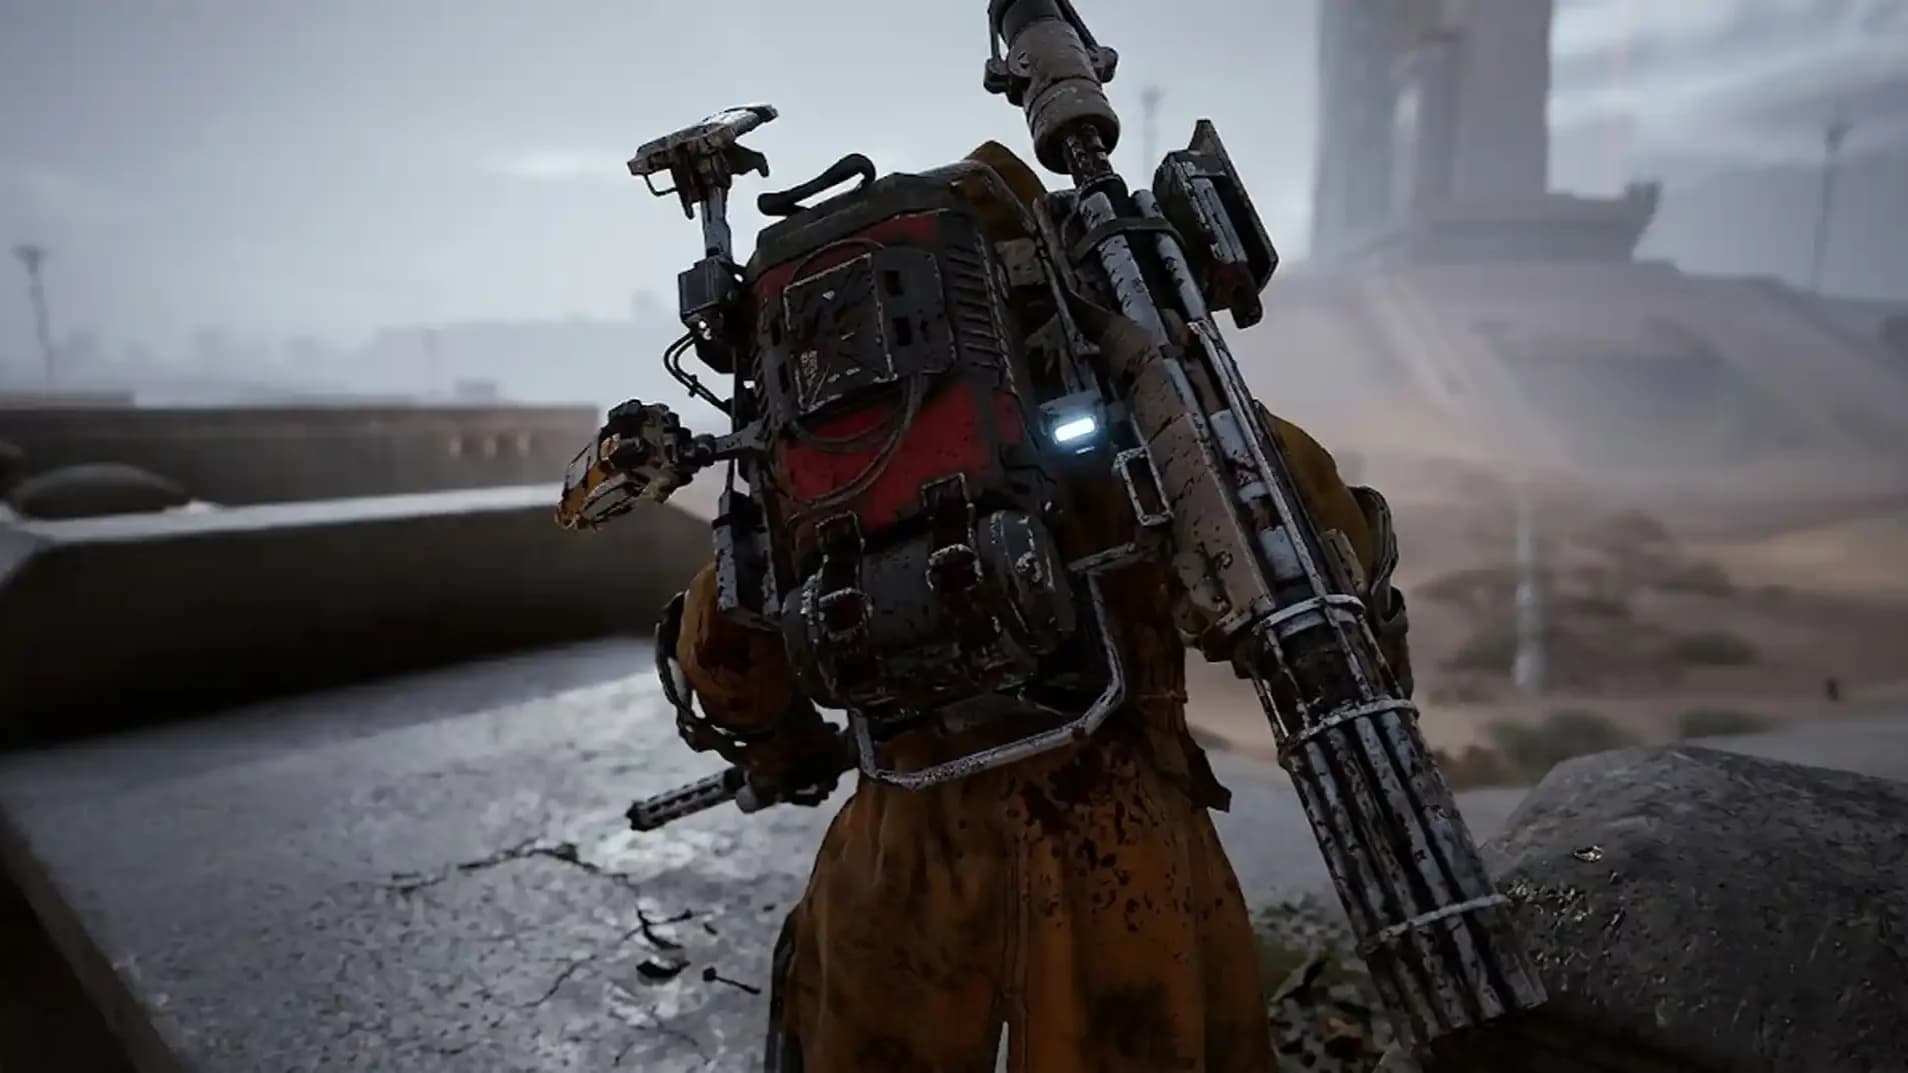
The Damage Bombardiers trial is back. Hullcracker, Wolfpacks, cover. This guide tells you where to go, what to bring, and how to not die stupidly.

Two Wolfpacks or one Wolfpack plus Trailblazer Grenade. Under 30 seconds from cover.
Spaceport has five. Buried City has fewer but better cover and more consistent spawns overall.
No. Spotters give zero trial points. Kill them to survive, not to score.
Technically yes. Practically, you'll run out of ammo before hitting useful score thresholds.
4,000 points. One solo Bombardier kill at 2x modifier almost covers it alone.

GTA 6, new seasons, major updates — get ready to dominate from day one