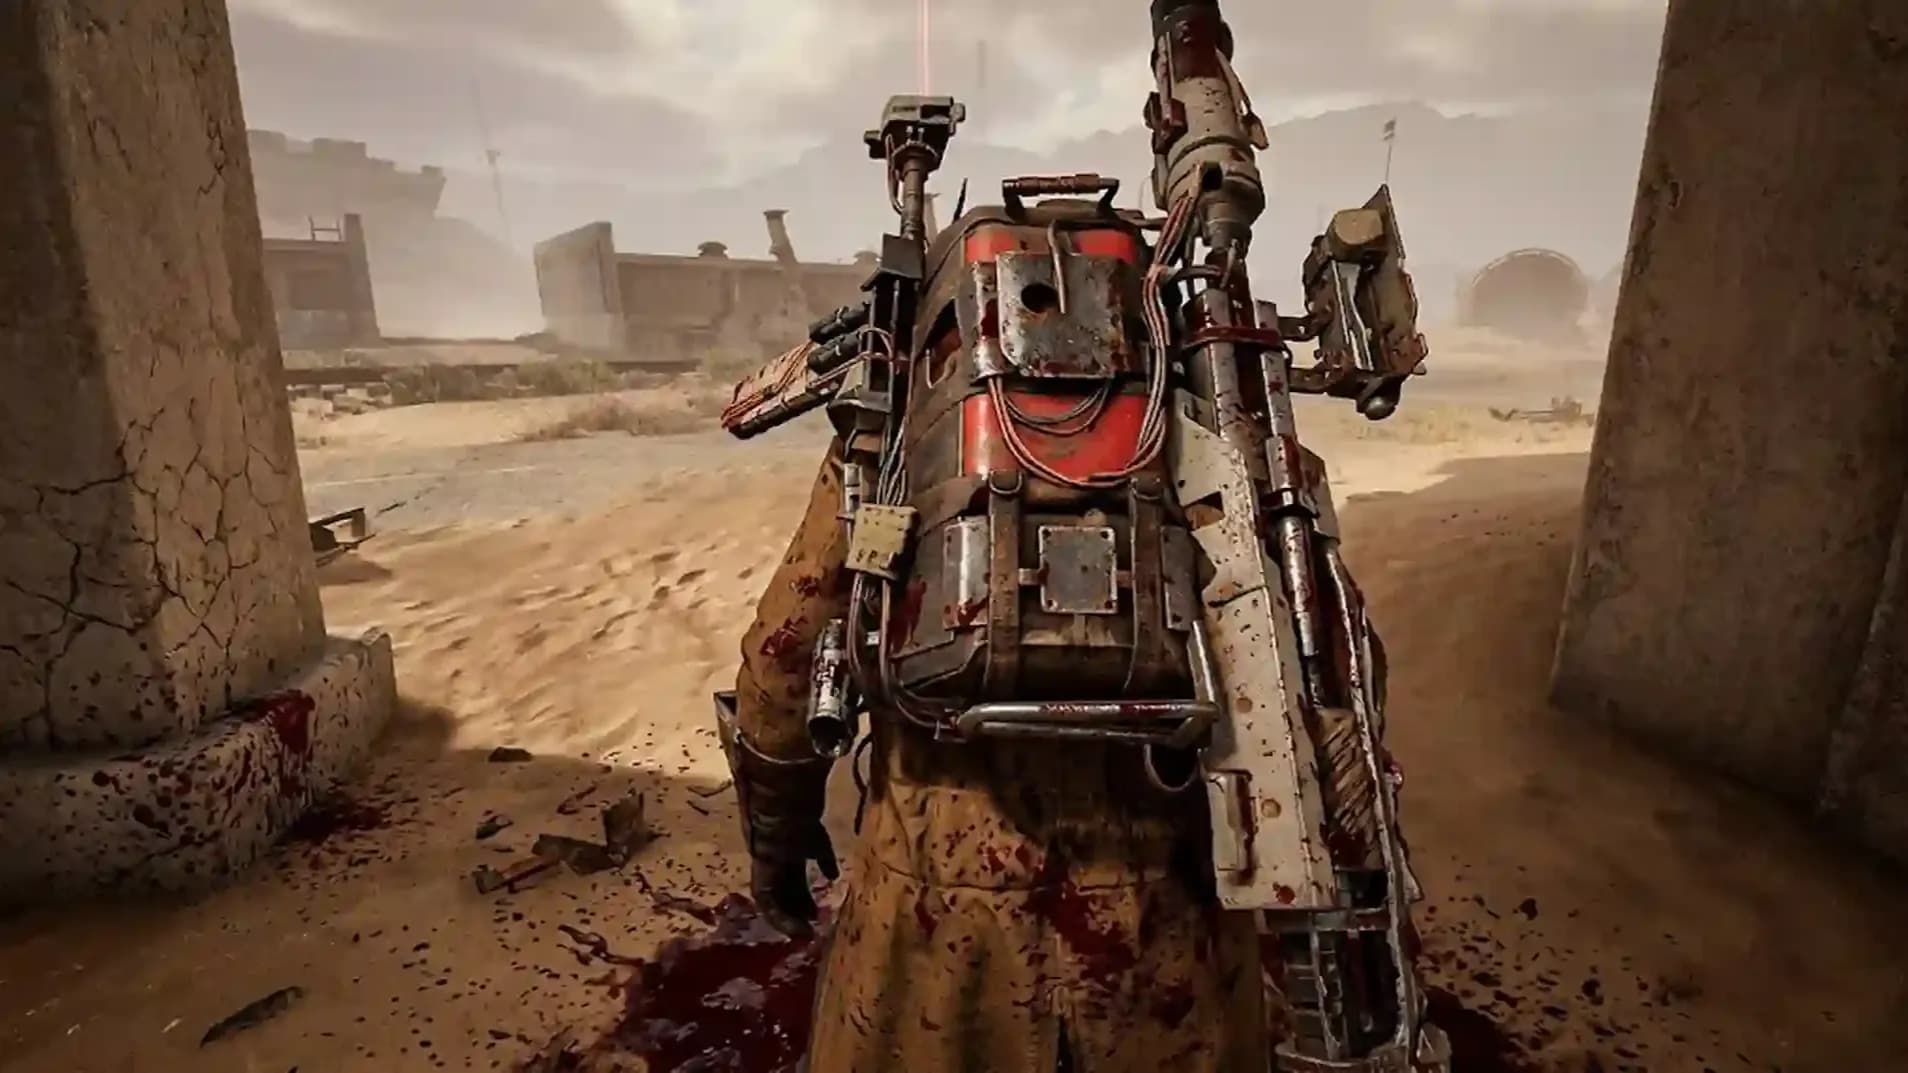
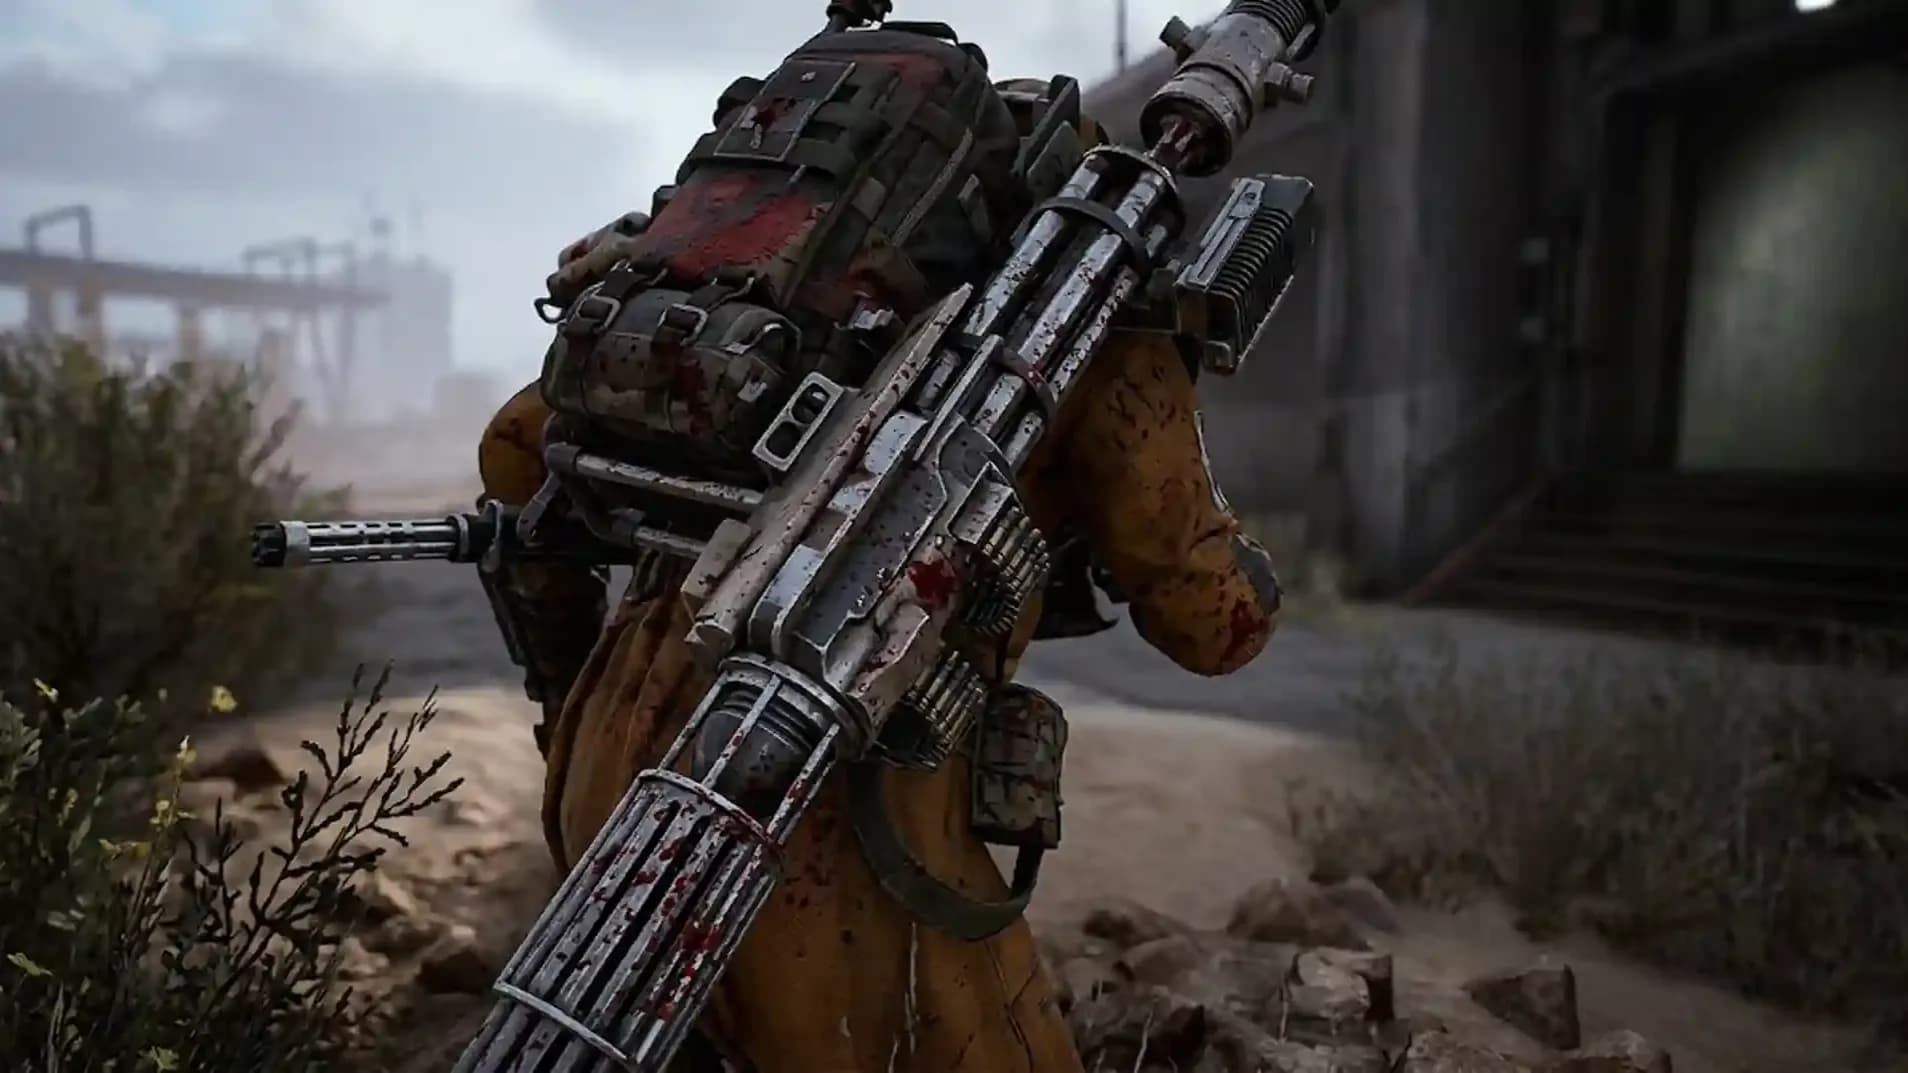
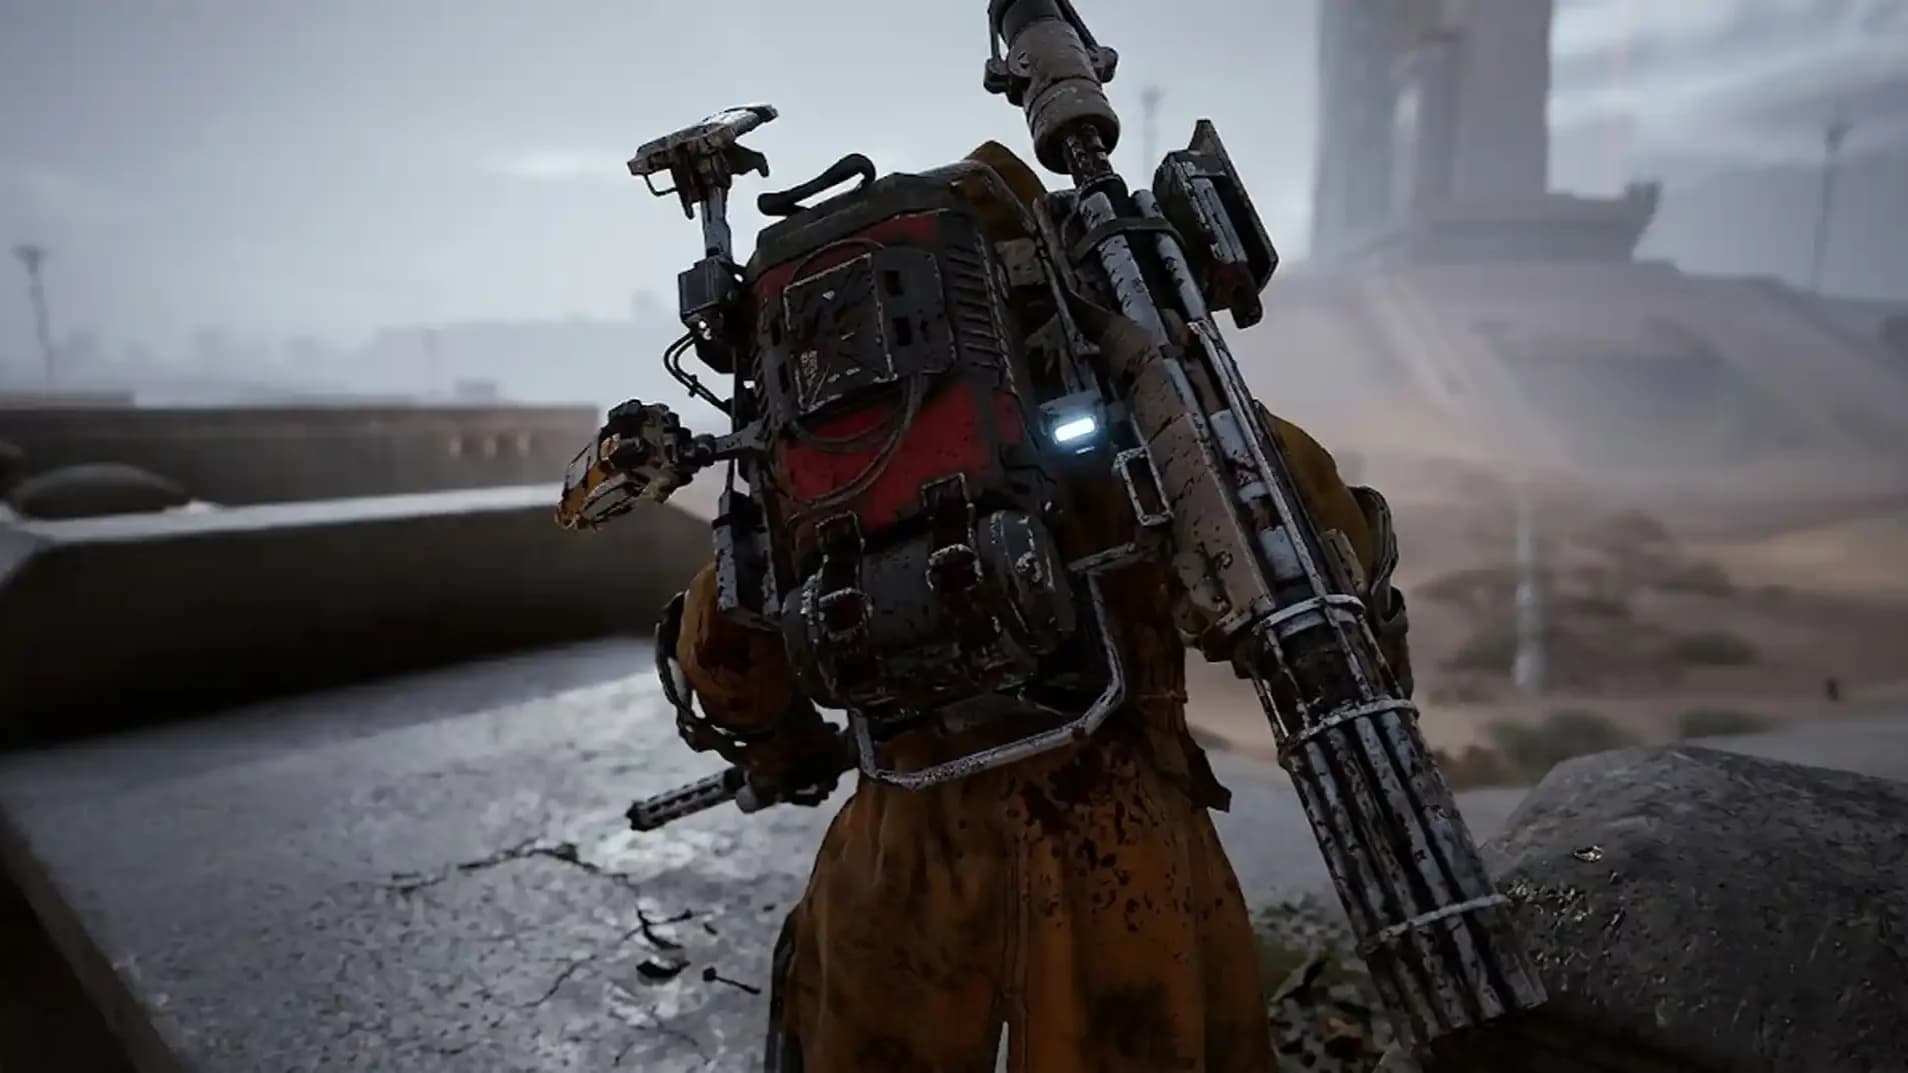
Blaze grenade placement matters more than quantity. How to aim blaze grenade ARC Raiders is a question that sounds stupid until you throw six of them on a Bastion's roof and watch the fire cascade into nothing.
- Bastion: Throw under its feet, not on top. Fire falling down from above barely registers. The burning zone needs to sit where the legs contact the ground.
- Leaper: Direct body throw. Aim for the torso or leg cluster. The multi-jointed frame takes damage across several hitboxes simultaneously.
- Bombardier: Any central hit. Its lighter armor means the fire soaks in rather than bouncing off.
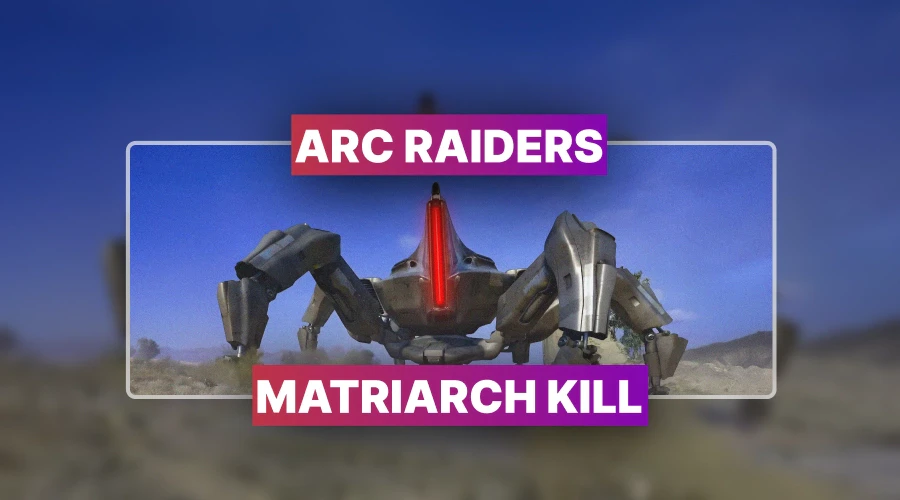
- Matriarch core: Requires breaking the core off first, then landing fire directly on the exposed core. Adds steps for marginal gain unless you already have a Snap Hook and an equalizer.
Stacking Mechanics
Current behavior: throw one grenade, wait for the fire effect to expire, then throw another. Simultaneous stacks do not multiply points. Sequential throws on the same target do. Patience is rewarded. Impatience is not.
Recommended Loadout
The ARC Raiders blaze grenade loadout does not need to be elaborate. Five to ten grenades is sufficient for a 3-star score if you use them correctly. Pad the rest with utility items.
- 5–10x Blaze Grenades
- 1x Law Grenade (pulls grouped ARC into a tight cluster before igniting)
- Snap Hook (Matriarch access and elevation)
- Equalizer or similar mid-range weapon (stripping armor, breaking Matriarch core)
- Combat rations or healing: you will stand near fire and deserve what happens
The Law Grenade is the hidden multiplier. Blaze grenade combo strategy: use a Law Grenade to pull a Leaper and a Bombardier into the same spot, then throw a single Blaze Grenade onto both. Combined score approaches 8,000 from one throw. That is a very reasonable way to spend one item slot.
Where to Do This
Stella Montis, Loading Bay is the default recommendation. It has Bastion spawns, good elevation for throws from height, and consistent large ARC density. Night Raid conditions increase enemy health multipliers, which translates to more damage per grenade.
The ARC Raiders Stella Montis trial strategy works because the loading bay area has grouped ARC at the bottom reachable from overhead: ideal for arc-landing grenades on multiple targets. Archives on Stella also has ARC congregation points worth exploiting.
- Dam Battlegrounds: Hydroponic Dome Complex: 2 Bastion spawns, Leaper and Bombardier presence. Good for 2x event modifiers during Electromagnetic Storm.
- Spaceport (Hidden Bunker event): Extended raid duration, clustered Bastion and Bombardier spawns. Strictly better if the event is active.
PvP Warning
Other players know where the large ARC spawn. Expect competition. If you accidentally set a teammate on fire: which happens: a defib and an apology are your only options.
Score Thresholds
The ARC Raiders trial score thresholds are not secret. Three stars requires 3,000 points. One Leaper hit with a well-placed blaze grenade nearly achieves this alone. Two large targets is comfortable. Three is generous.
|
Stars
|
Score Required
|
Realistic Path
|
|
1 Star
|
1,000
|
One bad throw on a Bastion
|
|
2 Stars
|
2,000
|
One decent throw on a Leaper
|
|
3 Stars
|
3,000
|
One Leaper + anything else
|
|
Leaderboard push
|
8,000+
|
Law Grenade + Leaper + Bombardier simultaneously
|
Only your best single-raid score counts. Running five mediocre raids accomplishes nothing. How to three star blaze grenade trial is answered by one competent run, not five sloppy ones.
What Not to Do
- Craft 50+ grenades before understanding the scoring. You wasted oil.
- Throw grenades on top of a Bastion. The fire falls away from the hitboxes.
- Stack grenades simultaneously expecting multiplied score. They do not stack.
- Target small ARC. Wasps, Ticks, and Hornets are irrelevant to this trial.
- Die before extracting. Score is forfeited on death. The ARC do not issue posthumous receipts.