





Arc Raiders Boost
ARC Raiders China Beta: New Modes Explained Guide
Most raiders dismantle their barricade kit for scrap. Here's why that's a mistake, and the six ways it can actually win your raid.
The barricade kit is one of the strongest items in ARC Raiders, yet half the lobby dismantles it on sight like it's dead weight. It blocks doors, seals key rooms, launches deadlines, absorbs arc turbine fire, and gets you into terrain you'd otherwise need a snap hook for. If you've been using the ARC Raiders barricade kit as a glorified doorstop, congratulations, you've been wasting a scavenging slot this whole time.

Placing the barricade flat against a closed door does almost nothing, since the door still opens and the kit gets destroyed in seconds. The actual technique for this barricade kit guide trick is to open the door first, then merge the barricade into the doorway itself so it sits inside the frame. Done this way the button on one side stops working entirely while the button on your side still functions, which is exactly the asymmetry you want.
This placement is where the kit earns its reputation. Wall yourself into a loot room, force anyone outside to chew through the entire barricade before they reach you, and keep looting while they waste hits. This is standard practice for anyone serious about the ARC Raiders key room meta, and ignoring it is just charity toward whoever is trying to third party you.
A damaged barricade kit is not trash. Dismantle it and it returns to full health, ready to redeploy. Most players never learn this and just walk away from a nearly dead kit like it owes them nothing.
There was a time you could bypass nearly every locked door in the game with nothing but a barricade kit and zero keys required. That got patched. One exception survives on Riven Tides: place the barricade under the lift, drop onto it, climb to the side, and breach the normally locked door from there. It still requires a second raider to hold the lift open while you breach, so solo players are out of luck on this one.
Use Case | Setup | Payoff |
|---|---|---|
Door lockdown | Merge kit into open doorway | Disables outside button entirely |
Key room defense | Long side facing you | Forces enemy to destroy kit to enter |
Riven Tides breach | Barricade under lift, climb up | Access to a locked room without a key |
Vertical traversal | Place against wall, climb it | Reach upper floors without ziplines |
Arc turbine cover | Flat ground, centered, not too close | Fully blocks turbine projectiles |
A barricade kit takes twenty raider tool hits to fully destroy, and getting it to one HP before triggering a deadline is entirely your choice of method. Pair it with an anvil splitter and extended barrel, drop the deadline onto the weakened kit, and launch it toward a queen, a matriarch, or an unsuspecting squad. The same trick works with synthesized fuel canisters for an improvised carpet bomb, which is objectively funnier when done from a rooftop above a matriarch.
None of this requires rare materials either, since the barricade kit blueprint is a common drop from electrical containers, and Apollo sells the item directly for a modest price. Anyone claiming they "can't afford" to carry two or three of these into a raid is choosing not to.
Claims that the barricade no longer blocks arc turbine attacks are simply wrong, and the actual issue is positioning. Stand on flat ground, center yourself directly behind the kit, and avoid standing too close, since angled terrain lets shots curve around the edges. This is the most reliable form of arc turbine barricade counterplay currently in the game, full stop.
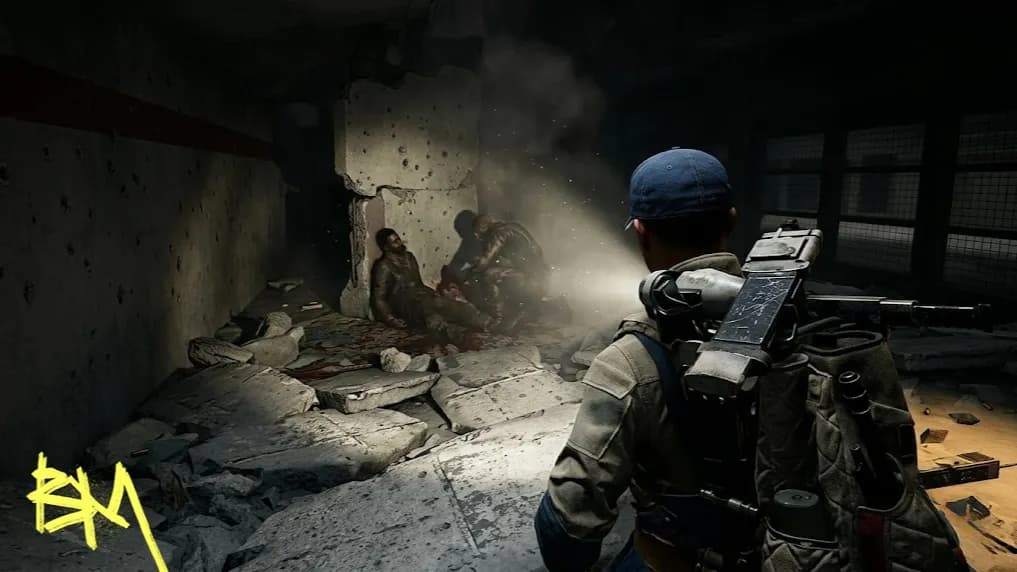
During the Arc Harvester event, most raiders bring nothing to shield themselves from the inevitable aggro dump when they exit. Placing two barricades on opposite flanks of the exit gives a solo player enough cover to survive the rocketeer, vaporizer, or general arc swarm waiting outside. This single habit separates people who understand ARC Raiders traps and cover mechanics from people who get deleted the moment they step outside.
The ARC Raiders Riven Tides lift trick, the arc turbine block, and the synthesized fuel launch combo all rely on the same underlying trick, which is that the barricade kit is a flexible tool and not a one-note obstacle. Treat it as disposable and you'll keep losing fights you should have won. Treat it like the utility item it actually is and you'll start winning the small moments that decide whether you extract with loot or die stupidly in a doorway.

Most raiders dismantle their barricade kit for scrap. Here's why that's a mistake, and the six ways it can actually win your raid.
Most raiders dismantle their barricade kit for scrap. Here's why that's a mistake, and the six ways it can actually win your raid.
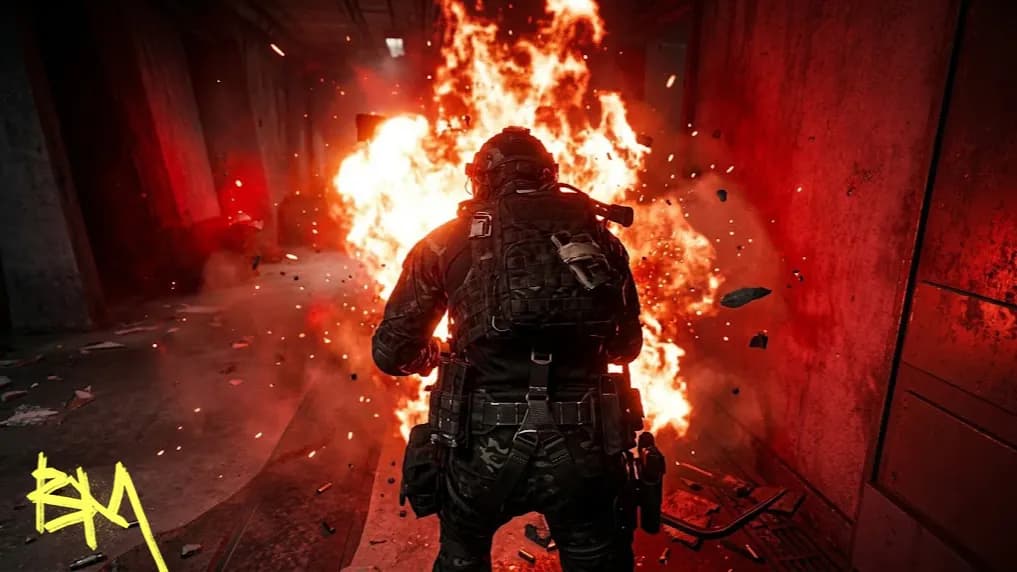
Most raiders dismantle their barricade kit for scrap. Here's why that's a mistake, and the six ways it can actually win your raid.

Yes, dismantling any barricade kit, damaged or not, returns it to full health when redeployed.
No, that exploit was patched. Only one room, on Riven Tides, remains accessible via barricade kit.
Yes, stand centered on flat ground, not too close, and the barricade fully blocks turbine projectiles.
Twenty raider tool hits fully destroy one, useful for timing deadline or fuel launches precisely.
Yes, weaken the kit first, then trigger it near a deadline or fuel canisters for a launch effect.

GTA 6, new seasons, major updates — get ready to dominate from day one